How to Make a Quilt – The Beginner’s Guide
If you are new to quilting it might surprise you to know that there are so many sub-categories in quilting. In this post I will walk you through everything you need to know to start quilting. I will break down all the steps and give you all the resources you will need to learn how to make a quilt. Also included in this post is a quick tutorial for the two quilt blocks pictured below, scroll to the bottom for the quilt block tutorials. Here is how to make a quilt for beginners. If you’re new to quilting I highly recommend THIS free quilting crash course email series to help get you jumpstarted on quilting!
Quilting – The Beginner’s Guide
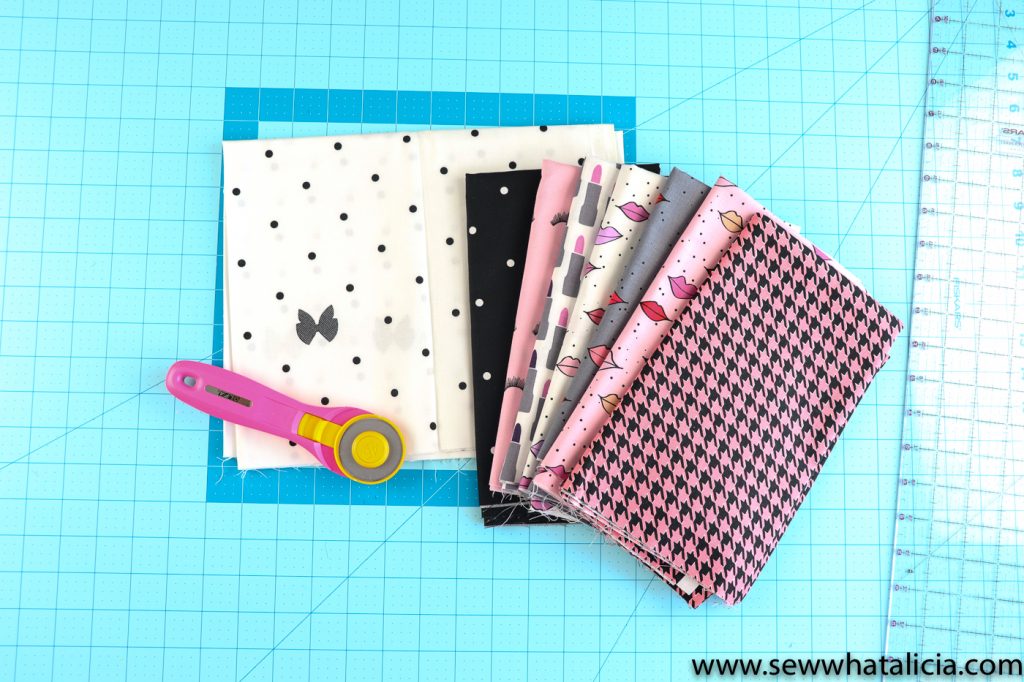
The fabric seen in this post is Kiss Me, Kate from Riley Blake. Check out all the amazing prints and cuts HERE.
Make sure and check out THIS post for all the quilting gadgets you have to have and some that make quilting easier!
How do you start a quilt?
The first step in making a quilt is to find a pattern that you love. There are so many types of quilts and patterns that your best bet is to pick an aesthetic or type of quilting and then go from there.
Want to design your own quilt? Check out THIS post where I will walk you through how to plan and design your own quilt.
Do you want to hand quilt? English Paper Piecing patterns are a very good place to start if you want to sew the quilt by hand. You can make other types of quilts by hand but the most traditional hand quilting method is EPP.
If you are planning to use your machine then there are lots of great options. There are foundation paper piecing quilts where you use a paper pattern and sew directly onto it. There are patchwork quilts (similar to THIS) that are pieced following a pattern or randomly. You can choose to learn how to make a rag quilt (HERE is a fun rag quilt tutorial.) There are also appliqué quilts and whole cloth quilts.
There are so many types of quilting that you can easily get bogged down just choosing a pattern. So pick an aesthetic, like Modern Quilting, or Rainbow Quilts (I have found my favorite patterns for those two categories if you click the name!) and search for patterns on Google or Etsy. Once you have picked a pattern you can start diving into the actual technique based on what the pattern requires!
If you are still not sure you could try a book with sampler blocks, this Farmers Wife Sampler Quilt is EXTREMELY popular and will help you get accustomed to quilting.
What are the steps in making a quilt?
Once you have decided on a pattern the next step is to pick the fabric. Your pattern should have the amount of fabric that you will need for the quilt based on the size you are making.
The basic steps are a combination of the following:
- Cut the pieces (Tips for cutting straight HERE.)
- Sew the pieces together
- Press the seams
- Square the piece
- Sew the pieces into a finished block or row
- Press!
- Square
- Sew the blocks or rows together
- Press, press, press.
- Square
Repeating these steps ad nauseam will result in a quilt top, eventually. THIS post goes into detail and includes a video for one of the most popular types of quilt blocks. Once you have a quilt top you will finish the quilt in this manner:
- Make quilt sandwich – top, batting, backing
- Baste (see below for more on this)
- Quilt – Stitching in the ditch is a good quilting method for beginners.
- Bind (see THIS POST for everything you need to know about binding)

What is basting a quilt?
Basting the quilt can be tricky and it seems like everyone who quilts has their own method for basting the quilt. I will run through a few of the techniques that people use for basting the quilt. Try a few of them because not each method works for everyone. You will find the method that works for you and you will probably be back giving me tips on what did and didn’t work for you.
Spray Basting –
One way to hold the layers of your quilt together is by using a spray baste (like THIS one.) This method is great because it is much less time consuming than using pins to secure the quilt. This also means you won’t have to stop frequently to remove pins as you quilt which can be time consuming. AND you aren’t punching a bunch of tiny holes into your fabric which is also a big plus.
The downsides are that depending on the spray it may not hold up well to the constant pushing and shoving involved in machine quilting. I say that as someone who uses my home machine to quilt so the quilt goes through some pushing and shoving. If you are using a long arm quilter the spray adhesive is probably a very great option.
Safety Pin Basting-
Another option for basting is using safety pins. I recommend a large safety pin, like THESE, because they are easy to open and get through all the layers of the quilt. Smaller safety pins also require more to cover the entire quilt.
When you are using safety pins you should be placing a pin every two to three inches across the entire quilt sandwich. This is pretty time consuming and you want to make sure that there are no wrinkles on the back or front of the fabric.
The downsides of pinning are that you are creating lots of tiny holes in your quilt. But honestly you won’t really notice these once you have removed the pins and washed the quilt, the holes will go away. The other downside is that you will have to stop frequently to remove the pins as you quilt. You obviously cannot sew over the pins.
Combination Basting –
What I typically do is a combination of these two methods. First I use a batting that is fusible, like THIS. This means that I don’t have to worry so much about wrinkles on the one side of the blanket. So if you adhere the batting to the back of the quilt you can just focus on smoothing the top of the quilt (the part you can SEE!) Then I will spray baste and pin the top but not as frequently as I would have had I skipped the spray baste. Again this is a personal preference so you will want to try different placements and basting styles to find a method that works for you. I tend to go overboard because like I said I use my home machine which means a lot of scrunching the fabric and pushing it through a tight space! I like my quilt to be solidly basted so I don’t get any wrinkles!!
Quilting Tutorials:
Here are a few of my favorite tutorials and quilters to follow for great patterns and tips!
Sew What Alicia – Quilts and Blocks
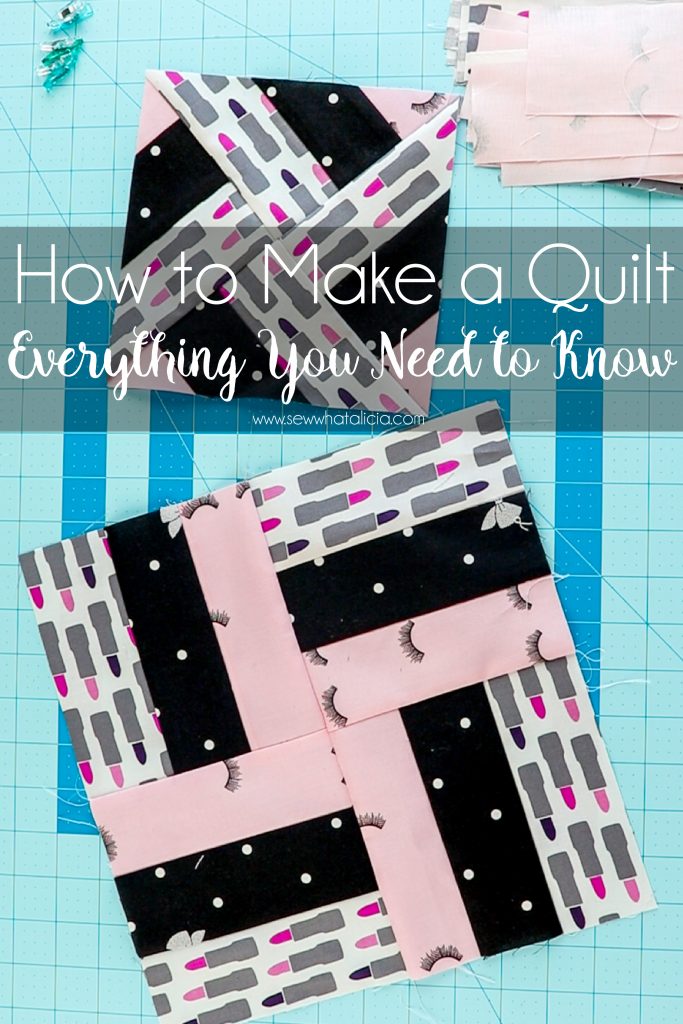
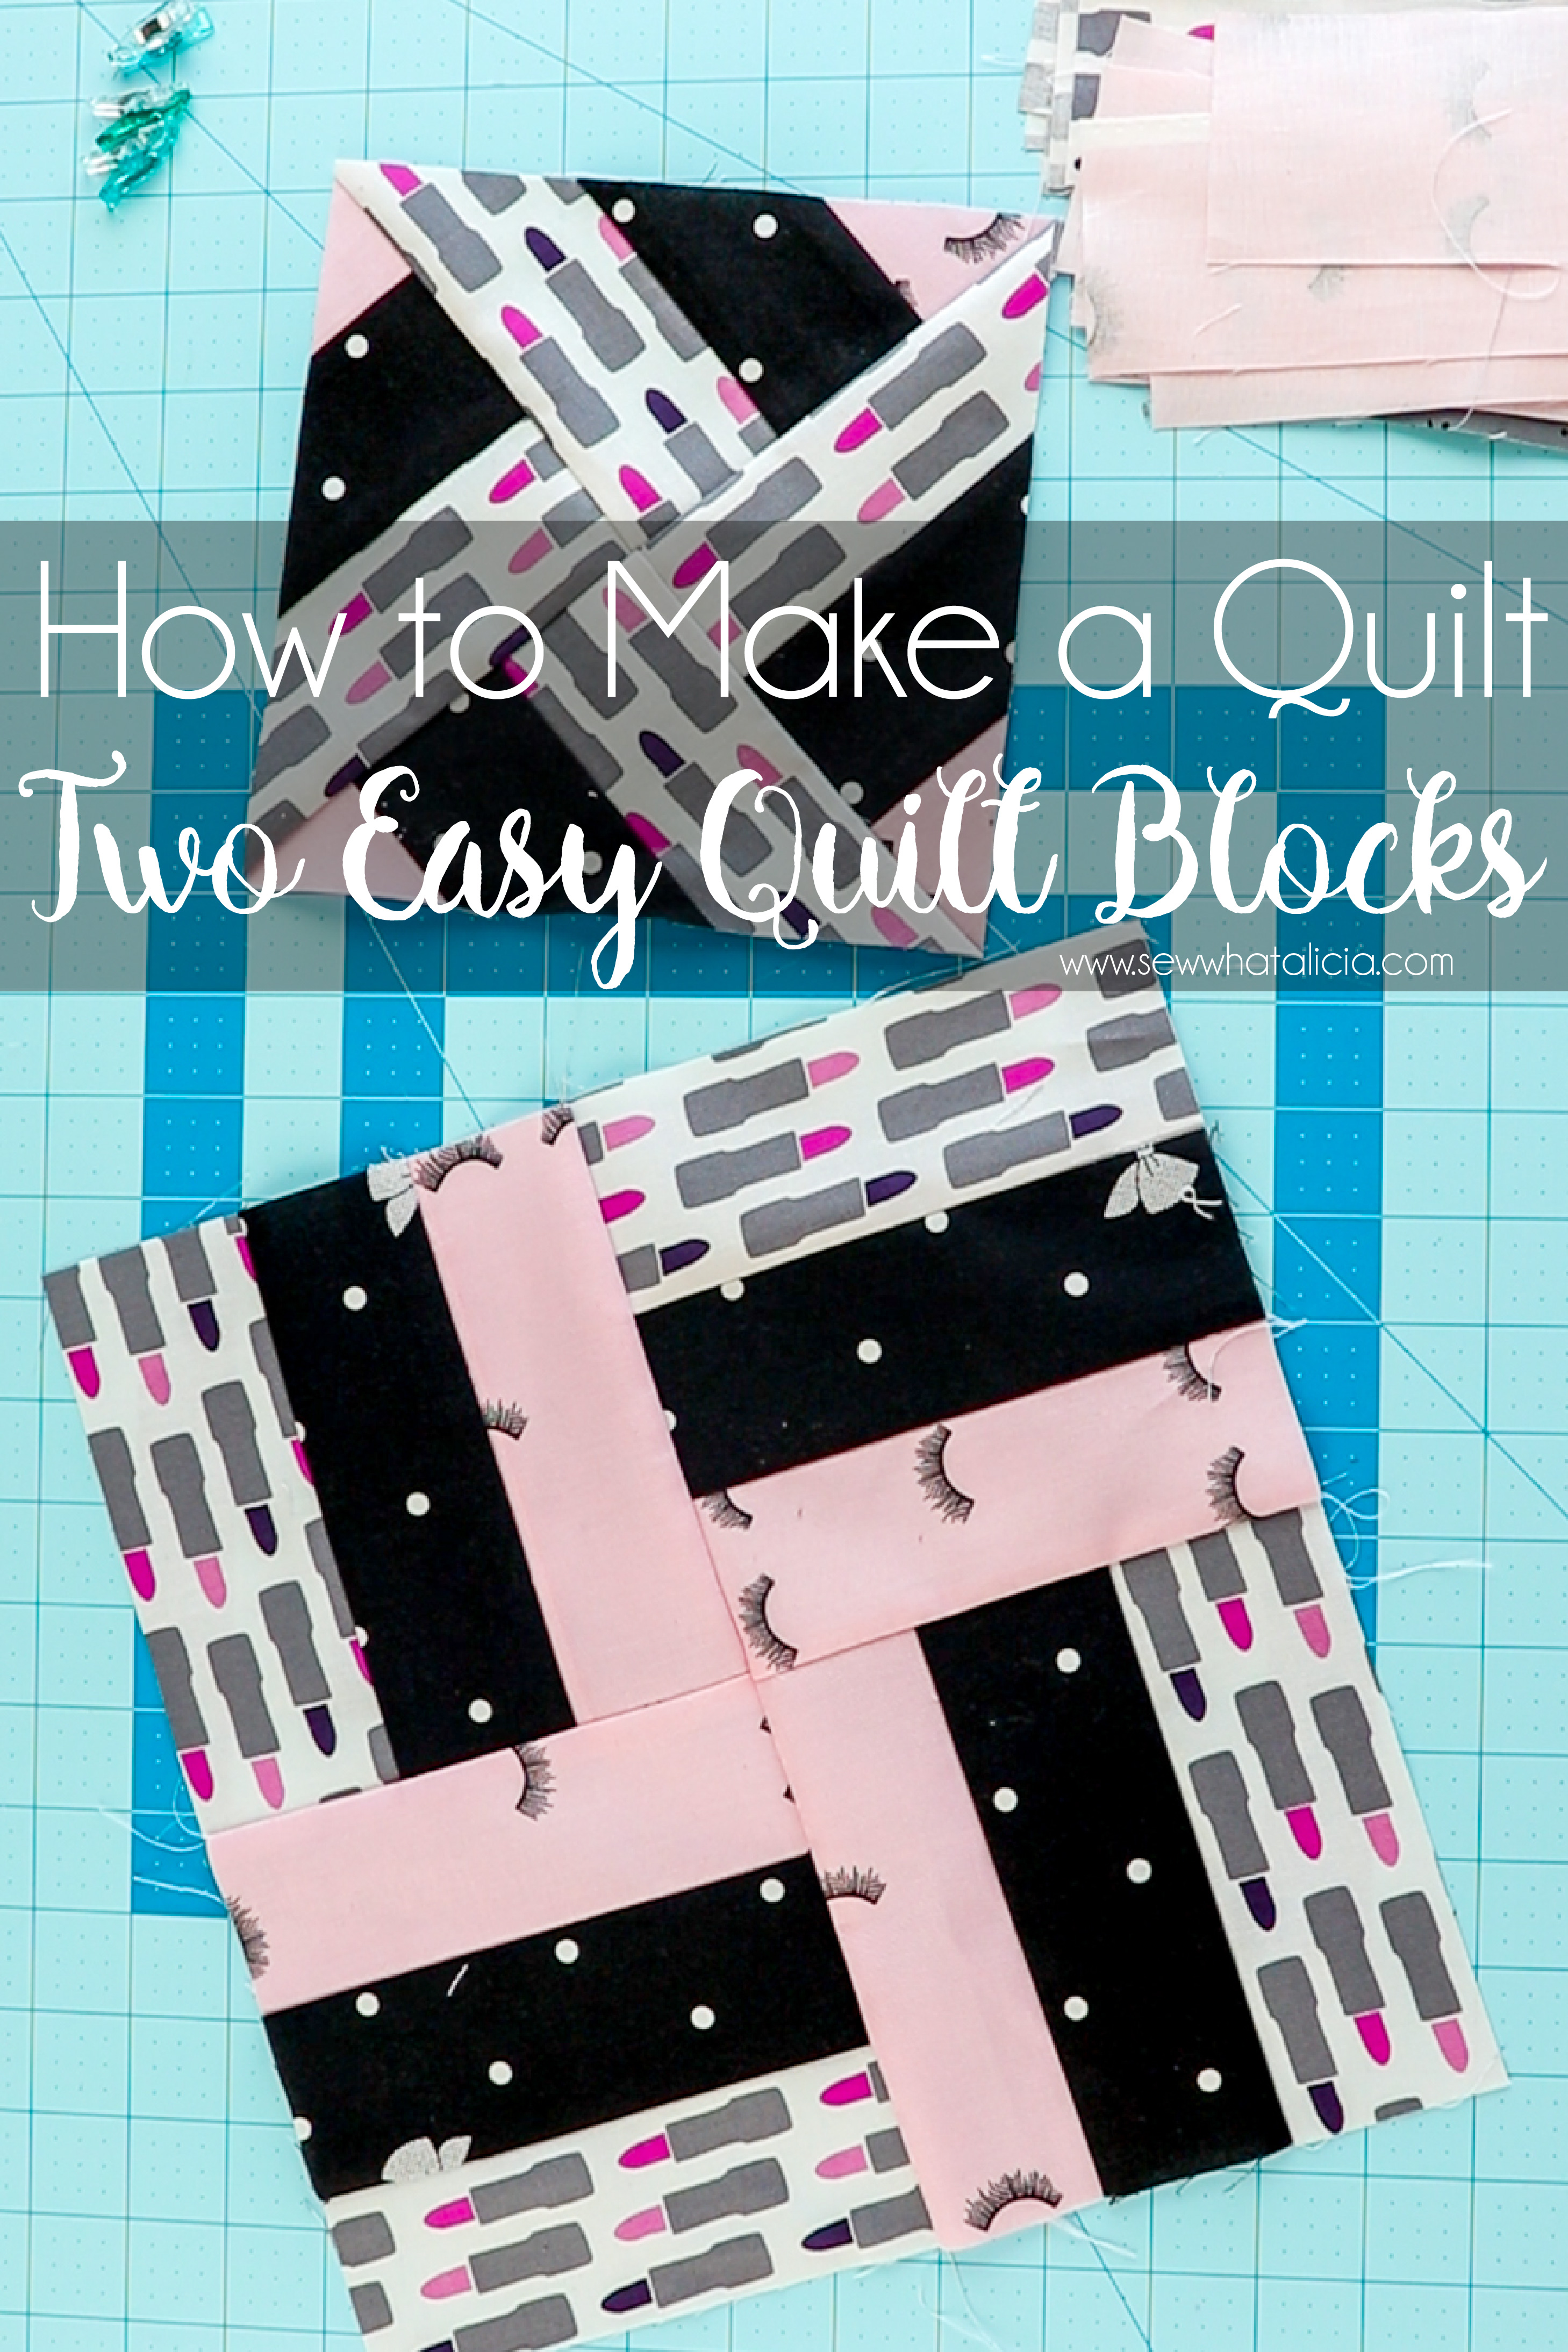
How to Make Strip Blocks:
These two blocks are made with the exact same fabric cuts. I had a blast playing with the new Kiss Me, Kate line from Kate for Riley Blake Designs. You can watch part 1 of the two part video tutorial below, and check back on Facebook for part 2 next week.
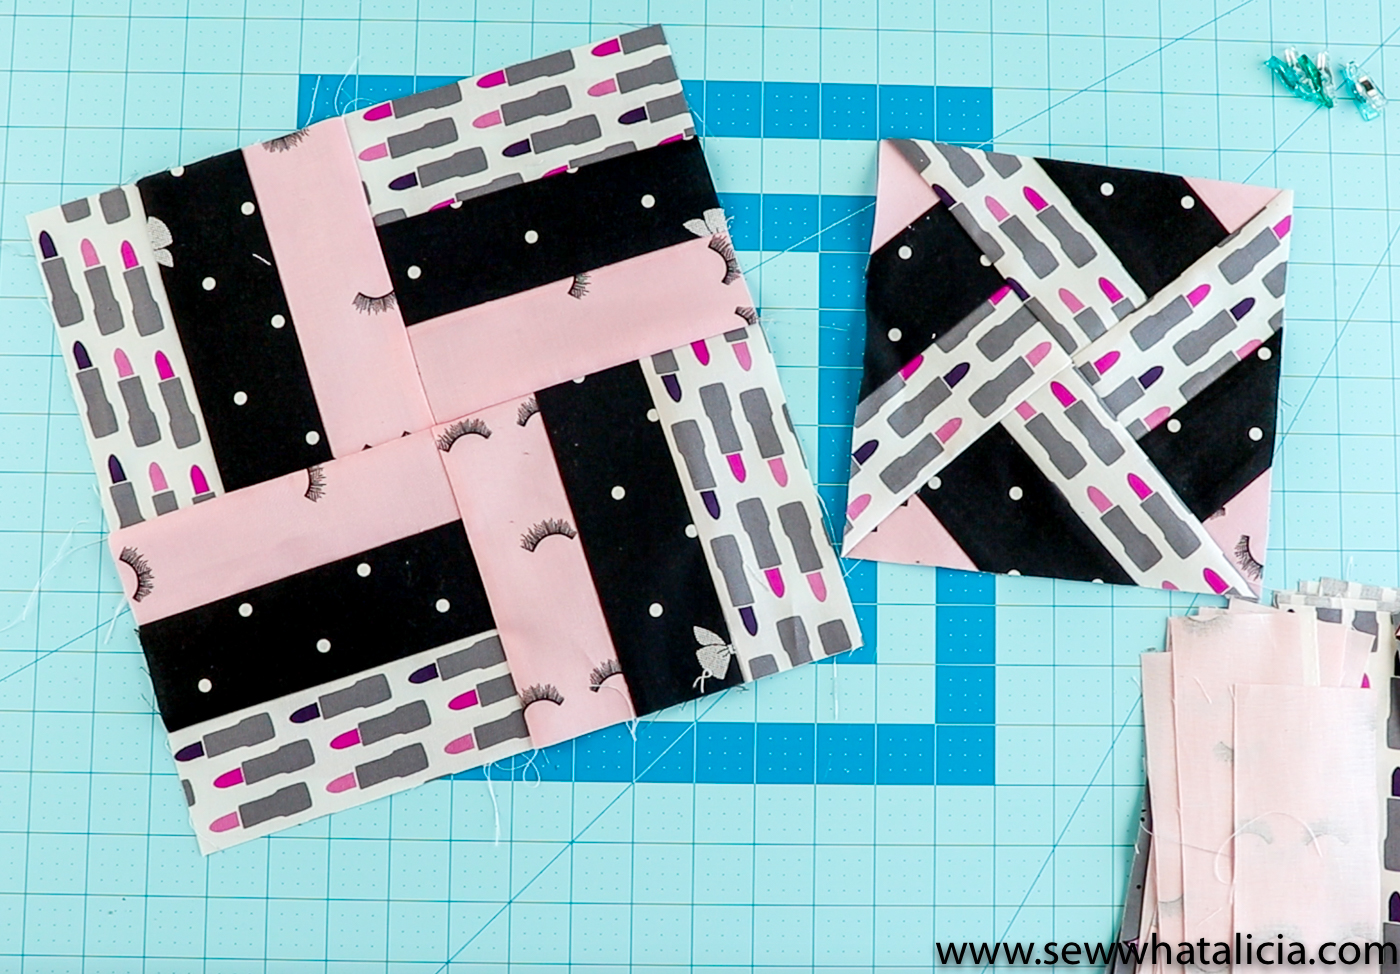
For the larger block cut: (4) 2 1/2″ x 6 1/2″ strips in three different colors. So you will have 12 strips total.
Sew them together in groups of three. Then square these groups to 6″ squares.
For the larger block line the blocks up as shown above and sew the four groups together to create the block. Square for an 11″ block (10 1/2″ finished.)
For the smaller block cut: (4) 2 1/2″ x 6 1/2″ strips in three different colors. So you will have 12 strips total.
Sew them together in groups of three. Then square these groups to 6″ squares. Use your ruler to cut the blocks in half diagonally.
Sew the triangles together to create the small block above. Note that you will have enough to make 2 of these small blocks from the 12 strips.
Square to 7 1/2″ (7″ finished.)
PIN Quilting Beginners Guide
Still have questions? Share with me in the comments below.


Joy says
I was wondering what is the cut measurement for a 12 1/2″ finished block using 4 sections?
sewwhatalicia says
Hi Joy. I am not sure I understand the 4 sections part of your question. But when designing your own block remember that you need to add 1/2″ seam allowance to each piece. I hope that helps. <3 Alicia