Sew What, Alicia?

Easy Fabric Projects for all Levels

  • Facebook
  • Instagram
  • Pinterest
  • Twitter
  • Home
  • About Me!
    • Signup!
  • Christmas Sewing
  • 15 Minute Sewing
  • All Things Sewing
  • Cricut Projects and Tips
Home » Quilt » How to Make Quilt Binding; Tips and Tricks
This post may contain affiliate links. I may receive a small commission from your purchase at no extra charge to you. See our full disclosures HERE.

April 23, 2018 by: sewwhatalicia

How to Make Quilt Binding; Tips and Tricks

  • Facebook
  • Twitter

How to Make Quilt Binding Tips and Tricks

Adding the quilt binding is the final step in a beautiful handmade quilt. This is the final touch that really makes your quilt beautiful. This post will tell you everything you need to know for how to make quilt binding and successfully attach it to your quilt. I will also show you how to add a mitered corner to your quilt. Here is how to make quilt binding.

How to Make Quilt Binding: If you are new to quilting or have never attempted creating your own binding then this post is for you. This will walk you through creating and attaching quilt binding. Click through for the full tutorial and lots of tips and tricks. | www.sewwhatalicia.com

How to Make Quilt Binding Tips and Tricks

For all of my favorite quilting and binding supplies including the mini wonder clips used in this post click HERE.

What is binding for sewing?

Binding is used to cover the raw edges of a project. It is most frequently used for quilts, aprons, and other garments. It can be used in many different sewing applications. I have also seen binding used inside zipper pouches or bags to enclose the raw seams.

What is binding on a quilt?

How to Make Quilt Binding: If you are new to quilting or have never attempted creating your own binding then this post is for you. This will walk you through creating and attaching quilt binding. Click through for the full tutorial and lots of tips and tricks. | www.sewwhatalicia.com

Binding on a quilt is the border that covers the edges of a quilt. It is frequently a different color than the quilt itself and it wraps from the front of the quilt to the back of the quilt around the entire edge of the quilt.

The binding is used to enclose the raw edges left from making a quilt sandwich. It encloses the two layers of fabric as well as the batting. It is often puffy and has a bit of thickness since it has all these layers of the sandwich enclosed within it.

How wide do you cut binding for a quilt?

How to Make Quilt Binding: If you are new to quilting or have never attempted creating your own binding then this post is for you. This will walk you through creating and attaching quilt binding. Click through for the full tutorial and lots of tips and tricks. | www.sewwhatalicia.com

There is not a firm number that you must always use when cutting quilt binding. You can cut your binding in varying widths depending on the finished look you are going for. It also depends on the method you use to attach your method. I know that answer is annoying so here is an answer you can actually use.

I cut my binding strips 2″ wide. That gives me a thing binding on both the front and back of my quilt or project when I am finished. I would not suggest cutting your binding any thinner than 2″ with this method. You could cut it wider if you want a thicker border.

How to make bias binding for a quilt?

Bias binding is very similar to the binding shown above. The difference between bias binding and straight binding is that the bias binding is cut on a bias. Ok that isn’t that helpful. Bias binding is cut on a diagonal. Fabric cut on the bias has more stretch to it than fabric cut in a straight line.

Bias binding is best for adding to a curved edge. If you are using binding for a garment or a round project like a potholder I recommend using bias binding. I rarely use bias binding for a quilt simply because it is more time consuming to cut.

Check out this awesome video showing a great binding making tip.

How do you join bias binding?

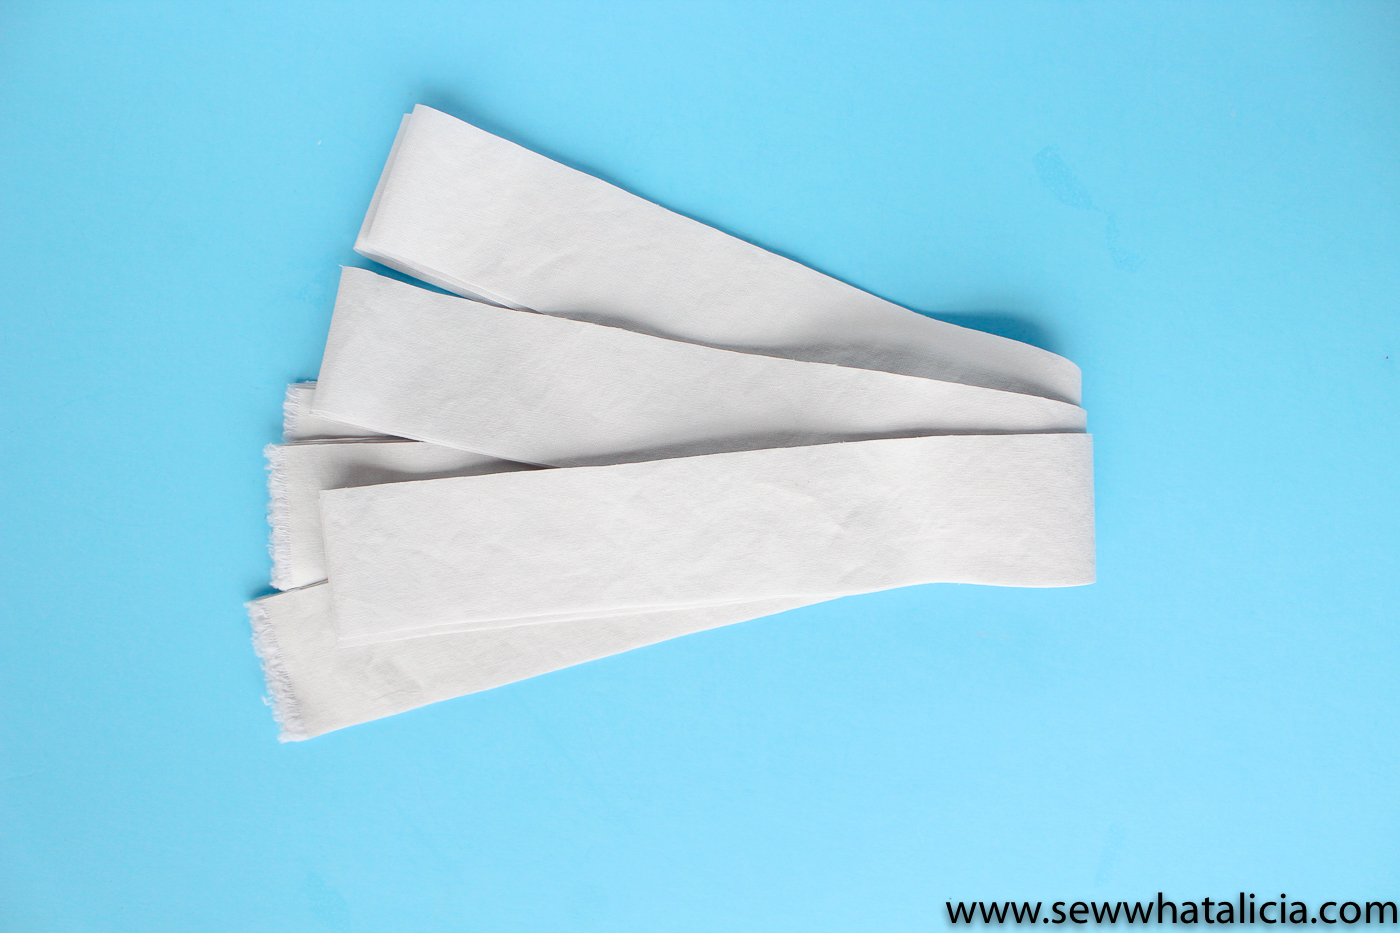
You will need to join strips of binding to create enough binding for an entire quilt. Bias binding and straight binding can be joined in the same way.

I frequently use plain white or solid fabric for binding but you can also use any pattern, stripes are a popular binding choice.

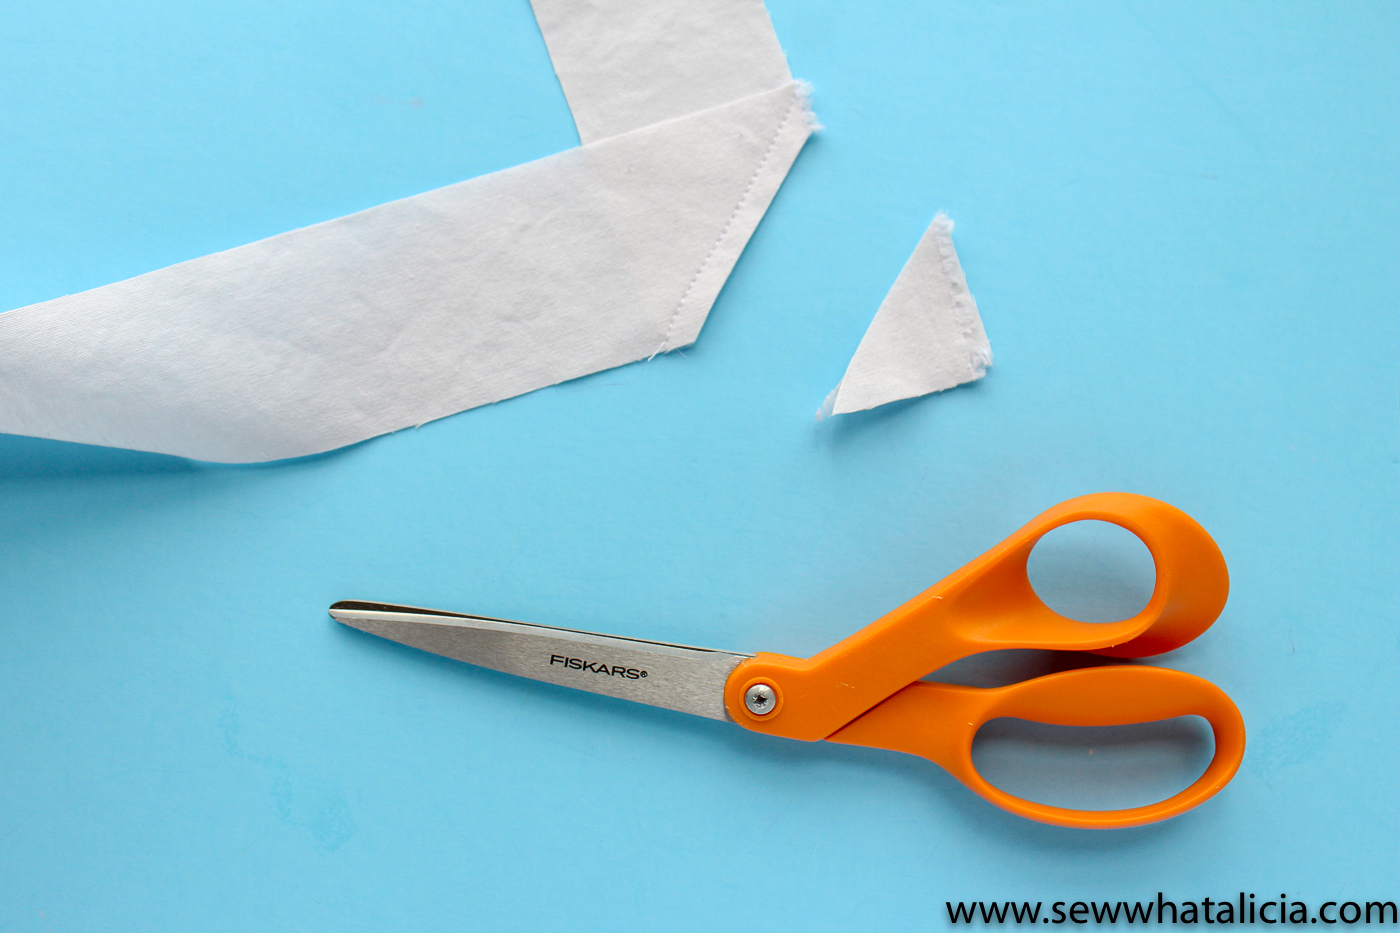
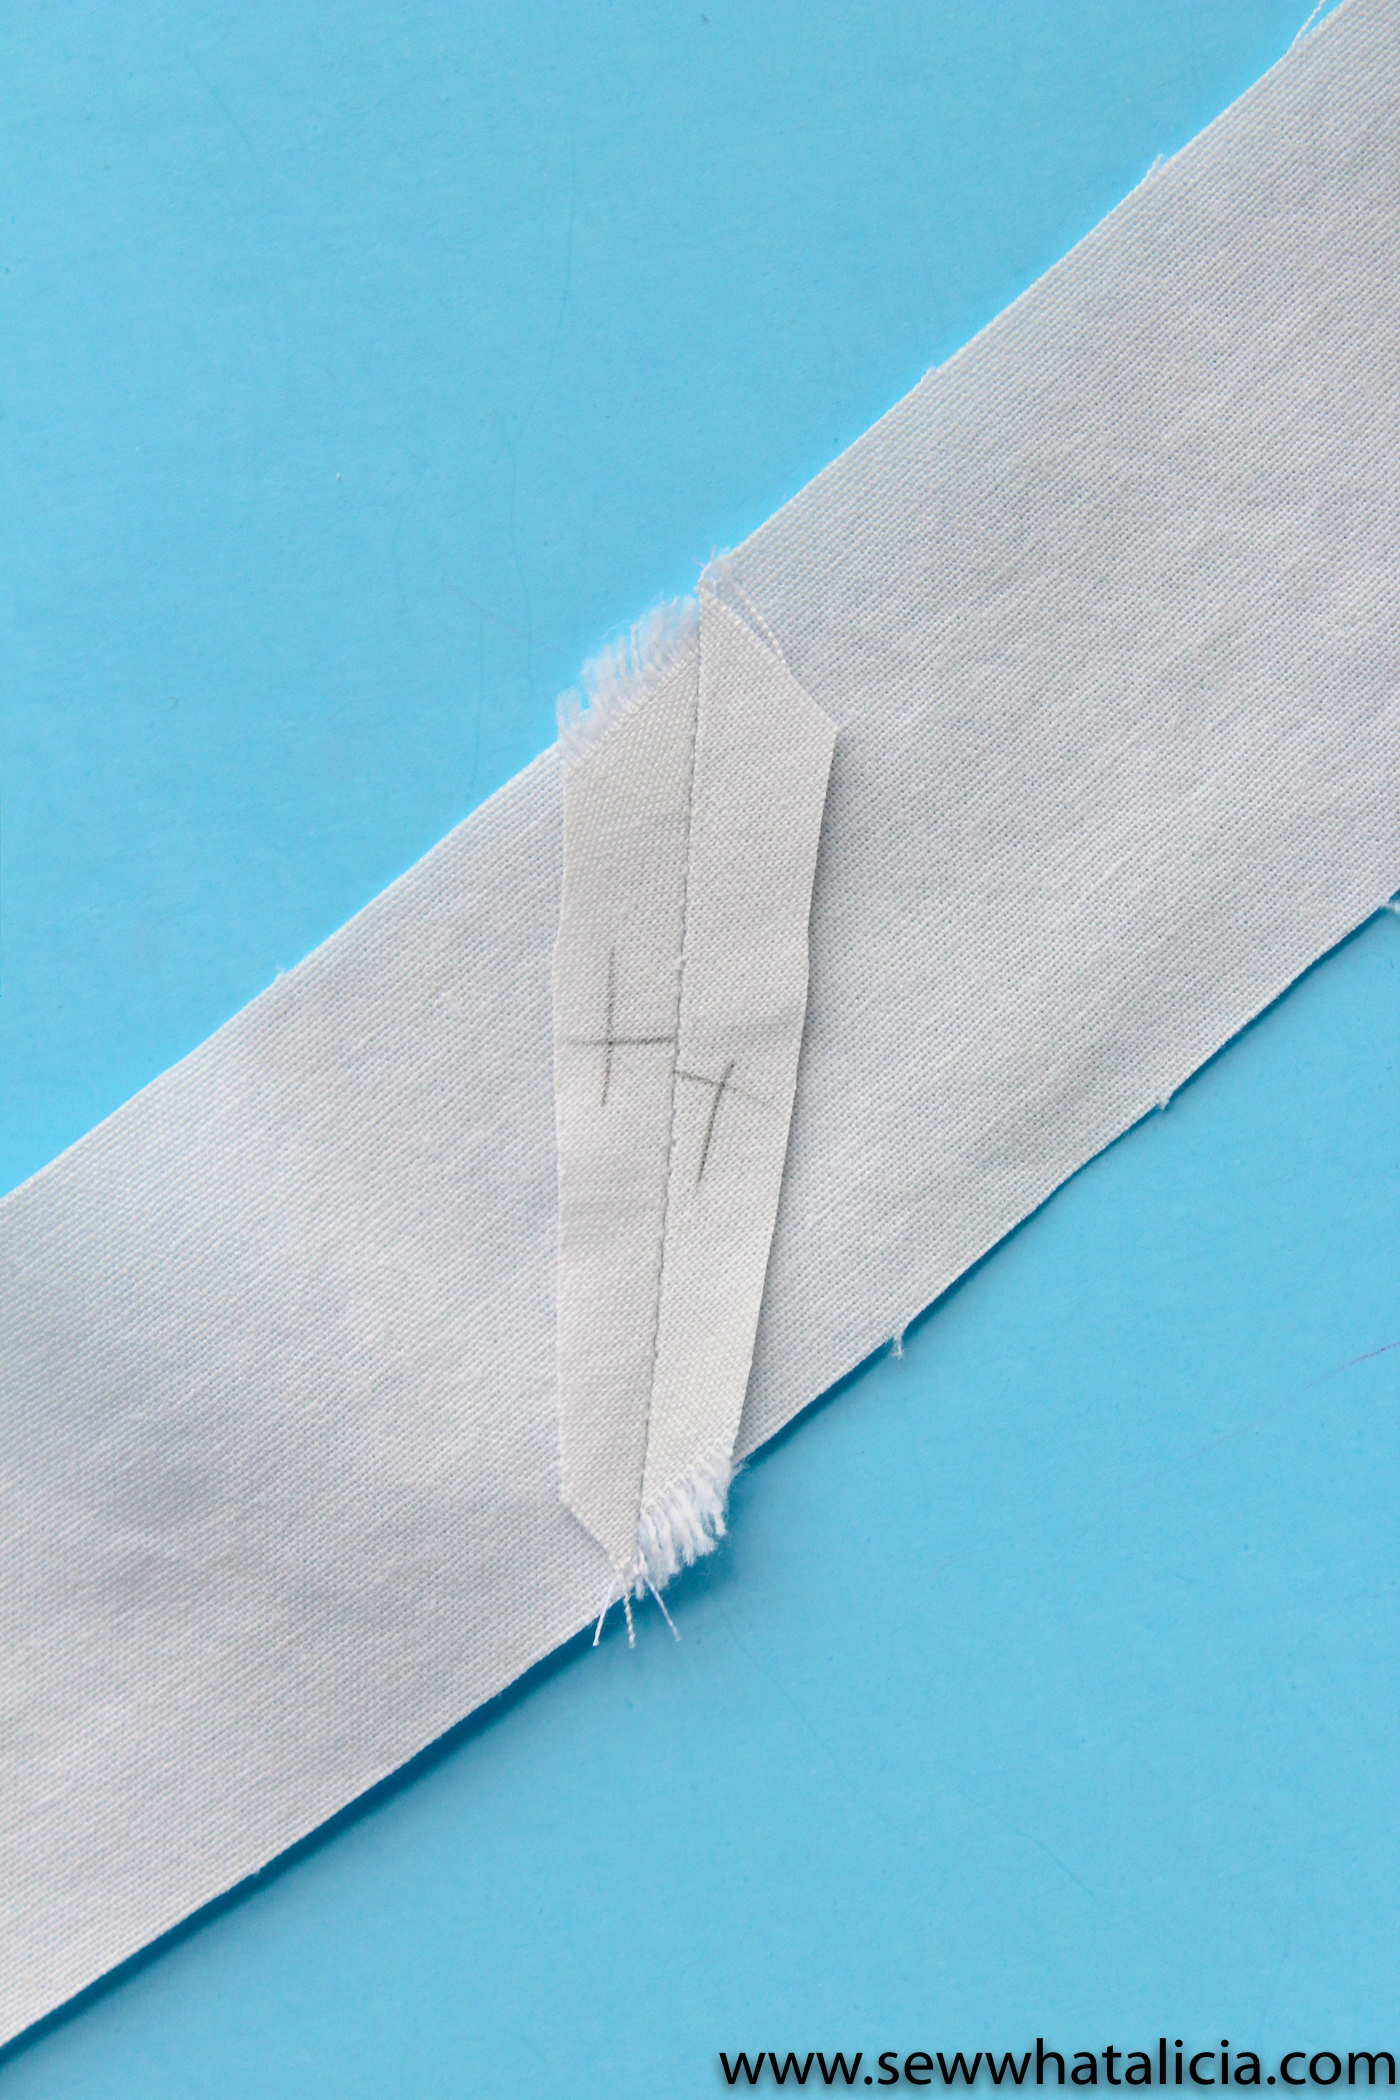
**TRICK: Lie your strips of fabric out flat and mark each end with an x with a pencil. (If you are using fabric that has pattern to it you won’t need to mark the fabric.) This will save you from accidentally sewing the wrong sides together and having to rip the seams and start fresh.

How to Make Quilt Binding: If you are new to quilting or have never attempted creating your own binding then this post is for you. This will walk you through creating and attaching quilt binding. Click through for the full tutorial and lots of tips and tricks. | www.sewwhatalicia.com

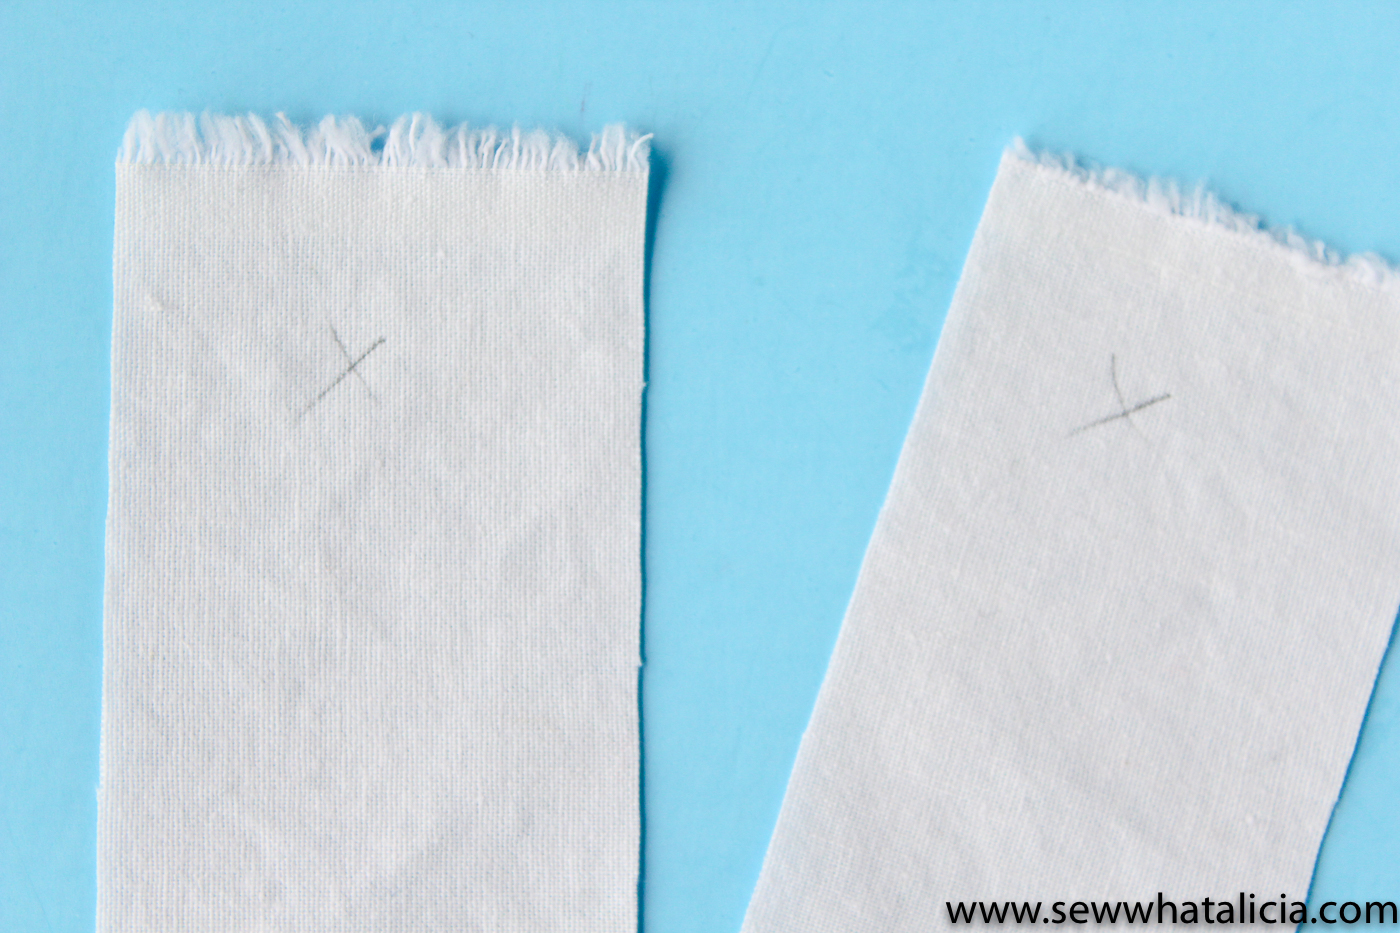
Place two strips together with the x’s facing each other. The strips should be perpendicular to each other (they should form a big L.) Sew diagonally from the top corner to the corner of the strip underneath. Then grab your next strip and line it up with the other edge of the strip you just attached. Continue this until you have attached all your strips together. Do not sew the first and last strip together making a closed piece, leave them un-sewn. Clip the corners (as pictured below.)

How to Make Quilt Binding: If you are new to quilting or have never attempted creating your own binding then this post is for you. This will walk you through creating and attaching quilt binding. Click through for the full tutorial and lots of tips and tricks. | www.sewwhatalicia.com

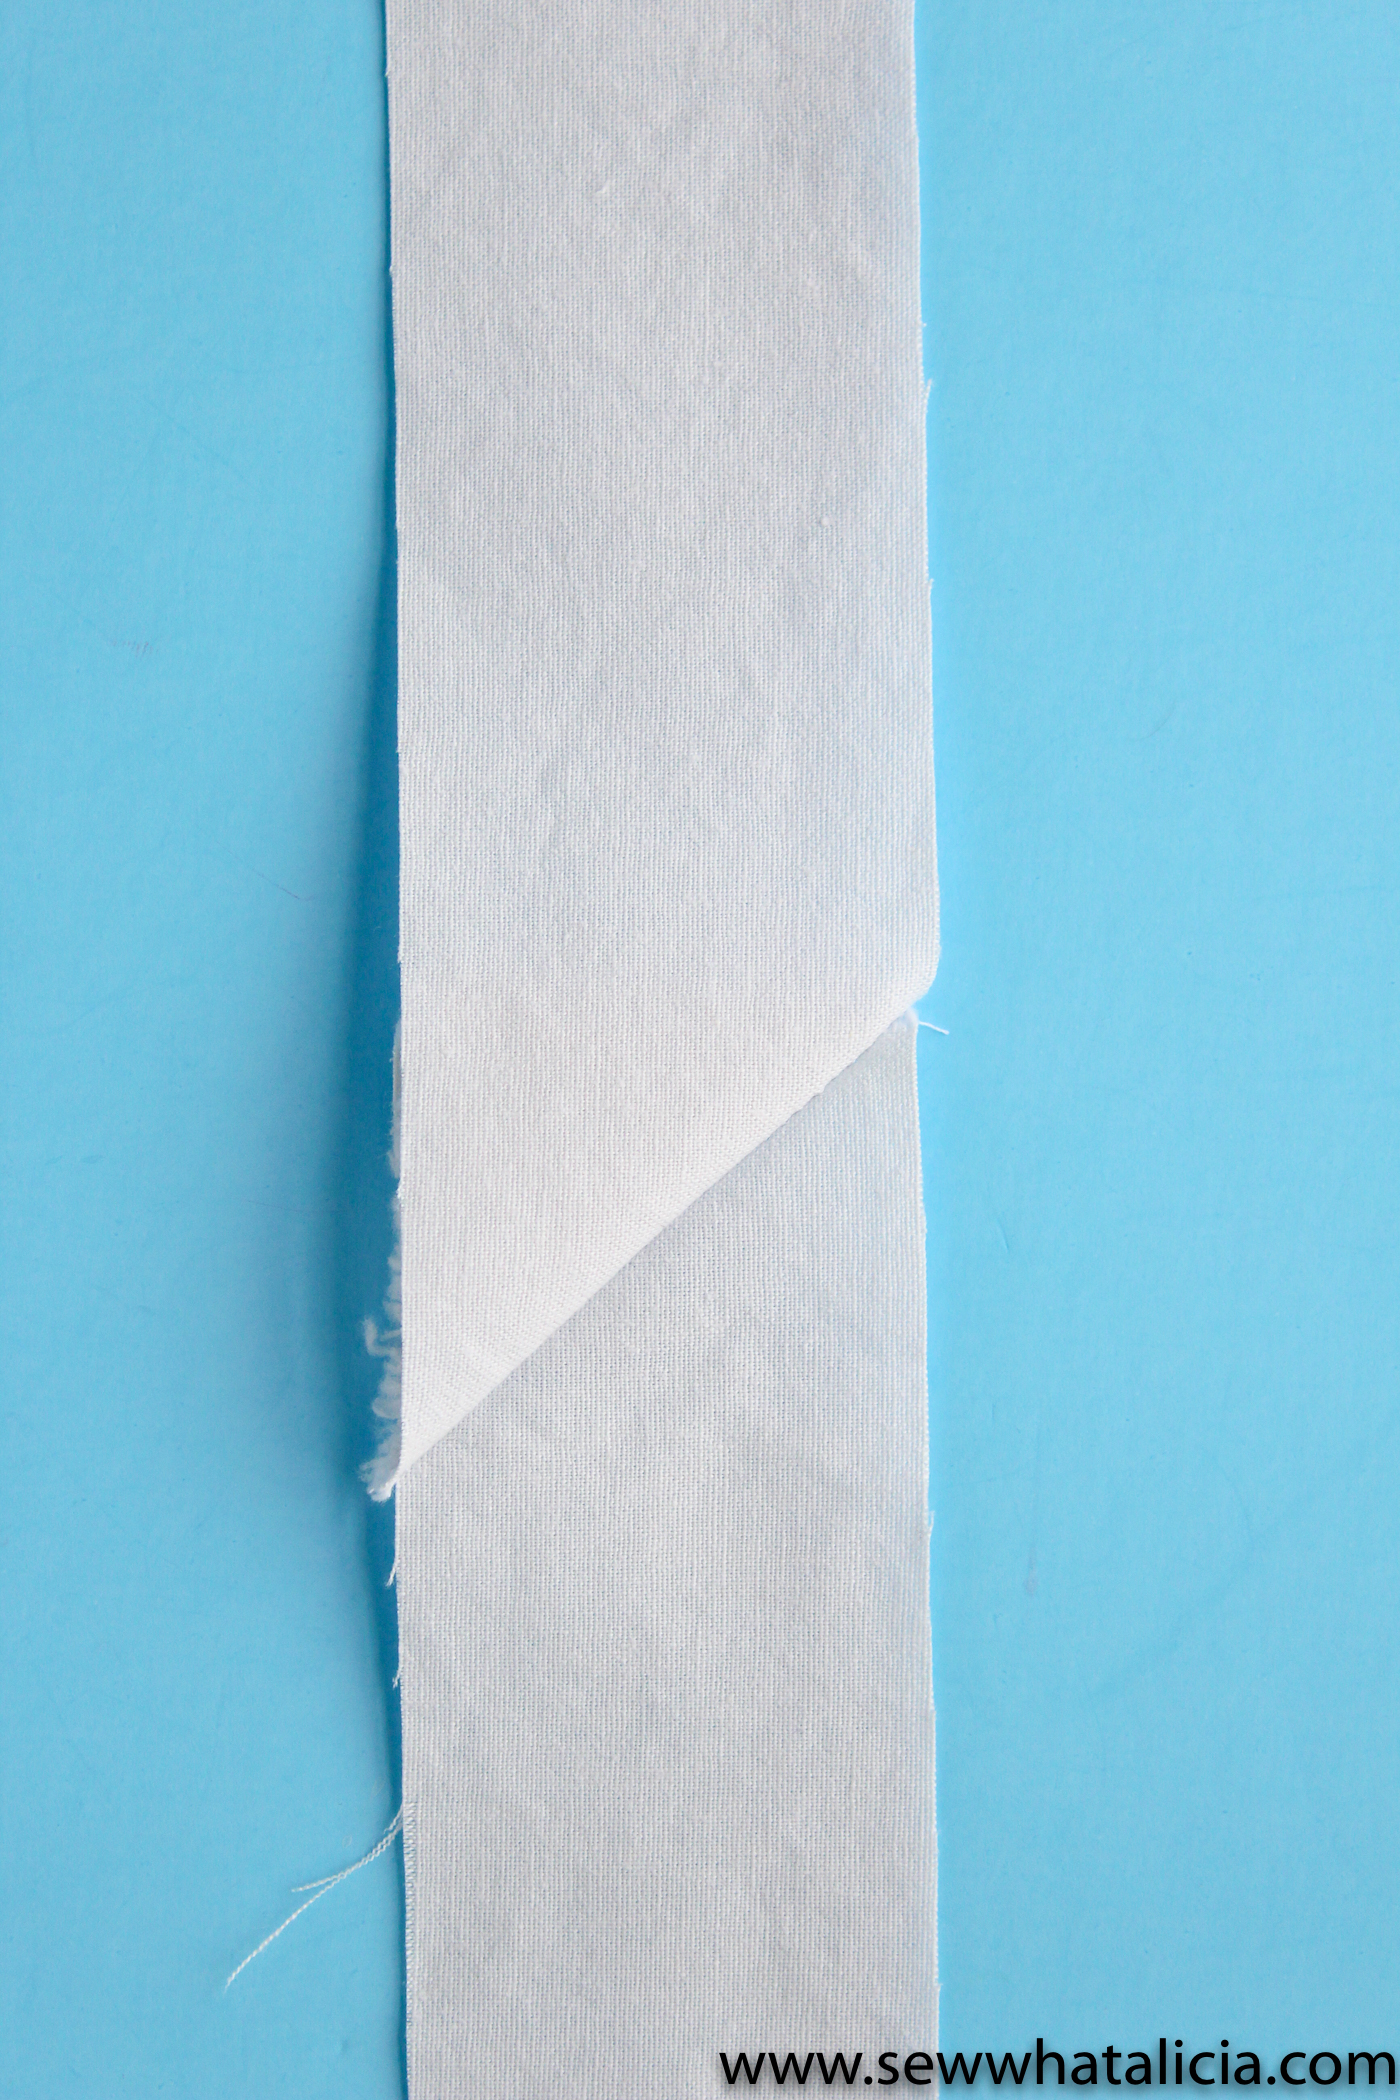
Press the seams open.

How to Make Quilt Binding: If you are new to quilting or have never attempted creating your own binding then this post is for you. This will walk you through creating and attaching quilt binding. Click through for the full tutorial and lots of tips and tricks. | www.sewwhatalicia.com

This is what the front should look like.

How to Make Quilt Binding: If you are new to quilting or have never attempted creating your own binding then this post is for you. This will walk you through creating and attaching quilt binding. Click through for the full tutorial and lots of tips and tricks. | www.sewwhatalicia.com

How do you sew on a blanket binding?

There are several ways to finish the binding once you have attached the strips together. I will show you my preferred method.

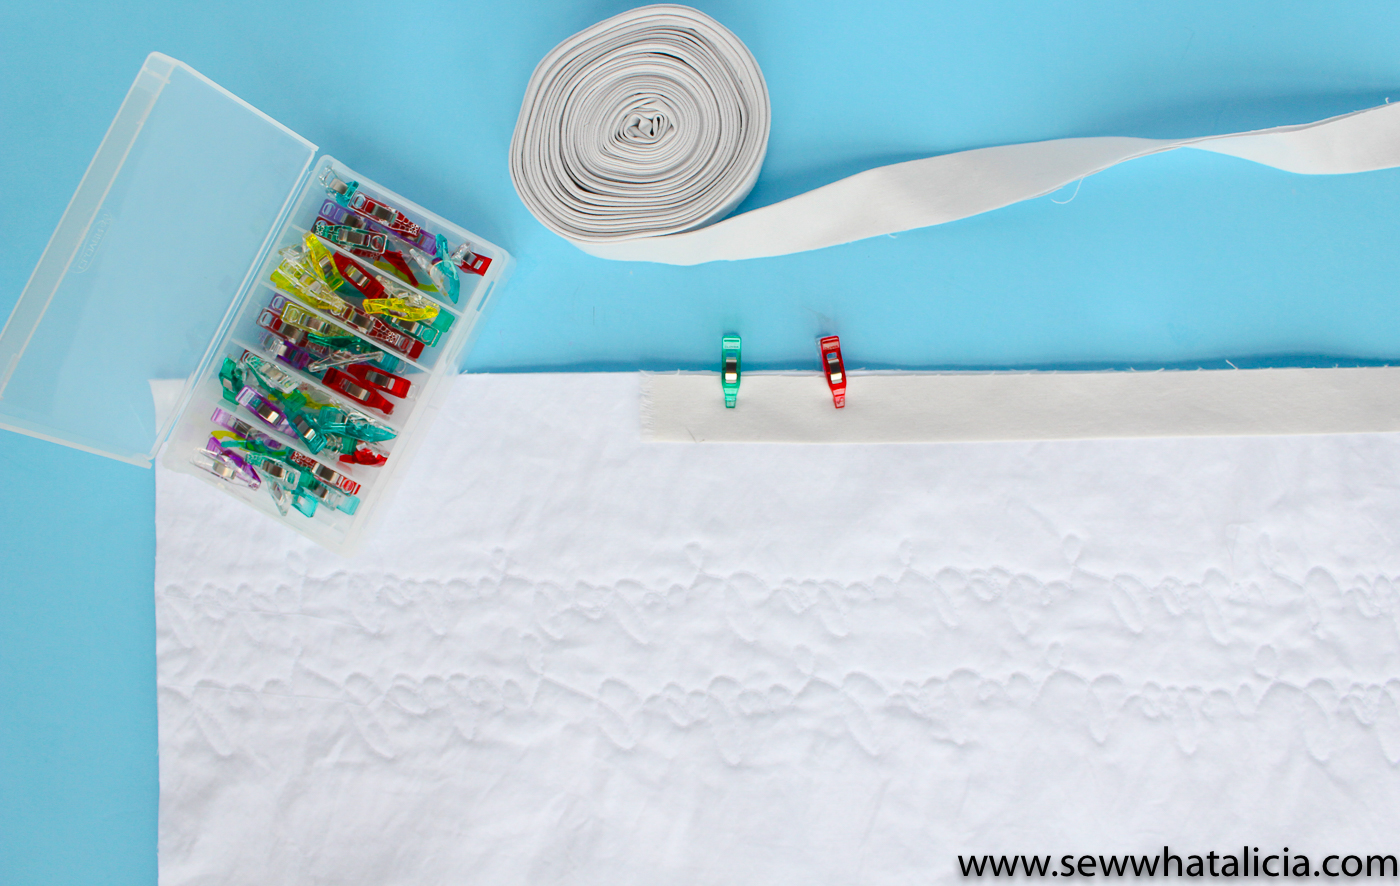
Press your entire long strip of binding in half.

How to Make Quilt Binding: If you are new to quilting or have never attempted creating your own binding then this post is for you. This will walk you through creating and attaching quilt binding. Click through for the full tutorial and lots of tips and tricks. | www.sewwhatalicia.com

I like to roll it as I press it to keep it clean and orderly. Line the raw edge of the binding up with the raw edge of the quilt. I like to start at the bottom of the quilt. You won’t sew the first 6″ of binding, leave this open so you can tuck the end of the binding into this pocket when you make your way all the way around. Sew the binding using 1/4″ seam.

How to Make Quilt Binding: If you are new to quilting or have never attempted creating your own binding then this post is for you. This will walk you through creating and attaching quilt binding. Click through for the full tutorial and lots of tips and tricks. | www.sewwhatalicia.com

How do you make a mitered corner?

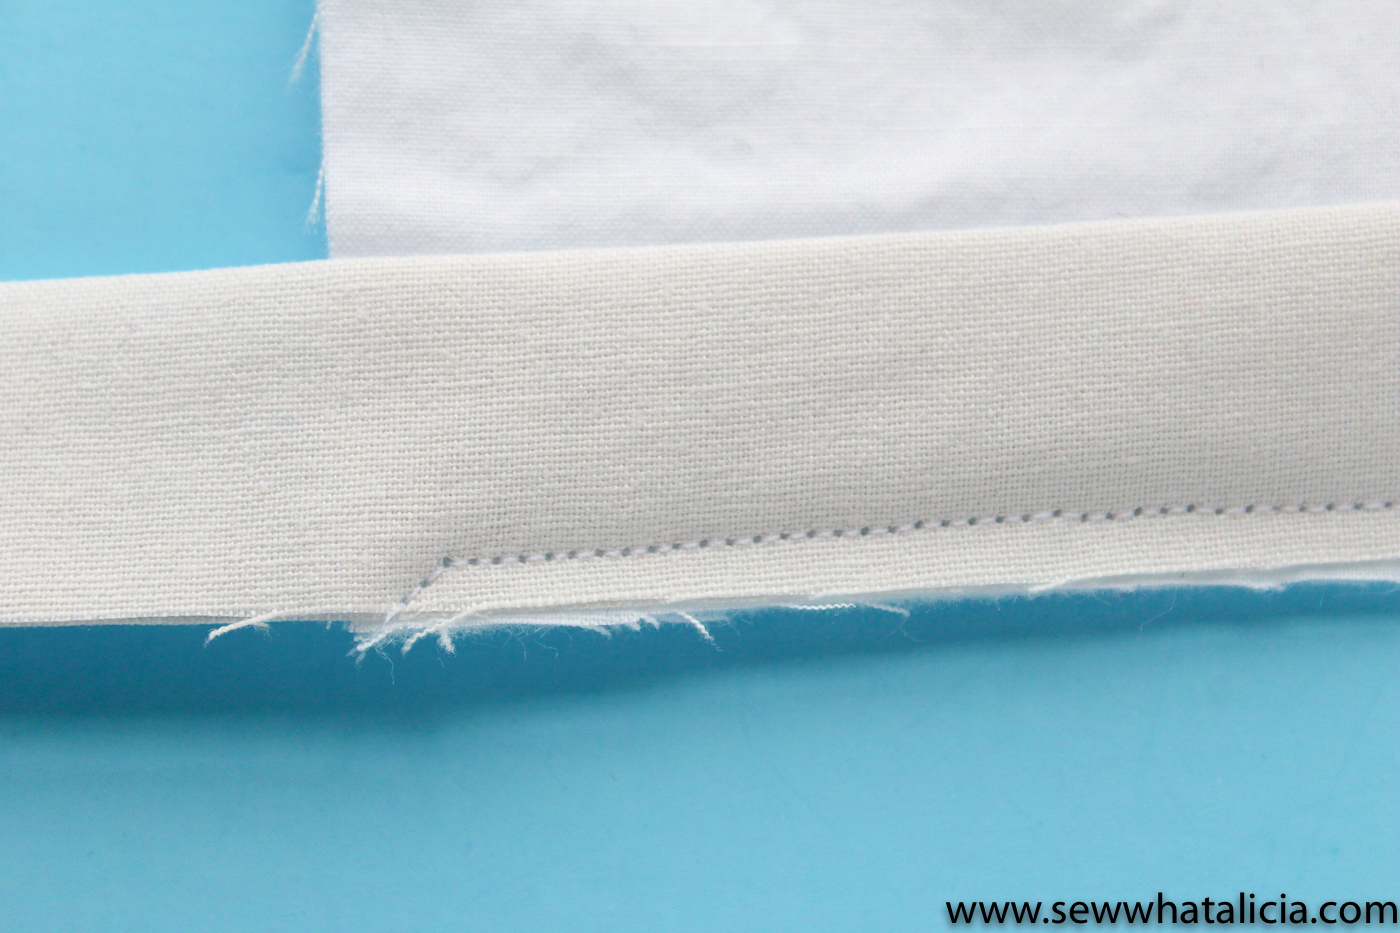
Stop sewing 1/4″ from the bottom edge of the quilt. Lift your foot and turn the quilt, then sew on a diagonal off the edge of the binding.

How to Make Quilt Binding: If you are new to quilting or have never attempted creating your own binding then this post is for you. This will walk you through creating and attaching quilt binding. Click through for the full tutorial and lots of tips and tricks. | www.sewwhatalicia.com

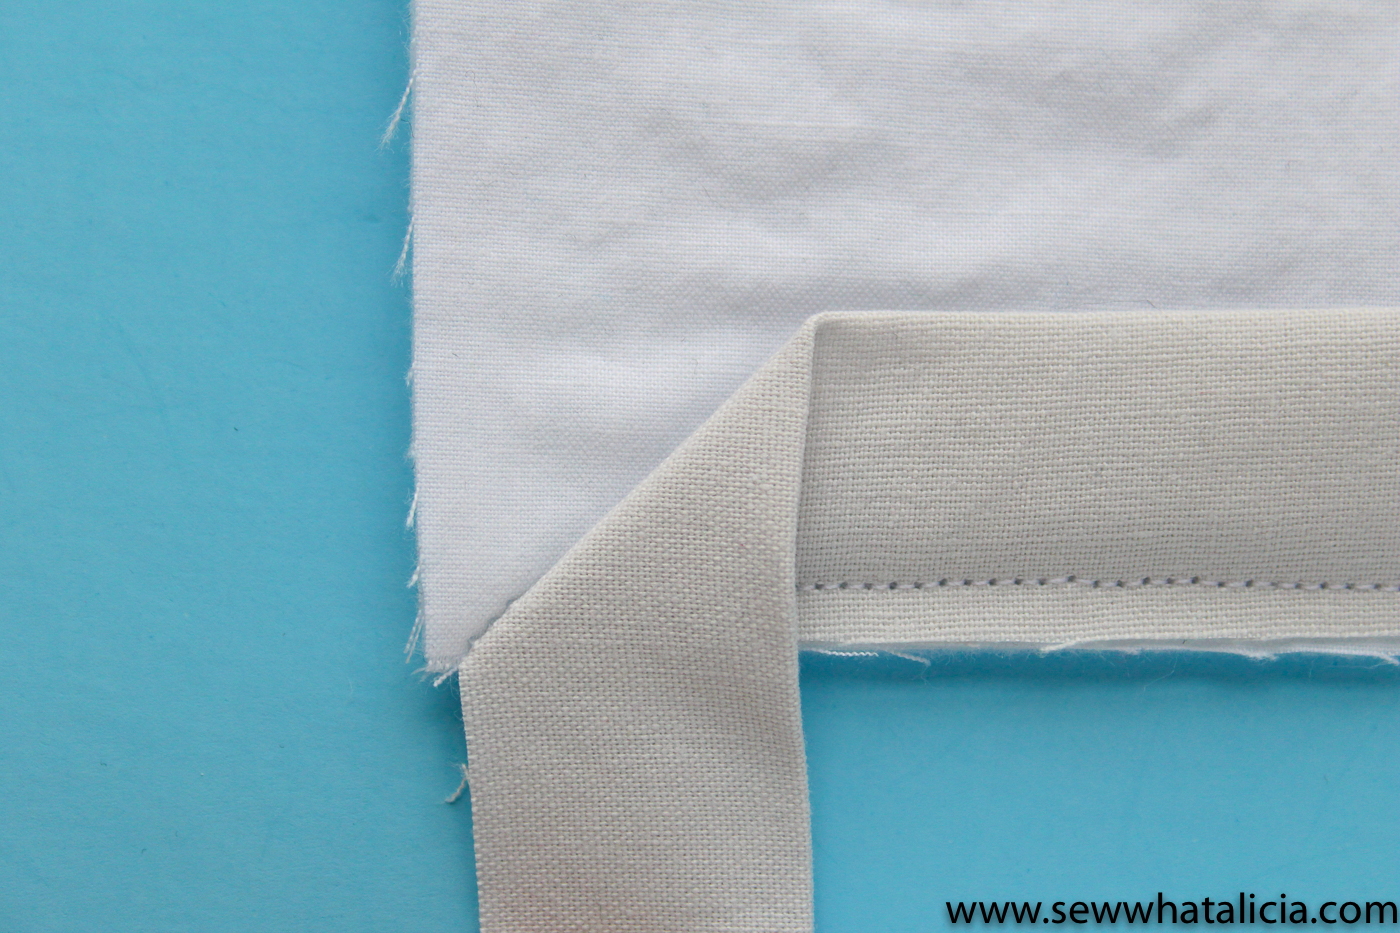
Now fold the binding over creating a diagonal fold.

How to Make Quilt Binding: If you are new to quilting or have never attempted creating your own binding then this post is for you. This will walk you through creating and attaching quilt binding. Click through for the full tutorial and lots of tips and tricks. | www.sewwhatalicia.com

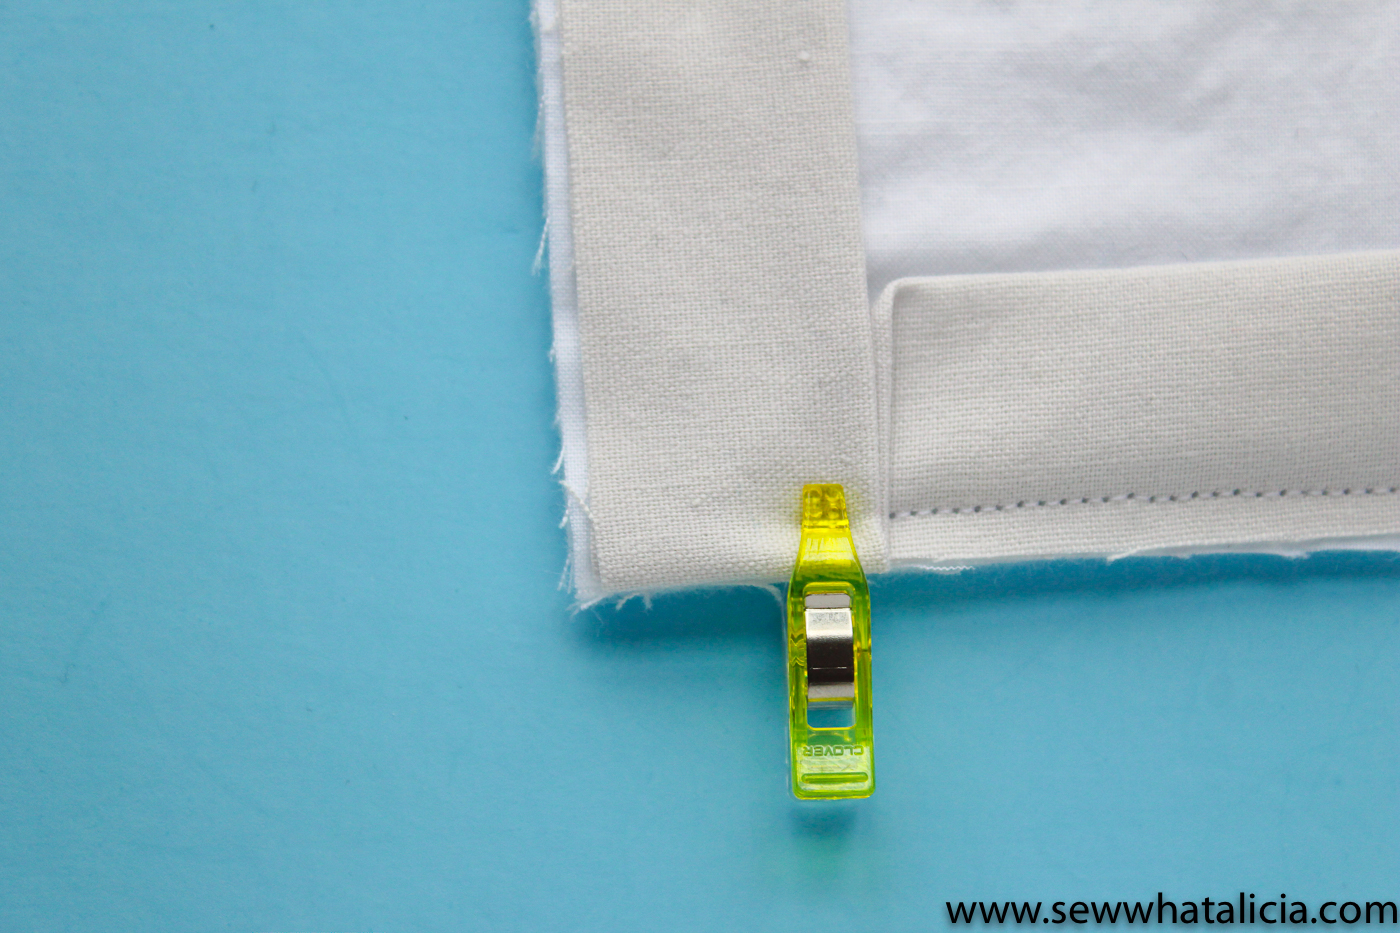
Holding the diagonal fold firmly in place fold the binding back over again lining up the raw edges. Now you will be ready to sew along the next side of the quilt. Start sewing again using 1/4″ seam. Start directly on the corner.

How to Make Quilt Binding: If you are new to quilting or have never attempted creating your own binding then this post is for you. This will walk you through creating and attaching quilt binding. Click through for the full tutorial and lots of tips and tricks. | www.sewwhatalicia.com

Continue in this method until you have gone all the way around the blanket. Trim the binding so that it fits nicely into the pocket you created when you started. Fold the edge of the first piece of binding under so that it is not a raw edge. Clip everything in place and then sew.

How to Make Quilt Binding: If you are new to quilting or have never attempted creating your own binding then this post is for you. This will walk you through creating and attaching quilt binding. Click through for the full tutorial and lots of tips and tricks. | www.sewwhatalicia.com

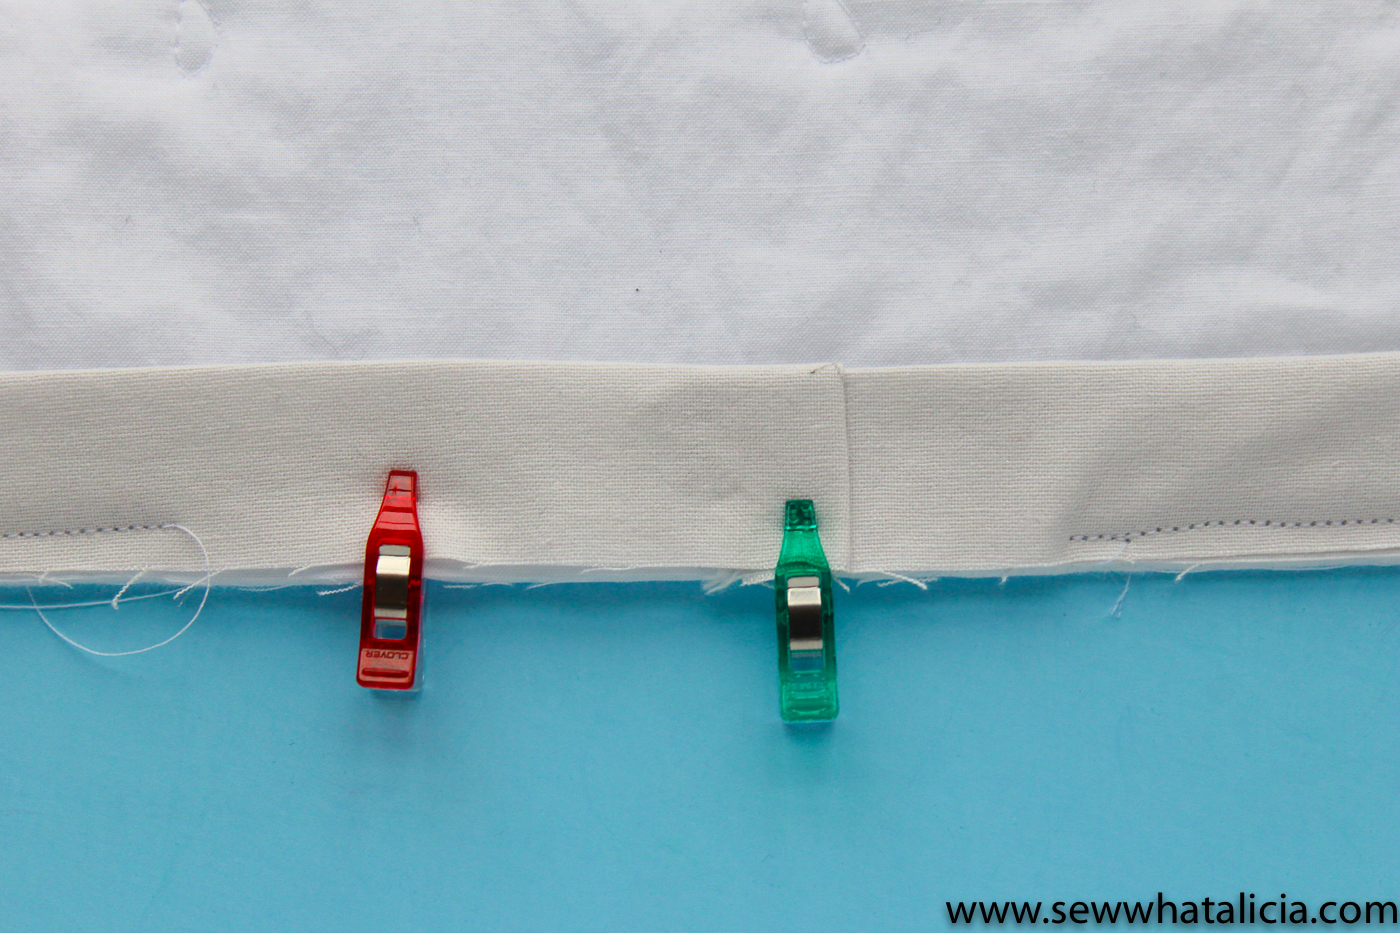
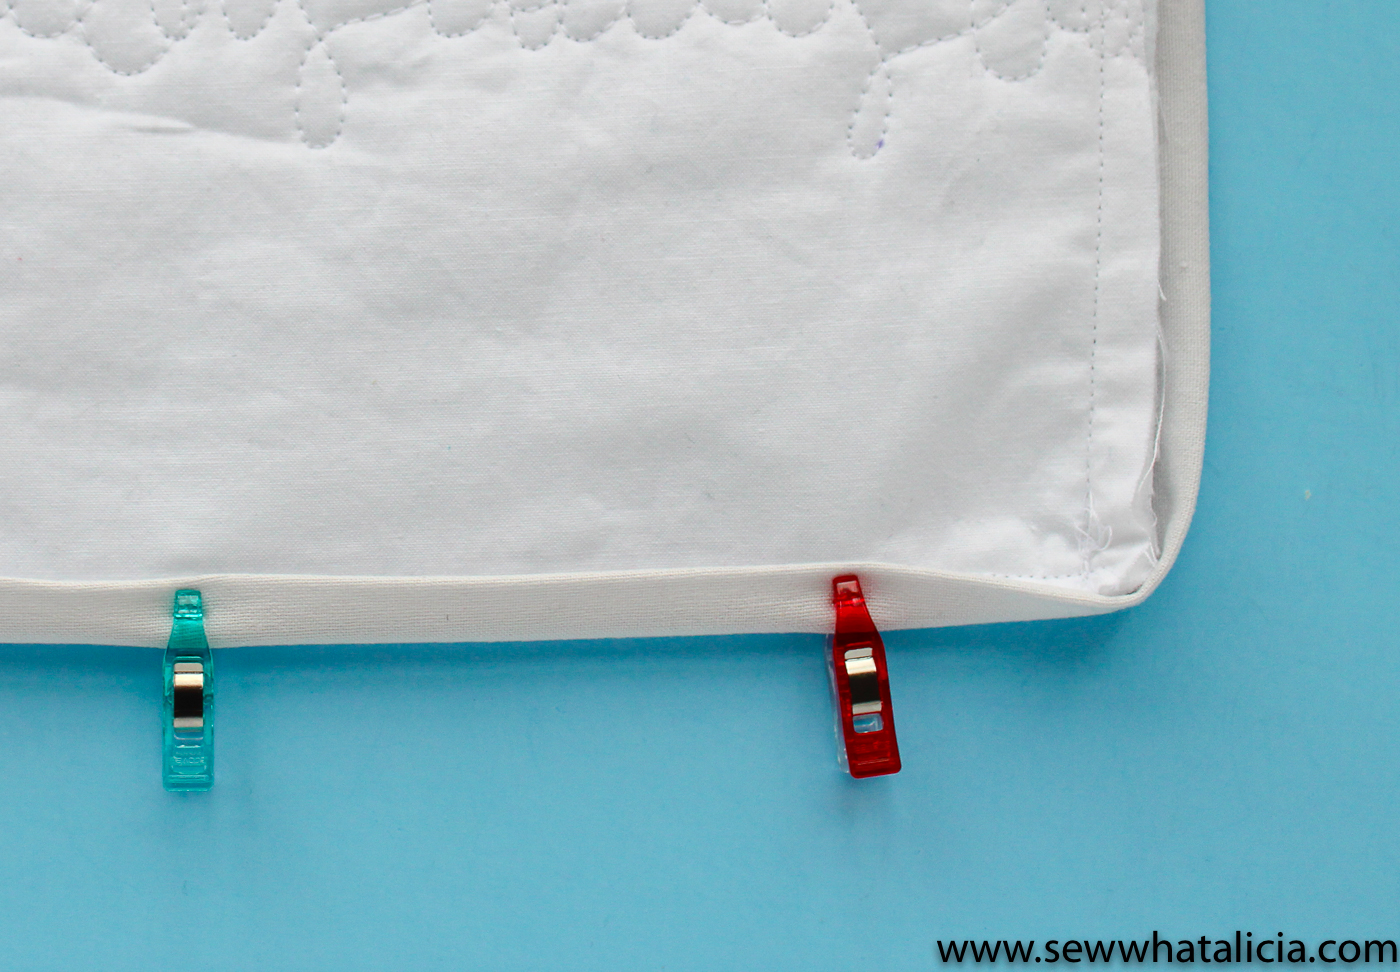
The last step is to bring your binding around to the front of the quilt and start clipping it in place. You can press the binding as you clip to help it lie flat on the front of your quilt.

How to Make Quilt Binding: If you are new to quilting or have never attempted creating your own binding then this post is for you. This will walk you through creating and attaching quilt binding. Click through for the full tutorial and lots of tips and tricks. | www.sewwhatalicia.com

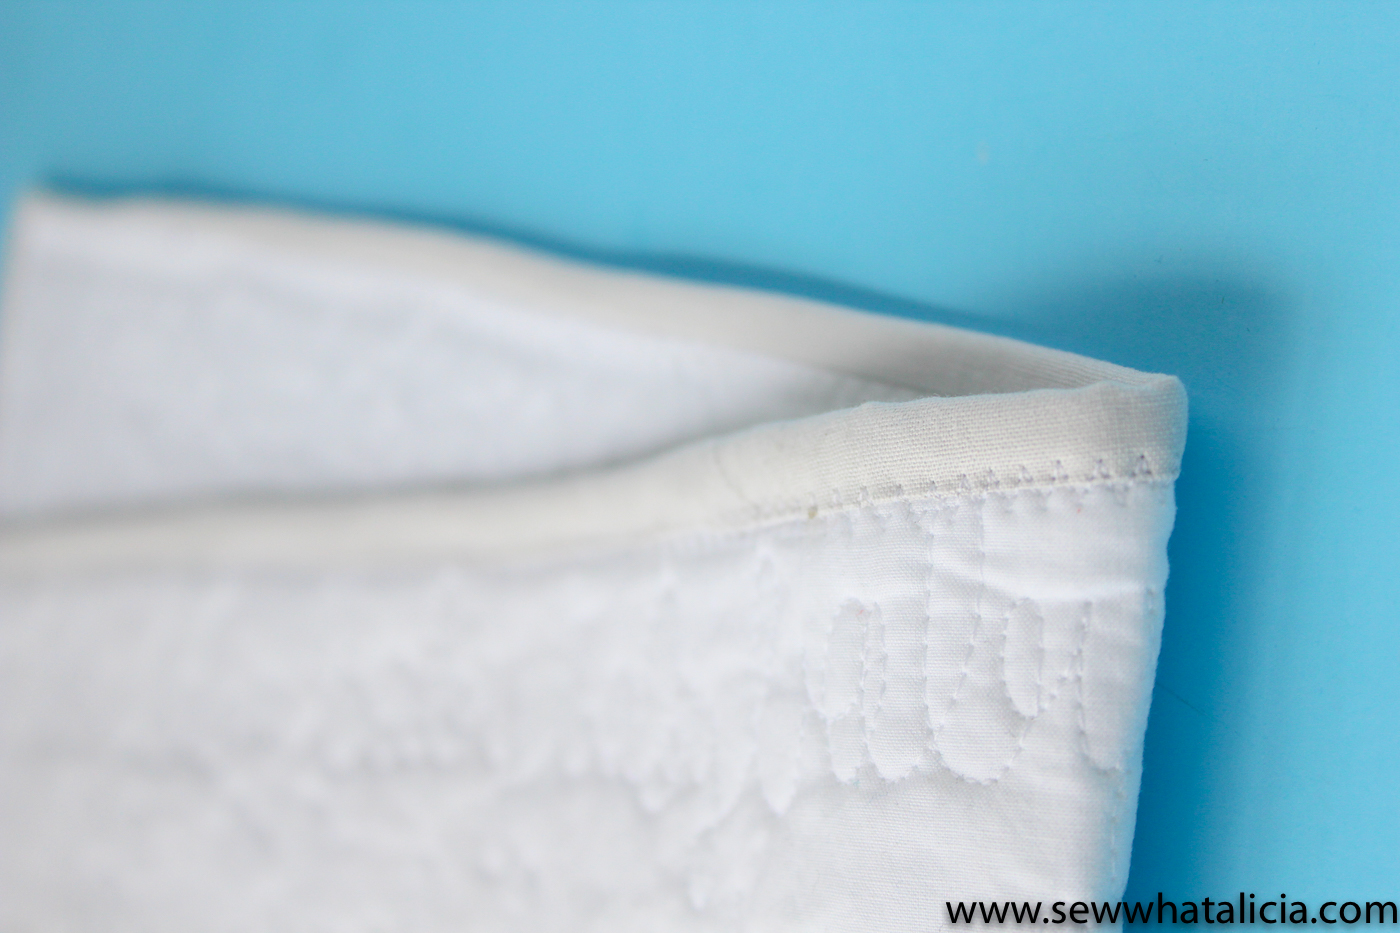
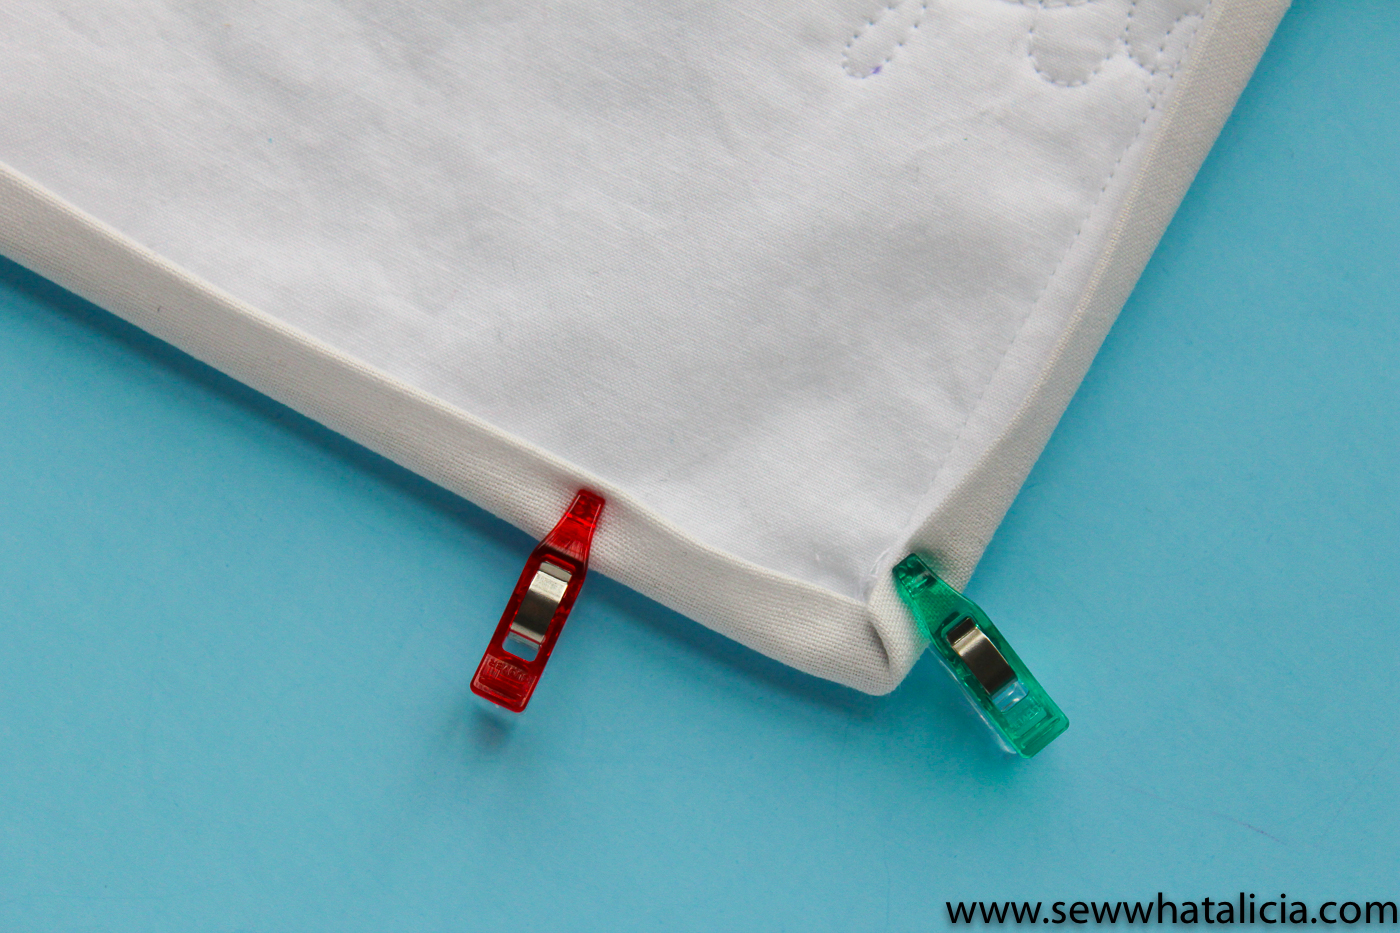
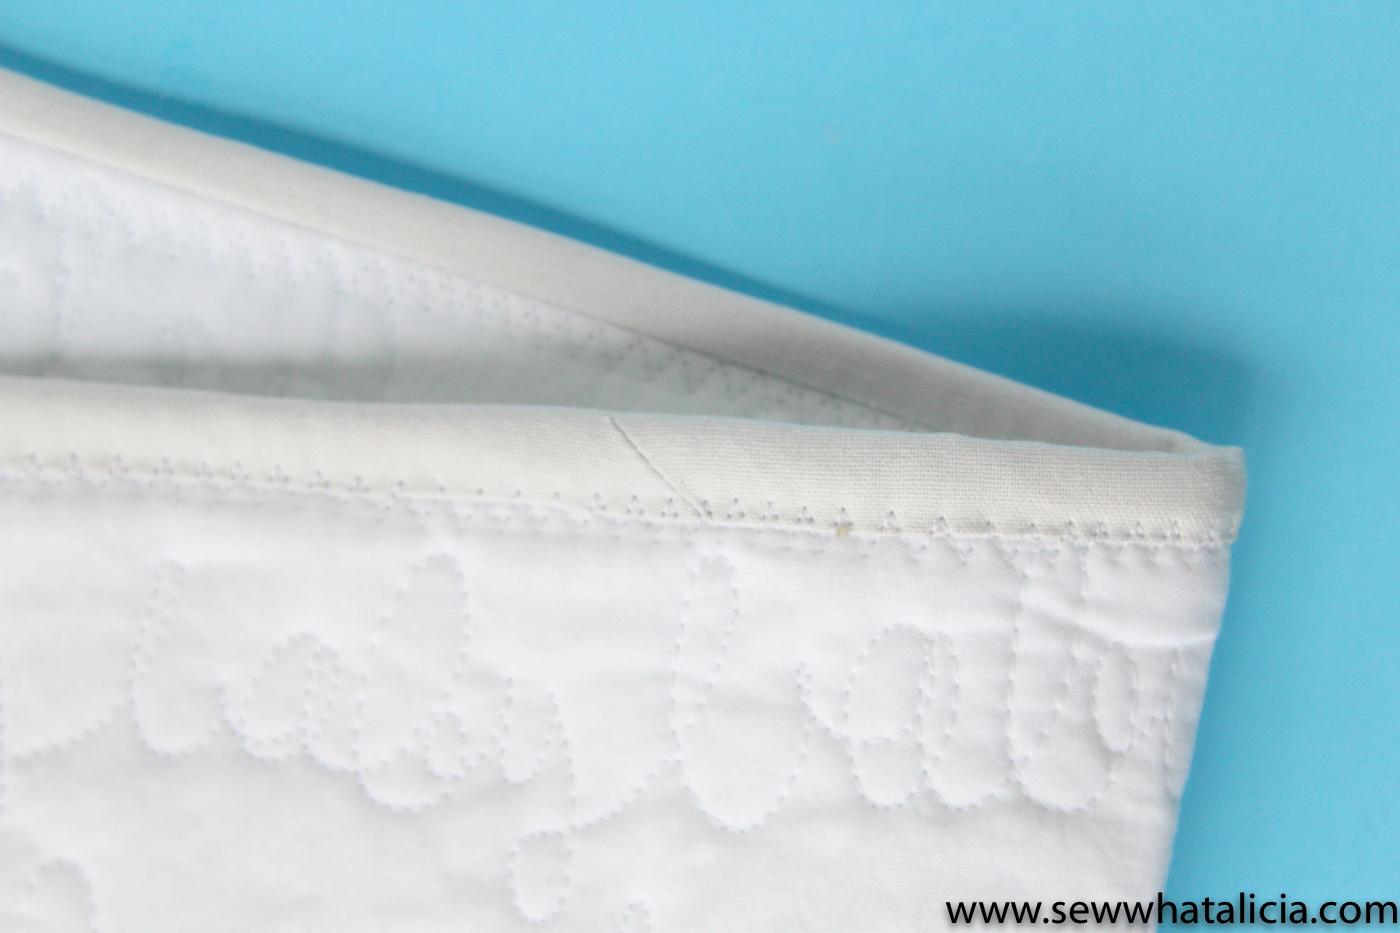
The corner should fold nicely into a mitered edge. Again press and clip in place.

How to Make Quilt Binding: If you are new to quilting or have never attempted creating your own binding then this post is for you. This will walk you through creating and attaching quilt binding. Click through for the full tutorial and lots of tips and tricks. | www.sewwhatalicia.com

Need some quilt ideas? Here ya go —> Quilts and Blocks

Sew the binding in place. Many people like to hand sew this part of the binding. It leaves a nice clean finished look without and seams showing. I am not one of those people! My favorite method is to use a multi stitch zig zag to attach the edge of the binding to the front of the quilt. This encloses the edge very nicely and adds a fun decorative touch to the binding. You could also use a straight stitch on the very edge of the binding.

How to Make Quilt Binding: If you are new to quilting or have never attempted creating your own binding then this post is for you. This will walk you through creating and attaching quilt binding. Click through for the full tutorial and lots of tips and tricks. | www.sewwhatalicia.com

Watch the full replay of this post here:

Do you know how to make quilt binding now? More questions about how to make quilt binding? Share with me in the comments below.

Related

Never miss a stitch!

Never miss a stitch!

Signup be notified every time I stitch up something new!

You have Successfully Subscribed!

  • Facebook
  • Twitter
alicia

About Alicia

Hi I am Alicia thanks for taking some time out of your day to be with me! I am crazy about sewing and blogging! I love creating tutorials and patterns and sharing ideas with people! Read more...

Felt Mermaid Pattern and Tutorial
Cutting Felt with Cricut; Tips and Tricks

Leave a Reply Cancel reply

Your email address will not be published. Required fields are marked *

Rate This Project!


Comments

  1. Helen C says

    April 23, 2018 at 10:55 am

    Thank you for posting this you must have known how much I needed it. Thank you

    Reply
    • sewwhatalicia says

      April 23, 2018 at 12:42 pm

      Yay! So glad it is helpful to you Helen. Feel free to ask if you need any further clarification!

      Reply

I love to sew and I am passionate about teaching you everything that I know! Thank you for joining me on this journey!
READ MORE >>

Follow Me!

Signup be notified every time I stitch up something new!

You have Successfully Subscribed!


  • Home
  • About Me!
  • Christmas Sewing
  • 15 Minute Sewing
  • All Things Sewing
  • Cricut Projects and Tips

© 2023 sewwhatalicia.com. All rights reserved. Privacy Policy

  • Facebook
  • Twitter
  • Pinterest