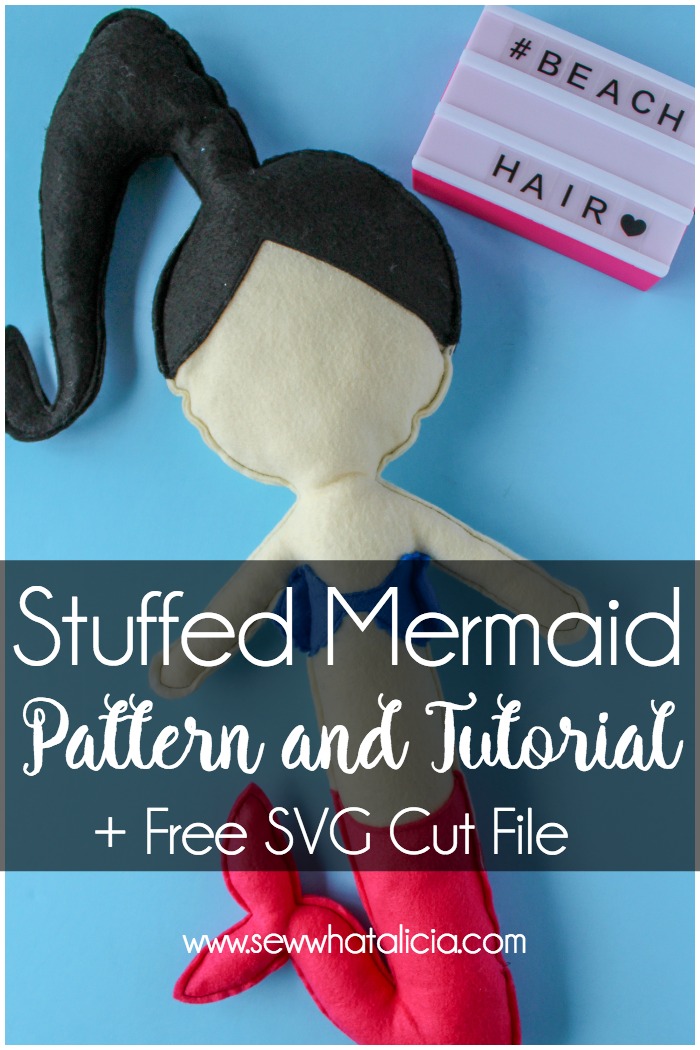
Felt Mermaid Pattern and Tutorial
You may have seen this adorable mermaid cut file bundle and loved it just as much as I do. You may have also had the inclination that I had where you knew that you needed to make a stuffed mermaid. Maybe that wasn’t how you realized you wanted to make a stuffed mermaid, but the point is you are here now because you definitely need a stuffed felt mermaid in your life, am I right? SEW…go ahead keep reading and grab the free felt mermaid pattern (at the bottom of the post) and go make your own stuffed felt mermaid. Check out this mermaid projects for MORE mermaids!!
Felt Mermaid Pattern and Tutorial
Supplies:
Felt (by the yard not craft squares)
Mermaid Pattern (see below)

Instructions:
This pattern doesn’t have a lot of small details so it won’t be too time consuming to cut by hand if you don’t have a Cricut Maker. But I have optimized the pattern for the Maker if you do want to use the machine and save yourself some time.
FELT CUTTING TIP:
My favorite way to cut felt on the maker is to place a layer of transfer tape onto the mat. Place the sticky side up. Then place your felt onto the sticky tape and cut. Change to the rotary blade to cut the pieces.
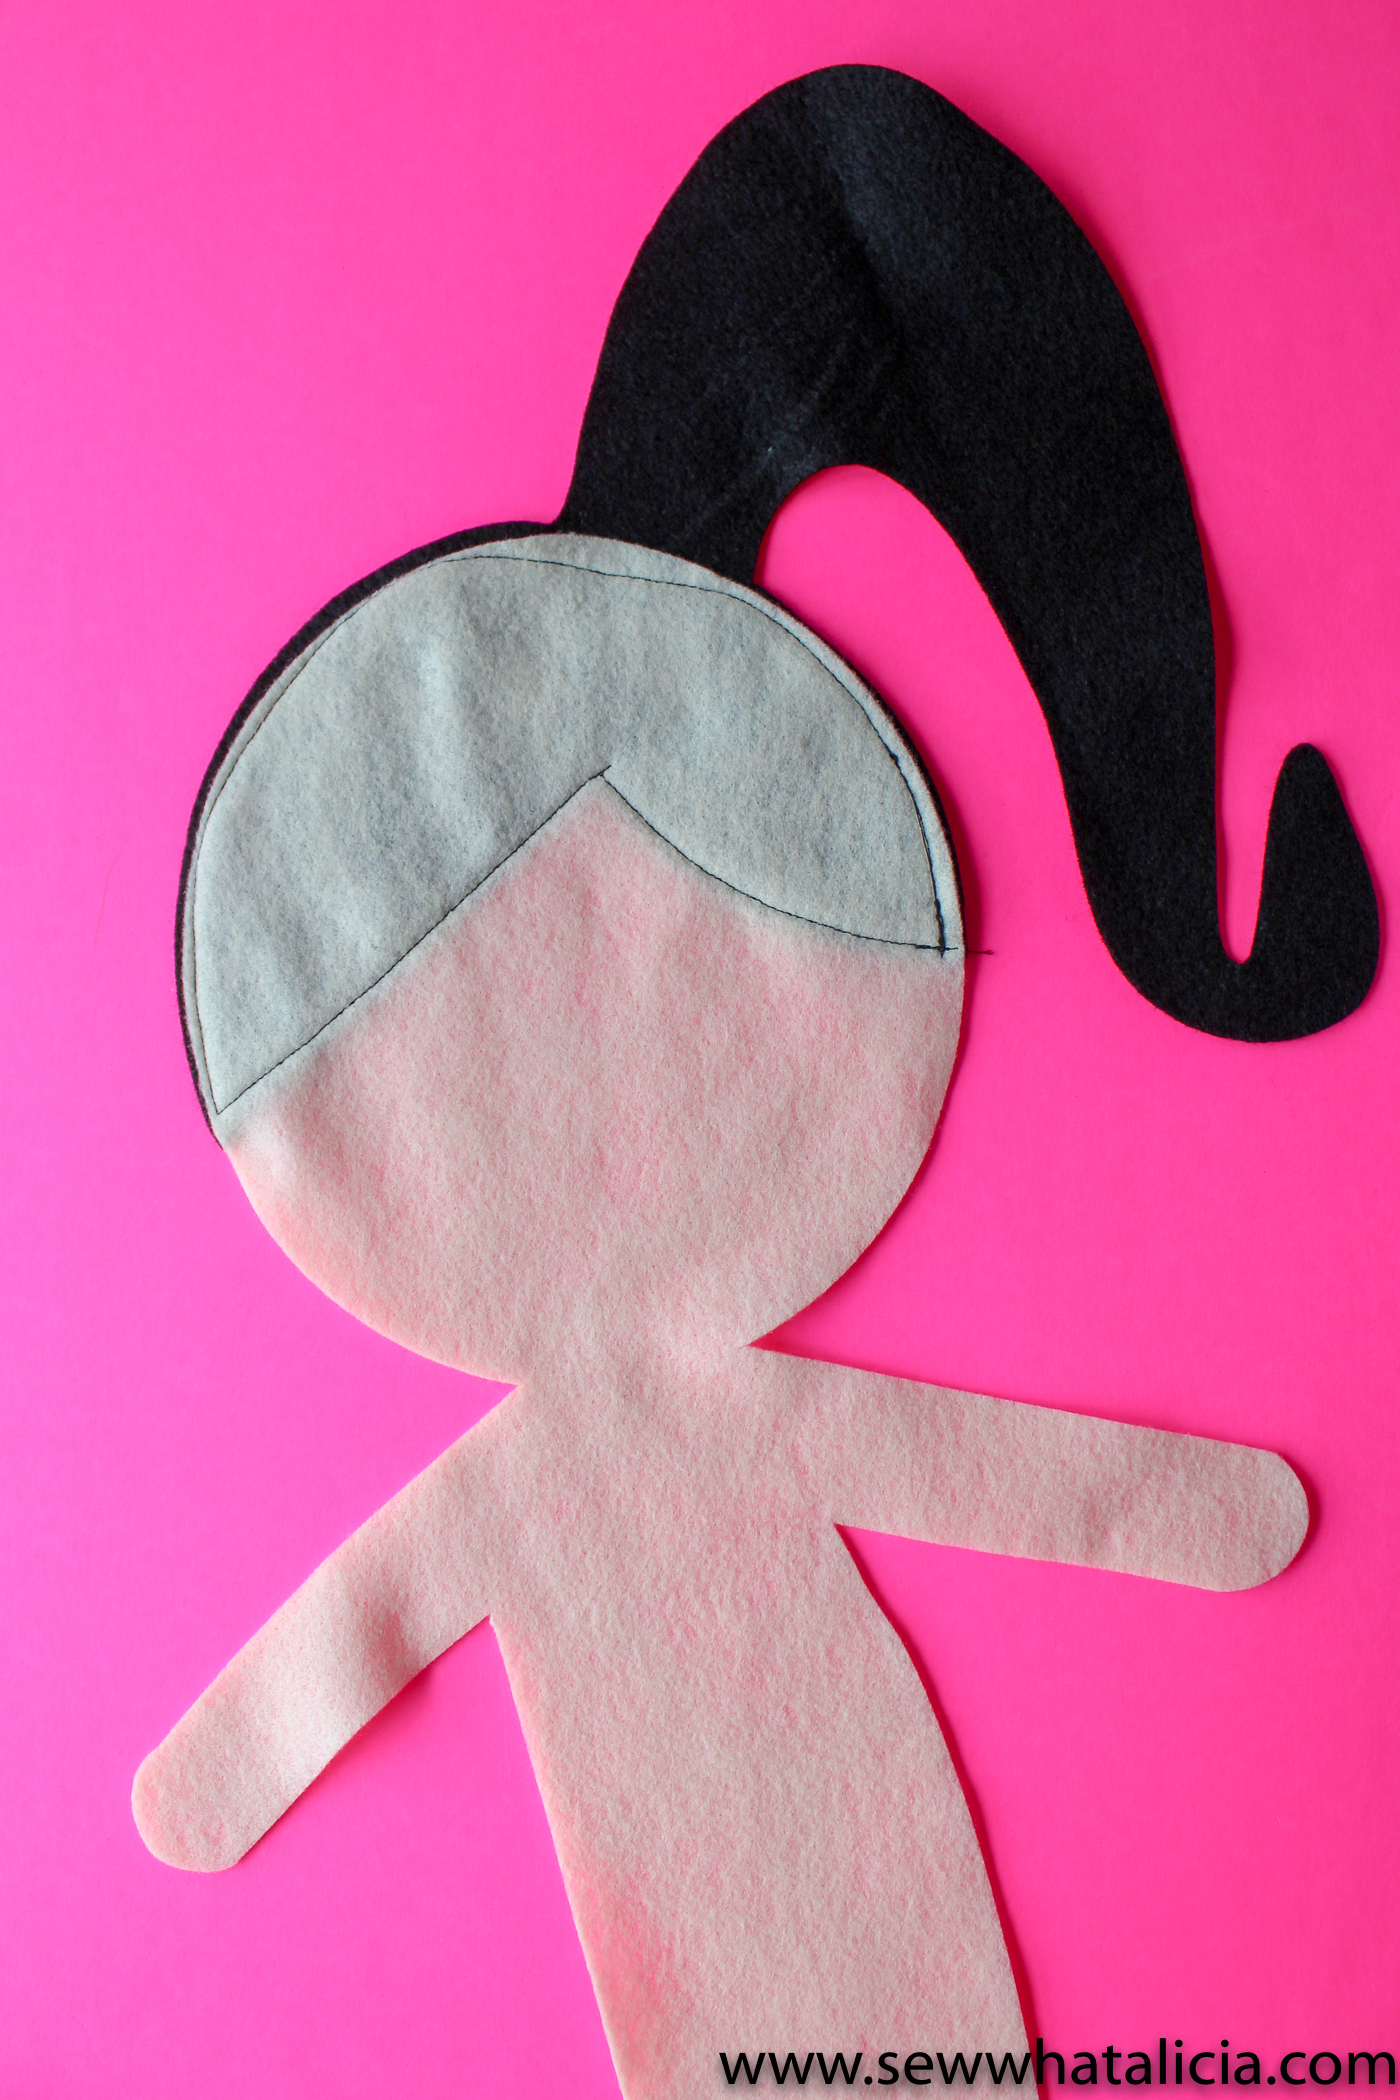
Now we are ready to attach the pieces of the mermaid together. Use a coordinating thread to sew the edges of the hair onto the head piece. Repeat this with the back section of hair and back of the body.
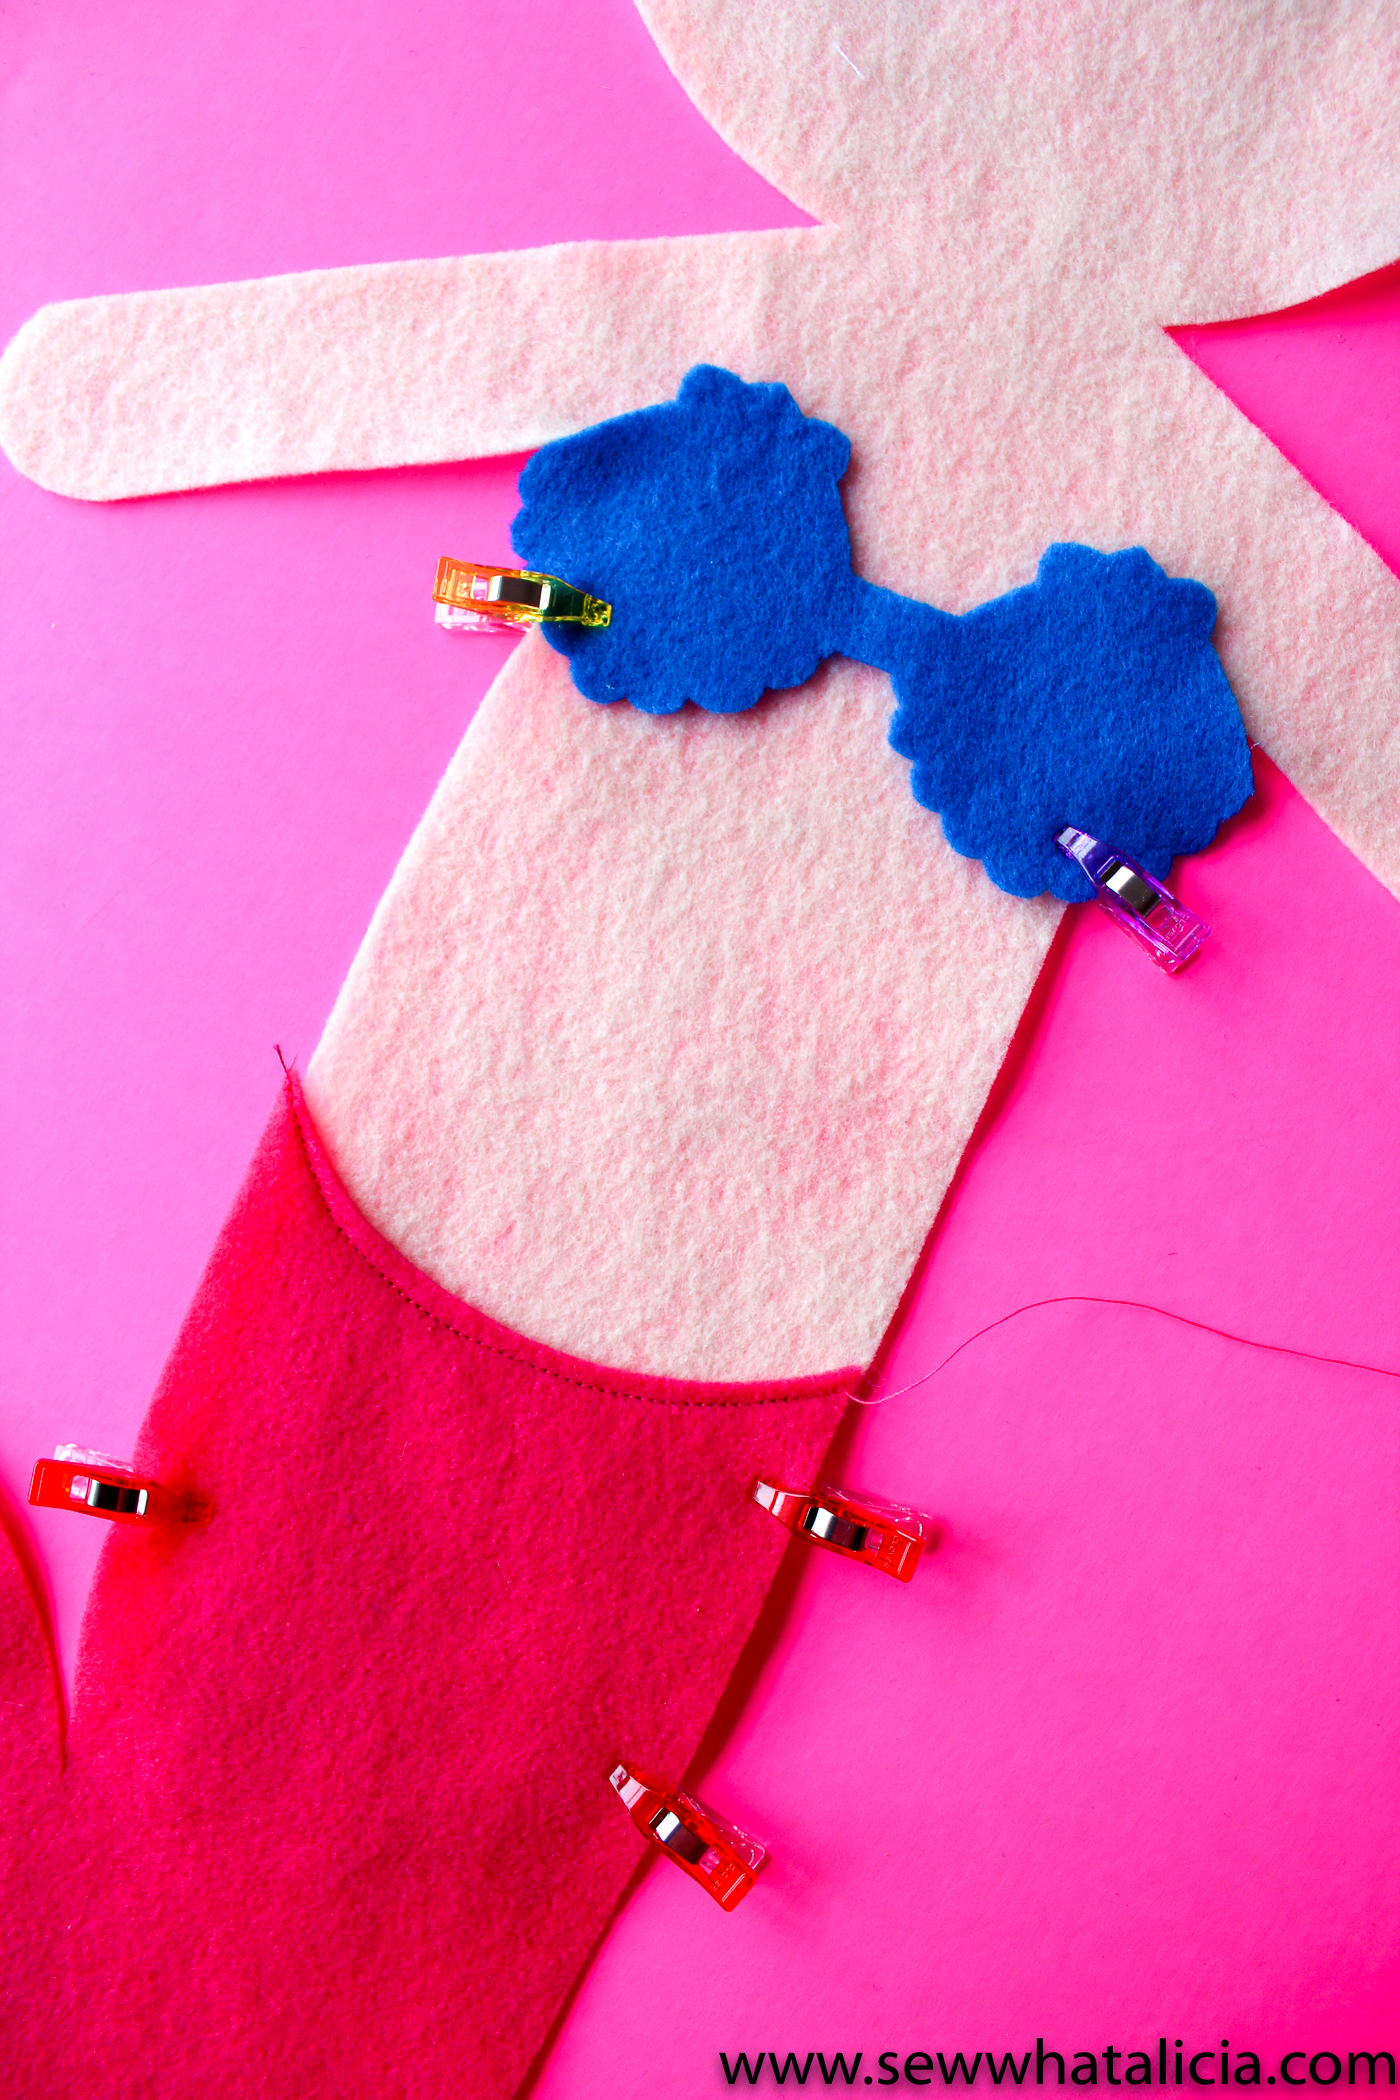
Attach the tail to the torso, again with a coordinating thread. Clip the shell top to the torso and sew in place. Cut a small strip of blue felt and sew it in place on the back of the torso to serve as the strap for the top. This is optional and you can skip it if you aren’t worried about having a cohesive look on the back of the mermaid.
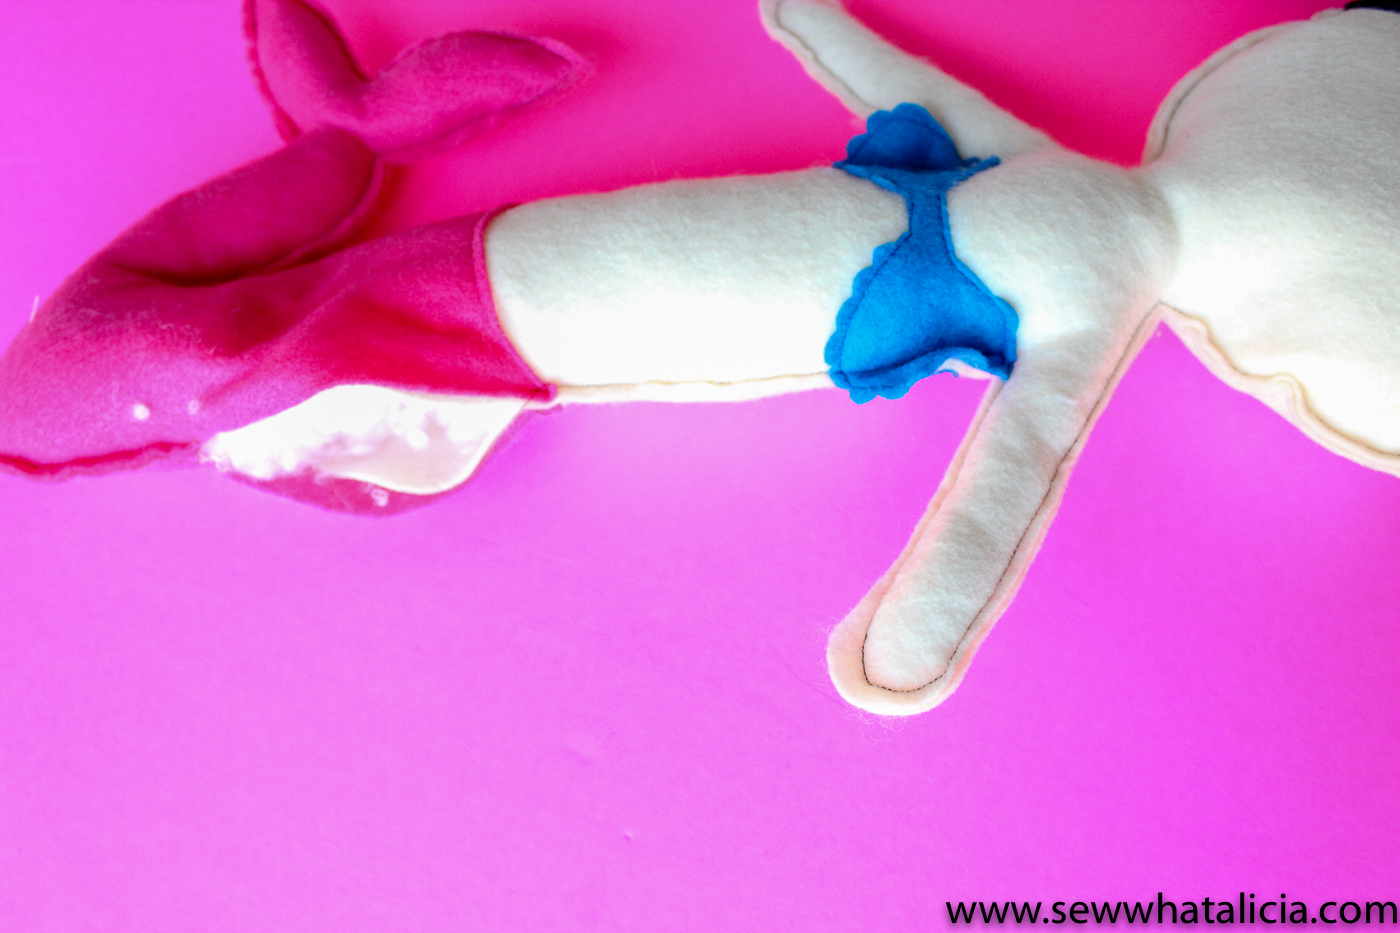
Clip the back and the front of the mermaid together. Right sides out, wrong sides facing in.

Sew around the entire mermaid, except a 6″ piece of the side where you will stuff the mermaid. Stuff the mermaid. Use your fingers or a tool to push the stuffing into the hair and tail and stuff evenly throughout the whole mermaid.
Sew the opening closed. You could customize the mermaid by embroidery her face. Or cut a face from iron on vinyl and attach. Use a lint roller to get the extra stuffing off after you have sewn the opening closed.

Grab the pattern HERE.
Isn’t she lovely? Will you sew this felt mermaid pattern or something like it? Share with me in the comments below.


Jean McNulty says
She is adorable. Cannot wait to make one of my own! Thanks for sharing the file!!!
sewwhatalicia says
Thank you Jean! I love her so much, I am glad you do too!! <3