Patchwork quilts are a great way to show off your fabric and a nice place to start quilting for beginners. For this post I made a miniature doll sized quilt for my niece, but I promise you the steps are exactly the same no matter what size patchwork quilt you make!
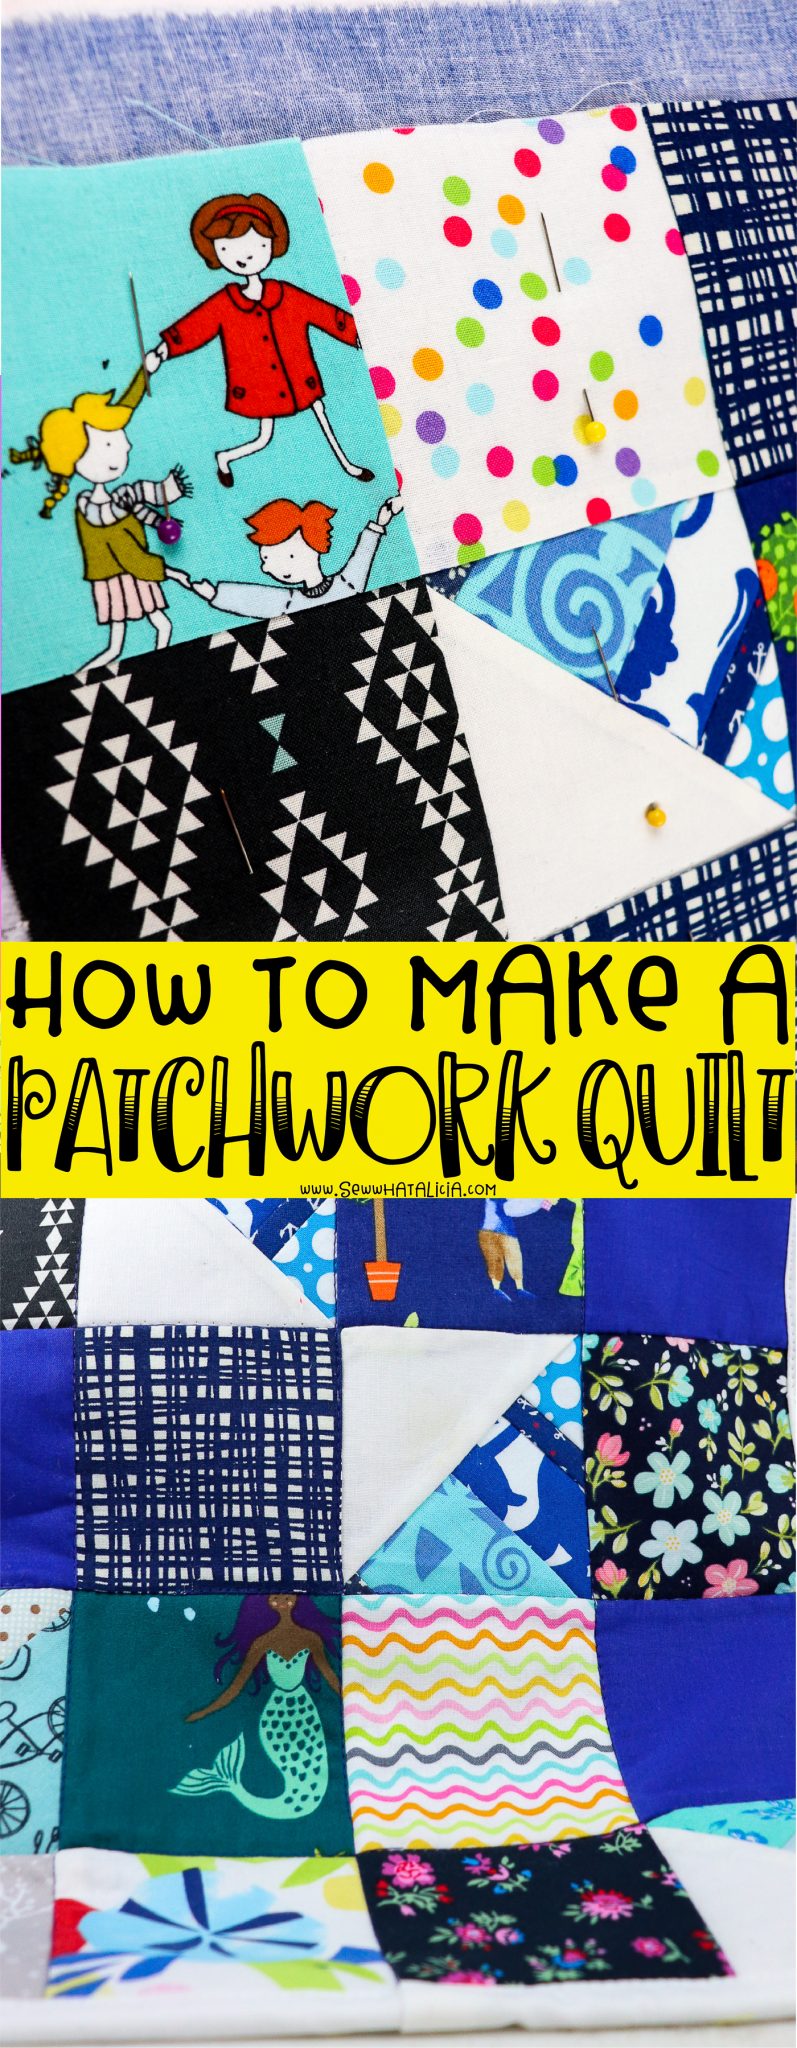
How to Make a Patchwork Quilt
What do I need to make a patchwork quilt?
There are certain quilting supplies that you need for all quilting like a sewing machine, self healing mat, rotary cutter, etc. See them all HERE.
On top of those things you will need:
Fabric – You need fabric for the quilt back, for binding, and squares for the patchwork front.
Batting – Your batting needs to be at least the size of your finished quilt top, ideally it will be 1-2″ wider and longer than your quilt top.
How do you make patchwork squares?
One of my favorite ways to make a patchwork is to use a charm pack, 5″ squares, or a layer cake, 10″ squares. These are pre-cut (WINNING!) so you don’t have to worry about cutting them in uniform sizes.
If you don’t use pre-cut fabric you will need to cut your fabric into equal squares. You can use whatever clear sewing ruler you have, but if you plan to make patchwork quilts frequently I recommend getting a good square ruler. Then check out my tips for cutting straight HERE.
How do you patchwork a quilt for beginners?
The first step is to decide what size you want your squares to be. Like I said above, I highly recommend using a pre-cut fabric!
Next we need to draw it out, I mean you don’t have to, but I highly recommend taking the time to draw out your pattern. Start HERE for my tips for designing a quilt. The most important thing to remember is that you must add seam allowance into your calculations. So if you are using 10″ pre-cut squares your finished square will be 9.5″. And if you want a 6″ finished square you will need to cut your squares to 6.5″.
To get your finished quilt top size use the finished square measurement not the seam allowance measurement. Using the 10″ pre-cut squares as an example, you could use 5 rows and 7 columns (35 squares) to get a finished lap quilt size of 47.5″ x 66″.
One more example: Using the 5″ pre-cut squares, which are 4.5″ finished, you could make an 11 x 14 square patchwork quilt that measures 49.5″ x 63″.
How to find patchwork square size:
- Decide the size quilt you want. Let’s work with a twin size for this example, which is 70″ x 90″.
- Find a number that divides easily into both your finished length and width. So you could easily use a 10″ finished square and have a 7 square x 9 square quilt. Then add your seam allowance and you know you need sixty three 10.5″ squares.
- You can use 1/4″ and 1/8″ measurements if need be, but I prefer to keep the number as whole as possible. I prefer 1″ or 1/2″ measurements. They are easier to cut and to add seam allowance.
- Note that standard quilt sizes are very flexible. So don’t stress too much to fit your squares into that perfect measurement. If you want to use 6″ finished squares for your twin go ahead. Use 12 squares x 15 squares for a finished size of 72″ x 90″. For 4″ finished squares go ahead and use 18 squares x 23 squares for a finished size of 72″ x 92″.
Can you make a patchwork quilt by hand?
You can most certainly make these by hand. I am confident that this is the way patchwork quilts were made for many years before sewing machines became popular.
This will be a very time consuming endeavor but it can certainly be achieved with determination and a little elbow grease!
How hard is it to make a patchwork quilt?
This is a difficult question and depends on a few factors!
If you are brand new to quilting and/or sewing there is obviously a learning curve. A patchwork quilt is, in my opinion, a great place to start when learning to quilt. It is straight forward to create and there are no weird seams or difficult pieces to work with.
If you are a perfectionist: Yes a patchwork quilt is hard. But all quilting will be more difficult for you as a perfectionist. Lining up the squares so that the four corners meet perfectly is not a super easy task. The larger your quilt the more difficult this task becomes. But it can be done, make sure you have your seam ripper close by!
If you are not a perfectionist: Nope, it isn’t hard at all. If you are ok, like I am, with the corners not being 100% lined up 100% of the time then this quilt is quick and easy work! It is even less difficult if you don’t care about the layout of your squares!
How do you complete a patchwork quilt?
So how the heck do you make a patchwork quilt? Let’s get to it.
- Cut your squares.
- Decide on the layout of your quilt. You can lay out all your squares and then using a light pencil mark the backs with a number. Or take a picture of the layout to reference as you sew pieces together.
- Pin or clip the pieces together in pairs. Sew and then press the pairs open.
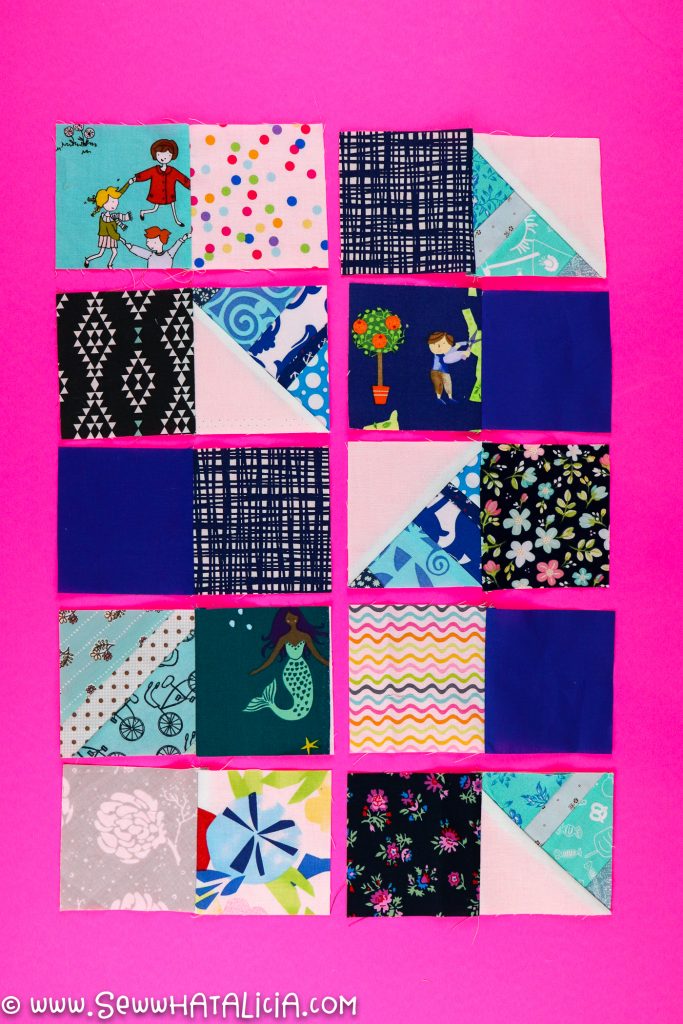
- I prefer to work my patchwork in squares rather than in strips. Which means next you will pair your pairs to create a square of four. I find that this helps MORE of the corners line up. If you work in rows and one square is off it puts all of the corners for that row off.

- Then continue making pairs and squares until you have completed your quilt top.
- You might have an extra row or column of squares. Add them in as pairs to your squares, just don’t leave them to the very end or the corners will be hard to match up.
- Once you have your quilt top you are ready to finish the quilt. You can get all the details for finishing your quilt in THIS post.
- For a patchwork quilt I recommend using the Stitch in the Ditch quilting method.
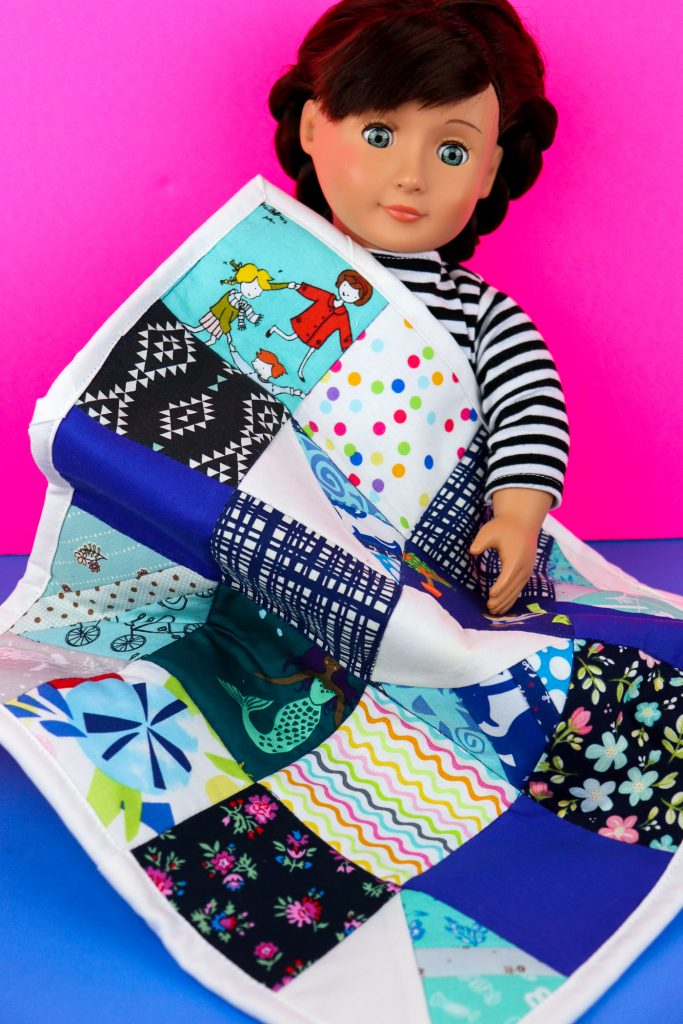
How to make a doll quilt
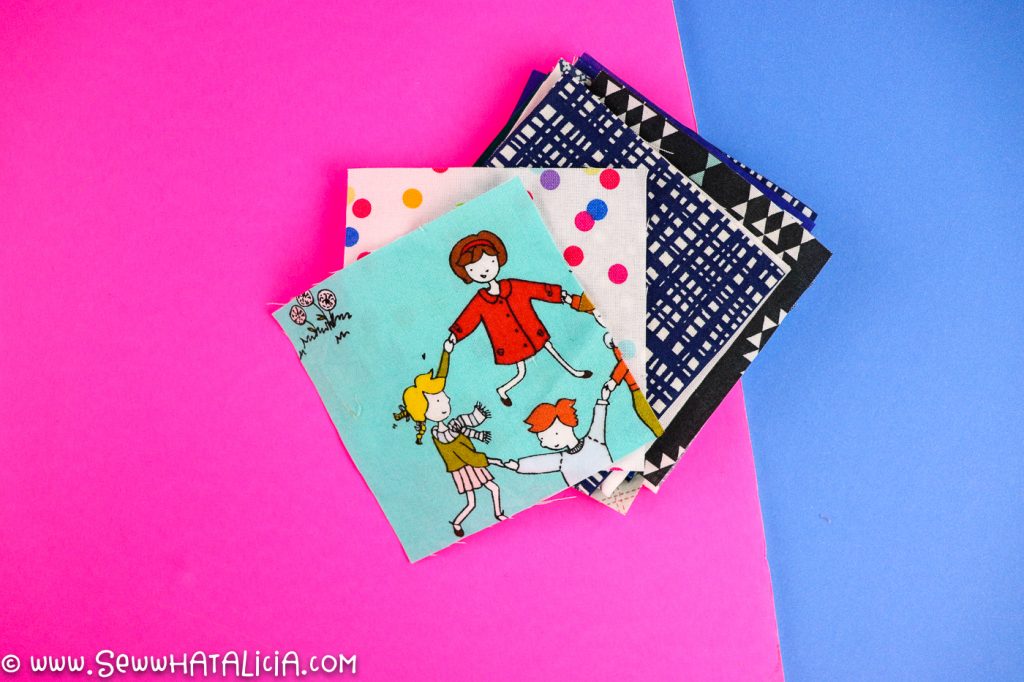
For this quilt I used twenty 3″ squares. My niece wanted her quilt to be made from blue fabric so I opened up my scrap bin and pulled out all the fun blue fabric I had.
This quilt is perfect for scraps. You can fussy cut fun images into the square to create a really neat quilt. I included mermaids, orange trees, little kids, and flowers.
For the back I used a constellation fabric.

This quilt came out the perfect size for the doll, right around 12″x15″.
Quilting Tips and Tricks
- Square your pairs and squares after each time you press. This will help to make sure that everything lines up evenly.
- Be sure to use the same 1/4″ seam allowance throughout.
- Don’t be scared to use your seam ripper, use it early and use it often. If you let a problem fester it might throw your whole quilt off so rip the problems as they occur and it will save you time and give you a nicer finished quilt.
- You can quilt your quilt on a regular sewing machine. However there is no shame in sending your quilt out to a professional longarm quilter. Or check with your local quilt shop to see if they rent longarm time!
Pin How to Make a Patchwork Quilt


Leave a Reply