Whole Cloth Quilt Pom Pom Binding
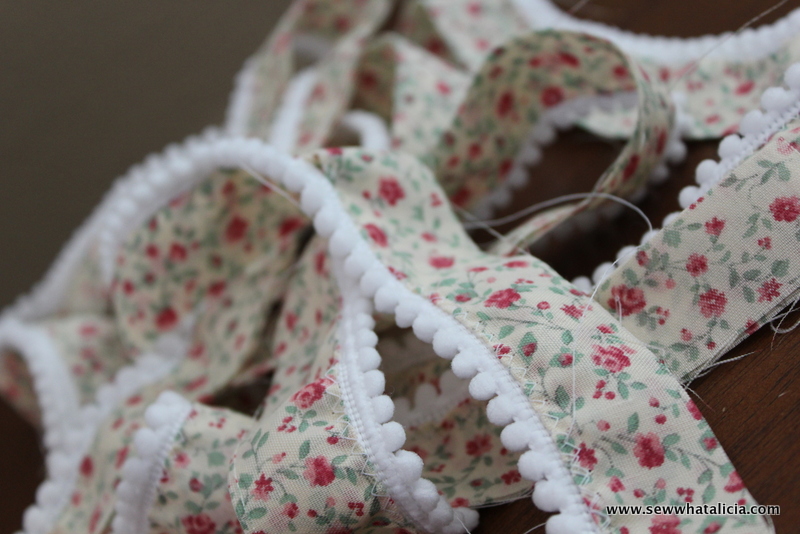
I have been anxious to make a whole cloth quilt for a while now! So today I took the plunge and searched through my stash of fabric for something adorable! I found a few things that I loved and as if speaking to me this pom pom ribbon fell into my lap and I knew it was meant to be! This is a really quick project it took me less than half a day from start to finish! Here is the tutorial for a whole cloth quilt with pom pom binding! If you love quilts you should also check out Fave Quilts for some amazing free quilt tutorials just like this one!

This is just one of my 50+ easiest sewing tutorials. Check out the rest HERE.
Whole Cloth Quilt Pom Pom Binding
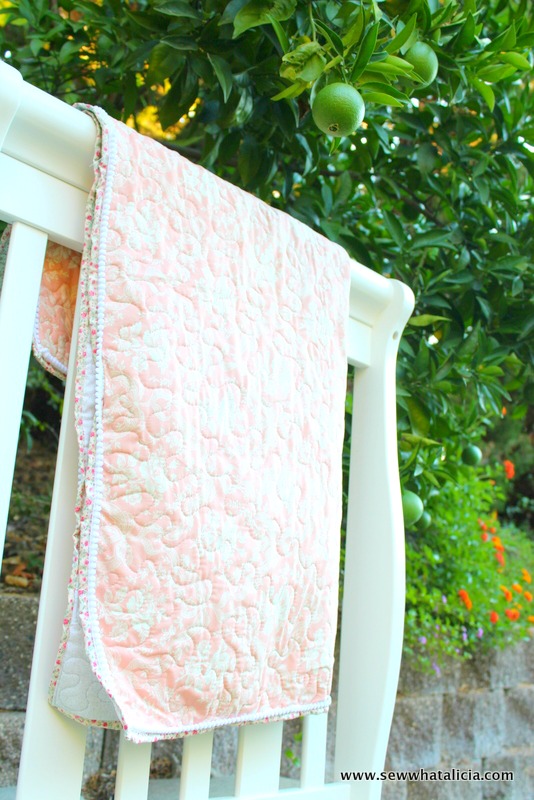
This project is great for those big beautiful pieces of fabric that you can’t imagine cutting! I love the idea of letting the beautiful fabric be the star of the show rather than making a lot of cuts and changes! I just adore this beautiful pink and blue fabric and it has been sitting in my stash for a really long time waiting for the right project! I have also been hoarding this pom pom ribbon because I absolutely adore it and I just hadn’t found the right place for it until now!
Supplies:
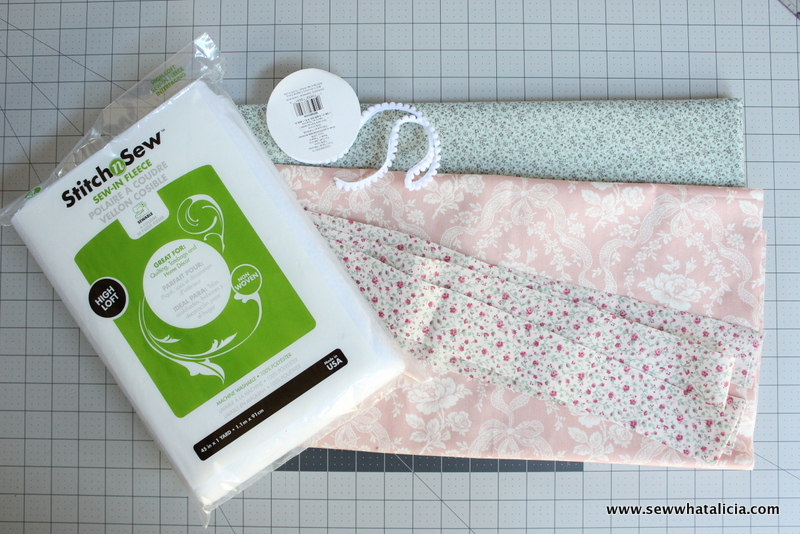
1 package Sew in Fleece
2 spools Pom Pom Ribbon
1 yard of Main Fabric – Cut to 34 X 40
1 yard Coordinating Fabric – Cut to 36 X 42
5 Strips Binding Fabric – Cut to 2 x 44
Instructions:
Cut the fabric to the dimensions listed above. The backing fabric should be an inch or two bigger on all sides than the front. Things tend to move around when you quilt so you want to give yourself some space.
Since this is a whole cloth quilt we are ready to put the quilt sandwich together! (I love that, SO SIMPLE!!!)
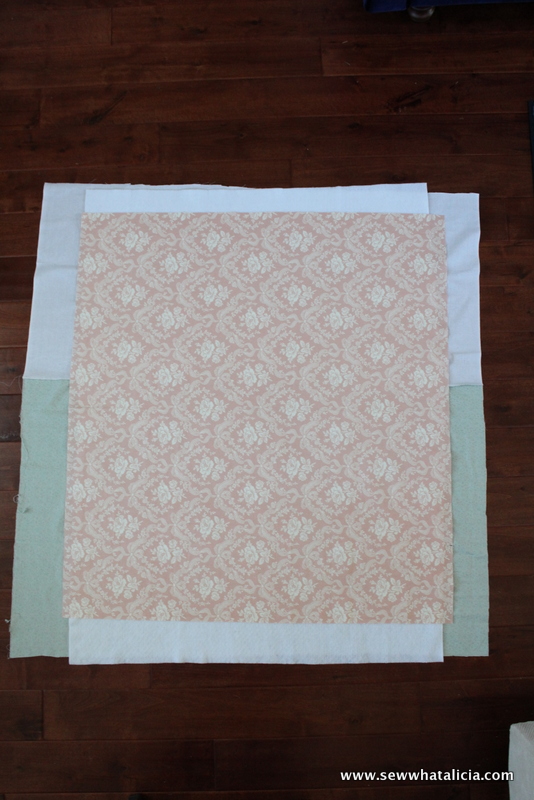
Lie the backing flat, then comes the sew in fleece, and lastly the top goes on. Make sure and keep everything as smooth and straight as possible. You can hold them together with an adhesive spray or safety pins or whatever process you prefer. Go ahead and quilt the whole thing. Then trim the excess and square up the whole blanket.
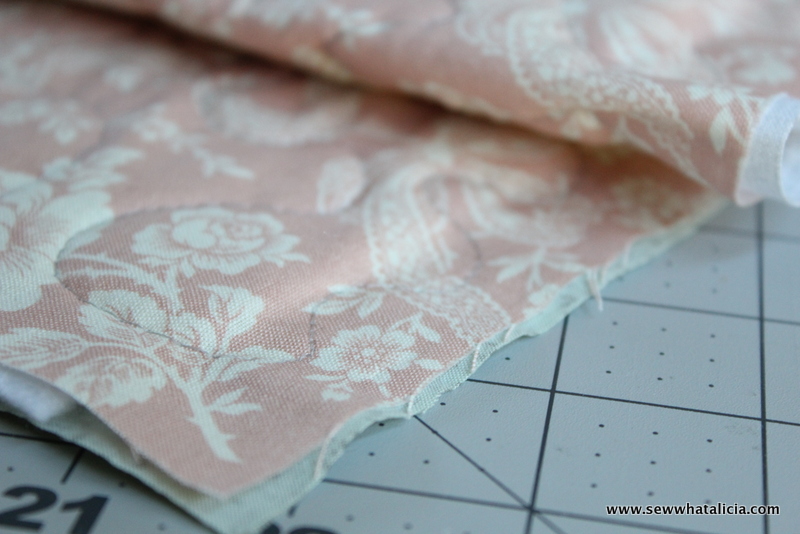
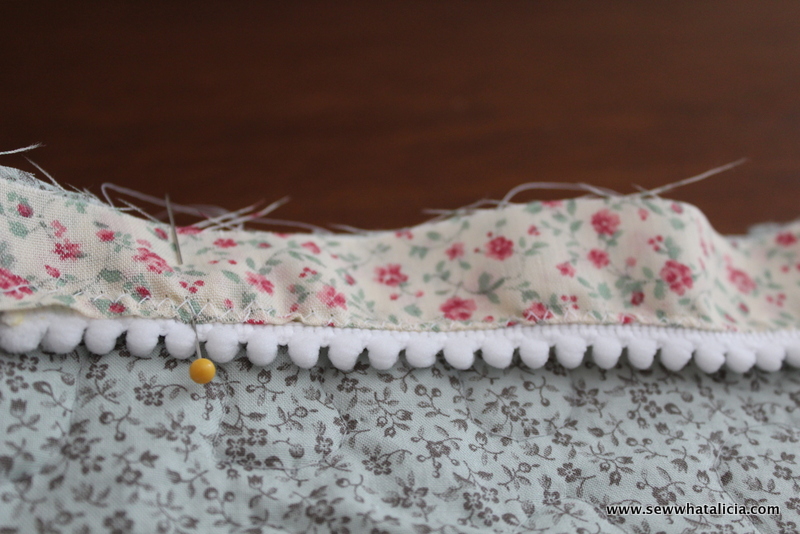
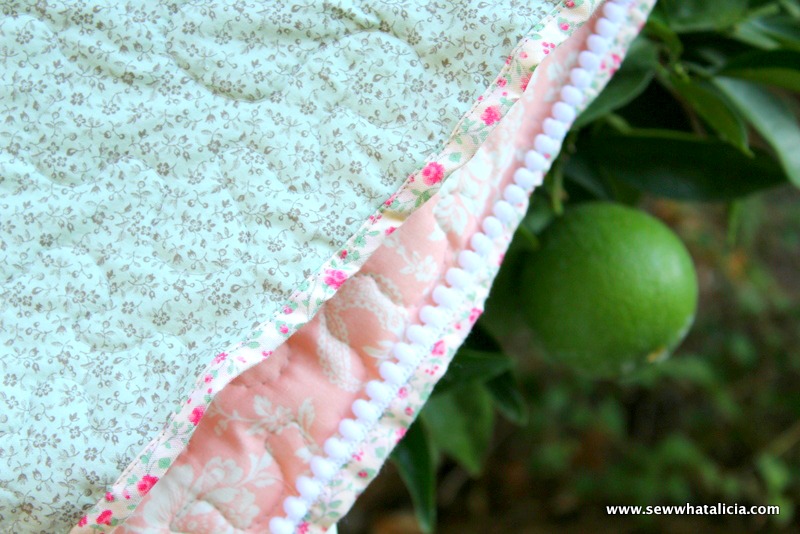
Now we are ready to work with those binding strips. Emily from Nap Time Creations has a great tutorial for attaching binding strips —–> HERE. Once you have attached the strips you will press the binding in half all the way down. Then pull out that pom pom ribbon and we are going to attach it to the folded edge of the binding. Line the edge of the ribbon up with the folded edge of the binding. Then set your machine to a zig zag stitch and attach your zipper foot. The zig zag should catch the edge of the binding and the edge of the ribbon pulling them together with each stitch.
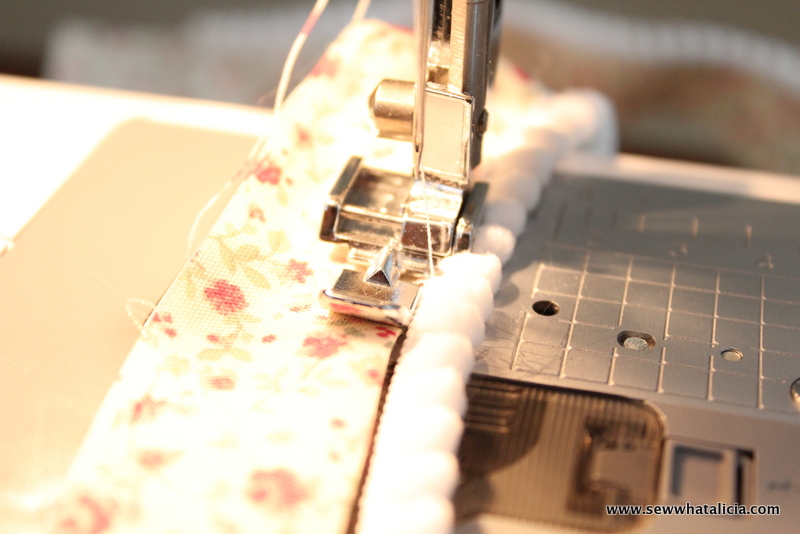
Attach the pom pom to the binding using a small overlap to add the second spool of ribbon.
Now we are ready to attach the binding. This Hot Air Balloon Taggy tutorial has in depth details on both quilting and binding. Line the raw edge of the binding up with the raw edge on the back of the quilt. Sew the binding onto the back using the methods described in the hot air balloon tutorial.
Last flip the blanket over and we are ready to attach the binding to the front.
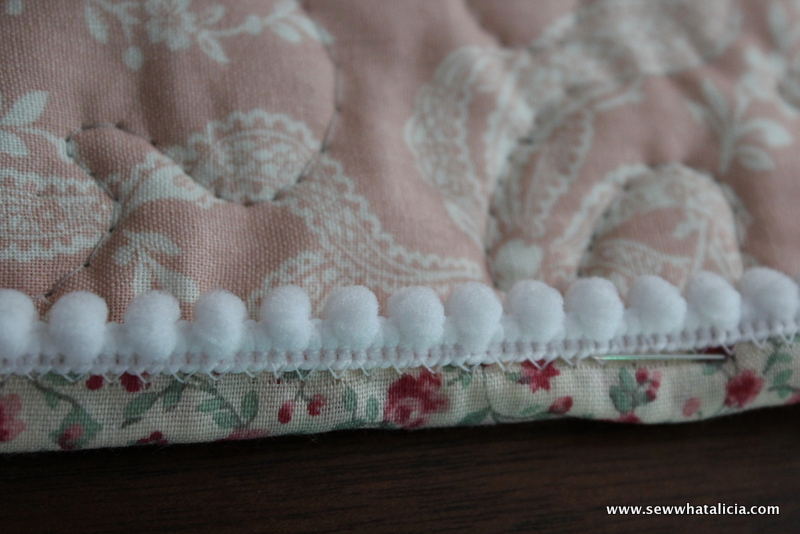
Trim your threads and the blanket is finished!
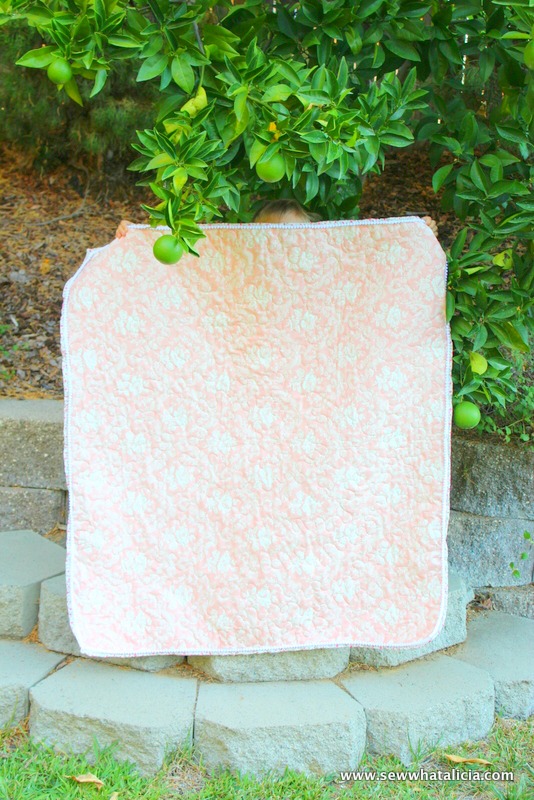
Do you have fabric that you can’t cut into that would make a great whole cloth quilt?? Share your plans with me in the comments below!


Leave a Reply