How to Press the Right Way when Sewing
Do you know how to press the right way? You know what would be amazing? If you could just sit down and sew without all the other stuff?? Well too bad you can’t! One of the MOST important things that goes into sewing is the pressing (or ironing in normal people speak!) And if you are new to the sewing game you may not know that there is a right way and a wrong way to go about pressing your pieces. Here are some tips on how to press the right way when sewing to get the best finished product possible!

The image or title can be clicked to be taken to the product or blog mentioned.
This is just one of my 50+ easiest sewing tutorials. Check out the rest HERE.
How to Press the Right Way when Sewing
The biggest and most important tip I have for you may seem silly. Press. Press often and always! Pressing a project is the key to creating a professional looking finished product. If you don’t press, it is next to impossible to get straight seams and edges. You must press your projects. It isn’t fun and I have spent hours and hours at my pressing board which is NOT fun!
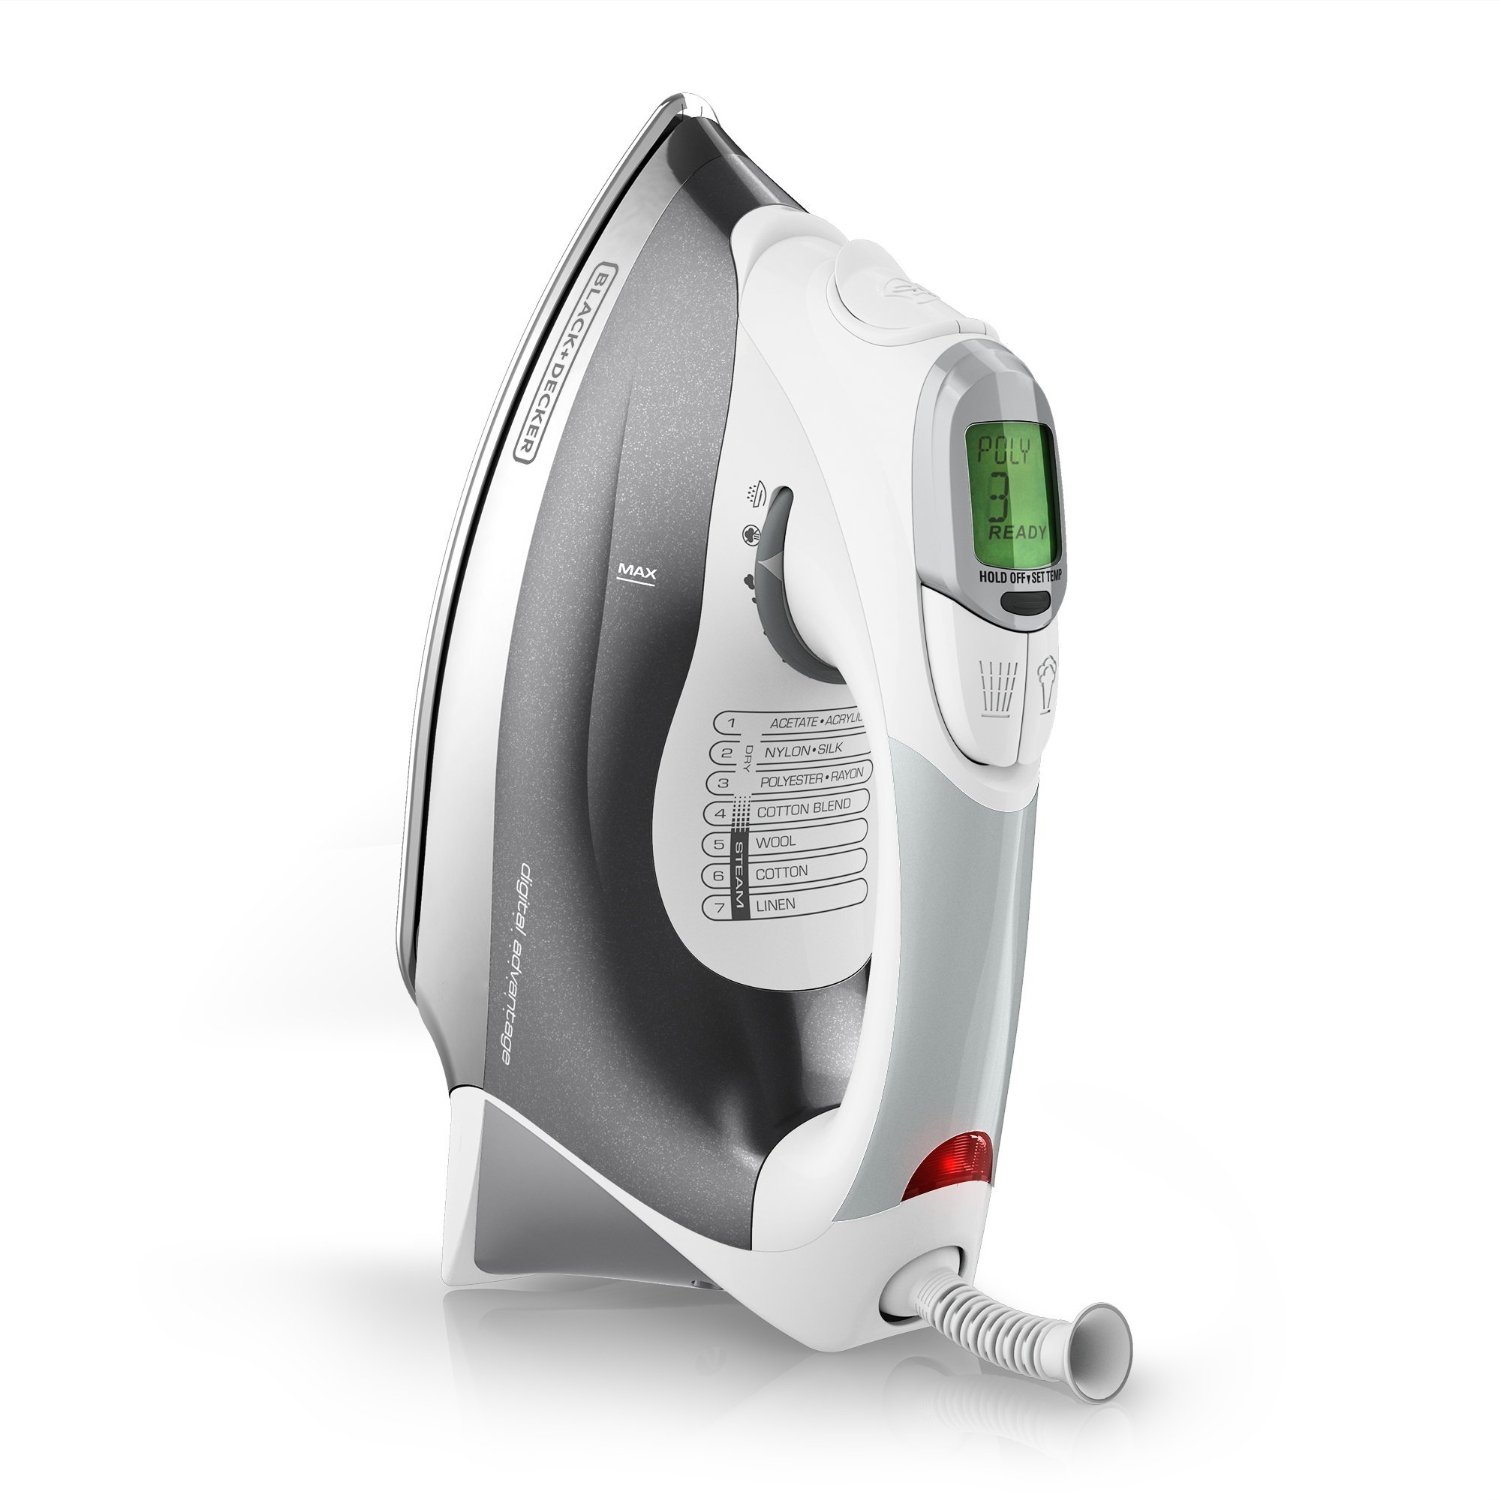
The Iron:
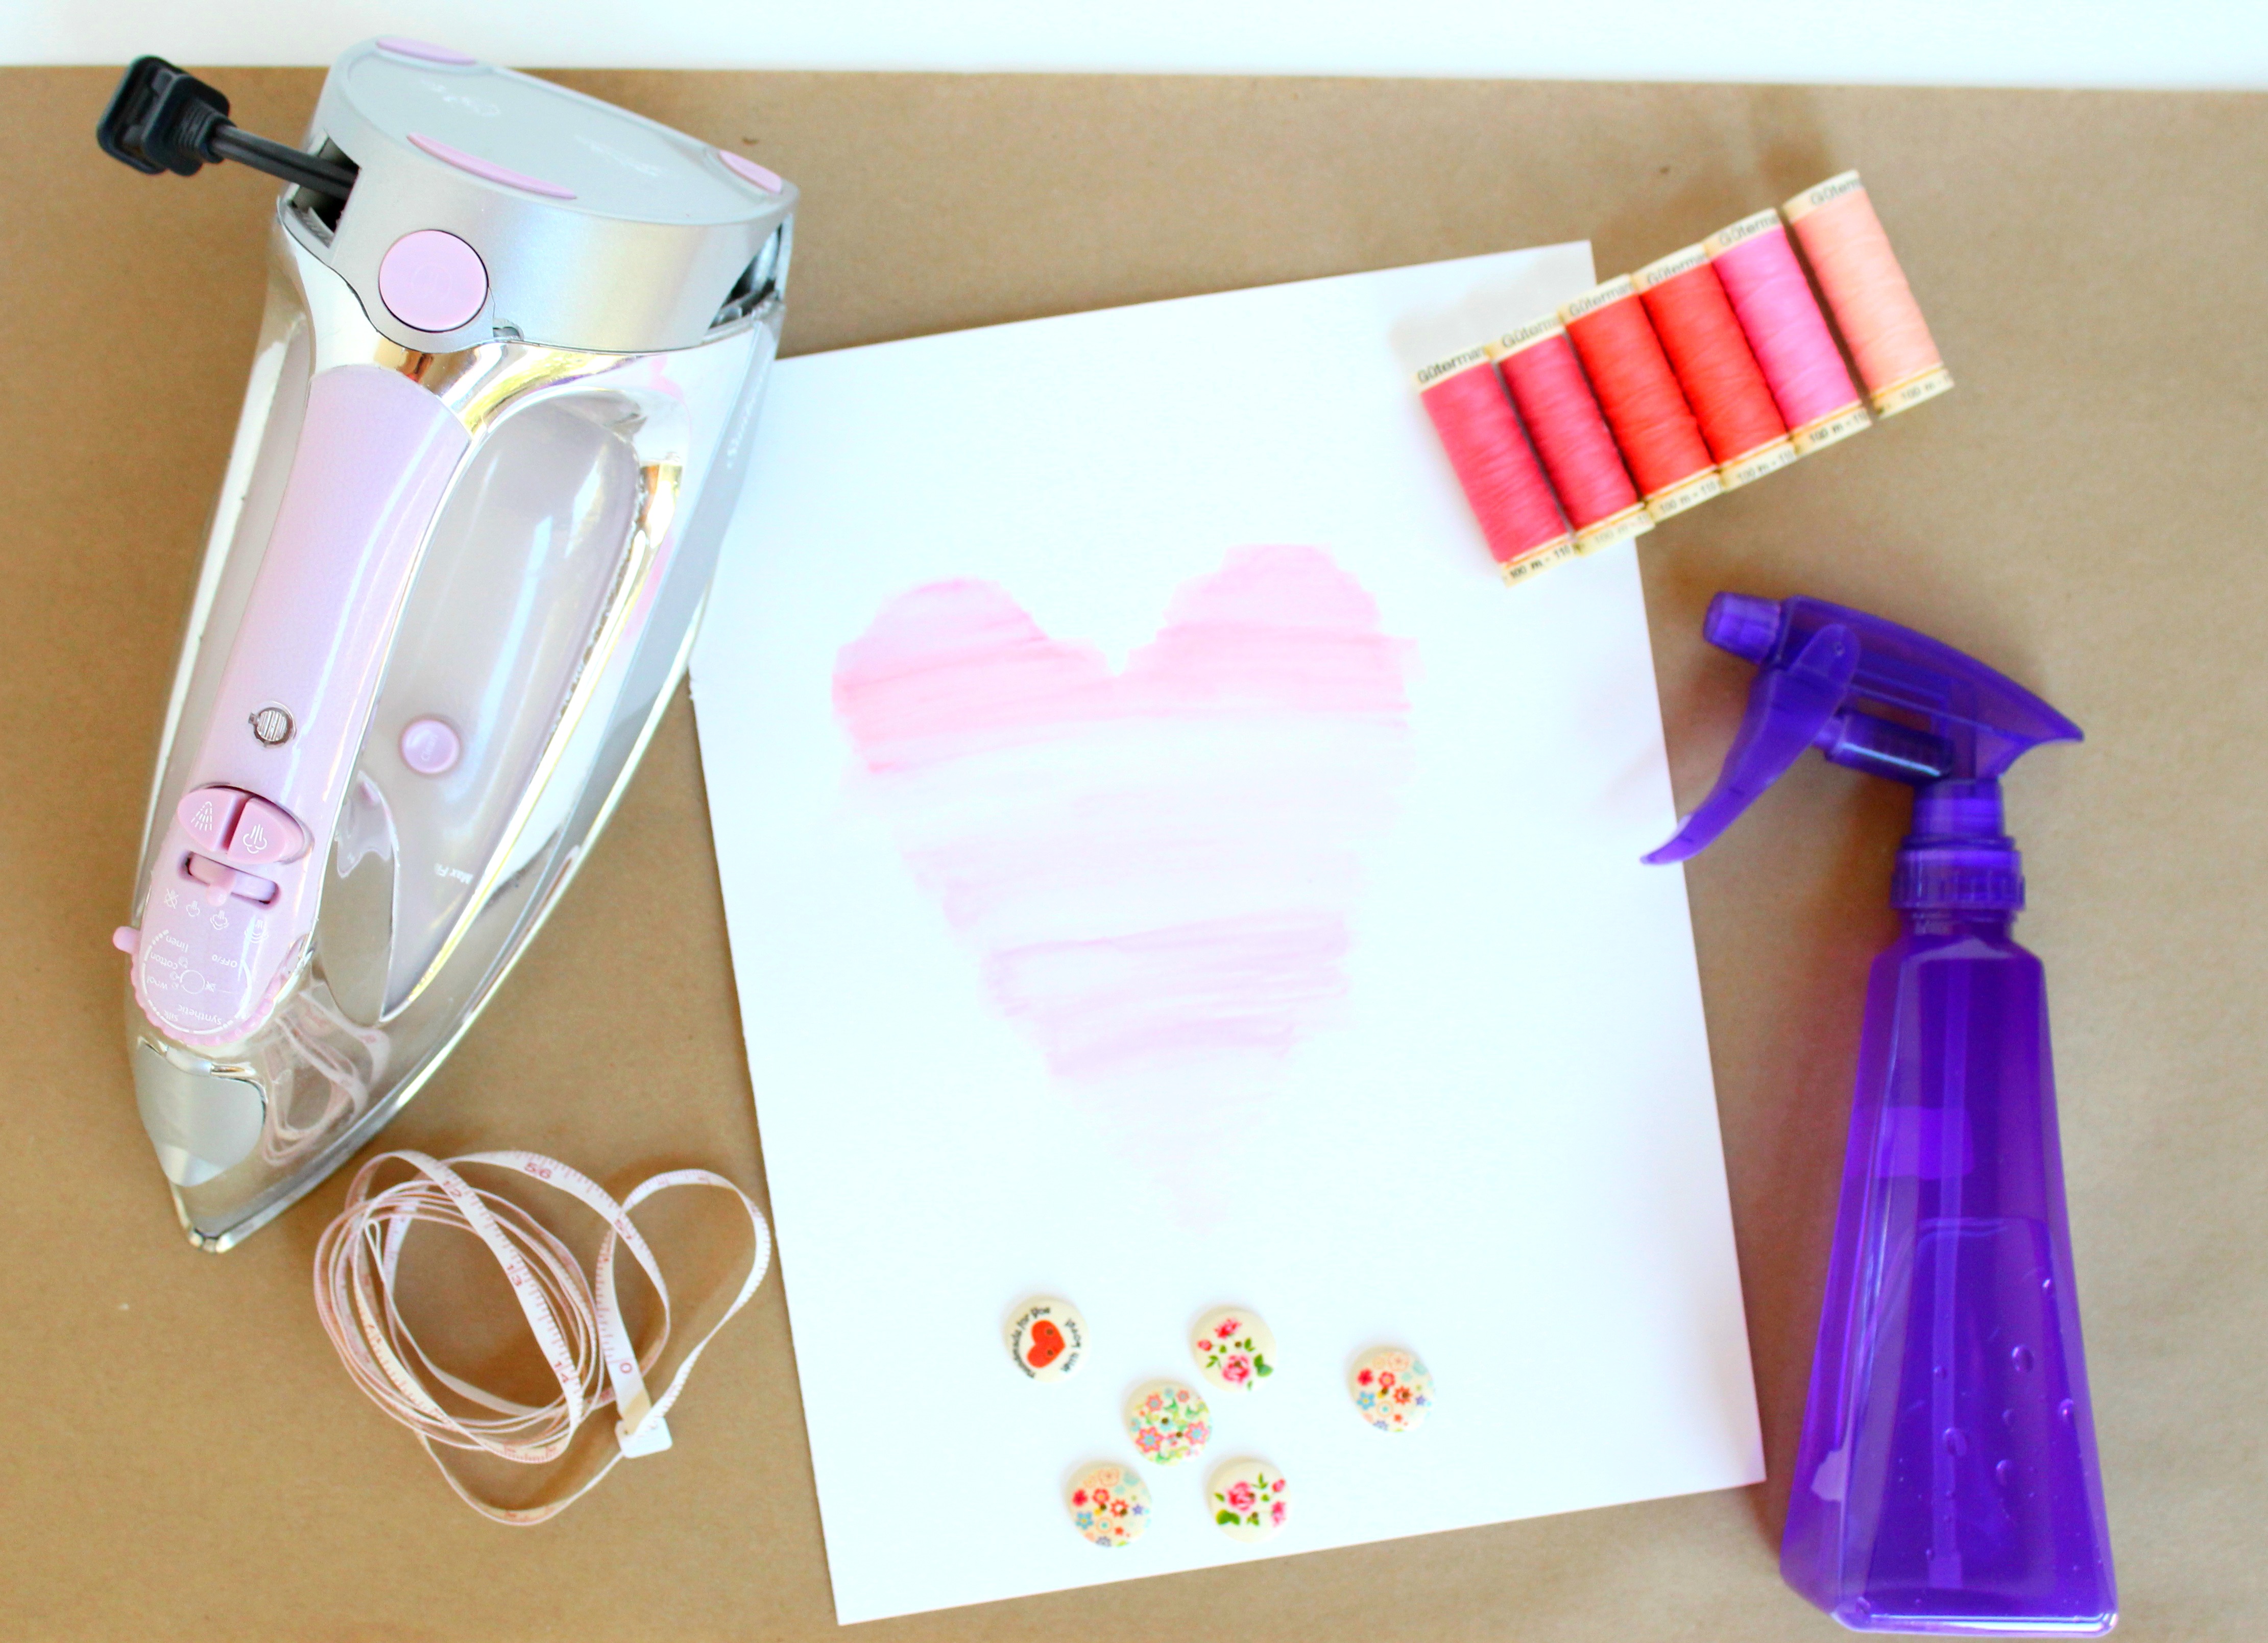
Purchase a quality iron with plenty of heat settings. Get something like this Black and Decker iron which is a good quality and a good brand and would be great for your projects. You don’t need a ton of bells and whistles. Honestly you could even do without the steam setting if you have a water bottle and some water (we will talk more about this in a minute.) Just make sure that the iron gets nice and hot and has a lot of different levels of heat settings for different types of fabric.
Get an iron that is just for your sewing projects. Kind of like your scissors you don’t want to use the iron for everyday ironing. If you use your iron for normal ironing it can pick up the fabric softener or starch or whatever else you used on the clothes. I may be a sewing snob but I prefer to have tools that are strictly for my sewing room and my iron is no different!
Use the correct setting on the iron. The setting DOES matter. Check the fabric you are using and adjust the temperature up or down depending on your materials. You can really ruin some types of fabric if you are using too much heat while some fabrics can really benefit from LOTS of heat! If a fabric or product says not to use steam be vigilant and turn the steam off! I have ruined a few adhesive sheets with the steam setting accidentally left on!
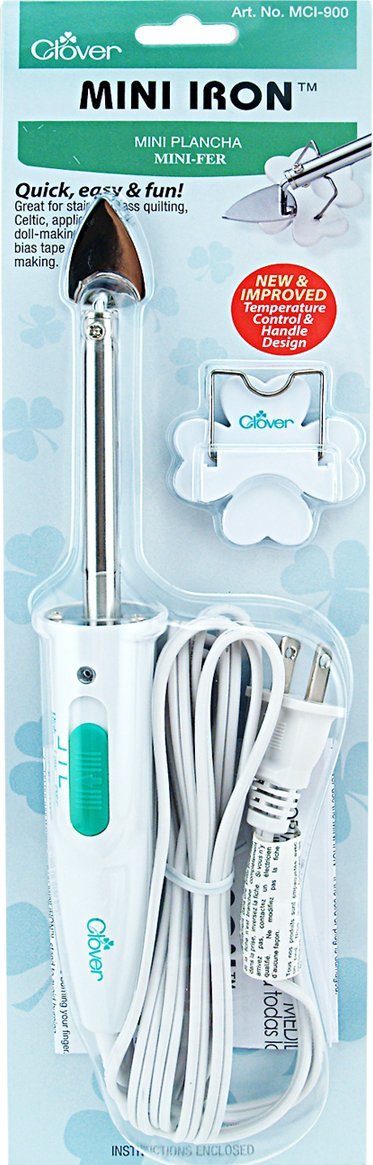
A mini iron can be a really useful tool. Many times when you are working on a heavily pieced quilt block there are little nooks and crannies that are difficult to get into. When you try and get to these tiny spaces with your regular size iron you often end up creating wrinkles and creases that you didn’t intend to create. Then you have to go back and redo it all. Try a mini iron for the small corners and hard to reach spots.
Important Tools:
Use a pressing board. I have found that my ironing board is pliable and gives when I try and use pressure with the iron. Make yourself a pressing board, like this one from Quilter in the Gap. This is especially important if you are going to use things like heat n bond or deco foil. You need to apply a lot of pressure and an ironing board just won’t cut it! A good pressing board will really make a world of difference when you are pressing a seam or a quilt block. To make sure and set the seam really well I definitely recommend you use a pressing board and not an ironing board.
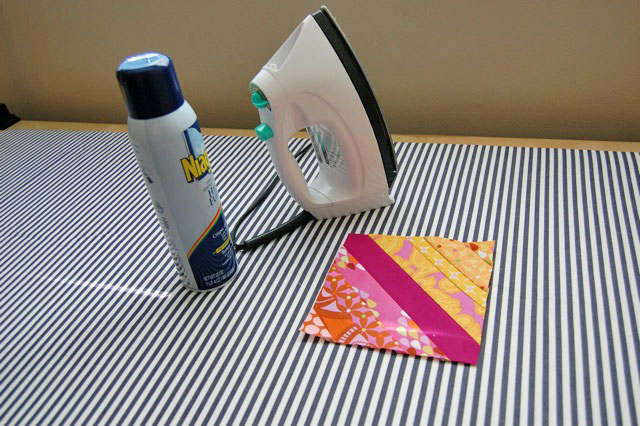
Photo Via Quilter in the Gap
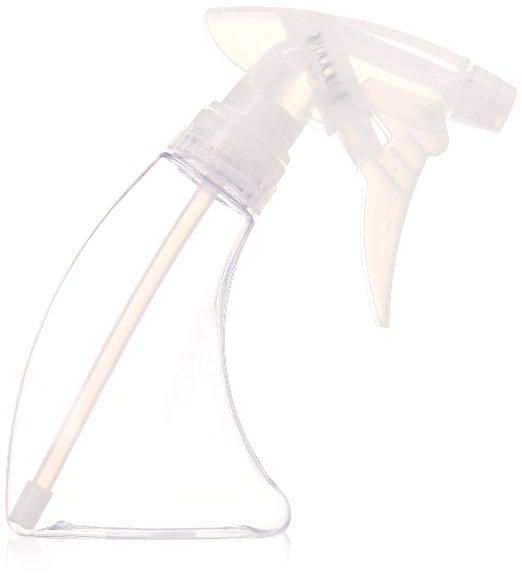
Get a spray bottle and fill it with water to help with stuck in wrinkles. The spray bottle can also help get out a seam if you have pressed it the wrong way. When you start a project and you have washed your fabric (depending on the project) it gets wrinkly! Like big yucky wrinkles! I will take my spray bottle and lightly spritz each section as I go to press. This will give you a really crisp piece of fabric to work with. Wrinkles can really hinder your ability to get a clean cut and a straight seam so spraying with water is extremely beneficial!
When you are using a spray bottle to on the fabric it really cools down the iron. It is important that you give the iron time to heat back up after each section of fabric. When I am using fat quarters or small pieces of fabric I stop after each fat quarter to let the iron heat back up. This goes back to what I talked about earlier where you need to have the correct heat. This is also especially important if you are adding heat transfer vinyl or deco foil or anything else that uses heat sensitive adhesive. If the iron isn’t hot enough it won’t transfer correctly and you will have to redo the whole project. Patience is definitely a requirement when it comes to pressing your projects.
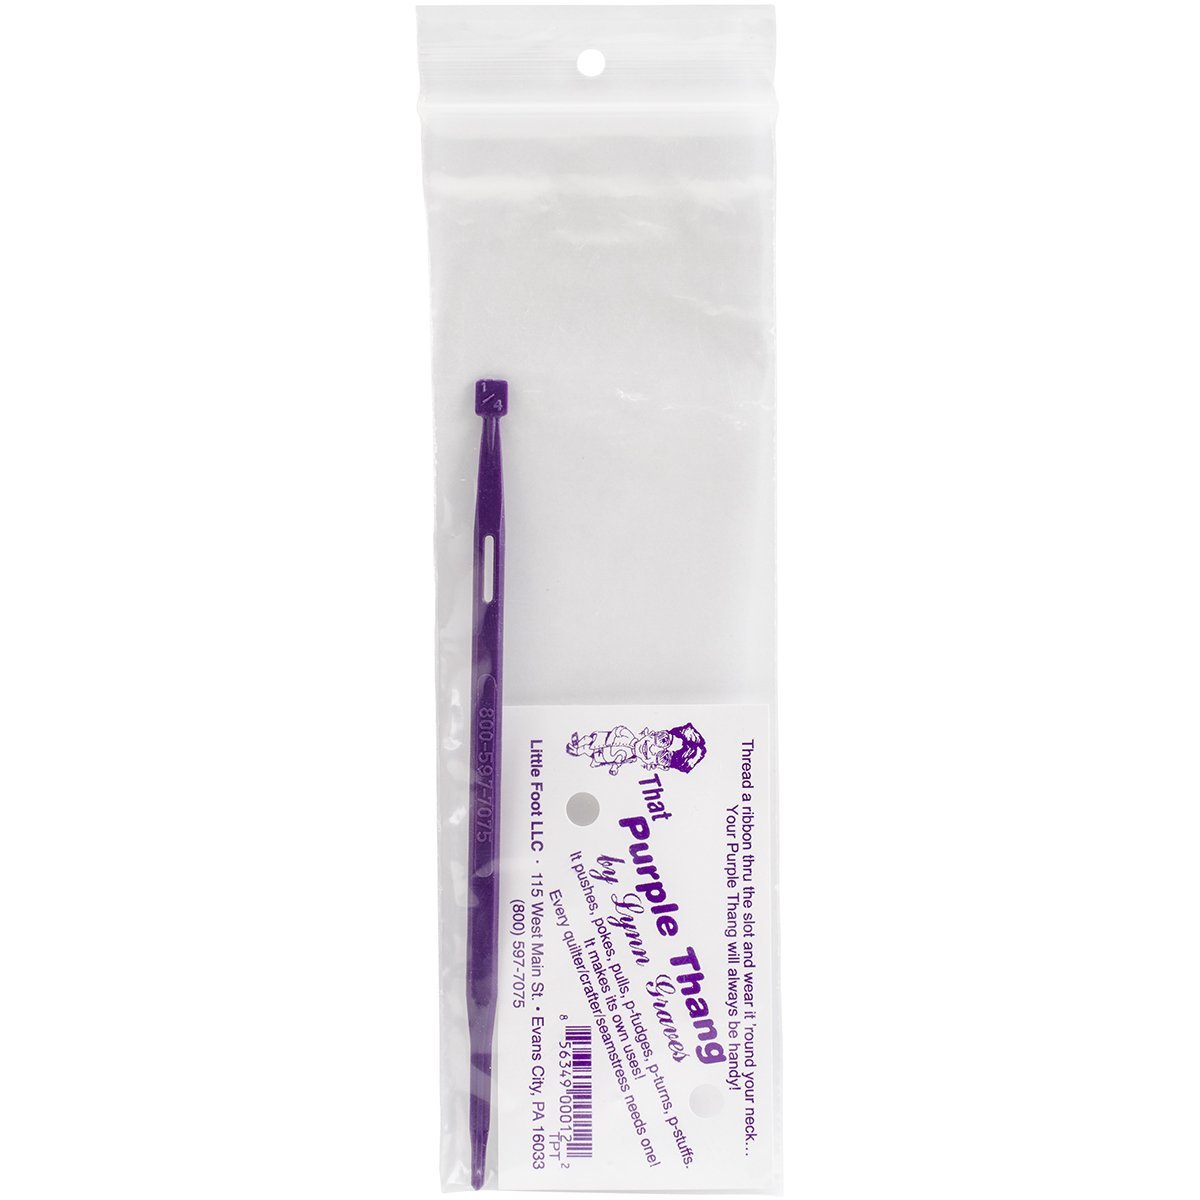
Use a tool to hold the fabric in place. I often find myself hesitant when it comes to the edge or end of a piece because I can’t hold it down with my finger without burning myself. This little purple thang tool keeps the fabric in place while still allowing me to keep my fingers burn free! This little tool is great for lots of other things too like pushing corners through the sewing machine and turning tubes out, but that is for a different post!
The Act of Pressing:
Don’t pull the fabric and seams, there is a reason it is called pressing. When you bring a piece to the pressing board the first step is to press the seam in place with it closed. The Polka Dot Chair has some great tips regarding this! In this photo you can see how she sets the seam before opening it up to press.
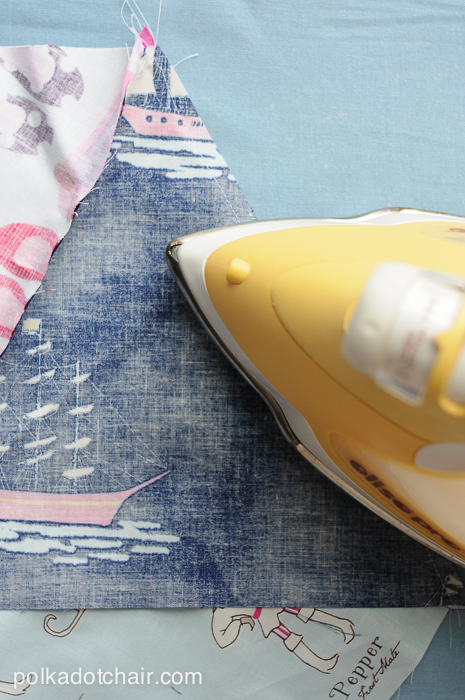
Photo Via The Polka Dot Chair
Then open it up and press the seam open. You shouldn’t be tugging and pulling at the seam. This will create crooked seams and make the fabric warped. This will make the finished project messier and more crooked than if you simply press the seam in place. Another note worth mentioning is that you have to remember that you aren’t ironing. You don’t want to drag the iron back and forth across your piece. Press the iron down and then lift up and move it to the next section. This will also keep the fabric and seam from getting distorted.
If you look around the web at different sewing and quilting tutorials you will see two different schools when it comes to pressing the seams on your pieces. The question is should you press the seams open or to the side? What do I mean? Some people open up a piece and press the seam open so you press down the middle of the seam. Some people open up a piece and press both sides of the seam to one side.
I can’t tell you the pros of opening and pressing down the middle but I can tell you why I choose to press to one side. In my mind when you press the seam open it puts a lot of pressure on the finished seam. When you press to one side and then either top-stitch or quilt over that side pressed seam you are securing the seam rather than putting more tension on the seam. Here is another photo from The Polka Dot Chair where you can see how she presses to the side.
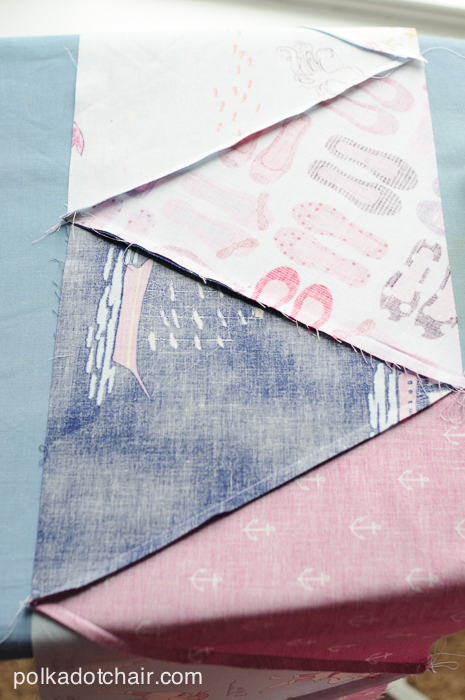
Photo Via The Polka Dot Chair
Always press to the dark side! My hubby got me this shirt for my birthday last year (I obviously asked for it because he has no idea what it means!) This idea is pretty self explanatory, when you are pressing make sure and press the fabric to the side that is darker. Say you attach a white piece of fabric to a black piece of fabric if you press the seams to the white side the black may potentially show through in your finished piece. So when you turn the piece over press to the darker side because then the back side will not show through to the front of your finished project (check out the picture above for a good visual.) Plus it makes for some fun Star Wars humor am I right??

You know how they say your kitchen should be set up in a triangle for max productivity? You should set up a system similar to the kitchen triangle in your sewing room. Sewing machine, pressing board, and cutting mat. This will save you time and effort. You don’t want to have to constantly move things around when you are actively working on a project. The ideal setup is to have a separate space for cutting, pressing, and sewing. Your pressing space should be free of clutter because the most time efficient way of working is to leave your iron plugged in while you sew and cut. If your space has too much clutter that is obviously a safety hazard! This setup from Mom Made Sewing is perfect!! You can see the productivity triangle (I don’t know if that is actually a thing but it sounds good right?)
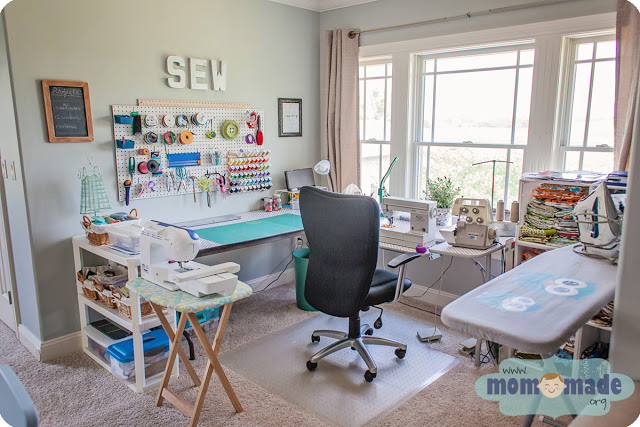
Photo Via Mom Made
Important Tips:
Make it fun! I grab my headphones and crank up the music and get to pressing because you simply can’t sew without pressing before and after! Be sure to use the Assembly Line Method of sewing to reduce the amount of times you have to head back and forth from the pressing table! This method will help you have a stack of pieces to sew rather than going back and forth to the machine each time you sew one seam. This will save you so much time and effort, it is definitely worth trying!
Keep your iron clean! Use the instructions on the iron or google techniques for iron cleaning. I was using my iron recently and I spritzed the light gray fabric with water and set my iron down and as I pressed the fabric there was a brown tint being left behind! Sorry to say that I have learned my lesson on this one the hard way! When you use your iron on adhesives and different fabrics and products it quickly gets dirty. Be sure to check the iron before each use and clean as necessary.
Don’t look down on a finger press. Sometimes you don’t even need an iron! Sometimes using your fingers is all you need! When you are looking for the middle of a piece of fabric you can aid the process by using a finger press. This is literally just using your fingers to press the fabric in half. This is a great option instead of using an iron to place a seam that may be hard to get out when a piece is finished. It is not something you will do often but it is definitely a vocabulary word worth noting.
Now that you know everything there is to know about pressing make sure and check out a few of my tutorials where you will put your new skills to use!! Like this Flavor of Summer Quilt Top or this Subway Tile Inspired Quilt Top (using fat quarters!)
What are your tips on how to press the right way? Did I miss anything, share in the comments below.


Leave a Reply