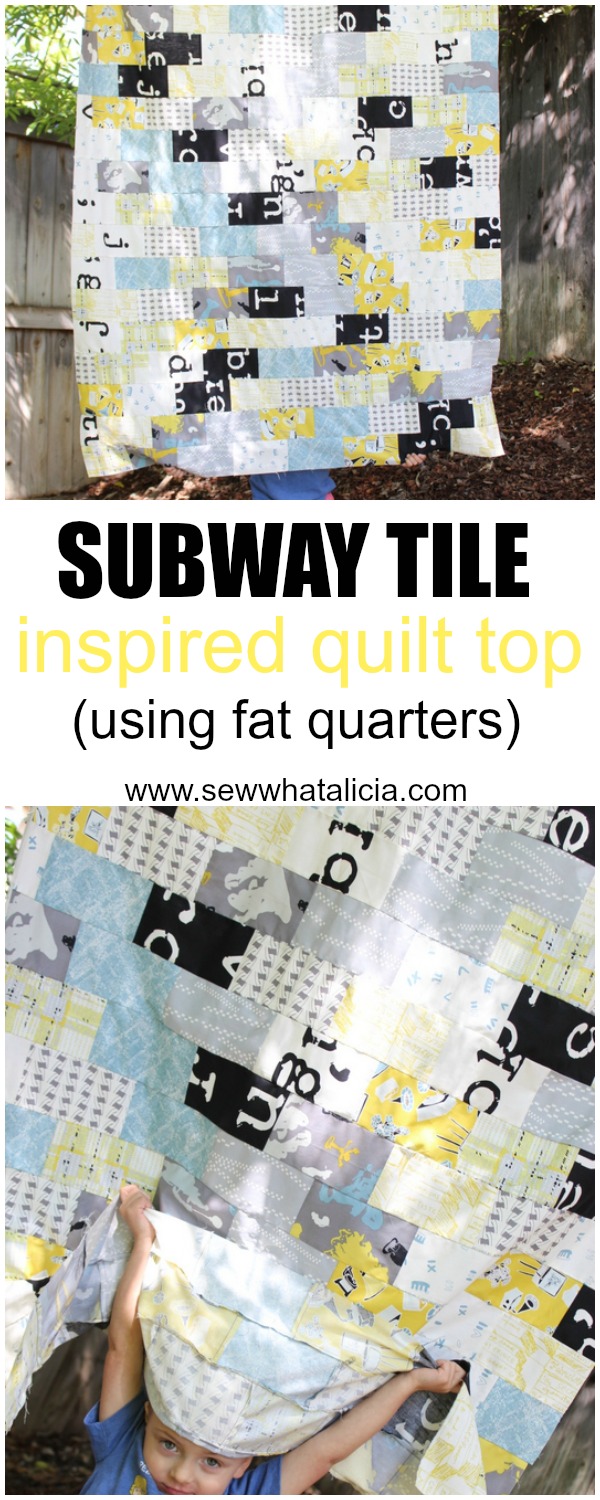
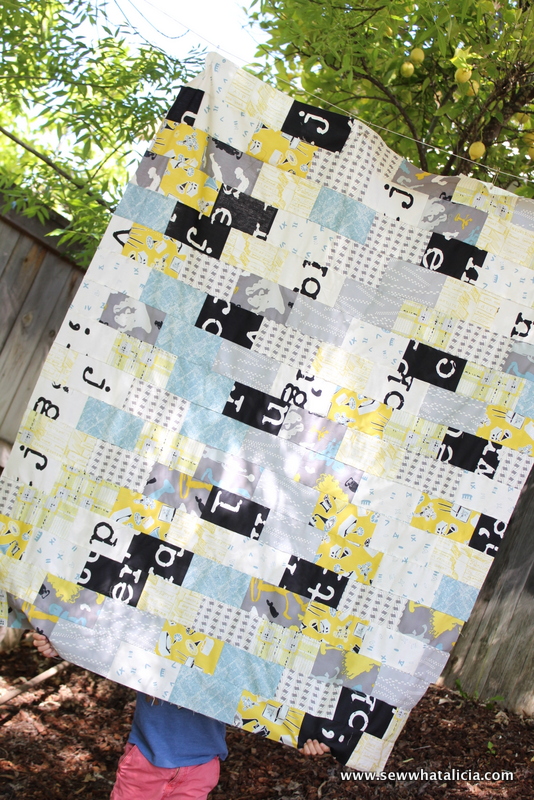
Subway Tile Inspired Quilt Top (using fat quarters!)
We all love fat quarters right? How about using some to make this amazing subway tile inspired quilt top??
This is just one of my 50+ easiest sewing tutorials. Check out the rest HERE.
Subway Tile Inspired Quilt Top (using fat quarters!)
This post was sponsored by Art Gallery Fabrics. They have provided the fabric for the project. Rest assured that I only work with companies whose products I use and love and I would never recommend something that I don’t adore!
I wanted to do something a little different to show you how quick and easy this project actually is! I have taken a video of the entire process. The whole quilt top took 2 hours and 16 minutes! Really not bad if you think about it (but this video is only 4 minutes so don’t fret!!!)
So I know that video doesn’t really tell you much right? Ok here are the details! Sorry there are not many photos for this one since I took the video instead! Feel free to share your thoughts in the comment section!
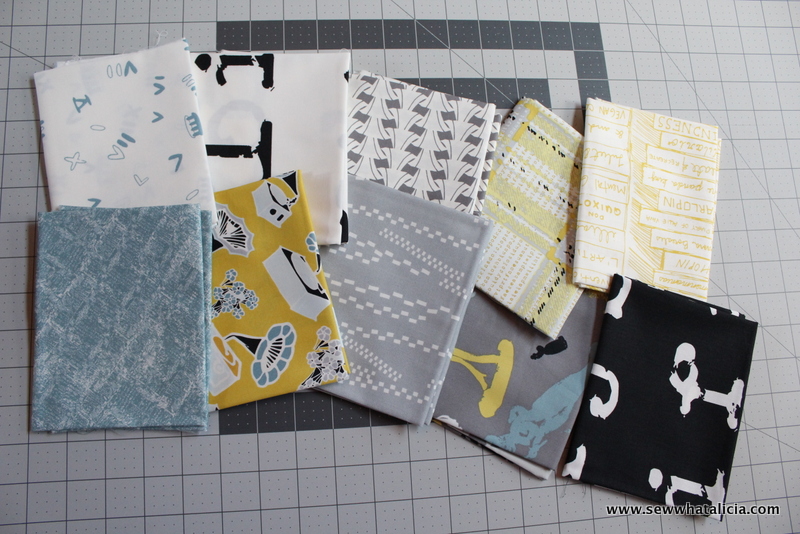
You will need 10 fat quarters. I am using the amazing Pastel Thrift fat quarters from Art Gallery Fabrics. There are two color stories and I used the Rover Curio, and the other color story could be yours…scroll down to enter the giveaway.
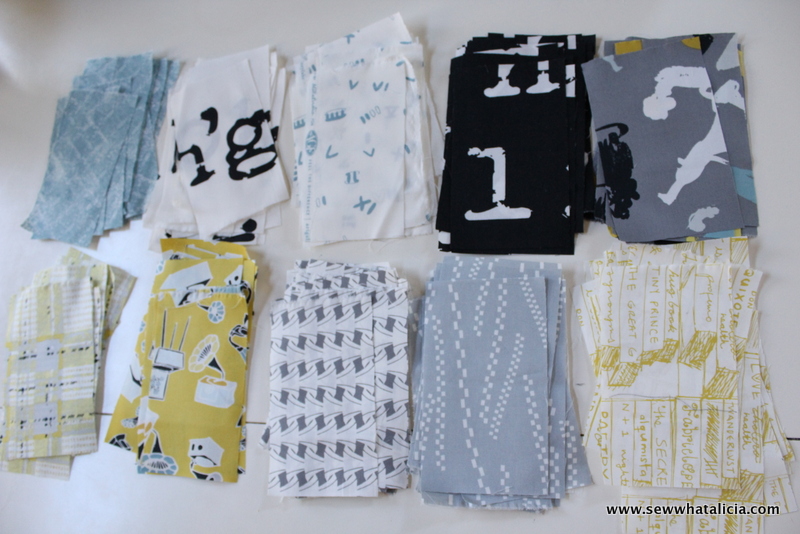
Cut the fat quarters into 6″ strips. If you cut it the right way you should get 3 strips that are 6″. Then cut these strips so that they measure 3.5″. So you should have a whole pile of 6×3.5″ strips after you have cut all the fat quarters this same way.
This is where the video starts. You can see from the video that the whole process was random. I just grabbed to random strips and attached them sewing along the 3.5″ edges.
Continue to add pieces together until you have 18 rows of 8 strips. Take half of the rows (9) and add one more piece so that they have 9 strips.
Next we will attach the strips in an offsetting pattern. Take one strip of 9 and start by lining up the first piece facedown halfway off the first piece on the 8 strip. Continue to pin the strip in place until you have pinned along the entire length. Pin all the strips together in this manner. Then go ahead and sew along the edges you just pinned.
Now press open the pieces you just sewed and then pin two together in the same manner as before. You always want to line up the longer strip off the edge of a shorter strip. So it should be this order…9, 8, 9, 8, 9, 8 and so on. Every second row will have a long snaggle piece and that is what we want.
Continue pinning and sewing the strips together until you have attached them all. Then as you can see in the video…line up your ruler with the piece that is the farthest in and trim off the snaggle pieces. And your quilt top is complete!


m says
Recently started quilting and looking for fun and easy projects to master that 1/4 inch stitch. That and feel successful in this adventure. Excited to make this soon!!!!
sewwhatalicia says
This is definitely something that you can work on as a beginner! It is just what you said you are working on, 1/4″ stitch. Nothing fancy!! Thanks for stopping by!
Stanlee's Mom says
Excited to try my hand at quilting and this is the perfect project to start with. Thanks for the easy to follow instructions for us beginners!