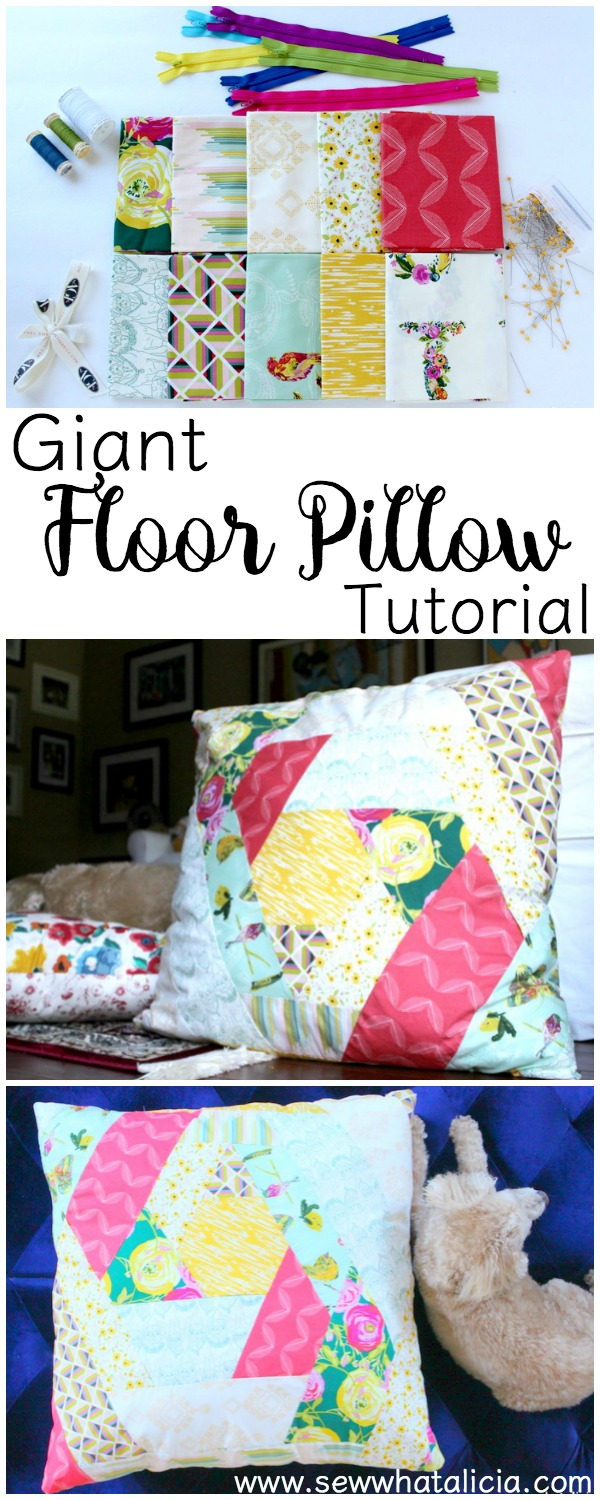
Giant Floor Pillow Tutorial
With the Olympics and football season right around the corner I expect we will be doing a lot of TV watching in the days to come! I wanted to make something comfy for all the sitting around we will be doing! Here is a fun giant floor pillow tutorial!
Giant Floor Pillow Tutorial
This post was sponsored by Art Gallery Fabrics. They have supplied the fabric for this project. All opinions are my own. I would never promote a product that I don’t use and love!
Supplies:
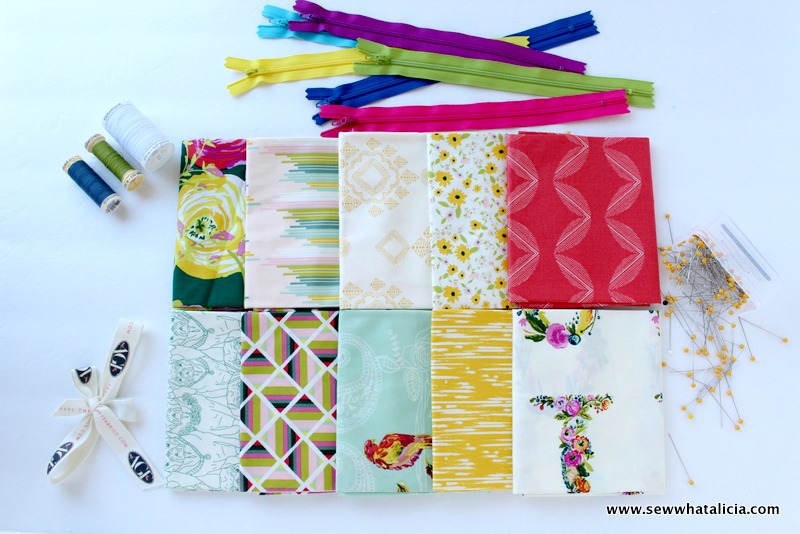
28×28 Pillow Forms (affiliate link)
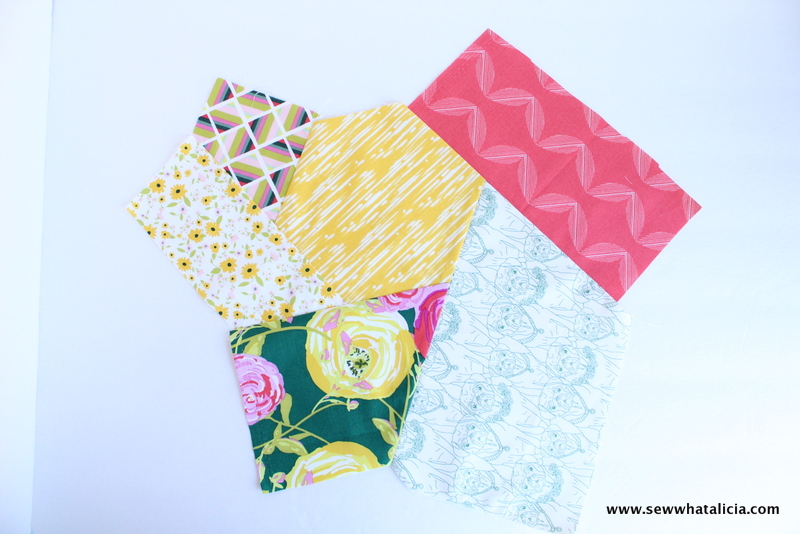
Joie de Vivre (by Bari J.) Fat Quarter Bundle from Art Gallery Fabrics
Instructions:
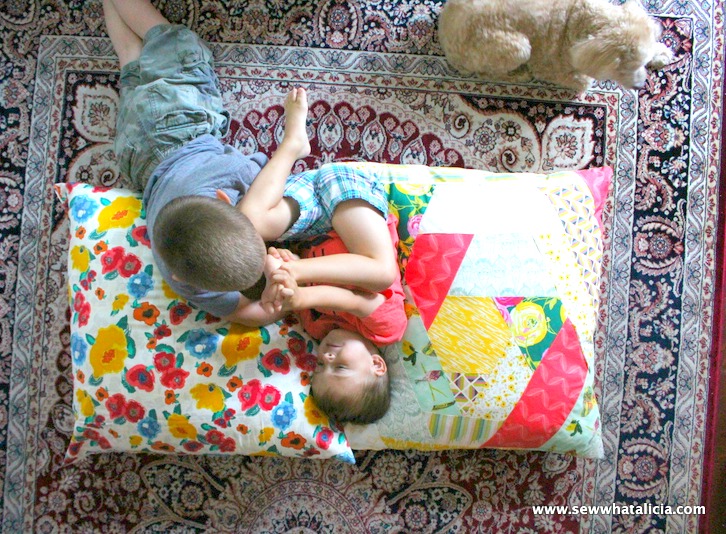
Something you might not know is that my oldest son spends most of his time in his wheelchair. When he is at home he spends a lot of time on the floor and we have a lot of pillows so he can be comfortable. My younger son likes to lie on the floor too and be with his brother so I thought a giant floor pillow would be perfect for my boys!
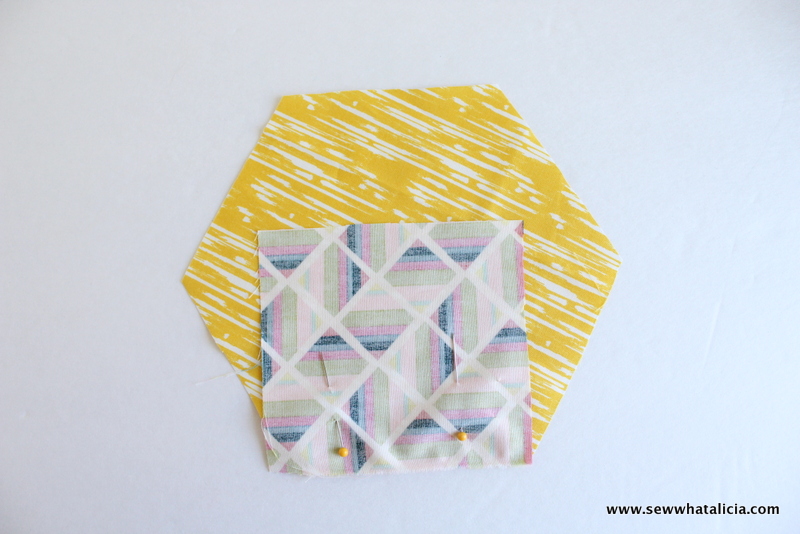
For this pillow I decided I wanted to do a play on a log cabin quilt block. Instead of a square though I am using a hexagon!
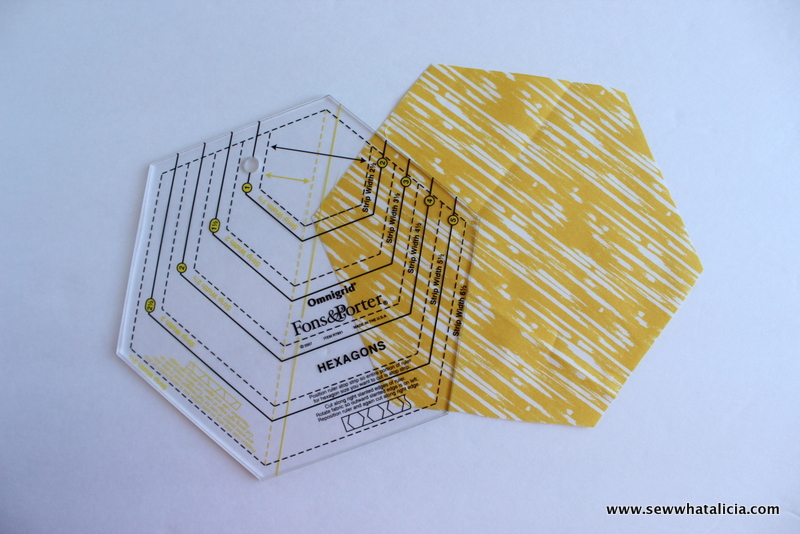
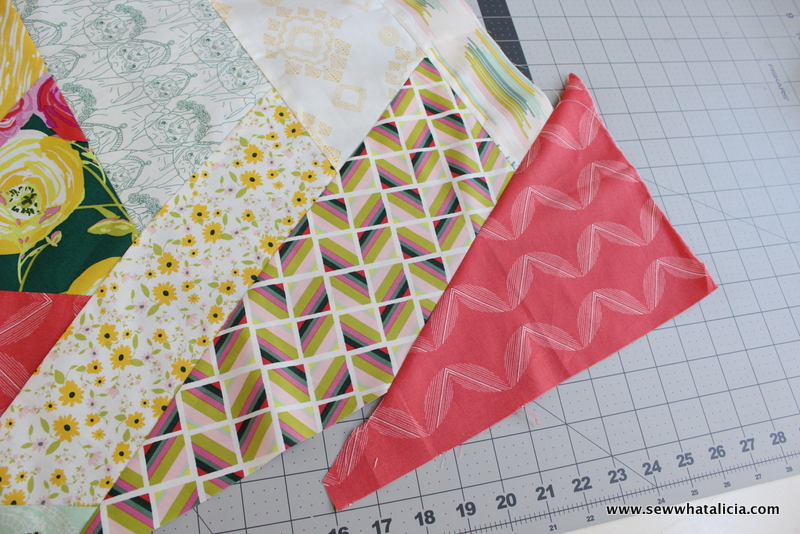
Once you have cut the hexagon pick a side and cut a piece that is long enough to cover that side.
The next piece will need to be long enough to cover the adjacent side and the piece you just added. You will pin the piece in place so that it creates a straight line. Use the straight edge of the hexagon to create the line. You will have excess from the first piece of fabric that you added. This will be a theme throughout this process, there is some excess throughout that will have to be trimmed.
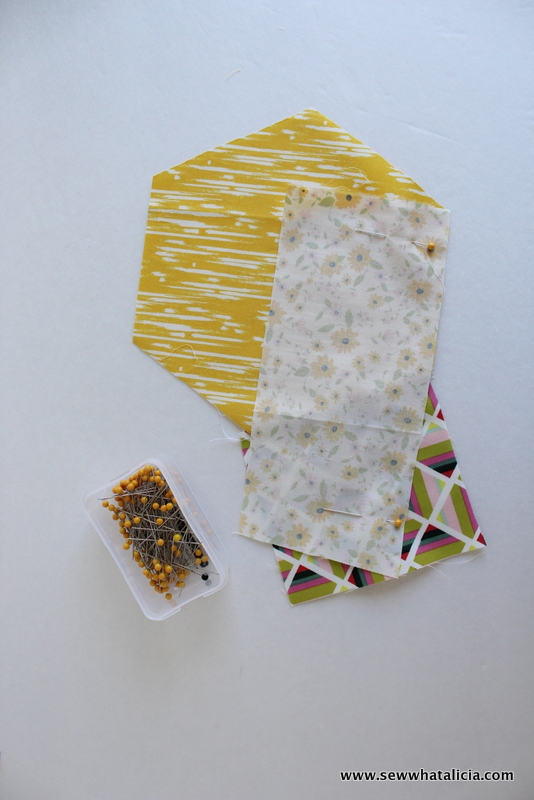
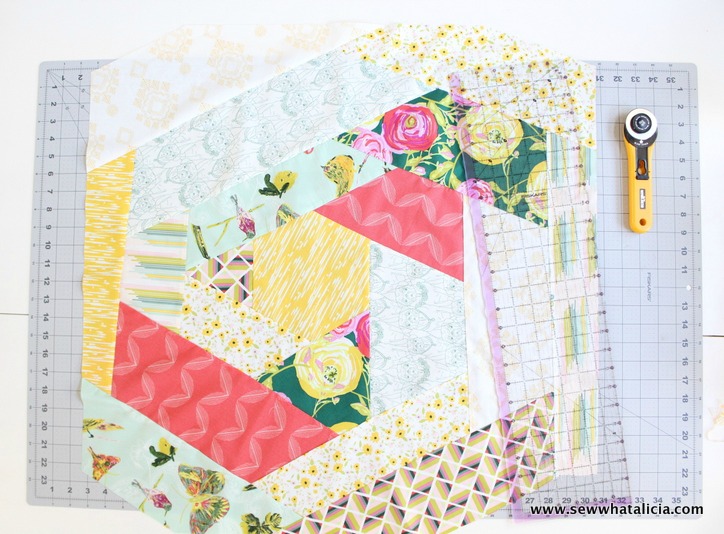
Continue adding pieces around. You will create some triangular shapes as well as some half hexagon shapes.
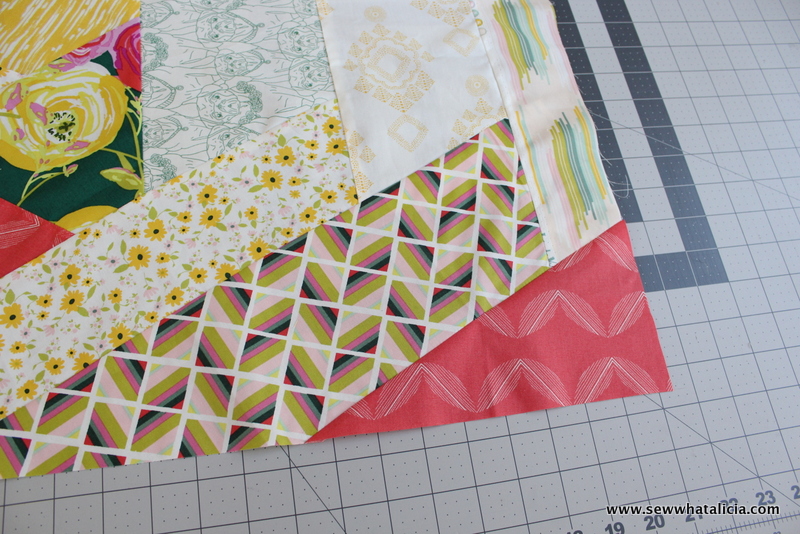
Continue going around the hexagon until your piece is 28 inches across on both sides.

Use a straight edge to square up the piece to 28 inches. You will have some parts on the corners that won’t be the right length, that is ok.
The last step for the front of the pillow is to grab a piece that is big enough to cover the entire corner and sew it into place on each of the corners.
Use a straight edge and trim all sides to 28 inches.
The last steps are to pick a backing. I pieced a few scrap pieces together to create the back, but this is all about the front so I won’t bother with that! Then attach the two sides. You can add a zipper or close the edge with a ladder stitch.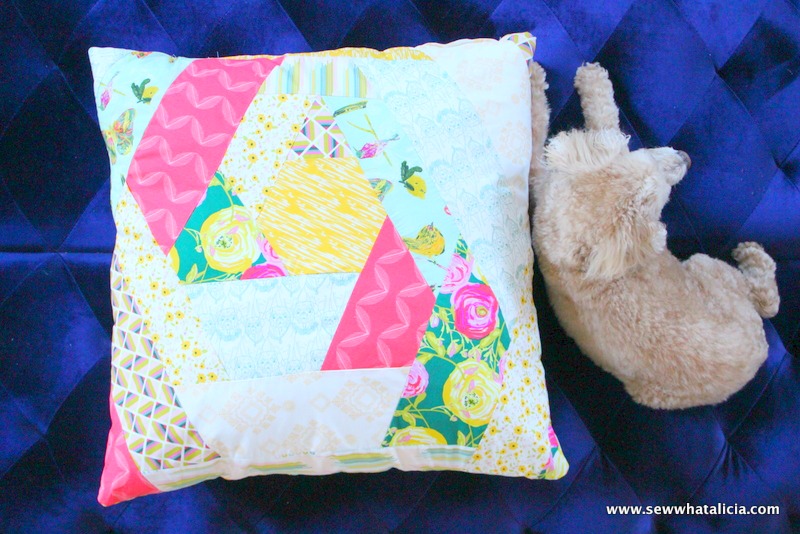


Leave a Reply