Easy Quilt Blocks with Cricut EasyPress 2
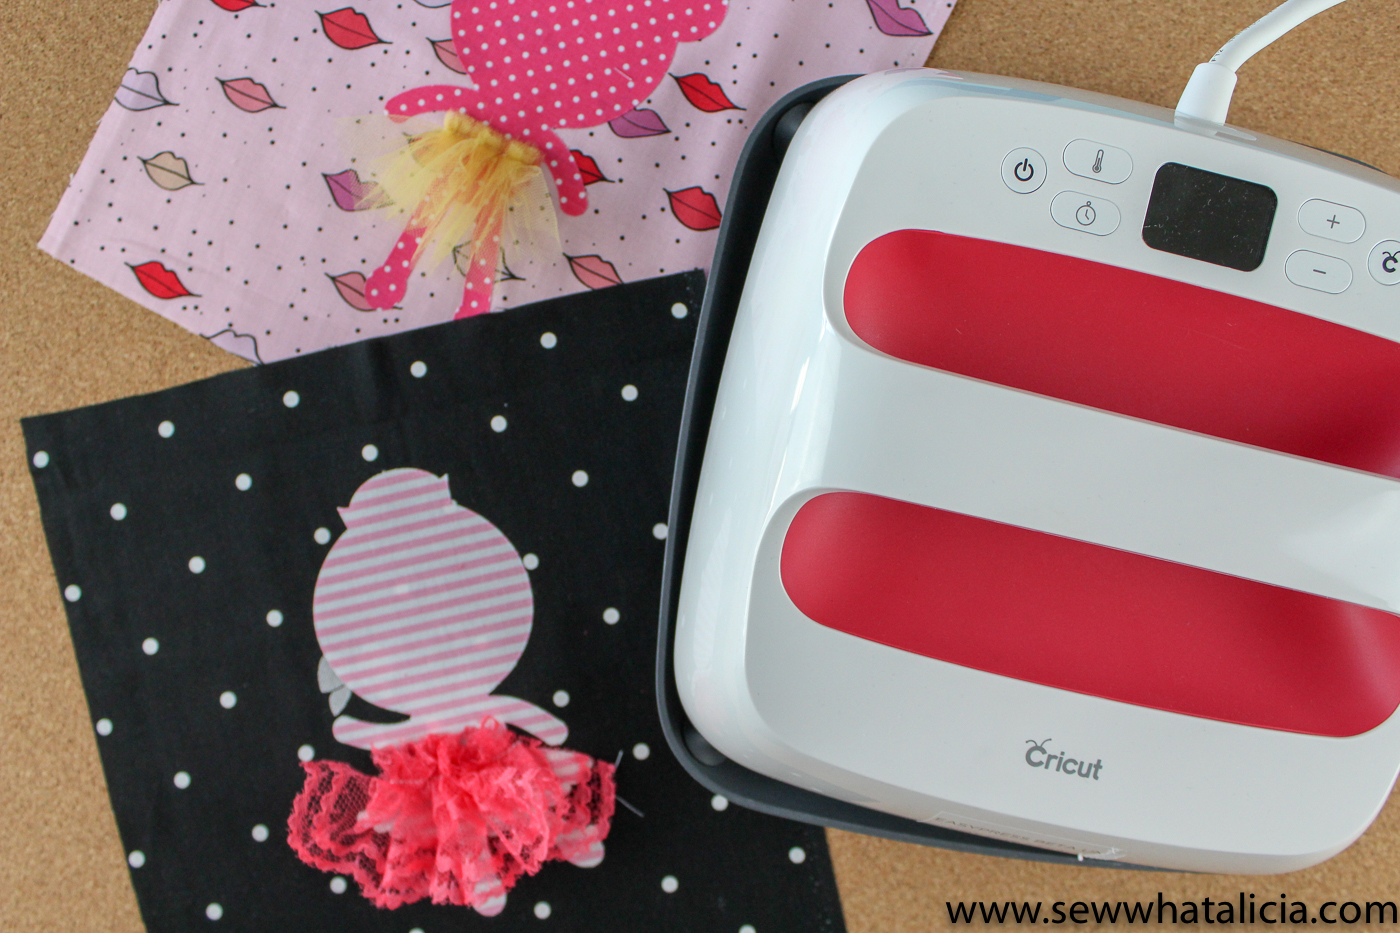
If you have seen any of my posts in the last year you have seen the Cricut EasyPress. I LOVE it so much, so when they announced the new Cricut EasyPress 2 I was naturally super duper excited. It comes in three different sizes, which I find ridiculously helpful. The original press is a great size but sometimes you need something a little smaller to be functional for quilting and sewing projects. The new EasyPress 2 is perfect for smaller projects and it heats up quickly and adheres your items in less than 60 seconds. My favorite part about the new press is that it remembers the last heat setting you used, so no more clicking repeatedly to get back to where you were! Plus it is a beautiful raspberry color which really makes me smile! Here is how to make some adorable easy quilt blocks with your Cricut EasyPress 2.

Easy Quilt Blocks with Cricut EasyPress 2
This is a sponsored conversation written by me on behalf of Cricut. The opinions and text are all mine.
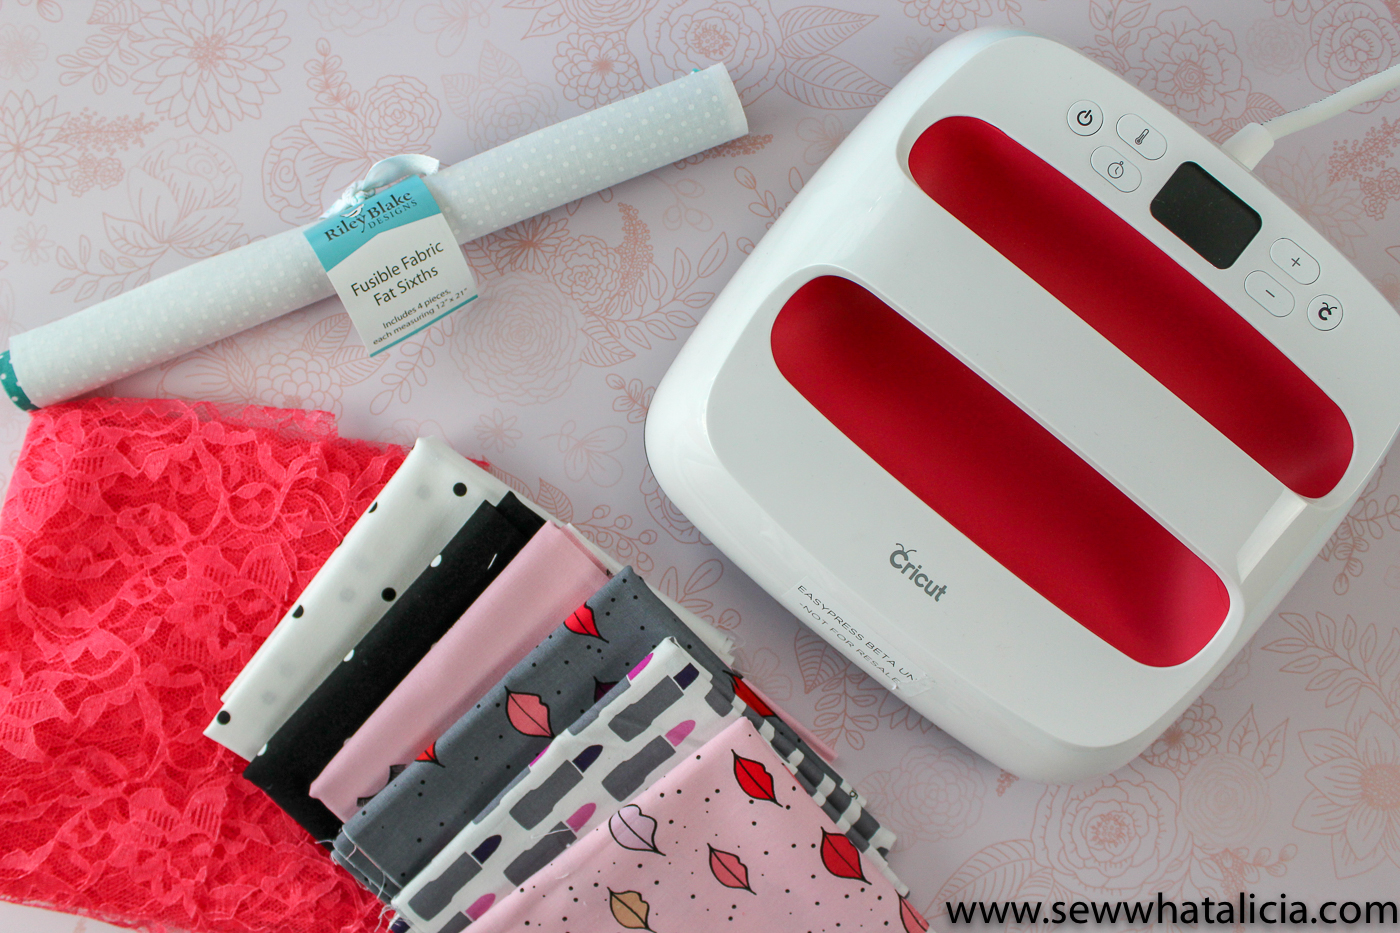
Easy Quilt Block Supplies:
Quilt Block Cutting Instructions:
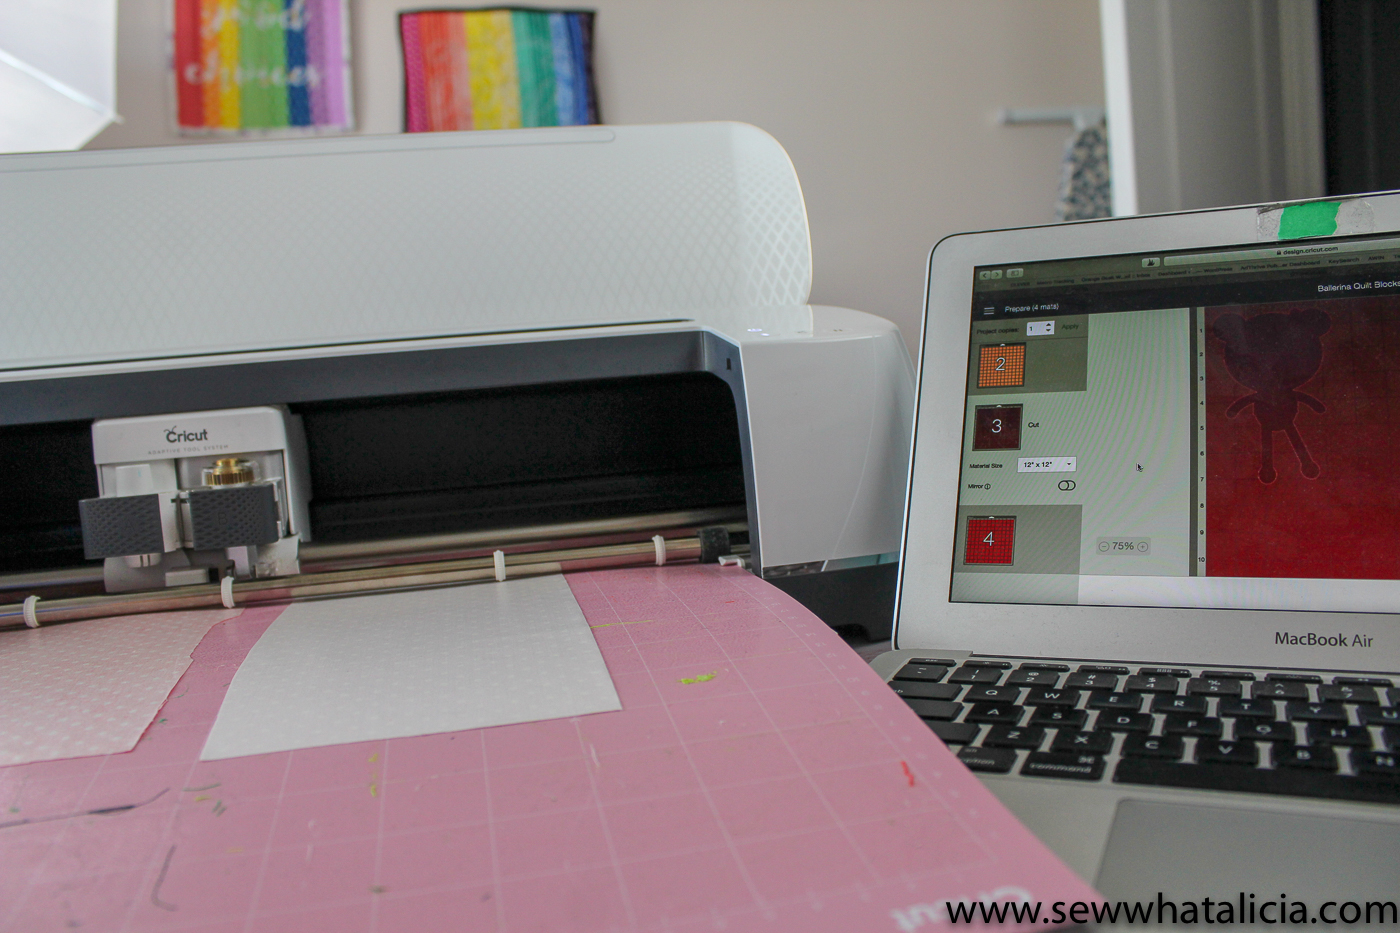
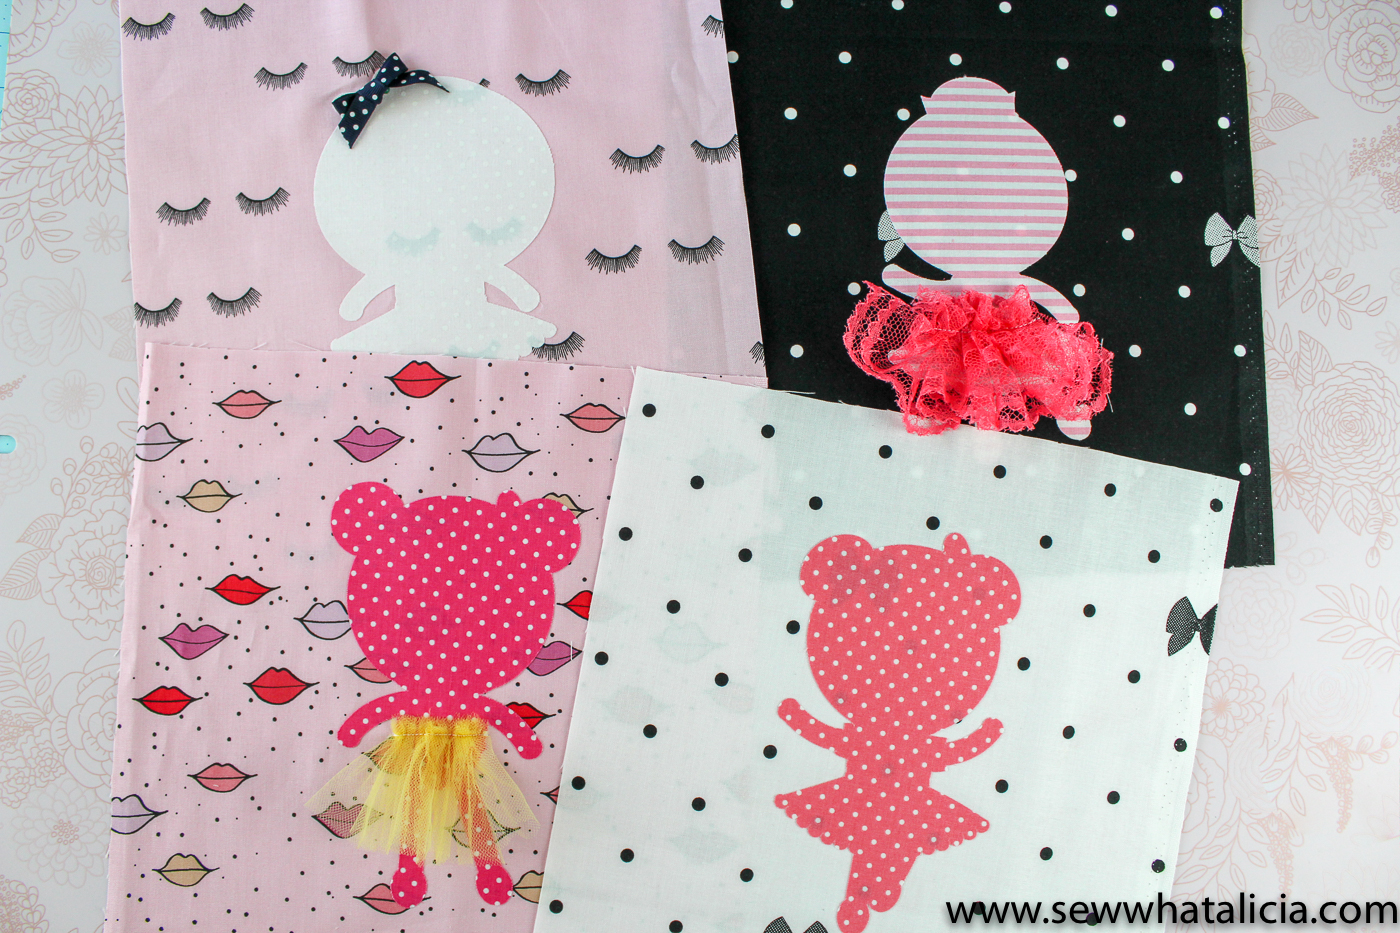
For each block you want to cut one square and one ballerina. Head to the design space file linked above. Then click make it. I have removed the contours and details for the ballerinas to keep the blocks as simple as possible. When you click make it you will have four squares and four ballerinas ready to go.
You can place a large piece of the fusible fabric onto the mat. Or cut rectangles large enough for each ballerina and line them up on the mat together (as I have done below.) Be sure to mirror the image and place the fusible side up on the mat.
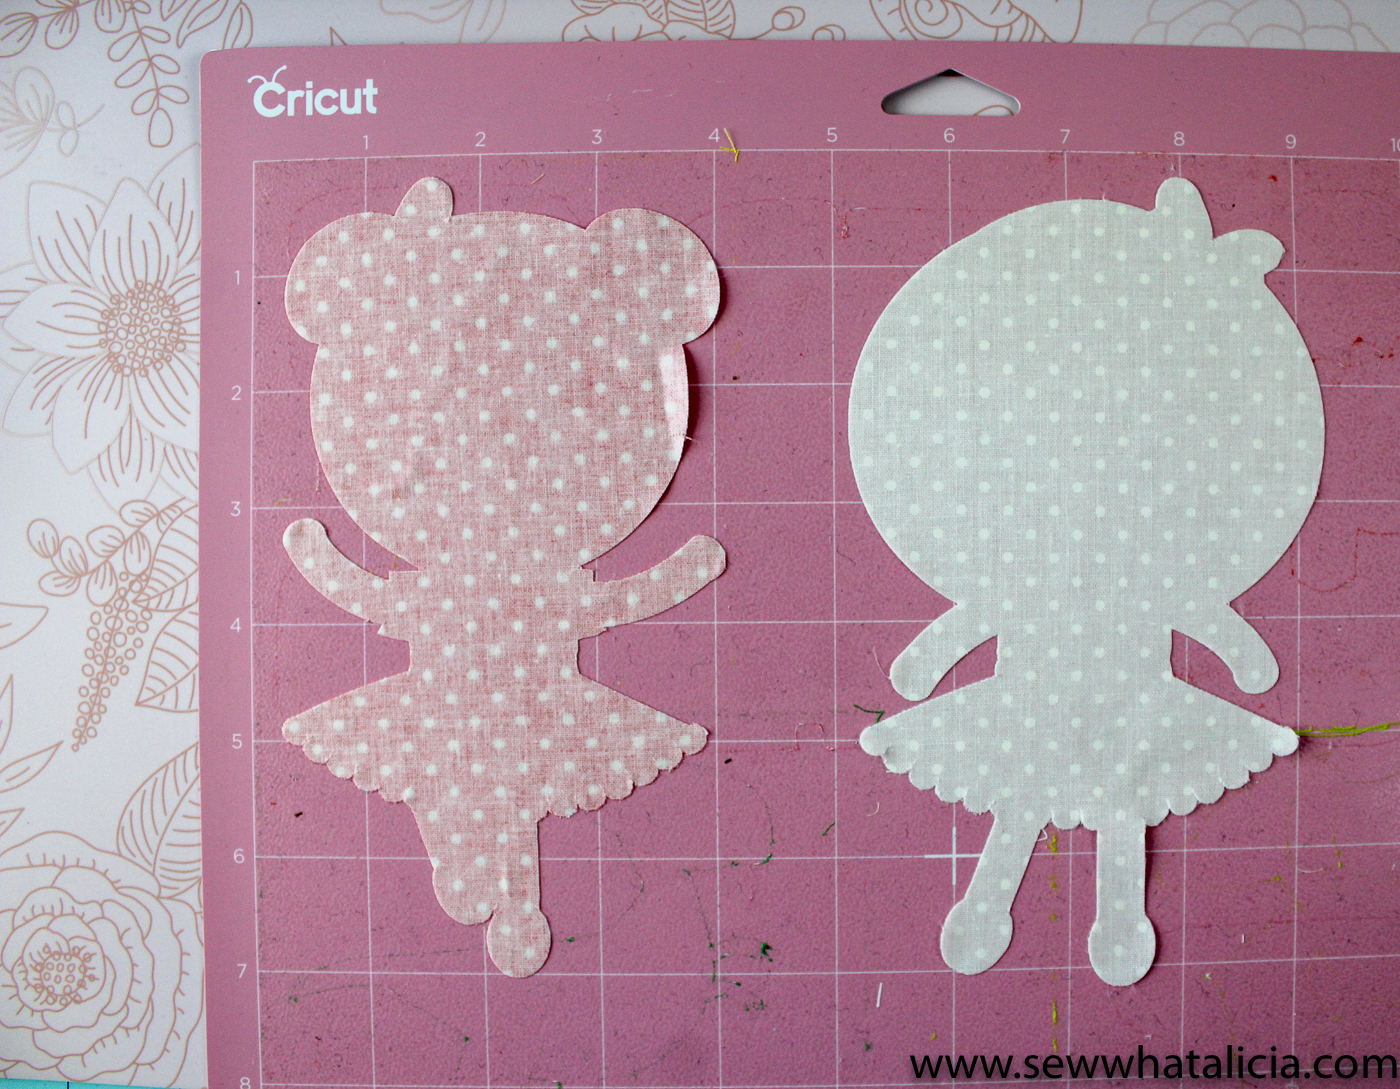
Use a bonded fabric blade or the rotary cutter to cut the ballerinas.
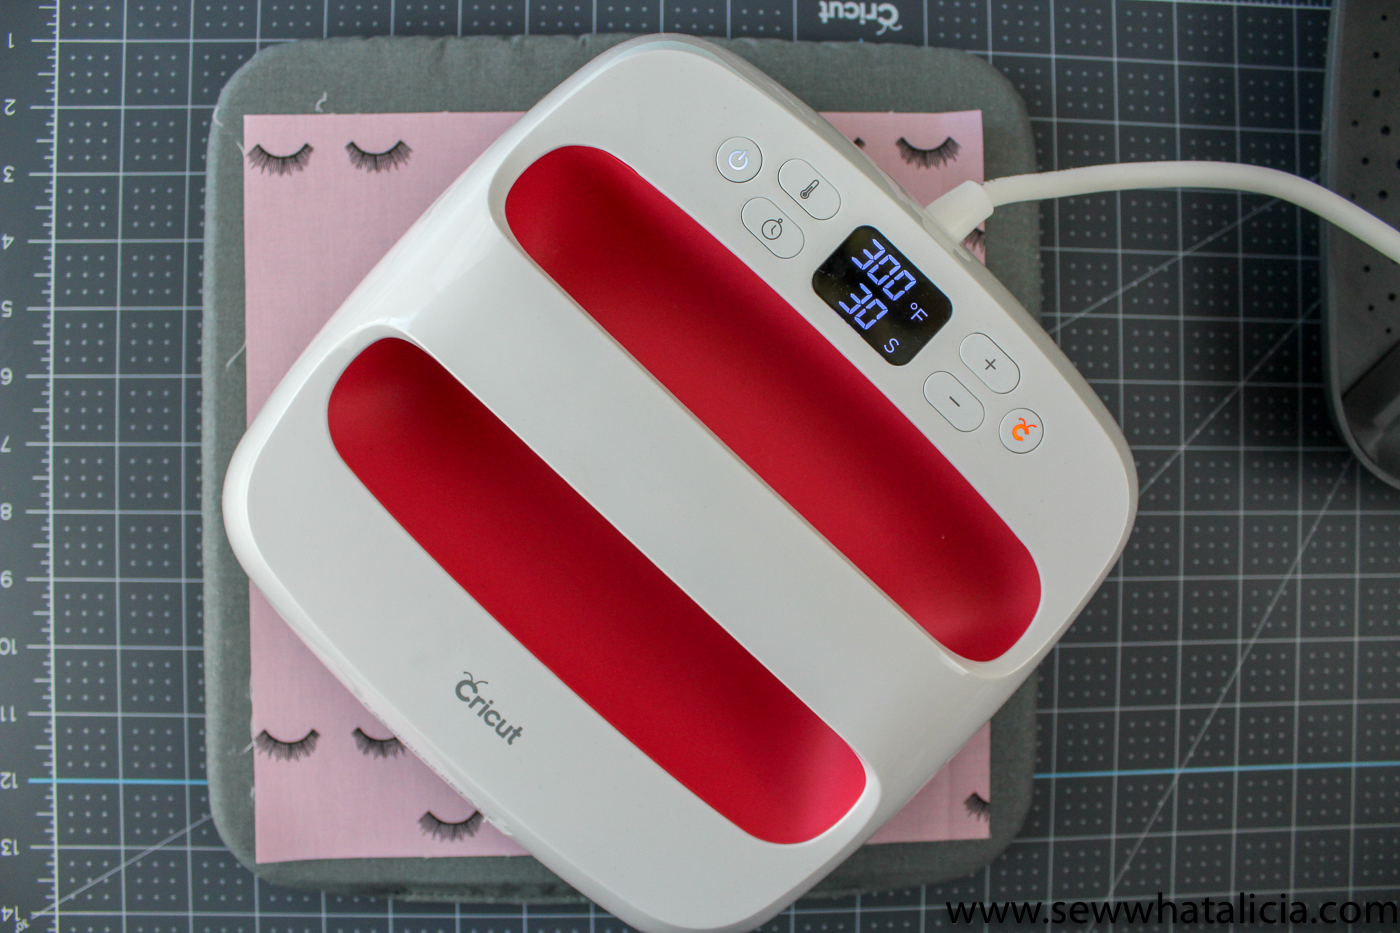
Use your EasyPress to press each ballerina onto the square.
Finishing the Easy Quilt Blocks:
Grab a strip of tulle and line it up with the far edge of the ballerina skirt. You want a long strip. Tulle bunches easily and needs lots of fullness to look right. You can trim the excess after it is attached. Back stitch the edge in place. Then scrunch the tulle under your sewing machine foot.
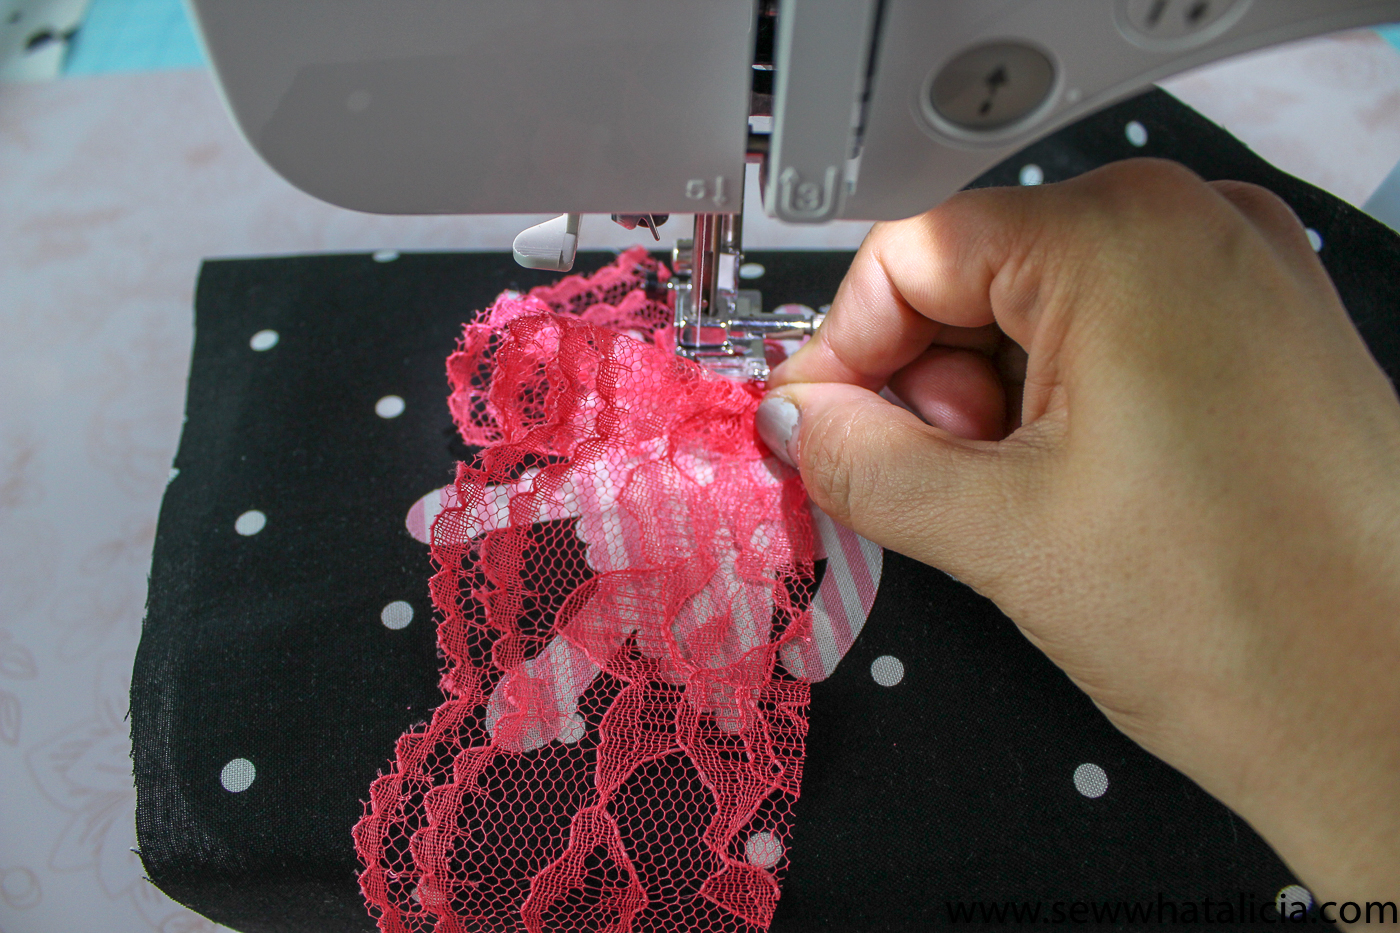
Sew the tulle in place, scrunching as you go. You can trim any excess if you have too much at the end. You can also trim above the stitching on top to create a straight line (as I have done with the yellow tulle ballerina.) Or trim the bottom if it is too long. Last try adding a few rows of tulle to make the skirt even fuller or to add different colors to one skirt.
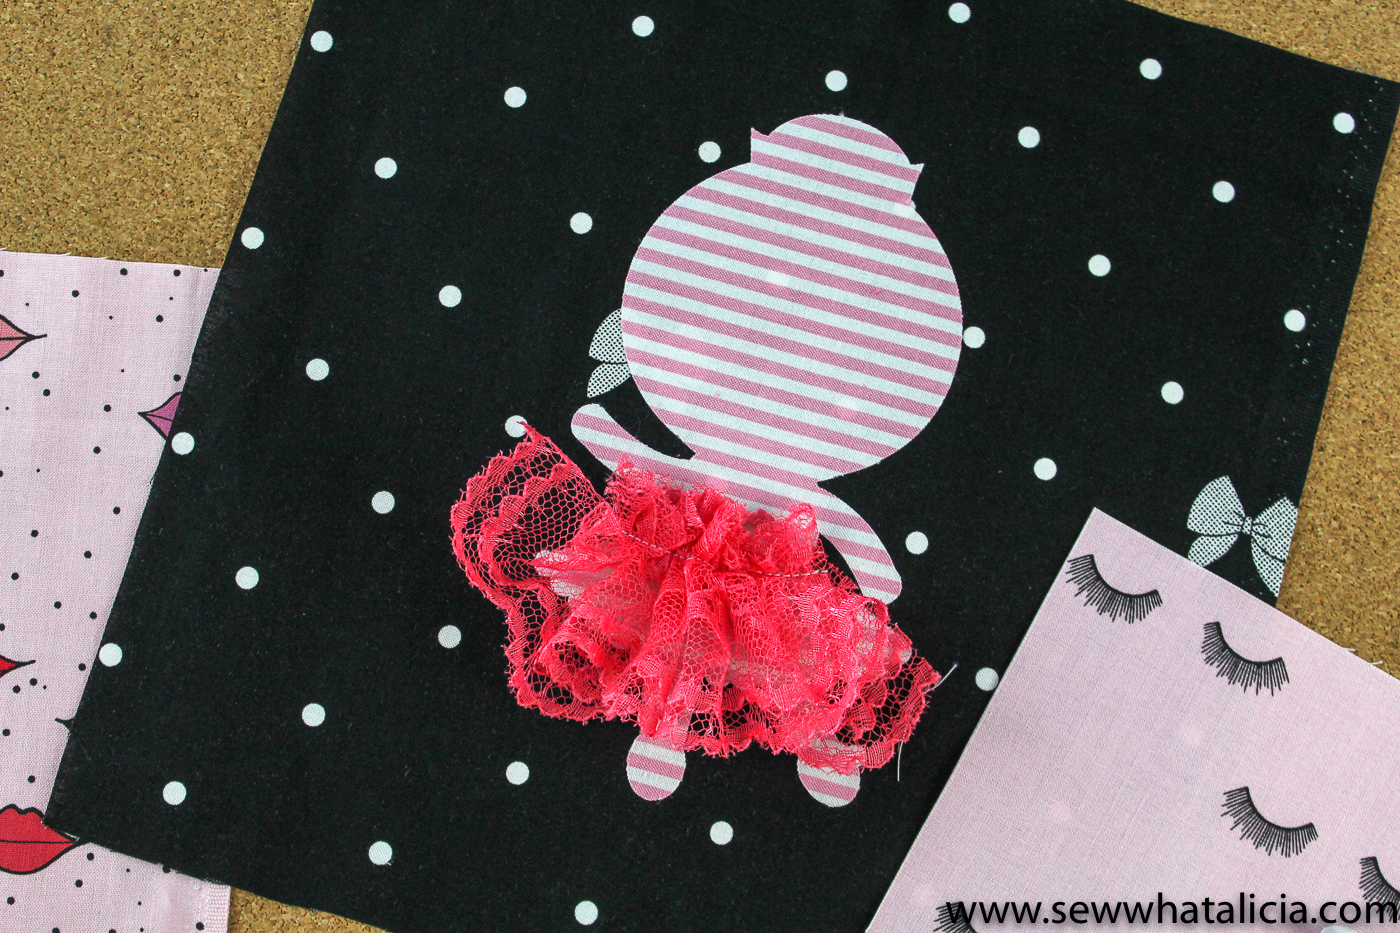
Add tulle or ribbons to each ballerina. Or leave them with nothing. Whatever floats your boat!
Once you have enough blocks sew them together to create a quilt. You could also hang them as a wall hanging or bind them to create tag blankets. The options are endless. Have questions about these easy quilt blocks? Share with me in the comments below.
This is a sponsored conversation written by me on behalf of Cricut. The opinions and text are all mine.


Leave a Reply