How to Use a Cricut Maker
The Cricut Maker is one of my favorite craft room tools. I have used cutting machines in the past but it wasn’t until the Cricut Maker came out that I truly fell in love with the idea of a cutting machine. The Cricut Maker is truly one of a kind with the rotary blade technology. I am not sure how I even got by in the sewing room without the Maker anymore! Here are all my tips and tricks for using a Cricut Maker plus a fun quilt block to make with your Cricut Maker.
How to Use a Cricut Maker with Fabric
This post was sponsored by JOANN. I have been compensated for this post. All ideas and opinions are my own.
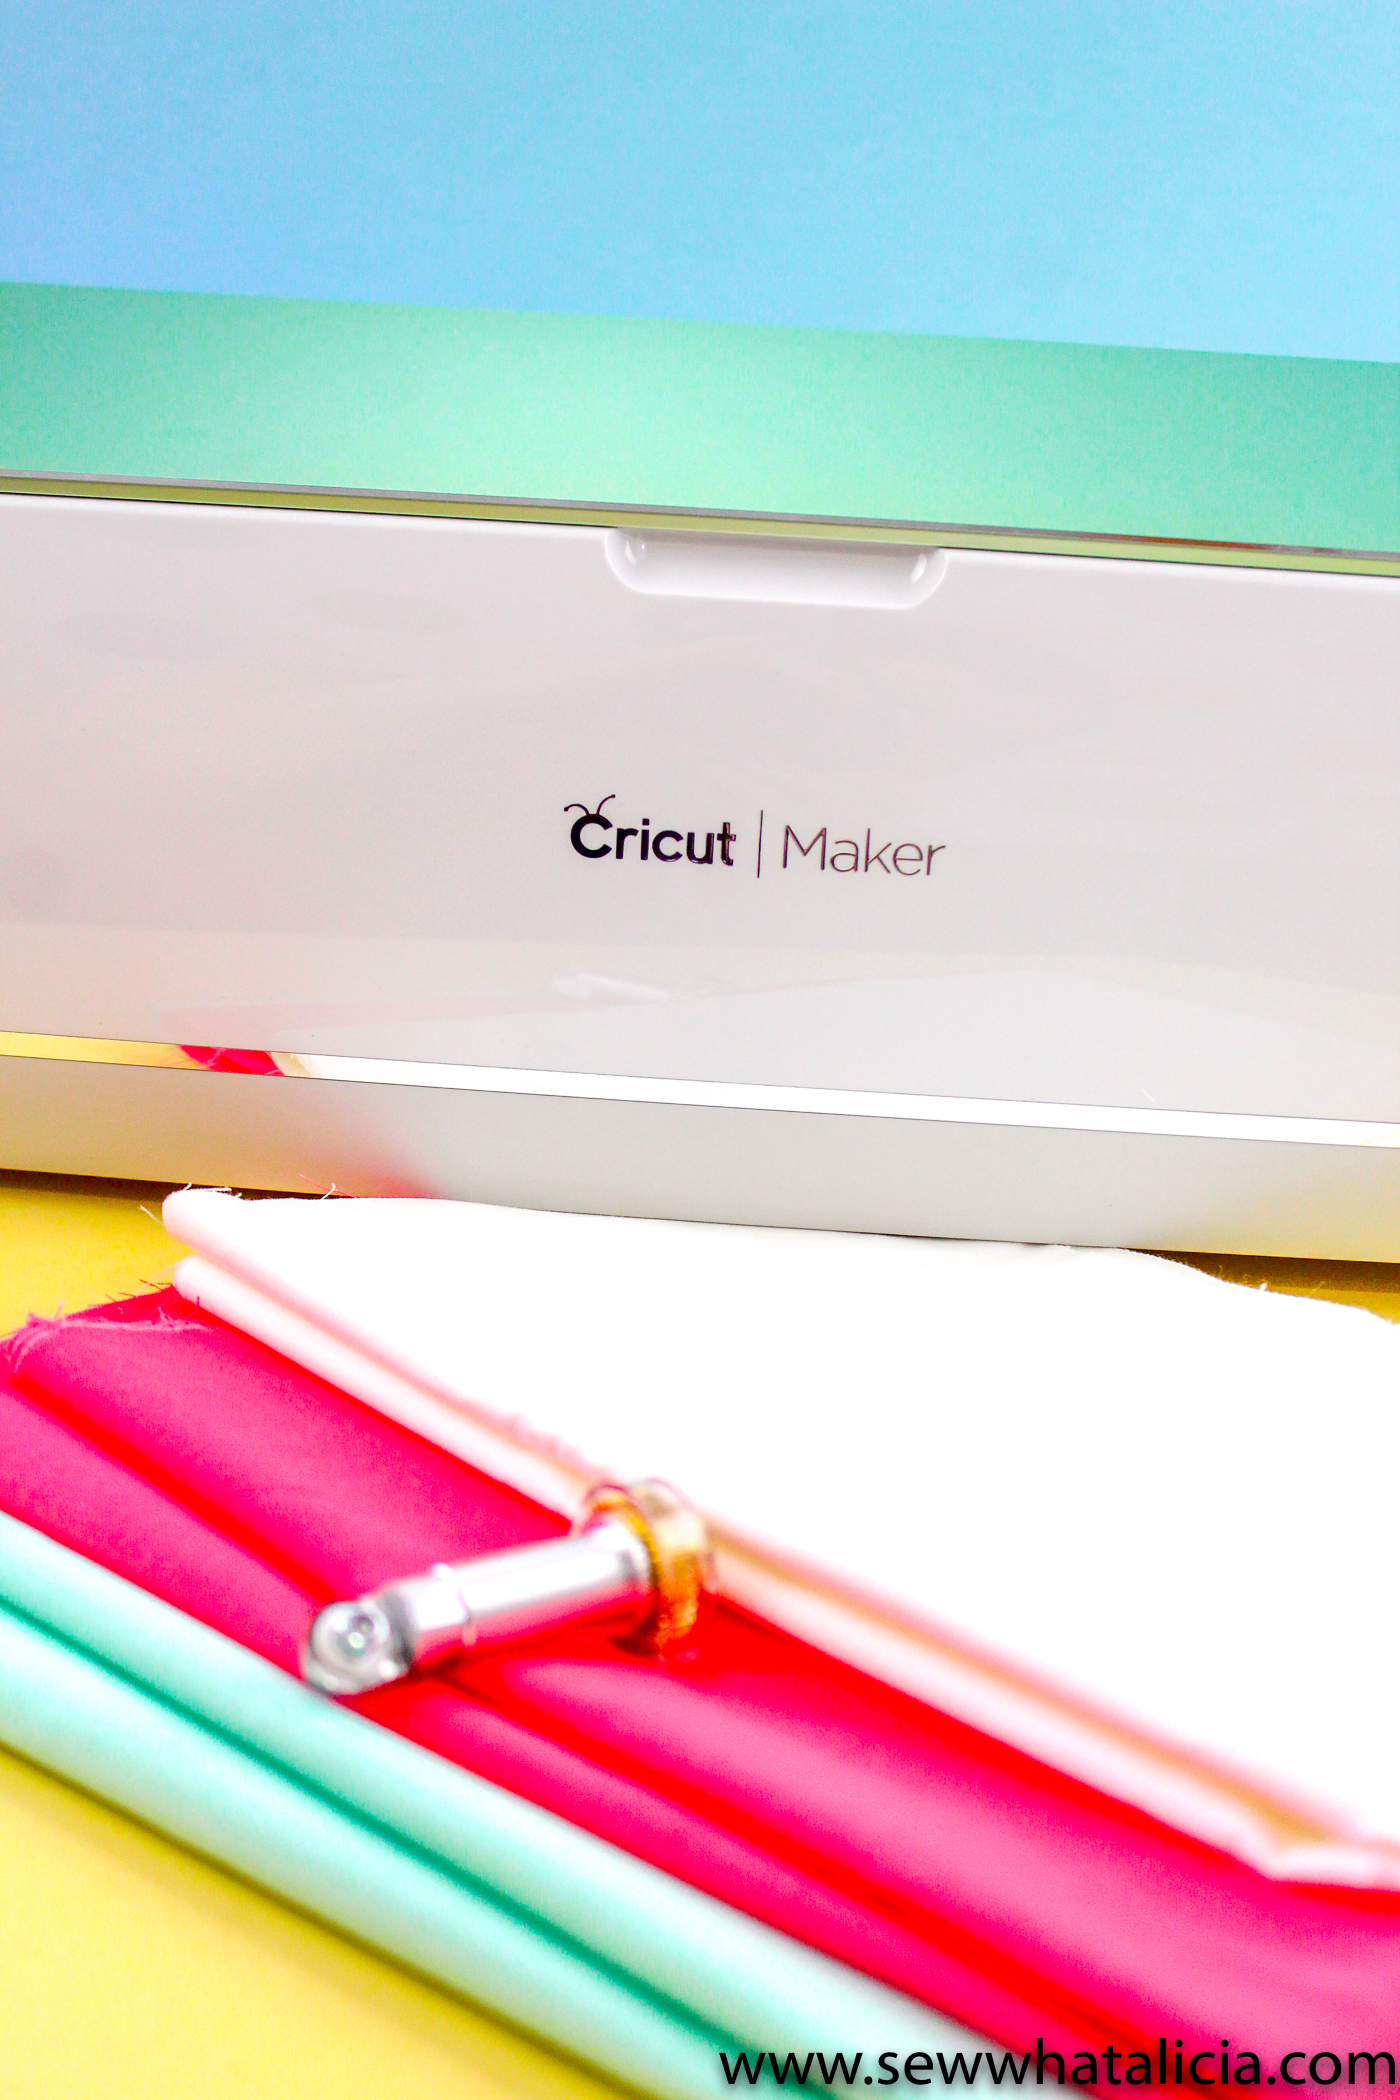
I am a total sucker for all things colorful, especially Cricut machines (see my COBALT Explore Air 2 post HERE.) So when Cricut came out with the Mint Maker available now at JOANN, I knew that I HAD to have it! I always tell people I am working on my Cricut rainbow. There are so many amazing color choices but this mint is by far the best Maker color choice yet! You can also get the matching EasyPress 2 HERE.
If you don’t have a Maker now is a great time to grab one! This color is absolutely stunning, plus it is just a freaking awesome machine!
What can you do with a Cricut Maker?
The Cricut Maker is a really versatile machine. You can cut fabric, vinyl, paper, balsa wood, leather, and the list could go on for hours!
My focus on this blog is sewing. The Maker machine has made my sewing life so much easier. There are so many amazing things you can do for sewing with your Maker. Scroll down for one great way to use the machine with quilting and paper piecing.
The machine is great for English paper piecing because you can cut the fabric and paper templates at the same time in large quantities. You can easily cut felt (see my tips and tricks for felt HERE.)
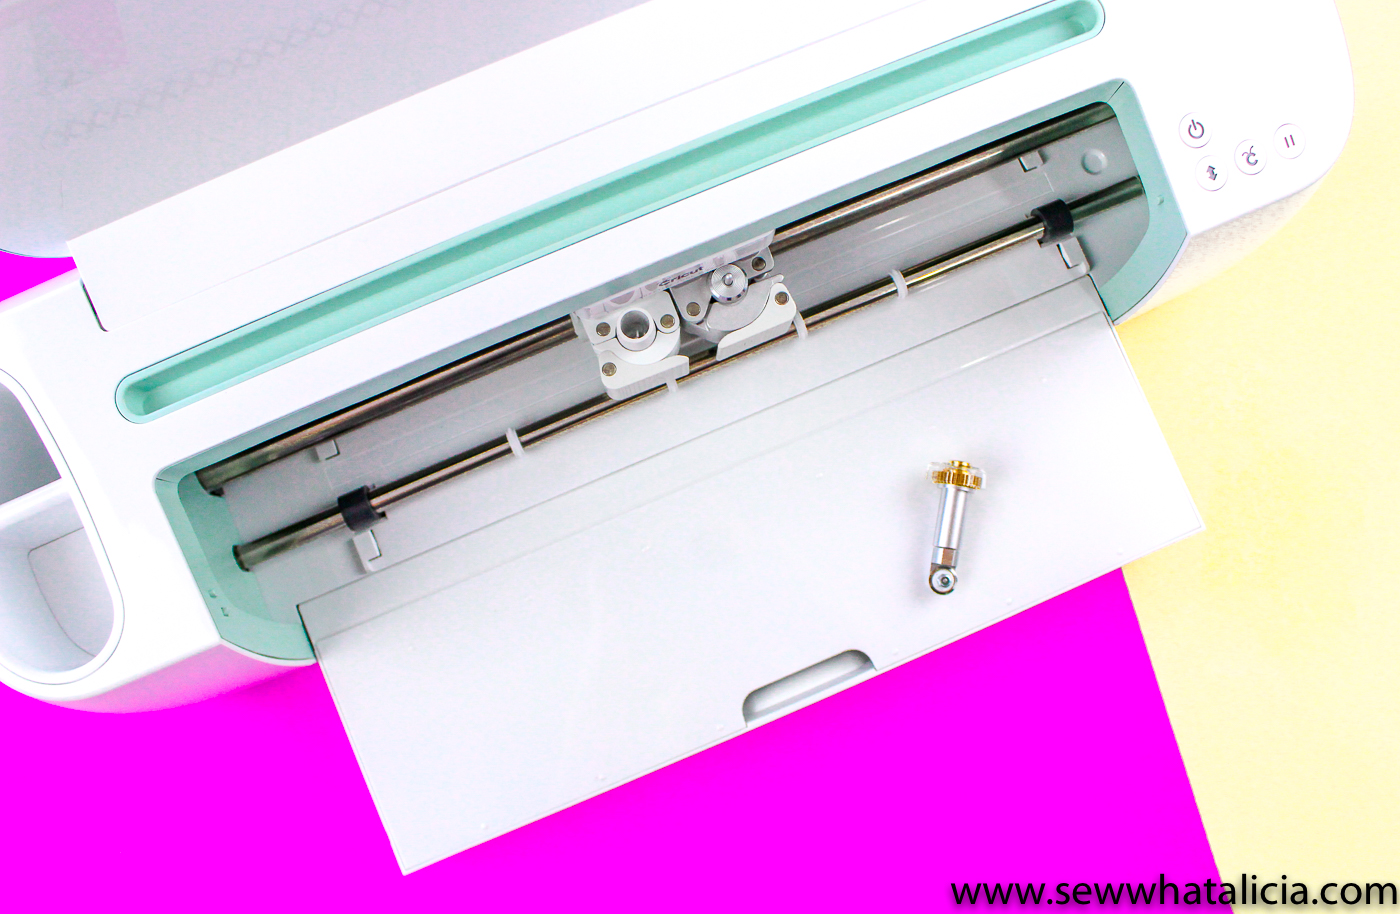
How do I connect my Cricut Maker?
There are two ways to connect the Maker. It has bluetooth so you can follow the directions to set up bluetooth using your computer or tablet. Or you can use the usb cord that comes with the Cricut Maker to directly connect your Maker and your device.
If you have trouble connecting via Bluetooth try THIS page for troubleshooting tips from Cricut.
To connect via the USB simply plug the adapter into your computer and the Cricut Maker. Then when you are ready to cut your project turn the machine on, select the Maker (usb) from the drop down list and you are ready to cut!
Do I need cartridges for Cricut Maker?
Nope. The Cricut Maker doesn’t take cartridges. You will cut your images using Cricut Design Space. So you can either upload images to design space or you can use images that are already in design space. Cricut access will let you have access to tons of images in Cricut Design Space. You can also purchase images from independent designers on Etsy. You can find free cut files on blogs like this one! Lastly you can make your own images if you are handy with Adobe Illustrator or free programs like Canva.
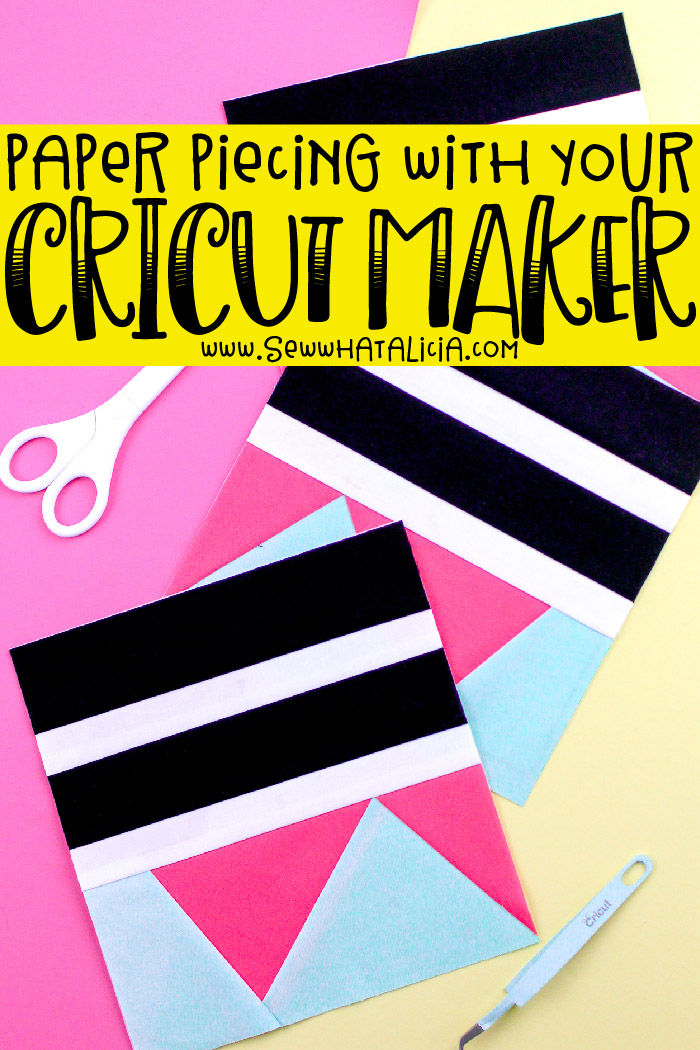
Quilting with Cricut Maker
Foundation paper piecing is perhaps my favorite type of quilting. The Maker has made it SO easy for me quickly cut pieces for my blocks. I have designed a super fun quilt pattern made up of FPP blocks and long wide fabric strips. This one is made easier by using the Maker to cut all the shapes for the pieced blocks! No more guessing if you have cut your piece large enough to fit the block.

Supplies:
Quilt Pattern and Blocks <— This is a zipped folder with everything you will need to create an entire quilt. This includes the paper piecing templates for the three different pieced blocks. It also includes the svg files to cut all the pieces for those blocks using your Maker. Last it includes the pattern and dimensions to finish an entire quilt top. If you are new to quilting please reference THIS post for help assembling your quilt. This pattern does not include any assembly instructions. If you are new to FPP see THIS post learn how to FPP.
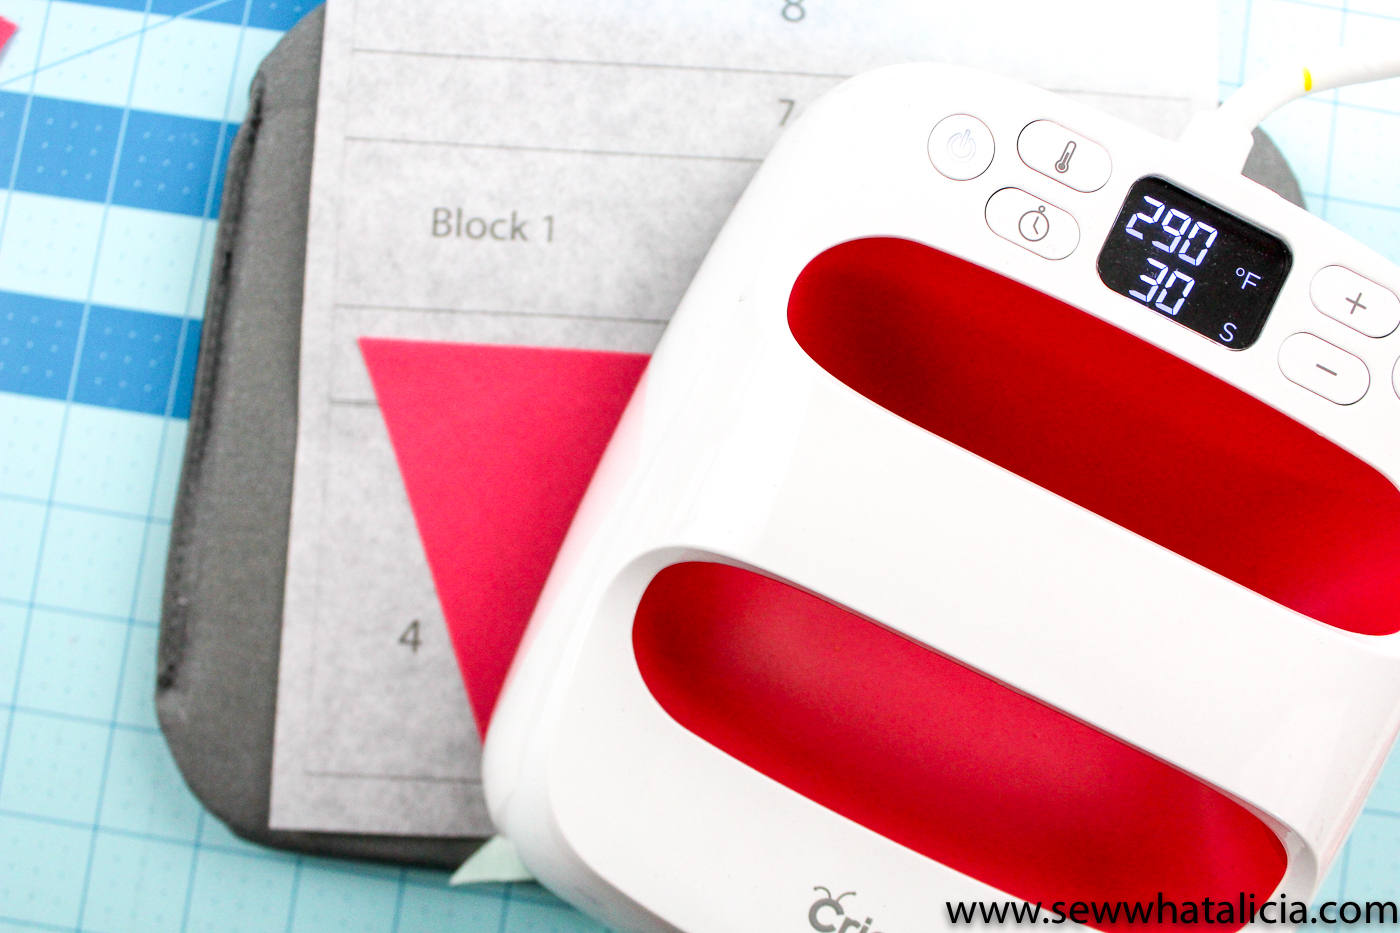
Cricut EasyPress 2 (or an iron but I LOVE my EP2 and don’t even have an iron in my sewing room anymore!)
Quilting Fabric – I used Kona solids from Joann. Remember you can order it online and pick up in the store without having to wait at the cutting table, you’re welcome!
Thermoweb EZ Print Quilt Block Sheets – I won’t FPP with anything but these! They are SO easy to use and they make it so easy to FPP!
Block Pieces Cut File – Note: this also includes the cutting instructions for the full quilt pictured below.

Cutting tips:
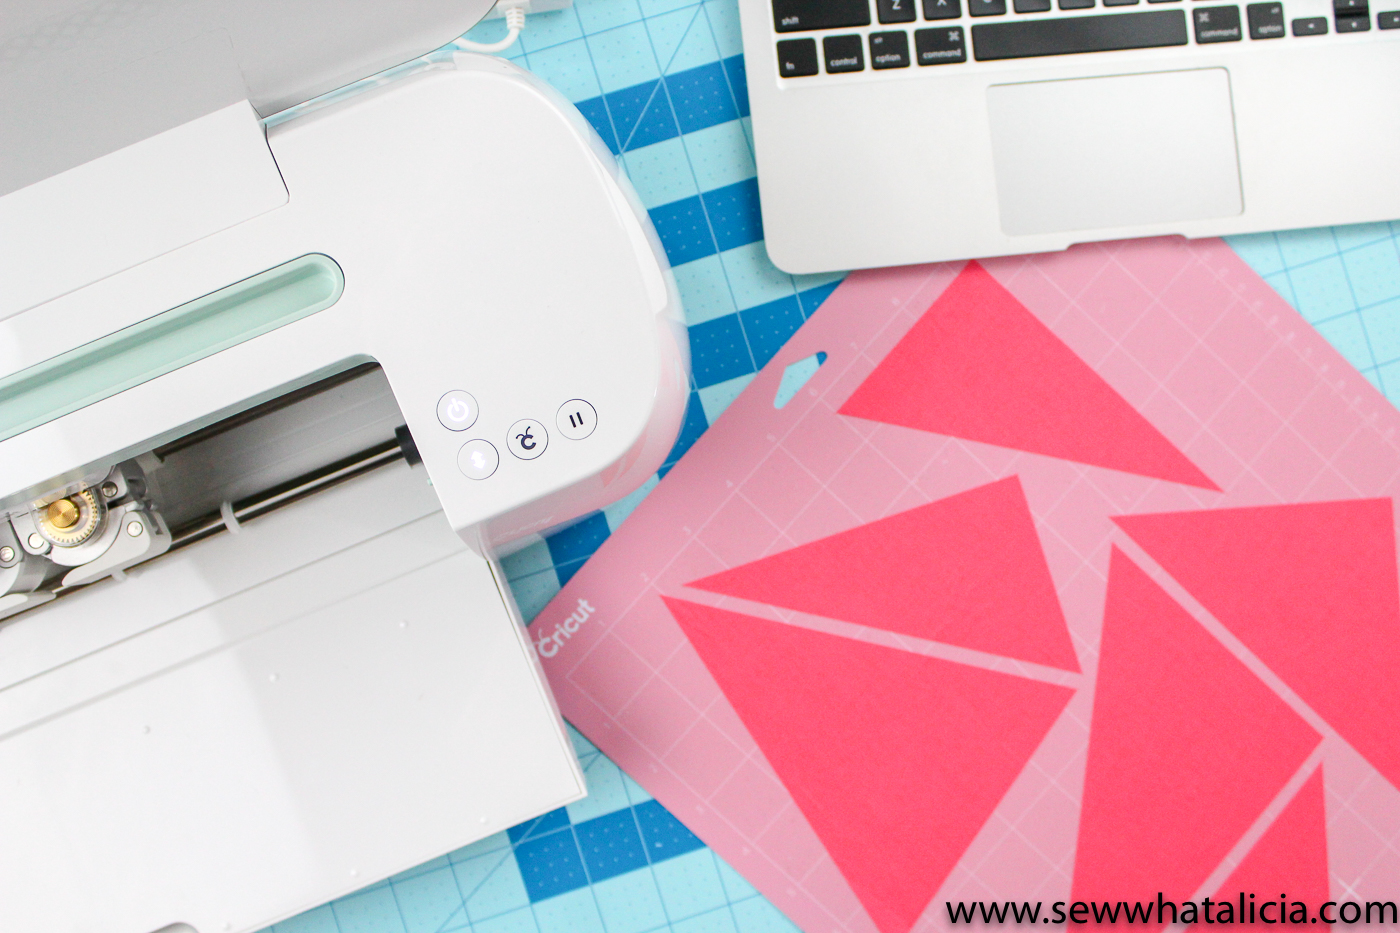
Use the pink fabric mat for cutting.
Use the brayer tool to make sure your fabric lies flat on the mat.
If you are making the full quilt you can make 4 copies on the preparation screen.
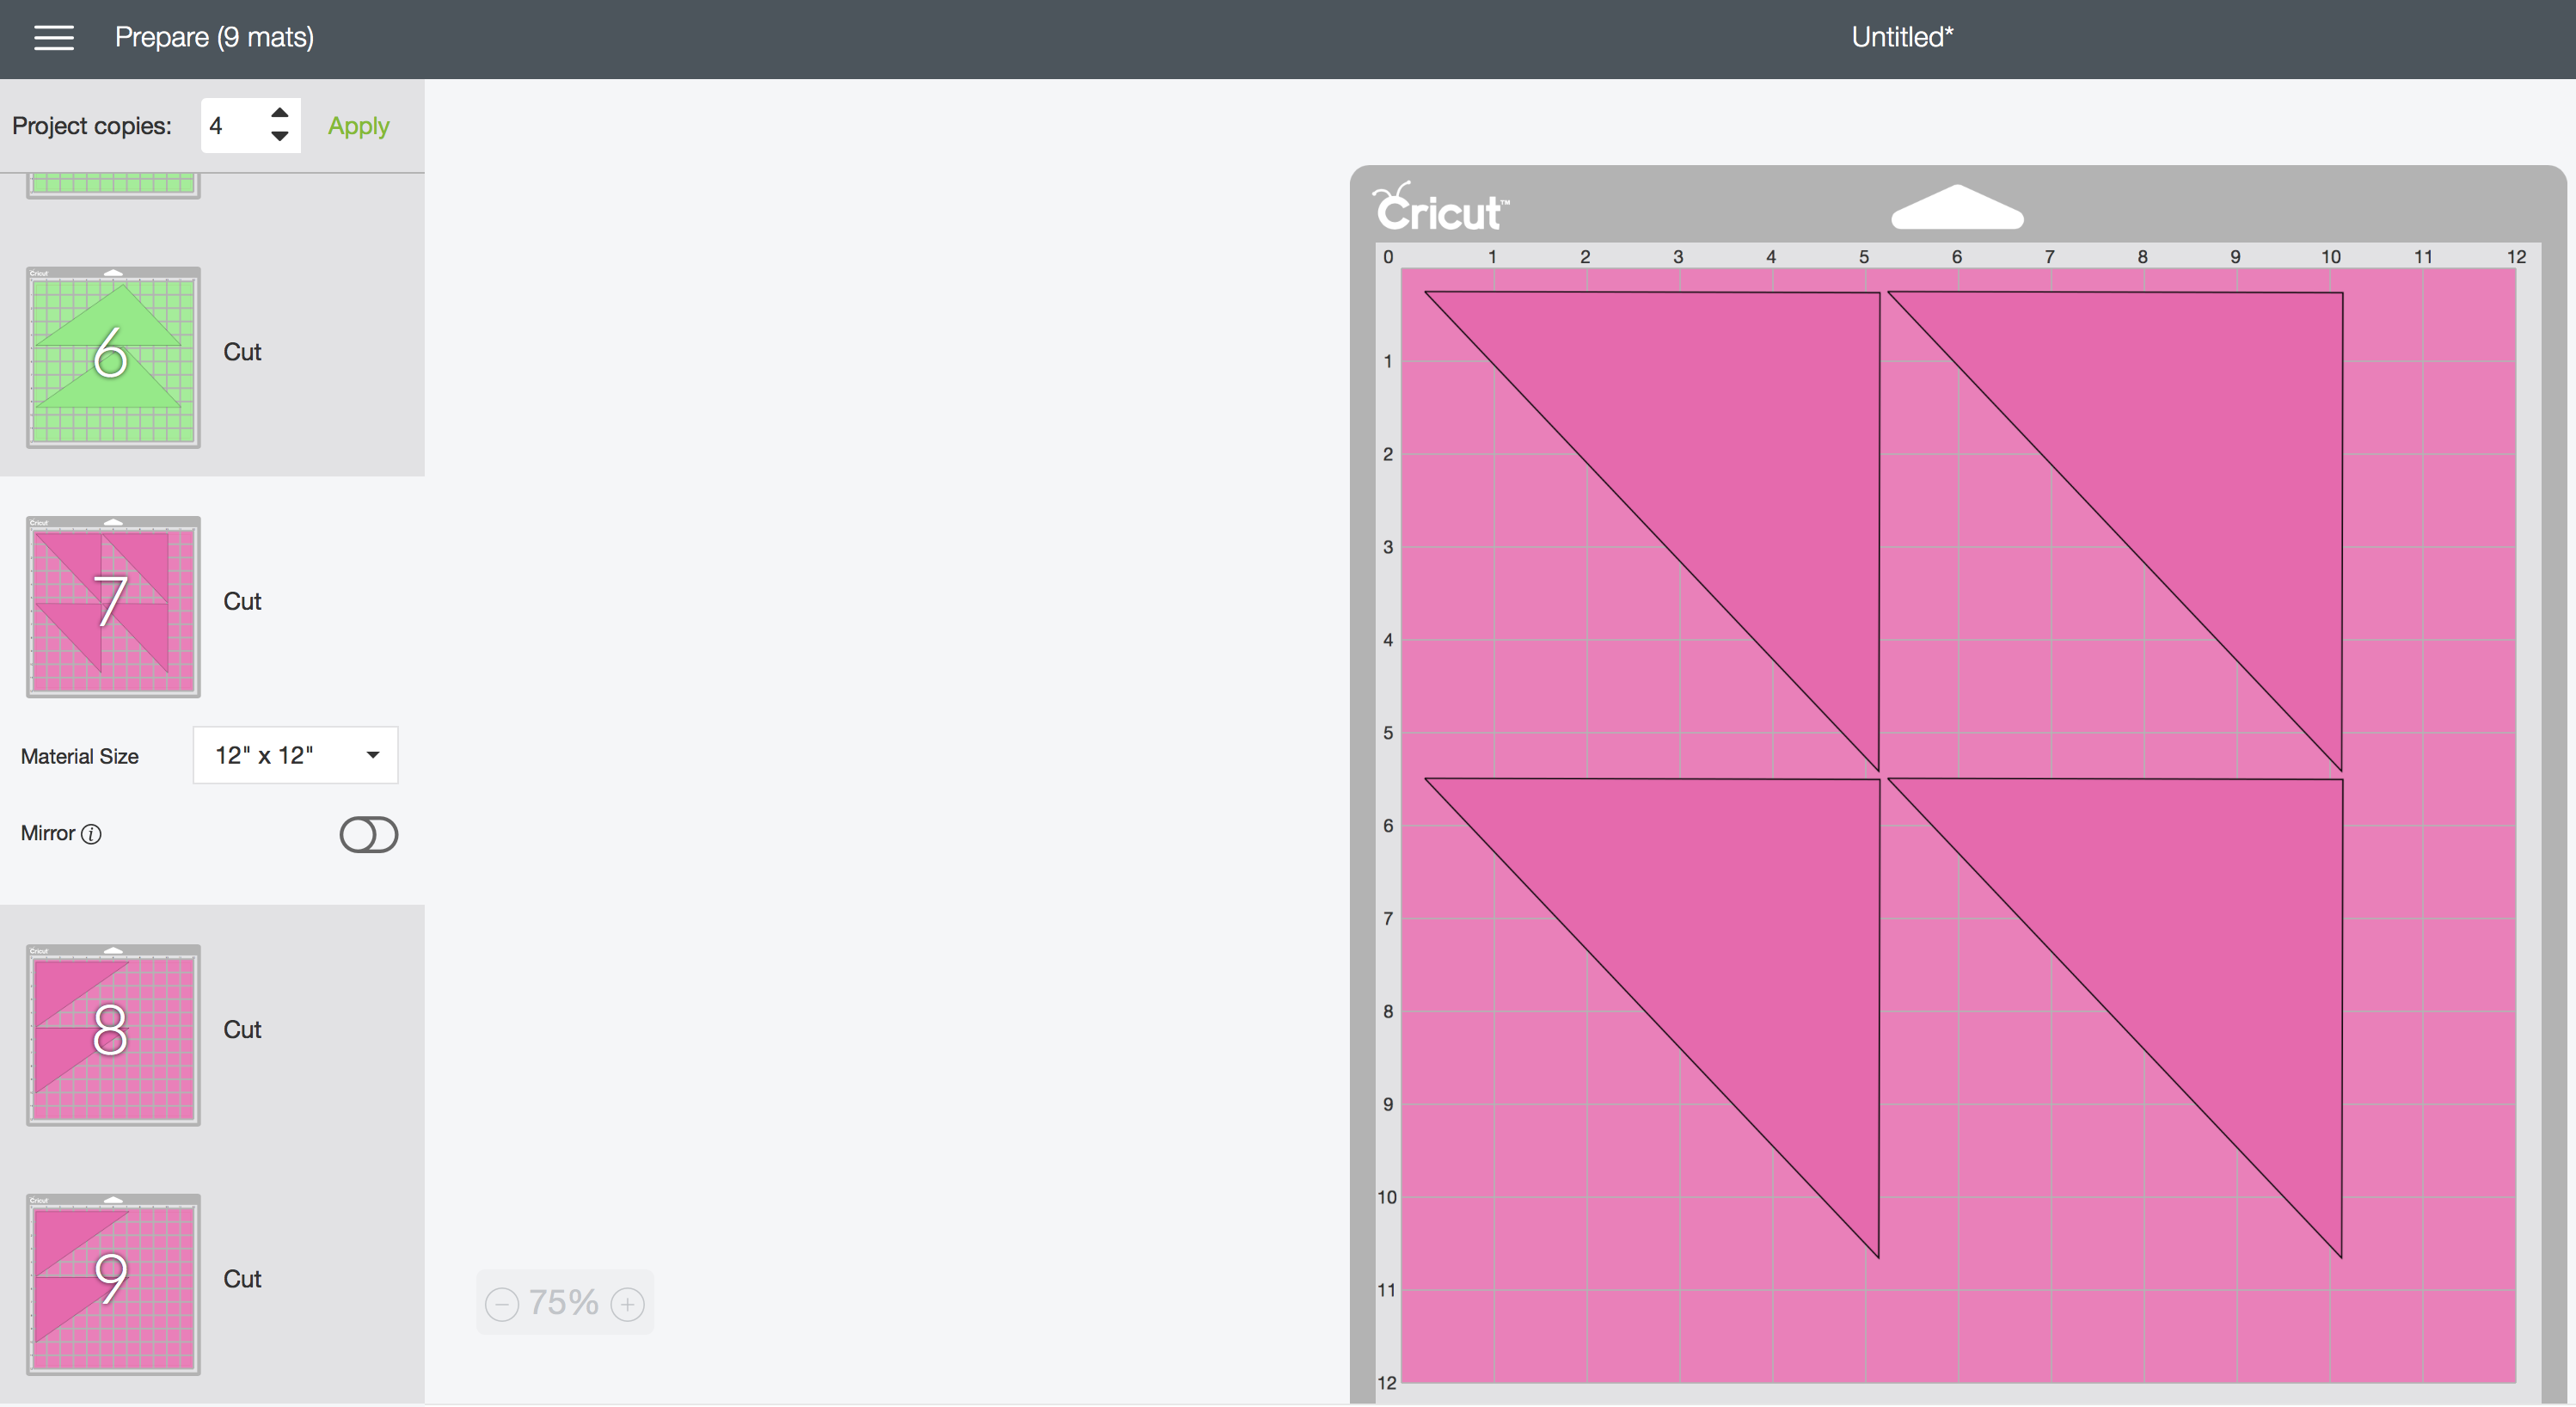
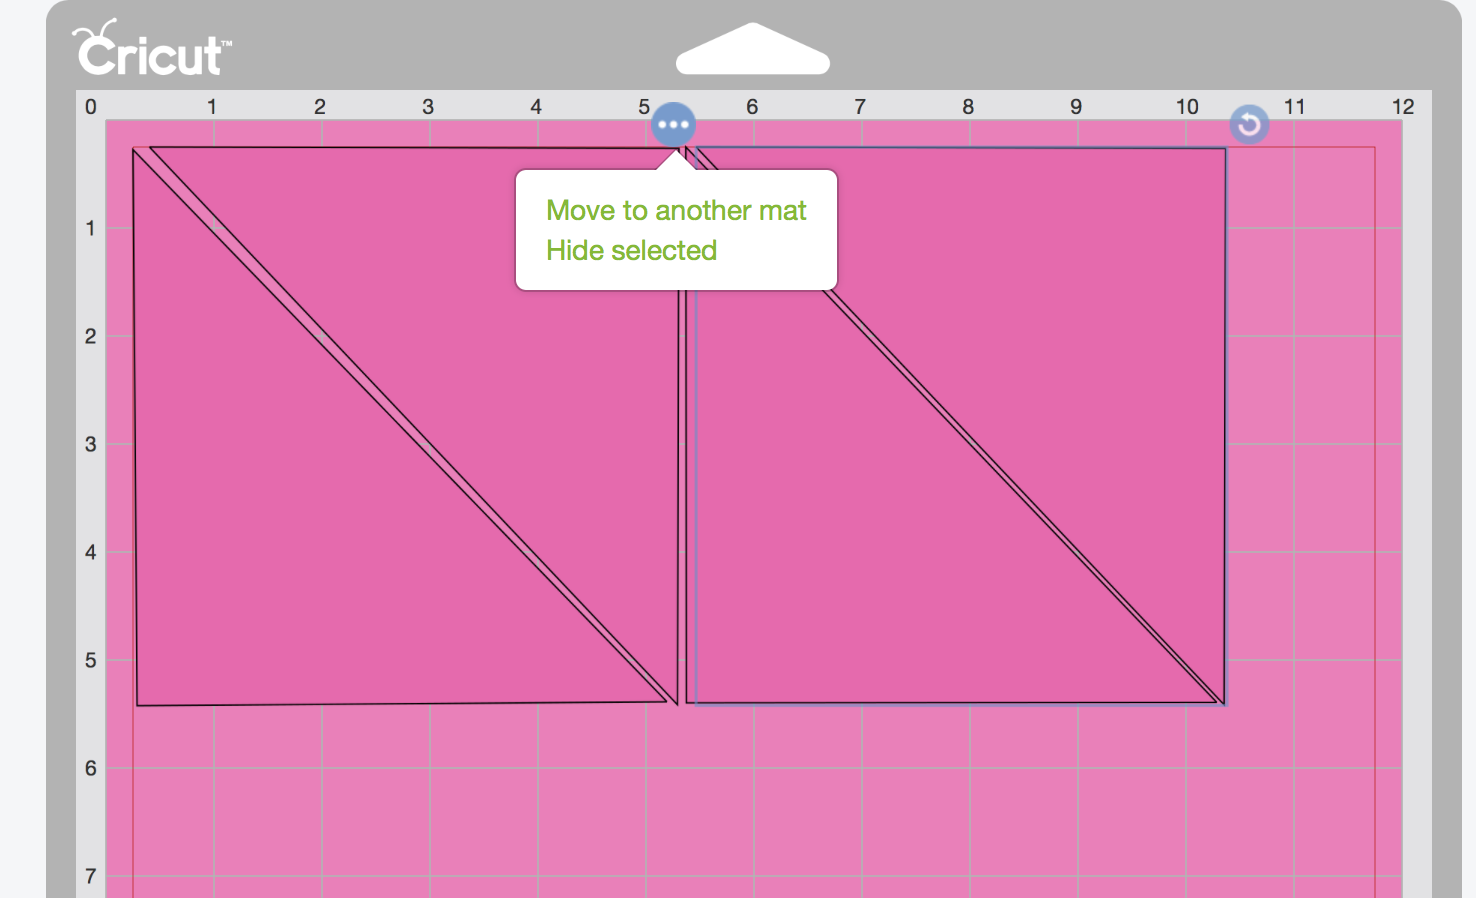
Then you can move the pieces around to avoid wasted fabric. Click the shape
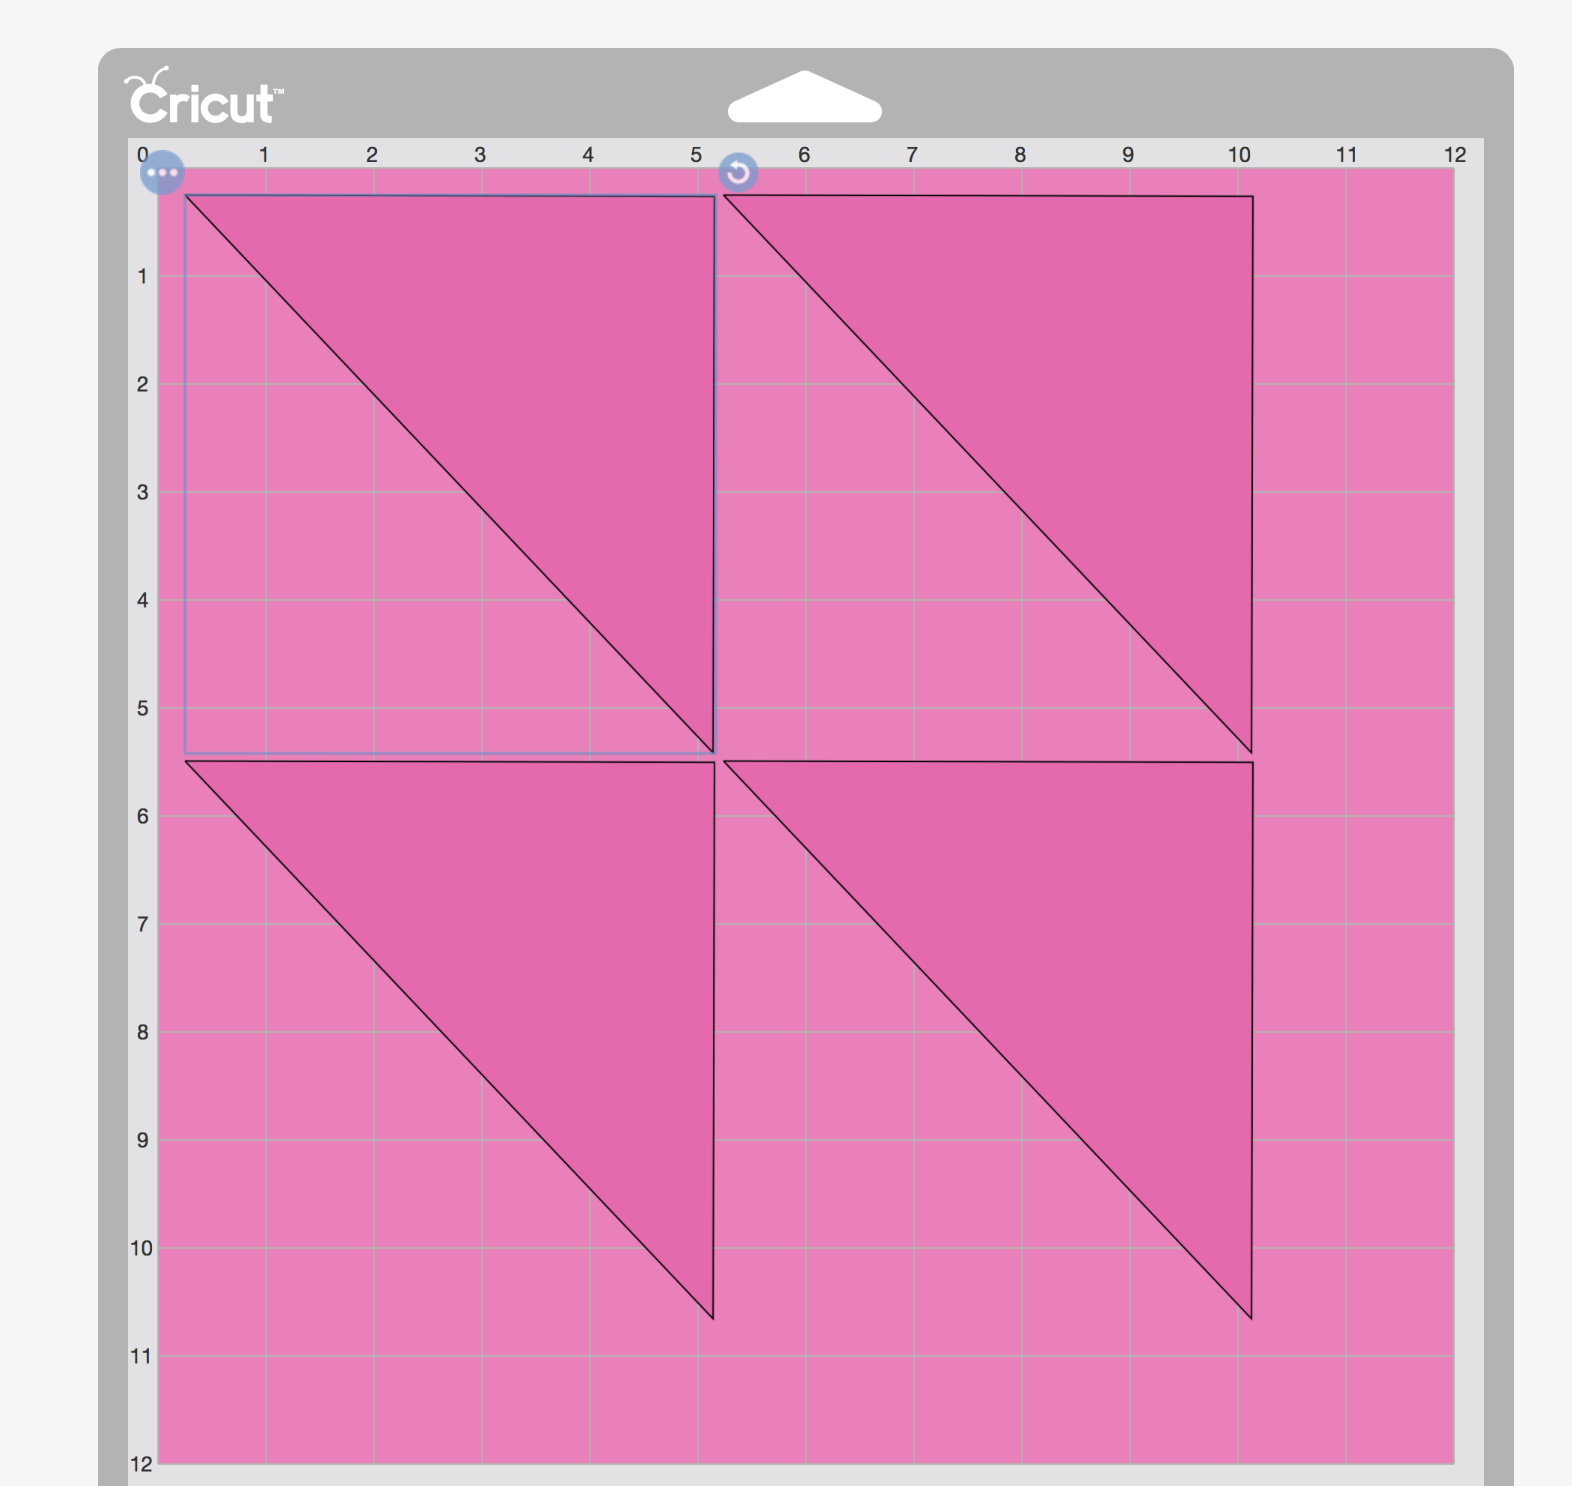
You can also move the shapes to the mats once you have made more room by clicking the three dots at the top of the shape.
Once you have cut the pieces you will have scraps for future quilting.
Use the 12 x 24 fabric mat for the least amount of fabric waste.
How to Make a Quilt Block with your Maker:
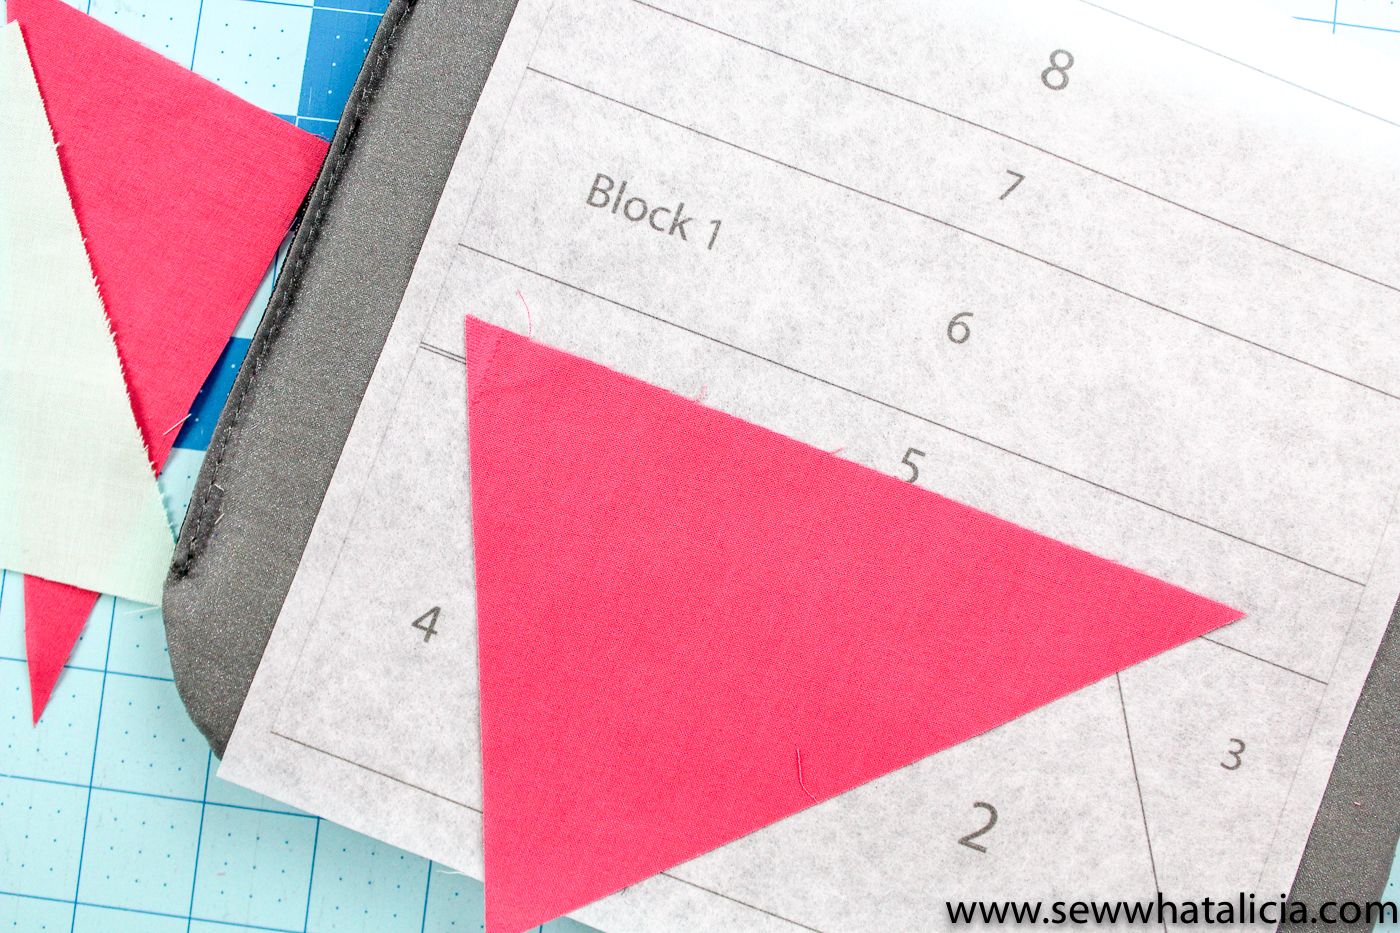
- Print the block templates onto the quilt sheets.
- Cut the fabric pieces using your Cricut Maker and the file for the fabric pieces.
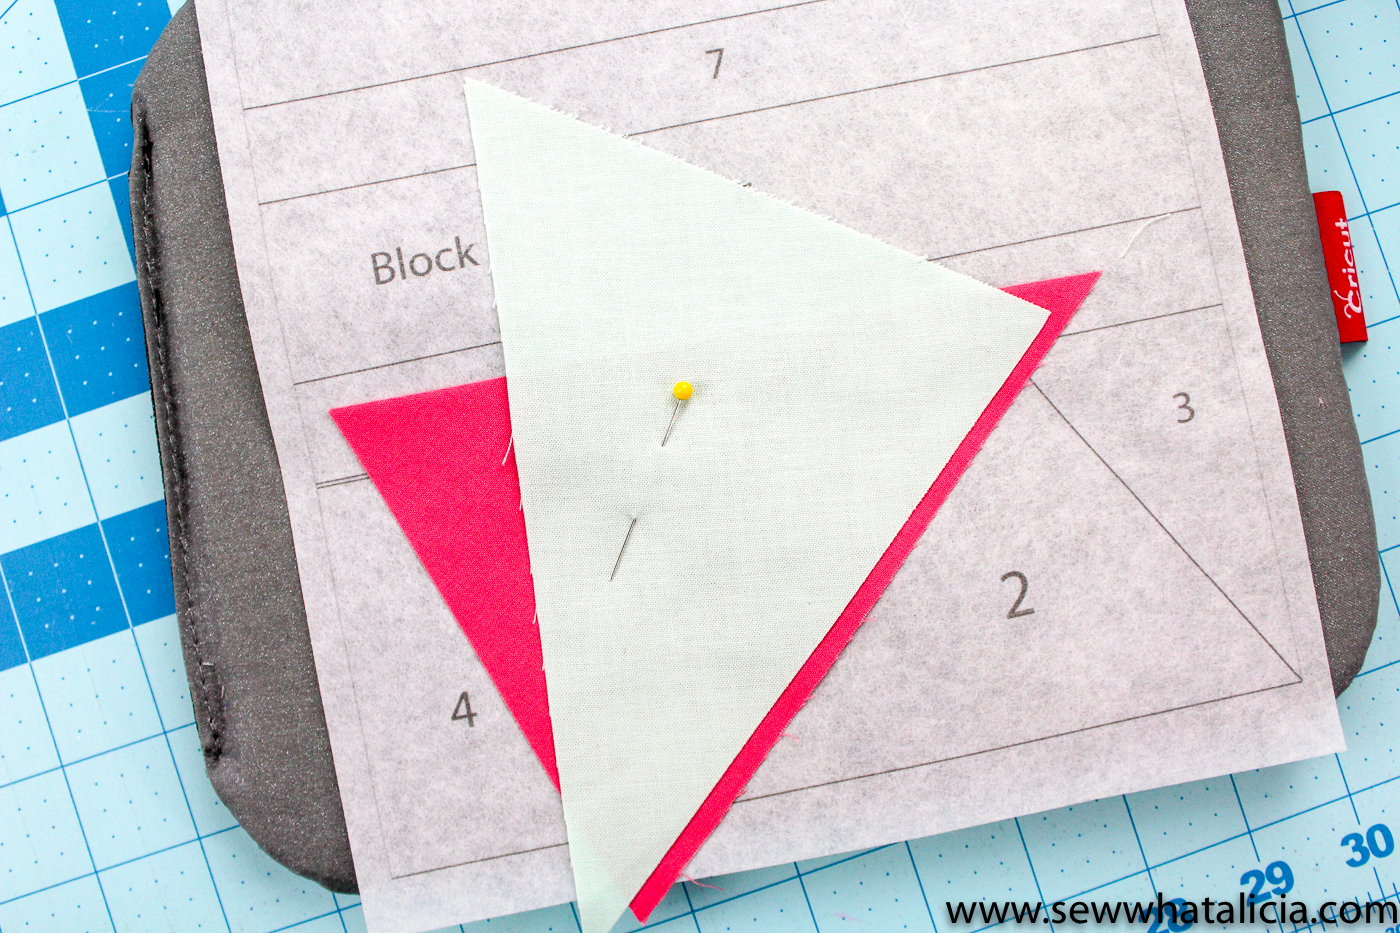
- Find the first piece and place it on the 1 on the template.
- Find the second piece and place it over the 1st piece so that the seam overlaps the line between the 1 and 2.
- You can do a test run to make sure the fabric is placed correctly by placing pins along the line and then flipping the fabric over. If the fabric doesn’t line up with the pins placed move it until it fits correctly. This will save you from having to use the seam ripper repeatedly.
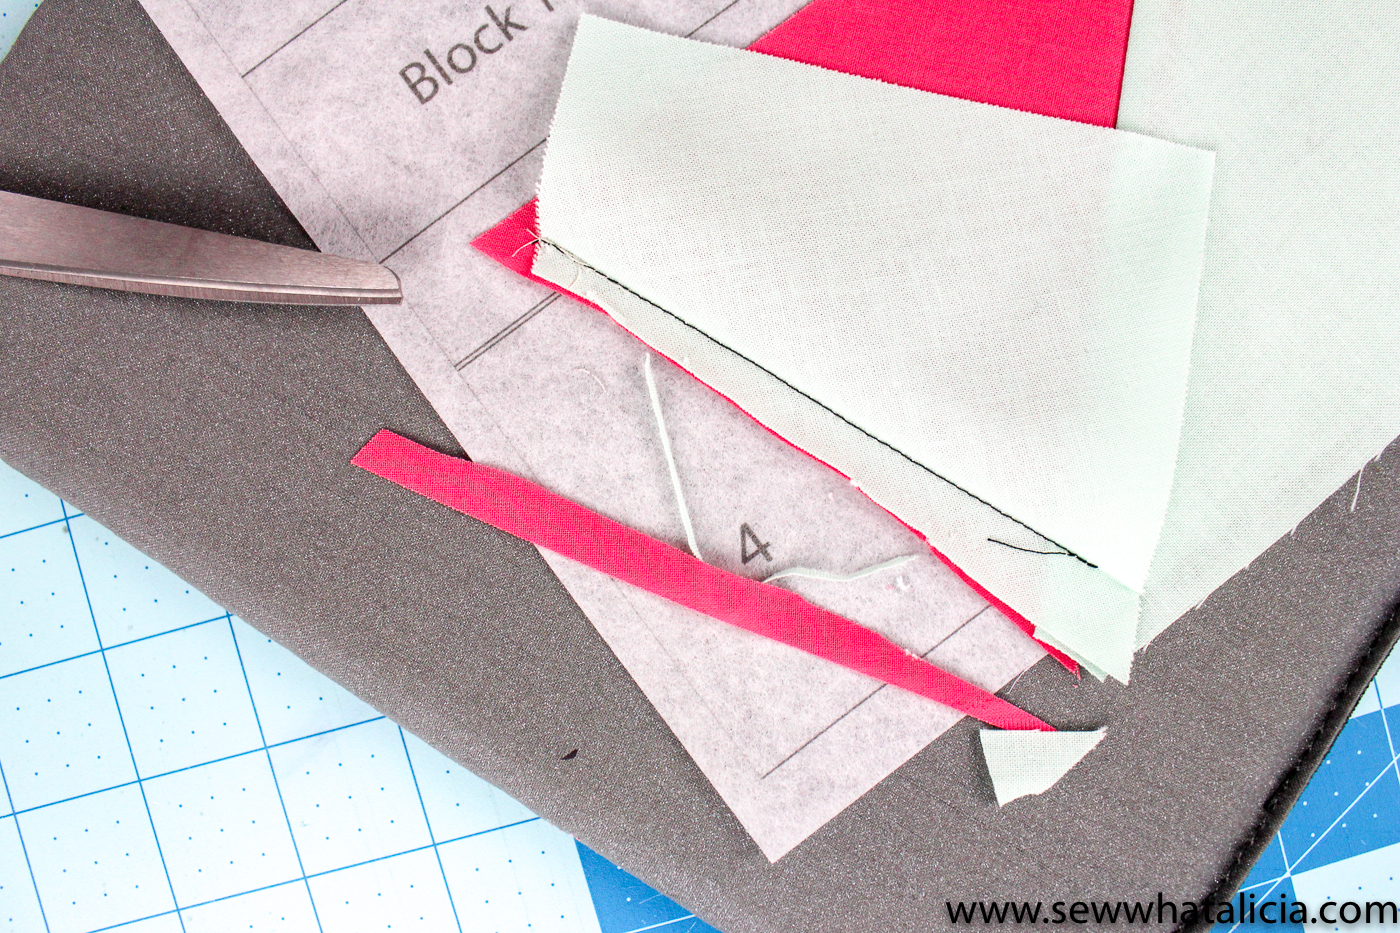
- Flip the piece over and sew along the line between the 1 and 2.
Note I have used black thread to make it easier to see, I recommend you use a white or corresponding color thread so that it doesn’t show through.

- Press the 2nd piece into place.
- Continue adding pieces in numerical order in the same manner. The pieces should all fit perfectly if you cut them on the Maker using the provided files. I like this method because it requires no guess work and the pieces all fit nicely without too much excess.
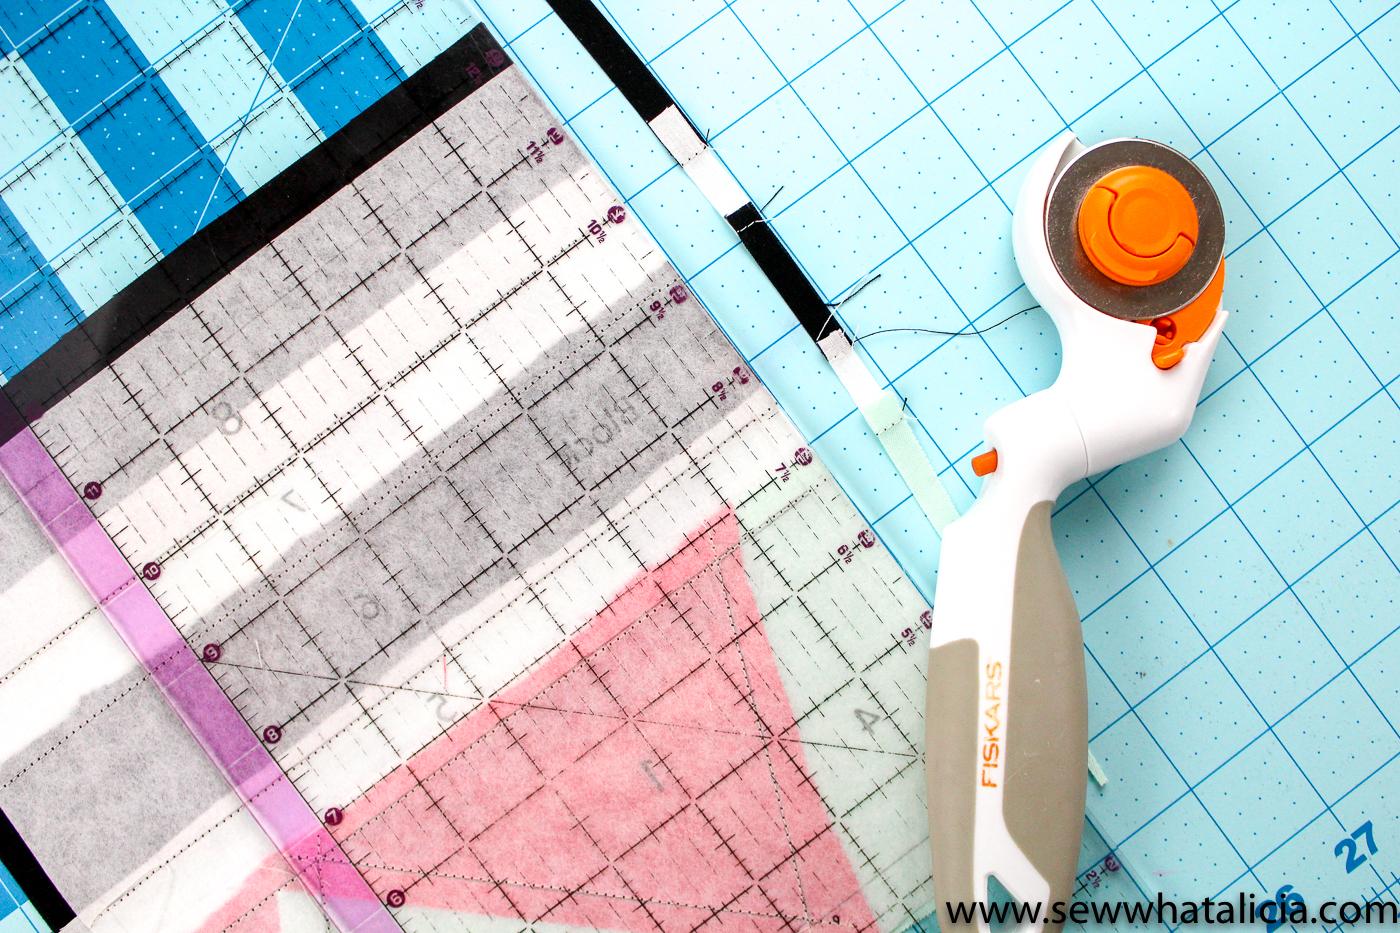
Note: If you have too much excess fabric use scissors to cut away the excess. OR fold the template away and use a ruler and rotary cutter to remove the extra fabric.
Once you have placed all of your pieces you will need to square the block. Flip the piece over and use the quilt sheet to serve as a guide to trim your block.
Keep the paper on the back of your block until you have assembled your paper blocks together. This helps the block keep its shape AND the line on the paper shows exactly where to sew the two blocks together.
TIP: To line the blocks up place two blocks right sides together. Then place a pin through the lines that mark the top corner. Place another pin through the lines that create the bottom corner. Then one more between the line in the middle edge of the block. When the pins are holding the lines together use clips to hold the blocks together. Remove the pins and sew the blocks together. Your blocks should be perfectly lined up with this technique.
Finishing the Quilt:
Below is a digital mockup of the finished quilt. I am still working on getting my full top pieced together. I have made all of the FPP blocks though so don’t worry they are tried and true!
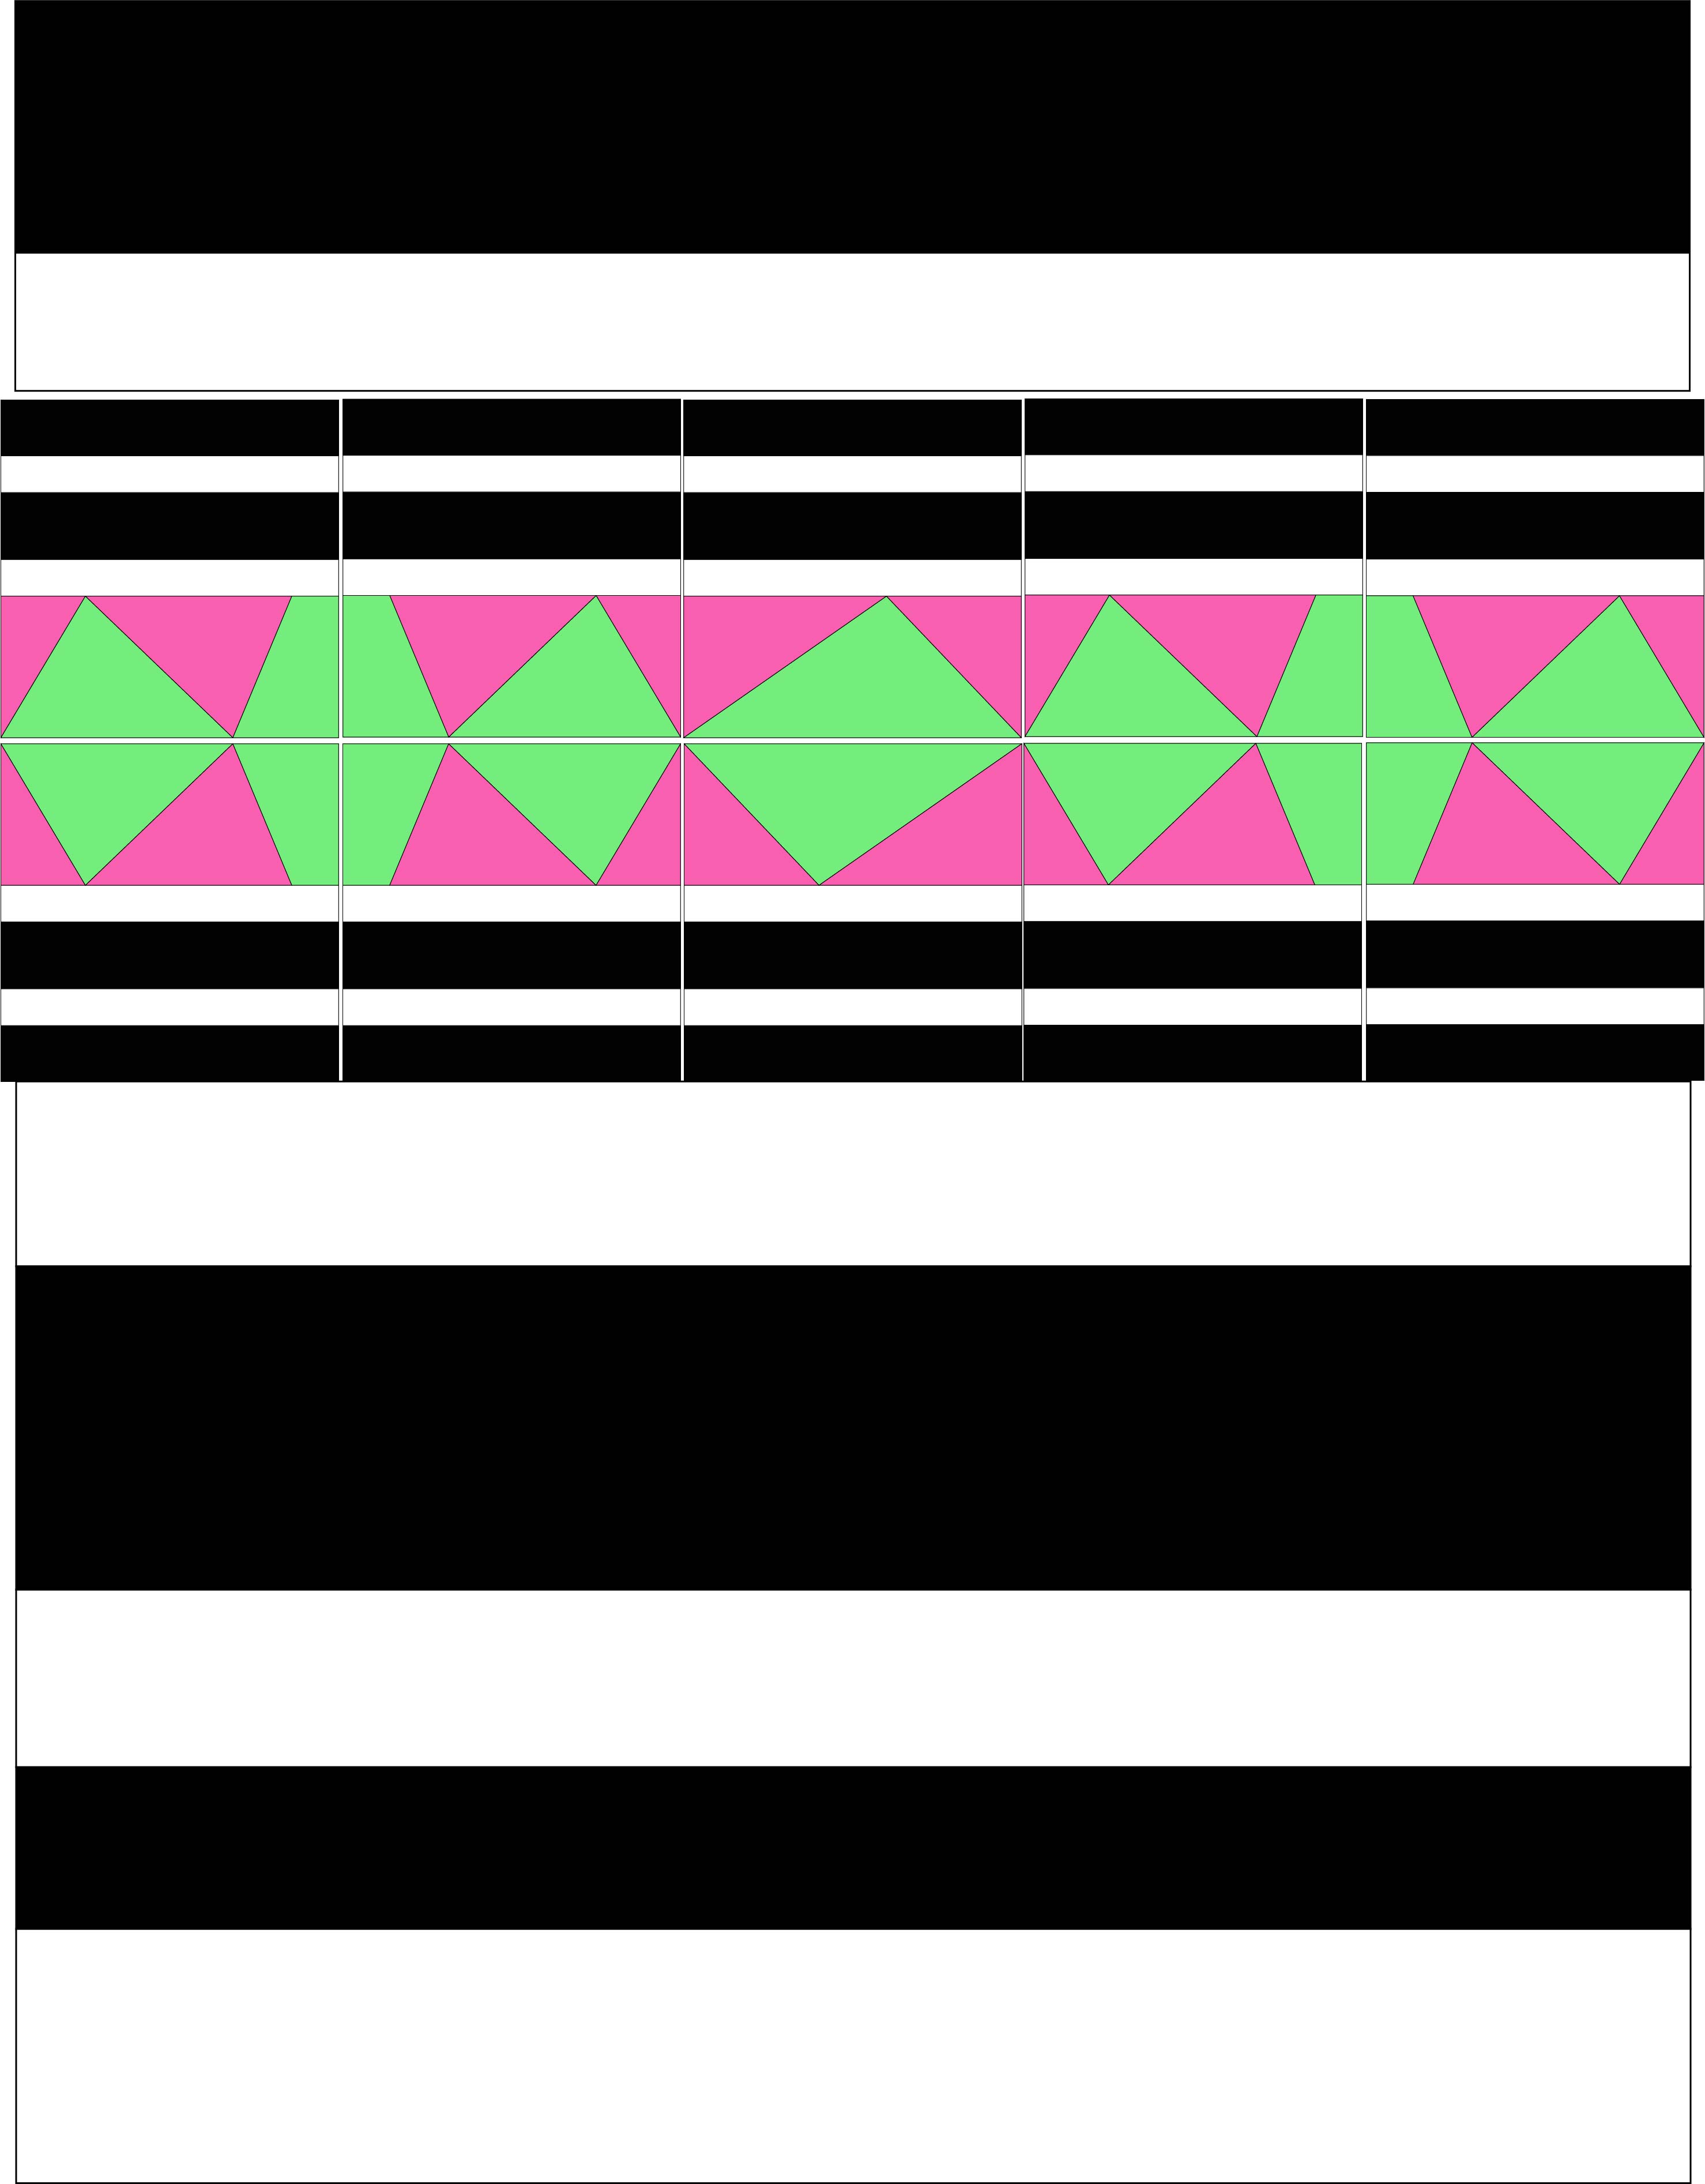
Use the pattern linked in the supplies above to make 8 foundation paper pieced blocks. Then cut large strips according to the pattern. Piece all of the pieces together. Make your quilt sandwich. Quilt your quilt. Then add your binding! See the posts below for more on each of these steps!
Beginners Guide to Learning to Quilt
Questions? Share with me in the comments below. If you take this quilt on make sure and come find me on Facebook to share ALL the photos!


Patty Virginia says
Broken links
sewwhatalicia says
Which link isn’t working for you? I just checked them all and they work, so if you could give me some more information maybe I can help. Are you having trouble with the SVG file? That will download and you should be able to open it in Design Space, it may not open for you elsewhere unless you have some sort of design software. Let me know 🙂 Alicia