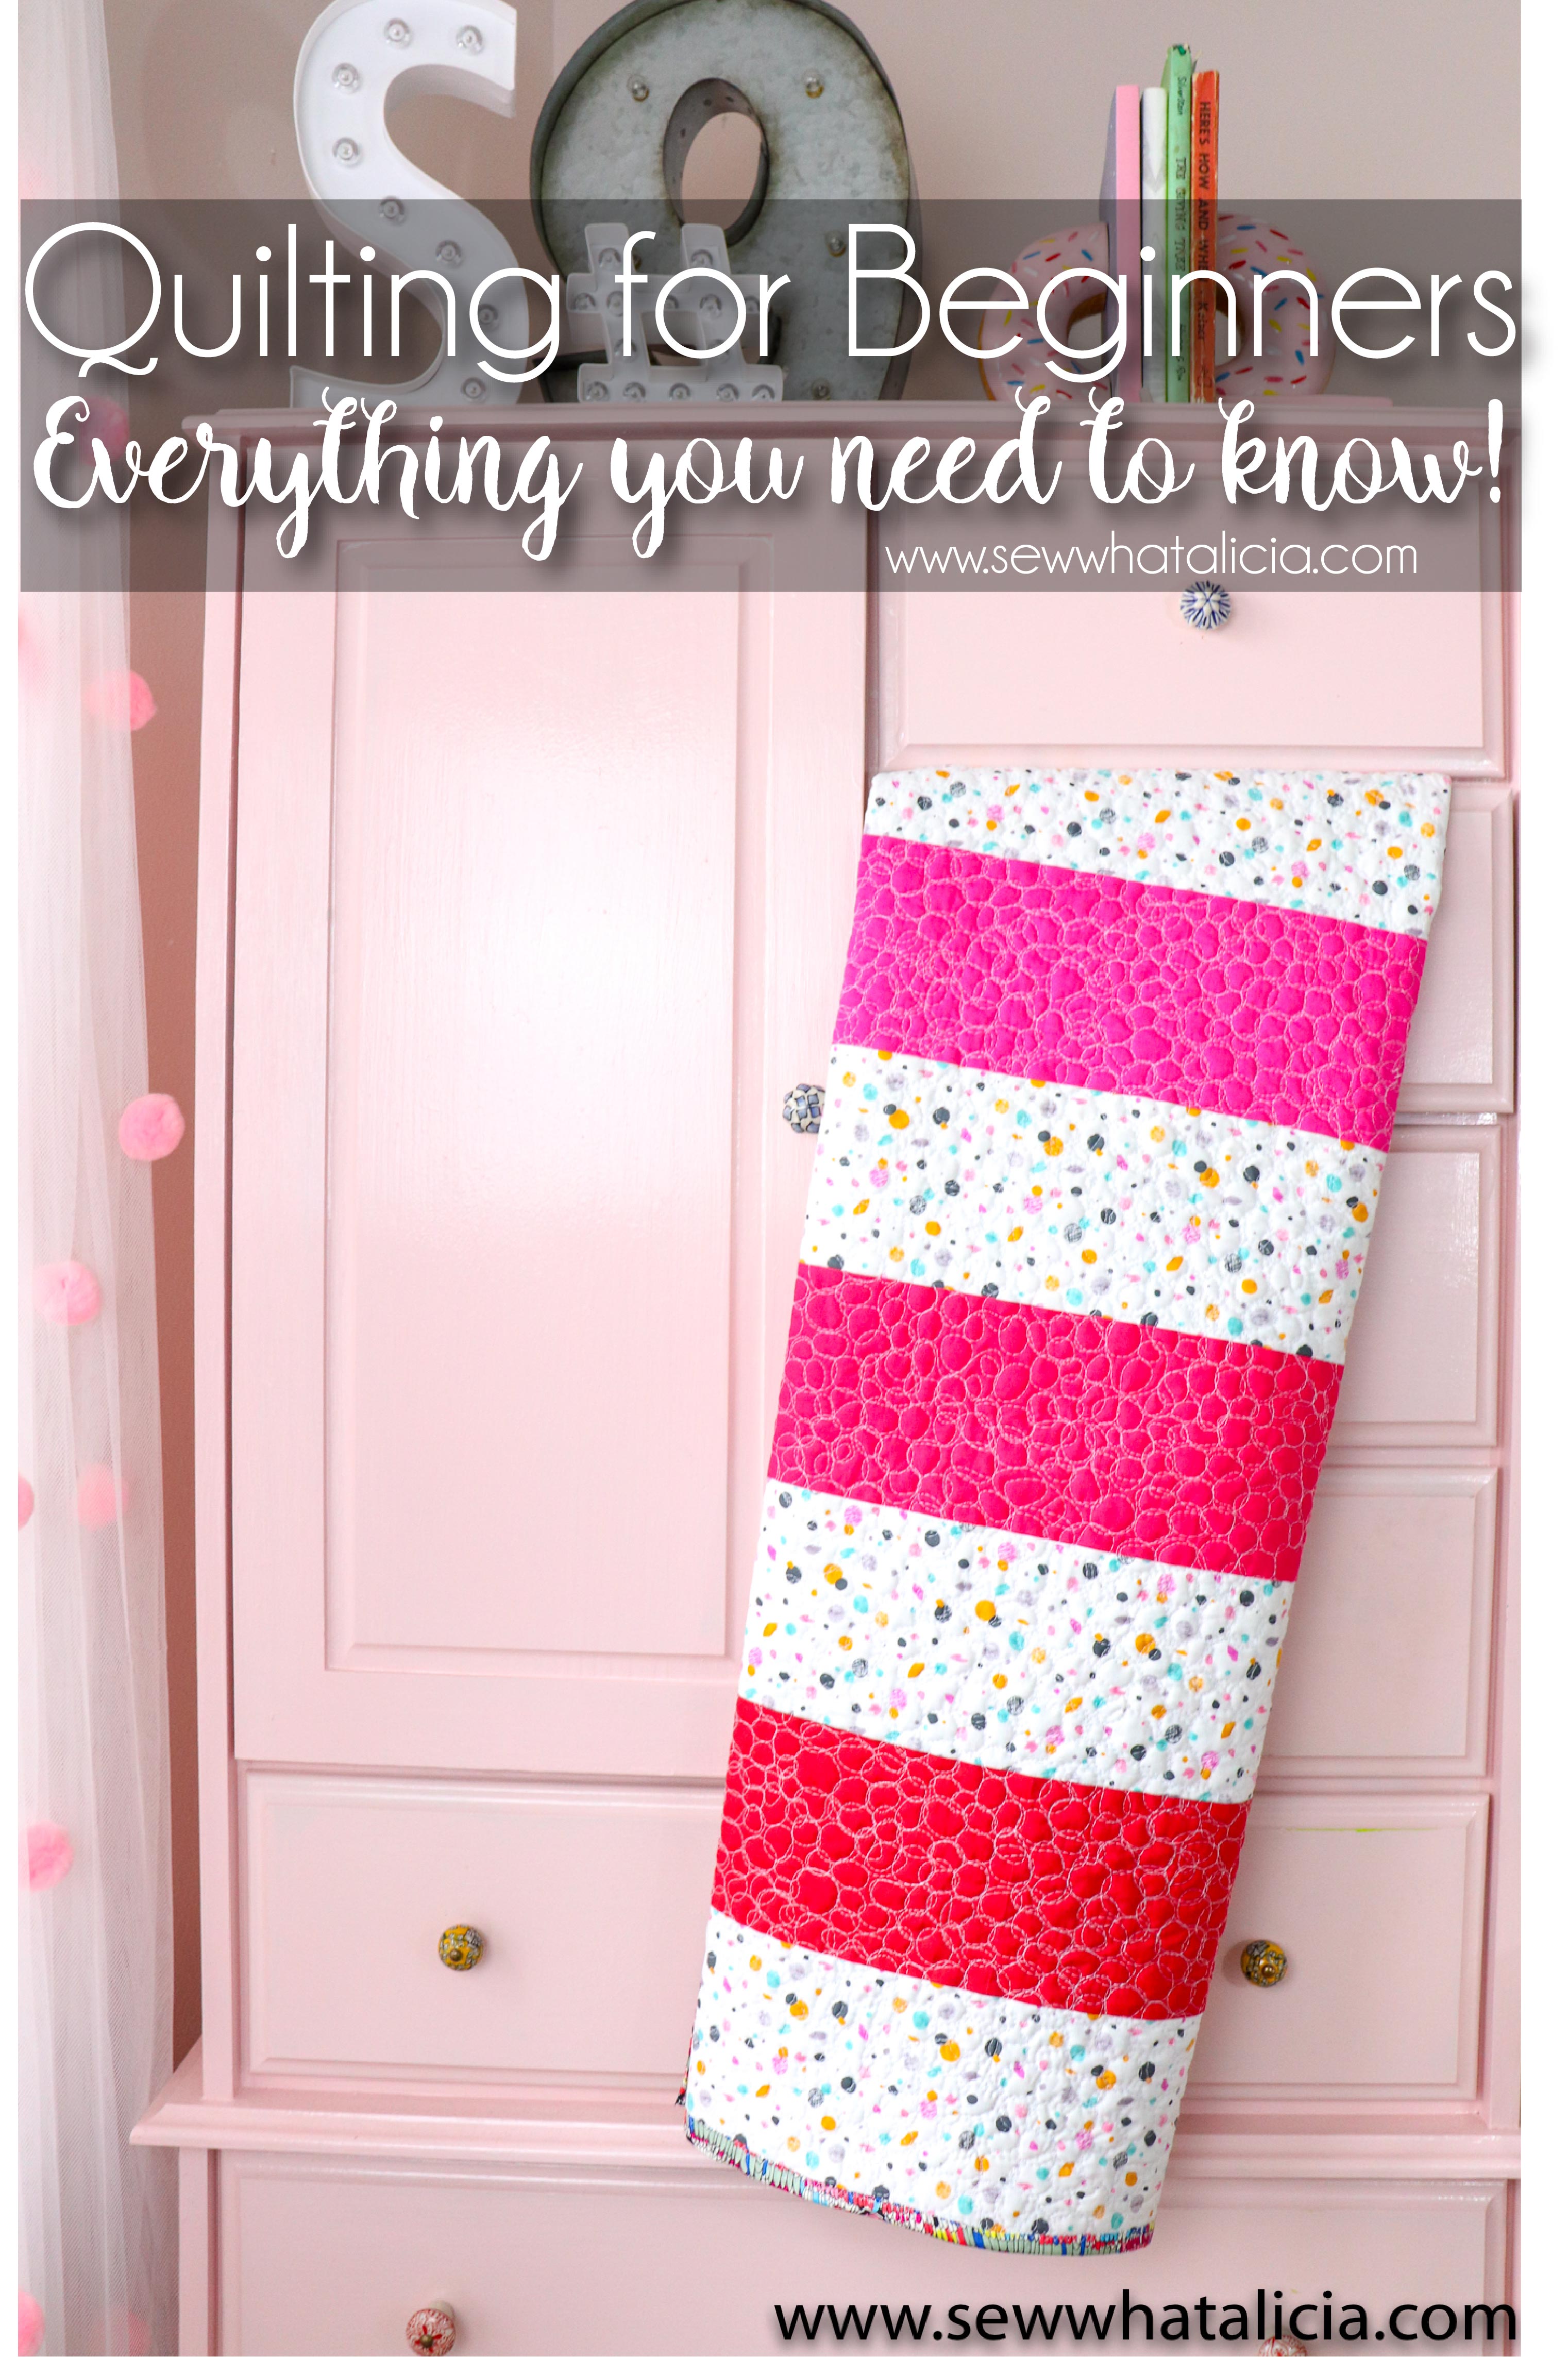
Quilting for Beginners – Plus an Easy Beginner Quilt Pattern
Quilting is one of my absolute favorite pastimes. I love to create fun and simple quilts and today I am sharing a basic and fun quilt pattern to help teach quilting for beginners. Quilting can feel really overwhelming but just take it one step at a time, don’t try and take shortcuts, and take your time. If you are ever getting frustrated take a break and come back to it later. You will more than likely have to use your seam ripper but it happens to the best of us! So pull up your machine and let’s get down to quilting.
Quilting for Beginners – Plus an Easy Beginner Quilt Pattern
This post is sponsored by JOANN. I have been compensated but all the ideas and opinions are my own.
What is needed to start quilting?
One of the questions people ask me most is “Can I quilt with my home sewing machine.” The answer is a big YES! I do all of my quilting on my home machine. So the first thing you need is a sewing machine. I recommend you find one that comes with (or has available) a walking foot and a quilting foot.
You also want to make sure that you can lower the feed dogs, or purchase a cover for the feed dogs.
I use THIS brother machine and it comes with and can do all of the things I listed above. This machine also comes with a small quilting platform which is super helpful when free motion quilting.
Next you need a good thread. This is a big one, seriously, don’t pinch pennies on your thread. I buy THESE 1000m Gutermann sew all threads in bulk when they go on sale. I use this thread to piece my quilts and to quilt my quilts.
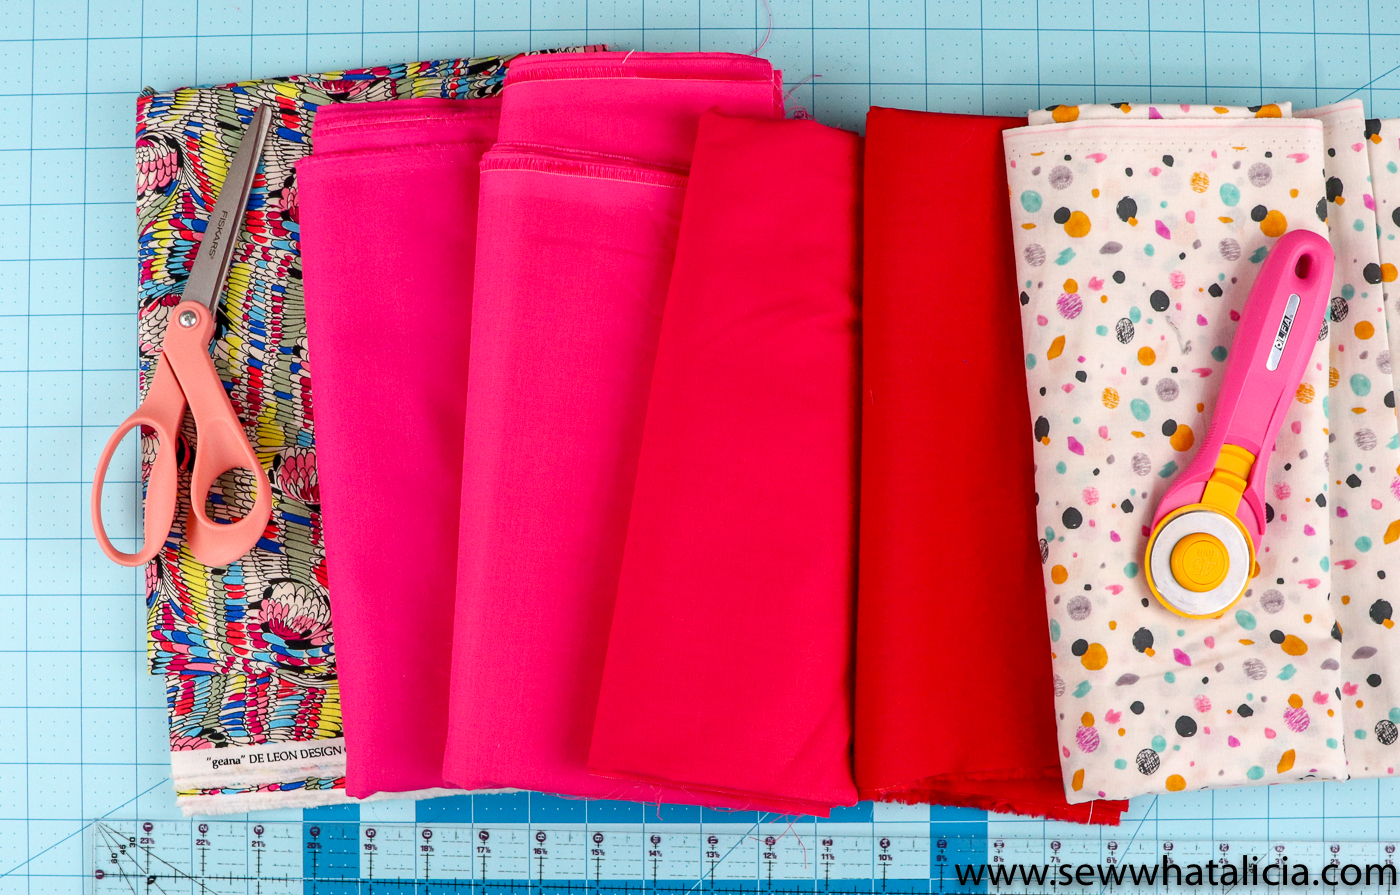
You will need fabric. One of my favorite starting points for a quilt is to check the remnant bin at JOANN.
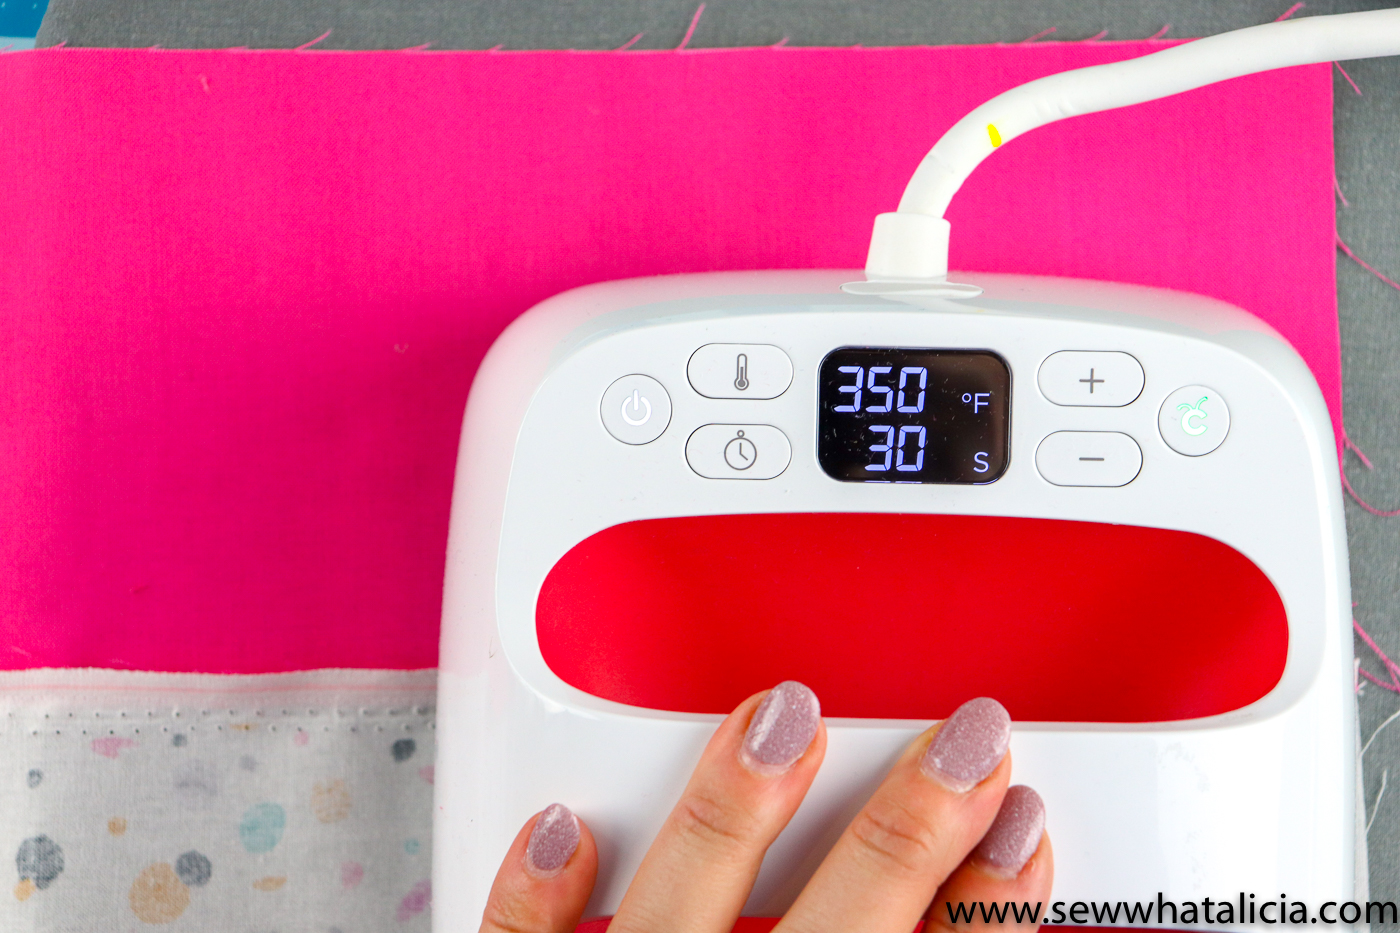
Batting. There are a lot of quilt batting options ranging in price. My favorite batting is Thermoweb Fusible Fleece. It fuses to one side of the quilt which makes it much easier to quilt and finish your quilt.
Rotary Cutter, ruler, and self healing cutting mat (if you have room go for the big mat!) You have to cut the fabric somehow and this is the easiest and most common way to cut your fabric.
An iron and ironing board. I use my Cricut EasyPress2 and a pressing mat but you can definitely use your regular iron and ironing board.
Pins and clips. I recommend having both on hand. Clips are easy to use and I use them most of the time. Sometimes you need a pin to hold something in place that a clip just won’t reach.
Optional but helpful is basting spray. Spray N Bond Basting Adhesive is a super helpful tool but you can finish a quilt without this spray. How you hold your quilt sandwich together is a very personal preference and when you are starting out I recommend that you try out a few different methods to see which method you prefer.
What is the best fabric to use for quilting?
There are several fabrics that are commonly used for quilting. My favorite is quilting cotton. I find cotton the easiest to work with. It doesn’t stretch too much and is easy to piece together. Plus there are SO many fun prints to be had in quilting cotton.
You can also quilt with flannel and fleece. I have not done much with these types of material because I just don’t love it like I love quilting cotton. So proceed slowly and take your time when using these materials. These will also dirty your machine quickly because they create a lot of fuzz when sewing. So be sure to check your machine and clean frequently when quilting.
Quilt Making for Beginners:
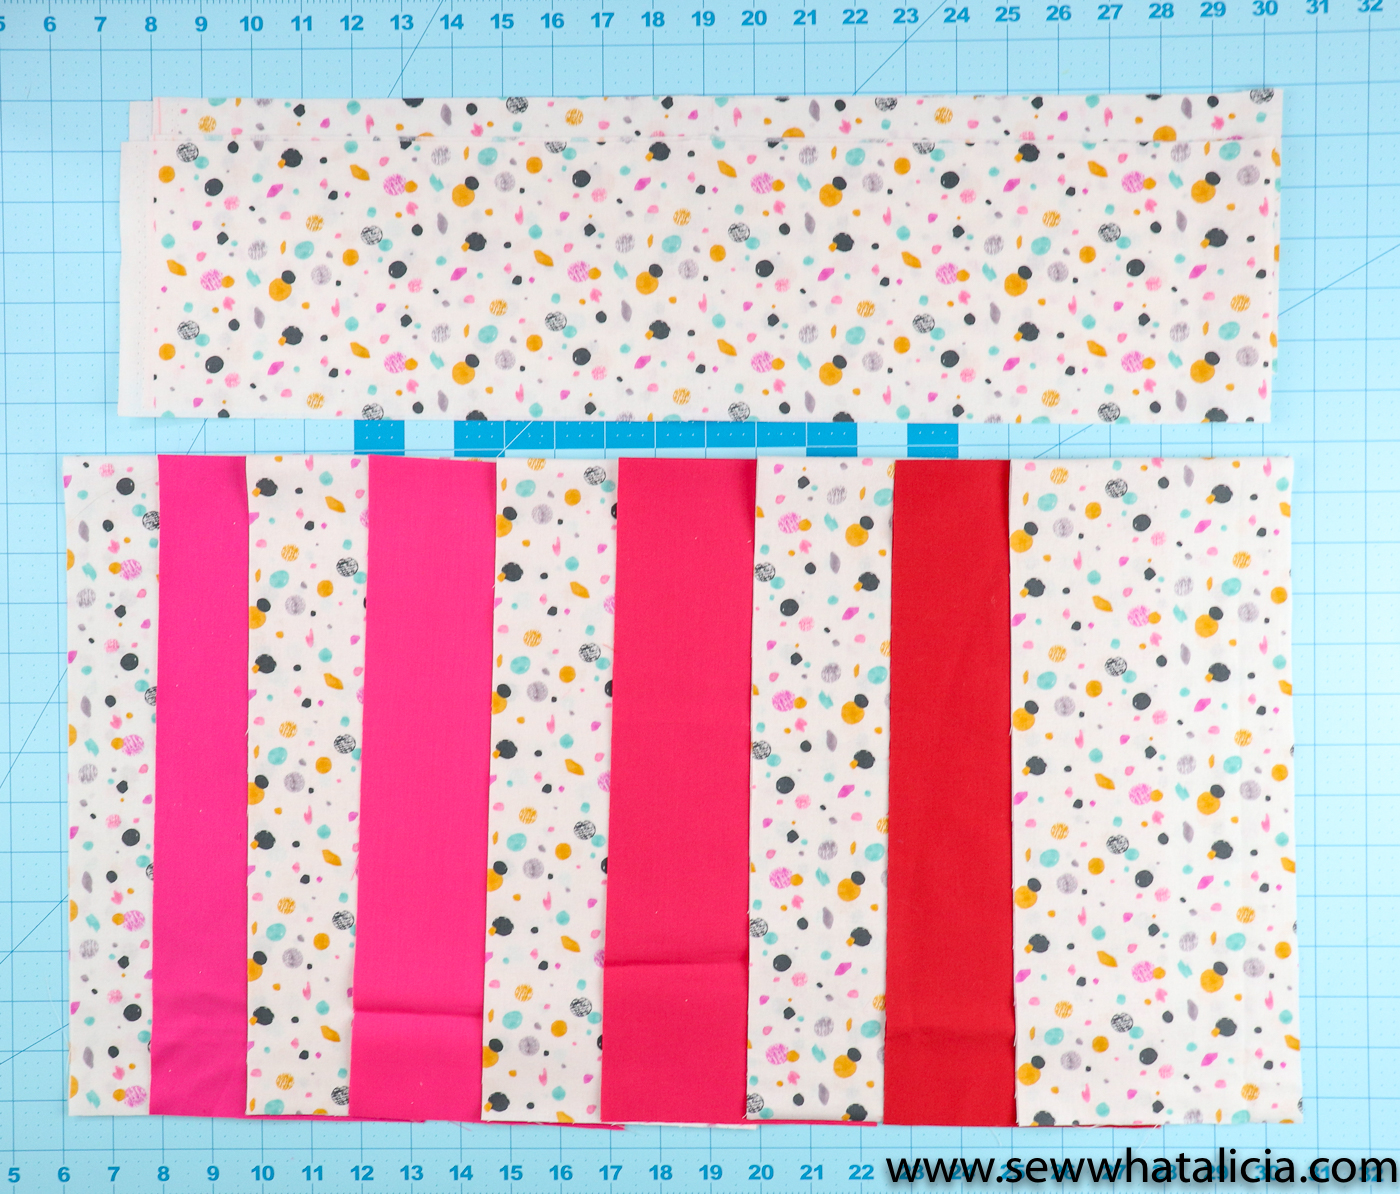
The first step in quilting is cutting your fabric according to the pattern.
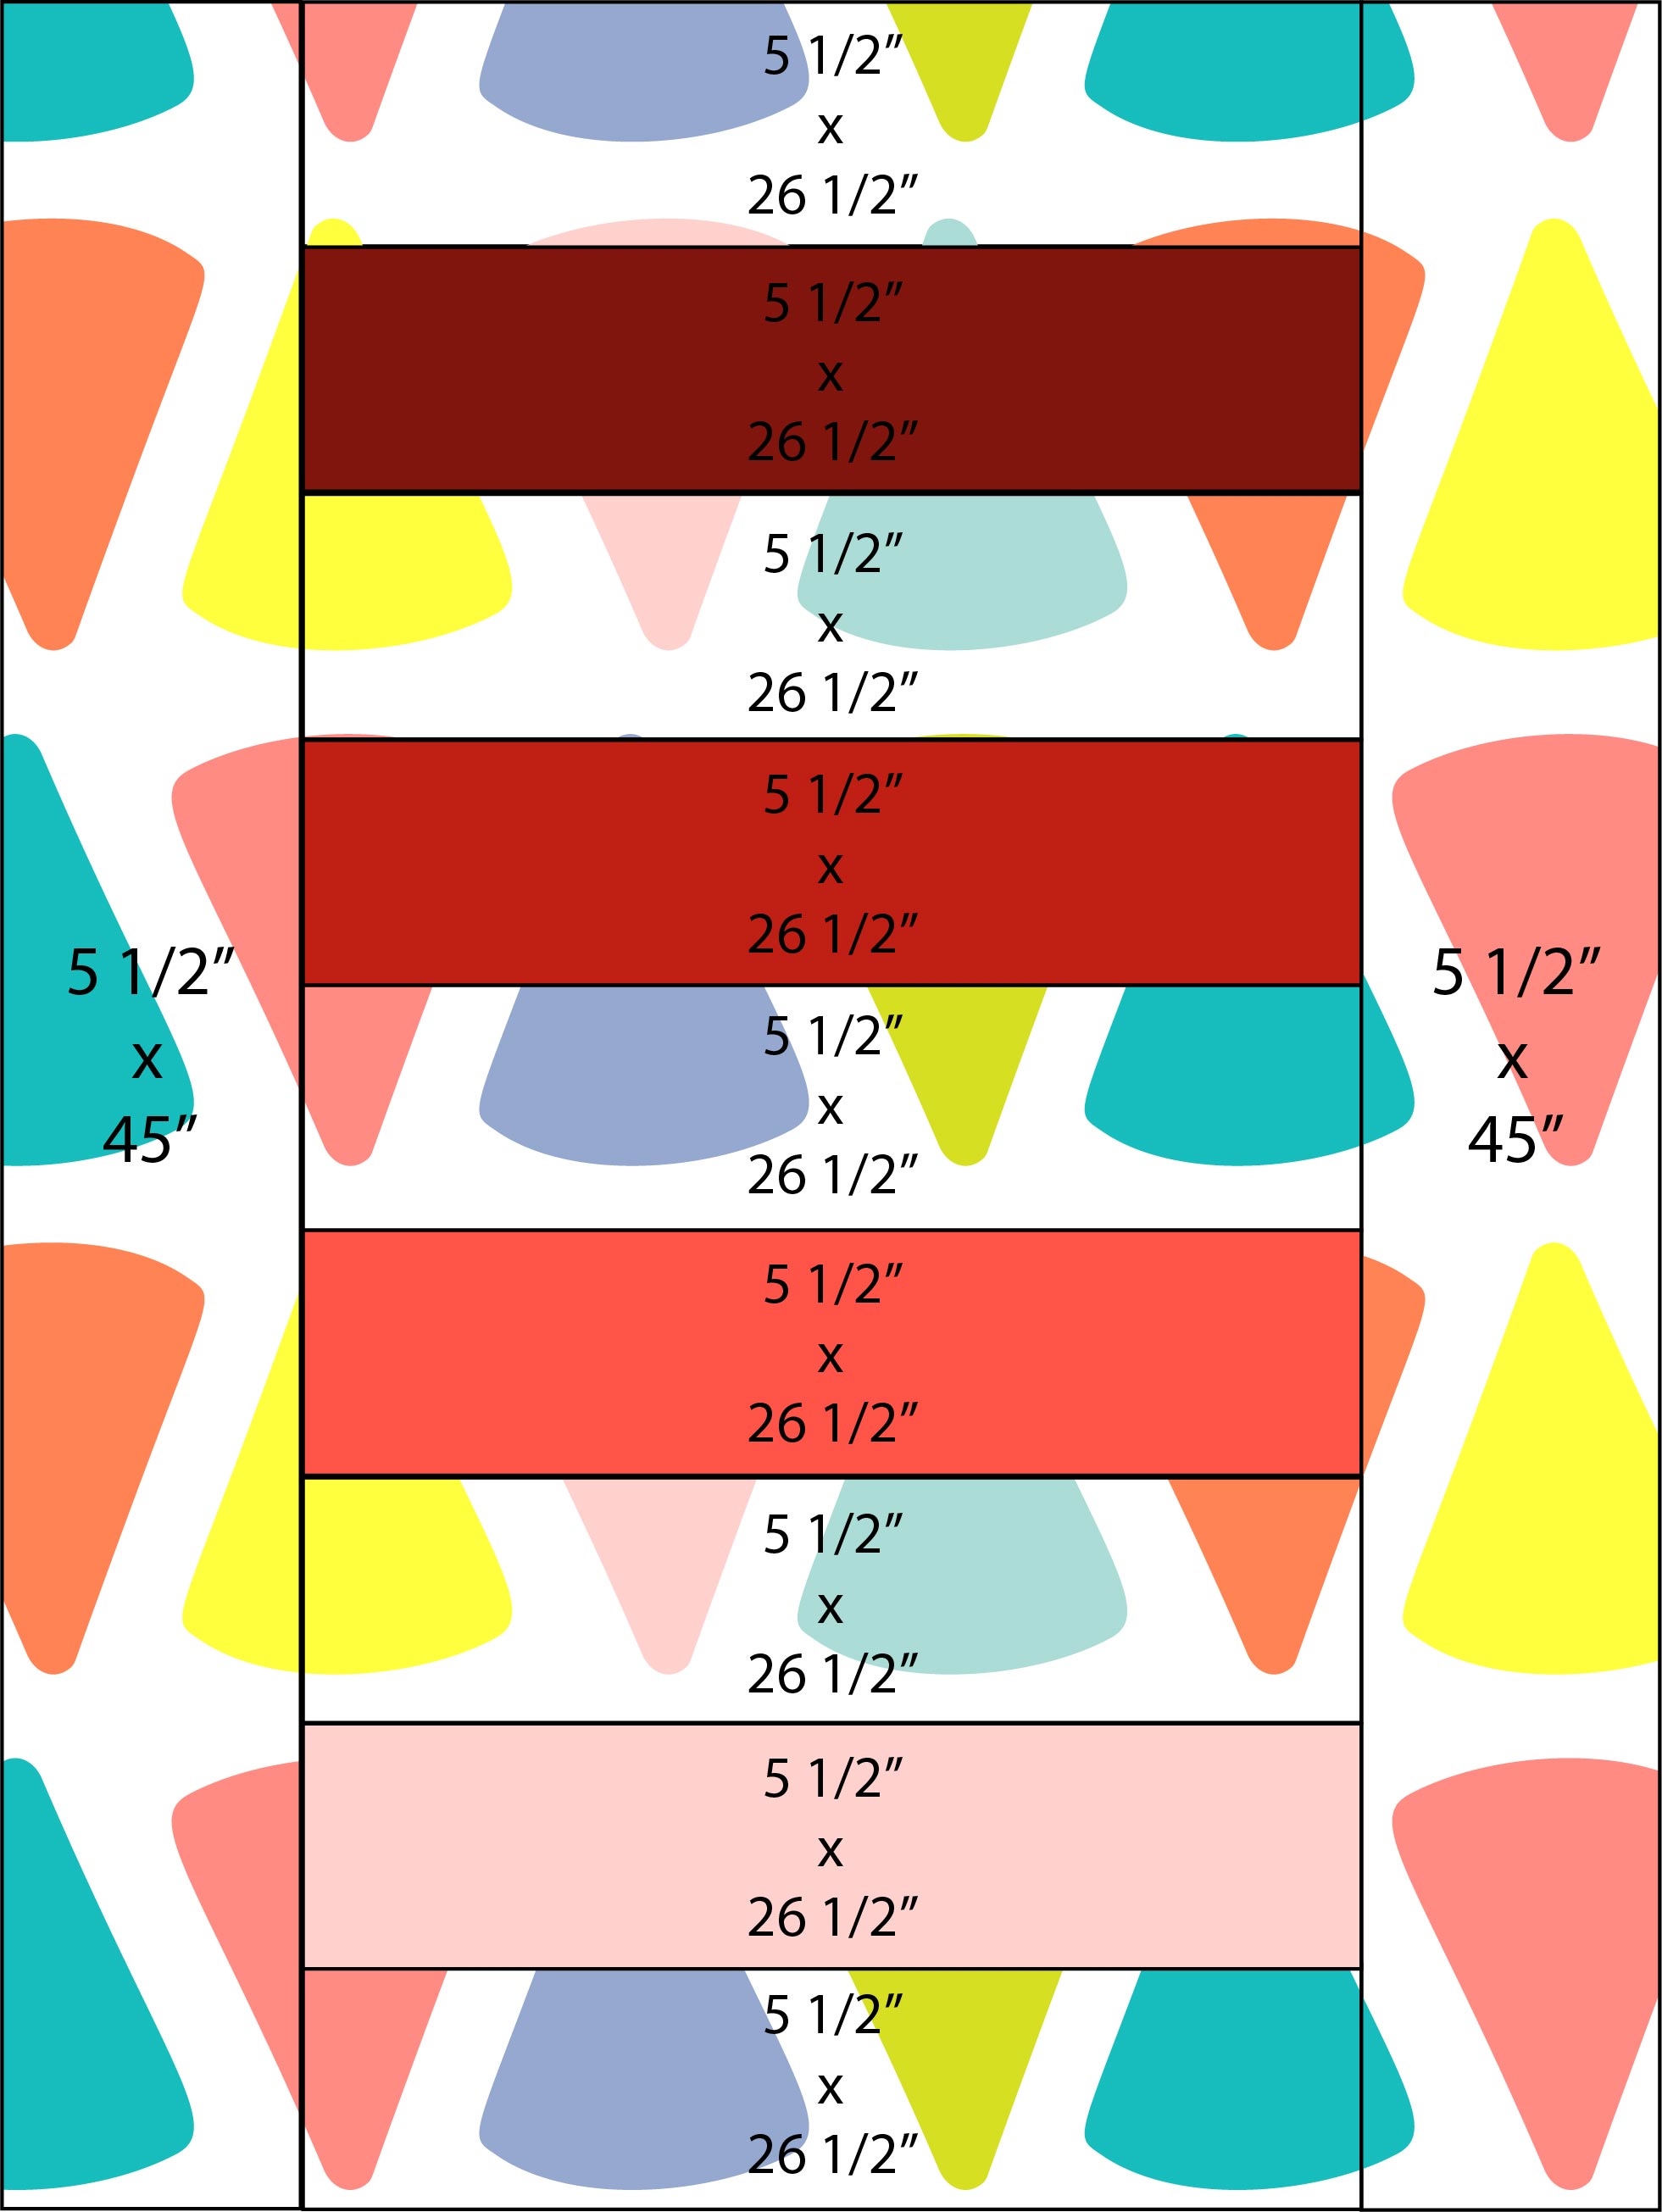
For the pattern pictured in this post you will need:
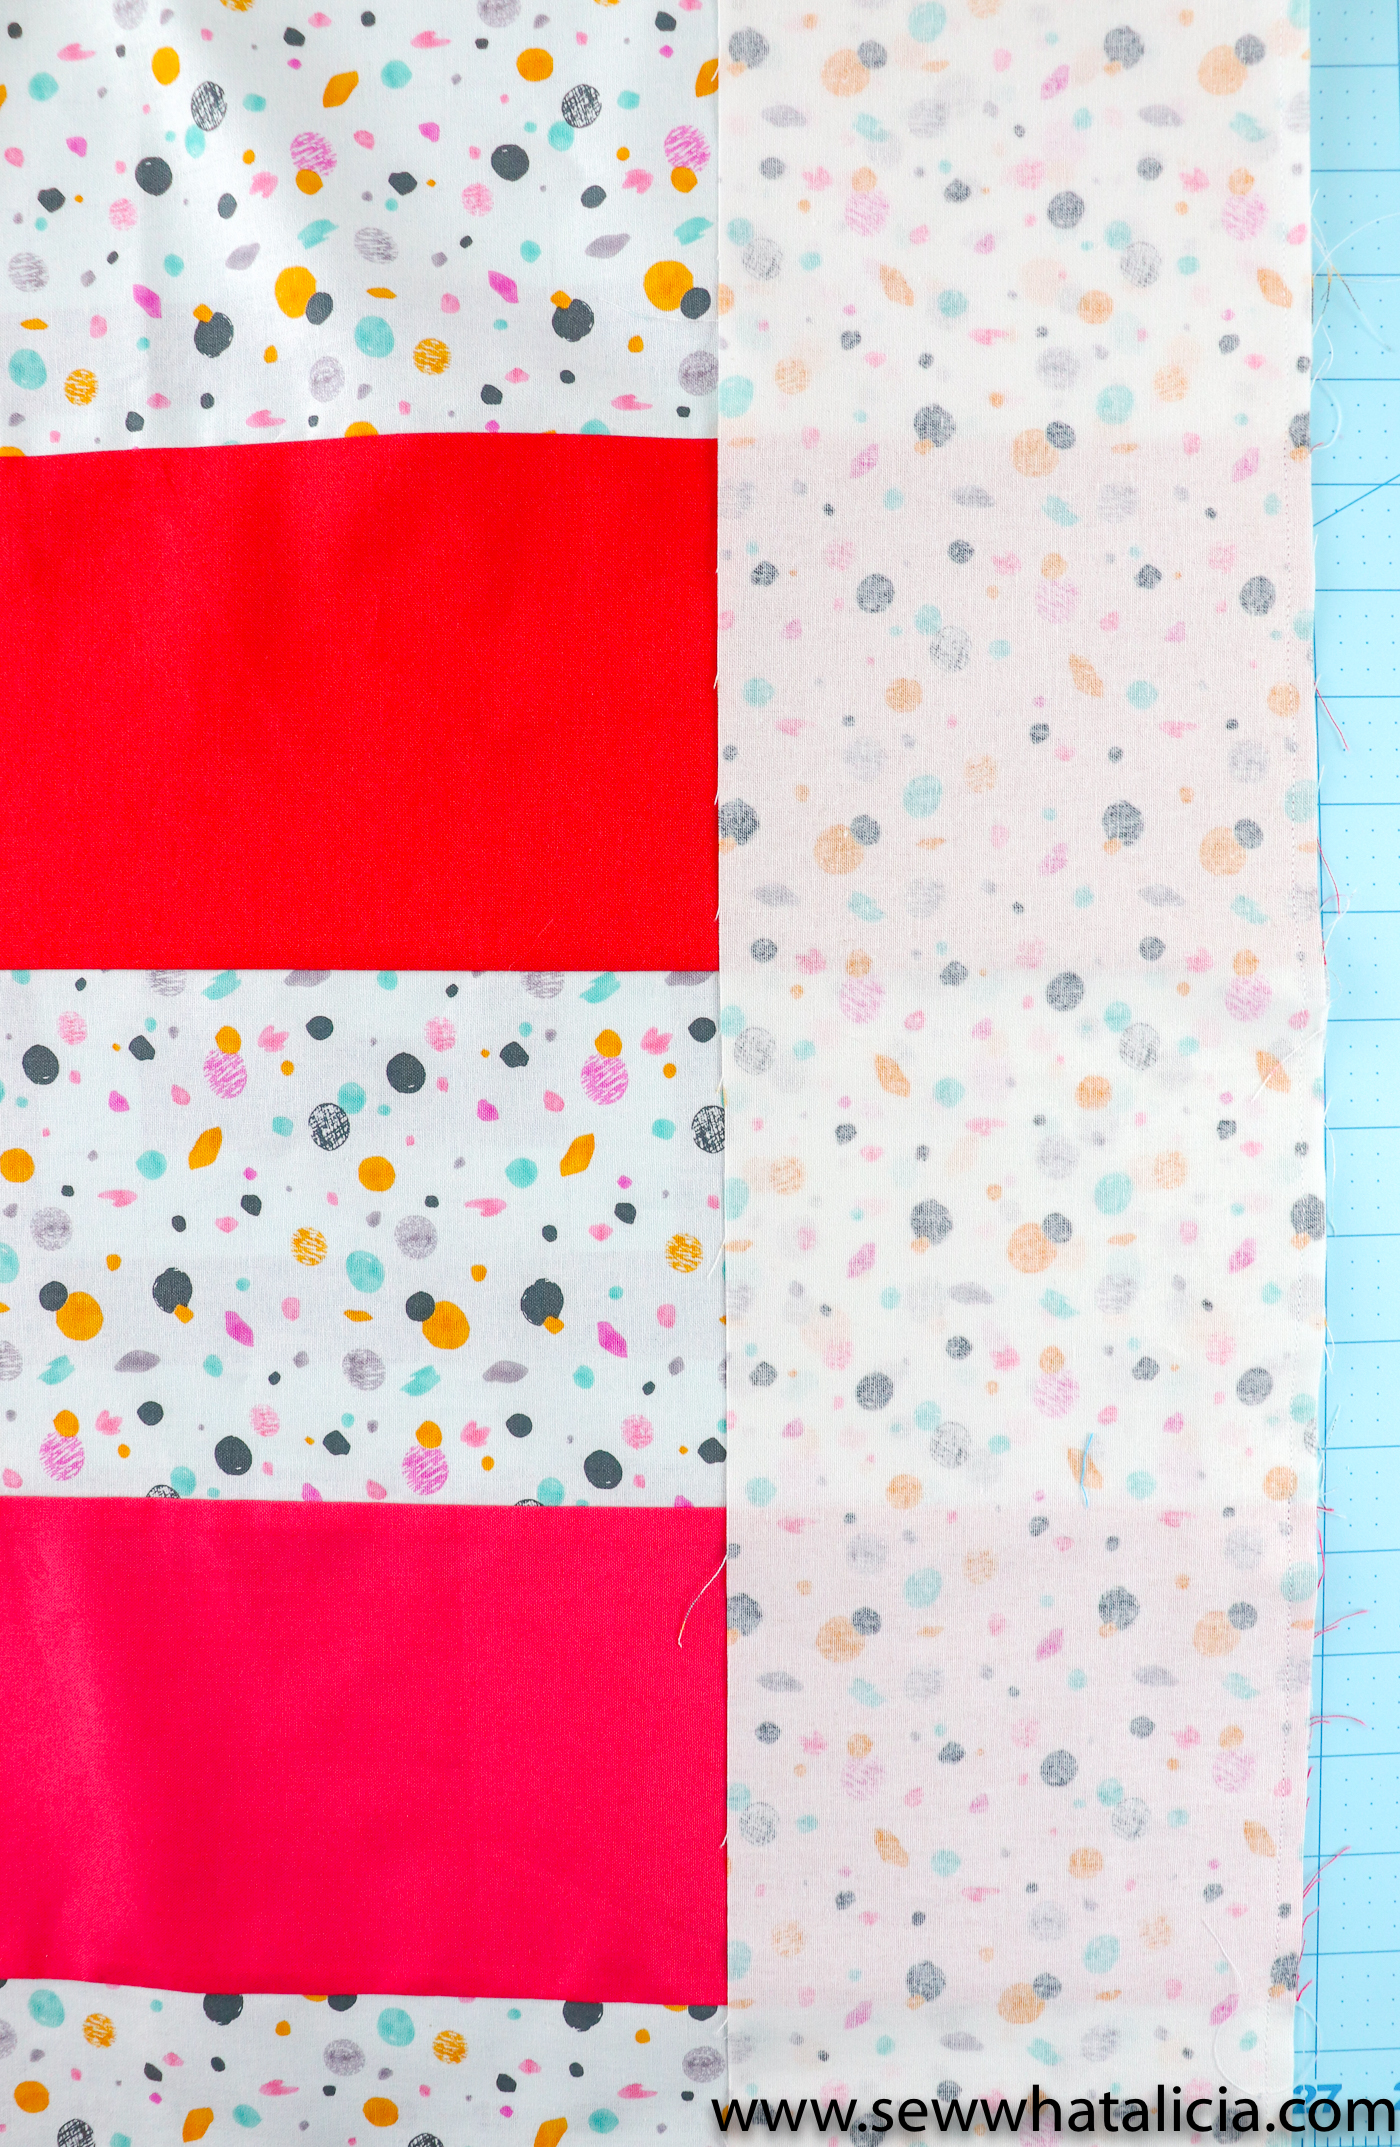
5 Strips (white confetti) measuring 5 1/2″ x 26 1/2″
4 strips (one in each shade of pink) measuring 5 1/2″ x 26 1/2″
2 strips (white confetti) measuring 5 1/2″ x 45″
1 yard Batting
Backing Fabric (about 1 1/2 yards)
Binding – You can create your own binding (<—with that tutorial), or use the backing fabric to create the binding like I did in THIS post, which is called self binding.
Fabric cutting tips:
**Press your fabric before cutting. Starch is a GREAT way to get out all the wrinkles and make the fabric sturdy for precise cutting.
**Check that the measurements on your ruler and cutting mat line up. They are not always the exact same measurements. Do some double checking before you cut to make sure that you don’t cut the wrong sizes.
**Try folding your fabric so that you can make shorter cuts. Shorter cuts mean less chance of the ruler slipping when you cut.
**Use a handle or non-stick stickers to keep the ruler from slipping.
How to Quilt:
Once you have cut your fabric you are ready to piece everything together. Use a 1/4″ seam allowance (unless otherwise stated in a pattern.) When creating your own patterns be sure to add 1/4″ to all sides to account for that seam allowance. You want to be a stickler for these seam allowances. You should constantly be checking to make sure that you are using the correct seam allowance. If you aren’t using the proper seam allowance it will cause a lot of headaches and cause your quilt to be off from the pattern.
For the quilt in this post sew together all of the 5 1/2″ x 26 1/2″ strips as pictured in the pattern above. Sandwiching the pink strips between the white confetti strips. Press after you sew each seam.
Square the quilt to make sure that the edges are even. Then sew the long strips on either side. Press and square again. You want to press and square after each step regardless of the pattern you are using. This is a crucial step to making sure everything lines up nicely at the end.
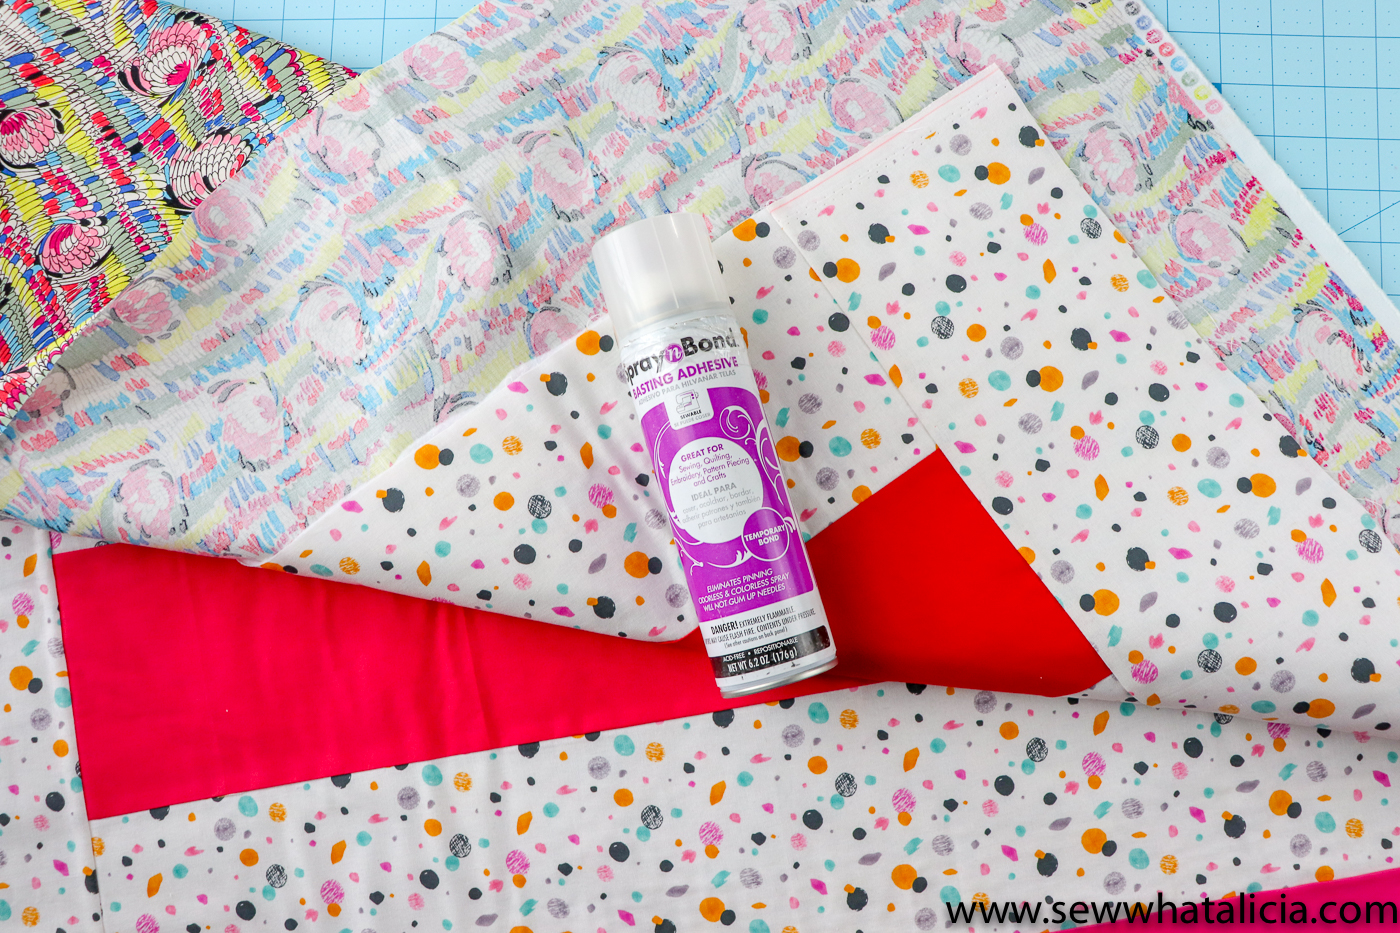
Now you are ready to make your quilt sandwich. Press your fusible fleece to the quilt top. Then use the spray adhesive to spray the backing fabric to the back of the fusible fleece. Be sure that the backing is wider than the quilt top all the way around. You need 1/2″ – 1″ excess all the way around if you are going to self bind the quilt with the backing. If you are not using fusible fleece or basting spray you will want to use safety pins or your chosen basting technique to be sure that the layers of the quilt stay together and do not move when you are quilting.
Quilting the quilt:
Now we are ready to quilt the quilt. There are several techniques for achieving this.
The first is called Free Motion Quilting. This is achieved by lowering the feed dogs on your machine or covering them with a plate. Then you will use a quilting foot (pictured below.) You can use a stippling design also known as a meandering design. This looks like a curved walking path all the way around your quilt. This is one of the easiest methods to start with. To practice take a pencil and start in the middle of a piece of paper then draw a curvy line around the paper in a circular motion turning the paper as you draw. This is how you will stipple your quilt. You always want to start in the middle and work your way out. This will keep your fabric from bunching and folding in on itself when quilting.
The free motion quilting that I have done on this quilt is a bubble or circle stitch. It is achieved by creating lots and lots of small circles. For this method you want to be sure that your fabric is very well basted together or you will get ripples and folded fabric. Again be sure to work from the middle and move outward.

The second type of quilting you can do is straight line quilting. This is achieved with your walking foot (you do not lower the feed dogs for this method.) You can also use the quilt guide that hopefully came with your walking foot. This helps you measure the same distance between each straight line. To see more about straight line quilting check out THIS post where I show all of these things in greater detail.
Finishing the Quilt:
Once you have finished quilting you will want to square your quilt. If you are self binding the quilt then fold the backing fabric away when straightening the quilt edge. If you are adding binding you will want to make sure and cut the excess backing away with the edge of the quilt.
The last step is binding the quilt. You can create your own binding (<—with that tutorial), or use the backing fabric to create the binding like I did in THIS post, which is called self binding.
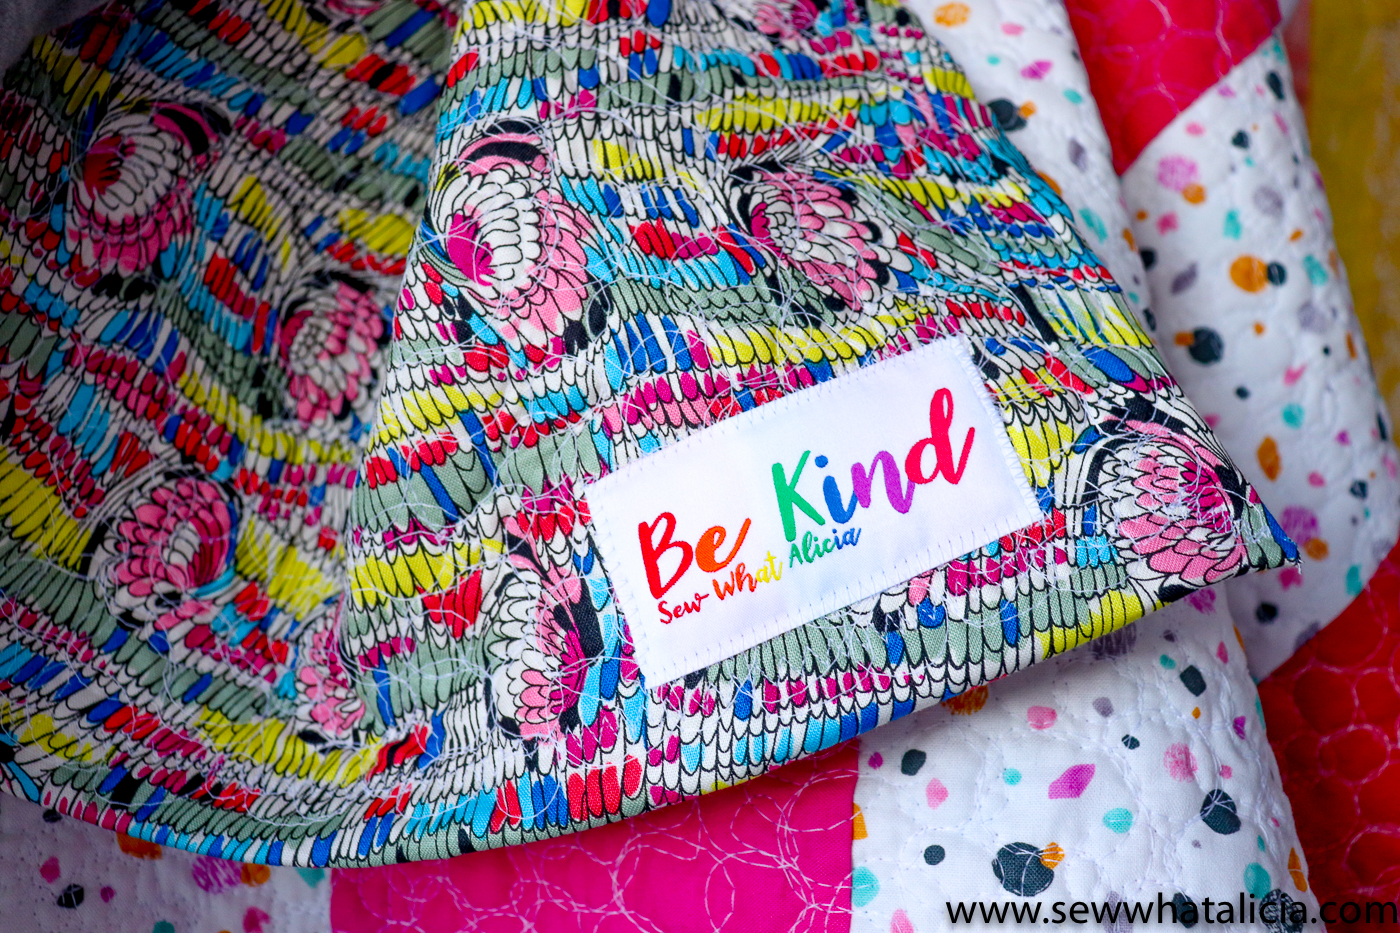
Then you are finished!! Add a label or write on the back with a fabric marker so that everyone knows you made the quilt! This adds a personal touch and serves as a signature! I promise even if you think it is not perfect or worth the label, it is! And whomever gets the quilt will love it regardless of imperfections. Having a handmade quilt is a beautiful gift so go ahead and add that label!!
Still have questions about quilting for beginners? Share with me in the comments below.


Stephanie Gattenby says
Regarding the straight line quilting, do you still start in the middle of the quilt and move out, or do you go from edge to edge? Also, when you start the quilting, do you need to backstitch, or will the binding cover it and keep the thread from coming loose?
sewwhatalicia says
Great questions Stephanie! When you are straight line quilting I recommend starting in the middle of the quilt but on the edge. So halfway between the bottom and the top and then quilt towards the edges. So unlike FMQ you will start on the edge but like FMQ you are working towards the bottom and top edges to give the excess fabric somewhere to go. Does that make sense? No need to back stitch for straight line quilting. For FMQ when you start you want to pull the thread from the back up and through and then knot the top and bottom together to make sure it stays in place. <3 Alicia
Elizabeth Hughart says
This is by far the best beginner quilting article I have read on the net. The info you provided and your step-by-step instructions are so simple and concise. I would love if you made sewing videos on YouTube!
sewwhatalicia says
Aww thank you! You made my day! I have a few videos on Youtube and I also do Facebook Live videos!
Melissa says
Love the fmq on this one. I’m new to quilting and need to make a project using Qt where the wise thing Feather Fabric (the one the has black background and Teal) 1 yard- Was wondering what fabric you would put with it. Would love to make a modern quilt and make it like the feathers are falling. Just got a Maker. Any help if you have ever seen a quilt that could look like that and also what fabric choices you would make or any pattern you would you. Much appreciated
sewwhatalicia says
Hi Melissa, I’d love to have you send me an email about this. Alicia (at) sewwhatalicia (dot) com.