We recently redid our back patio. We bought some fun new furniture but something was missing. I decided that a DIY ottoman pouf was the perfect thing to finish the space. This indoor/outdoor pouf is easy to make and just takes a few supplies.
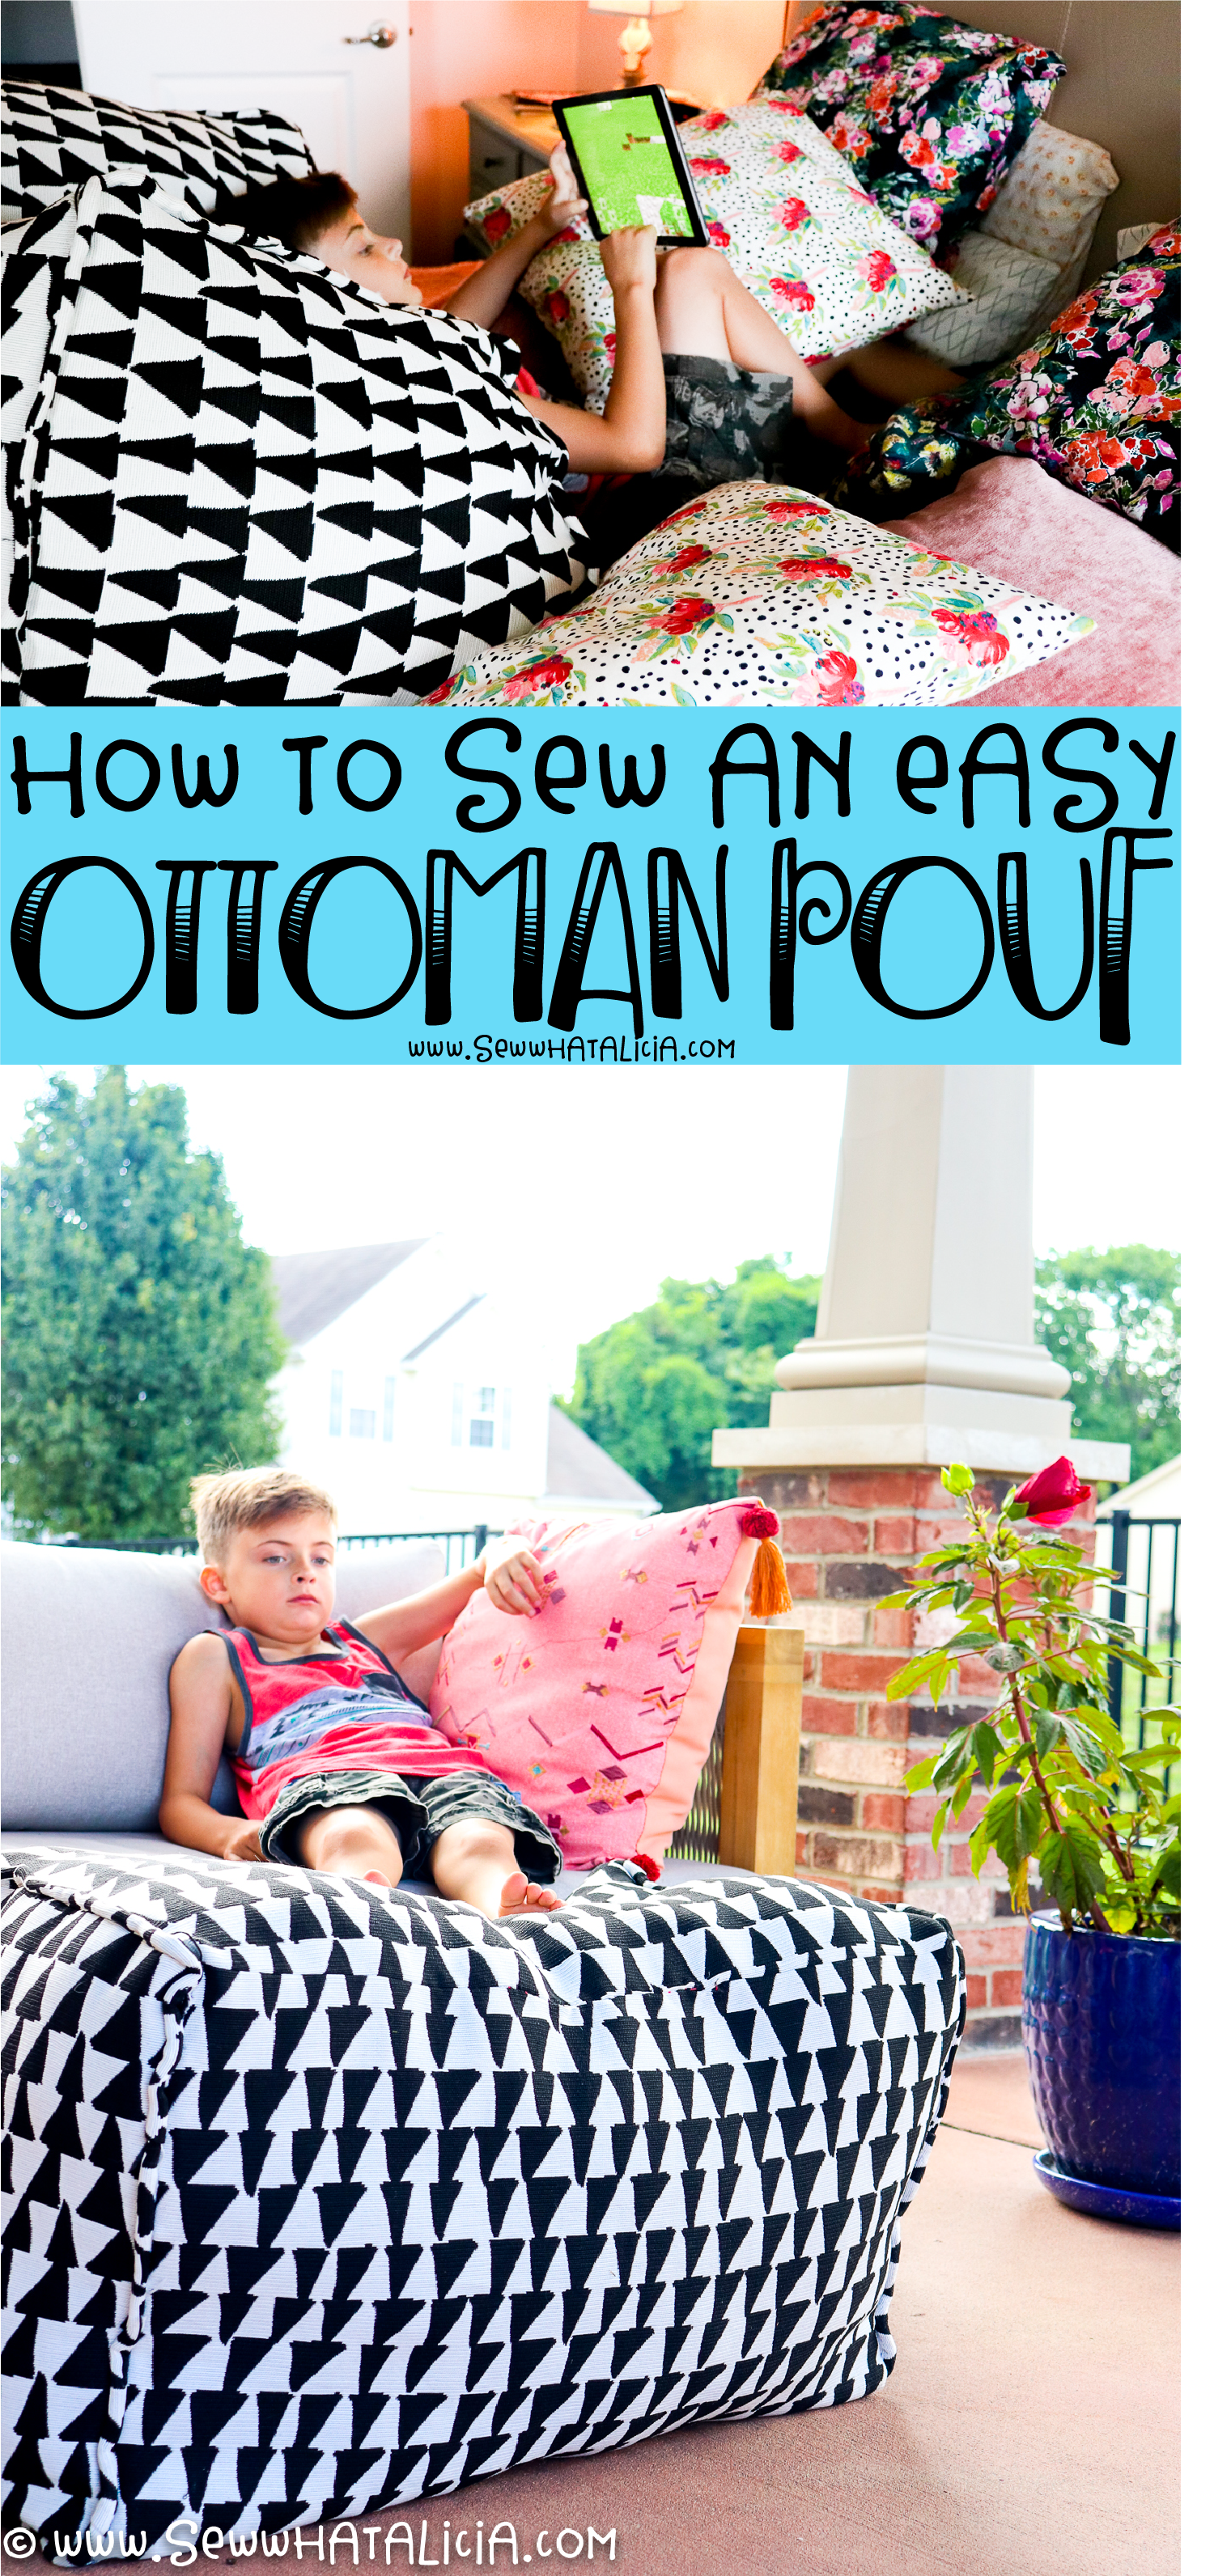
DIY Ottoman Pouf
Fairfield provided the filling for this project. All ideas and opinions are my own.
What is the best filling for a pouf?
For this project I used THIS polyfil fiber fill. This one works perfectly for the pouf because it doesn’t clump or bunch together. It creates a nice soft pouf that is great for lounging and putting your feet up.
You might also like THIS giant floor pillow if you are looking for something a little softer to throw on the floor for movie night.
What do you stuff a pouf with?
I highly recommend using a fiber fill for your pouf. You can supplement the polyfil with fabric scraps or even old clothing. However I don’t recommend using those items alone because they won’t provide the same soft fluffy finish that you want for your pouf.
If you do supplement your filling remember the cut the pieces as small as possible. You don’t want the filling to be at all chunky or lumpy.
How do you make a homemade pouf ottoman?
This little cube is very straightforward to make. I have included the instructions for adding piping to the ends, but you can leave the piping off if you are newer to sewing and find it intimidating. This project will come together quickly and is great for beginners.
What you’ll need:
- 3 yards Outdoor fabric (if you are going to use this on the patio) or just a sturdy fabric if this will be used indoors.
- Polyfil Fiberfill – 2 to 3 bags (or 1 box)
- 4 yards Piping Cord – optional to add piping to edges.
What to cut:
Cut 2 squares measuring 18″. Cut four rectangles measuring 18″ x 36″.
THEN cut 2″ strips. Piece the strips together so they are 2 yards long. Make sure you have cut your rectangles first or you won’t have big enough pieces for your main project!
How to make piping:
If you don’t want piping skip down to assembling the pouf.
I am going to break this into several steps. You could do this where you sew only once, but I find that breaking it into small steps and sewing more times makes it much easier and less rage inducing.
Cut your 4 yards of piping cord in half. You should have two 2 yard pieces.
Use your 2″ x 2 yard strip. Tuck the piping cord in as you fold the strip in half.
Use a zipper foot, or sew along the thin edge of your presser foot. Sew as close to the piping cord as possible to create a long strand of piping. Stop a few inches from the bottom of the piping.
How to add the piping:
Grab your 18″ square. Clip the raw edge of your piping around the square. Go ahead and cheat the corners by creating a round corner rather than a 90 degree triangle.
Where the piping meets you will want to fold the short edge of the fabric on the piping under.
Then trim your piping cord so that the two cord ends will meet. Envelop the raw piping edge with the folded edge of fabric.
Use the first seam as a guide to sew the piping to the square. (Like I said this is an extra step but it will save you a headache when we assemble the pouf.)
Repeat this with the second 18″ square.
How to assemble the pouf:
Place two of your 18″ x 36″ rectangles right sides together. Sew along one long edge. Repeat this step with the two remaining rectangles.
Clip these two sets of rectangles together, right sides facing, and sew along the two long edges. Leave a 6″ section in the middle open for turning the piece out. This should give you your first look at the 3D shape we are creating.
Now pin one square with piping to one end of the rectangle. Be sure that the raw edges of the piping and square meet up with the raw edge of the end of the rectangle. Sew in place. Use the seam on the square as a guide and since we cheated the corners you can simply sew a rounded square without worrying about the Y seam. Repeat this step with the second square.
Finishing the DIY ottoman pouf:
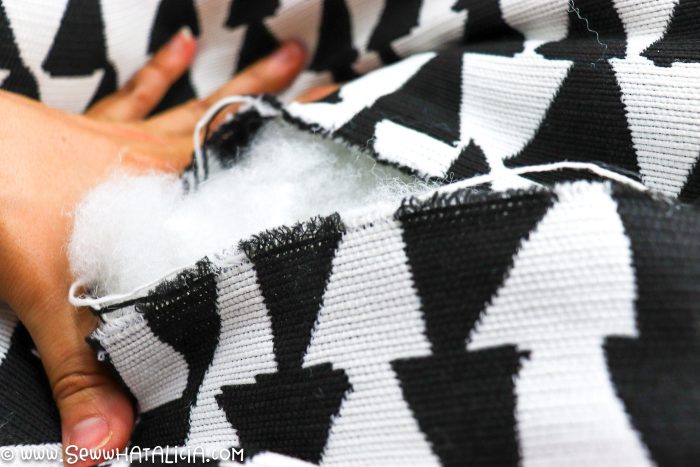
Turn your piece out. Grab your stuffing and get to filling it up! The more stuffing you use the firmer your pouf will be.
I used 2 1/2 bags and my pouf is still soft and flexible which it exactly what I was looking for. This is a personal preference so add however much filling you want so that it fits your needs perfectly (that is why making our own is so great am I right?
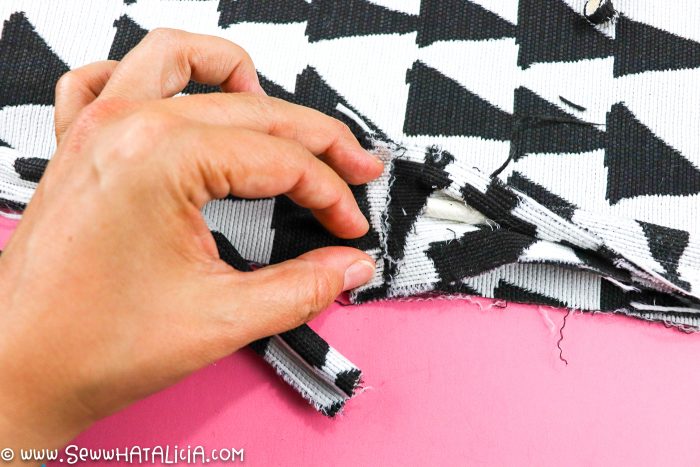
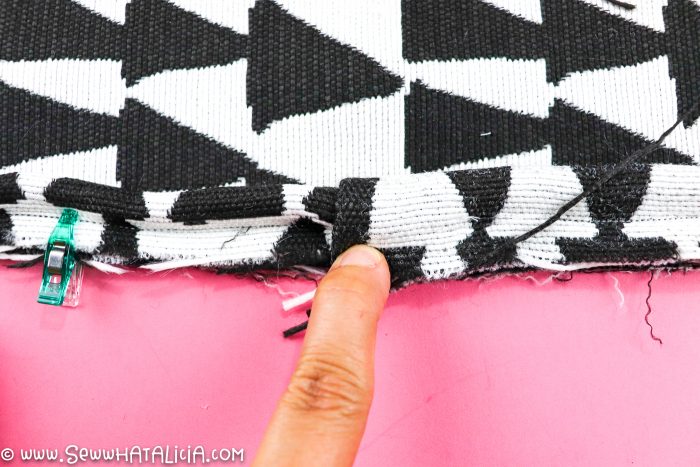
Fold your raw edges under and clip the opening closed. Use a ladder stitch to close the opening, don’t be scared, I promise it isn’t hard!!!
Now enjoy!

My little guy stole this from the patio and has carried it around to virtually every room in the house. It is the perfect place for him to lounge and play his games. Then when he goes to sleep I can grab it and use it when I sit on the patio or on the couch.
Pin DIY Ottoman Pouf
Don’t forget that the best way to help a blogger is to help people see their content! You can easily help by pinning their post or sharing them to your social media! This blog helps me to support my kiddos and allows me to stay home with them and take care of them! You can learn more about me and my kids HERE.


Ann Butler says
What a fun Ottoman, thanks for being part of the Fairfield World Summer Patio Party! ~ Ann Butler (Bella Crafts Publishing)