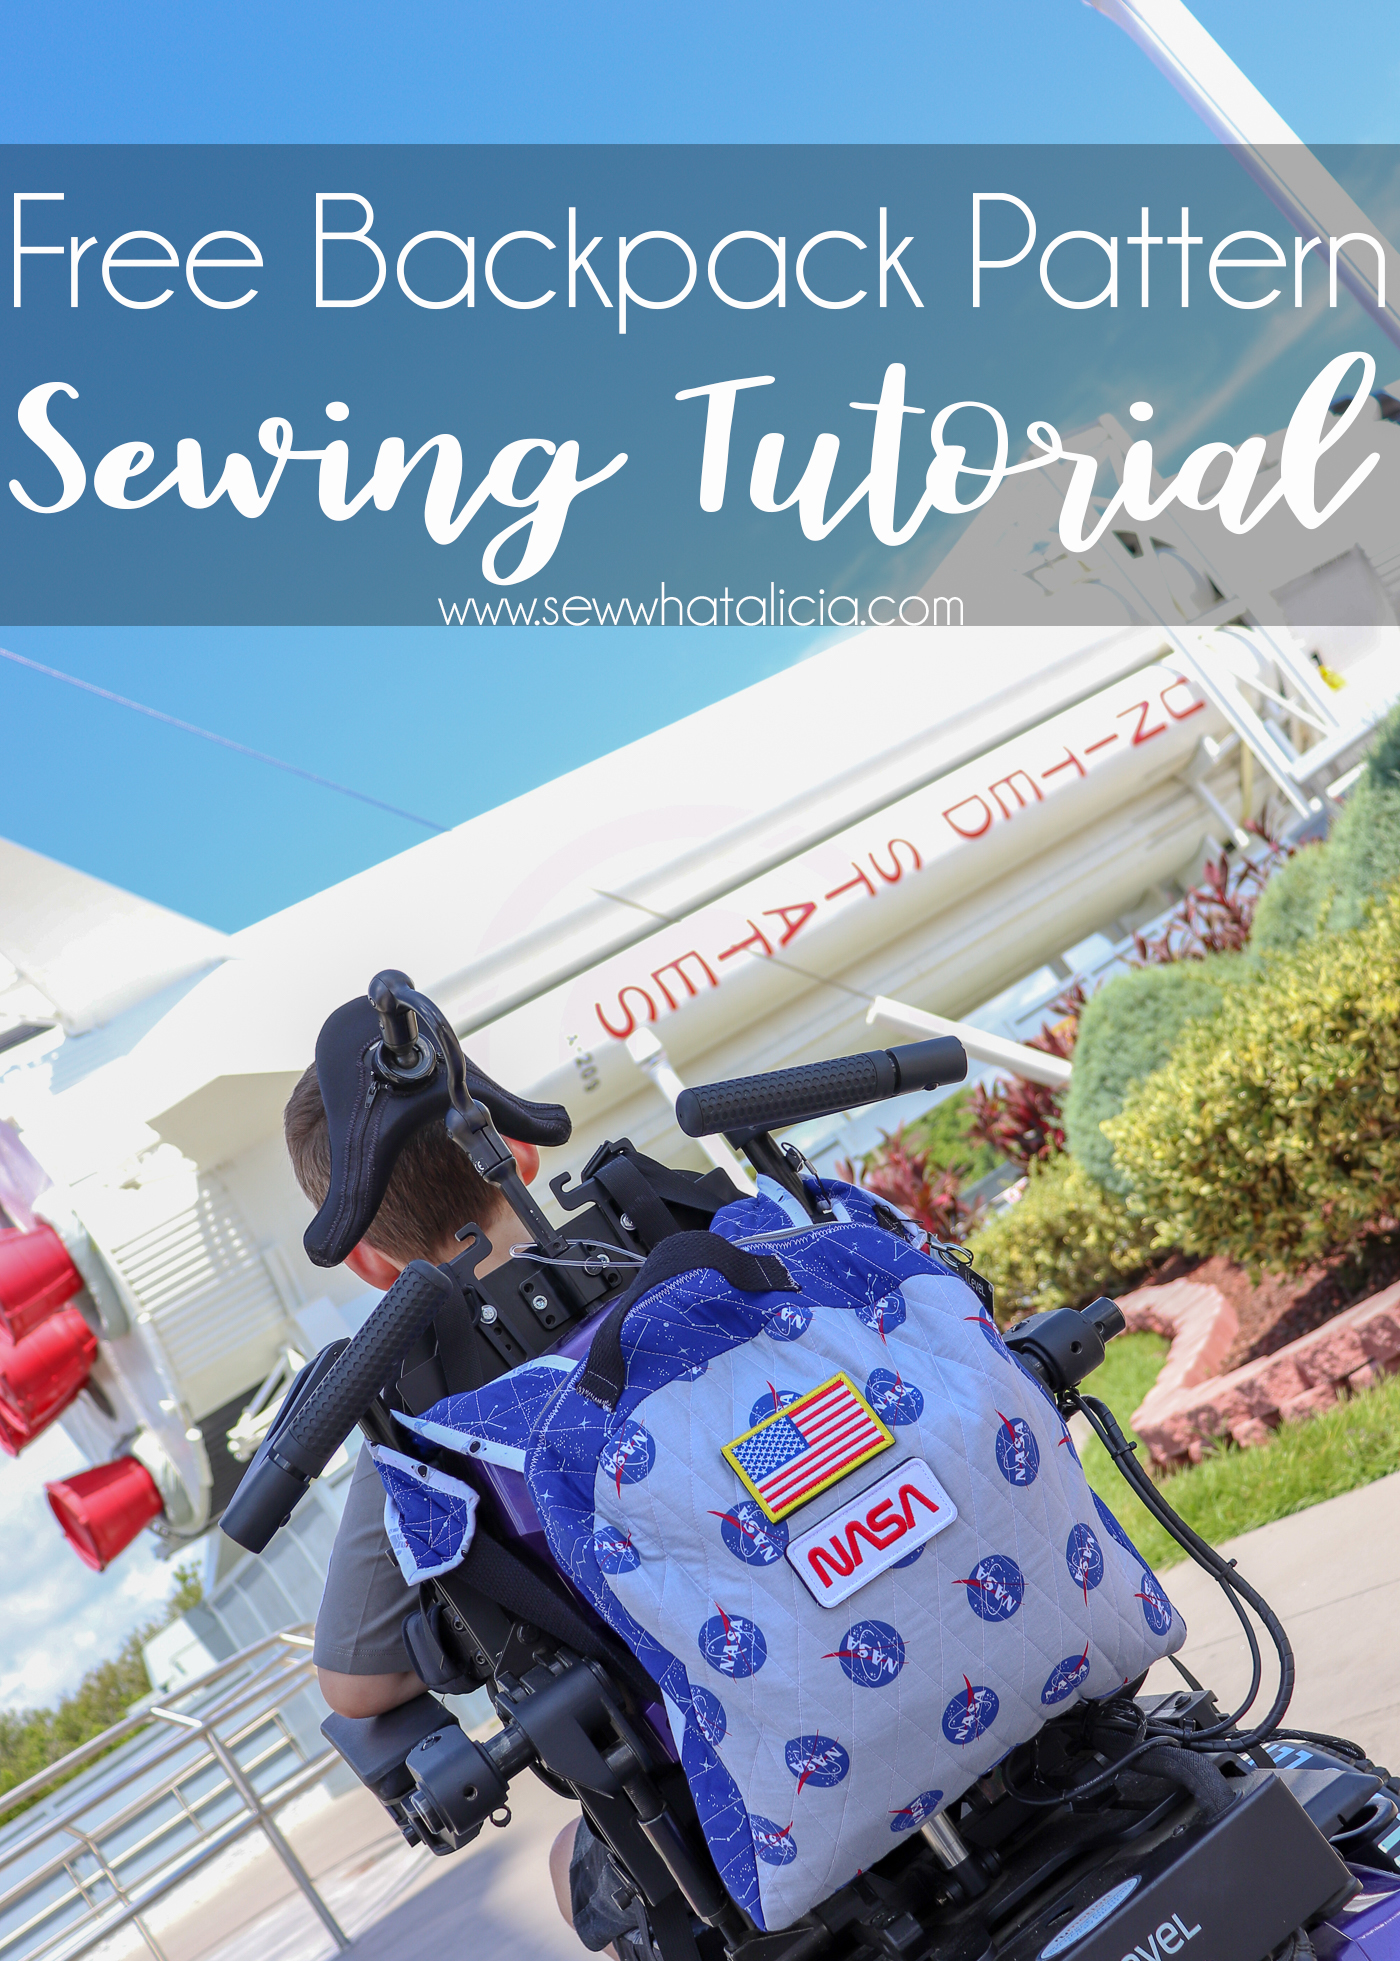
Free Backpack Pattern and Tutorial
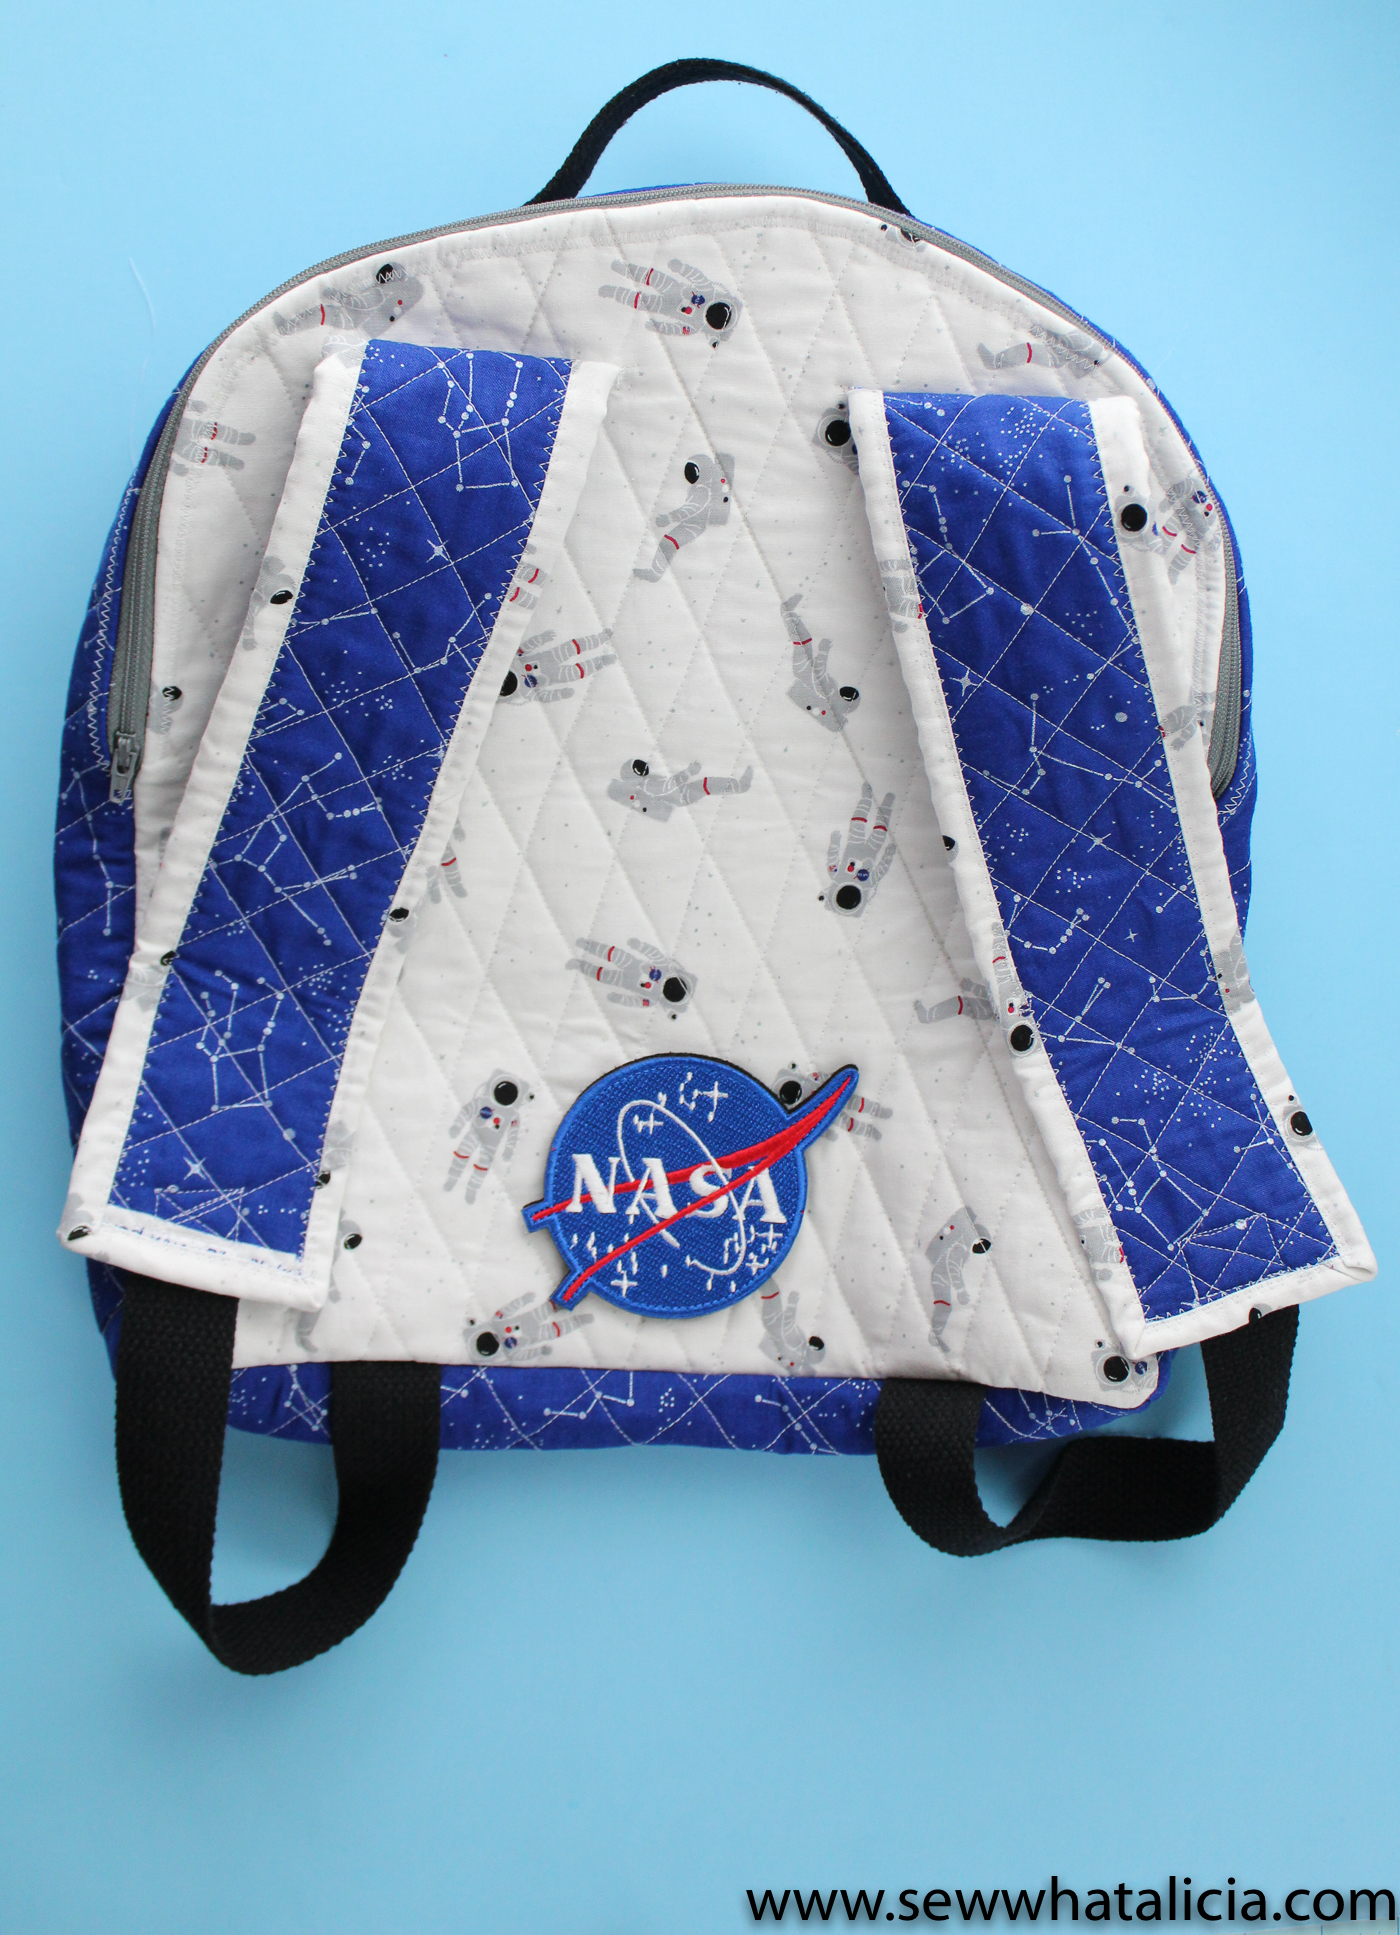
You know when you find the perfect fabric and you know exactly what you are going to make with it. It rarely happens but when it does it is so magical. When I saw this NASA fabric I knew that I was going to make a backpack for my little guy who is space obsessed. The backpack was the perfect addition to our trip to the Kennedy Space Center this summer. Now I am sharing the diy backpack pattern with you so you can create your own magical moment! Here is the free backpack pattern and tutorial.
Free Backpack Pattern and Tutorial
New to sewing? Check out these sewing terms and beginner supplies.
Backpack Pattern Supplies:
This NASA fabric from Riley Blake was the inspiration for my project.
Free Backpack Sewing PDF << Click for pattern
Heavyweight Fusible Interfacing
Walking Foot and Quilting Guide
Backpack Sewing Pattern Cutting:
This DIY backpack pattern looks great when it is finished so you might think it is super complicated. If we break it down into small steps this backpack is achievable by those with a basic understanding of sewing.
The first step is to print the pattern out. It comes in four pages. Do a test print first to make sure that the 1″ test square is indeed 1″. If it isn’t you might need to make sure that your printer isn’t scaling the pattern. Then cut the paper along the lines and tape your corresponding pieces together, 1 to 1a, 2 to 2a, and so on.
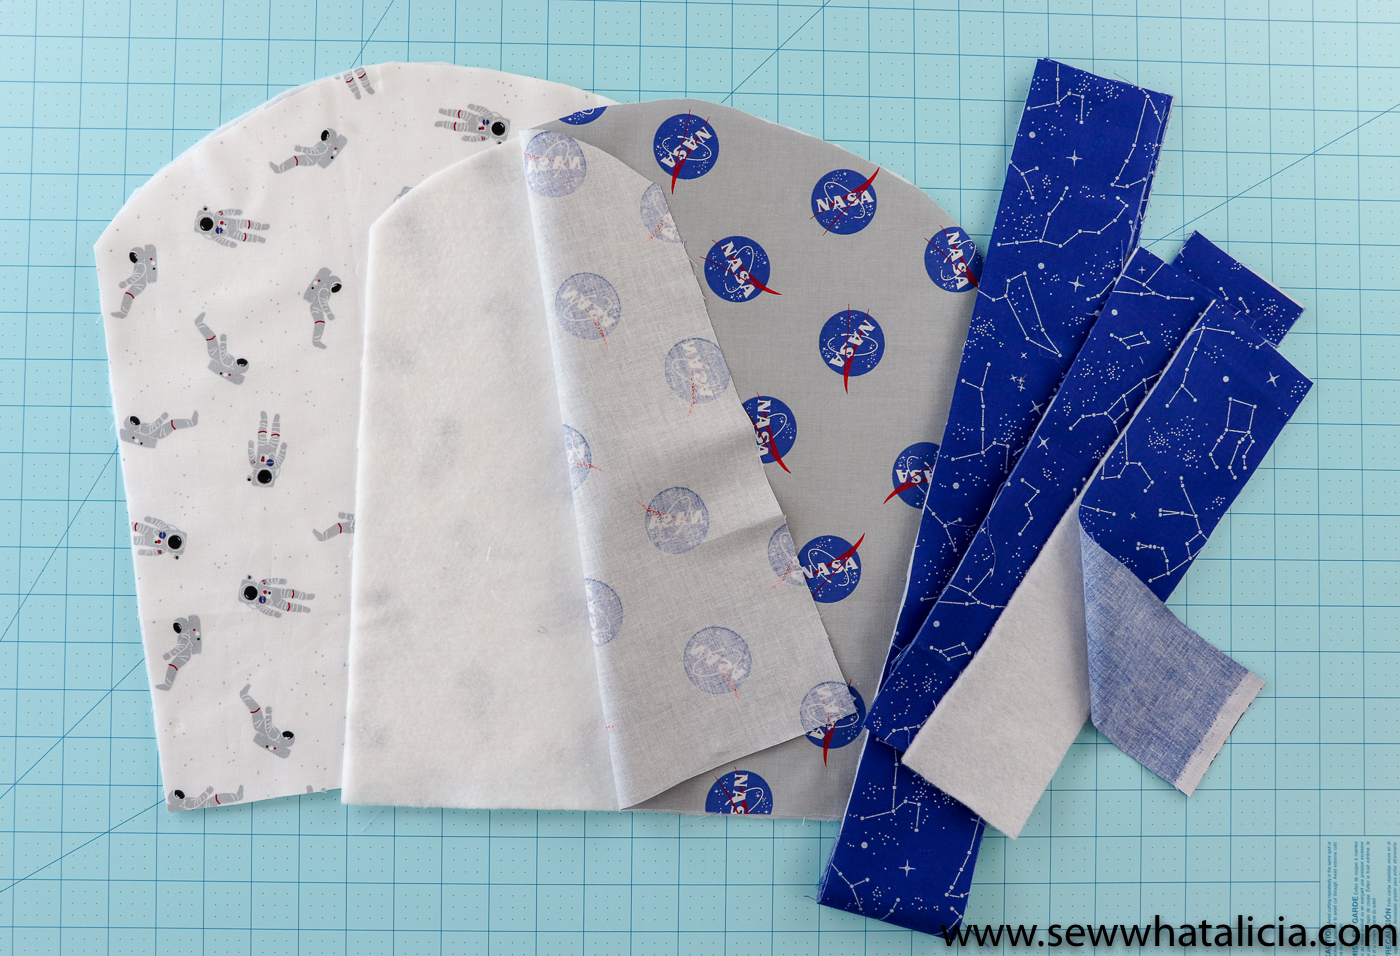
You will need to cut the following pieces:
Piece 1 – Cut 4 from fabric 1 from batting. Two will be on the inside of the backpack and two are the outside. You can use the same fabric or use a coordinating fabric for the lining of the backpack.
Piece 2 – Cut 2 from fabric 1 from batting. This is the top and sides of the backpack and will be attached to the zipper.
Piece 3 – Cut 2 from fabric 1 from batting. This is the bottom of the backpack. One piece will be the inside bottom and one will be the bottom outside.
Piece 3 – Remove the shaded area of the pattern. Then cut 4 from fabric and 2 from batting. These are the straps of your backpack.
Cut 1 1/2″ x WOF strips to serve as binding for the straps and the inside of the backpack.
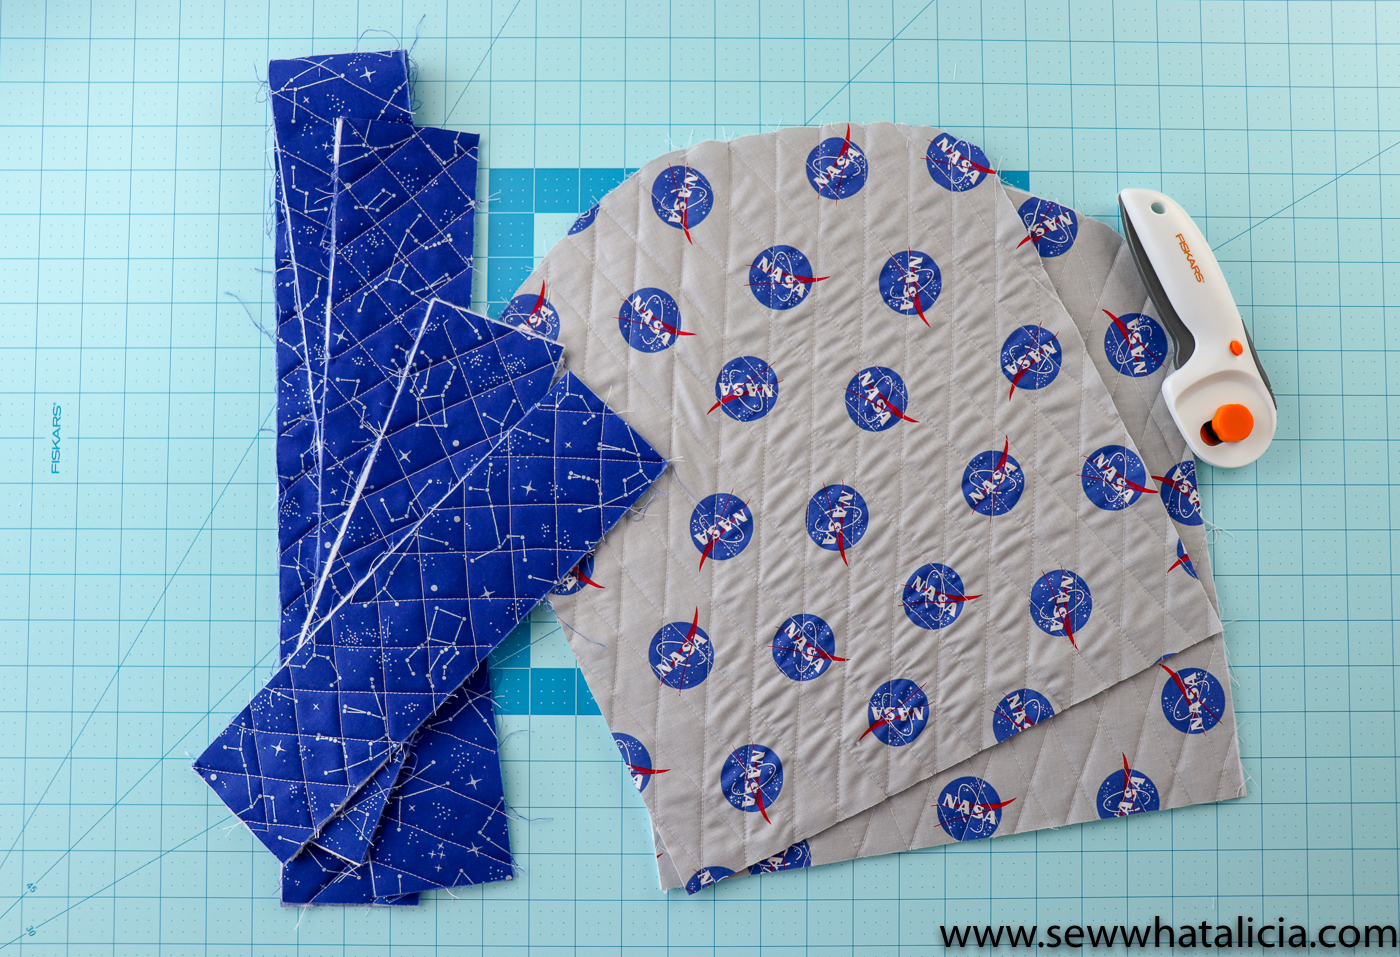
Quilt the backpack:
Before we can assemble the backpack we are going to quilt the pieces. Line the pieces up with a piece of batting between (as pictured above.) Use safety pins or clips to keep the pieces in place. Attach the walking foot and quilting guide to your machine.
Use a ruler and the tip of a mechanical pencil (with no lead) to score the first line you’d like to quilt. Then use the guide on the walking foot to quilt straight lines. The lines can create squares or if you do them on a diagonal they will create diamonds (which are pictured in this tutorial.)
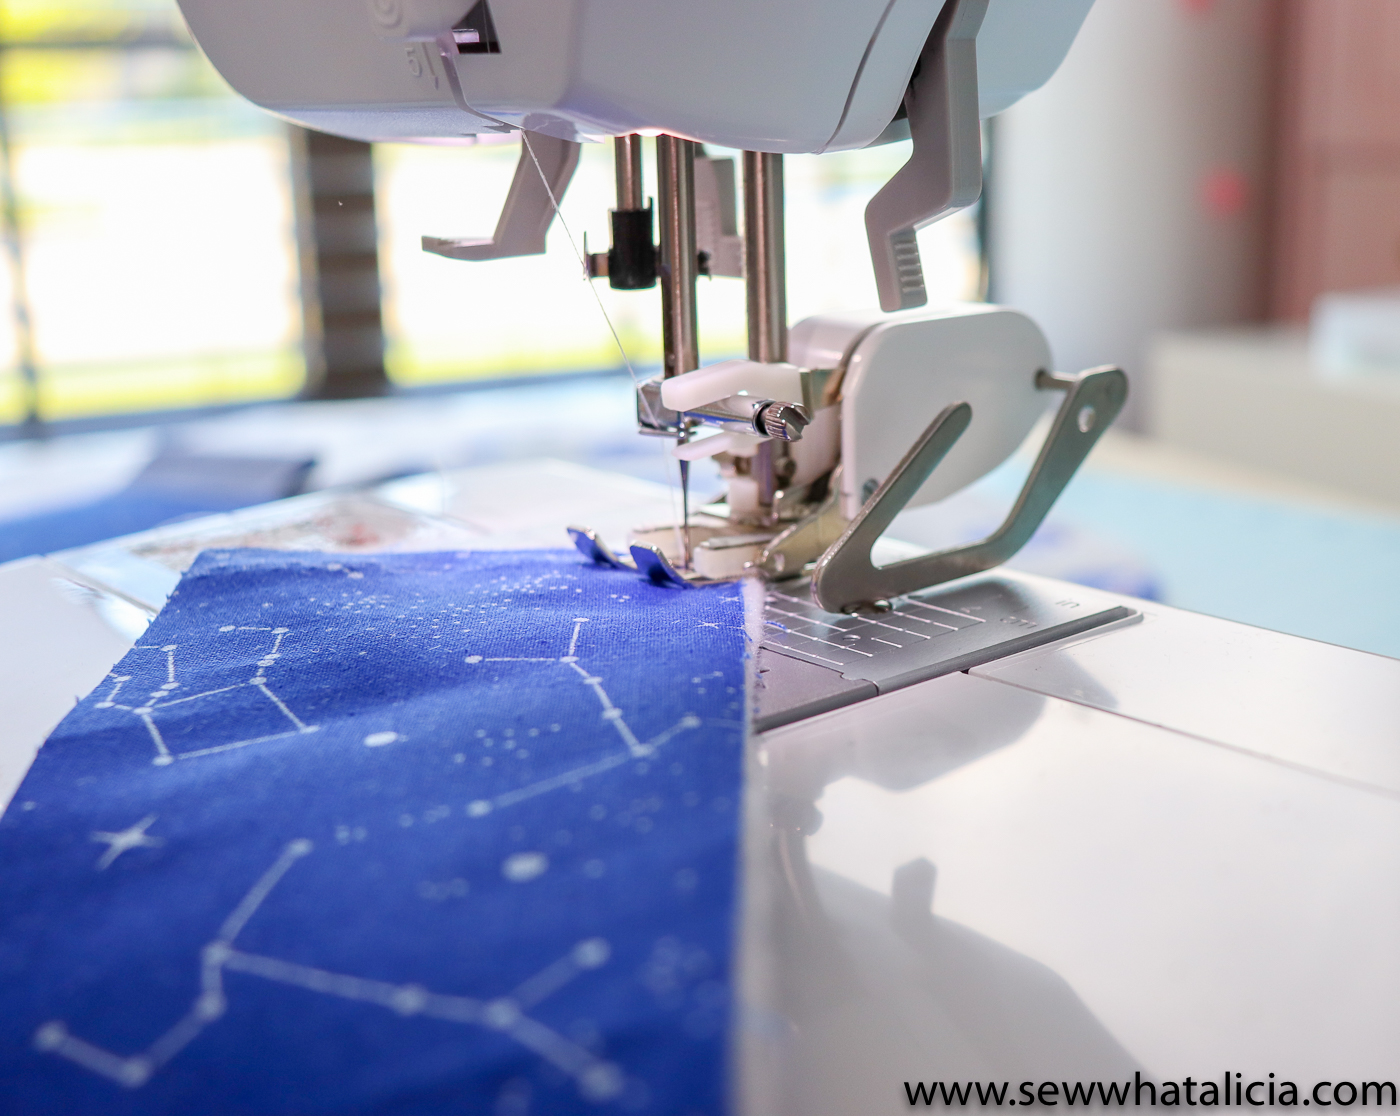
Quilt all the pieces, including the straps.
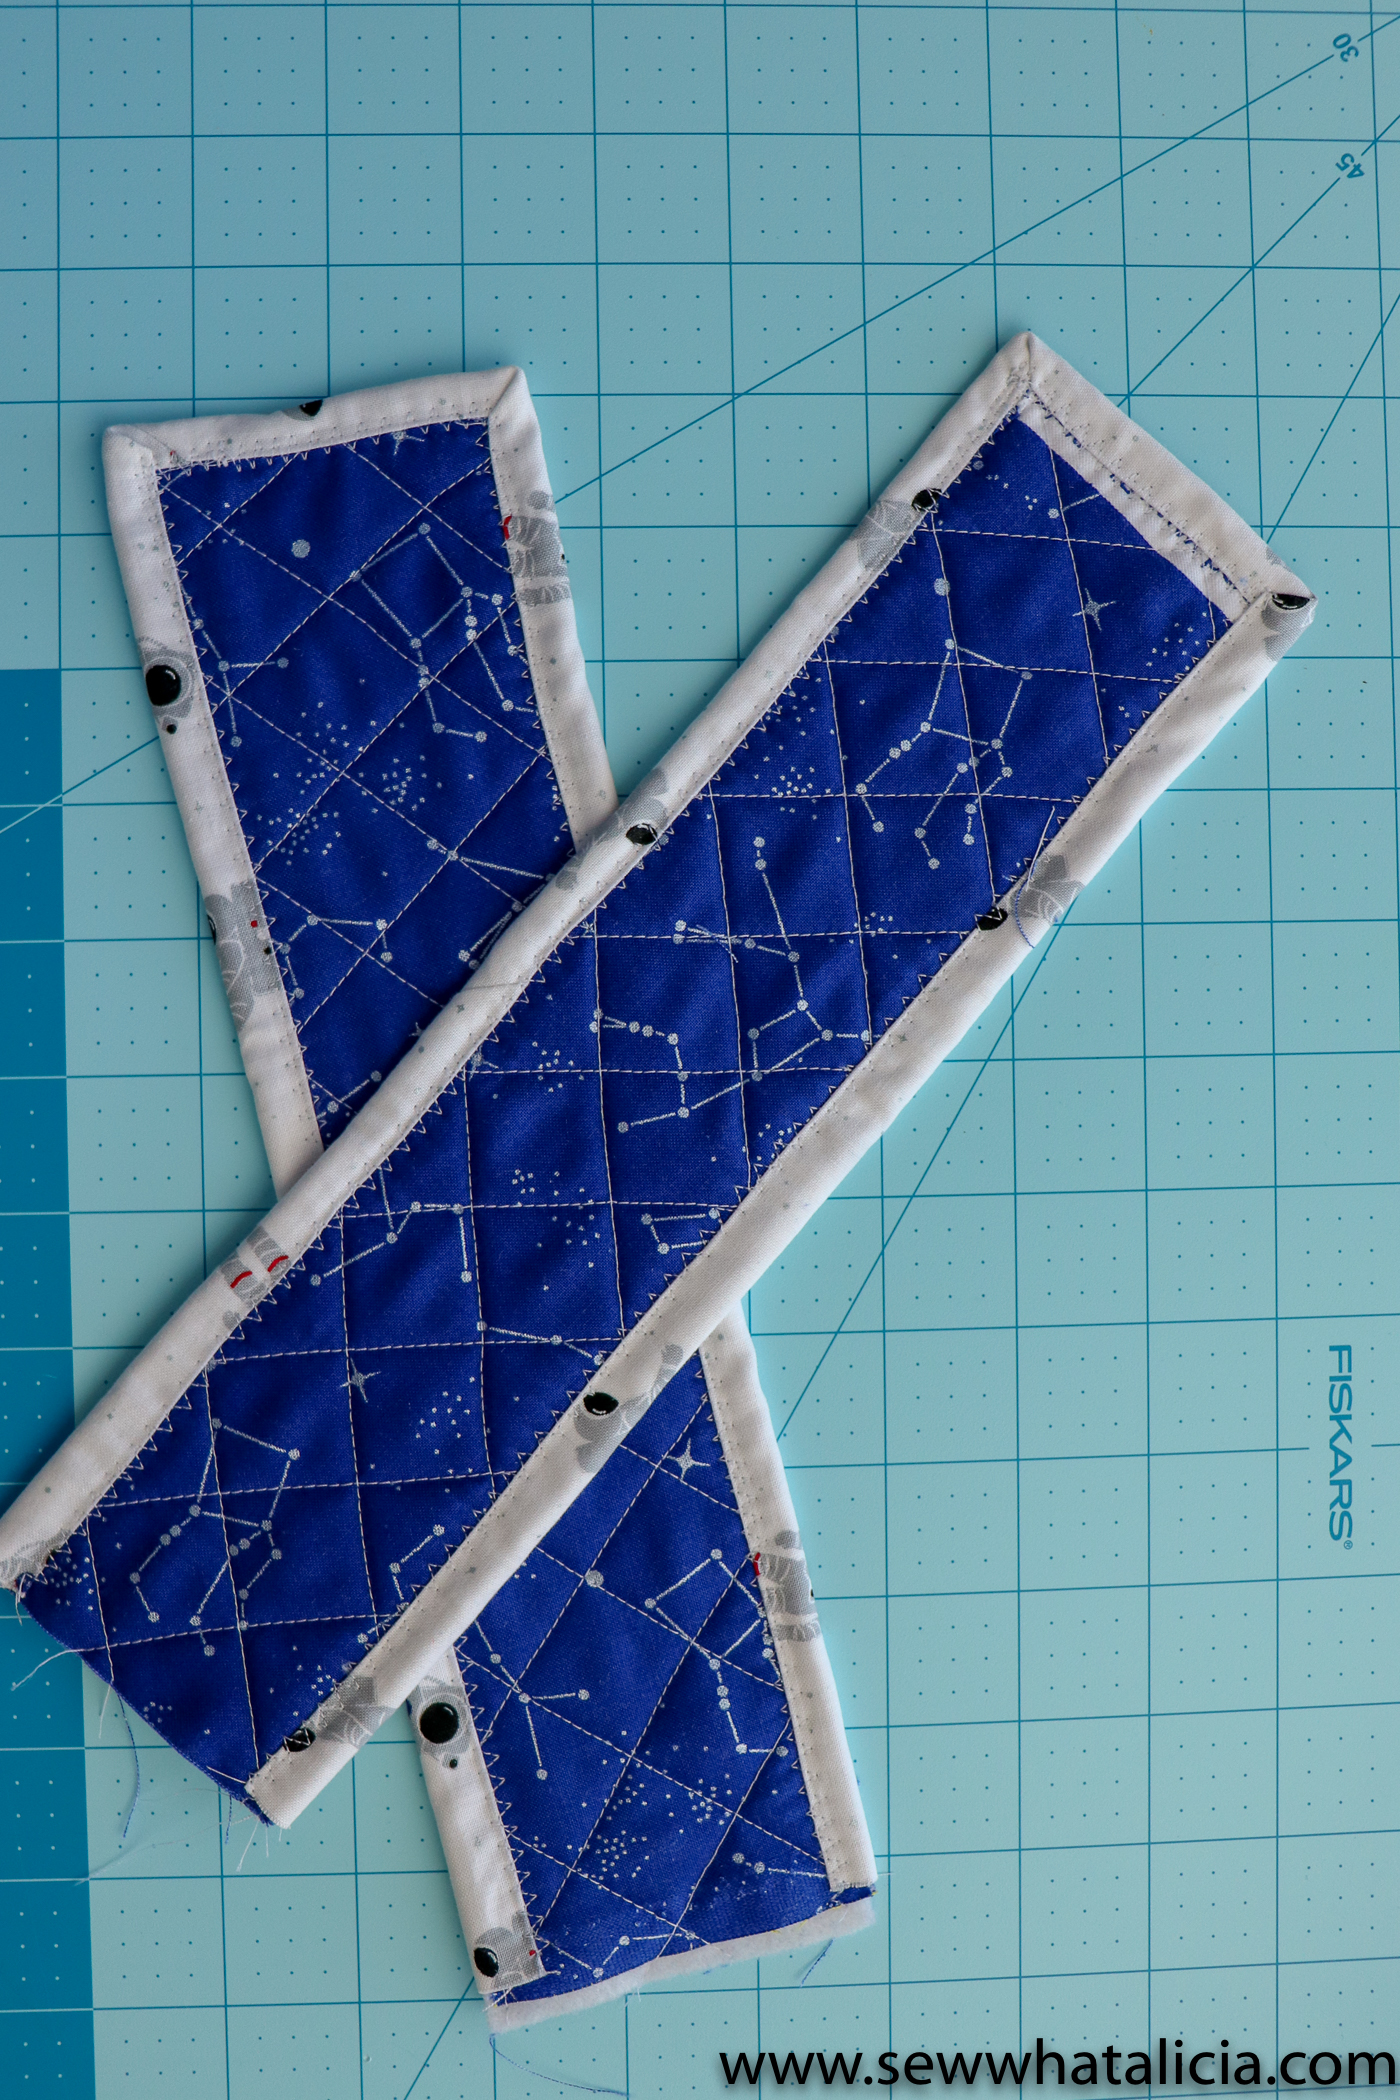
Finish the straps:
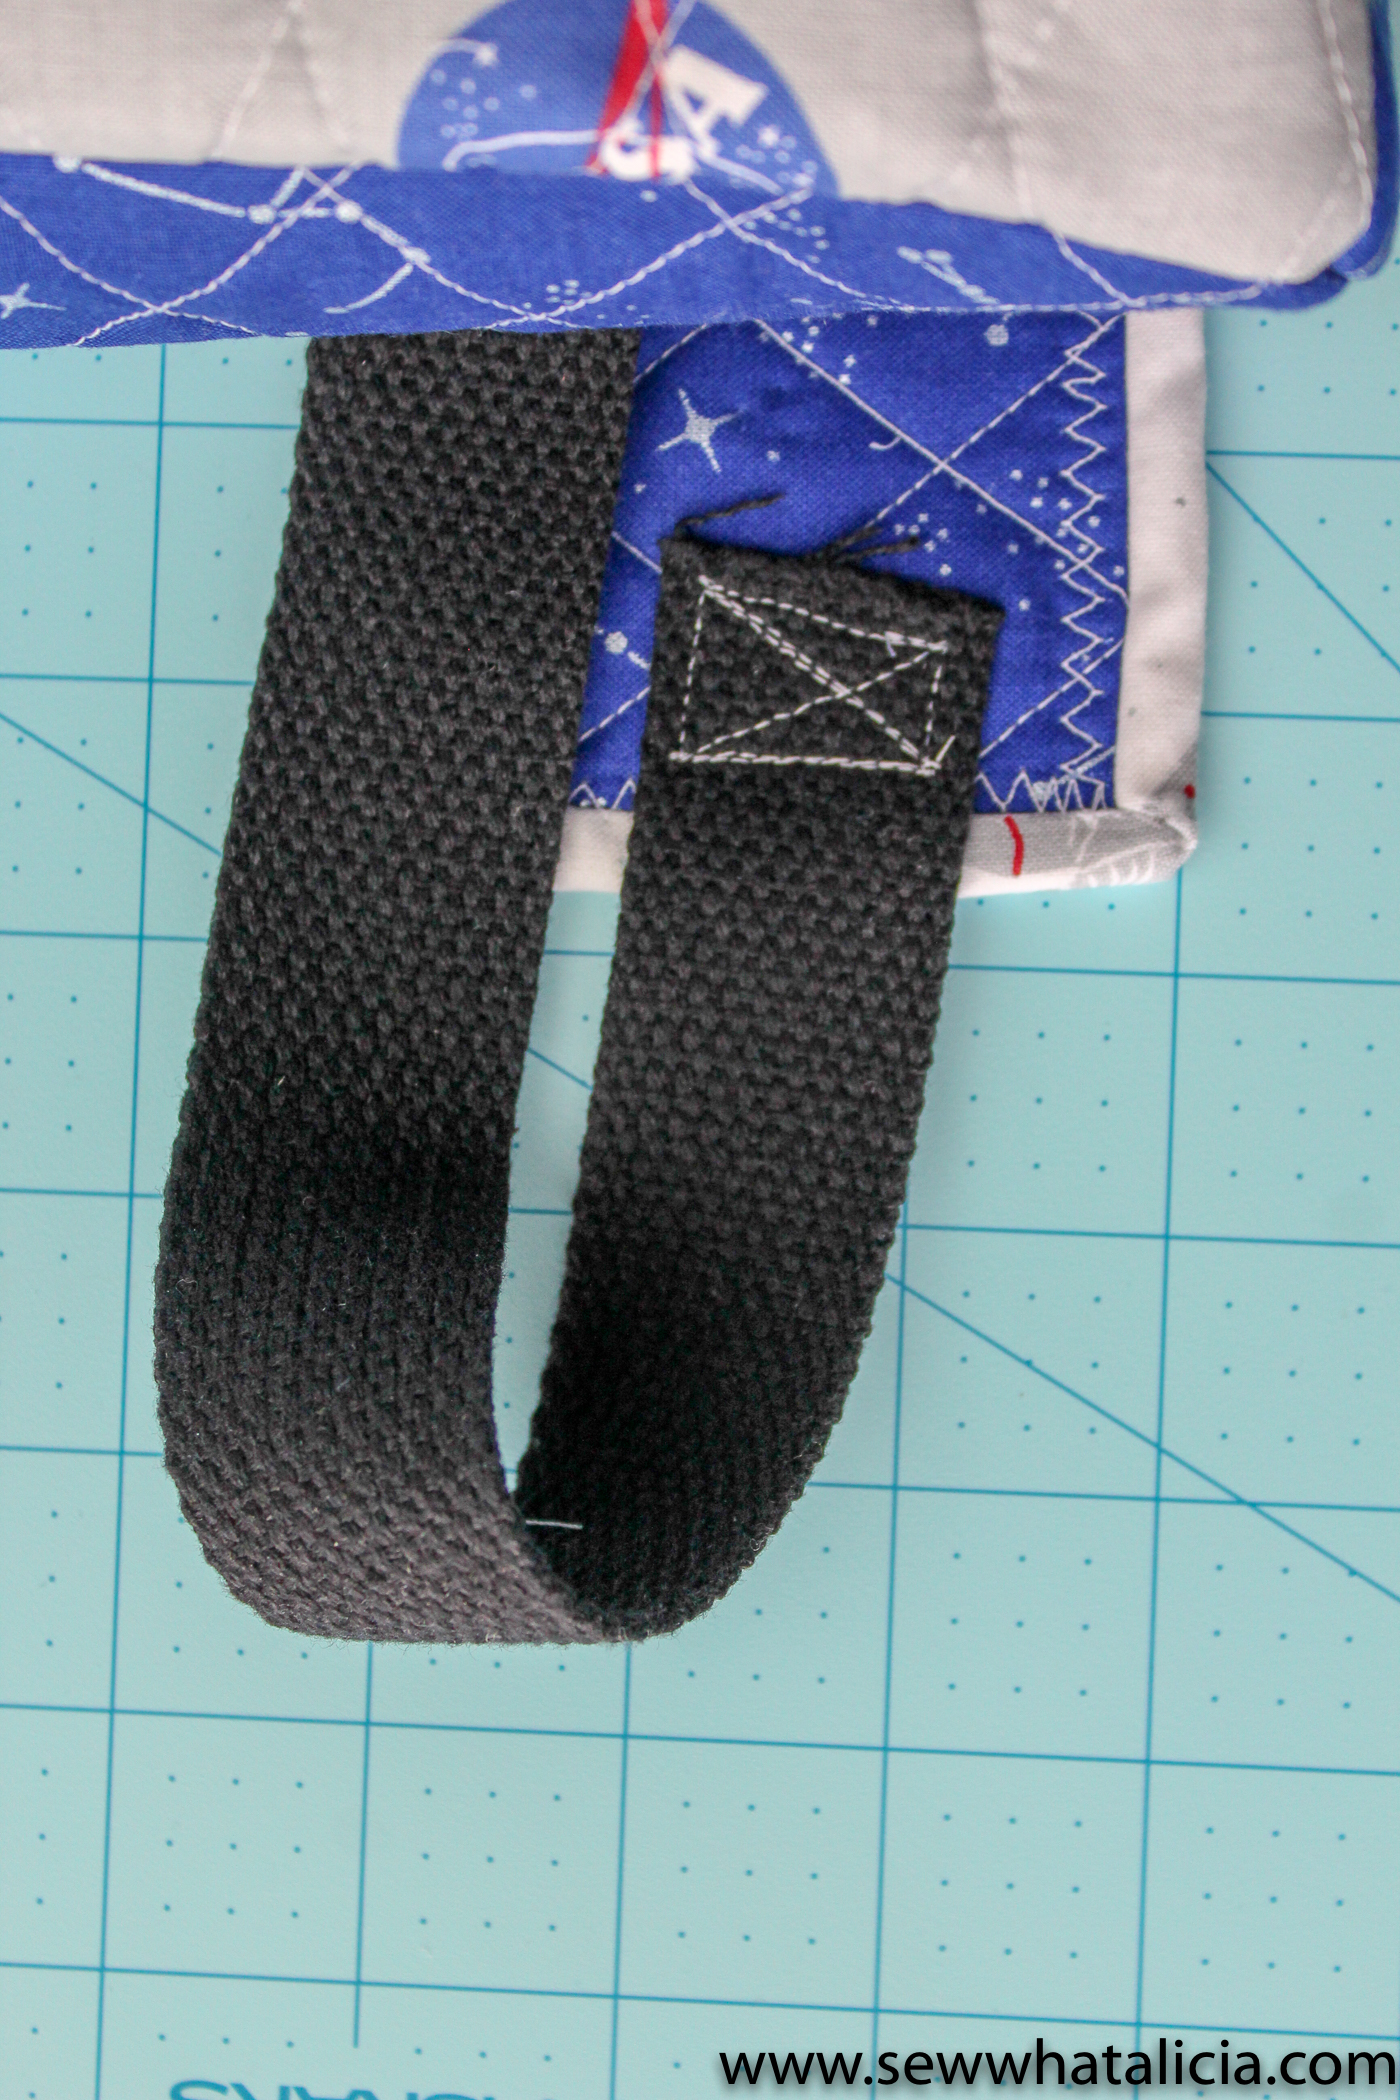
Attach the binding three edges of the strap, starting at the bottom right edge and moving around to the bottom left edge. For a full tutorial on binding see THIS post.
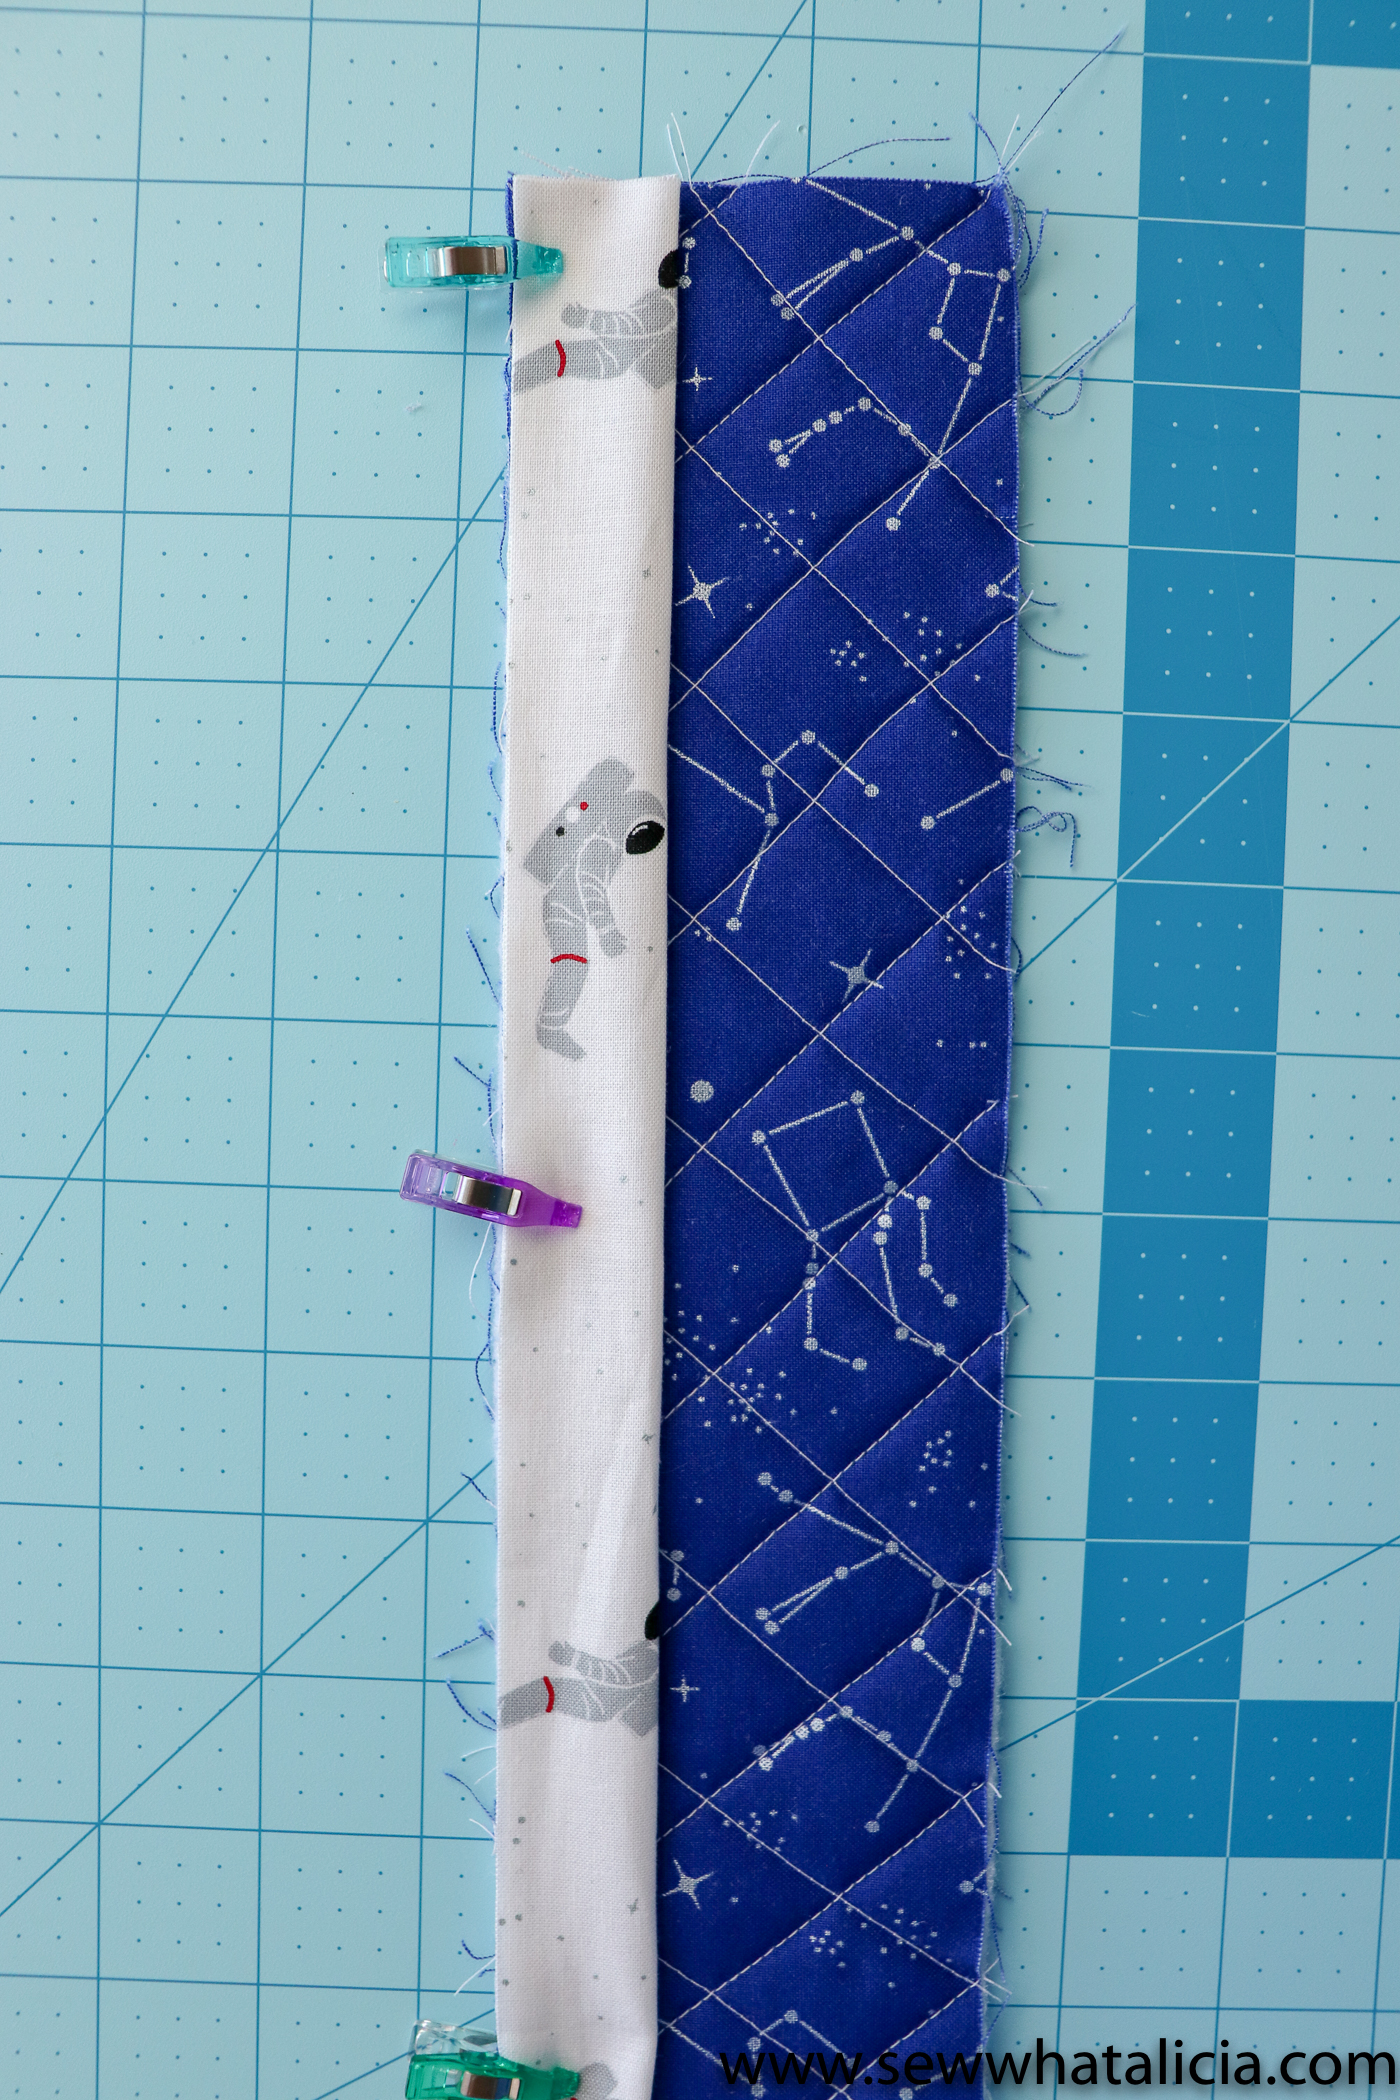
Be sure the binding goes all the way to the bottom of each strap (don’t make one too short like I did in the picture below, it is ugly!)
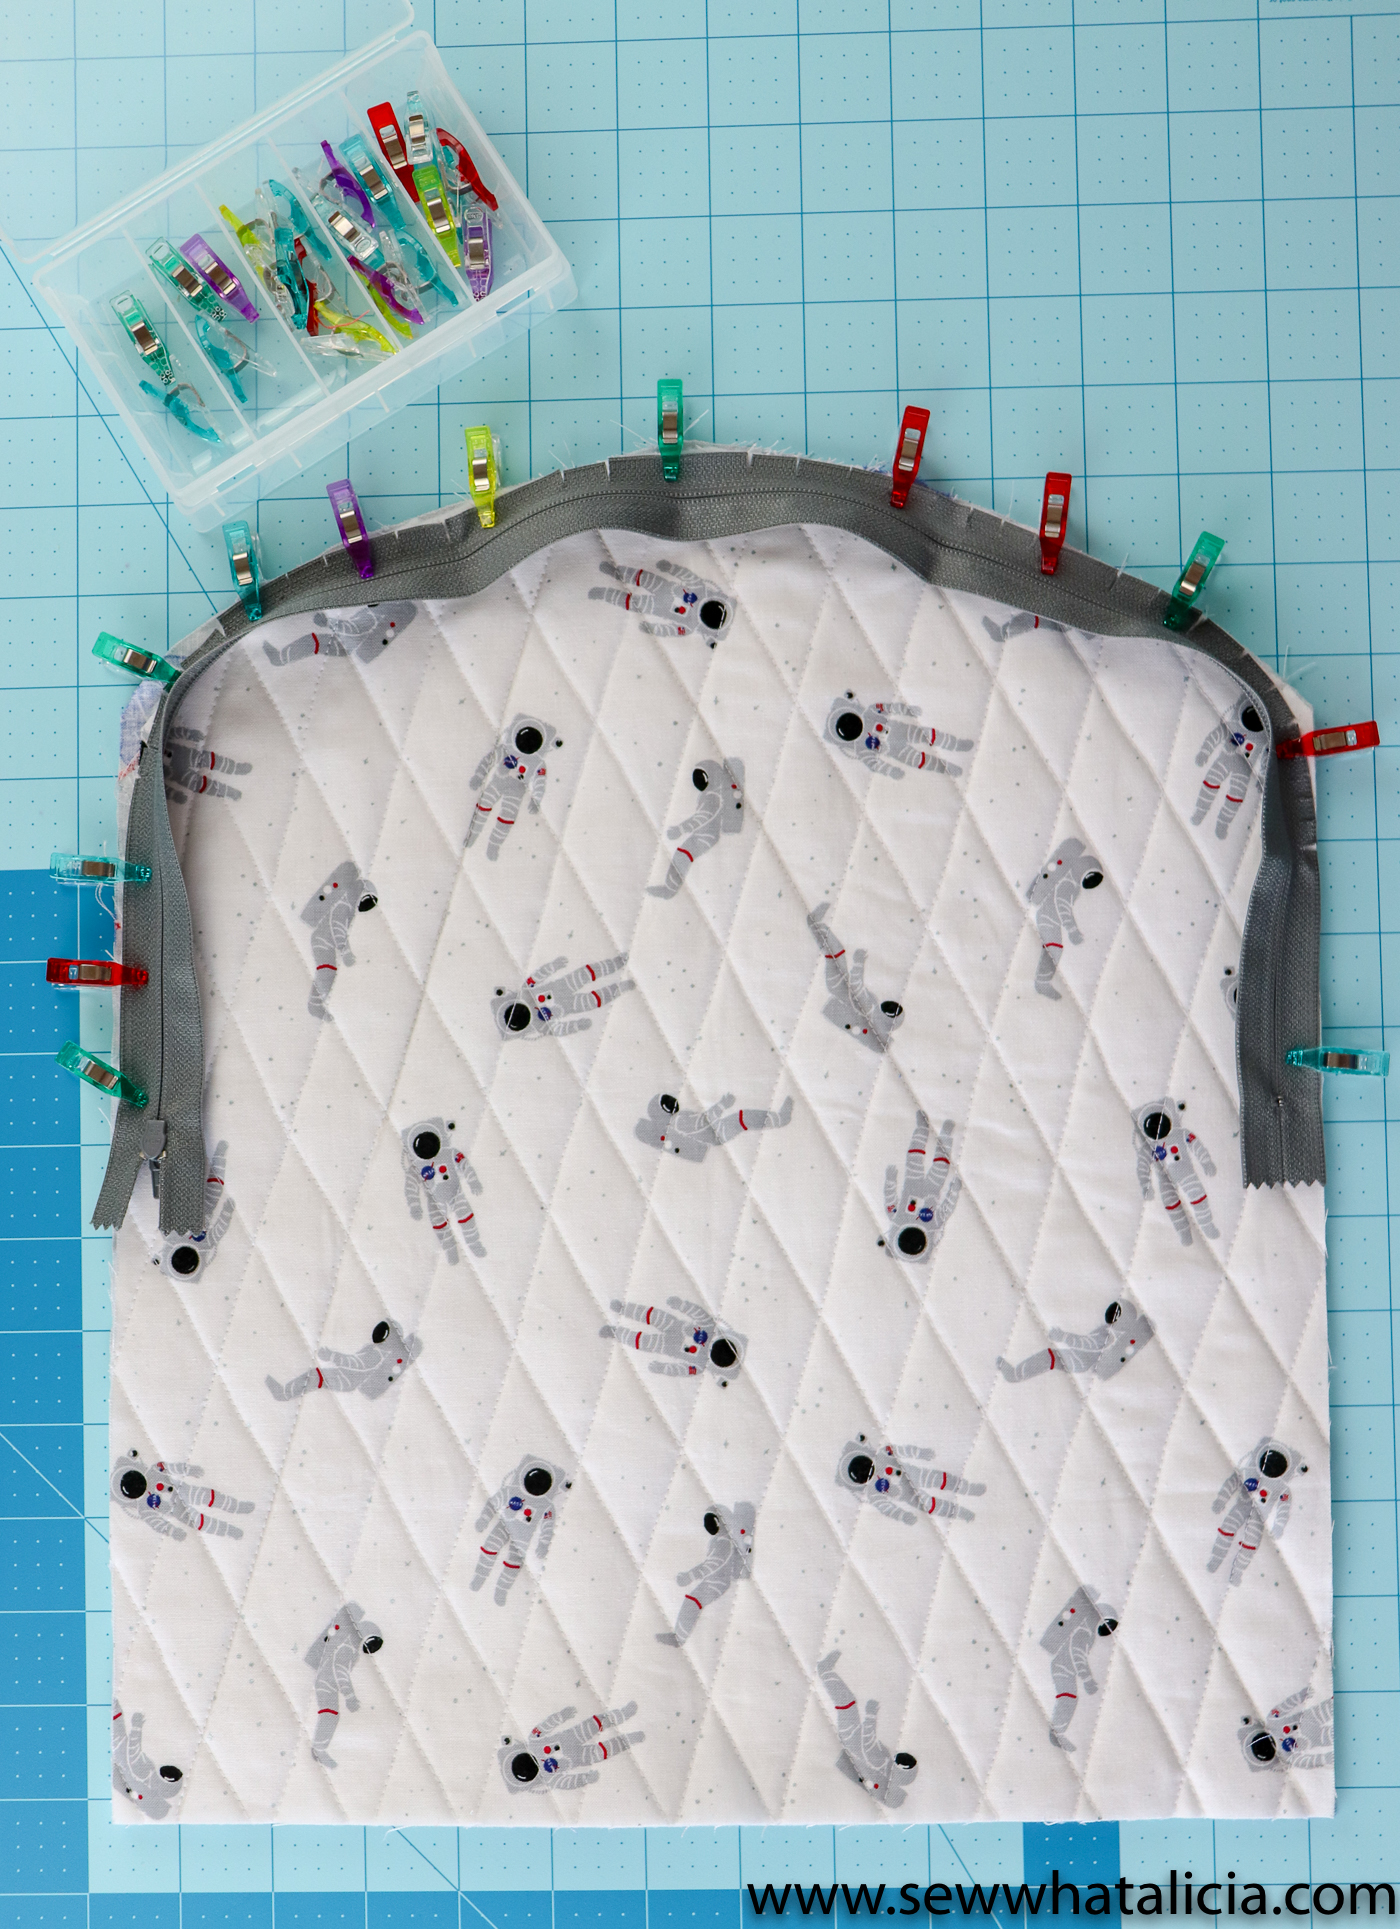
Attaching the zipper:
If you are new to zippers check out this round pouch tutorial for tips on sewing a zipper on a curved piece.
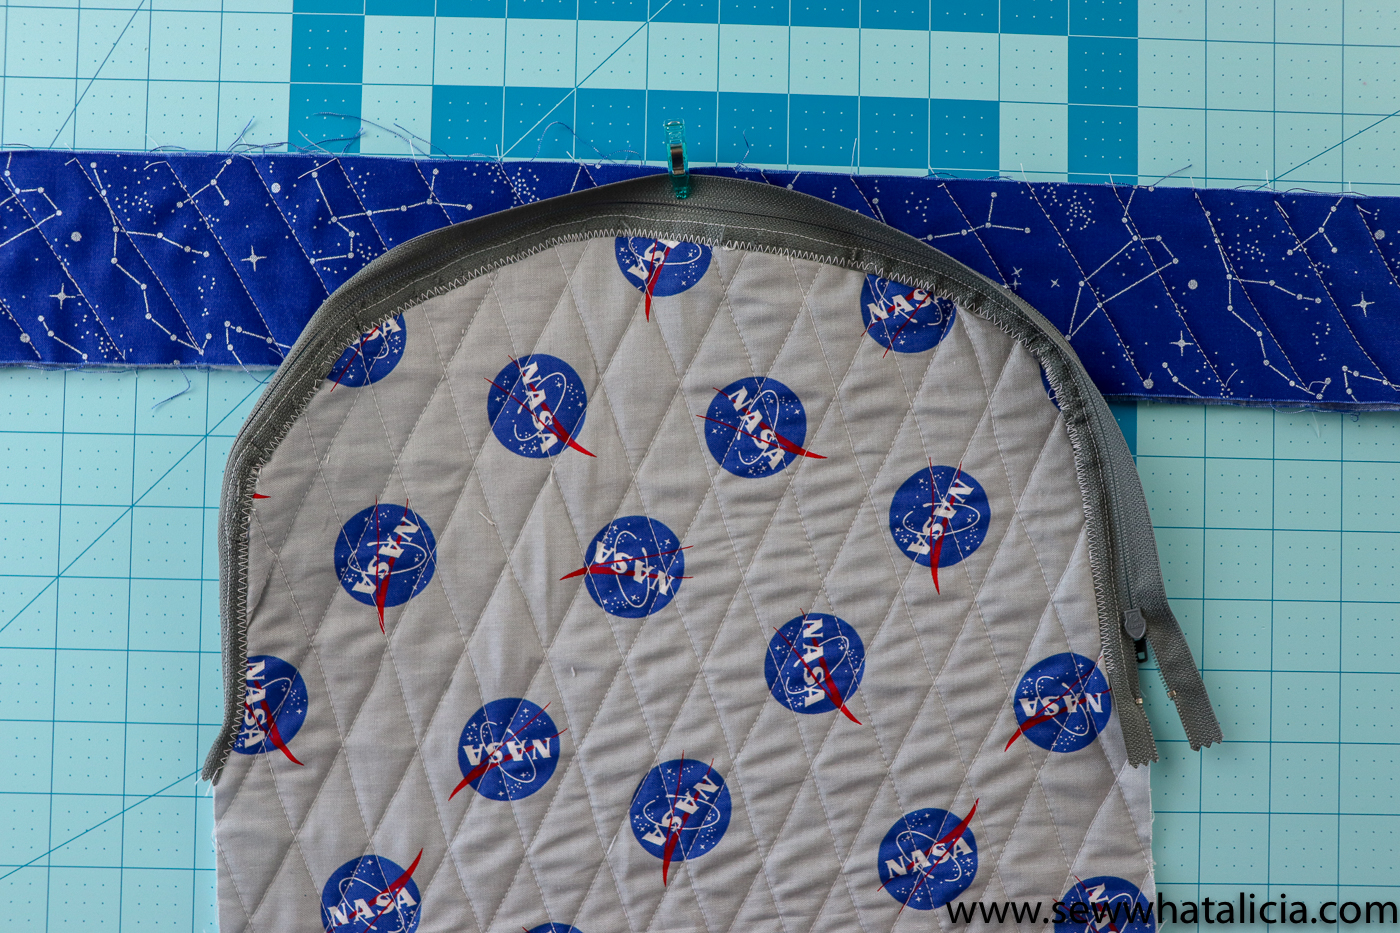
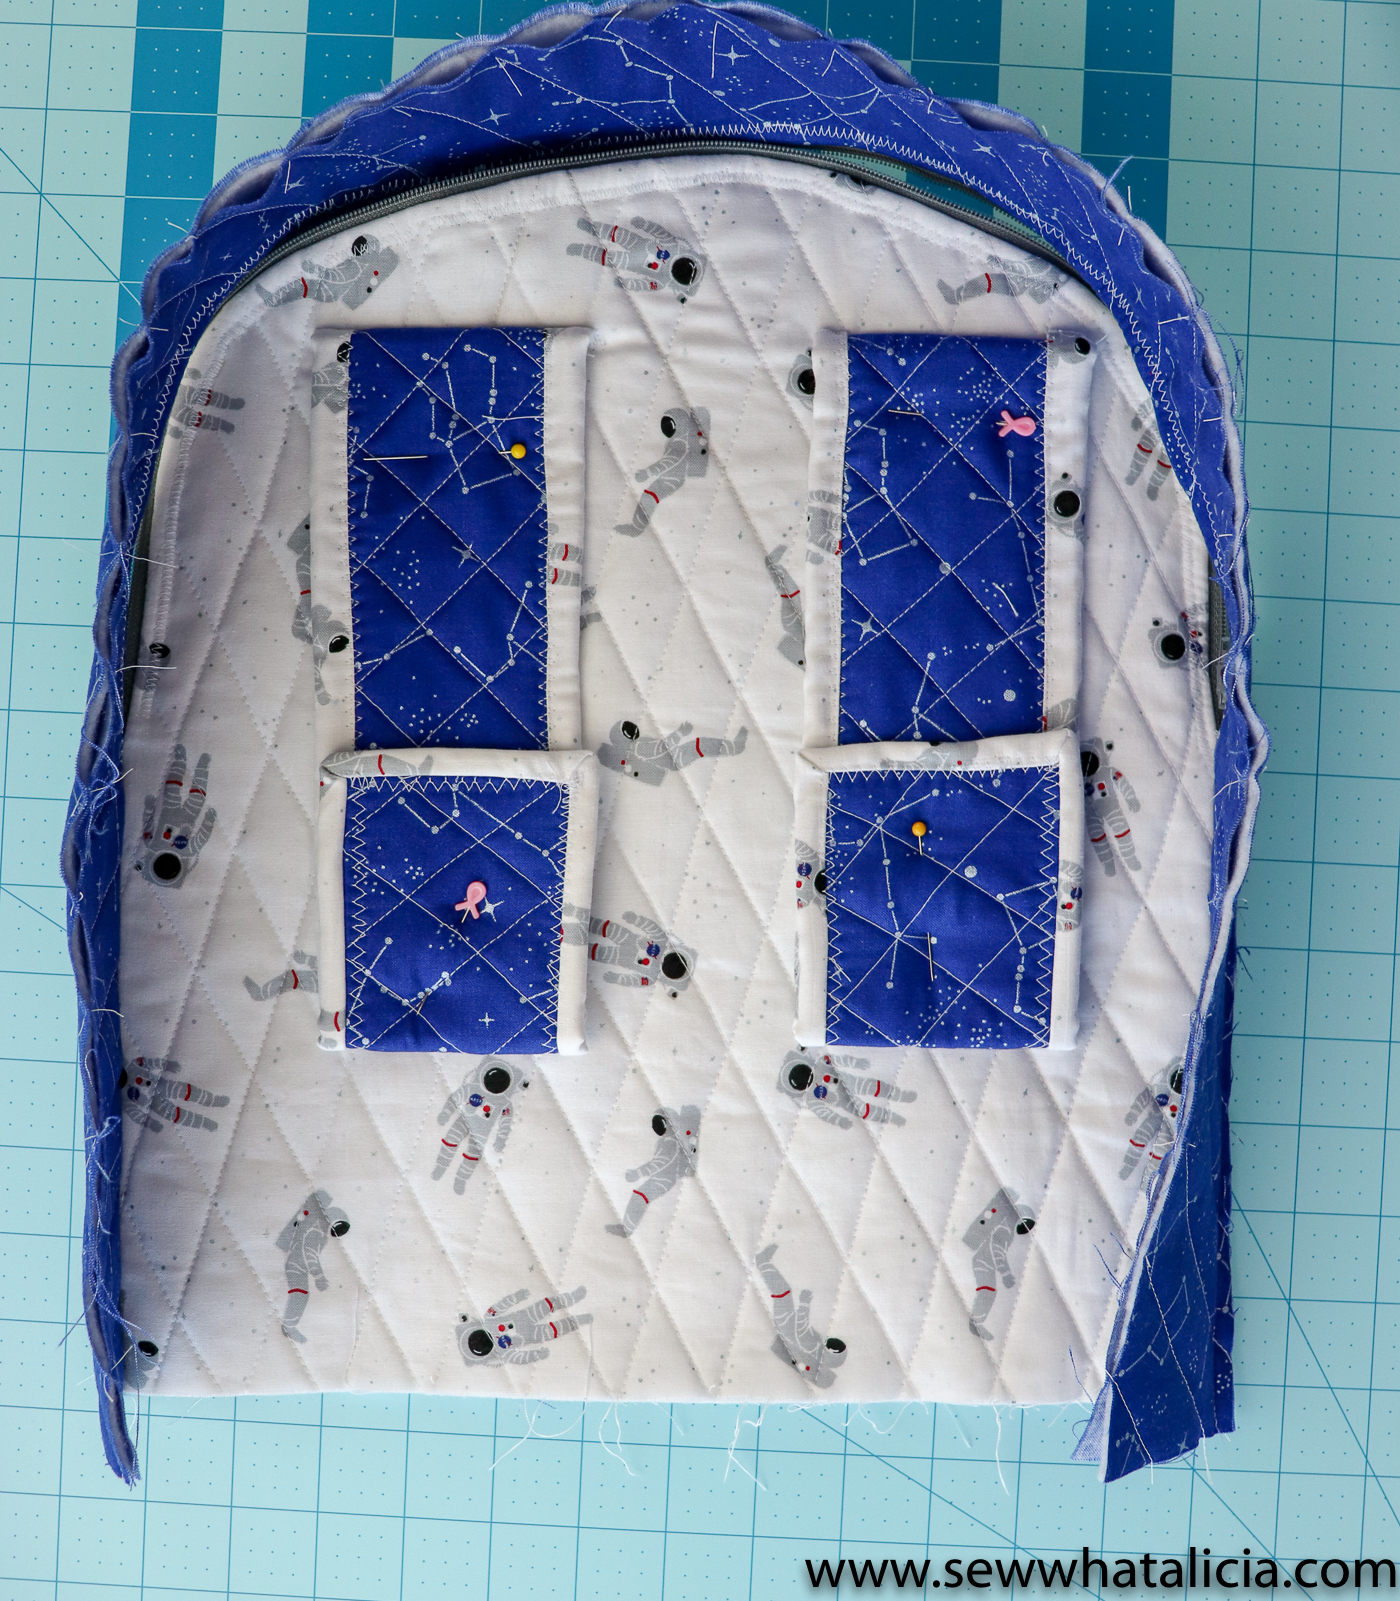
Find the middle of the zipper and pin it to the middle top of the piece. The fabric that faces the zipper will be on the OUTSIDE of the backpack so make sure that you have selected the side of the fabric that you want showing. The zipper ends should be as level as possible with each other (as you can see in the photo below.)
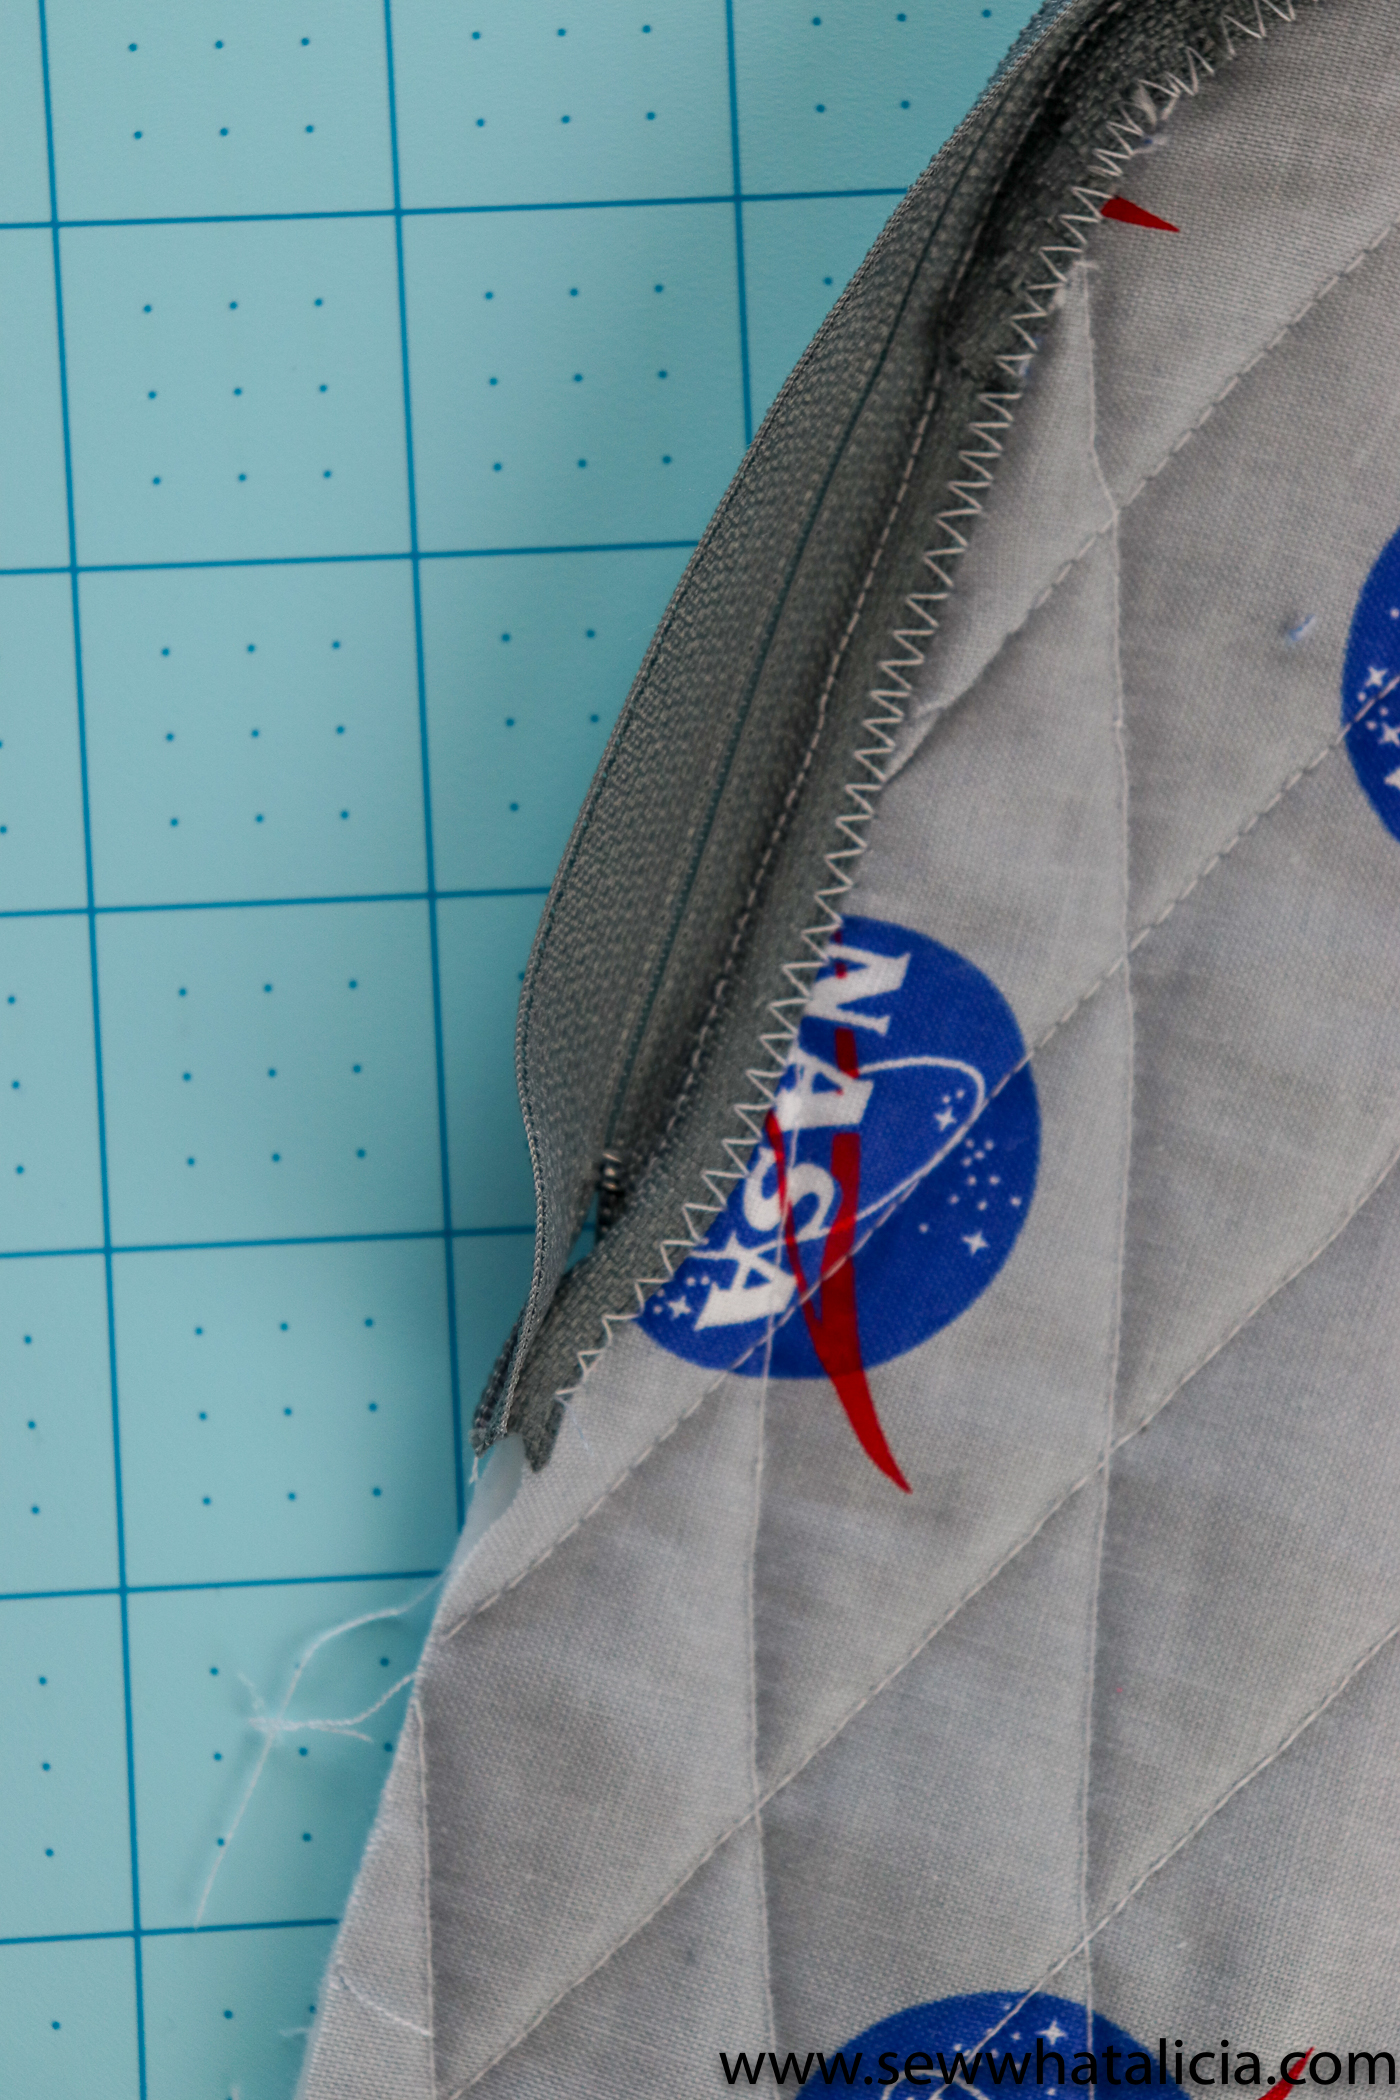
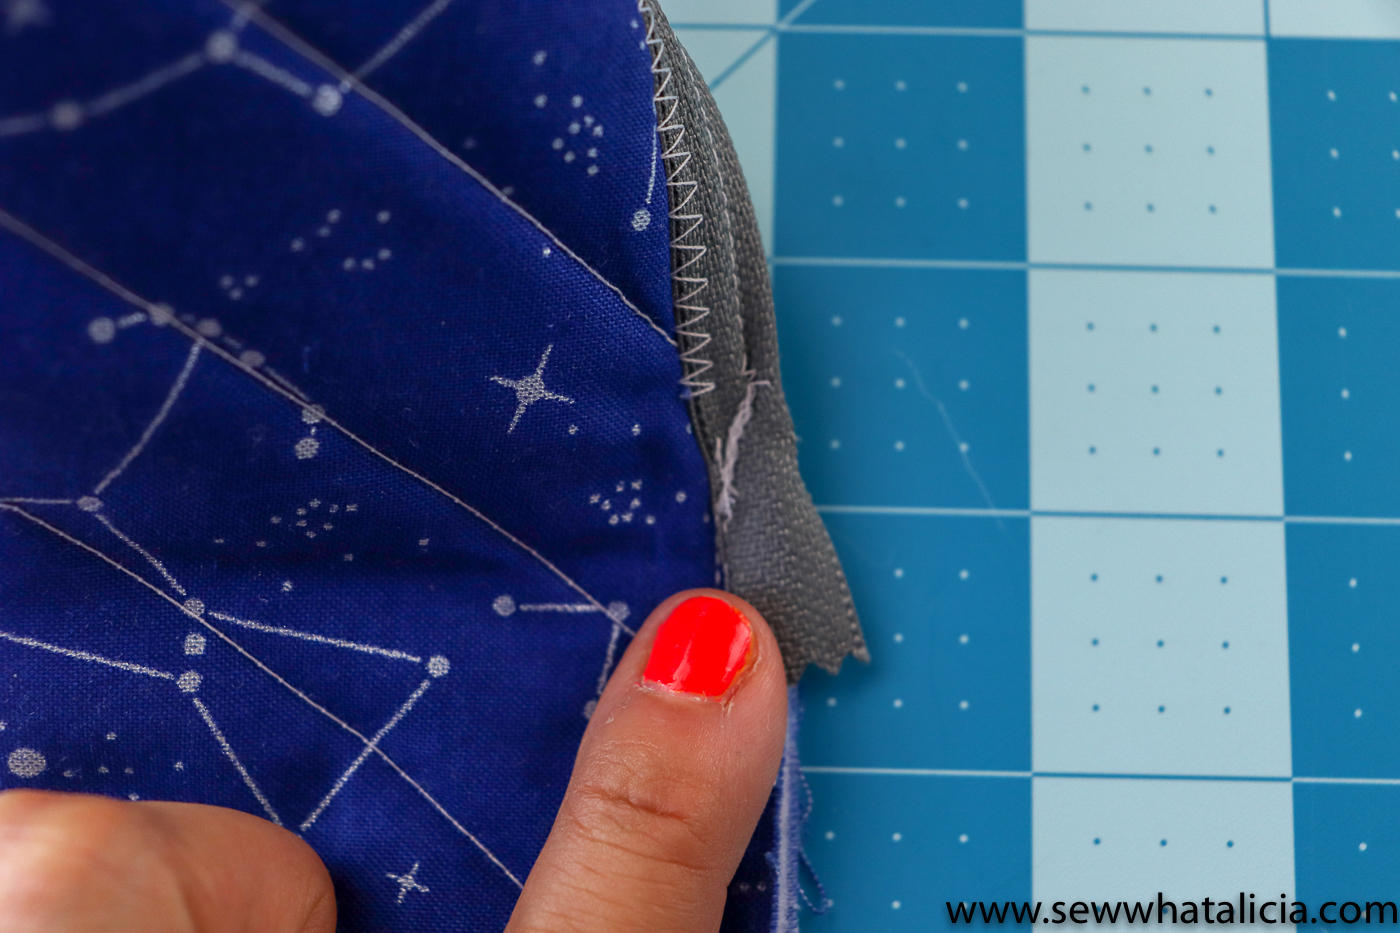
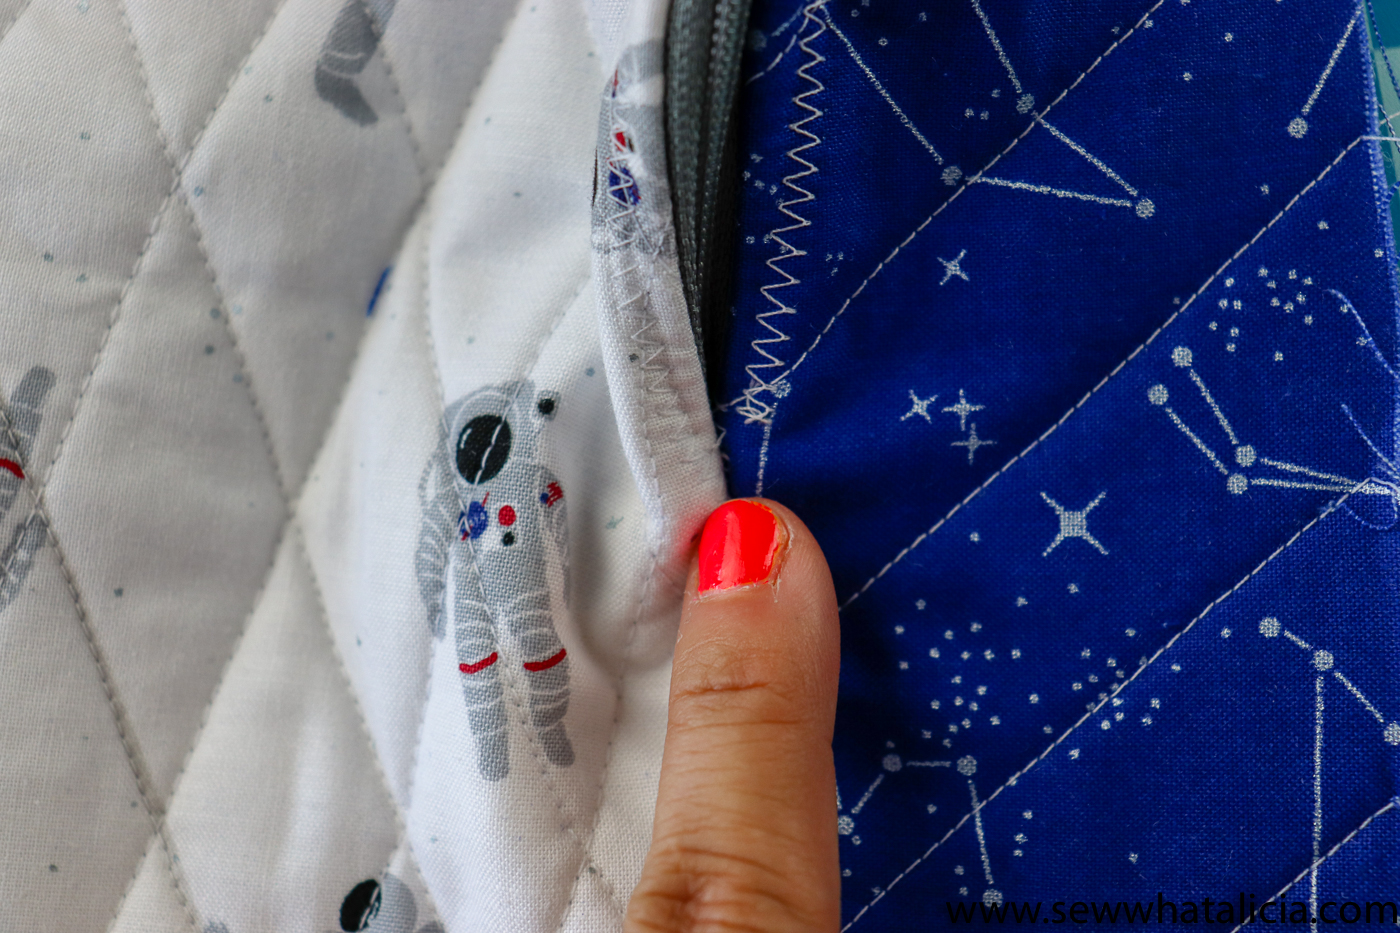
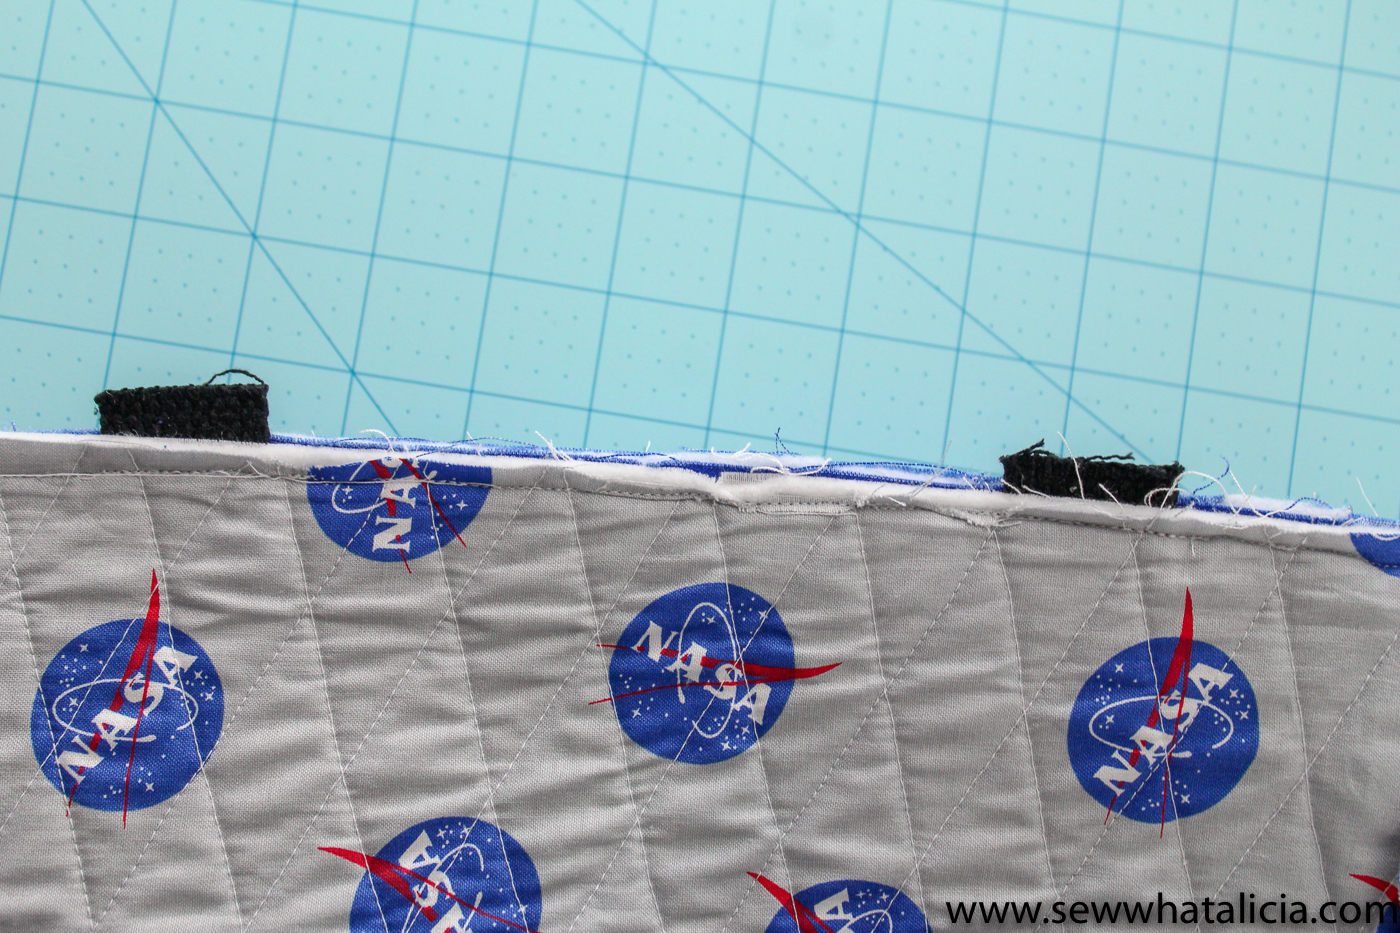
Sew the zipper in place, pushing the very ends of the zipper to the side as these will tuck into the inside of the backpack in the next step. Then push the zipper away from the raw edge of the backpack and trim the fabric and batting. Last use a zig zag stitch to hide the raw edge of the fabric with the edge of the zipper (as seen below.)
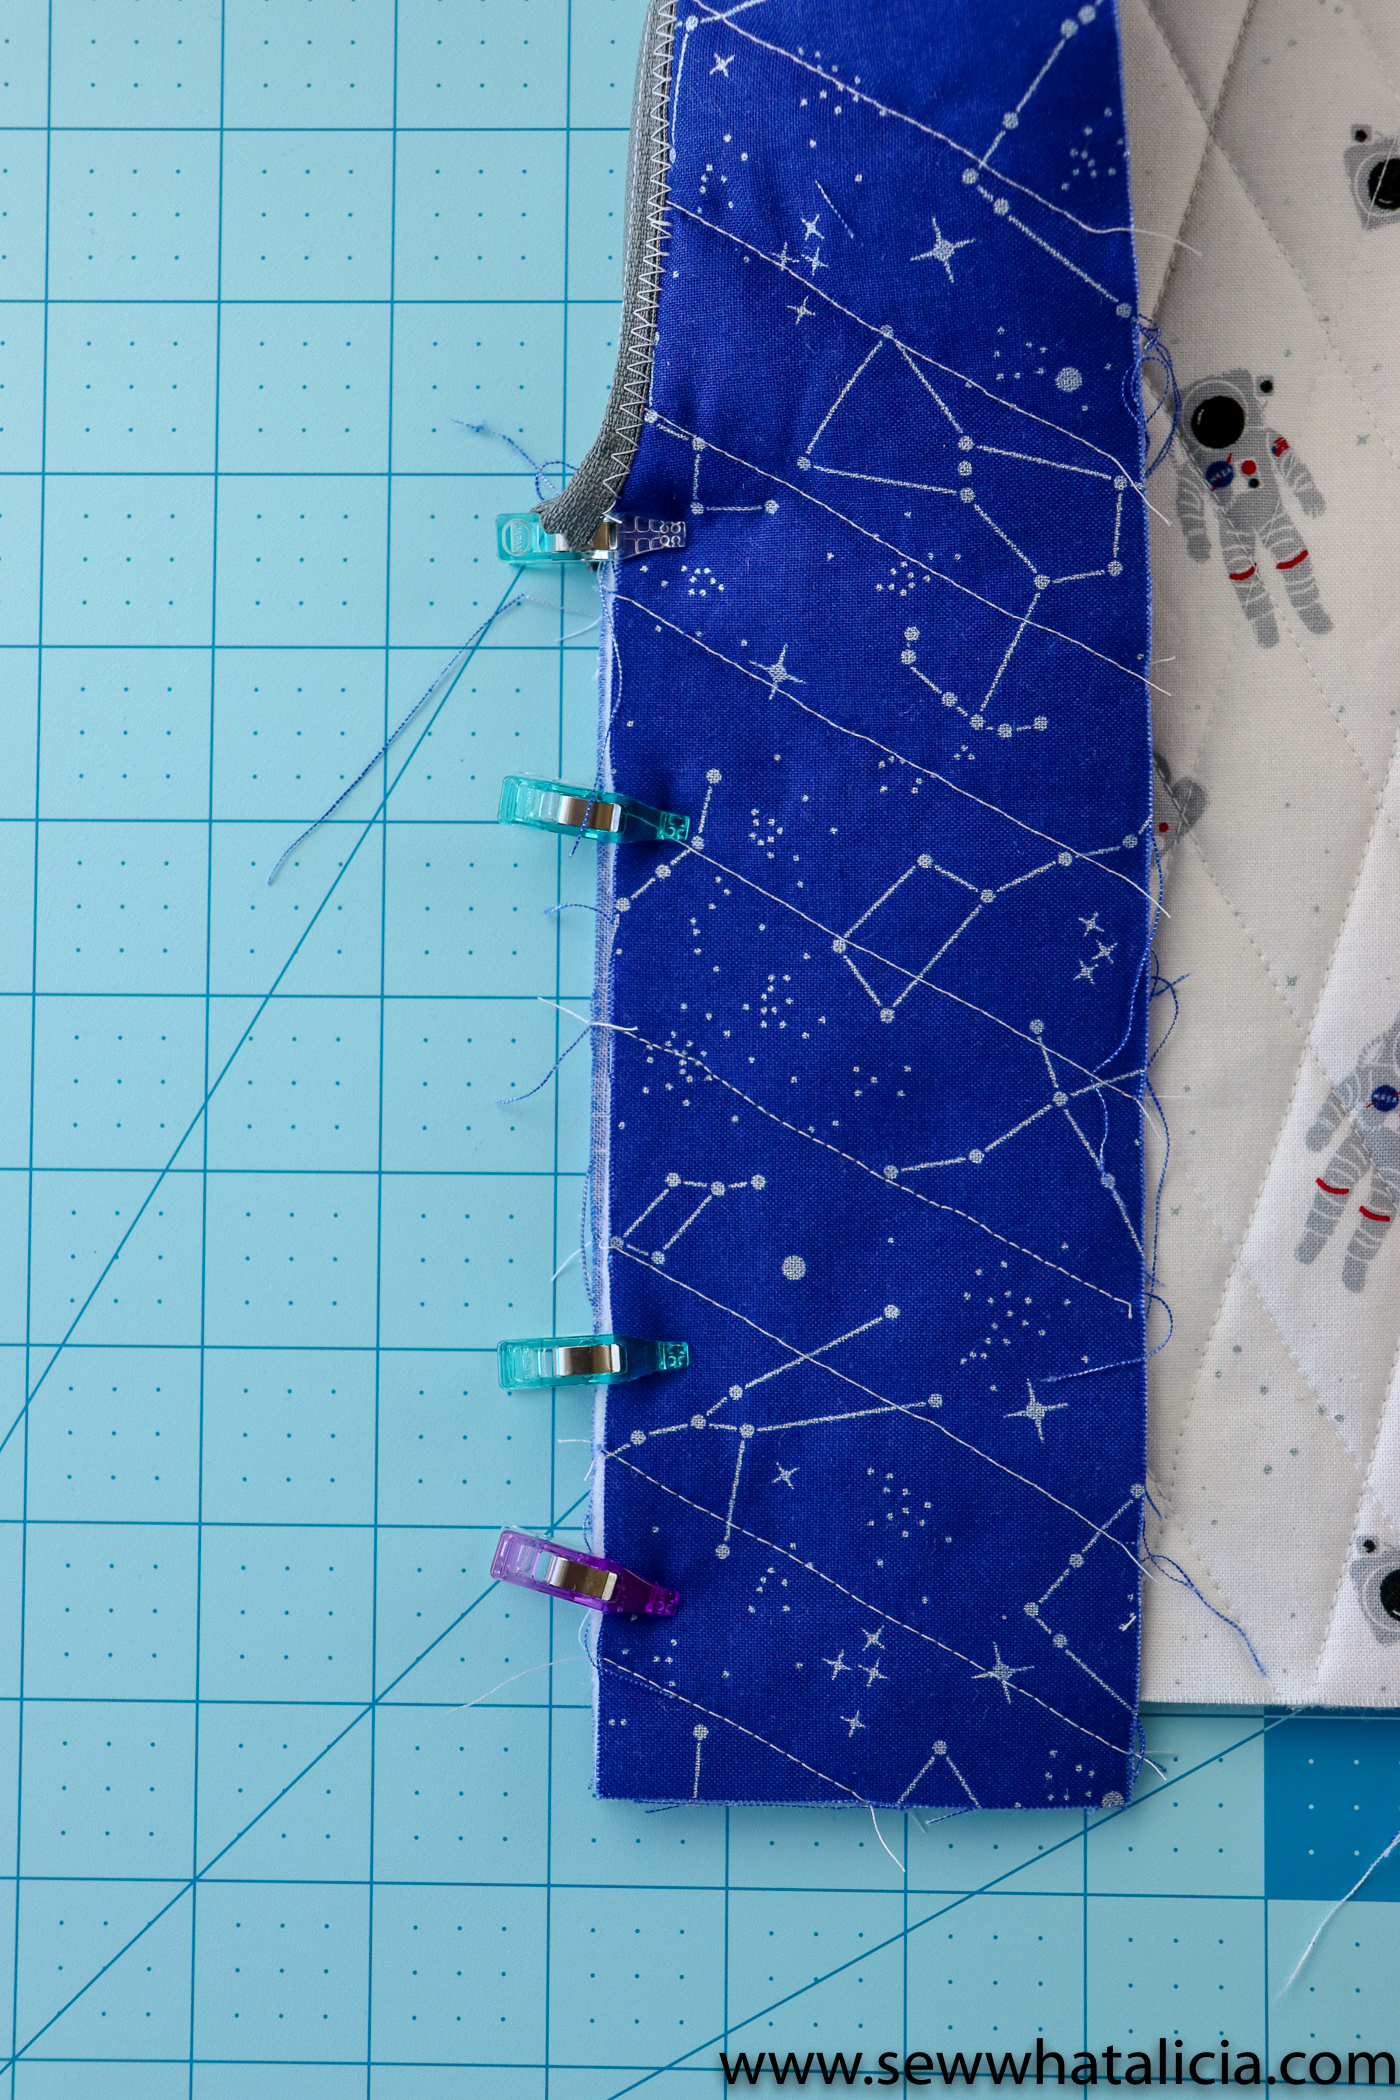
Pin the other side of the zipper to the long strip, again finding the middle of each piece and pinning those together first. Sew in place using the same methods to finish as above.
Assembling the backpack pattern:
Clip the remainder of the long strip to the edge of the main backpack piece right sides facing each other. The bottom edge of the zipper should be visible and pushed aside. Sew this seam in place starting just below the zipper and going to the bottom edge. Repeat this on the second side so that the entire long strip is now attached to the front of the backpack.
Place a stabilizing stitch at the very bottom of the zipper so that you don’t have a hole in your backpack where the zipper ends.
Now you have to decide which side of your backpack will be the front. Do you want the zipper to be towards the front of the backpack or towards the back? I chose to have the zipper towards the back. If you want to replicate my backpack exactly follow the steps listed below. If you want the zipper in the front then place your straps on the piece of main fabric that we have not attached yet using the steps listed below.
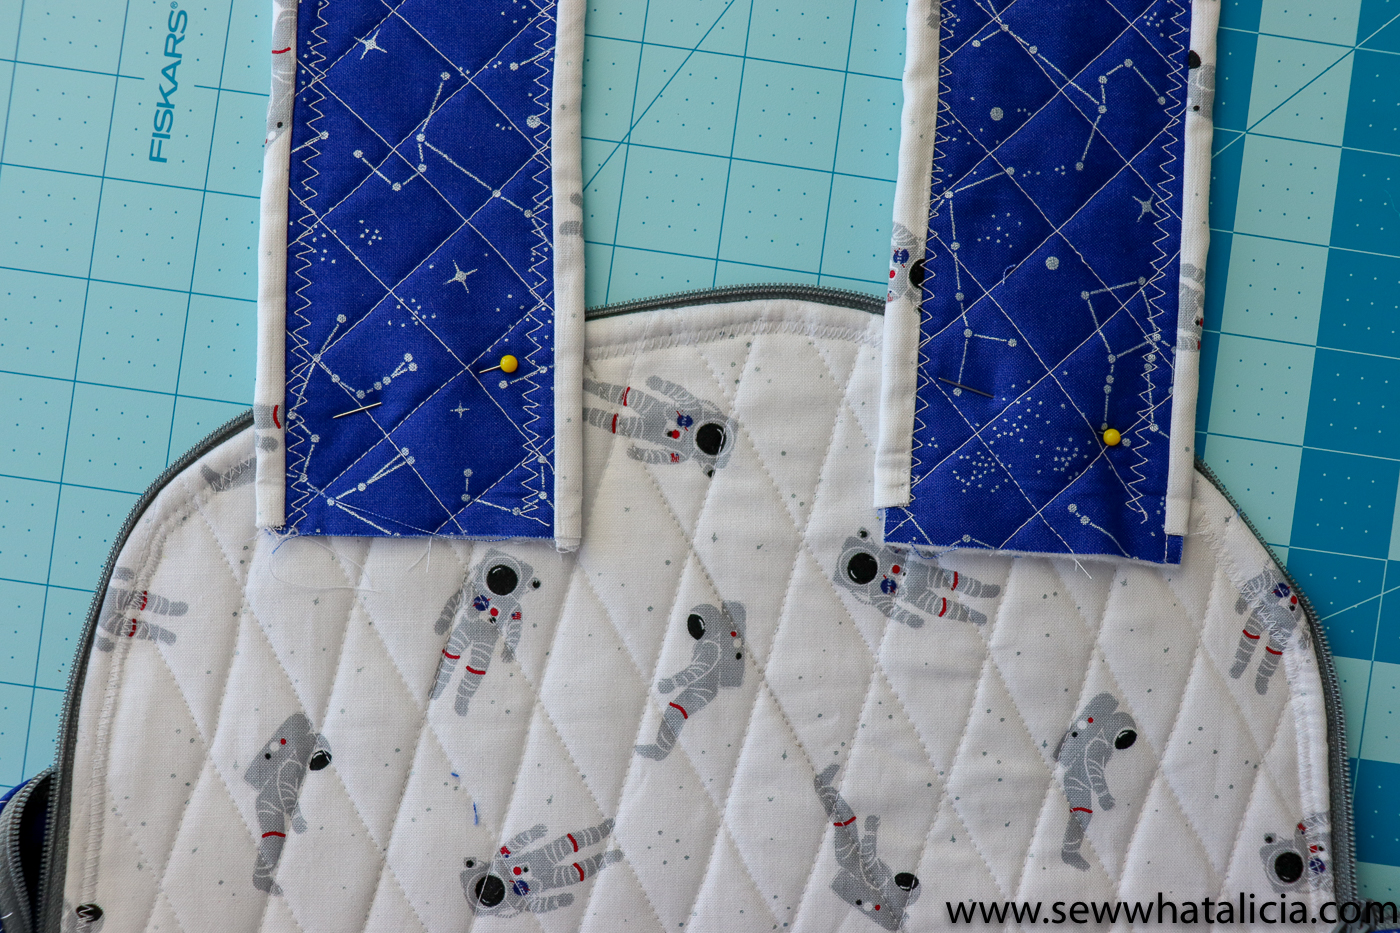
I created a template from an existing backpack I had to place the straps. Place your straps 2 1/2″ apart towards the very top on the back piece of your backpack. Sew in place using a straight stitch and then finish the raw edge with a zig zag stitch. (See that ugly one with the binding that is too short, yup it is still ugly after this step is finished so make sure yours looks like the strap on the left!)
Now clip the straps out of the way. Turn the piece so that the outside of the backpack faces up and the right side of the top piece faces in.
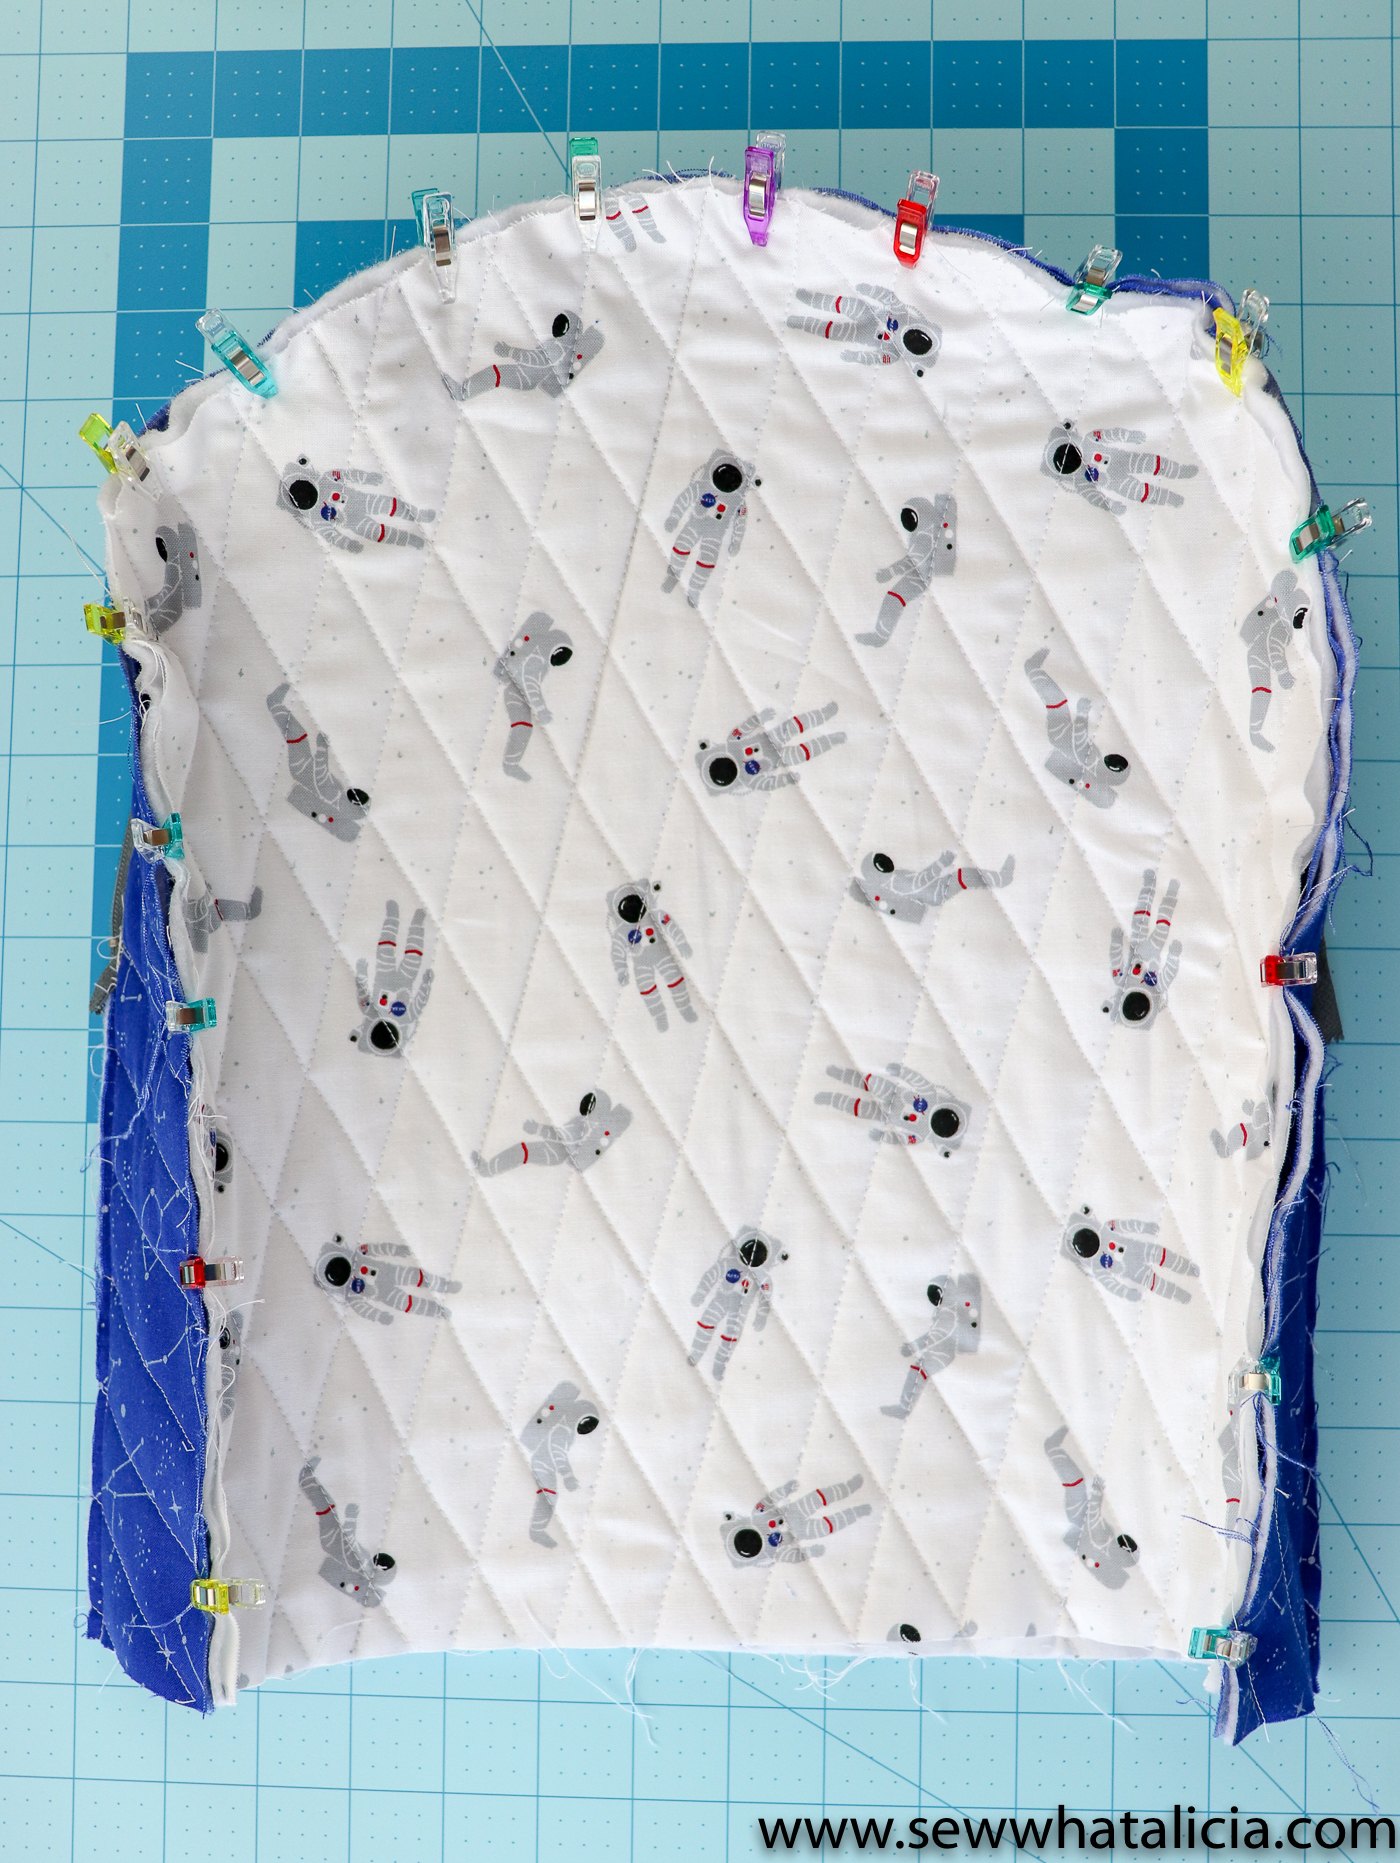
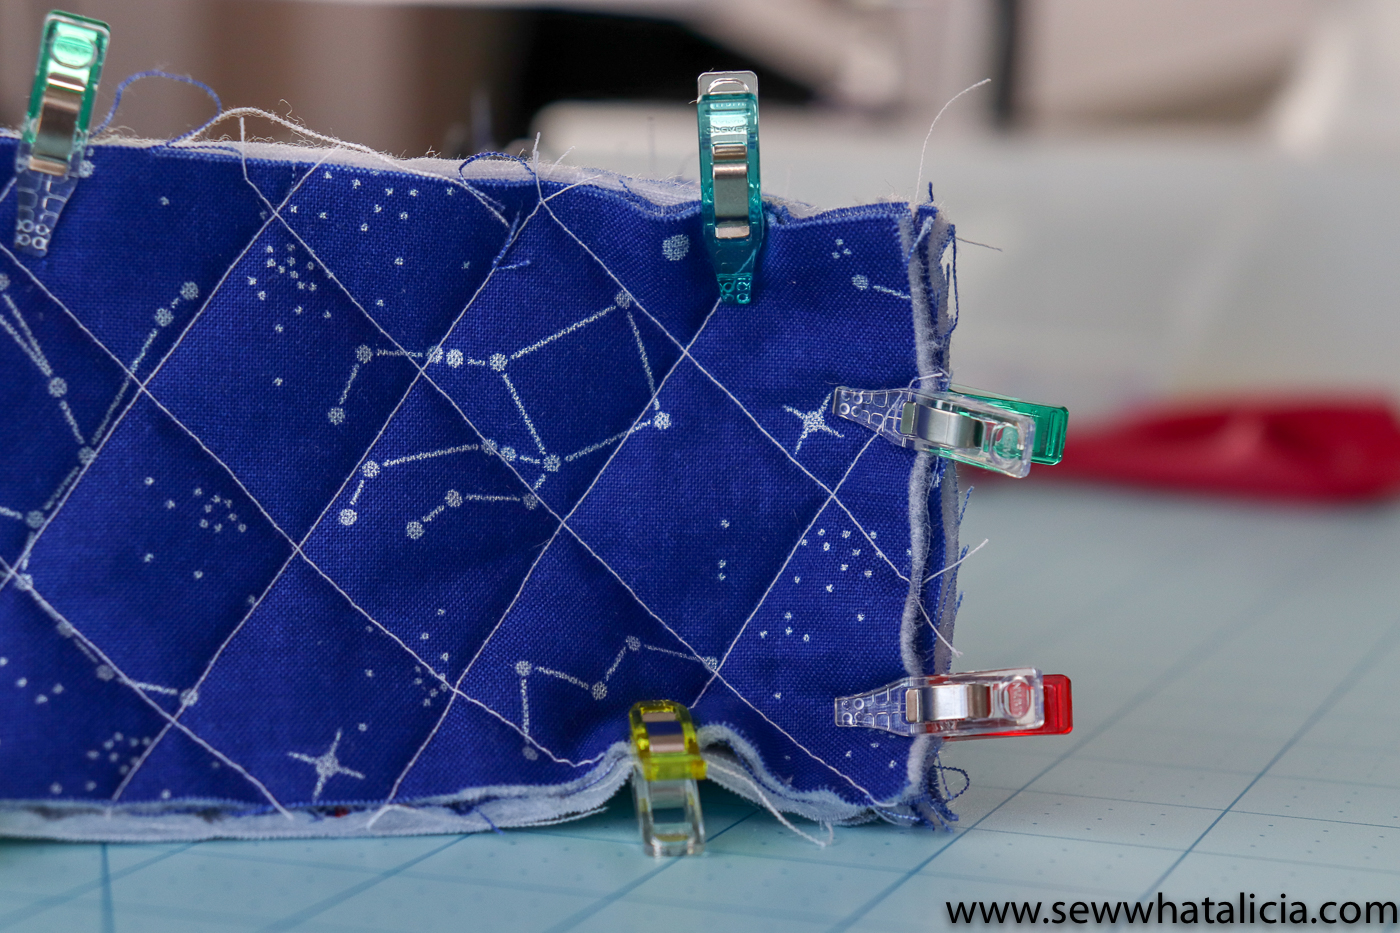
Pin or clip the second large piece with the right side facing in towards the straps. Your long strip may have some extra length. Trim it to make sure that all the pieces are flush. Then sew in place along the entire length.
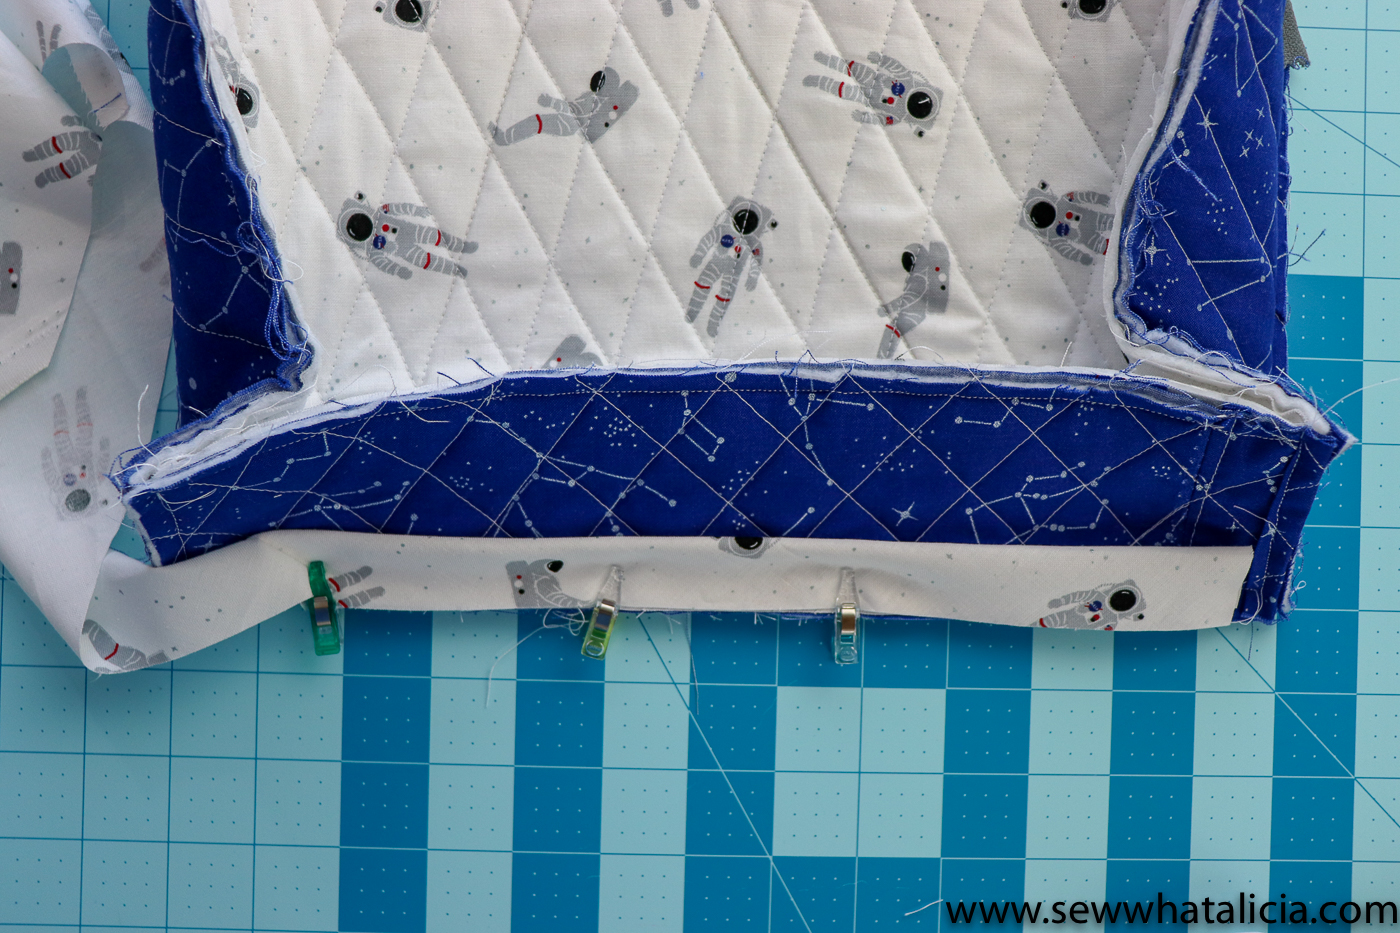
Now we will attach the bottom. Cut two pieces of webbing 10-12 inches long. Pin these in place so that 1/2″ is visible on the wrong side and the rest lines up with the straps on the inside of your backpack. Clip the bottom edge in place around all four bottom edges. Sew in place, if you need tips for sewing the y-seam corners see THIS post.
Finishing the backpack pattern:
Optional: Use binding to cover the raw edges on the inside of your backpack.
Turn the backpack out so all the raw or bound edges are on the inside. Attach the webbing to the ends of the straps. Another option is to attach hardware to make the straps adjustable. I didn’t attach the hardware because I am going to use this backpack on a wheelchair so I made it the right length and I don’t plan to adjust.
Press two small squares of fusible interfacing onto the inside top of the bag. Then sew a strip of webbing on the outside to create a handle. The interfacing will act as a stabilizer for each end of the webbing so the webbing should be sewn on the squares you have just added. Optional: Sew on fun space patches. HERE are the patches I used.
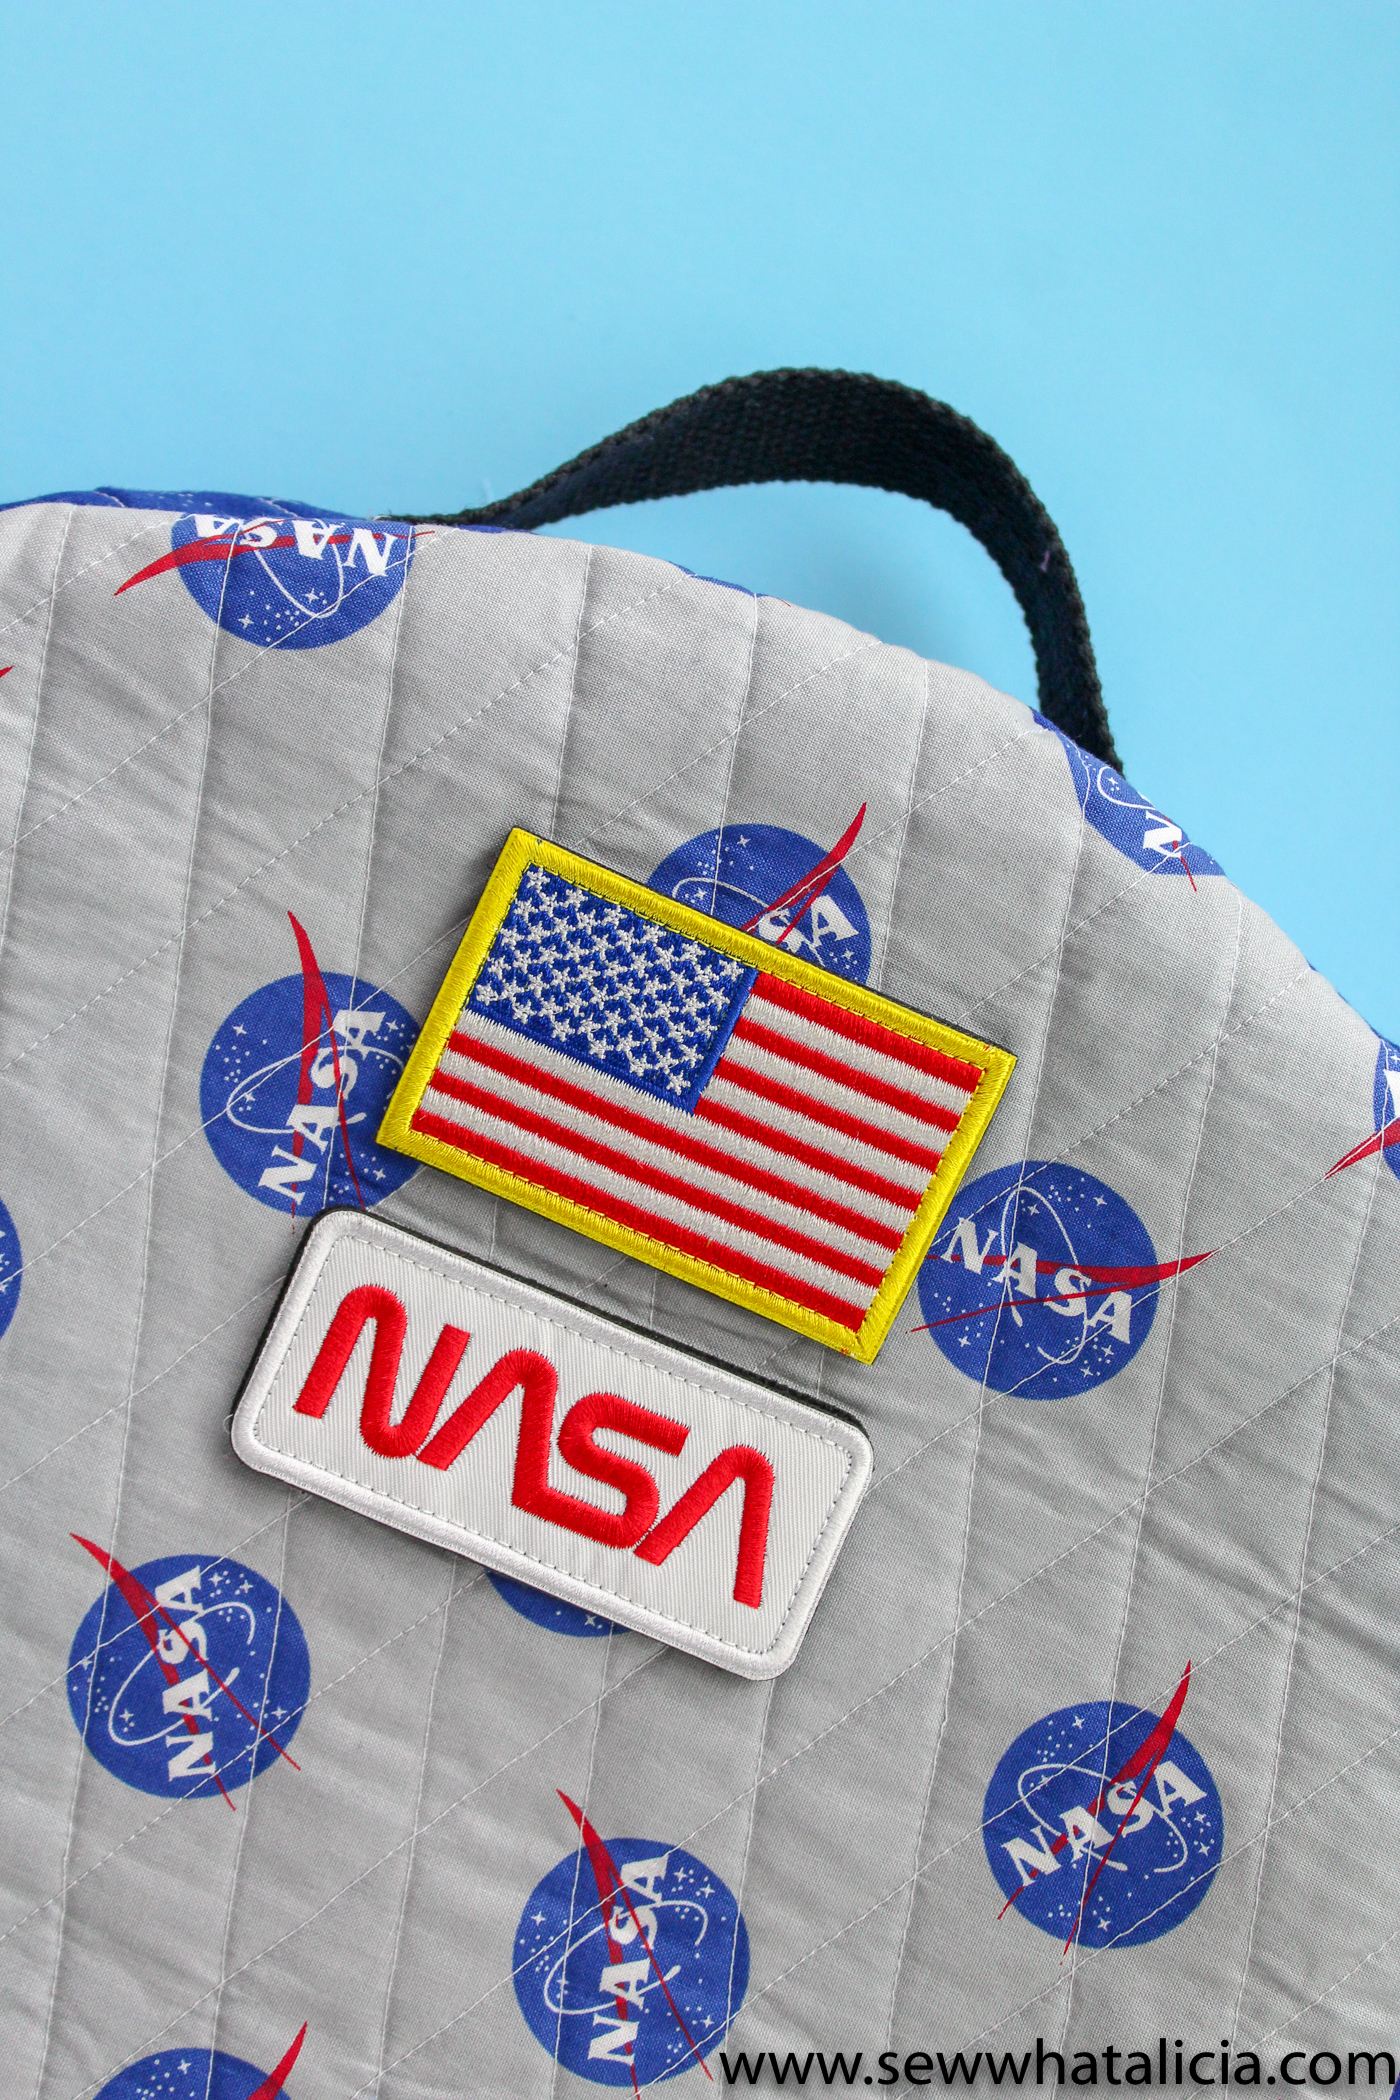
Now you are finished! Try adding patches to the back too!
The last step is to take your space fanatic to the Kennedy Space Center!

Questions or comments about this backpack pattern? Share with me in the comments below.
Here are a couple more backpack patterns that you might like:
Free toddler backpack sewing pattern


Joe'L Edington Farrar says
Did you make adjustments to fit over the chair? I want to make this for adults I work with and personalize for them! I have not printed the pattern yet but can you tell me approximate finished dimensions?
sewwhatalicia says
I did not make adjustments so that it would fit over the chair. The finished size is ~13″ wide and ~16″ tall. I would definitely consider this a small backpack. You could scale up the main piece. Then you would need a 3″ strip and a bottom that are longer. My son’s power chair is not quite as large as an adult chair but if a normal backpack fits over the chair these straps should fit. I hope that helps!! You can email me if you have any more questions or need help scaling the pattern. [email protected]
Joe'L Farrar says
Thank you!!!
Sharon Quinn says
I love the backpack! I am relatively new to sewing and still working on sewing skills. Perhaps I missed something in the directions, but I don’t see how much fabric to buy. Thanks, Alicia