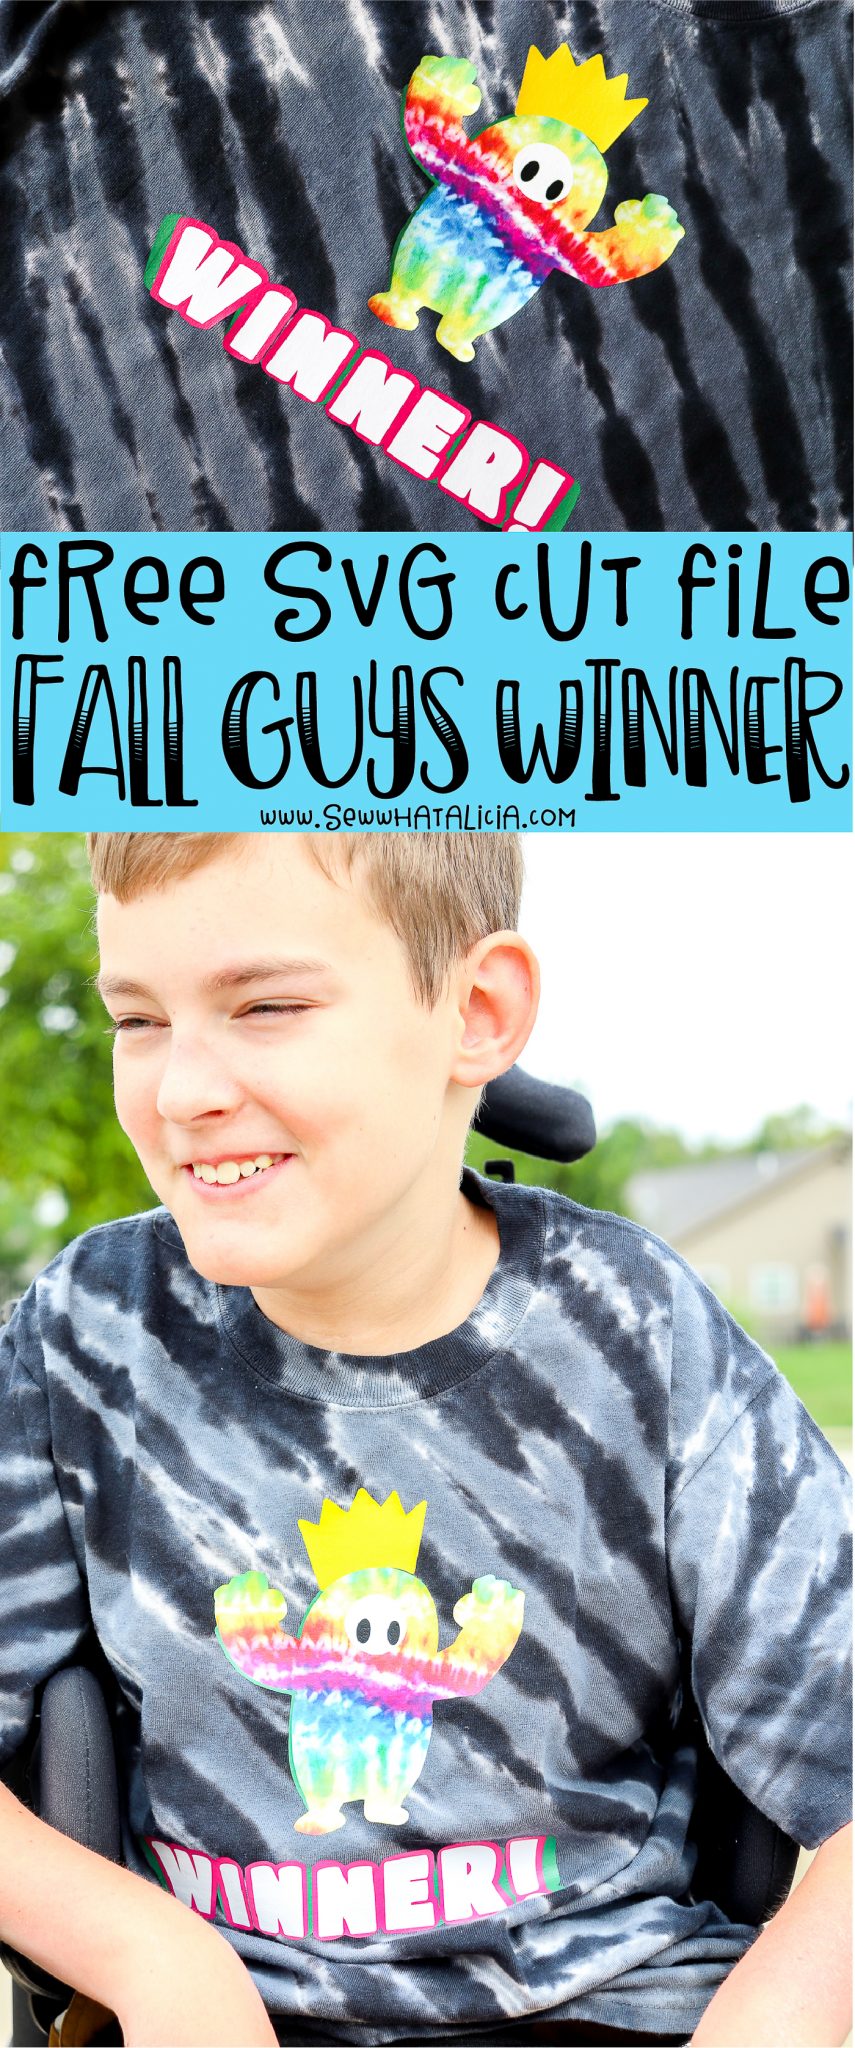
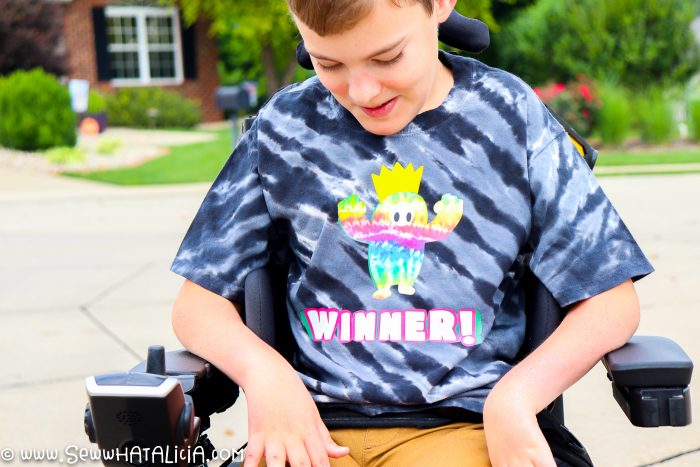
Another game has taken our house by storm. I am guessing you’ve probably heard of it or even been asked to spend hours watching someone else play it, no just me? So without further ado go ahead and grab this free fall guys cut file to make some decals or shirts or whatever else you feel like! Your kids (and adult friends and loved ones) will thank you!
Free Fall Guys Cut File
New to Cricut? I recommend THIS course to learn everything you can about everything Cricut!!!
How do I use a cut file?
These files are meant to be used with your cutting machine. I use either the Cricut Explore Air 2 or the Cricut Maker. But you can use any cutting machine that is compatible with an SVG.
Upload to file into your cutting machine software. The SVG won’t open on your computer (unless you have design software like Adobe Illustrator.)
Size the file to fit your blank (a blank is the item you will be using your finished cut piece on like a t-shirt or water bottle.)
Cut the different parts of the file and then add the vinyl to your blank.
What can I make with this file?
- Try making a decal (like THIS.)
- Make a stencil and paint the image on a canvas.
- Try using the pen tool to draw the image to make a card.
- Use permanent vinyl and add it to a water bottle or coffee mug.
- You could use HTV (heat transfer vinyl) and make a tote or pouch.
How do I make the shirt pictured in this blog post?
What you need:
Black Tie Dye Shirt – Happy Crafters has a TON of super cute tie dye shirts. Some even have the perfect blank spot to add HTV. Be sure to check them out!
Tie Dye HTV – I mean how cool is this? They also have this pattern in adhesive vinyl so you can make decals instead of a shirt.
Solid Color HTV – I used dark green, gold/yellow, dark pink, white, and black. Use up scraps if you have them, many of the pieces are small.
Heat Source – I used the EasyPress
Cutting Machine – I used the Cricut Explore Air 2
What you do:
- Download the SVG.
- Import it into your cutting machine design software
- Resize the image. Measure your blank to find the correct size. I resized mine to 8″ wide to fit the large youth t-shirt.
- Mirror the image!!!!
- Cut the pieces on your different colors of heat transfer vinyl. I cut the word shadow, the crown shadow, and the guy’s shadow from the same dark green vinyl.
- Place the vinyl in this order:
- 1 – shadows
- 2 – pink wording
- 3 – white wording
- 4 – fall guy
- 5 – crown
- 6 – white face
- 7 – black eyes
Need more tips?
Be sure to press the heat transfer vinyl using the manufacturers recommendations.
You should be able to see the texture of the shirt beneath the vinyl and then is when you know it is adhered correctly.
I always wash the shirts on cold and hang to dry, this will lengthen the life of your vinyl.
You can press the vinyl back onto the shirt if it starts to peel. Try and do this as soon as you notice any peeling, don’t keep wearing the shirt until you’ve re-adhered the vinyl.
Check out a few of these posts for more tips on using vinyl.
Pin Free Fall Guys Cut File
Don’t forget that the best way to help a blogger is to help people see their content! You can easily help by pinning their post or sharing them to your social media! This blog helps me to support my kiddos and allows me to stay home with them and take care of them! You can learn more about me and my kids HERE.


Leave a Reply