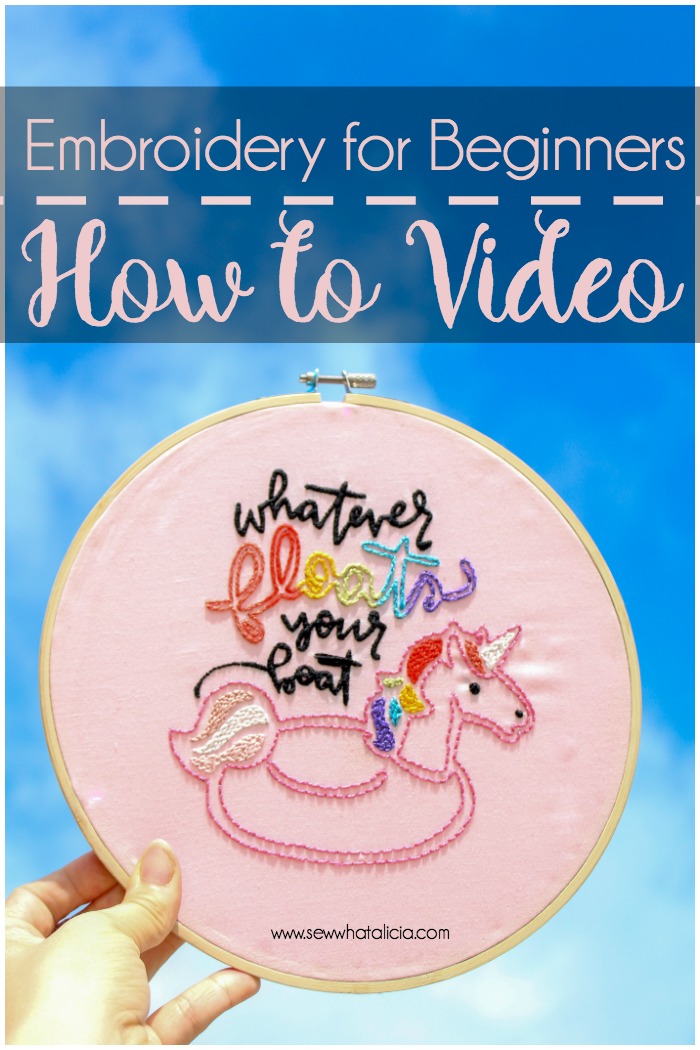
Embroidery Stitches for Beginners – Video Walkthrough
Hand embroidery is so popular right now. I love having a project that I can work on while I am relaxing on the couch or in bed. Learning how to embroider can be intimidating so I am going to break it down step by step so that you can learn everything you need to know for how to embroider by hand. Here are all your embroidery questions answered about embroidery stitches for beginners.
Embroidery Stitches for Beginners – Video Walkthrough
I have done a full video walkthrough several basic stitches. Once you have read through my tips and tricks scroll to the end to see the video. If you have questions that I haven’t answered please leave them in the comments or comment on the YouTube video so I can be sure and get you some answers.
If you are brand new to embroidery check out these must have supplies.
How many strands do you use for embroidery?
To answer this question we first need to talk about this different types of embroidery floss. There is the standard floss that has six strands twisted into one long skein. Many people use this standard floss.
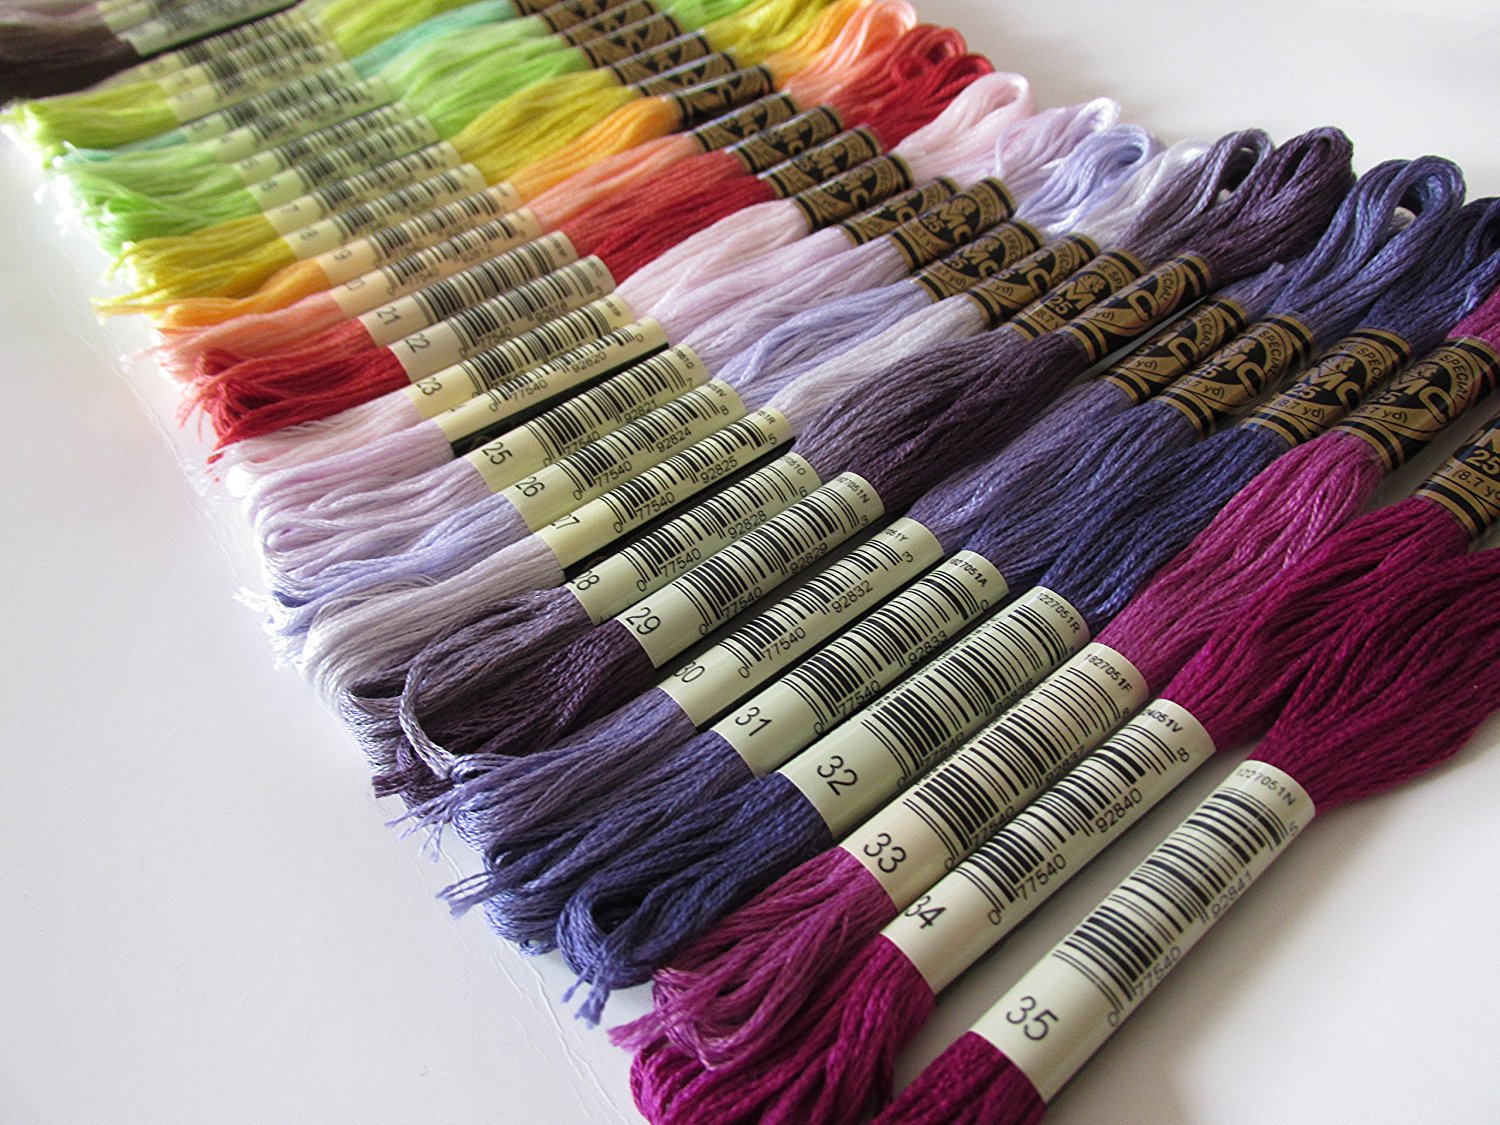
If you are using the standard embroidery thread, also known as embroidery floss, the standard number of strands to use is three.
I find that using the floss with six strands tends to get really tangled and knot A LOT so I will often use a pearl embroidery floss. With the pearl you don’t separate the strands and you use it as is. It is a thicker floss so it doesn’t work for all situations but when I can I like to use the pearl instead because it tangles less and I don’t have to fiddle with separating the strands.
This is a personal preference so you will get a feel for which embroidery floss you like once you have tried a few embroidery patterns and you have a better idea how to embroider.
How do you start an embroidery stitch?
There are several different ways to start. You can use a knot at the end of your floss but I find that this often gets in the way when trying to stitch so I prefer a different method.
If you are doing the very first stitch on your piece this is the method I recommend. Pull the floss up through the back leave a tail of 1″-2″. Hold this tail with one finger as you complete the first stitch. When you are starting the second stitch pull it through most of the way and then flip your embroidery over. Tuck the tail under the second stitch and pull the stitch tight. This should hold the stitch tight. You can tuck the tail under the next few stitches as well but it is not necessary.
If you have already done a few colors you can use the method above. Or flip the piece over to the back. Take your threaded needle and pull it under one of the previous stitches (that is near where you are going to stitch.) Use the needle to knot the thread one time around this previous stitch and then you are ready to start your next stitches.
What are the basic stitches?
When you are learning how to embroider by hand there are a few basic embroidery stitches that you are going to want to learn.
Back stitch. Running Stitch. Satin stitch. French Knot. All of these stitches, except the running stitch, are covered in the video below.
To do the running stitch you will bring the thread up from the back and then go back down making your stitch about 1/4″. Then bring the needle up 1/4″ from the end of the last stitch and complete another 1/4″ stitch. Unlike back stitch you will have a 1/4″ blank area. So the running stitch won’t be used to outline an entire pattern since the written pattern would be visible. It does add good texture and there are other good uses for this stitch.
What are the different kind of stitches?
Besides the basic stitches listed above there are tons more fun stitches that aren’t necessary but do add a fun touch.
Stem stitch. Chain stitch. Feather stitch. Fly stitch. Woven wheel stitch. Couching Stitch. Blanket stitch.
You can find a good example of these stitches HERE.
Where do I find hand embroidery patterns?
There are so many options for finding hand embroidery patterns. A few of the more obvious examples are Etsy. I have collected some of my very favorite patterns from Etsy on these posts. Animal Embroidery, Floral Embroidery, Vulgar Embroidery Patterns, and Fun Embroidery Patterns.
You can also find a few free patterns around the internet. Like this “Let’s Flamingle” pattern or this “s’mores” pattern from Bev at Flamingo Toes.
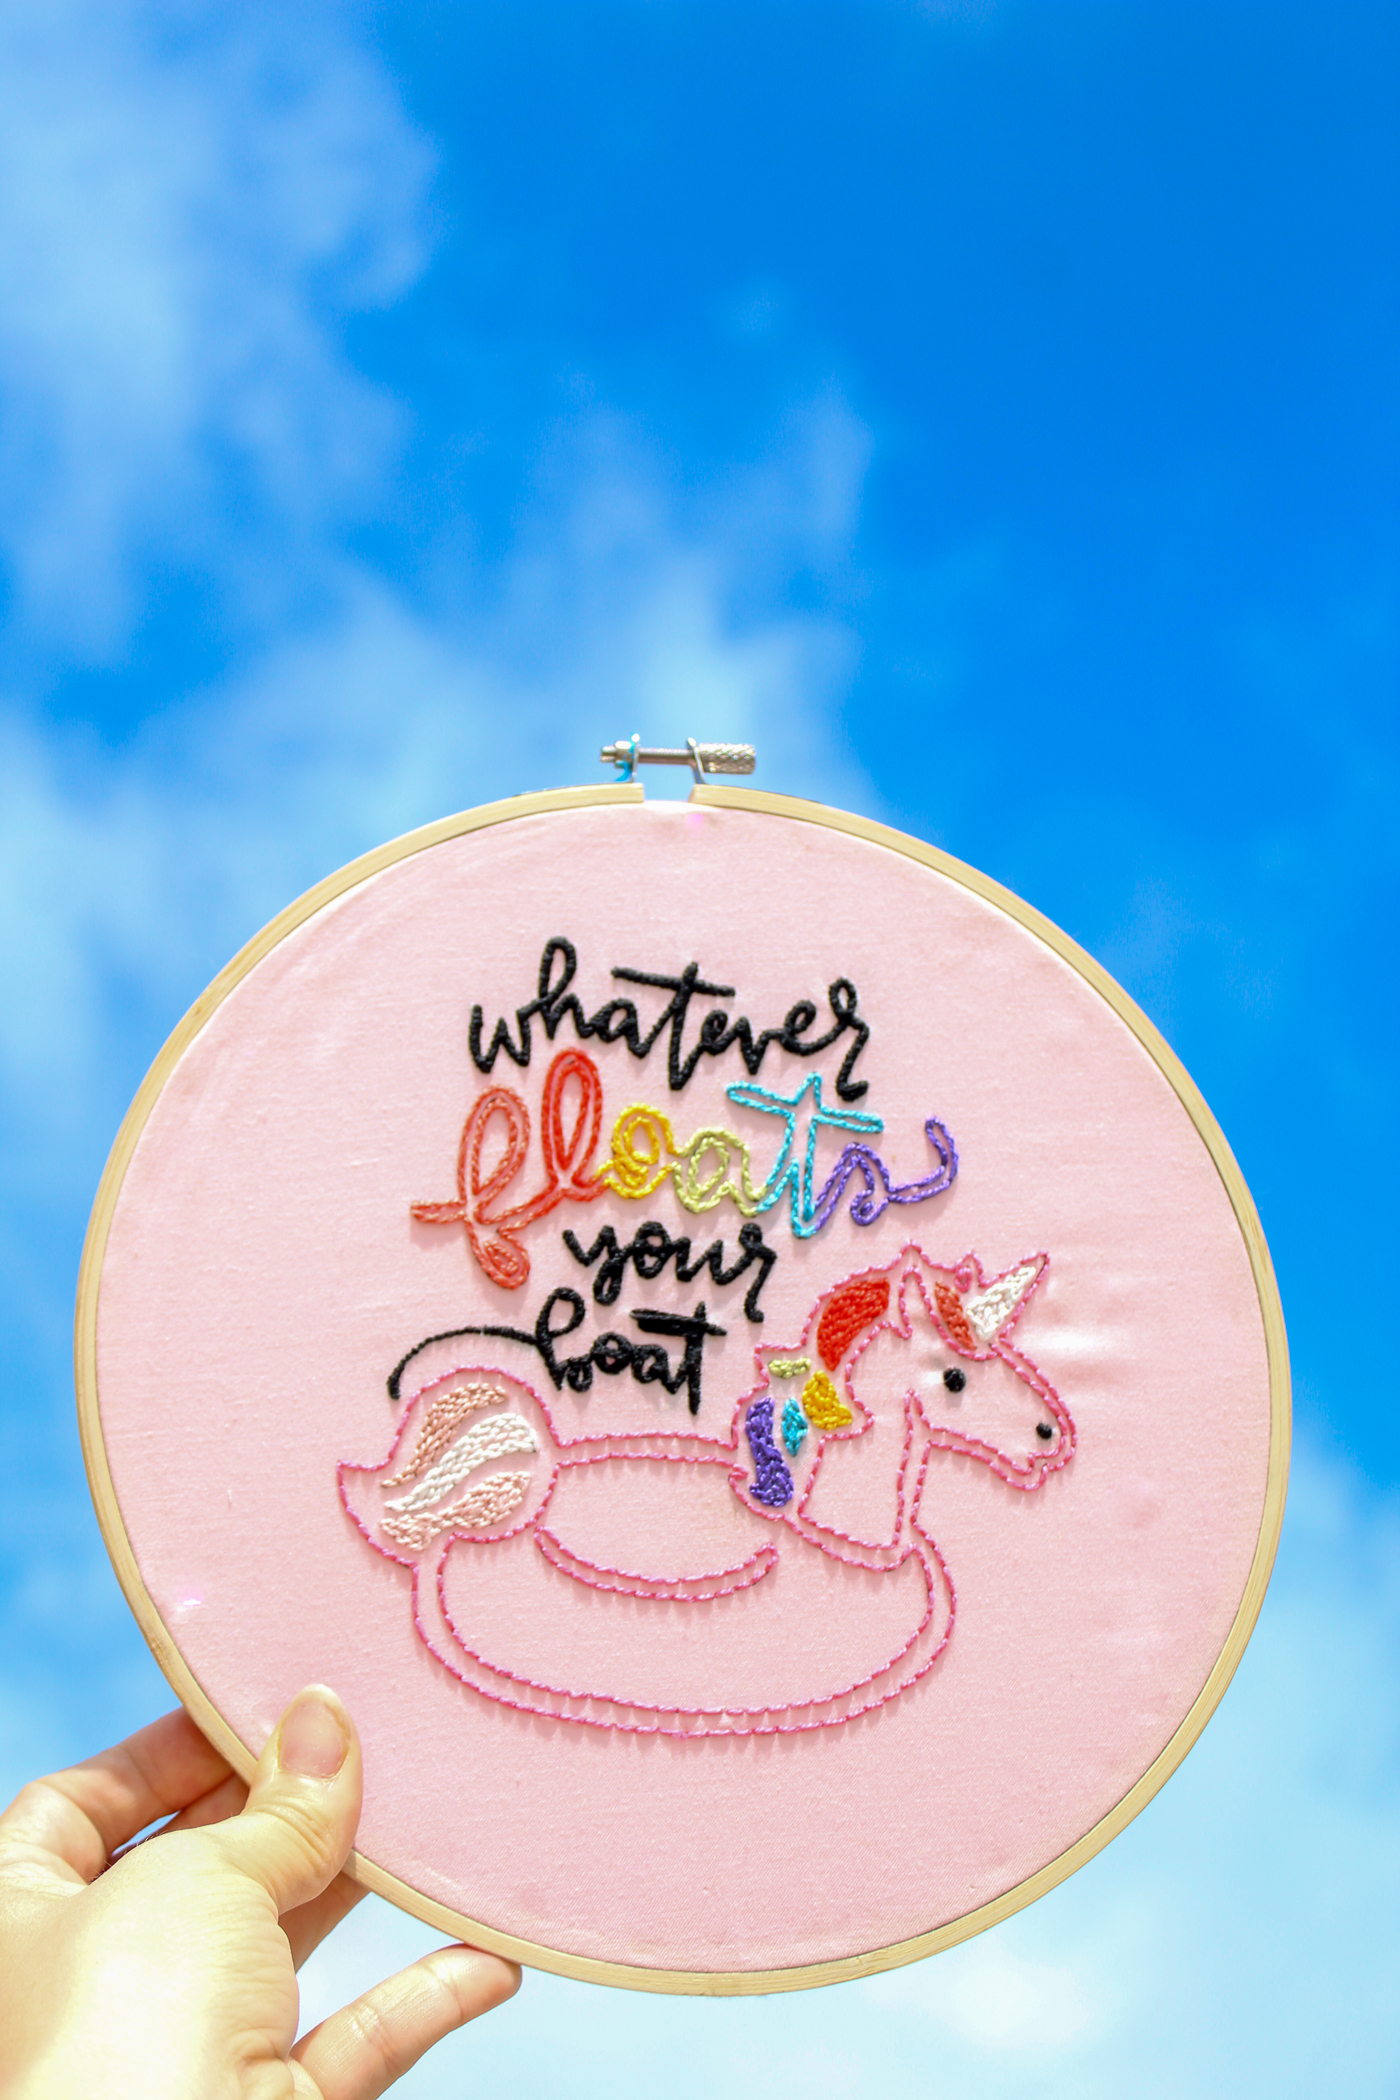
But if you have a good eye you can find patterns in unconventional places. For the video in this post I used an SVG file and my cutting machine to create a pattern. The pattern bundle comes with a PNG so you could also just print the file on your printer and then transfer.
You can find the flamingo float file HERE.
I hope you learned so much about embroidery stitches. If you have questions leave them for me in the comments below.


Elizabeth says
Interested in the machine you used to transfer the pattern to fabric, tell me about it please.
sewwhatalicia says
It is a Cricut Maker. Here is a post I wrote about using it for Sewing. I need to add Embroidery to it! https://www.sewwhatalicia.com/10-tips-to-use-the-cricut-maker-for-sewing/