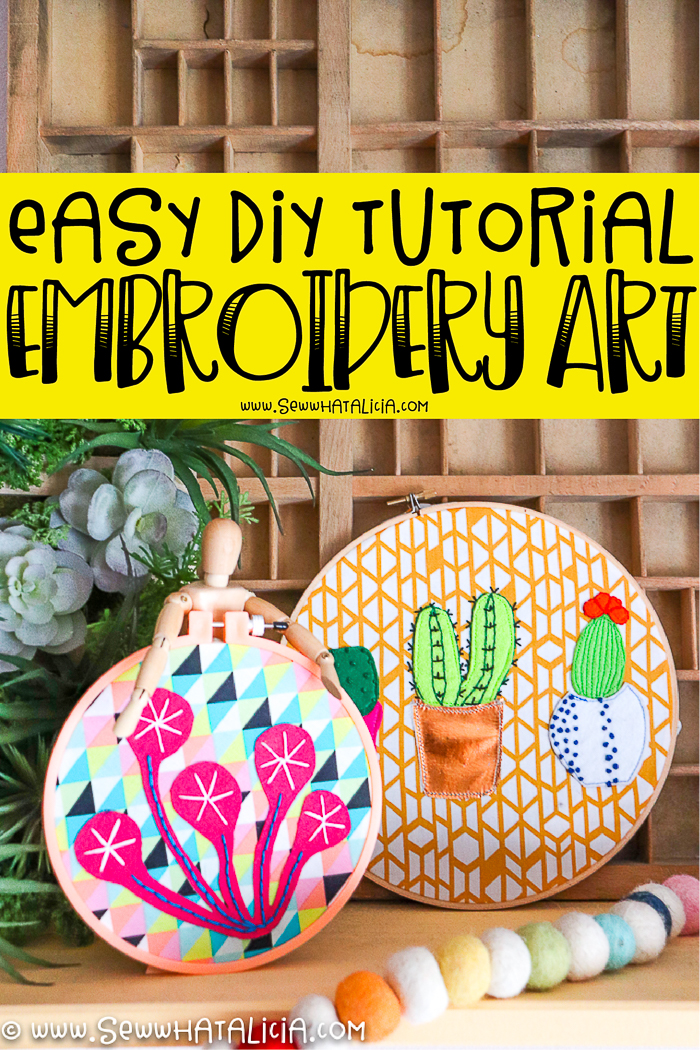
I absolutely love how embroidery looks, but I don’t always have the time and patience for a fully embroidered piece. This embroidery hoop wall art gives you that embroidered look in half the time. Check out this easy DIY that is perfect for making your own embroidery hoop wall art!
What is hoop art embroidery?
Embroidery hoop art is a broad umbrella of a term that encompasses many different artistic techniques.
Embroidery is the art of using floss to draw images, pictures, and words with a needle.
For the purpose of this post I am using the term embroidery hoop art to describe using an embroidery hoop, fabric, and small touches of embroidery to make a piece of wall art.
One further definition of hoop art is using embroidery hoops to create art without floss or fabric. You can use greenery to create wreathes, or use cord to macrame using an embroidery hoop.
Don’t want to make your own? Check out THIS list for some awesome handmade embroidery hoop art on Etsy.
How do you make embroidery hoop wall art?
This post contains the instructions for two different variations. A modern inspired piece and a piece with multiple cacti.
Modern Hoop Art Tutorial
This modern inspired hoop art is super fun to make. It is highly customizable and perfect if you love to doodle and play with various stitches and mediums.
- Select your embroidery hoop.
- Select a piece of fabric that is larger than your hoop.
- If you plan to finish your hoop with felt (see finishing tips below) trace the outside edge of the inner hoop onto a piece of felt. Set felt aside.
- Cut a piece of felt to applique onto your fabric. I traced the inside hoop onto a piece of felt. Then I doodled a shape inside the circle onto the felt using a Frixion pen.
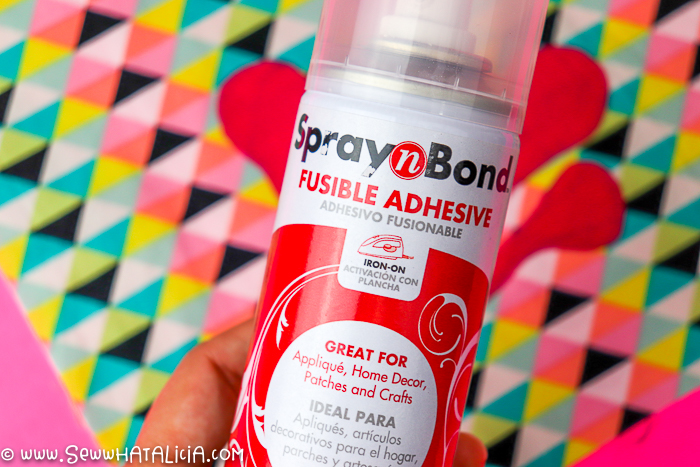
- Use pins or a basting or adhesive spray (this is my preferred method, pictured below) to attach the felt to the fabric. When you press the fusible adhesive it will remove the Frixion pen marks. If you don’t use a fusible adhesive don’t forget to press your felt to get rid of the pen marks.
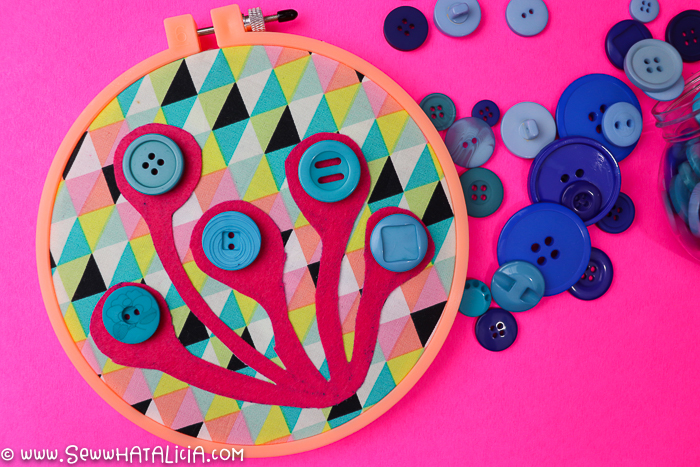
- Use embroidery floss to add details to your felt. I went for a dandelion-ish look. OR you could use other embellishments, like the buttons I played with before stitching. This is a fun place to play around and use items you love.
Cactus Hoop Art
Use the cactus PNG or SVG to cut your images. The SVG is for use with a cutting machine. The PNG can be used to cut your images by hand. Scale the images up or down depending on what size you want them to be to fit into your hoop.
Once you have cut out the pieces you will attach them to the fabric. You can do this by hand or with a sewing machine. Note that if you want to add foil to your pots you will want to do that before you attach the applique to the fabric. See the adding foil post for tips on using Deco Foil.
Finally finish the front by adding hand embroidered details.
How do you finish embroidery hoop art?
There are several levels of finishing for this embroidery hoop wall art.
The quickest and simplest way to finish the back is to cut a long piece of thread (or embroidery floss.) Tie a knot through one end and thread the other end into a needle.
Use a running stitch to go around the fabric on the back, about 1/4″ above the hoop. Pull the thread tight to gather the fabric in the back.
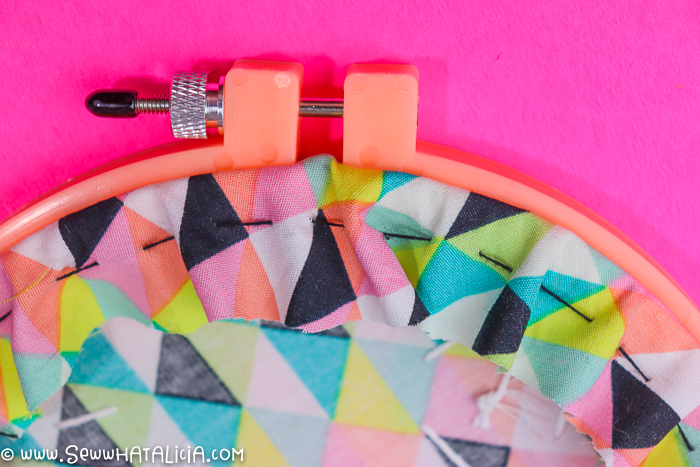
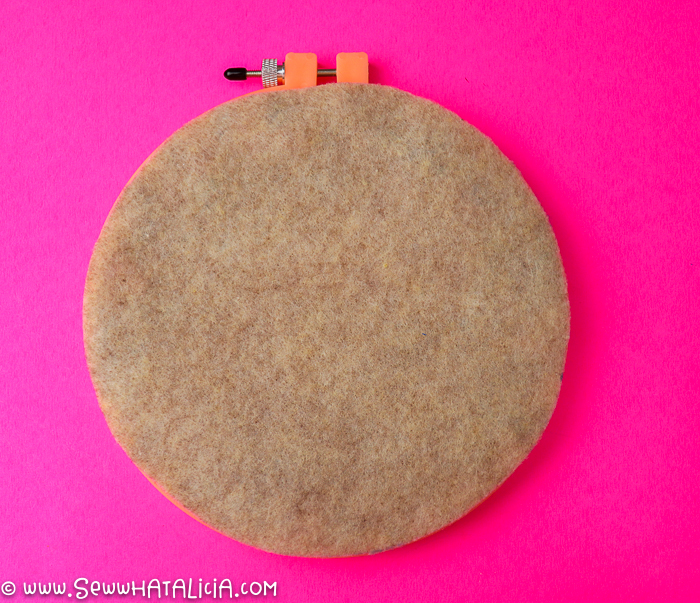
To finish the back even further, and hide all the visible threads and stitching, use a piece of felt.
Hot glue the felt along the edge of the embroidery hoop. This will hide all the stitches and give you a very nice clean back. This is also a good place to add a label with your name and date if you like to do that sort of thing with your work.
How do you hang an embroidery hoop on the wall?
The great thing about embroidery hoops is that they basically have a built in hanging system right on top. The spot just below the tightening screw is perfect for hanging your hoop.
Honestly my favorite thing to use for a small or medium hoop is simply a clear push pin.
If you are hanging a larger hoop or a hoop that has lots of extra weight I recommend you use a drywall hook.
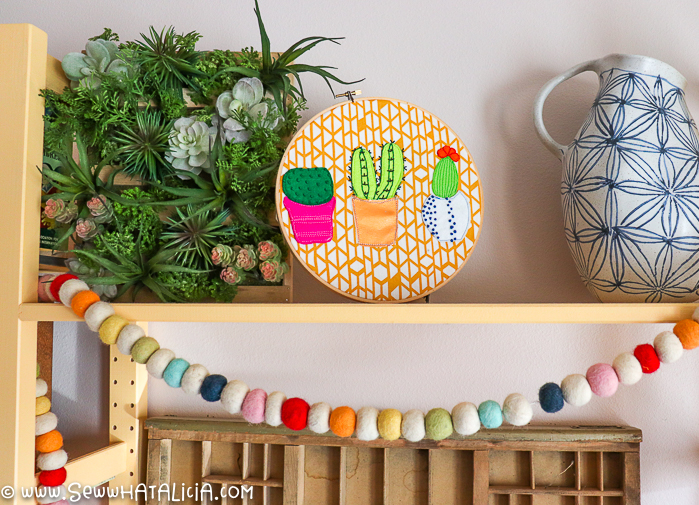
How do you display an embroidery hoop?
There are so many ways to display your embroidery hoop art.
String a ribbon through the opening and hang the hoop from a mirror, ladder, or hook.
String a few hoops together and use them in place of a wreath on the door.
Display multiple hoops on a gallery wall. Mix them in with paintings and other types of art for a fun mixed media vibe.
Can I use my Cricut for embroidery art?
If you have a cutting machine it is absolutely a great tool for helping with your embroidery hoop wall art.
Your Cricut allows you to do a couple things.
- Cut appliques from fabric or felt with the machine. This allows you to get much more detailed cuts and images. Check out THIS post for tips on cutting felt with your Cricut.
- Use the fabric marker to draw your design onto the fabric. This is a great way to transfer an embroidery pattern. But note that the fabric marker is not fine tip so it doesn’t do well with super fine details.
Pin Embroidery Hoop Wall Art
Don’t forget that the best way to help a blogger is to help people see their content! You can easily help by pinning their post or sharing them to your social media! This blog helps me to support my kiddos and allows me to stay home with them and take care of them! You can learn more about me and my kids HERE.


Falana Hunter says
I love the embroidery art idea. I bought a hoop, the needles and embroidery thread but still haven’t given my hand at embroidery. Thanks for the inspiration!