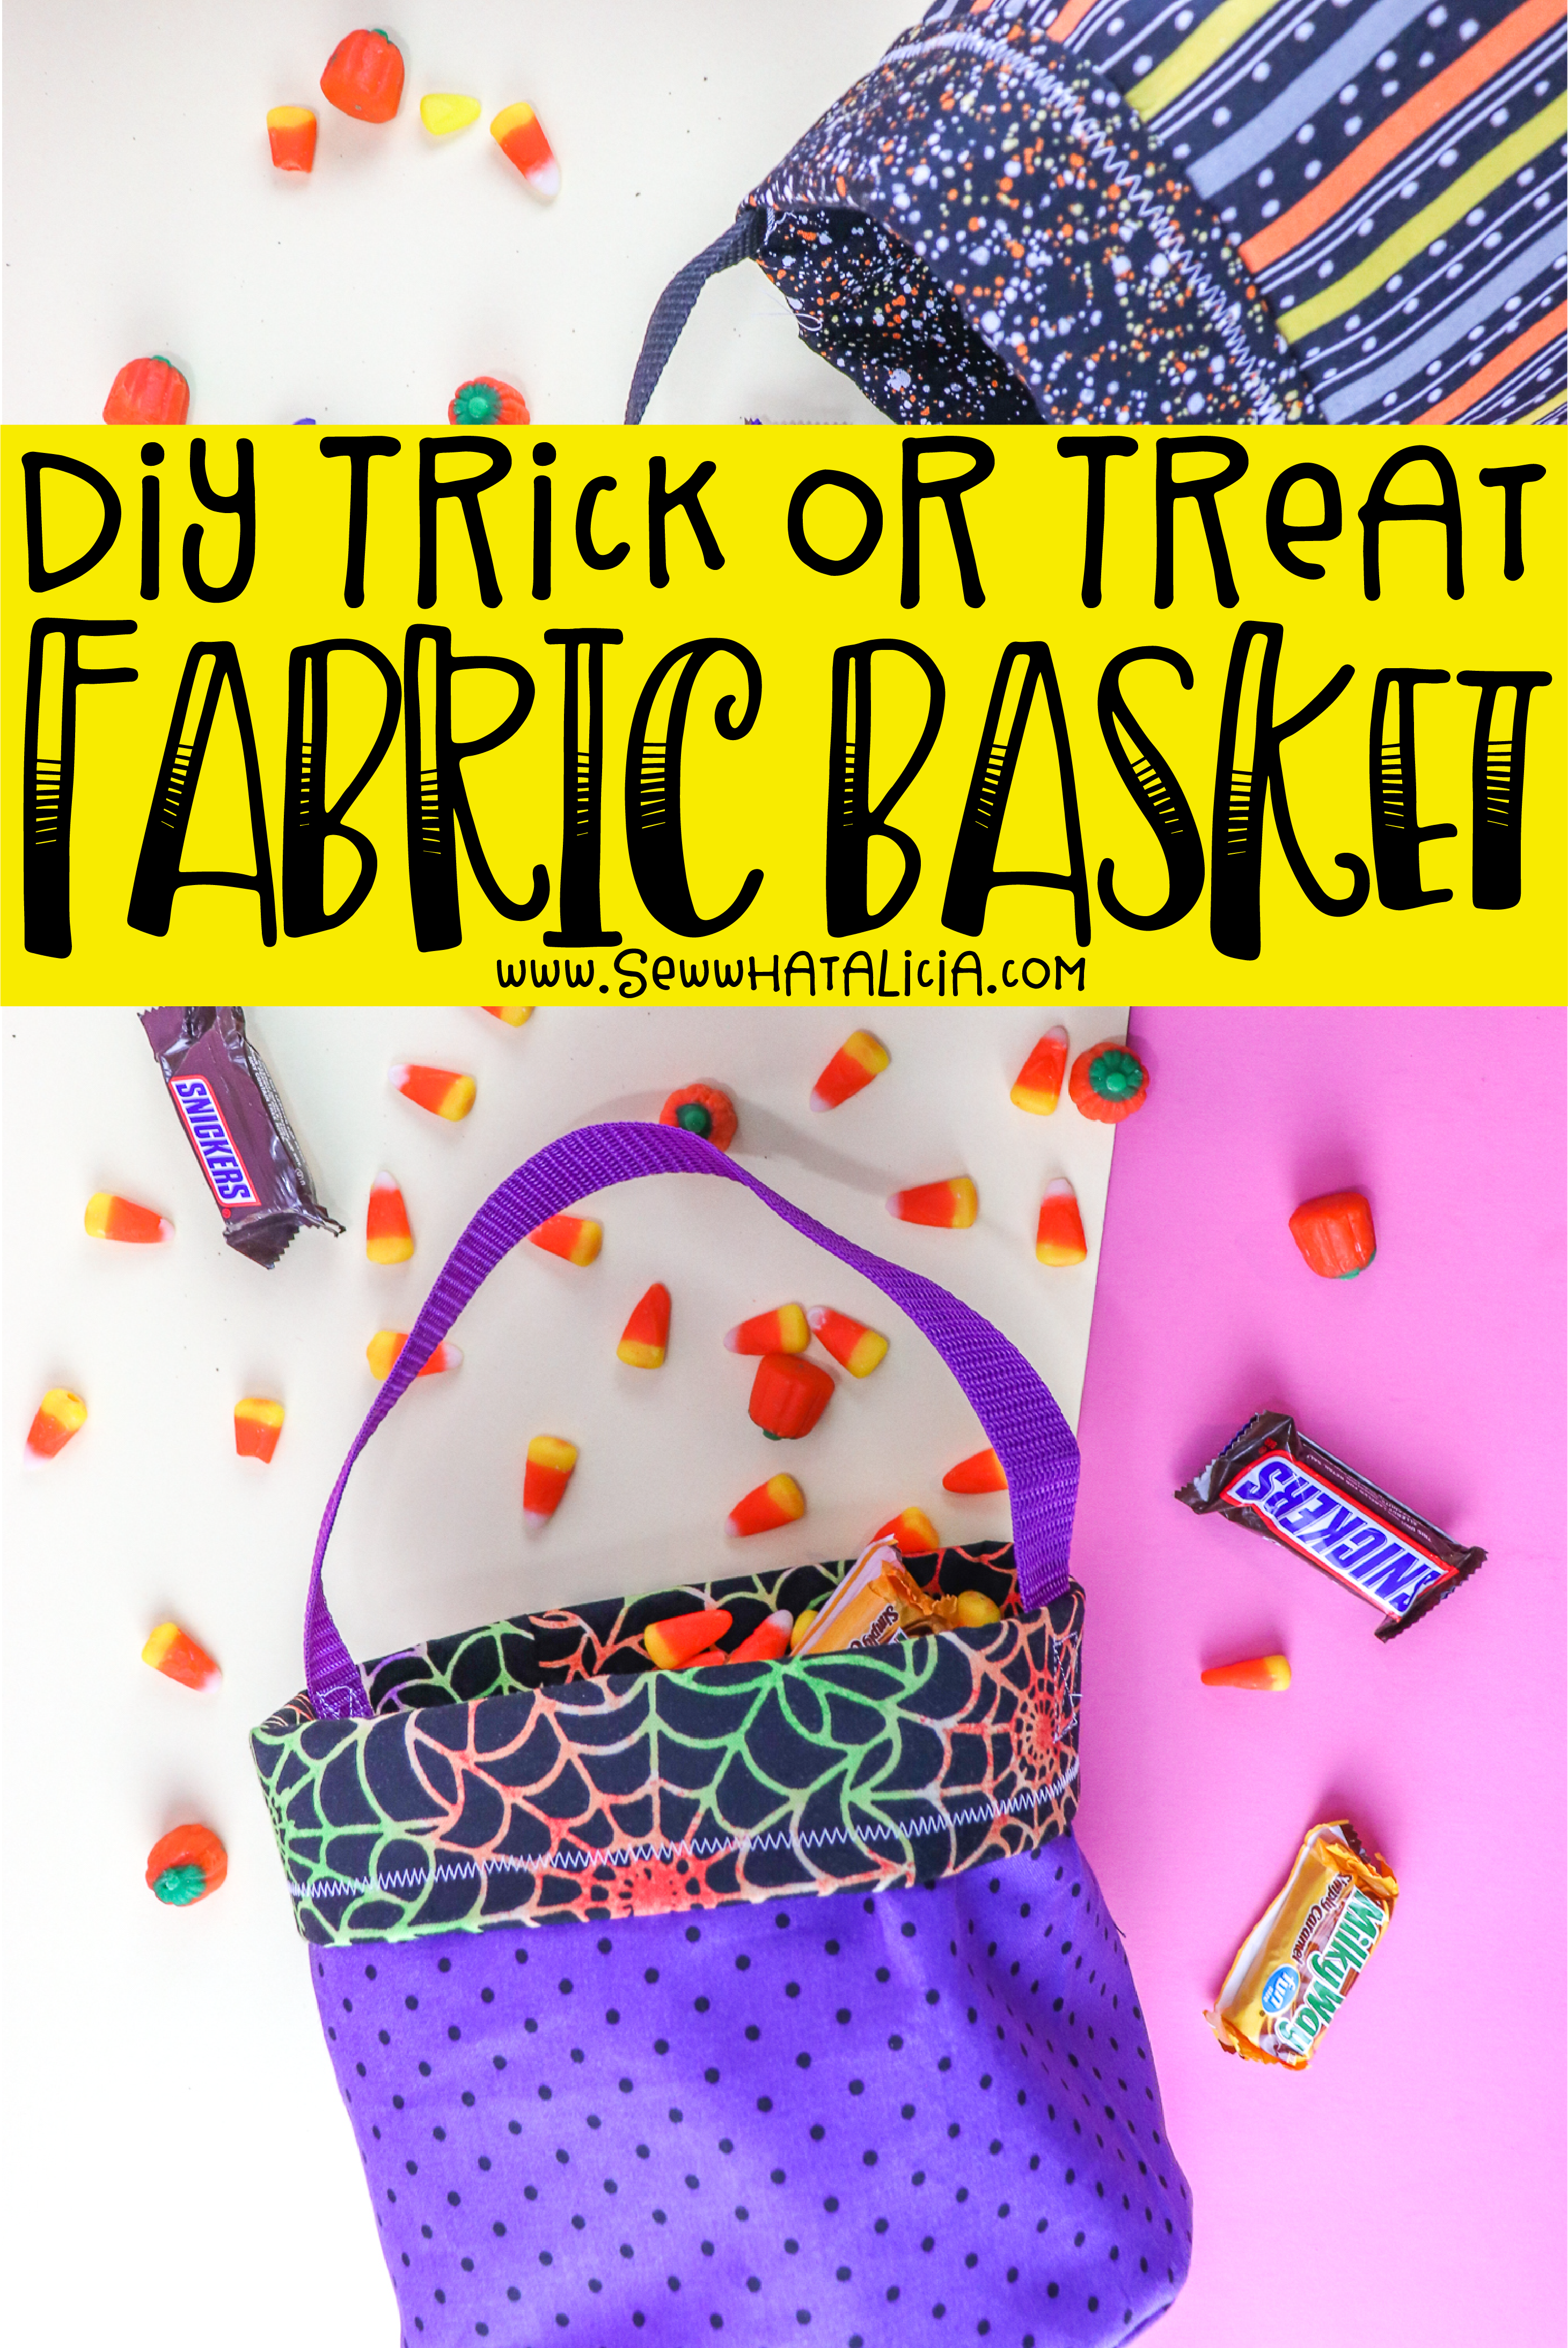
DIY Trick or Treat Bag
Halloween is such a fun time of year! The DIY bug bites me and I create all the things! This year I decided I wanted to make some new trick or treat bags for my kids. I love these bags because you can customize them in so many ways. You can also make them with any themed fabric year round so they aren’t solely for Halloween! These would also make wonderful fabric baskets if you simply left off the handle!
DIY Trick or Treat Bag – Plus a Video Tutorial
This post was sponsored by JOANN. I have been compensated for this tutorial. All opinions and ideas are my own.
Trick or Treat Bag Supplies:

How do you make a trick or treat bag?
The first step is to decide on what size you want to make your bag. You CAN create your own size and pattern, which involves using the diameter and pi and adding a seam allowance. OR you can use the same size that I have used. If you don;t want to create your own measurements you can skip the next two paragraphs because I am about to go all mathy on you!
If you are creating your own here are the steps. Create a circle. Find the radius (which is the length from the middle of the circle to the outside of the circle, it is also double the diameter). Next subtract the 1/4″ seam allowance from your radius. Now use the formula for circumference (the distance around the outside of the circle) which is: 2 x PI x Radius. To the circumference add 1/2″ for seam allowance. You need to subtract the seam allowance from the circle before doing the formula and then add it in again after the fact or your cut will be off, trust me!
So I created a circle with a 4″ diameter. 2(pi) 3 3/4 = 23.5. Add 1/2″ to 23.5 and you get 24. So we know that we need to cut a length of fabric that measures 24″ to fit around the circle. Then you need to decide on the height of your basket. I cut my fabric 9″ tall. So here is what you need to cut:
Two fabric circles (one for the outside and one for the lining – SVG or PDF
Two fabric rectangles – 24″ x 9″
One circle and one rectangle of fusible interfacing with same measurements as your fabric cuts.

How to sew a Halloween treat bag:
Fuse the interfacing to the lining pieces of fabric.

Place the short edges of the rectangle together right sides facing. Sew using a 1/4″ seam. Repeat with the second rectangle.
Clip the circle to the tube you just created.

Repeat with your second circle and tube. Then sew in place using a 1/4″ seam.
Turn out the piece that will be the outside of the bag (not the piece with the interfacing.) Stuff the interfacing backed fabric into the outside fabric. Now fold the top edge down 1/4″. Sew in place using a zig zag stitch.

Trim and excess threads or fabric frays. Then fold the edge down 2″-3″ again. You can sew this in place or skip to the next step and clip your strip of belting to the inside of the fabric basket. Line up one edge of the belting with the side seam on the basket. Then fold the basket in half to find the second spot to place your belting. I used a 12″ strip of belting but this is up to your discretion.

Sew the belting in place using a square with an x in it. This will hold the handle in place and keep the fold in place as well.

You can customize the bag by adding heat transfer vinyl or fabric paint to the outside of the bag. You could use glow in the dark paint to make it really pop for trick or treating in the dark!
Easy Halloween Trick or Treat Bag Video
Have questions about this trick or treat bag? Share with me in the comments below.
Pin DIY Trick or Treat Bag:


Leave a Reply