How to Make Fabric Pumpkins
I just love fall. The air is crisp and fresh but we don’t quite have to deal with all that snow. Something about fall makes me want to pull out my sewing machine and go to town. Last year I created this neon yarn pumpkin, and this patchwork pumpkin. This year I am adding these fun DIY fabric pumpkins with custom vinyl fabric to the mix. Here is how to make fabric pumpkins that are sure to impress! And scroll down for even more fun pumpkin ideas from some of my super talented and creative friends!

How to Make Fabric Pumpkins
I love to create new decorative pumpkins each year. Since I am anything but traditional so I tend to favor bright fun colors. Then I mix these homemade pumpkins in with a few store bought pumpkins to create a fun eclectic fall feeling.

Supplies
Dish Towel OR a Fat Quarter
Embroidery Floss
How to Create Custom Fabric
Cut your images onto the heat transfer vinyl. I used a pumpkin file and a confetti file that is available with Cricut Access on Cricut Design Space. You can use an existing image or simply design your own shapes.
Weed the vinyl and cut the pieces apart.

Place the vinyl randomly on the front of your fabric.

Use your EasyPress or iron to press the vinyl to the fabric. You can place the images in a design or just randomly. I chose to place everything randomly.

Fabric pumpkin directions
To create the diy fabric pumpkins takes just a few steps.
Fold your fabric in half, right sides facing. You will sew the edge opposite the fold, this will create a tube that will become the height of the pumpkin. Sew this edge in place.

Change your stitch length to the longest length your machine will allow. Place a stitch along the bottom edge of the fabric with the long stitch. Find the end of the thread and pull to gather the bottom.

Turn the piece out. Grab your filling and fill the tube you just created. Fill it to the top leaving a few inches at the top. Lightly fill, no need to push down and compress the filling unless you want a very stiff pumpkin.
Grab your embroidery floss and a needle. Use a long running stitch around the top edge of the fabric.

Pull this stitch tight to gather the top edge of the fabric and close the filling in to the pumpkin. With the thread still attached push the top of the fabric down towards the bottom of the fabric. Then pull the thread tight.
Use the embroidery floss to create pumpkin ridges around the outside. This is accomplished by bringing the thread from the bottom around the side and back through the middle. Place the veins evenly around the outside of the pumpkin.

Creating a pumpkin stem
Grab a piece of felt. One piece of craft felt is more than plenty. Fold the felt in half. Sketch (or eyeball) a stem. Be sure to account for seam allowance, you don’t want your stem to be too thin. Sew along the sides, leaving the bottom open to turn out and stuff.
Turn the stem out. Stuff with filling. Gather the bottom edges by folding them in, you want to try and form a circle. Close the end with embroidery floss. Leave the floss attached and pull the stem into the middle of the top of the pumpkin (using the same method you used to pull the top of the pumpkin through to the bottom.) Place a few knots to guarantee that the stem stays in place.

How to Make Fabric Pumpkins Video Tutorial
More Pumpkin Ideas
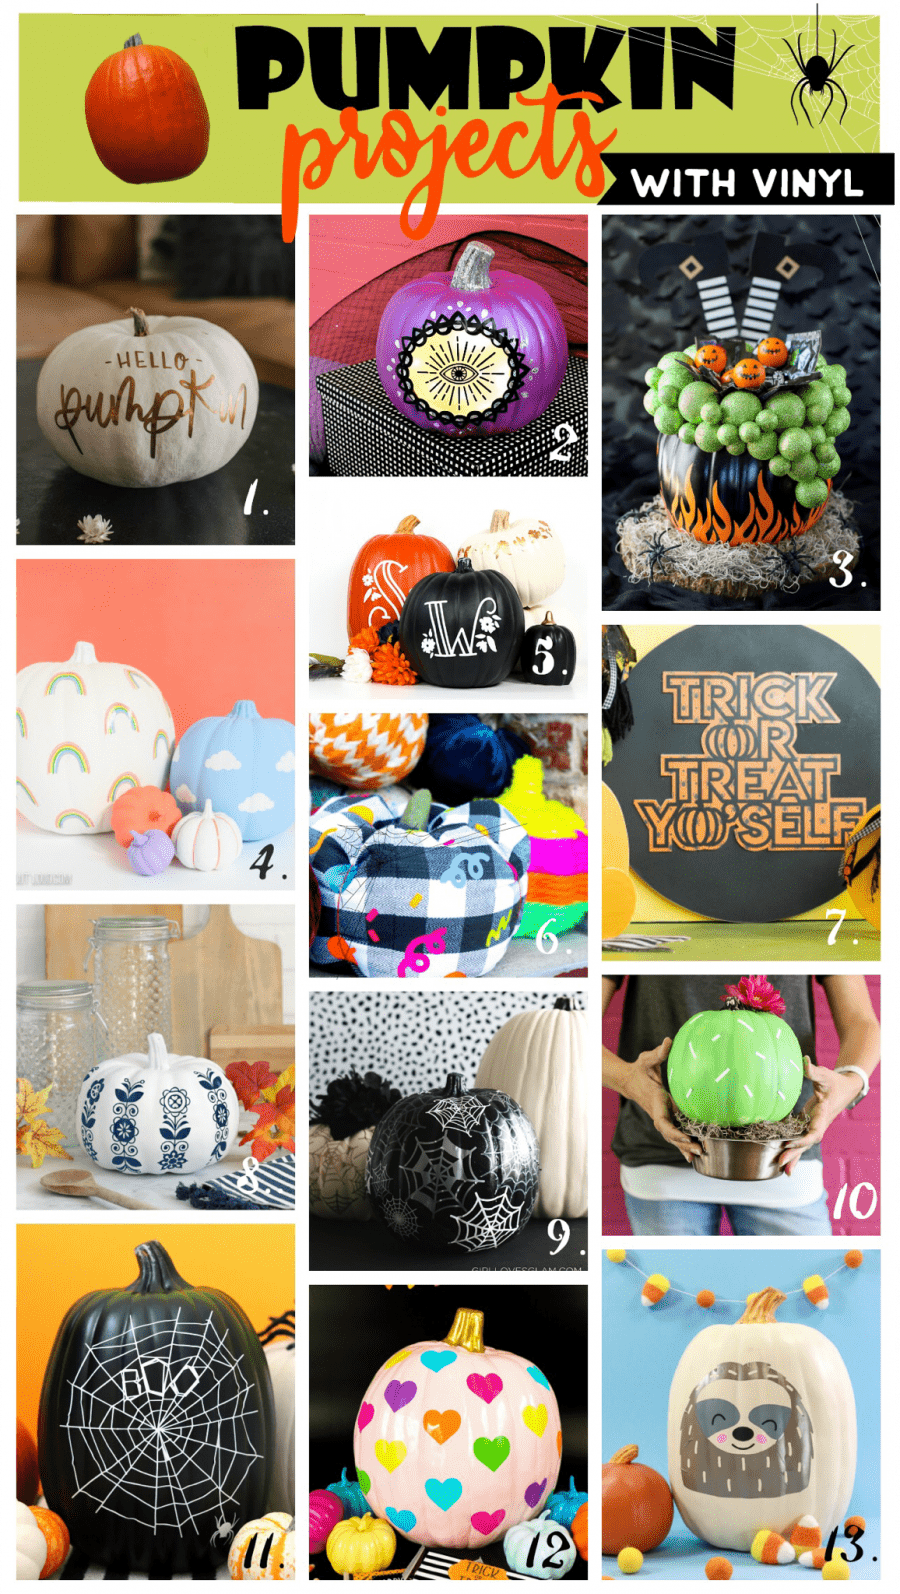
- Hello Pumpkin from Lemon Thistle
- Glowing Eye Pumpkin from Persia Lou
- Cauldron Candy Holder from A Pumpkin and a Princess
- Rainbow and Clouds pumpkin from Lydi Out Loud
- Monogram Pumpkins from Printable Crush
- Fabric Pumpkins from Sew What Alicia
- Trick or treat yourself from See Lindsay
- Folk art pumpkin from The Craft Patch
- Spiderwebs pumpkin from Girl Loves Glam
- Cactus pumpkin from Sugar Bee Crafts
- Boo Spiderweb from a Girl and a glue gun
- Rainbow hearts from Happiness is Homemade
- Sloth pumpkin from That’s What Che Said
PIN How to Make Fabric Pumpkins


Leave a Reply