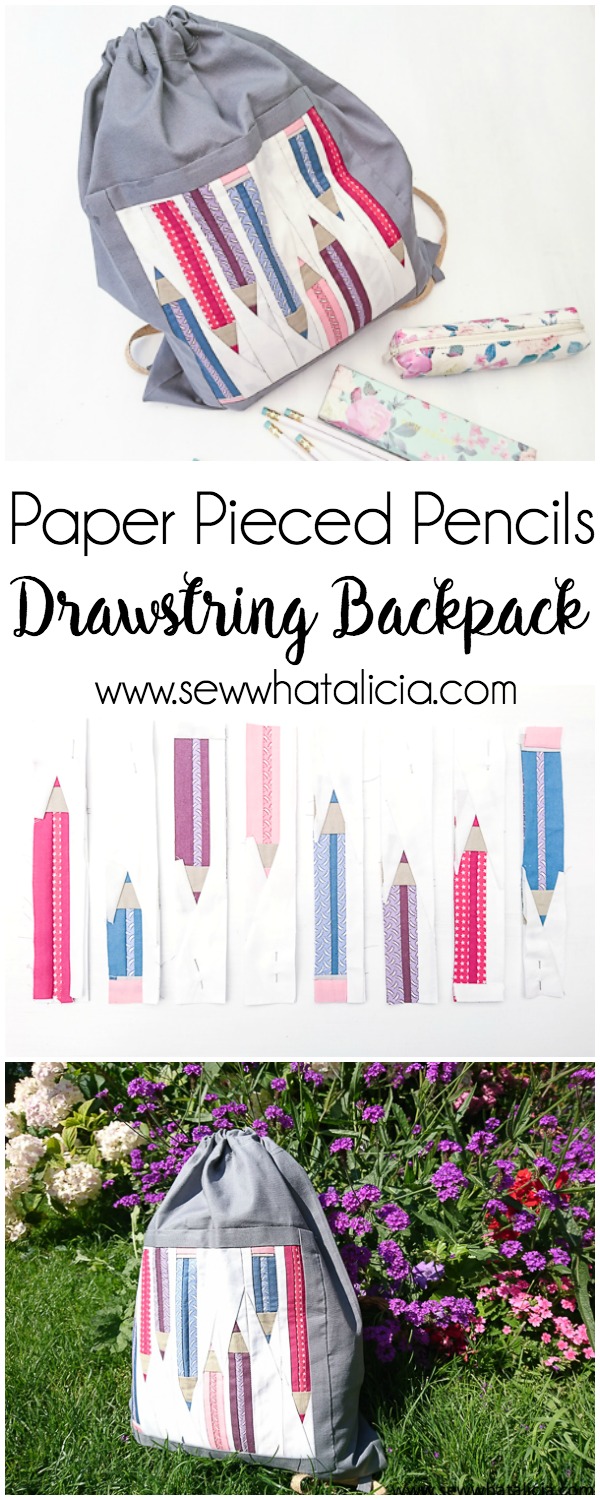
Drawstring Backpack Sewing Tutorial – Pencil Paper Piecing
Hi, Michelle here from creativeblonde again. This time I have a really fun paper piecing tutorial which is perfect as a back to school project. This backpack is a fun way to use a quilt block without creating an entire quilt. Here is a drawstring backpack sewing tutorial.
This is just one of my 50+ easiest sewing tutorials. Check out the rest HERE.
Drawstring Backpack Sewing Tutorial – Pencil Paper Piecing
Facebook Live Supplies:
Ribbon
Iron On – White and Rose Gold Foil
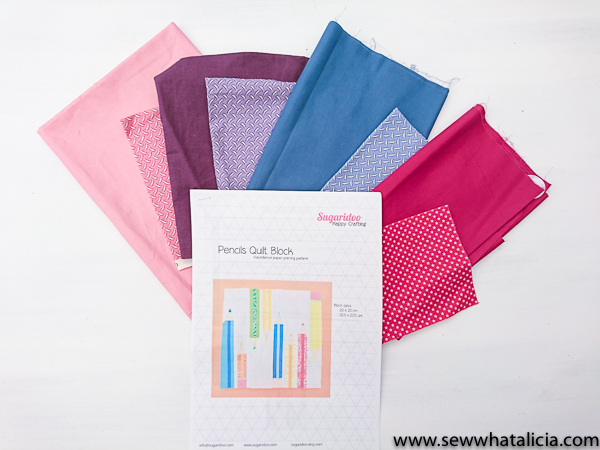
Supplies:
Small pieces of fabric in different bright colours, I chose a solid and pattern in each colour.
Scraps of white, tan, grey and pink fabrics
Large piece of grey fabric for the bag
96″ piece of half inch cord
Pencil quilt block, paper piecing template from Sugaridoo
Basic sewing supplies
Block Instructions:
Print off your templates, and cut around each pencil template, including the seam allowance. decide on which colours you are going to use where, and colour the template in to help you remember.
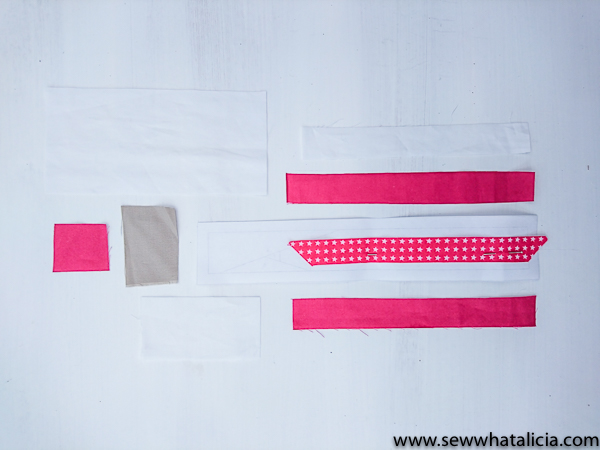
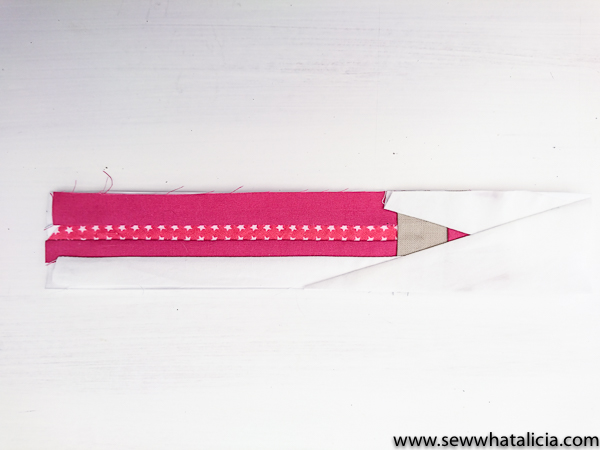
Take the first template, and lay the fabric for the first piece, right side up on the reverse of the printed template, then attached the following pieces of fabric in numerical order, but with the fabric right side down and overlapping the seam allowance, press each section as you go, and trim away any excess fabric, to avoid unnecessary bulk.
Repeat this process for the following pencils
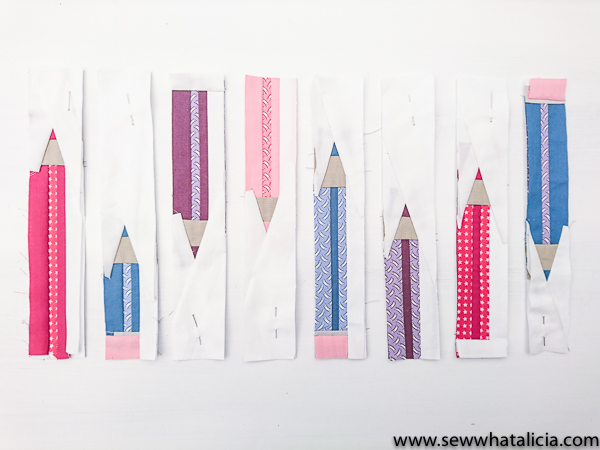
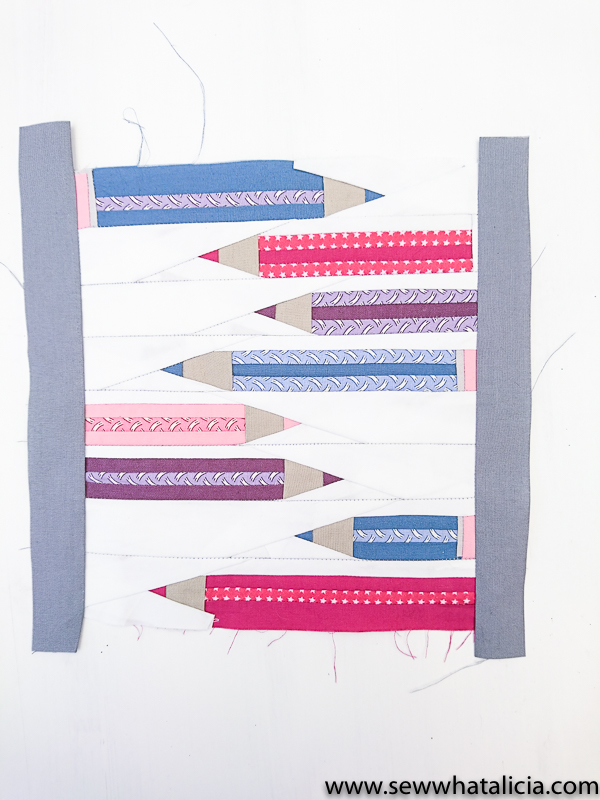
Lay your pencils out in front of you, making sure you have each one in the correct direction – note some are facing up and some facing down. Once you’re happy with your lay out, sew the pencils from left to right using the 1/4″ seam allowance.
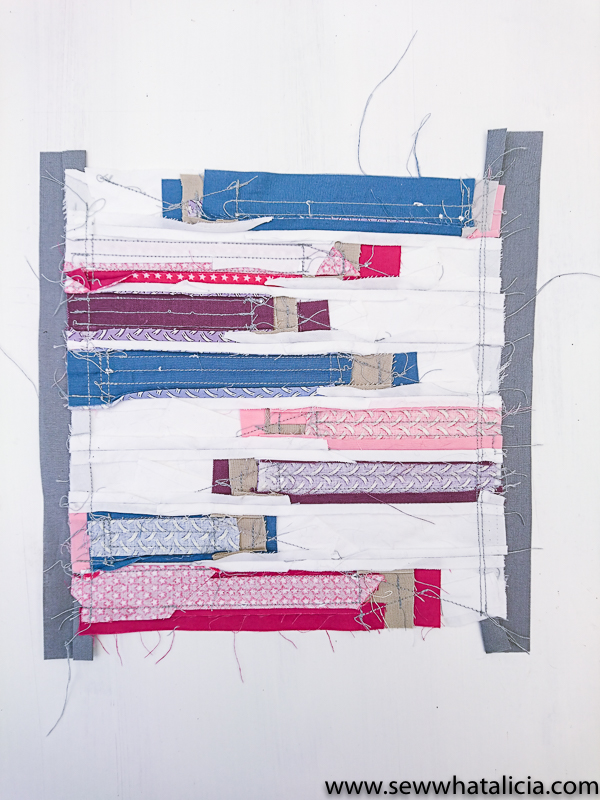
The reverse:
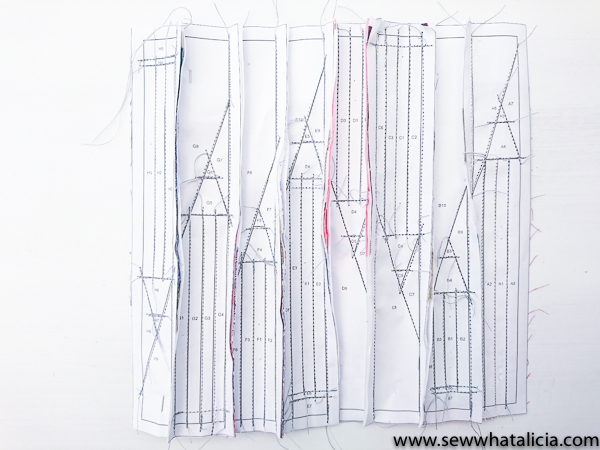
The front:
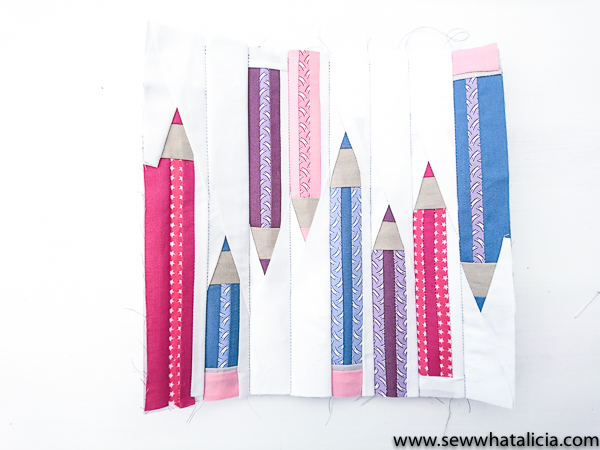
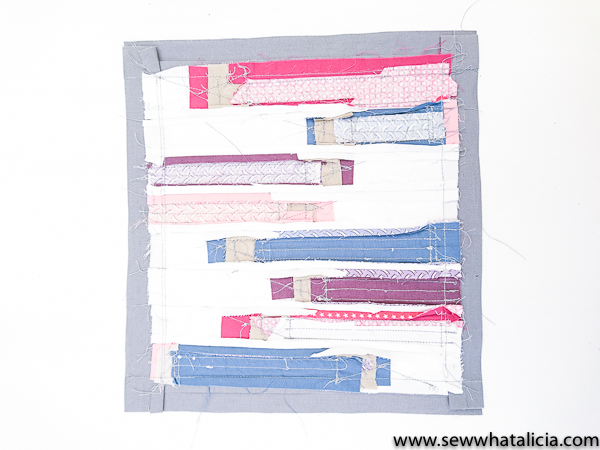
Now comes the exciting part, carefully tear away all the paper, and press your paper piecing block.
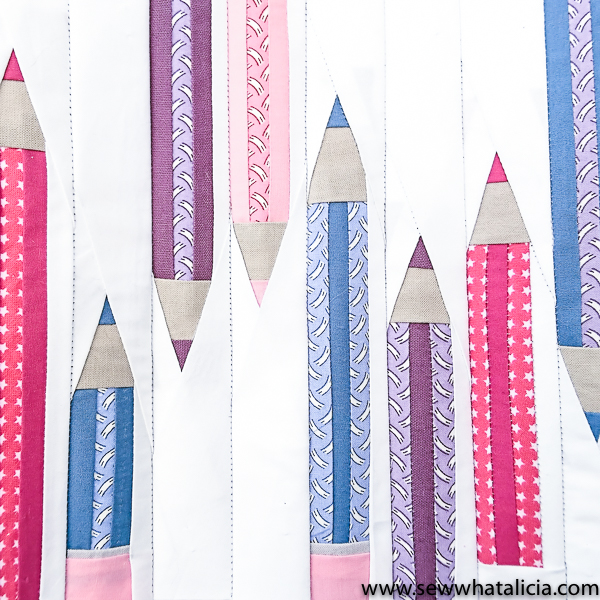
The block is now complete, but if you want to create a simple drawstring bag to show off your gorgeous paper piecing, read on…
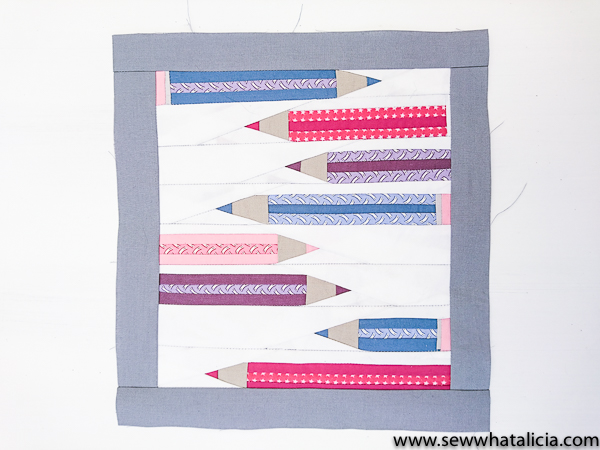
Cut 2 strips of grey fabric measuring 1.5″ x 10.5″ and 2 strips measuring 1.5″ x 10.5″
Sew the two shorter pieces, to the top and bottom of the paper piecing block, right sides together, using 1/4″ seam allowance.
Take the longer two strips and attach them to each sides.
Backpack Instructions:
Cut a large piece of grey fabric measuring 19″ x 30″, and press.
Turn the top 1/2″ of the bag (the longest edge) and press.
Turn a further 1 and 1/2″ inch over at the top, press, pin and top stitch with a double row of stitches( size 3.5 on machine)
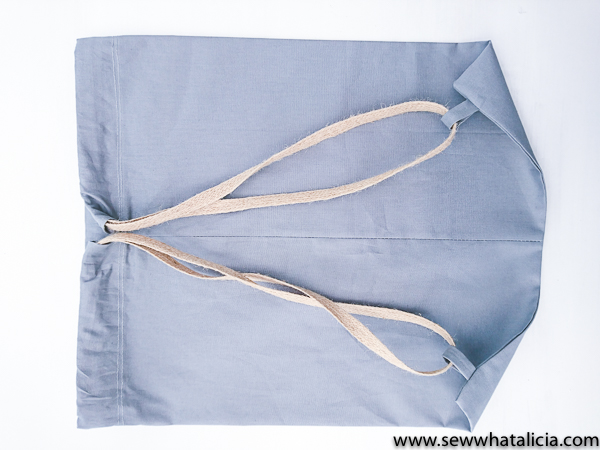
For the tabs to hold the straps, cut two pieces of grey fabric measuring 3 x 1 and 1/2″ fold twice long ways and press, pin in place on the bottom of the bag about 2″ in from each corner, these need to be attached on the back of the bag on the right side, with tabs facing up (raw edges together). Fold your bag so the seam sits in the middle of the back of the bag, with right sides together, sew this seam, but stop before reaching the turned piece at the top and then sew up both sides. Press seams open. Turn bag right way out.
Take your cord and with a safety pin attached to one end, thread through the top turned piece, all the way round, then through the bottom loop and back through the top section in the opposite direction, then through the other loop and sew the cord together. pull the join through so it sit inside the turned piece, so no raw edge can be seen.
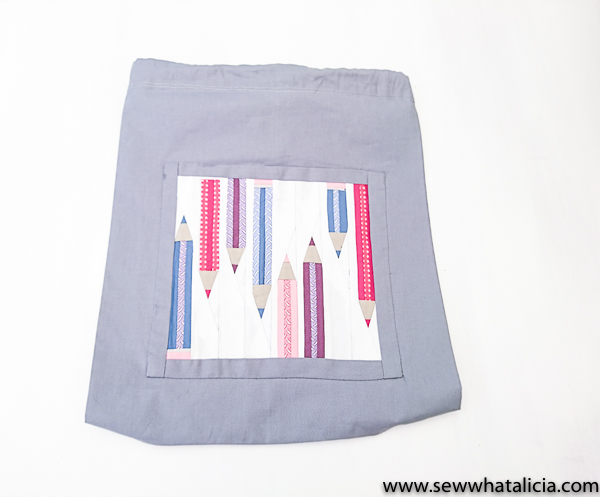
Take your block and pin or temporary baste in positon, I used a simple needle turn applique stitch to attach my block, so no stitches could be seen.
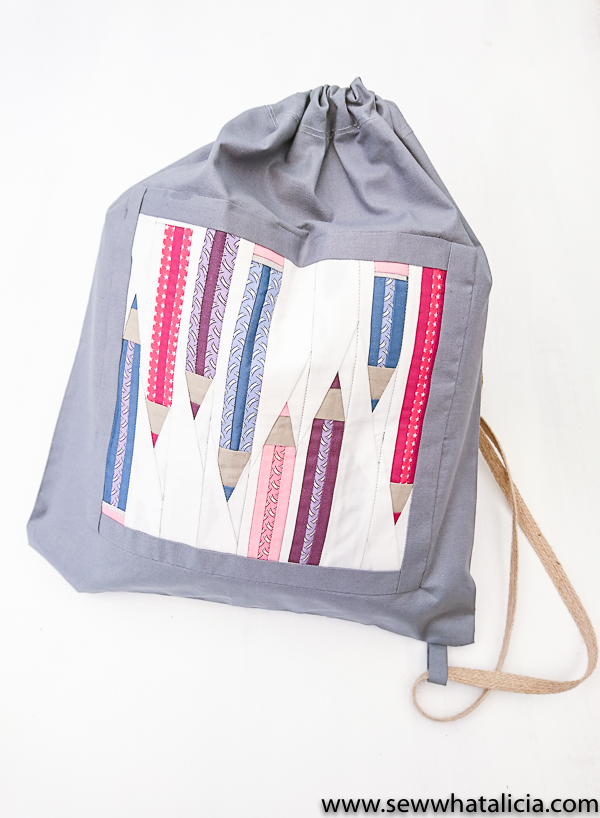
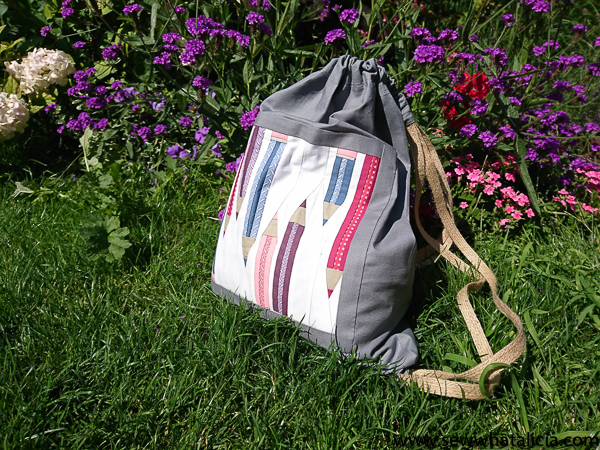
Your back to school pencil paper piecing bag is complete.

Thank for reading, and I hope you enjoyed this tutorial. You can find me at www.creativeblonde.co.uk and I’m on Instagram at www.instagram.com/creativeblonde66 where I share lots of my own creative tutorials.

Facebook // Pinterest // Instagram // Twitter
Here are a few of my recent projects you might enjoy!
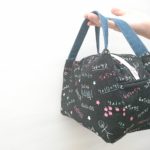
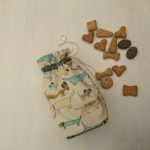
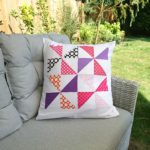
Padded lunch bag// Dog treat bag // Bright and summery pinwheel cushion


Leave a Reply