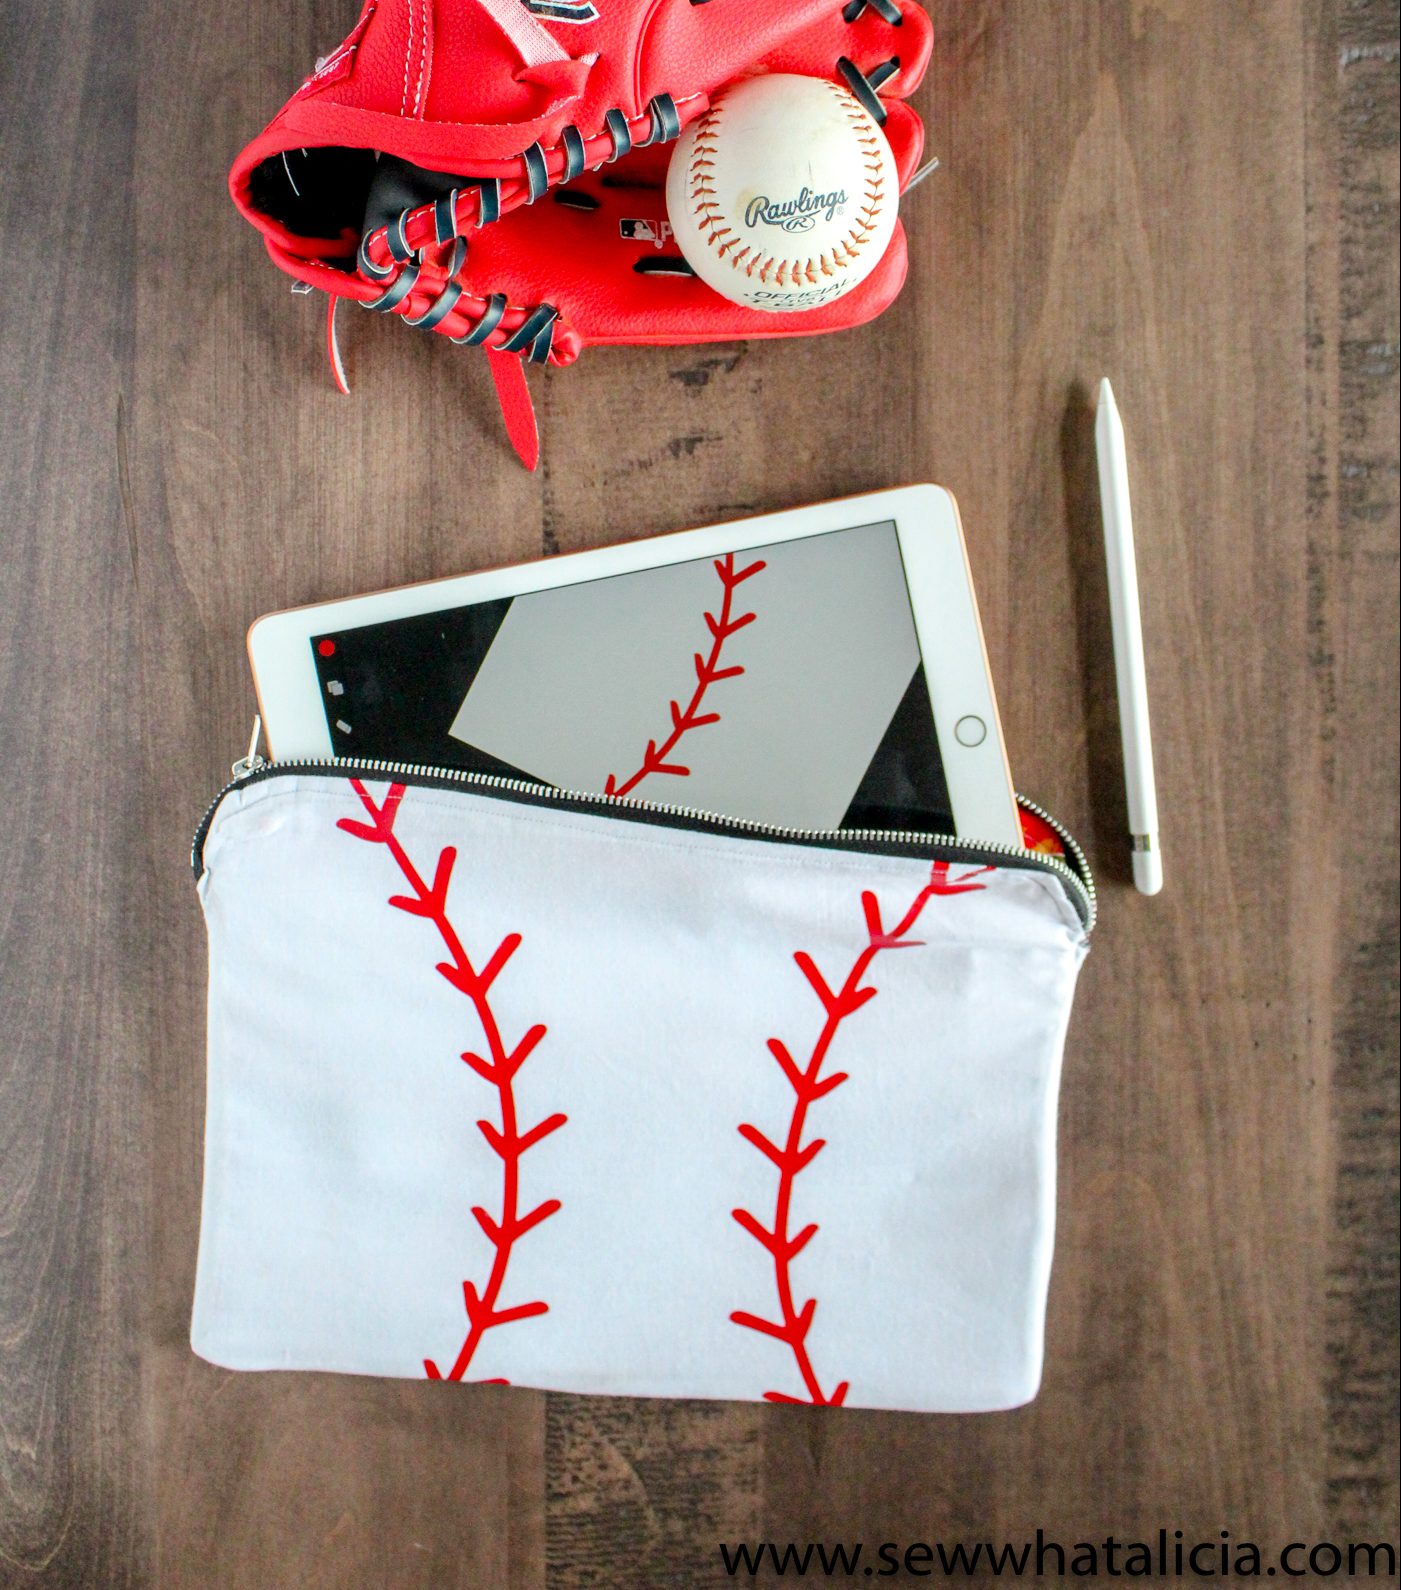
Metal Zipper Pouch Tutorial – Baseball Tablet Case
You may know how much I love a zipper bag. This is one of my very favorite projects that I have ever done here on the blog. We are a huge baseball family and I found fabric for our favorite team in the team section at JOANN. This zipper pouch tutorial is not the easiest tutorial I have ever done, check out this EASY ZIPPER POUCH TUTORIAL if you are new to zippers, but it does come together quickly and it is a great place to store your tablet. Here is a metal zipper pouch tutorial.

Metal Zipper Pouch Tutorial – Baseball Tablet Case
This post was sponsored by JOANN. All ideas and opinions are my own.
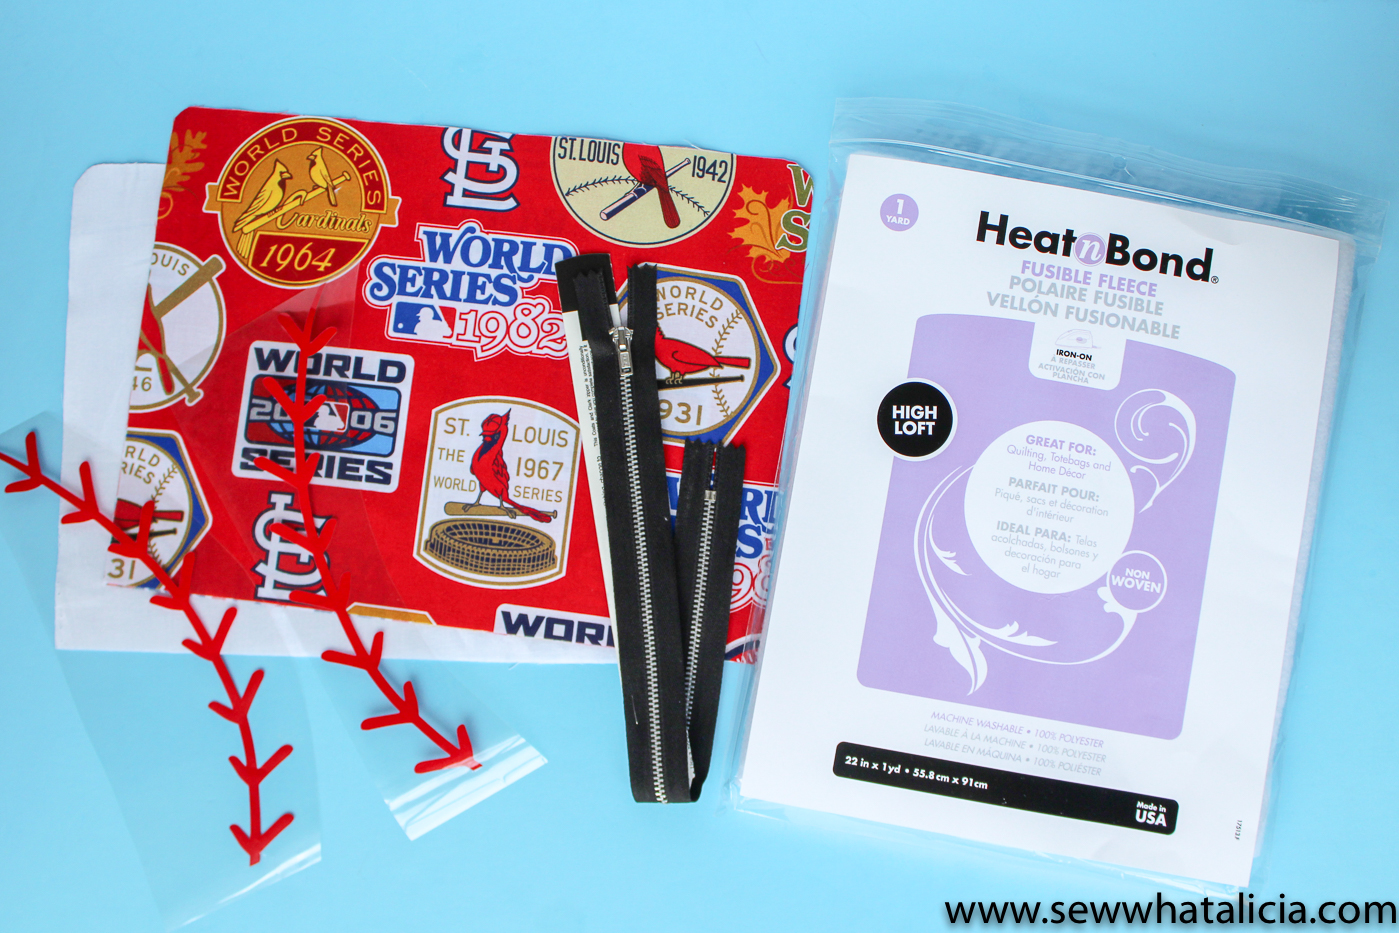
Supplies:
Main Fabric – 2 pieces measuring 9″ x 12″
Lining Fabric – 2 pieces measuring 9″ x 12″
Lined Zipper Pouch Tutorial:
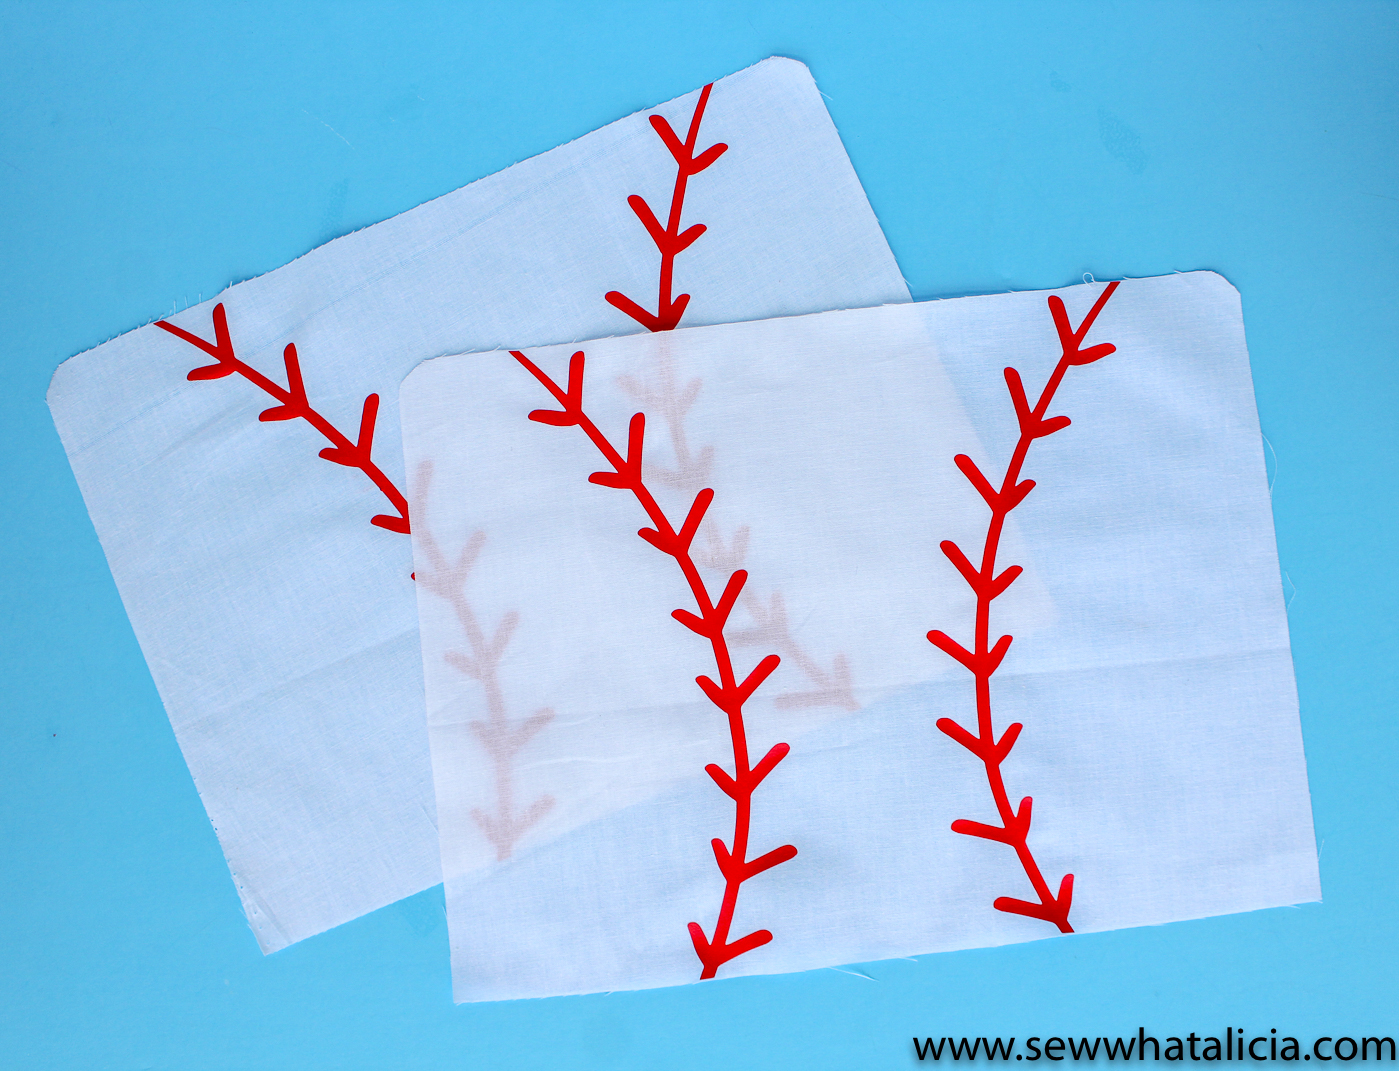
Cut your four pieces of fabric at the dimensions listed above. Slightly round the corners (try using the top of the zipper packaging as a guide.)
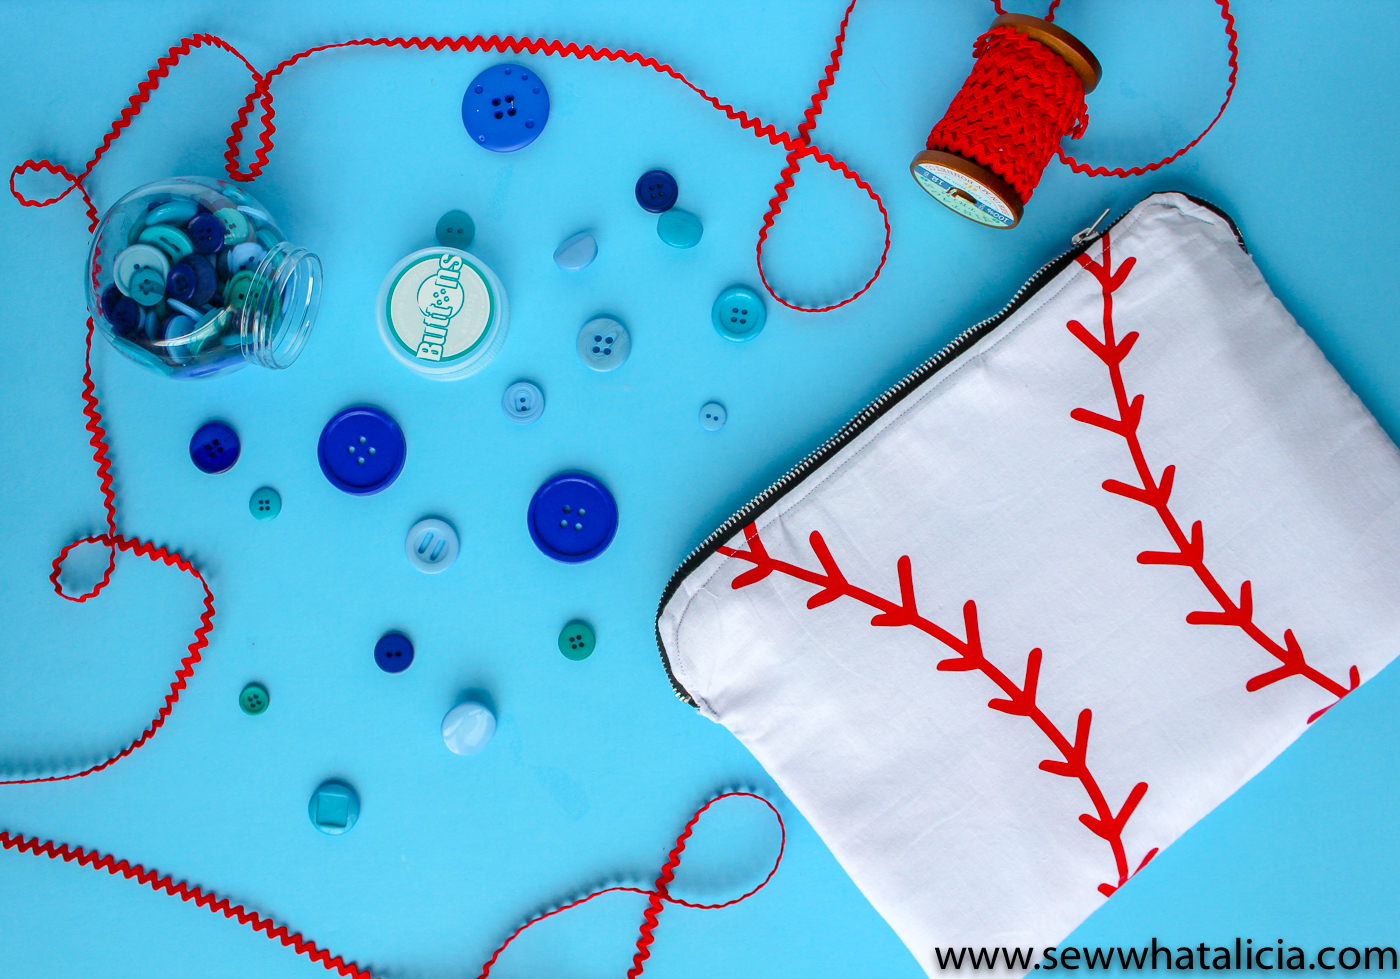
Cut the laces from the red vinyl, then iron the vinyl onto each of the outside pieces of fabric.
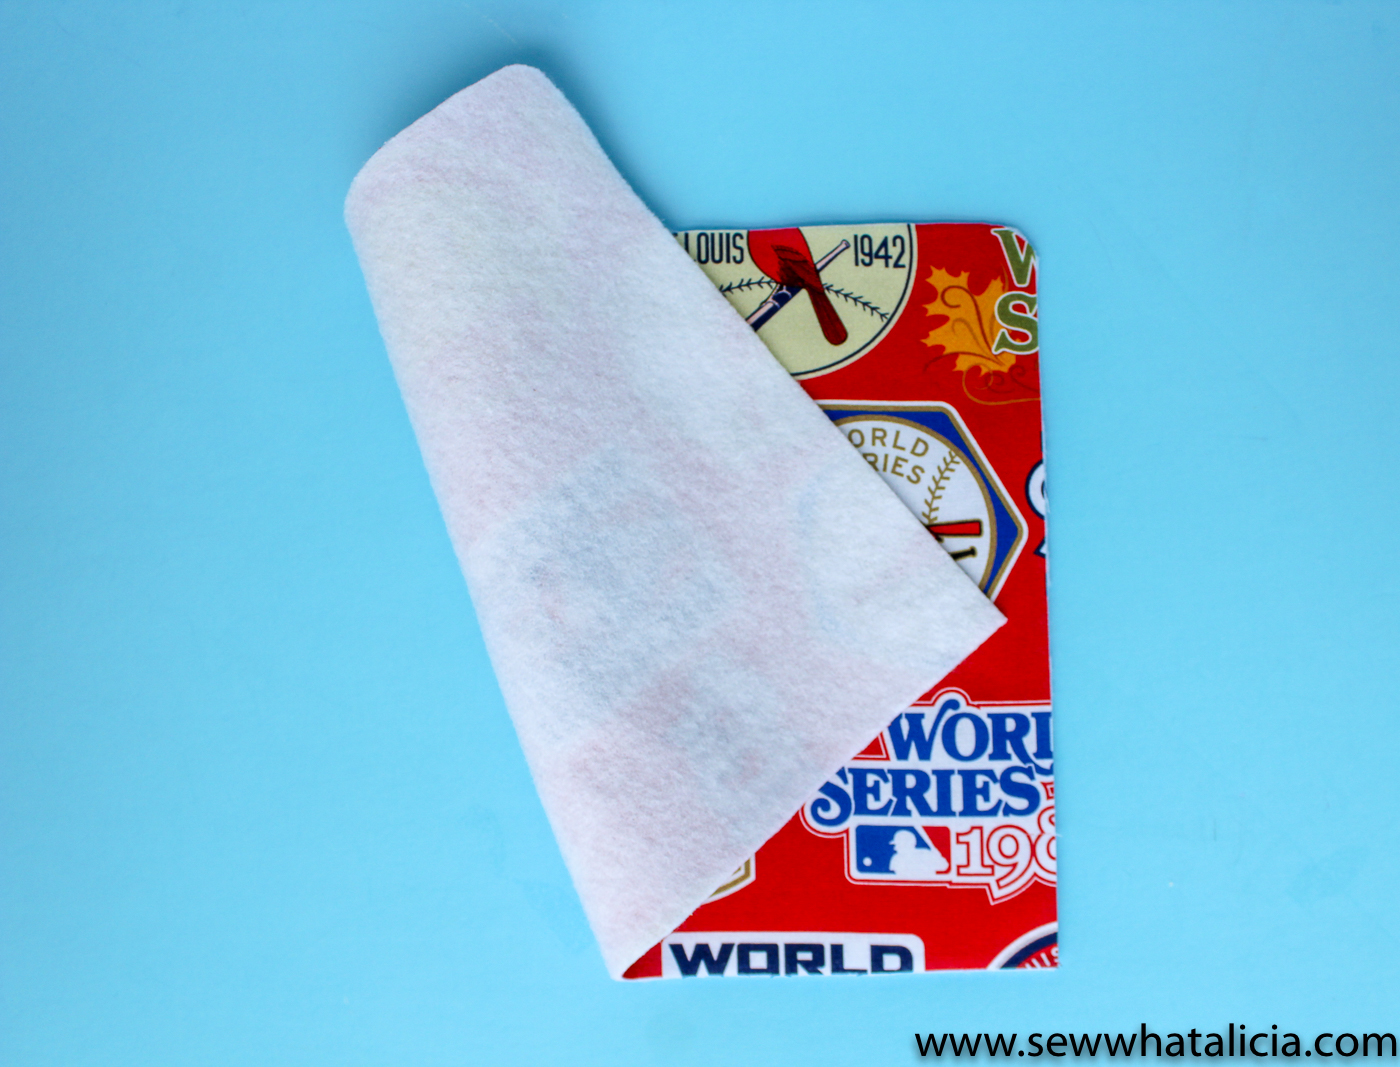
Press a piece of fusible fleece to the back of each of the two remaining pieces of fabric. Trim to fit the curved corners.
Prep your zipper by snipping the edge of the zipper tape every 1/4″. Do not snip too close to the teeth, just snip enough so that the zipper will curve more easily around the corners.
Clip the zipper along the top edge of the first outside piece of fabric. Place the zipper face down on the right side of the fabric.
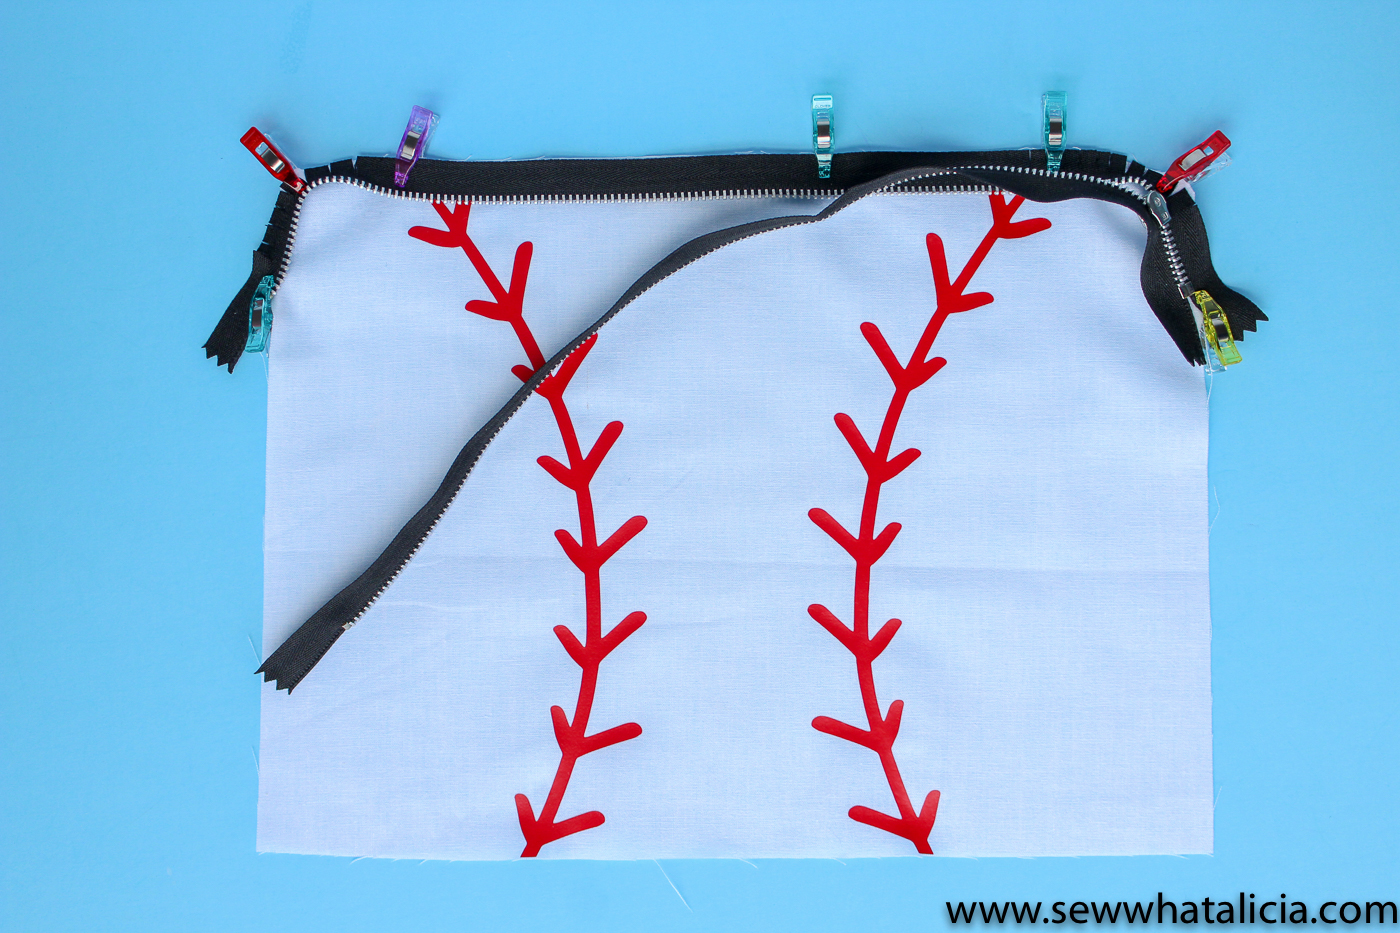
Clip the bottom edge of the zipper diagonally off the edge of the fabric.
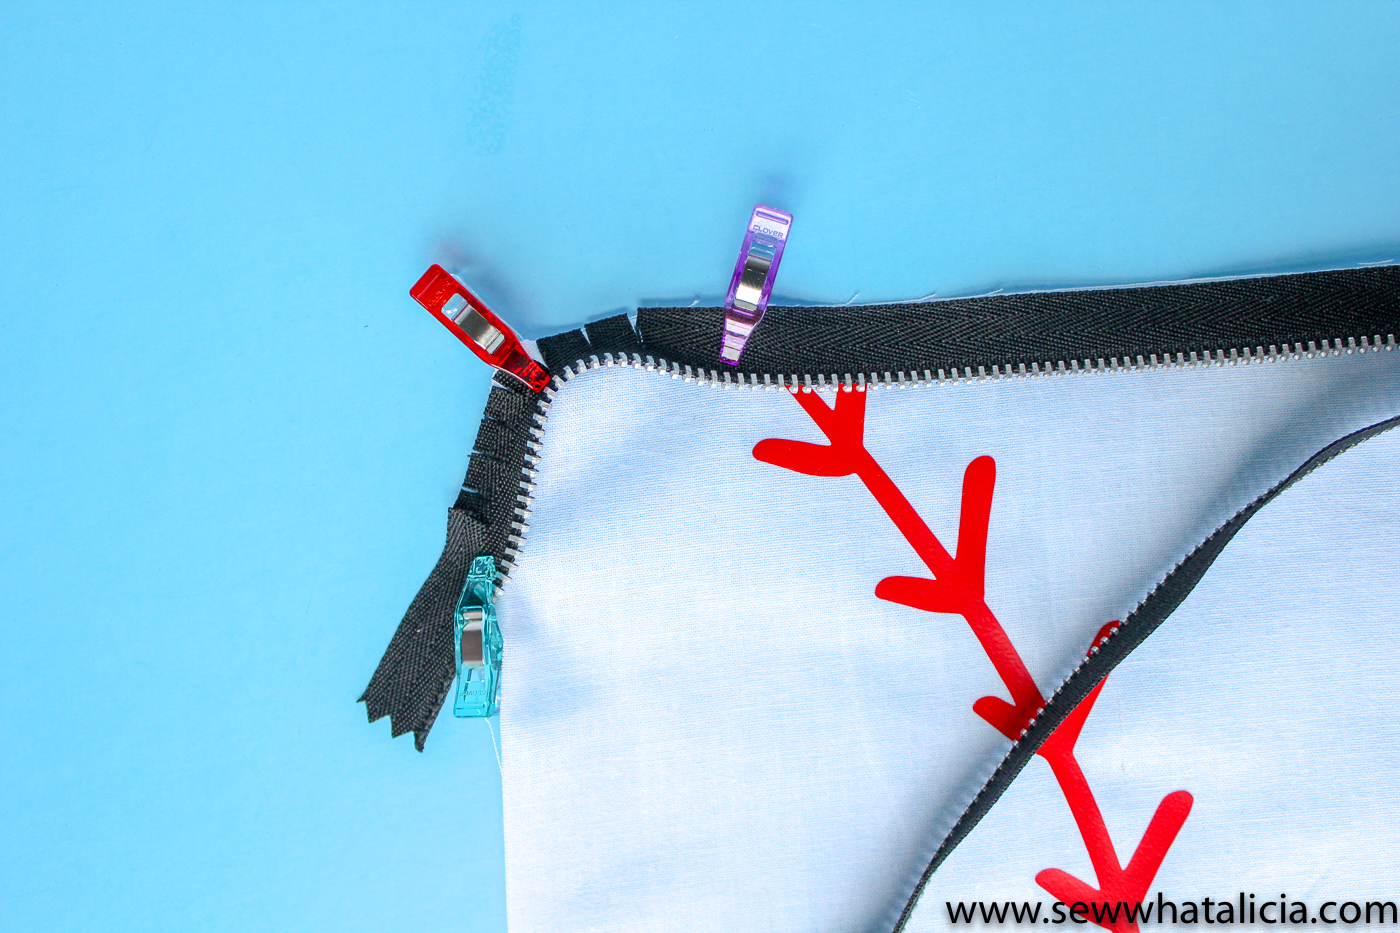
Using your zipper foot sew the zipper in place. Be sure to sew plenty of distance from the zipper because you absolutely do not want to hit the metal zipper with your sewing needle.
I recommend using the hand wheel when starting to avoid the metal stop at the bottom of the zipper. Then again when you get to the top of the zipper.
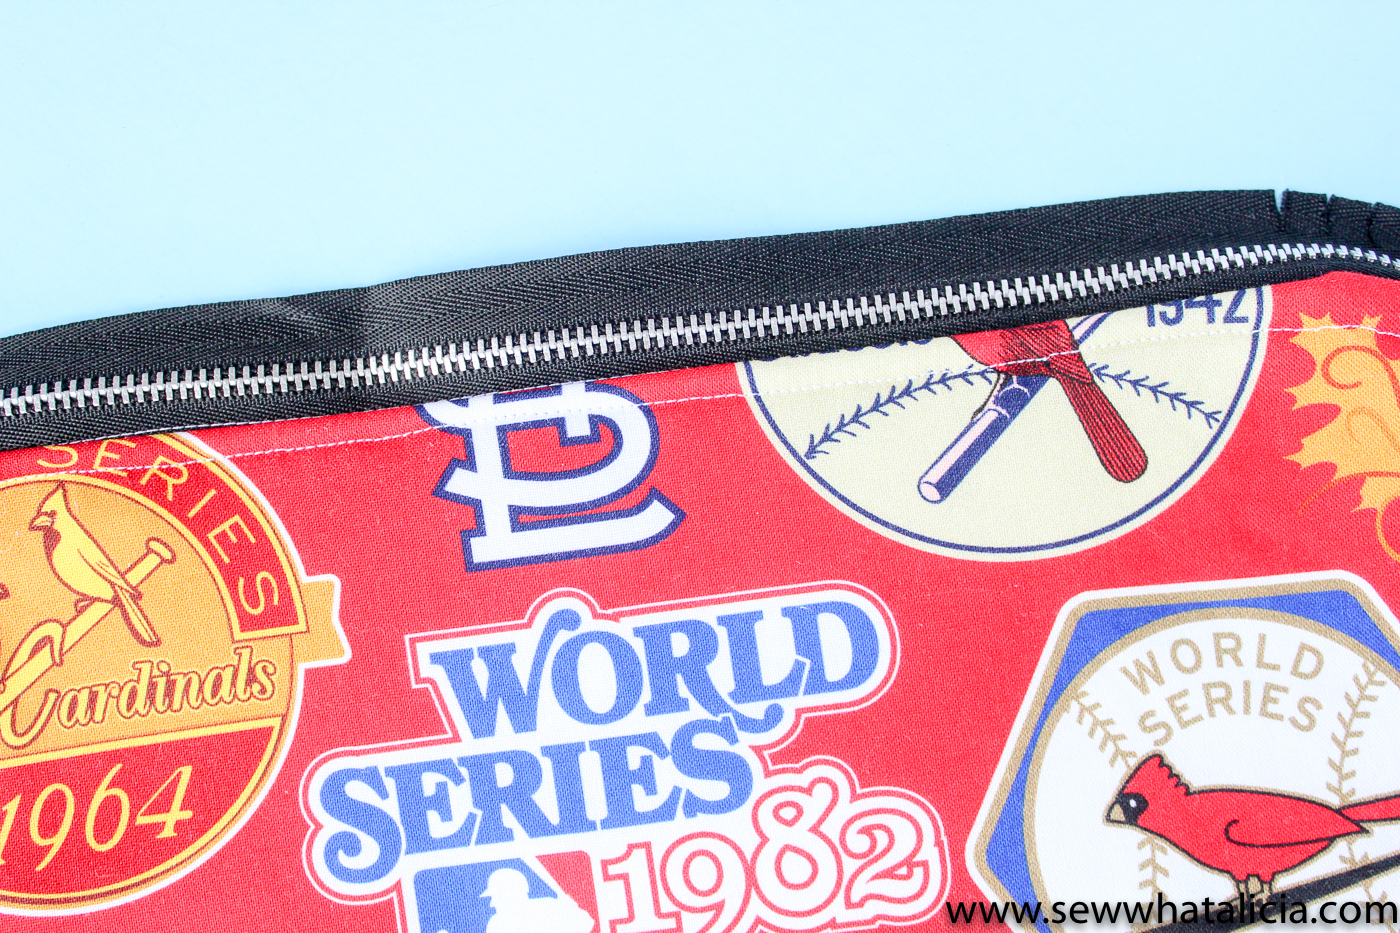
Now place the lining fabric on the back side of the zipper tape. Use the first seam to guide you as you sew the lining fabric in place. Then fold the fabric back to reveal the right sides and top-stitch 1/8″ from the zipper. This will give your piece a nice finished look.
Repeat these steps with the other side of the zipper.
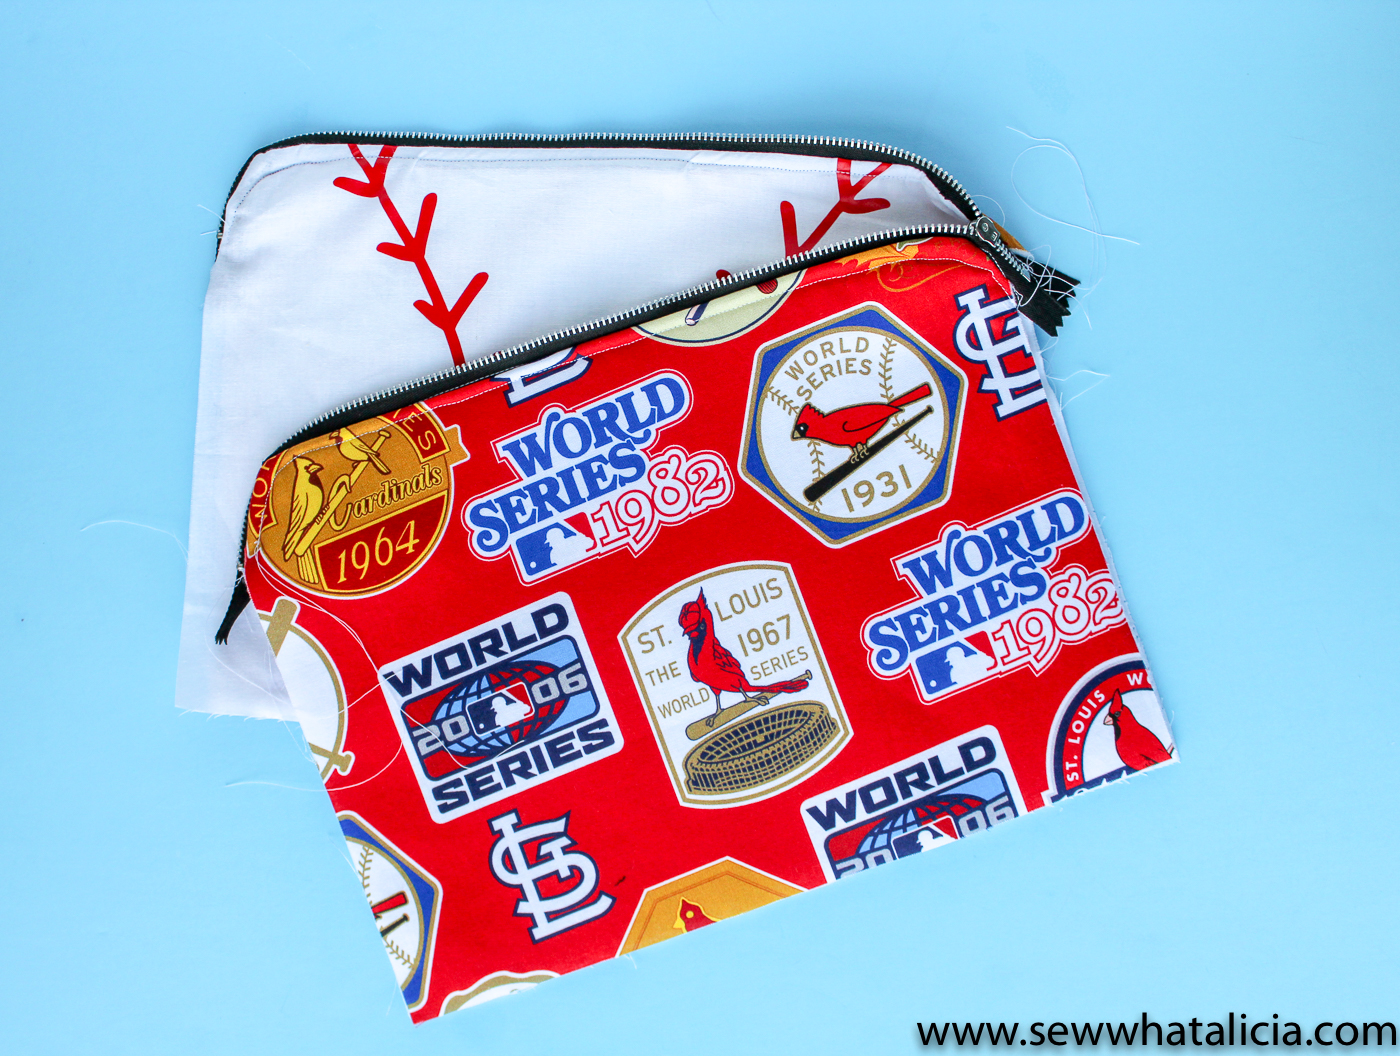
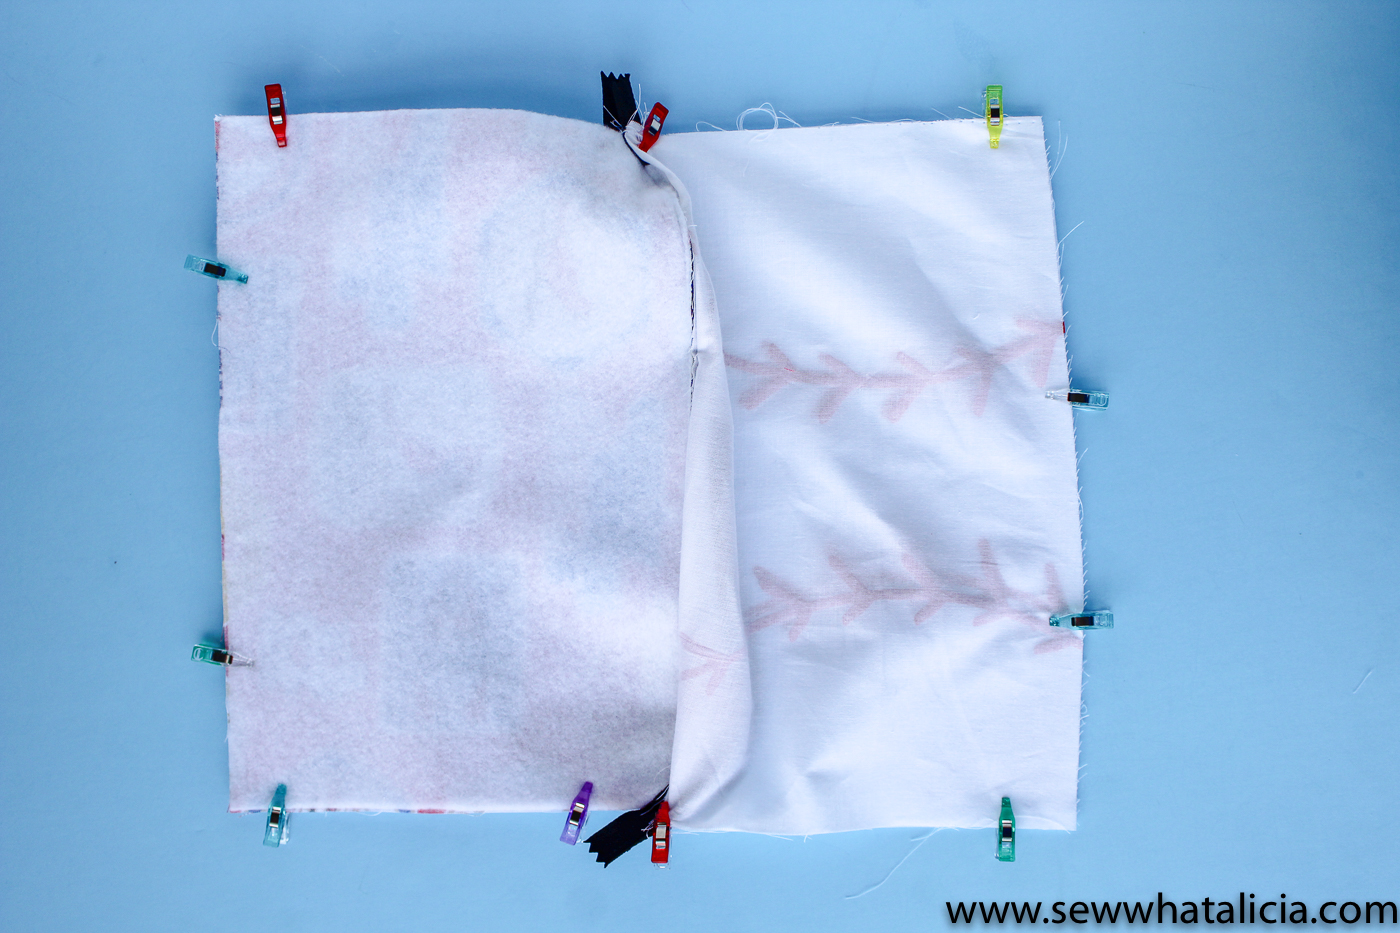
Turn the fabric out again so that the right sides are in and the wrong sides face out. Line up the two outside pieces right sides facing, and line up the lining pieces so the right sides face each other. Make sure that the edges of the zipper tape are clearly visible. Sew around the edges leaving an 8″ section open at the bottom of the lining to turn the piece out.
Be sure that your zipper is most of the way open.
When you are sewing the two spots where the zipper tape sticks out be I recommend turning the wheel by hand again to be sure that you don’t sew over any metal parts of the zipper.
Turn the entire piece out. Use a tool to push out the corners and seams. Clip the opening closed.
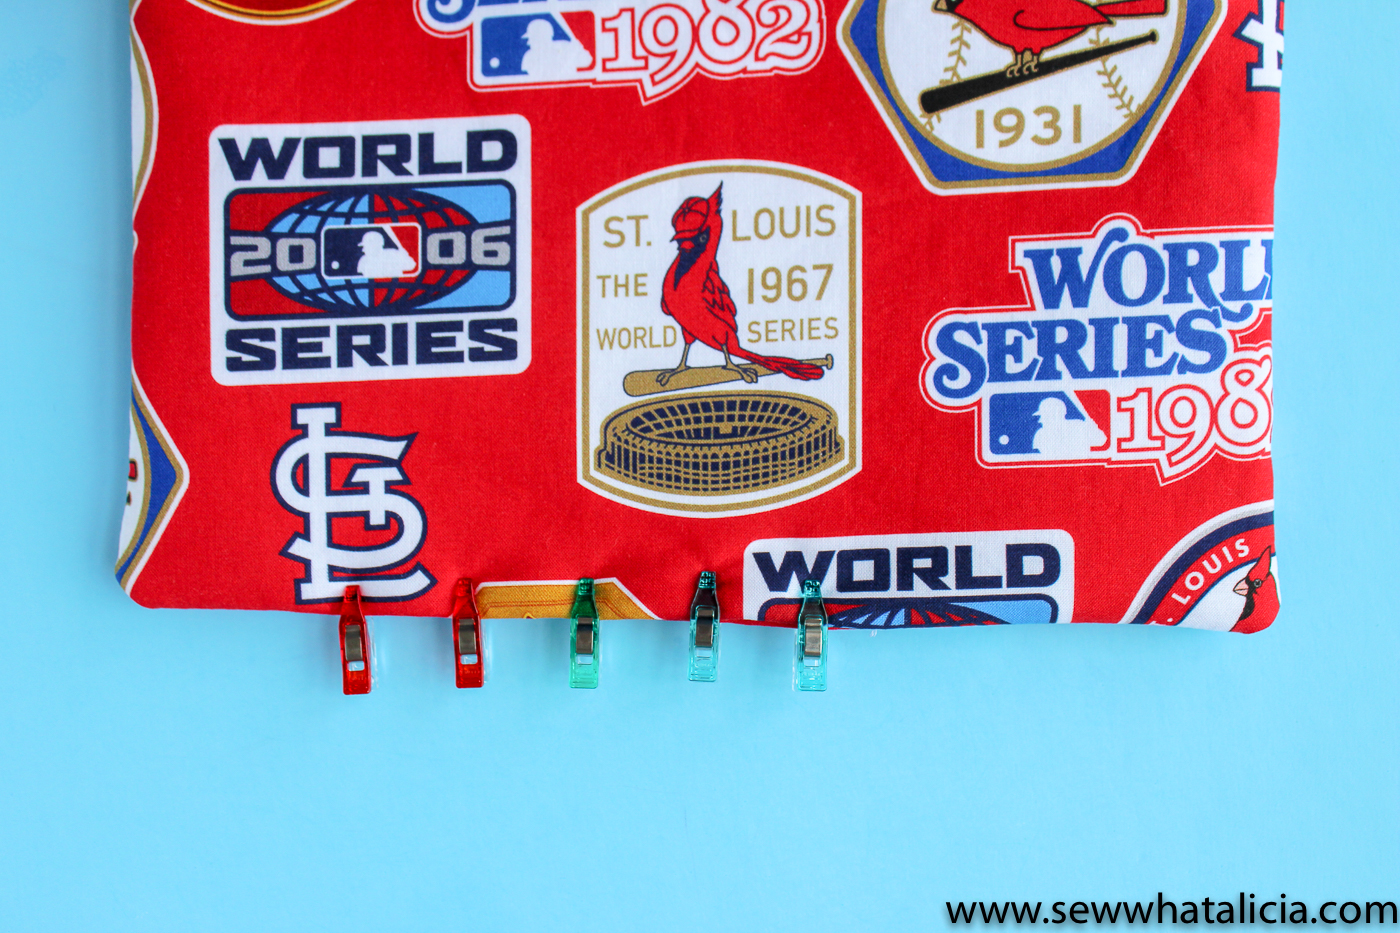
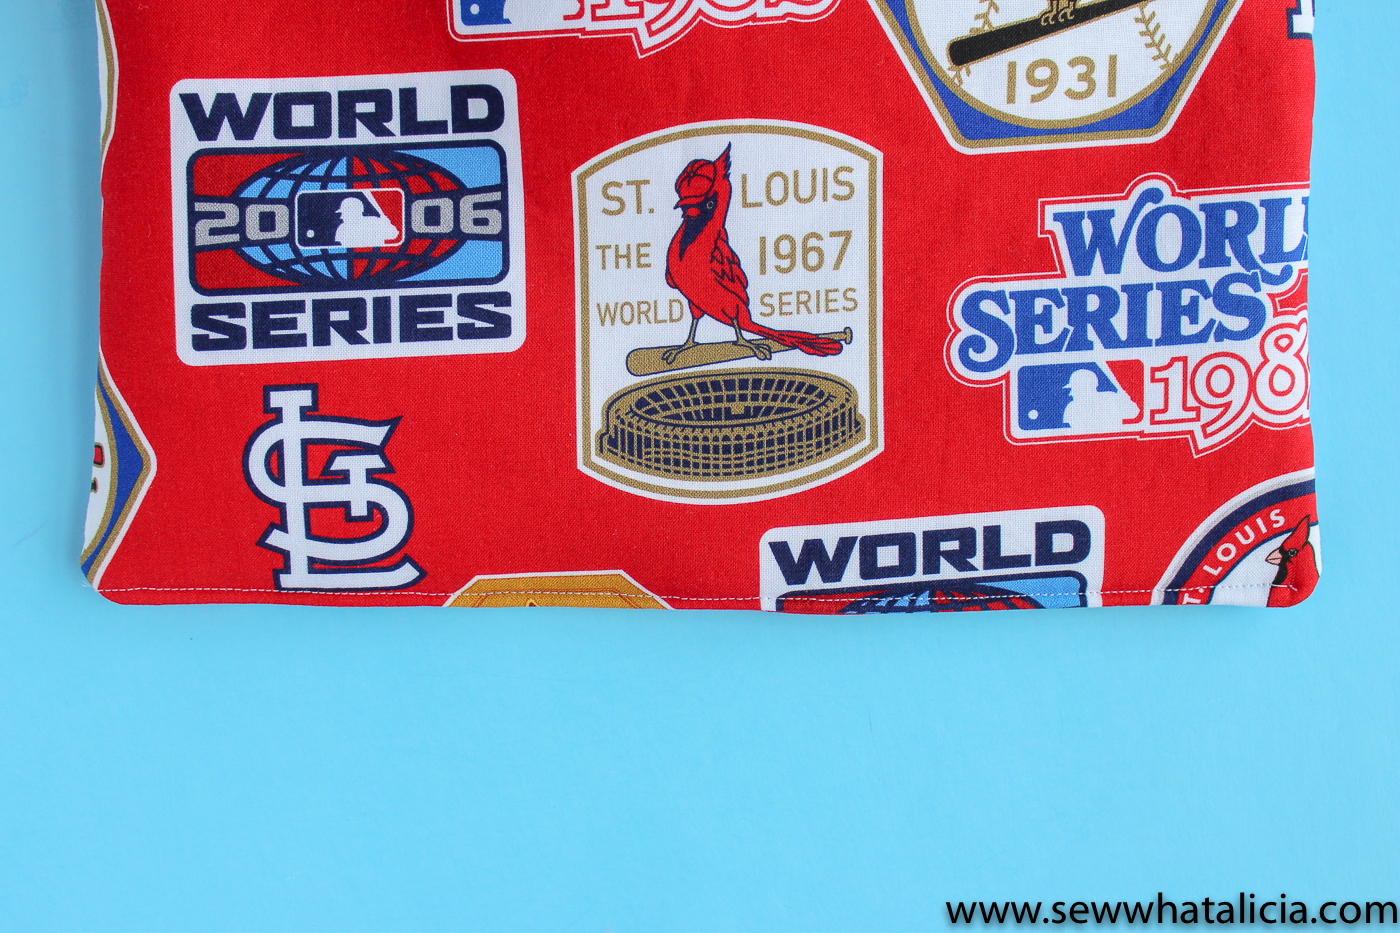
Top-stitch the opening closed. I recommend sewing along the entire bottom edge to give a cohesive finished look.
Need more zipper pouch ideas? Check out these 30 days of zippers videos.
Still have questions about this zipper pouch tutorial? Share with me in the comments below.


Alicia says
Hi – Is this a reversible pouch? It appears in some pics that the white side is outside fabric, but in pic showing to clip the opening closed and to top-stich it closed for a nice finish – it appears that the red printed fabric is the outside fabric
sewwhatalicia says
The red fabric is the inside of the pouch. I leave an opening in the lining so that it doesn’t show on the outside. So no it is not reversible. Thanks for asking!! 🙂
Gail says
The link for the file is wrong—it brings you to the vinyl.
sewwhatalicia says
Oh no, not sure how that happened. I fixed it!!
Mary Pearce says
Go Cards!!!