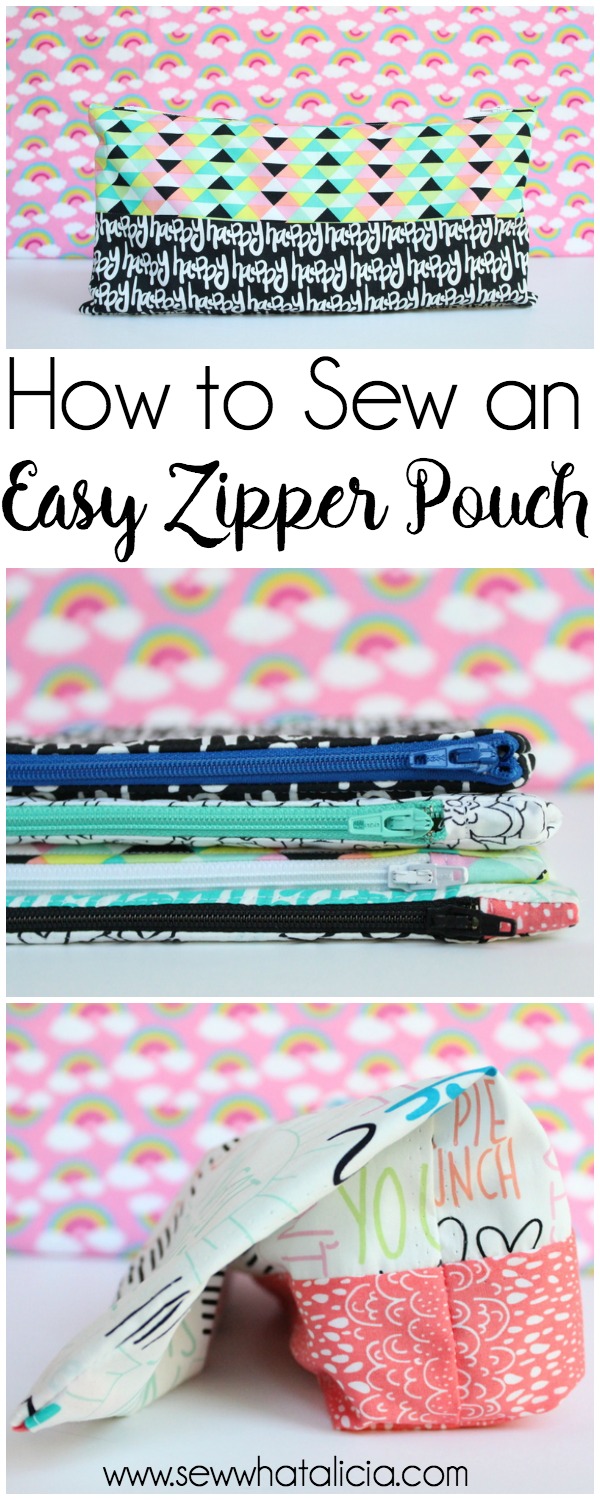
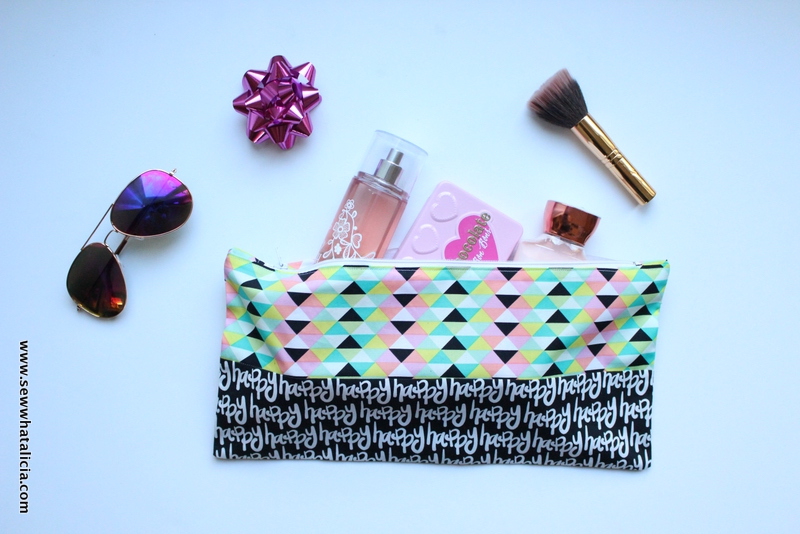
How to Sew an Easy Zipper Pouch
So you want to know how to add a zipper to a project? Look no further! I am going to break it down step by step so that you can see exactly what you need to do to install a zipper. We will work through a zipper pouch together so that you will feel confident adding a zipper on your own. I am always open for questions, head over to my Sewing School group on Facebook if you have questions!! Here is how to sew an easy zipper pouch. If you sew anything with zippers use the hashtag #zippersarentscary so that I can feature all of your amazing creations! If you need more help with zippers check out this class from Craftsy.
This is just one of my 50+ easiest sewing tutorials. Check out the rest HERE.
How to Sew an Easy Zipper Pouch
Art Gallery Fabrics (AGF) supplied the fabric for the project and the giveaway in this post. I do not receive any financial compensation from AGF and I am not an AGF affiliate.
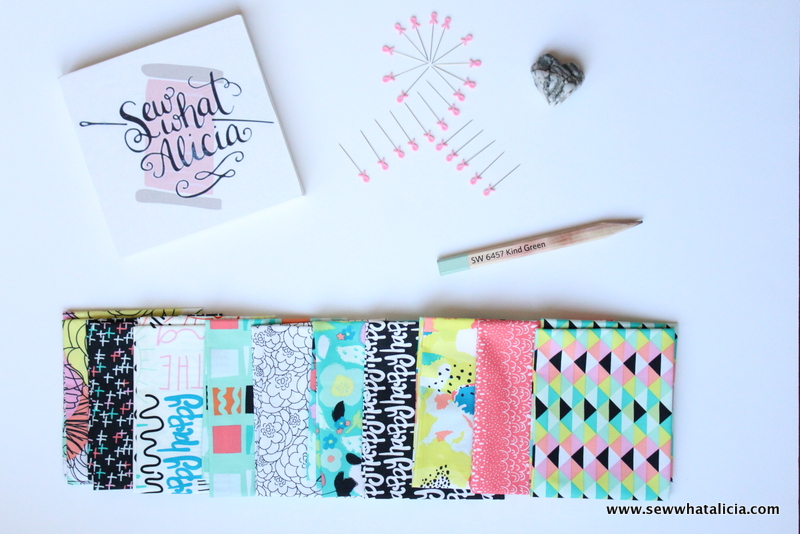
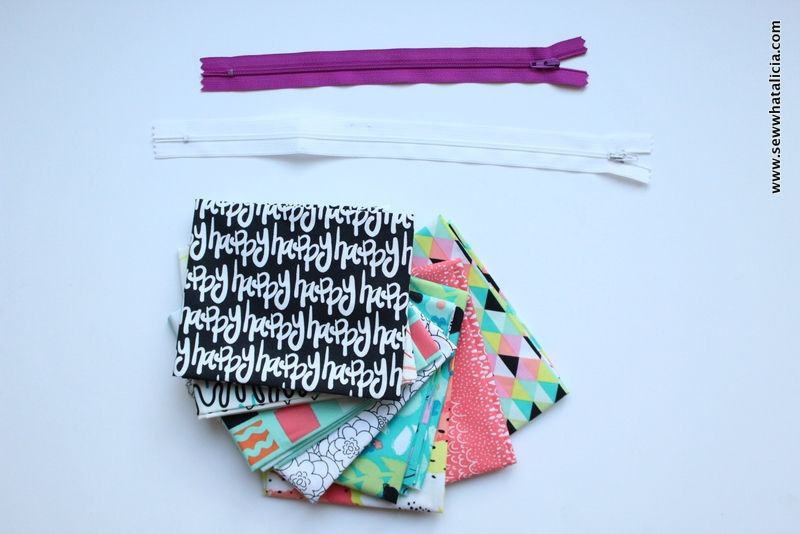
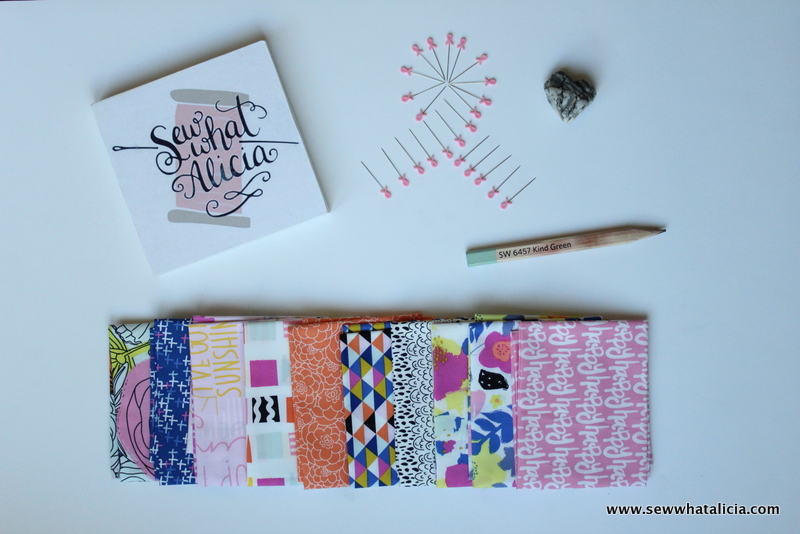
Supplies:
Zipper (<—This Etsy shop has tons of zippers for a good price!)
Fat Quarters (Here Comes the Fun from Sew Caroline and Art Gallery Fabrics)
Instructions:
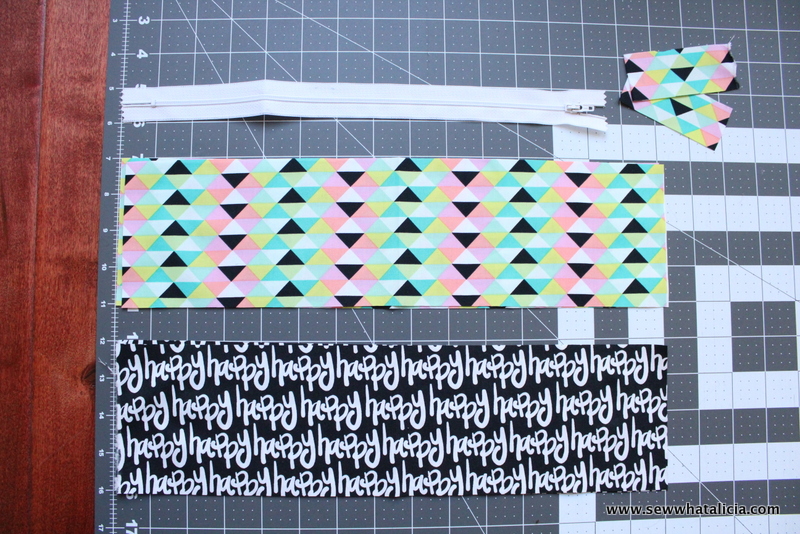
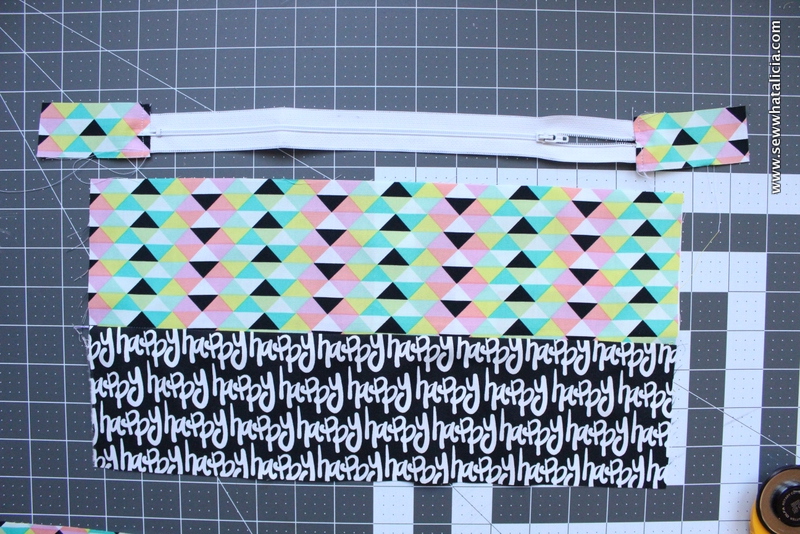
For each zipper pouch you will need one zipper and two pieces of fabric. I sewed the geographic print and the happy print together to make one larger piece. The fabric should measure about 1″ wider than the zipper (as pictured below.) You will also need two scrap pieces that are roughly 1″ by 2″.
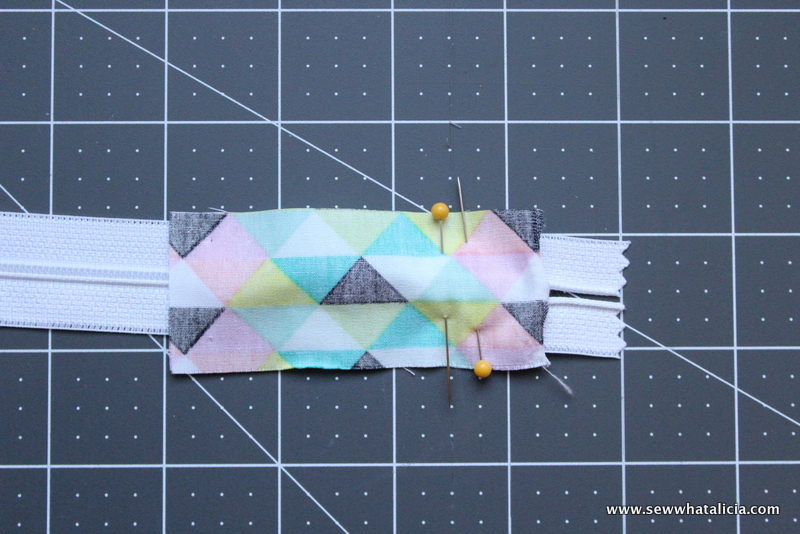
 Pin a scrap piece to each edge of the zipper (as seen below.) Then sew the scraps in place. Flip the fabric over and press and top-stitch it in place.
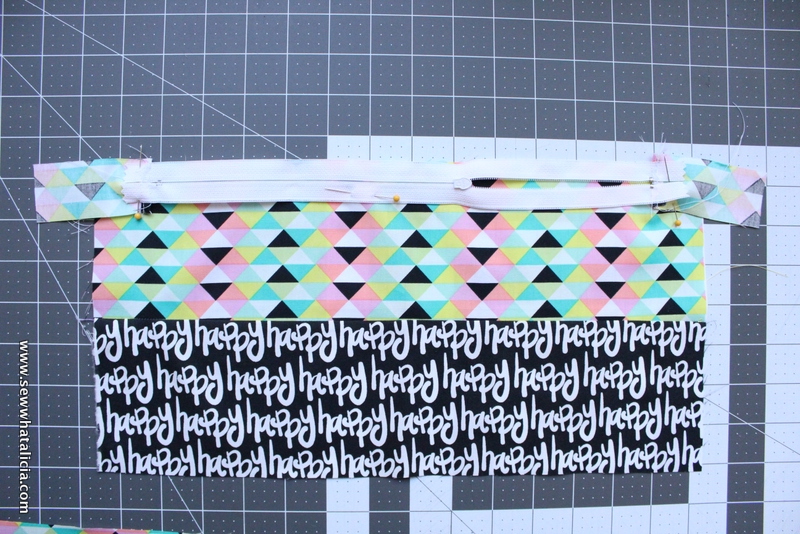
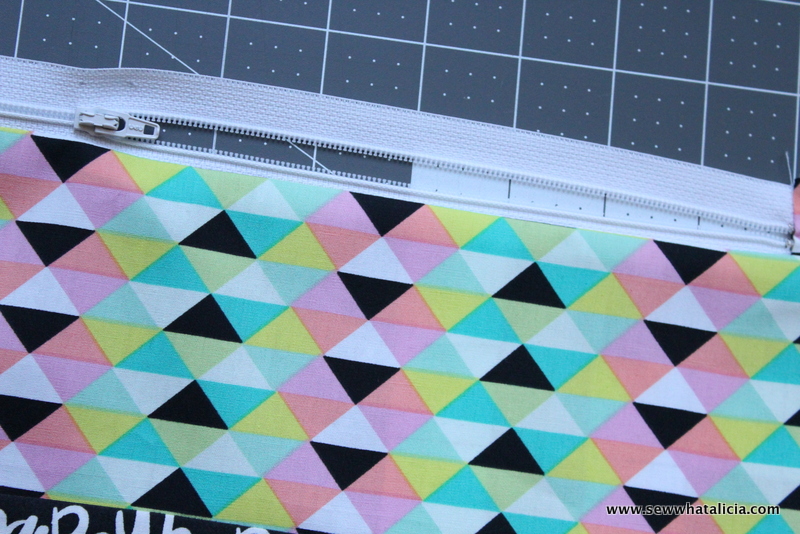
 Now you will have the zipper and fabric. Place the top edge of the zipper face down on the top edge of the fabric.
 Now we are ready to take it to the sewing machine.
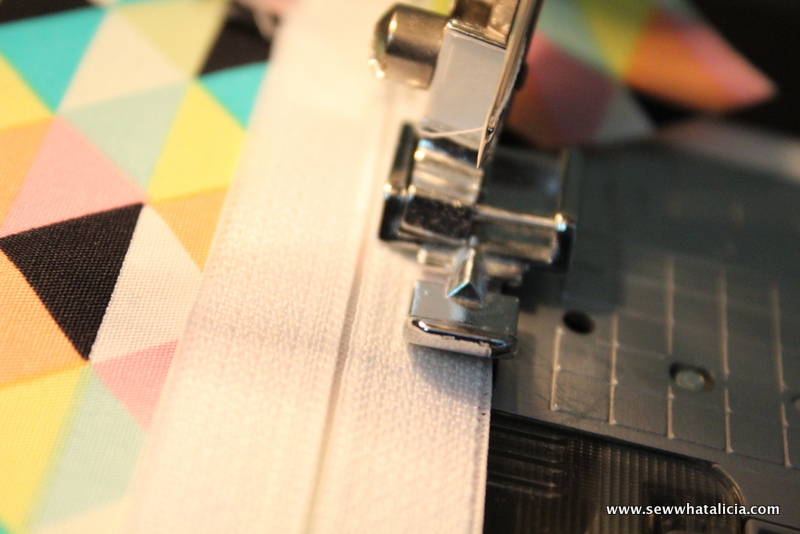
 You will need to attach your zipper foot. I always attach it as pictured below. The needle goes to the left side of the foot. Then use the far left edge of the foot as a guide. While you are sewing that far left edge should just touch the middle of the zipper. When you are attaching the zipper you will come to the zipper pull. Leave the needle in a down position and then lift the foot pull the zipper to the other side. This will keep it from making the stitch crooked.
 This is what it will look like once that side is attached.
 Now line the other edge of the zipper up with the top edge of the other piece of fabric. Use the same method to sew it in place.
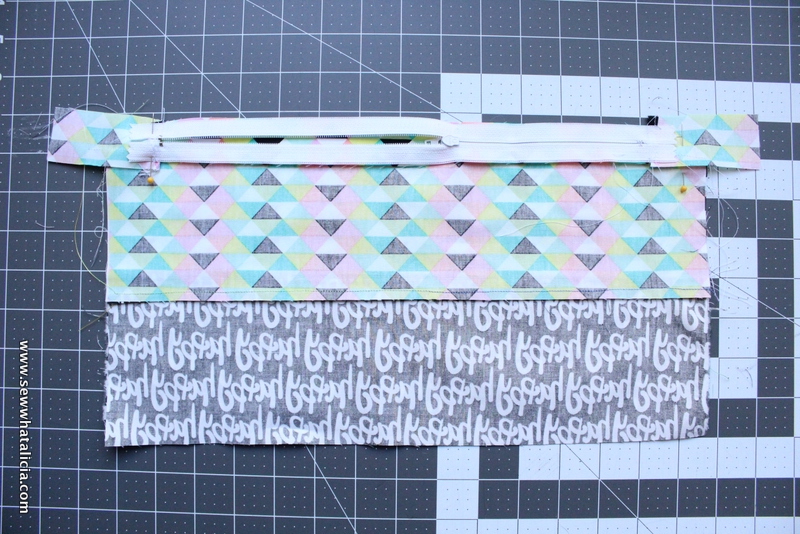 Top-stitch the fabric in place on both sides of the zipper. This keeps it from getting caught when you actually go to use the zipper.
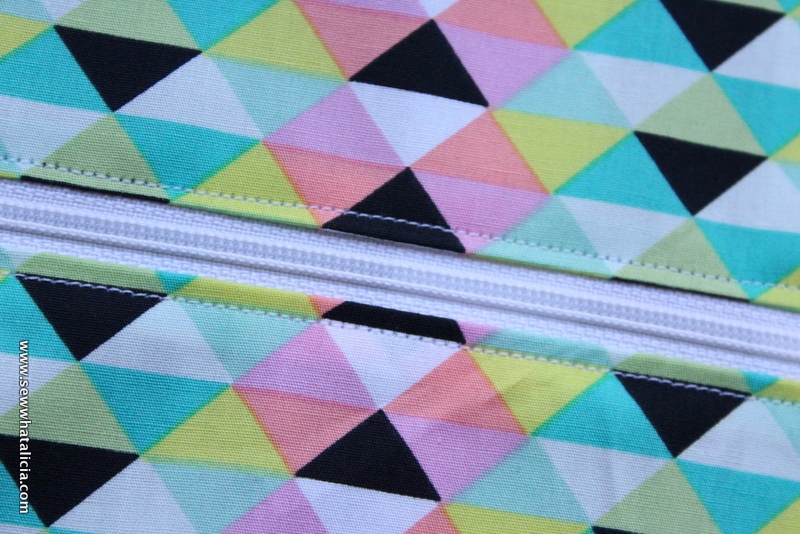 Cut any excess fabric off of the scrap pieces on the sides.
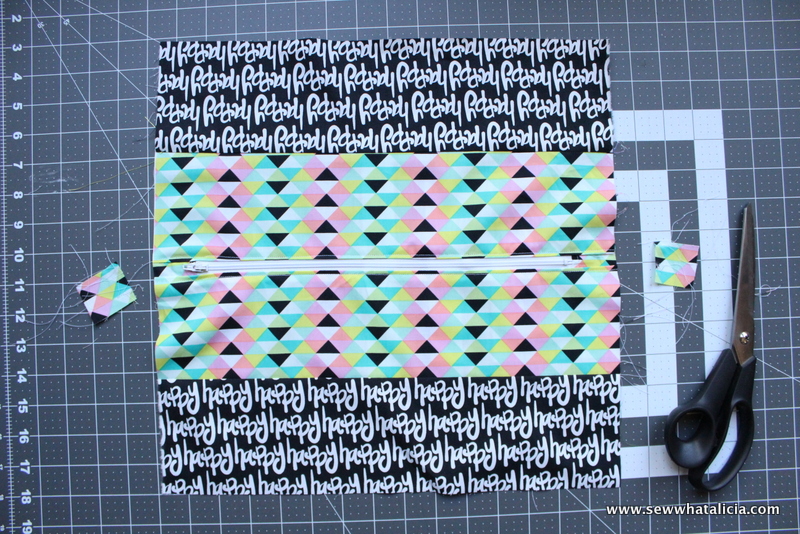 Now place the fabric right sides together. Be sure that the zipper is open because that is how we will turn the pouch out. Sew around all three sides and turn the pouch out.
Tada!
Box Corner Detail:
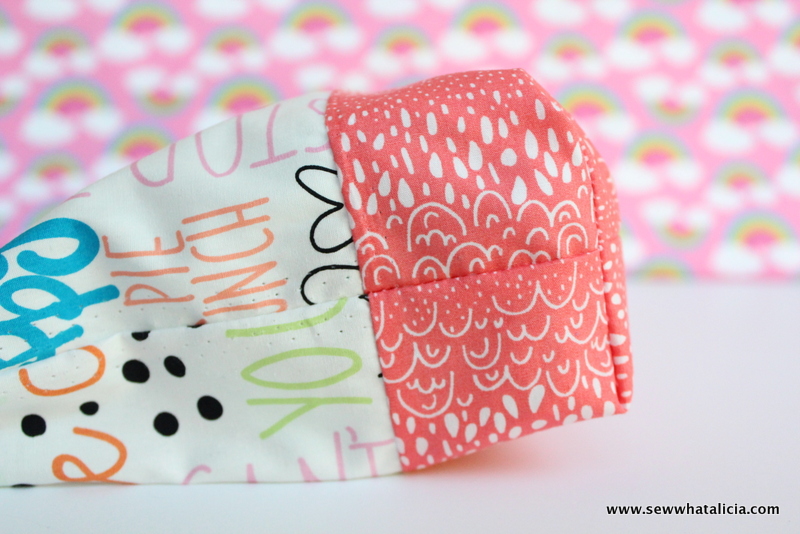
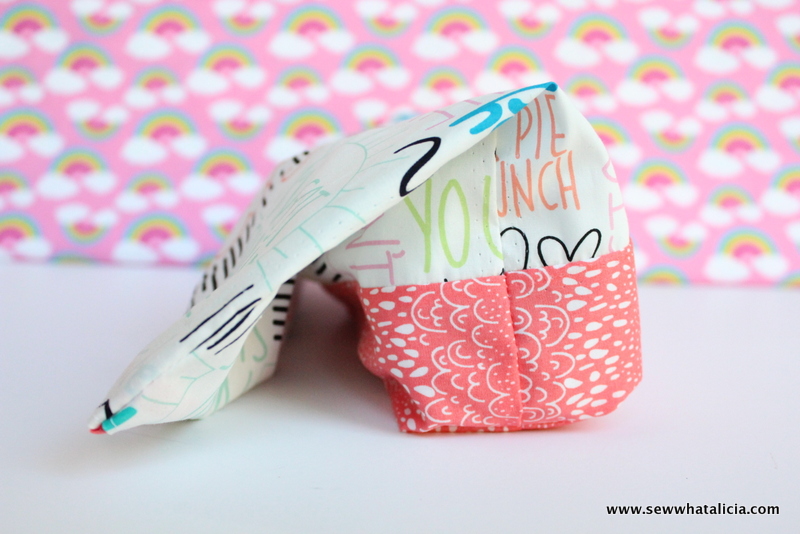
If you want to add one more detail we can add a boxed corner to the bottom of a pouch. Follow the same steps as above. Then before you turn the pouch out fold the bottom two corners as pictured below. Pin it in place.
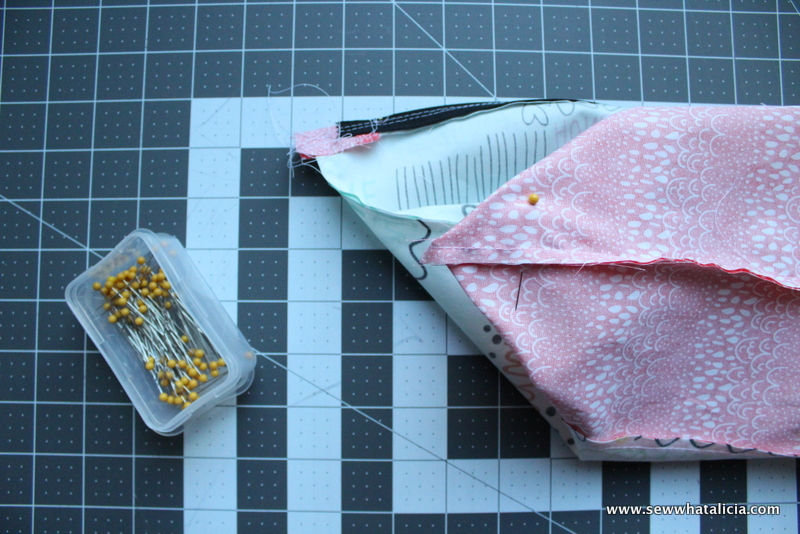
Then sew a line where the corner reaches 2″. Trim the excess fabric from the corner and turn the piece out. Now you have a pouch that will stand up when it is filled!
Isn’t it so pretty??
Share your finished product with me using the hashtag #zippersarentscary so I can feature you on my FB and IG!! What else do you need to know to learn how to sew an easy zipper pouch? If you have mastered the simple zipper pouch try adding a lining. —> How to Sew a Lined Zipper Pouch
Here is the amazing fat quarter bundle you can win! Scroll past the picture to enter!! Share this post on Facebook and pin the image above for extra fairy dust to help you win!!!


Pat Burton says
Thanks for the zipper tip…always looking for an easier way to create new projects.
sewwhatalicia says
You’re very welcome!
Marcia Hook says
I really like your method for sewing in a zipper! I would like to make zippered bags from material that I weave myself. Because of the threads that I am weaving, I cannot cut the material (or it would unravel). So I am using one piece of fabric for one side, the bottom, and the other side of the bag. I just need to sew up the side seams.
(I hope I am making myself clear) Do you have any ideas about how I can attach a zipper to a bag that is constructed like that?
sewwhatalicia says
You can definitely add a zipper to a bag like that. Basically this is the same method as I describe in this post, except that you don’t sew the bottom seam since it is already attached. So attach the zipper to either end of the fabric and then fold it in half right sides together. Then sew the side seams, and turn the piece out. 🙂 I hope that helps.
Daisy Copeland says
Love to sew a lot also thank you so much for your help
sewwhatalicia says
<3 I love to sew too! Glad to have you :) <3 Alicia
Tiffinie Pierce says
At first I was scared that I wouldn’t be able to figure out zippers even with your tutorial. But I am happy to say that I successfully made the simple zipper pouch in this post. Not perfect but definitely successful. Thank you so much!
sewwhatalicia says
Yay!!! I am so happy to hear that! I love zippers! Nothing I make is perfect either so don’t be hard on yourself.