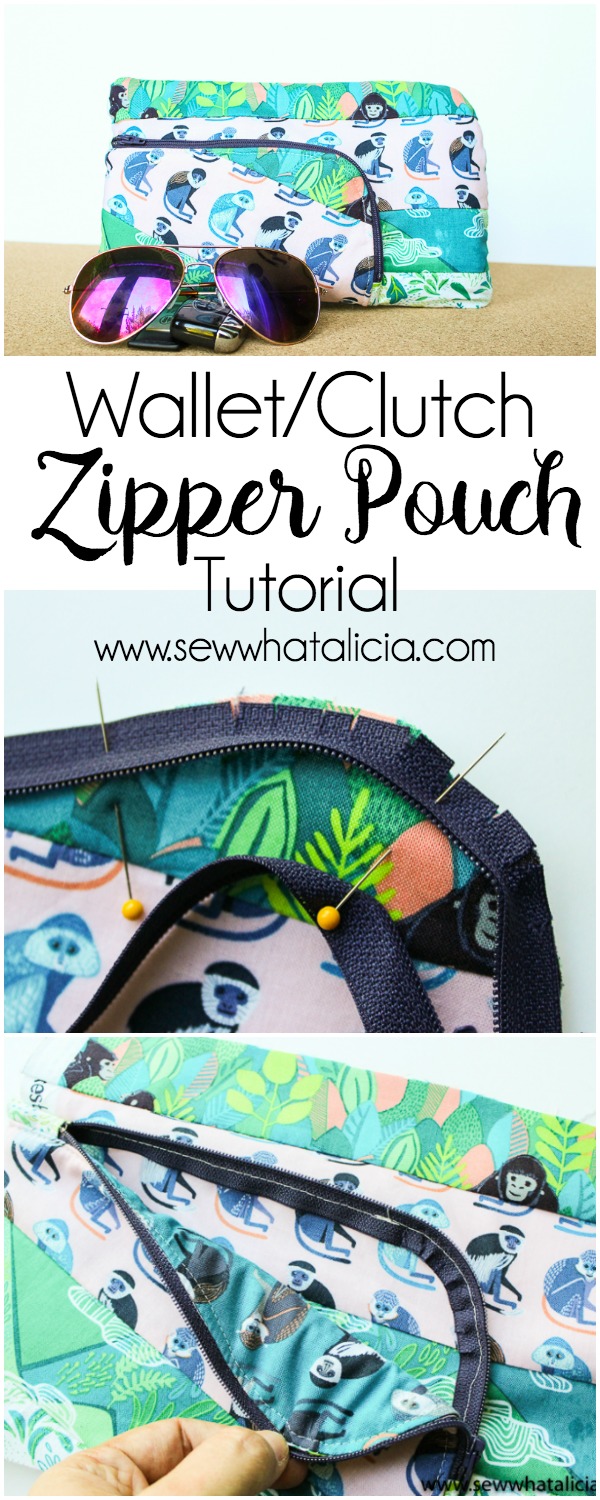
Wallet Clutch Zipper Pouch Tutorial
This tutorial was a request from one of my awesome Sewing School students! If you aren’t part of the group check it out, here! This is a fun little clutch that is perfect for spring break and the beach! It will fit a kindle or a small book perfectly and the fabrics are just stinking adorable! Here is a wallet clutch zipper pouch tutorial. If you need MORE zipper pointers check out this Zipper class from Craftsy.
Wallet Clutch Zipper Pouch Tutorial
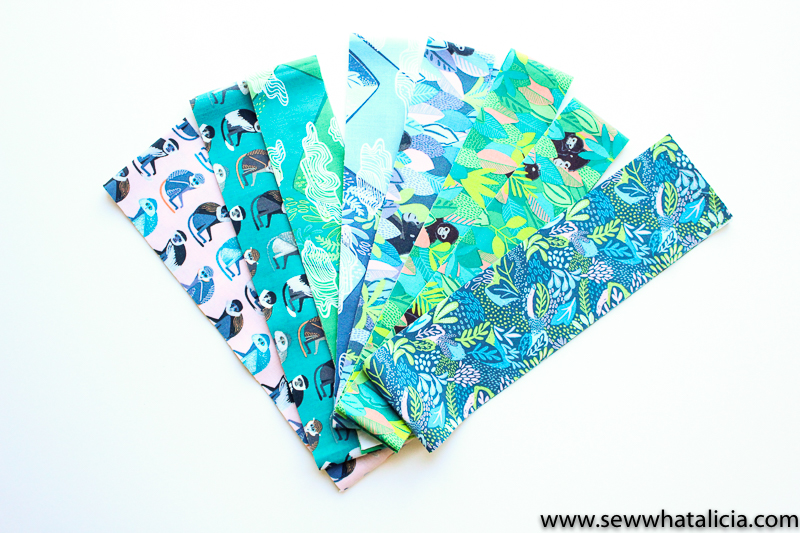
Supplies: Click the supply for purchase information.
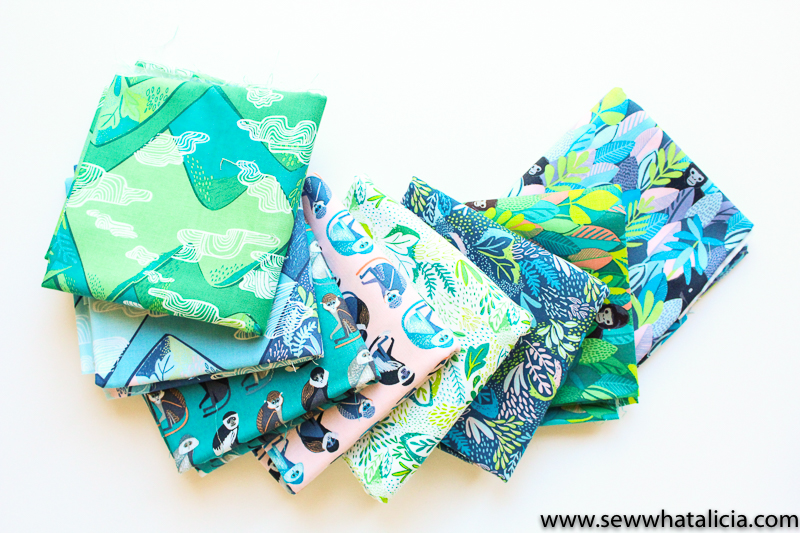
Blend Fabrics (Bwindi Forest)
Instructions:
Cut the fabric into 2″ and 3″ strips. I cut 9 strips from the 8 different fabrics.
Sew the strips together to create one large piece of fabric. Press the fabric flat.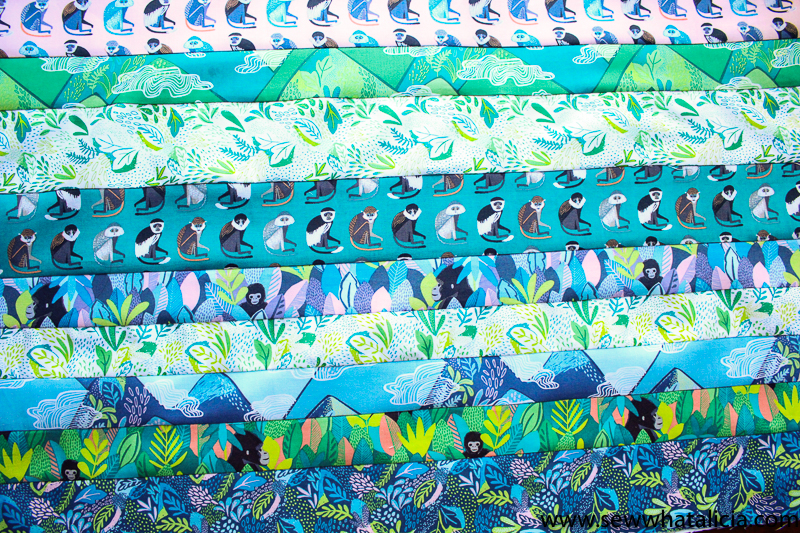 Print the wallet clutch zipper pouch template and cut the large piece out. Trace four of the large template onto the fabric. Trace two facing one way and then flip the template over and trace two the other way.
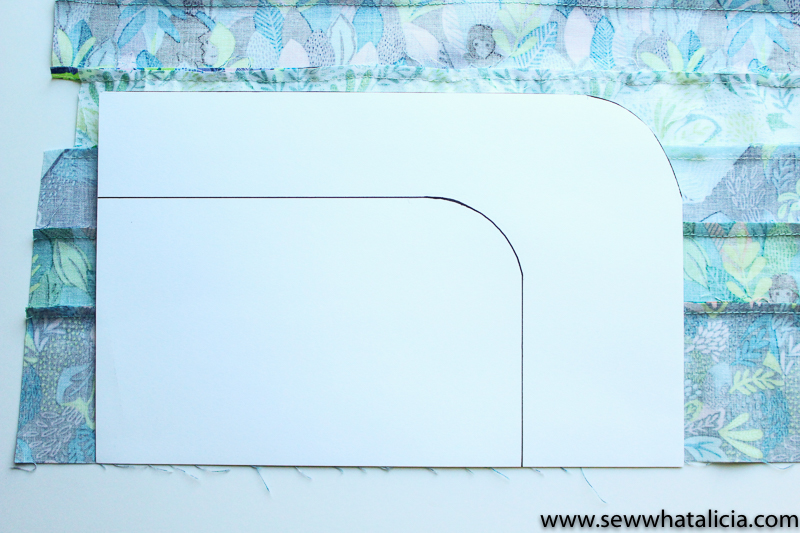
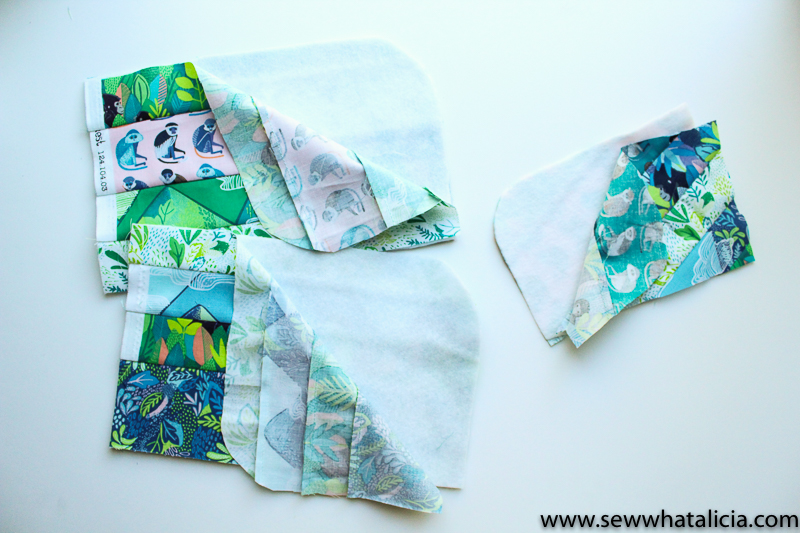
Then cut the small template out and trace two, again one facing each way.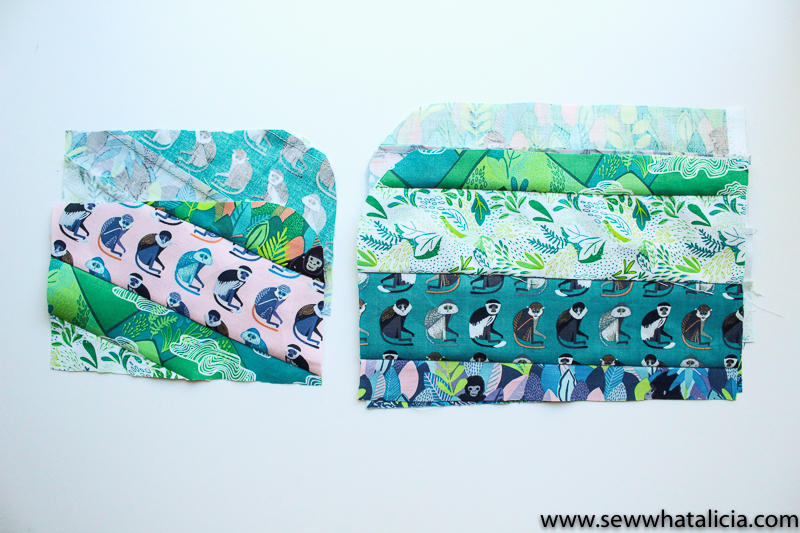 Iron two of the large pieces they should each face the same way) and one of the small pieces onto the fusible fleece. Trim the excess after you have ironed it on.
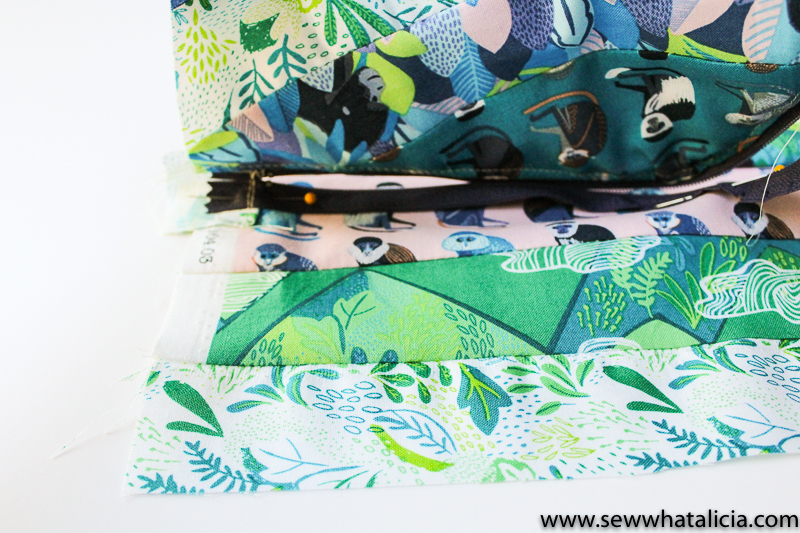
Now grab your small pieces and your shorter zipper. Attach scraps to either edge of the zipper. (For more in depth zipper tips see How to Sew an Easy Zipper Pouch.) Then pin the zipper to the top edge and around the curve to the side of the fabric. 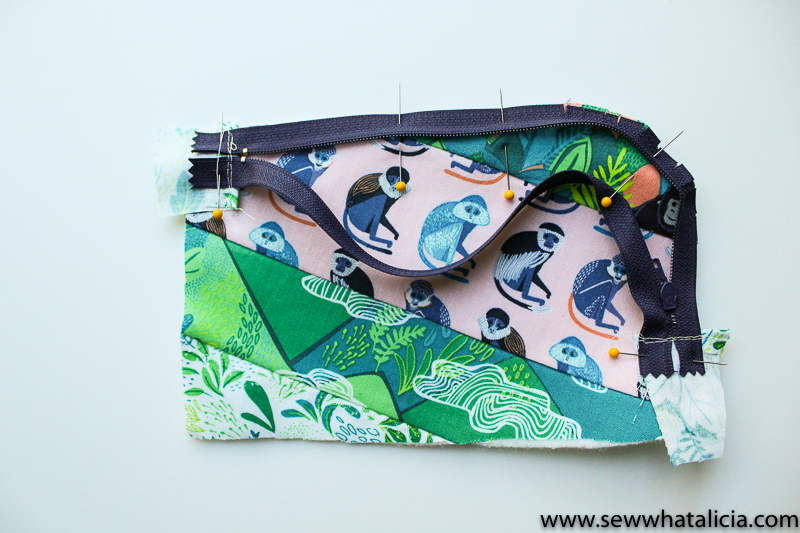
Cut notches into the edge of the zipper to help it turn the corner. 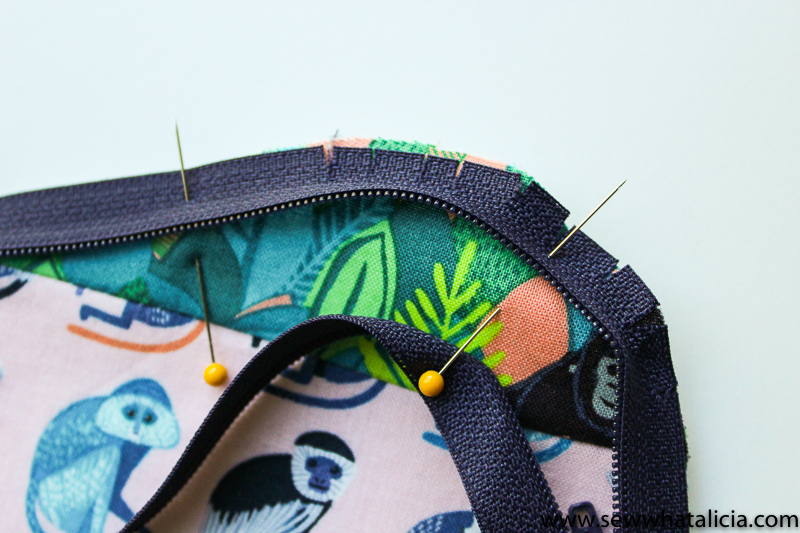 Sew the zipper in place.
 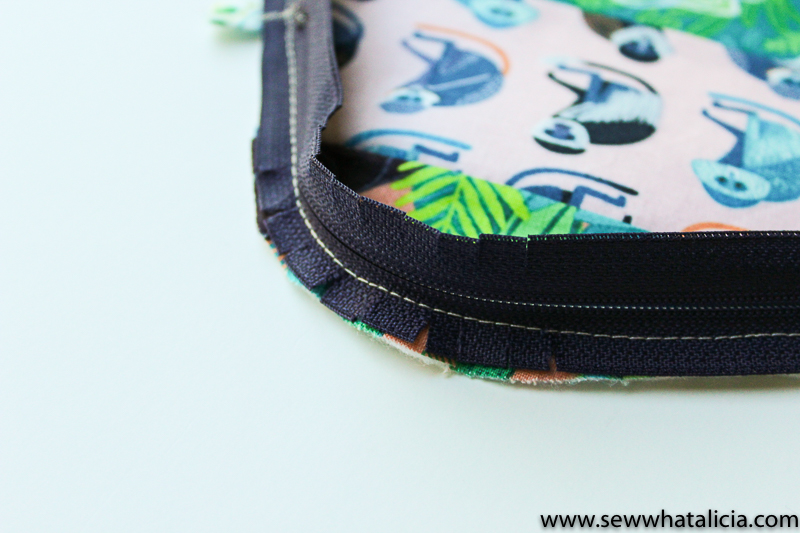 Now place the other small piece right side down onto the exposed edge of the zipper.
 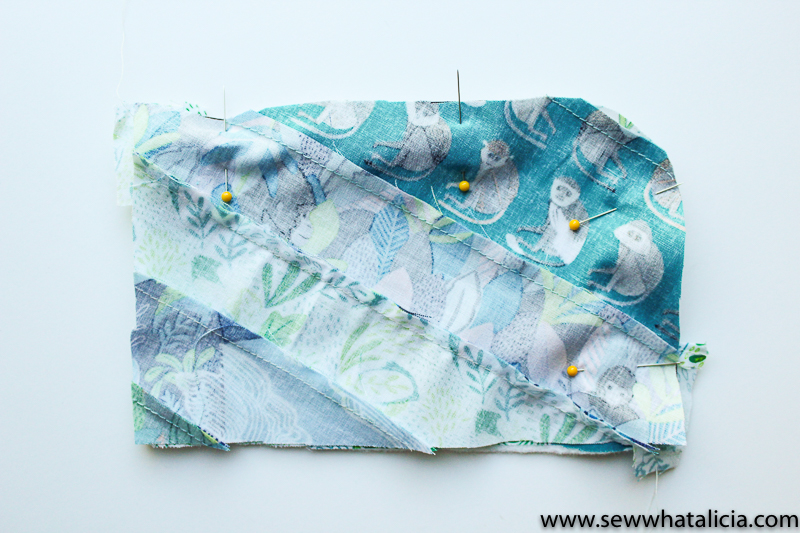 Sew the zipper in place. Then top-stitch along the edge of the fabric to keep the zipper in place and help it open and close smoothly.
 Next line the piece you created up with the bottom corner of the larger piece.
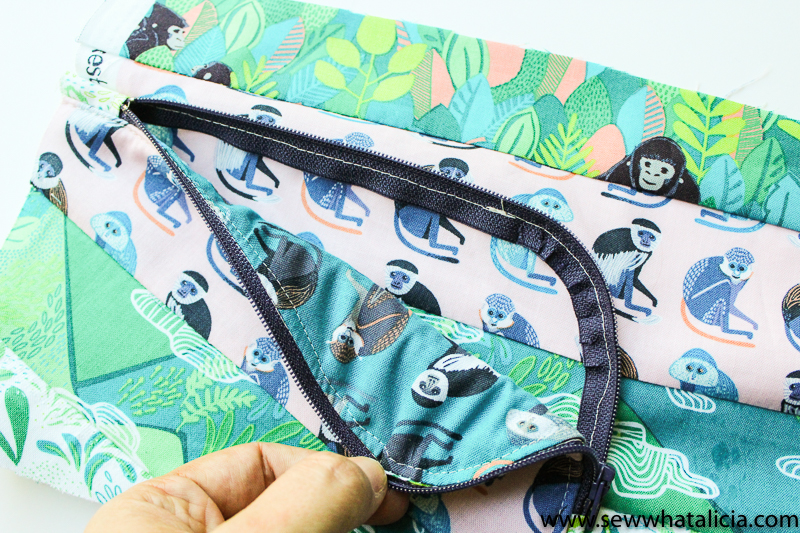
 Pin the zipper down so that the wrong sides of the zipper face each other. This is the trickiest part of this project. If you find it easier sew the straight edge in place and then cut the thread and line the curve and other side up and then sew them in place. This requires you to finagle the fabric while holding the small pieces away from the larger piece while sewing the zipper.
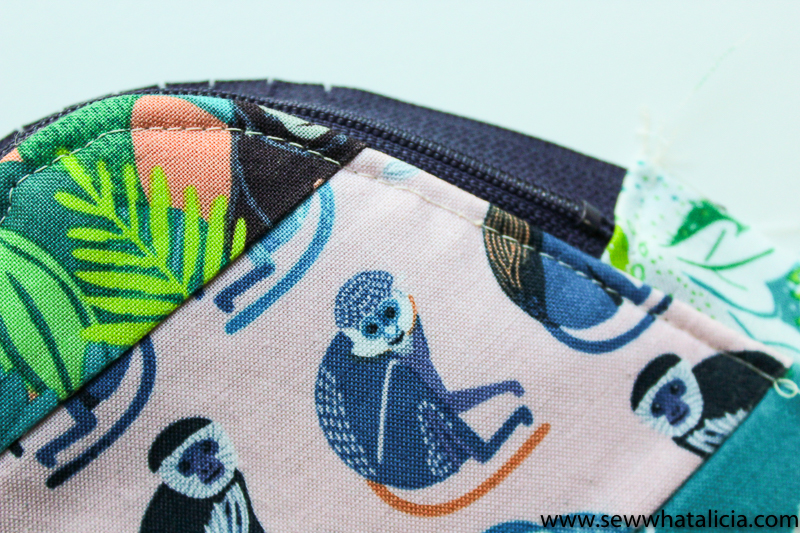
It should look like this when you are finished.
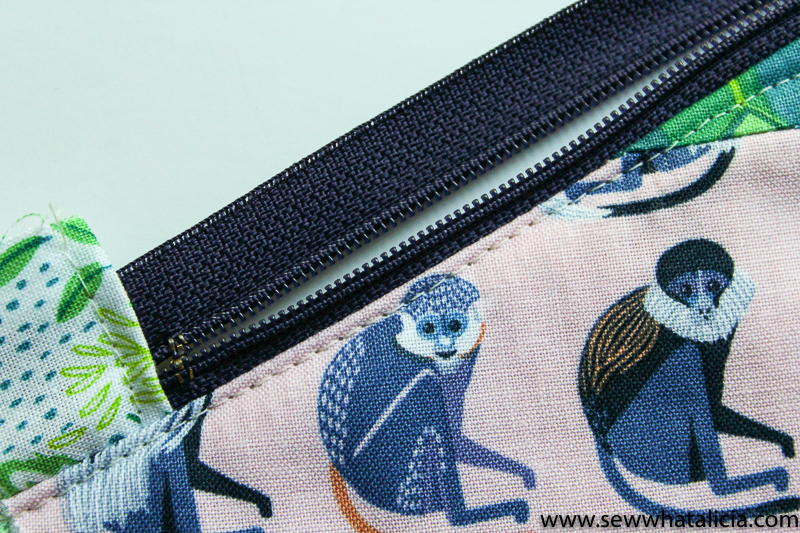
 Now attach the zipper to the larger pieces. Again snipping the zipper to easily turn the curve. See How to Sew a Lined Zipper Pouch for in depth instructions for attaching the zipper in this manner.
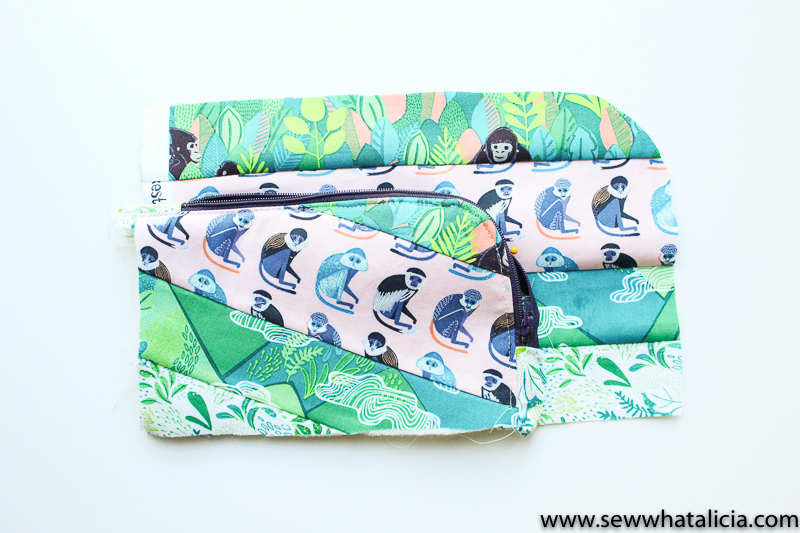
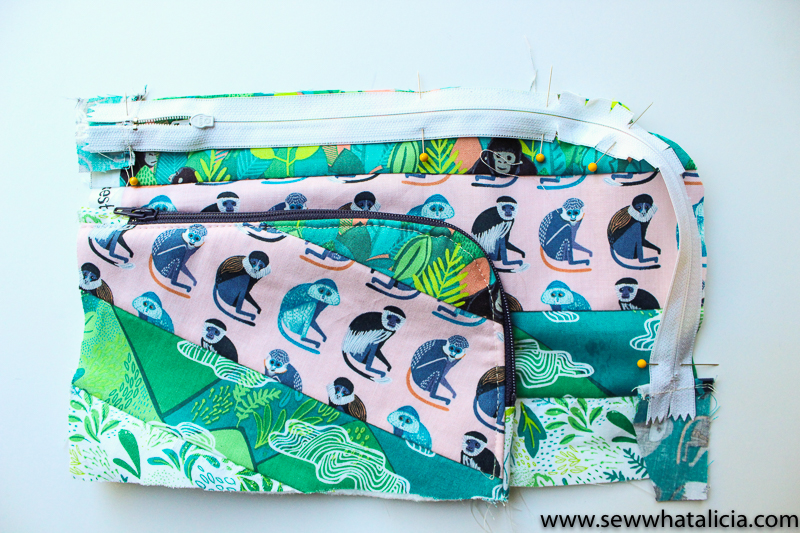 Once you have attached the zipper to both sides you will have something that looks like the picture below.
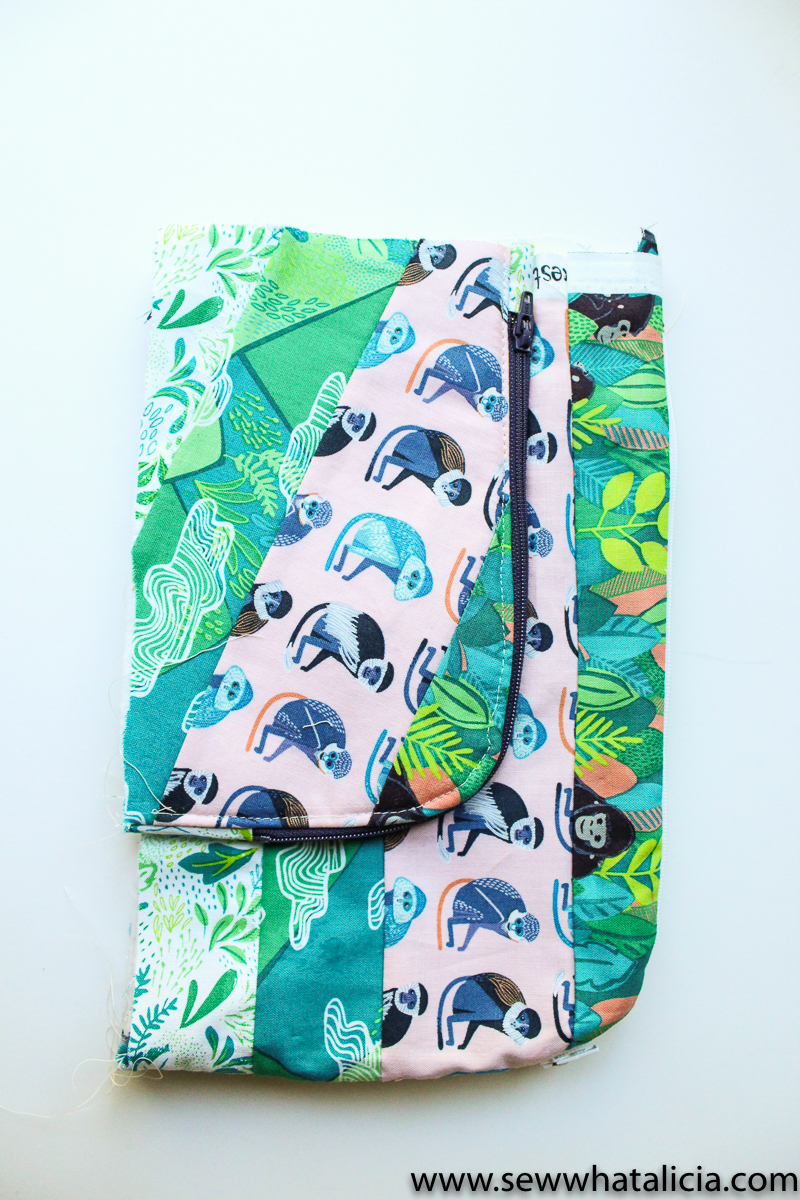
The last steps are to close off the raw edges. Turn the piece inside out. Line up the lining pieces so that they face each other right sides together. The outside pieces should also line up with each other right sides facing in. Leave a portion of the inside lining pieces un-sewn so that you can turn the piece out.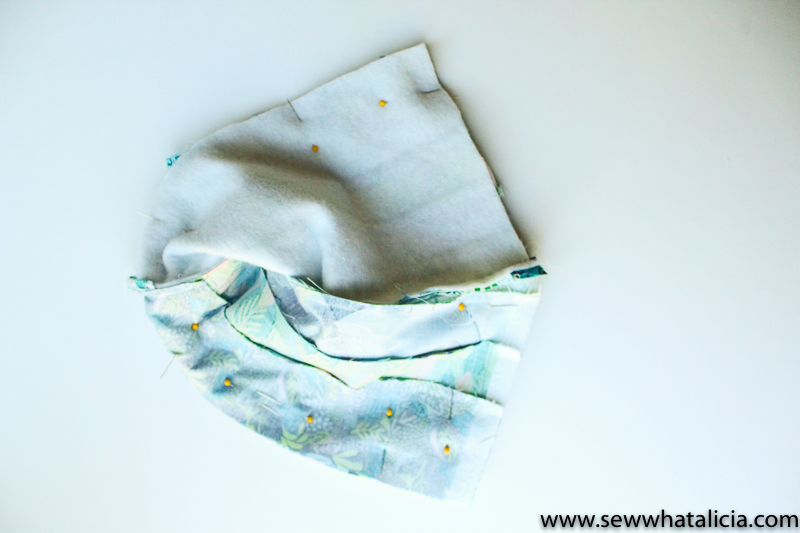
Finally trim the corners and turn the piece out. Then using a matching thread close the hole in the lining by pressing the edges under and sewing the hole closed.
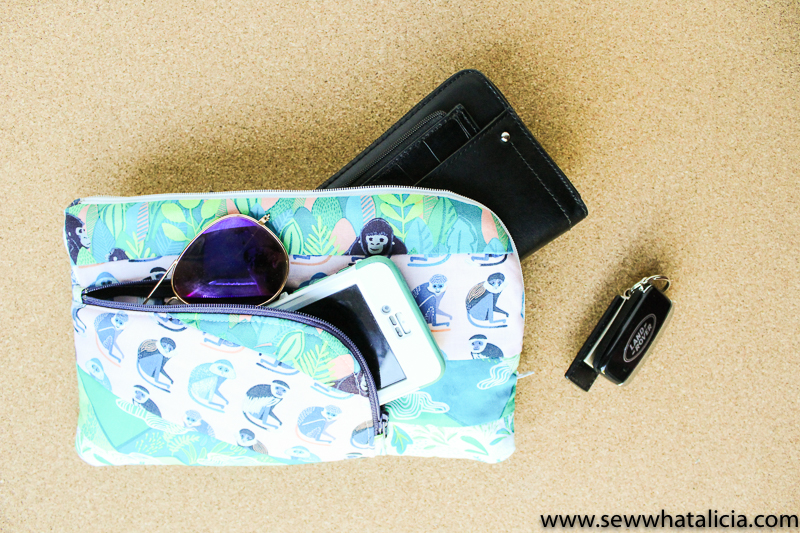
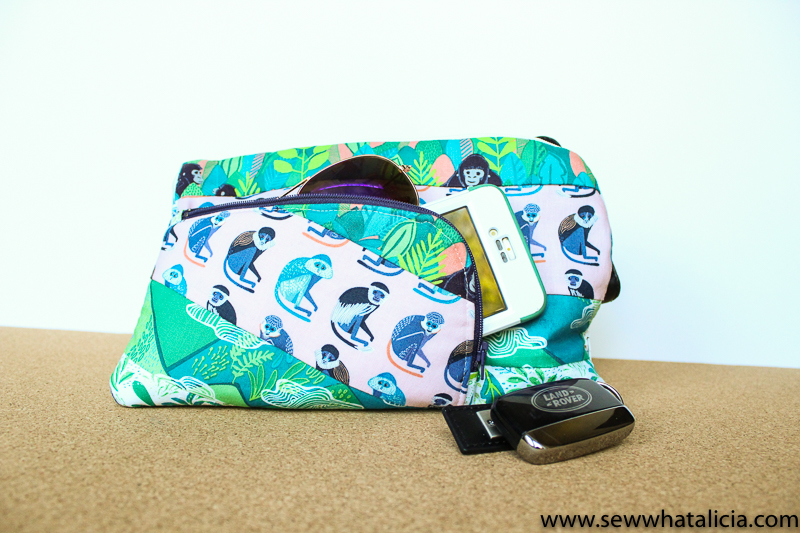
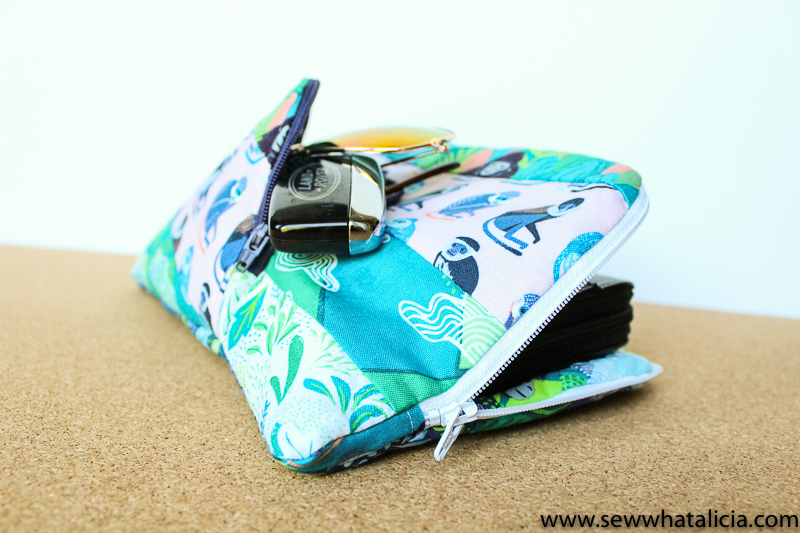 All finished! It is so cute isn’t it? Plus it is the perfect size to carry your kindle and some sunscreen to the beach!! Now who is ready for spring break??
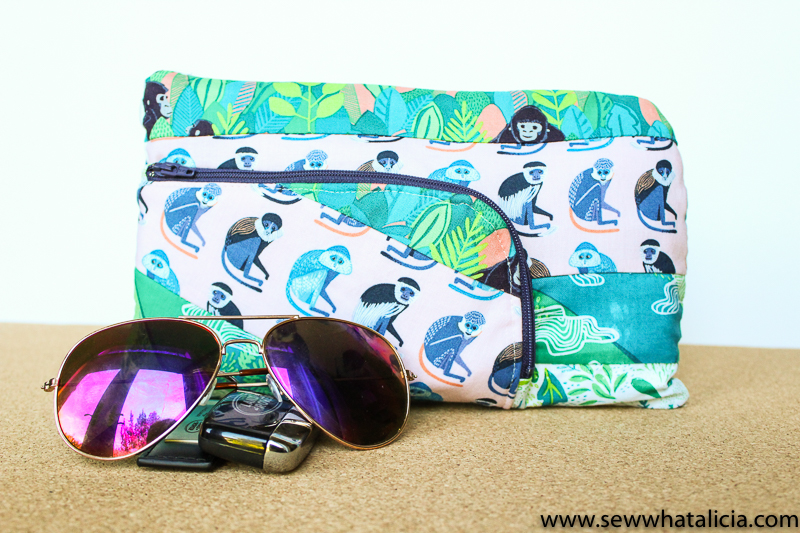
Where are you going for spring break or summer? Share with me in the comments below!


Anne Weaver says
I love this pouch!!! I have no plans for Spring Break, but I will be heading to SNAP a month later 🙂 I’ve got a Craft Gossip post scheduled for this afternoon that features your tutorial: http://sewing.craftgossip.com/?p=91938 –Anne
sewwhatalicia says
I can’t wait to see you there!!!! Thanks for sharing! 🙂