Travel Camper Quilt Tutorial
 Travel Camper Tutorial
I don’t do appliqued pieces very often. But my great friend created an adult coloring book and she included this adorable travel camper page and I was instantly in love! I am going to say she is my muse and pretend like I didn’t totally steal the idea, I got her ok first so don’t fret!!
I was lucky to be able to work with this amazing Artisan Collection created by Pat Bravo for Art Gallery Fabrics. These fabrics are so soft and the color palette is perfect for fall!! I combined these amazing fabrics with the fun travel camper print for an amazing quilt! So let’s get started!
First you will need to print out these Camper-Quilt-Template pages. (I added a stripe to the template after I took this picture, you will see this in the finished project pictures.) When you have printed them out you will lay them out as I have done below, click the image to zoom in. Then tape the pages together and cut them out. (Cut the tire and hitch out separately and do not tape them with the main piece.) The pages are numbered in order so that you lie them out 1-4 then 5-8 and then 9-12.
 Now let’s get to the fabric. Below is the list of fabrics I used (you can click the link below to be taken to the images of each fabric.)
This is a list of all the fabrics I used and the size I cut them down to. For your reference, 1 yard of fabric is 36″ by 44″.
Front of quilt:
Camper – Pyrography Sinopia – 26 X width of fabric
Sky – Betoken Shines – 33.5 x 66.5
Earth – Intertwill Fervence – 10.5″ x 66.5″
Wheel – Aged Allure Washed – scrap
Door – Embellishments Guild – scrap
Window – Betoken Shines – scrap
Drapes – Fleuron Etch Crimson – scrap
Backing:
Ad Lib Blooms Shout – 34″ x 44″
Woodburn Groove Dense – 6″ x 44″
Embellishments Guild – 30″ x 44″
Now to the making. Use your camper template to cut out the main big piece fo the camper. I used the pyrography sinopia fabric. Trace the template onto the back of the fabric. Remember that when you cut it out and flip the fabric over it will be facing the other way. So trace the camper the opposite way of how you want it to face.
 Cut it out!
Once you have cut out the main part go ahead and cut the door out of the paper and then trace that onto the fabric you have chosen for the door. Then cut out the square for the window and the stripe. Now you are going to add these to the camper from the bottom up. First sew on the stripe, then sew on the door, then the window, and last the drapes (if you choose to do drapes.) For the drapes I cut a square the same size as the window then cut it in half and then folded them diagonally and sewed each one in place over top of the window. To sew the appliques in place I used a tight zig zag stitch around the entire piece. When I did the door and the stripe I didn’t sew the edges that touch the outermost piece of the camper. I didn’t want to have two stitches sewn on these. So don’t sew the bottom of the door and don’t sew the far left and far right side of the stripe. You will catch these when you attach the camper to the background.

Now for the super easy background. Sew the blue (betoken shines) to what my 3 year old calls the puzzle fabric (intertwill fervence.) Now line the camper up so that the bottom rests on the puzzle fabric.
 Then pin the tire into place. You are also going to want to pin the hitch in place at this point.
SIDE NOTE: You guys I am so angry at myself that I totally forgot the hitch! I didn’t realize I had missed this piece until I had pinned the whole quilt sandwich together and was getting ready to quilt. The amount of work I would have had to redo was just too much and you know what I am human just like y’all! So there is no hitch on my quilt *insert sad face here! But you should definitely add the hitch and now is the time! So once you have sewn the camper onto the background you are ready to make the backing. I decided to go simple with the back and I am obsessed with this floral fabric, the Ad Lib Blooms Shout. So I wanted to make sure it was a big part of the back. I also used the Woodburn Groove Dense and the Embellishments Gild to finish off the back. In the picture below you can see I added a strip of the blue Aged Allure Washed but I ended up not needing that and it got cut off when I trimmed after quilting.
 Once the back is sewn together as pictured above you are ready to add the batting and make your quilt sandwich.
 Quilt the whole thing. I have been using a technique where I change the top thread color depending on the fabric color. So I used an off-white thread for the camper (including the door and stripe) and then a blue thread for the background and ground pieces. I used a yellow thread on the entire back of the quilt. If you are going to use this technique make sure that you are using the same brand and type of thread. I used Gutermann sew all colors 22, 236, and 850. You should always use the same brand and type of thread in the upper and bobbin section of your sewing machine to avoid problems. Once you have quilted the entire piece you are ready to trim the excess off the edges.
 The last step to a quilt is the binding. I always make my own because I love to use a coordinating fabric! For this one, I used the Collar Ends Copper fabric. I had two yards and I cut six 3″ by width of fabric strips. If you need a tutorial for attaching the binding check out my hot air balloon taggy tutorial here and scroll down to the middle for tips on adding the binding.
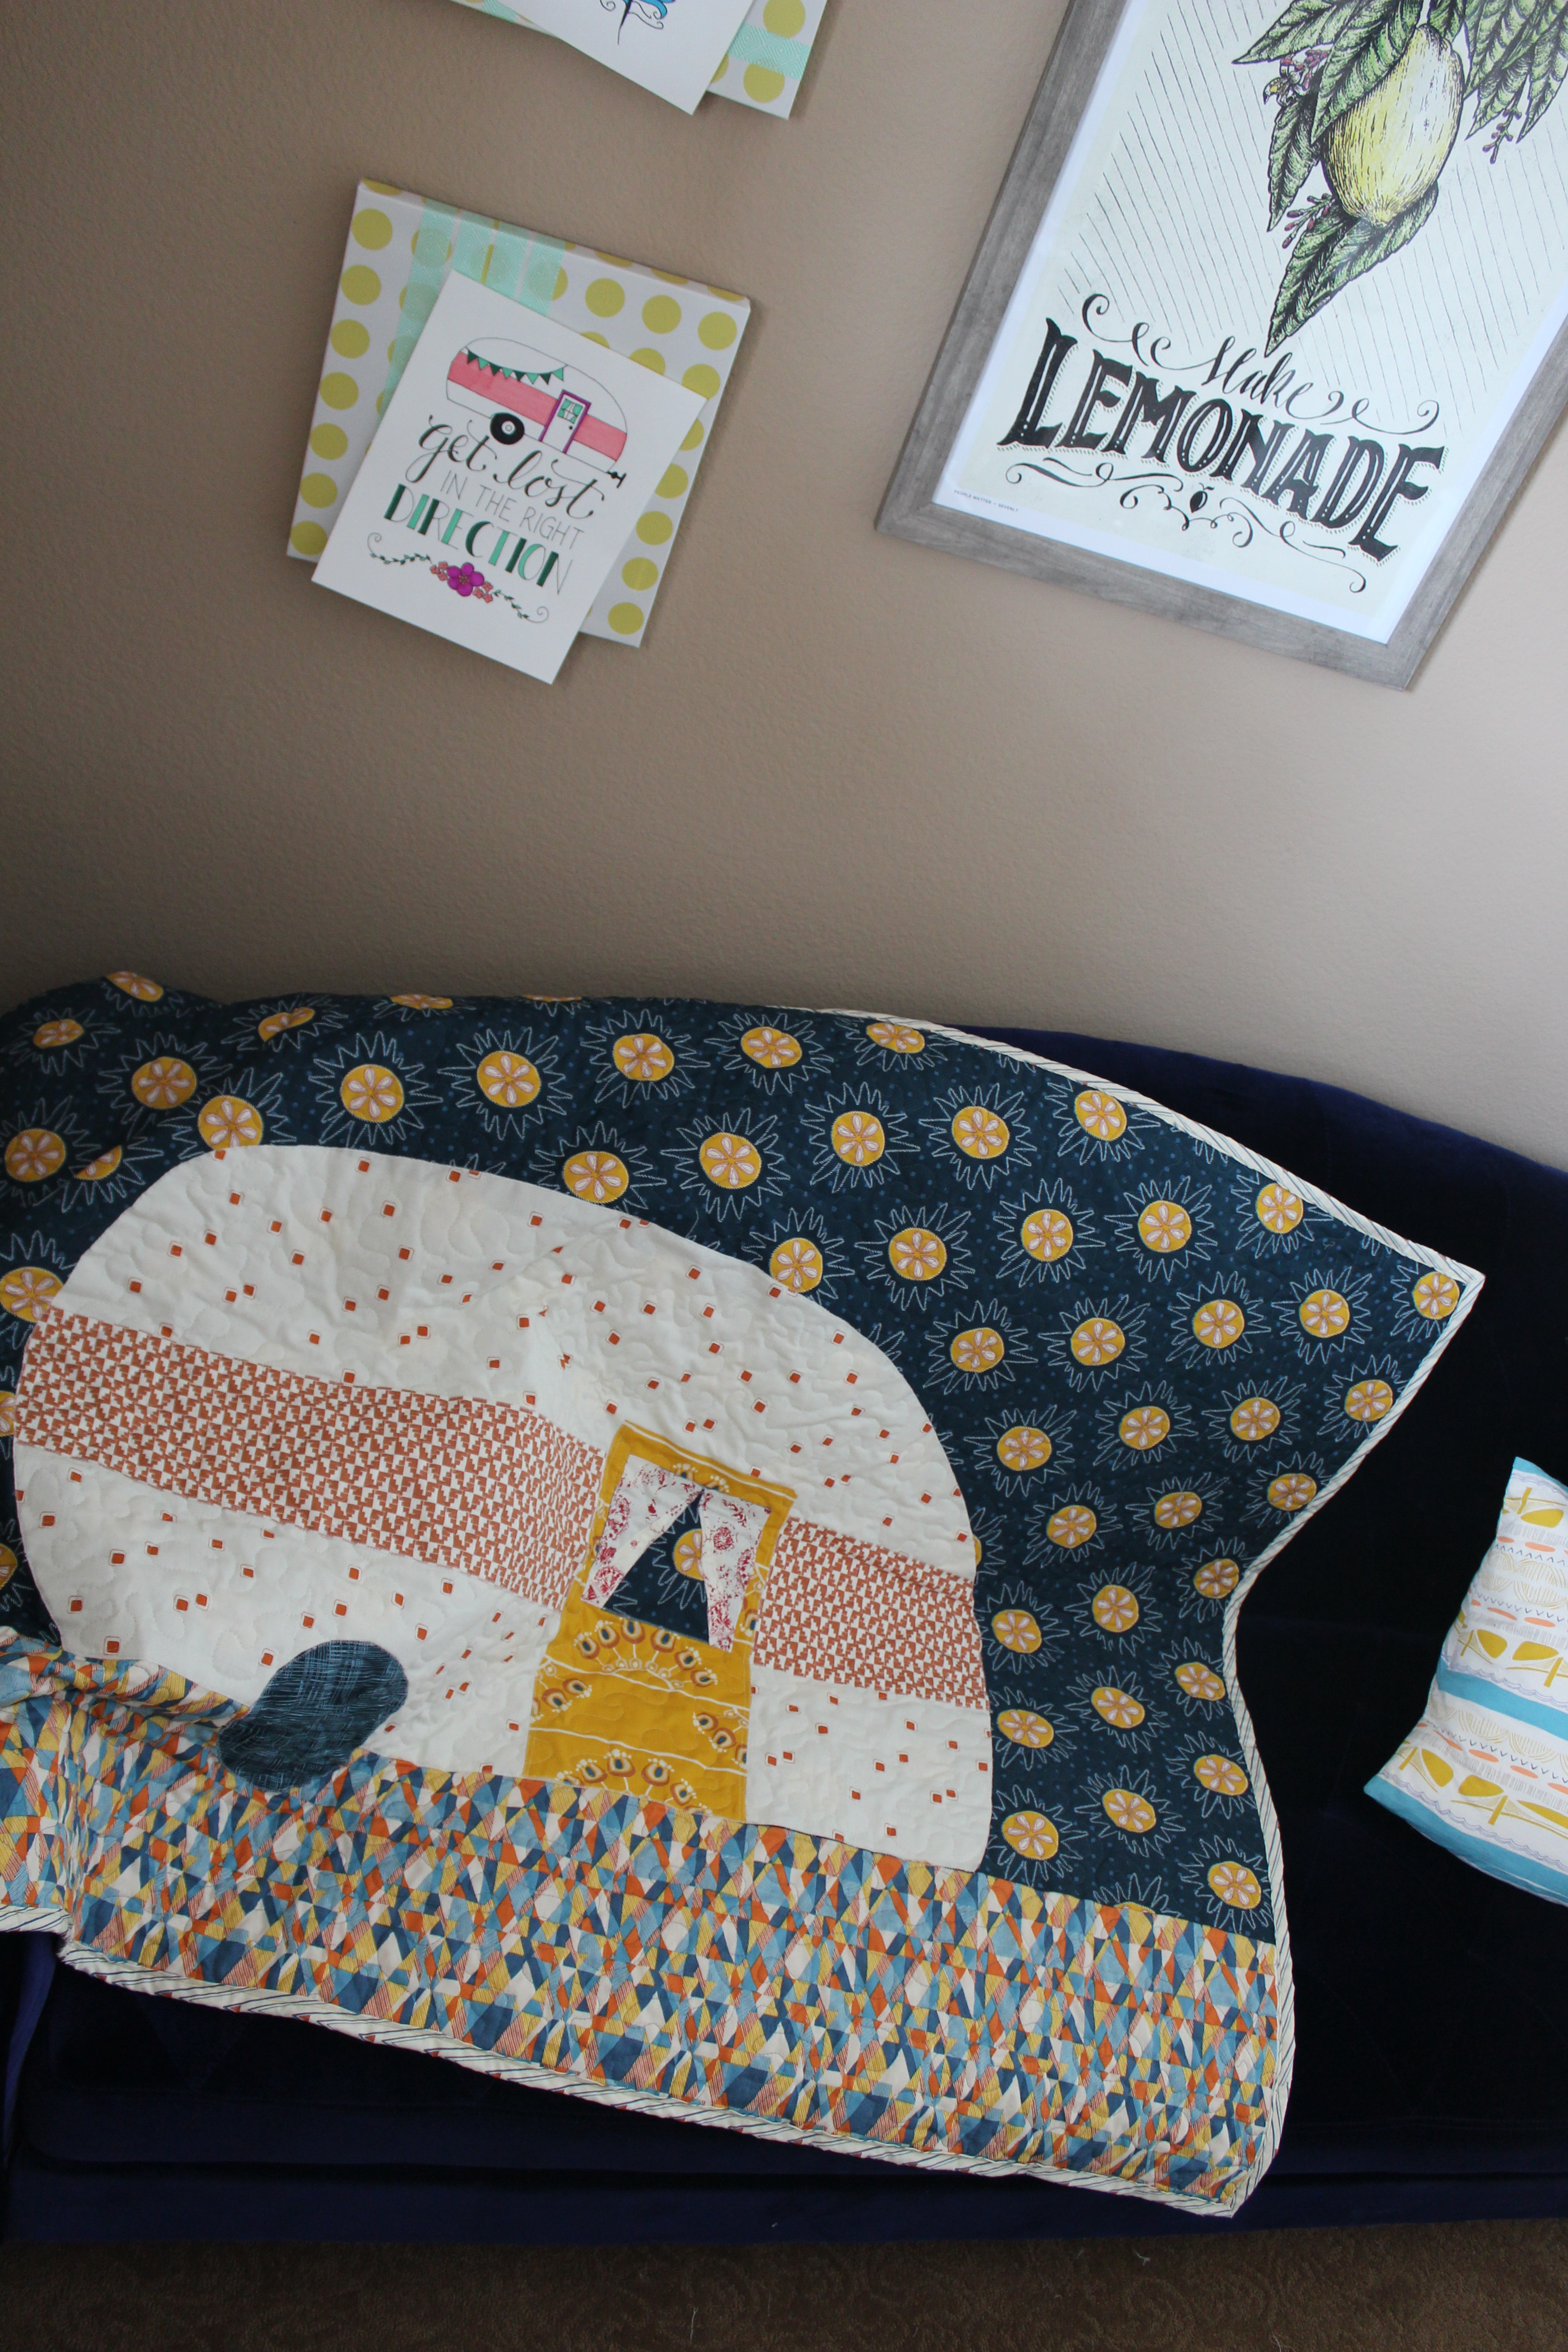
 Once you have added the binding you are all set! One fantastic travel camper quilt!
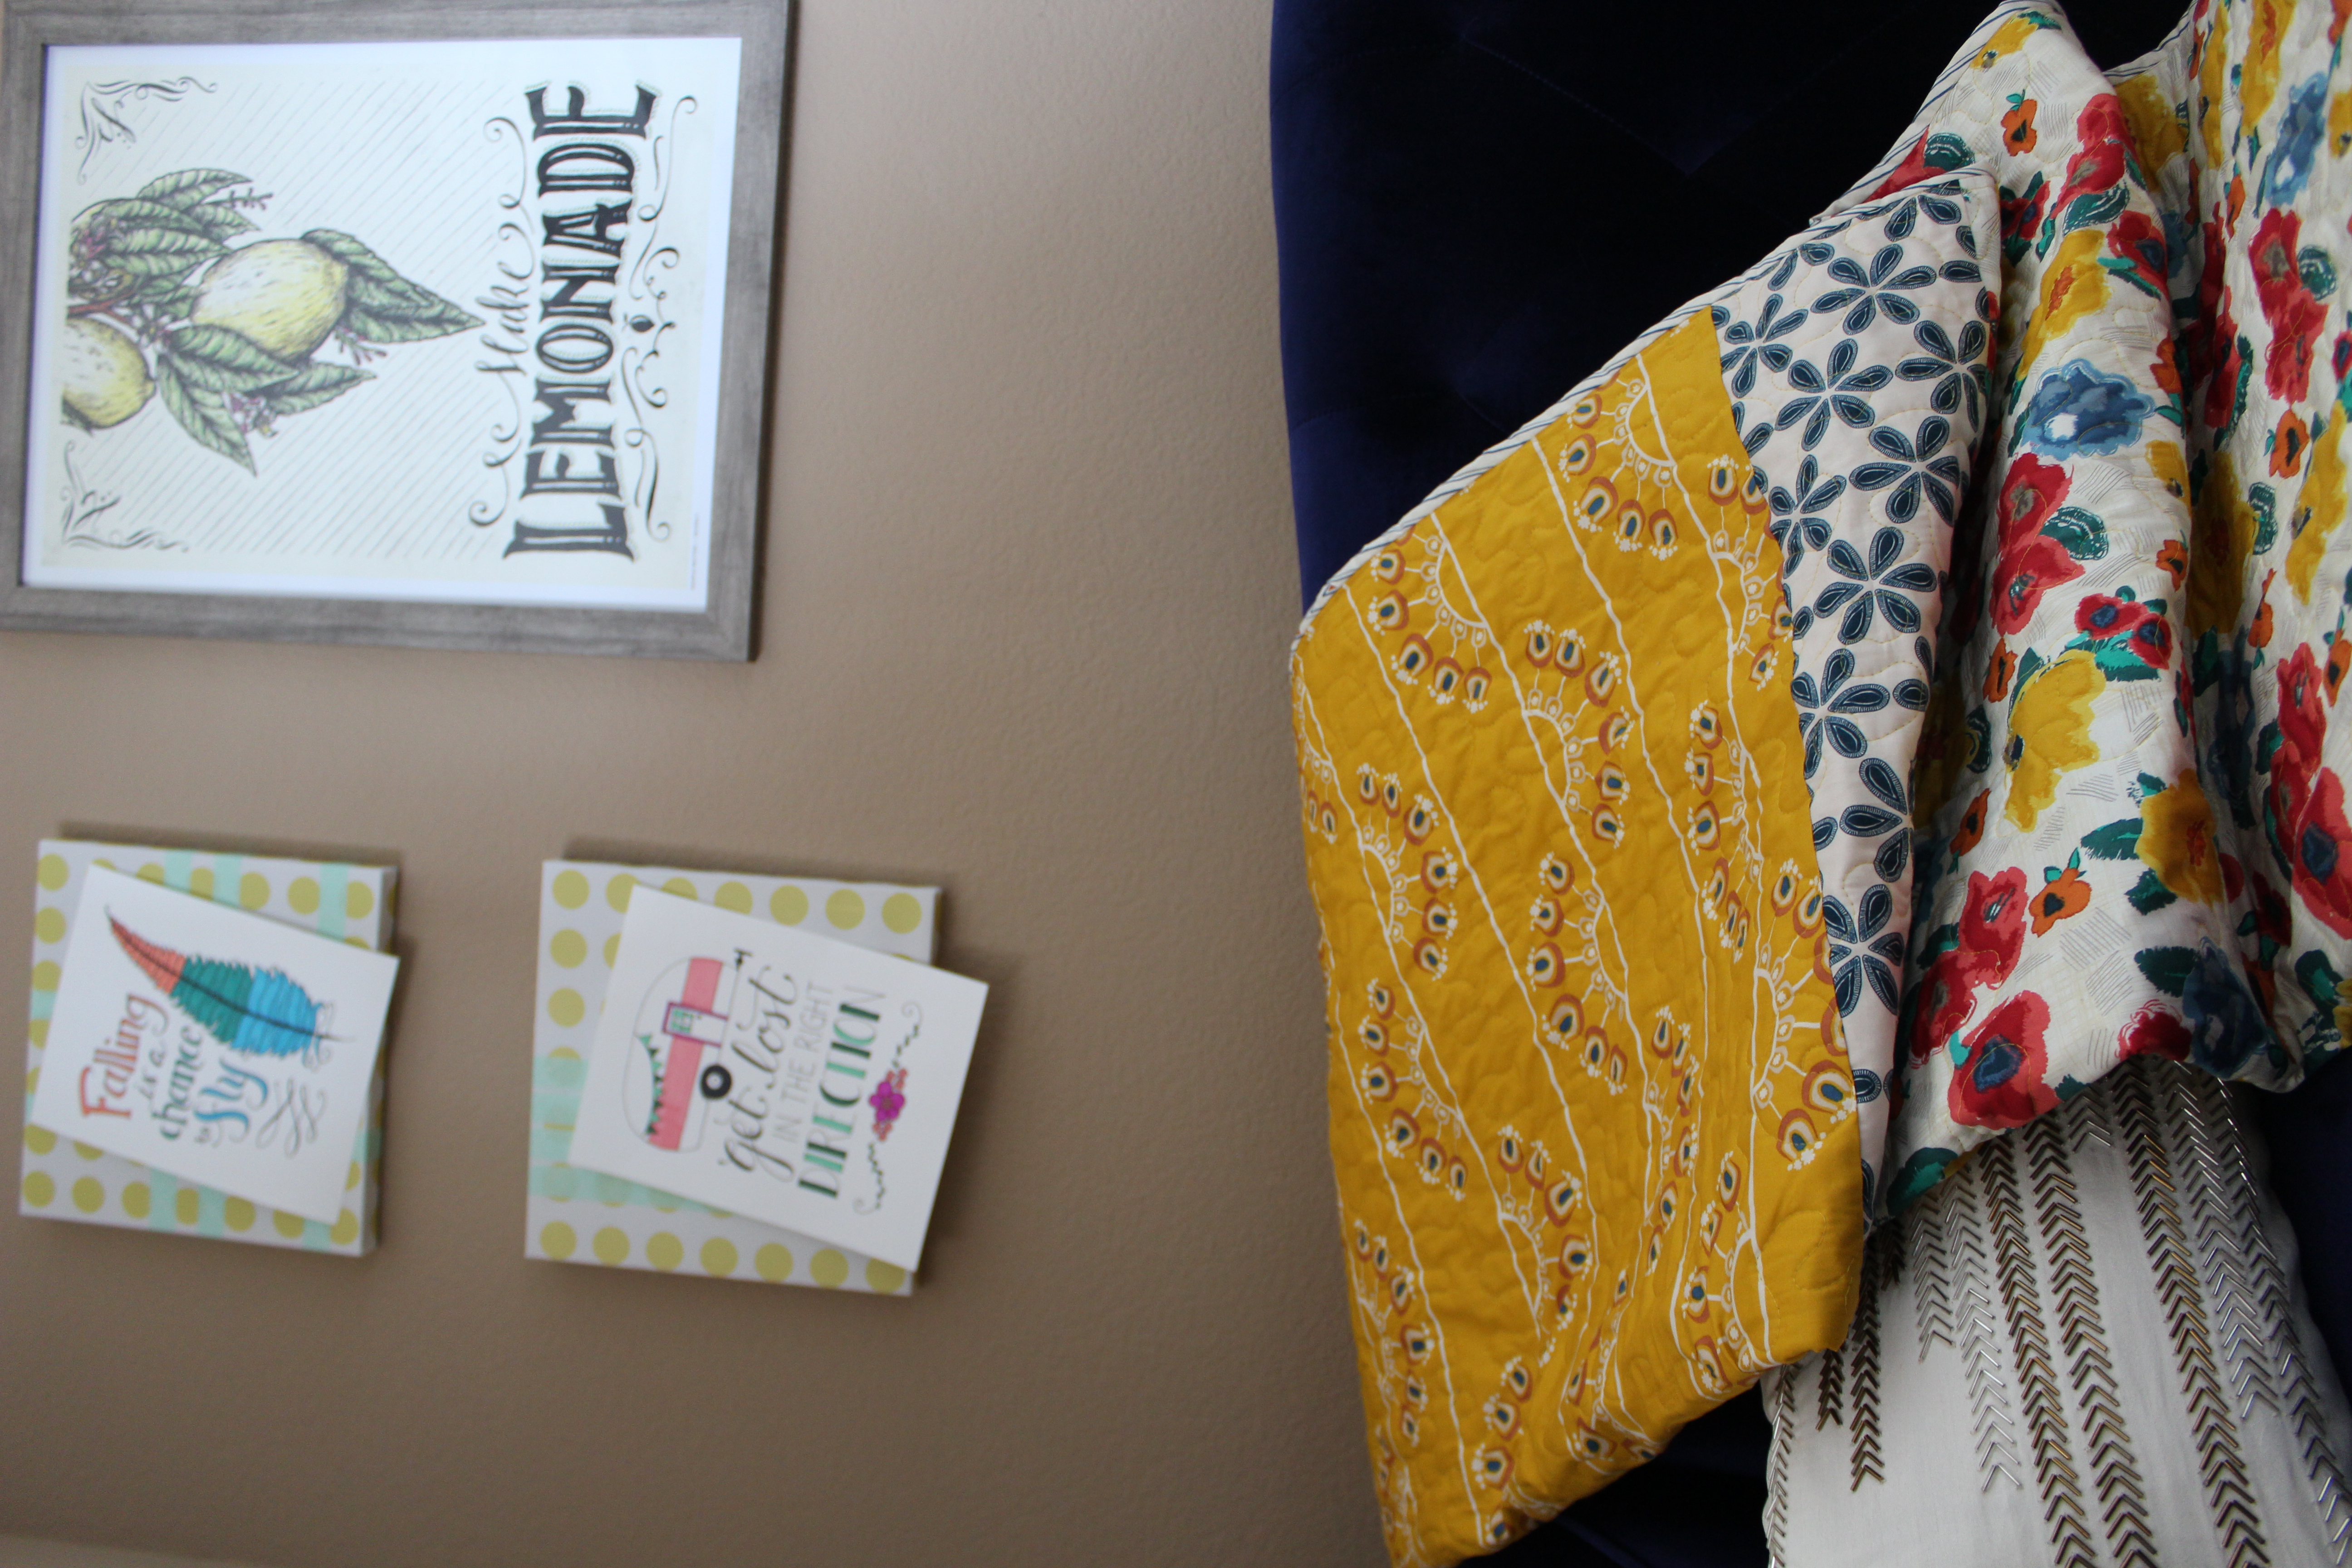
 It matches perfectly with my super fun guest room couch!!
And I think I did Dawn Nicole and Color Me Inspired justice!!
This blog post was sponsored by Art Gallery Fabrics. I would never recommend something that I don’t use and love. I can’t even begin to describe how soft and beautiful this fabric is! You definitely want to check it out for yourself!!
As Dawn says “Get lost in the right direction!”


Carrie says
Alicia, I love your Camper I also love your bright and cheery Fabric choices. I just found you on Pinterest and I am so happy I did. I will be adding your Blog to the very few blogs I read and I will also check out your website. Thank you for sharing your wonderful ideas, work, thoughts and patterns.