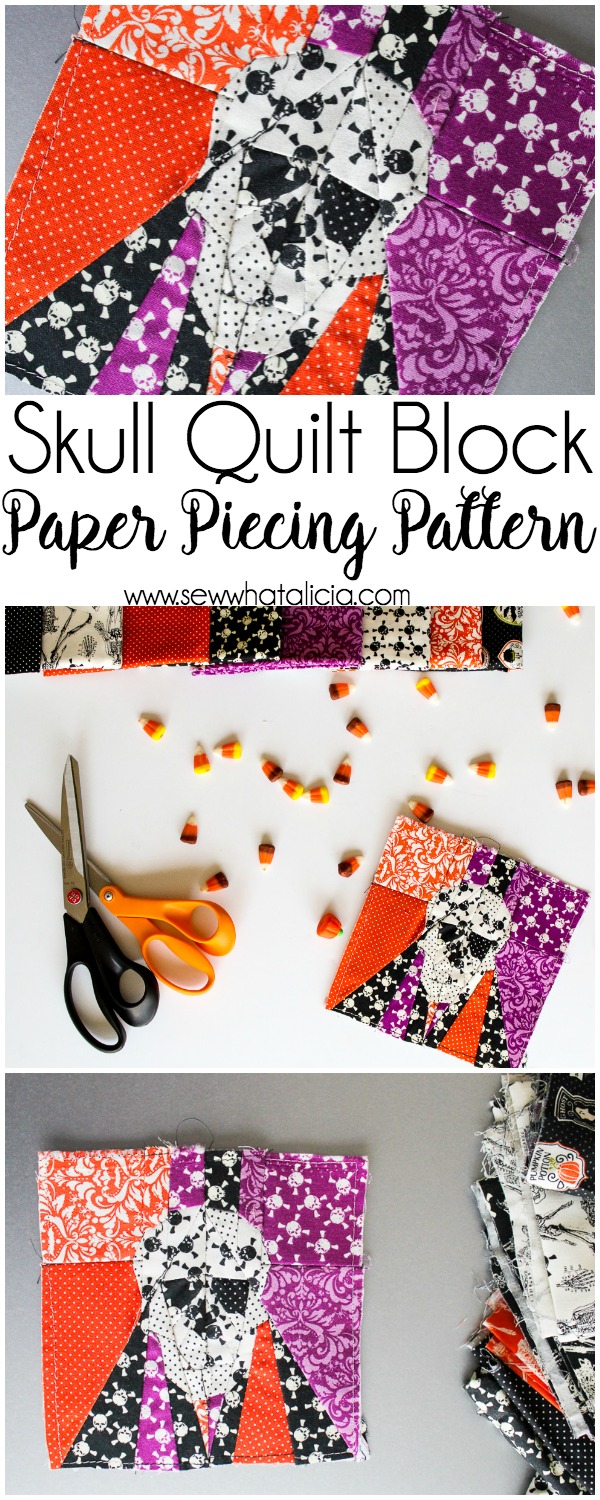
Skull Quilt Block Paper Piecing Pattern
Halloween is one of my favorite holidays to decorate for! I have also recently fallen in love with creating intricate paper piecing patterns. I know this is going to seem complicated but I promise if you take it step by step you will be able to work your way through this pattern! Make sure and scroll down to see my video explaining the pattern to Carina Gardner on Youtube. Here is a skull quilt block paper piecing pattern and tutorial.
Skull Quilt Block Paper Piecing Pattern
Find a video walkthrough HERE.
Supplies:
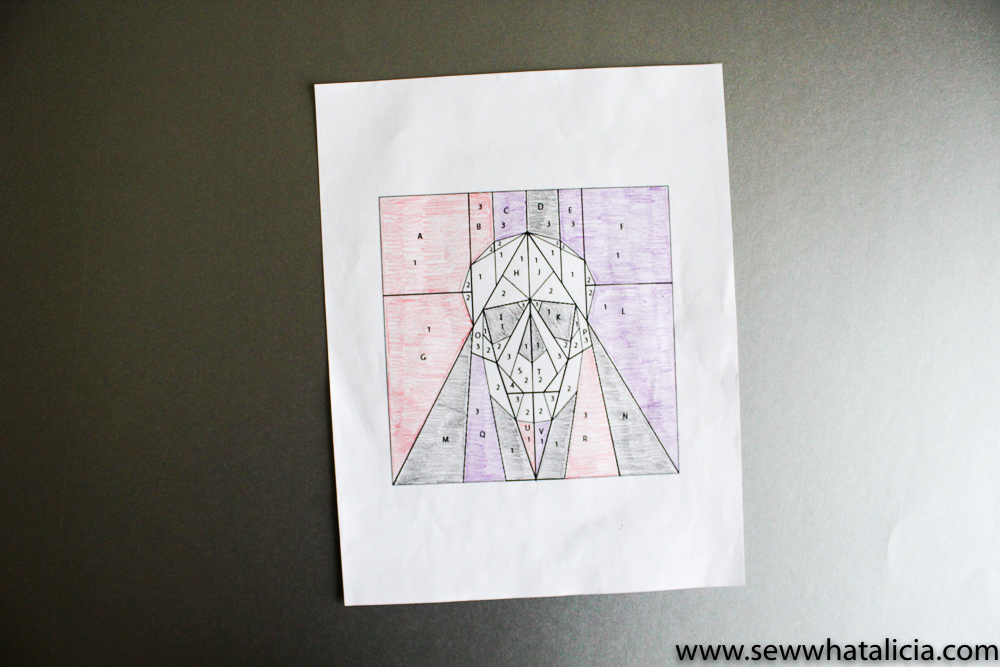
PDF Block Color Planning Sheet
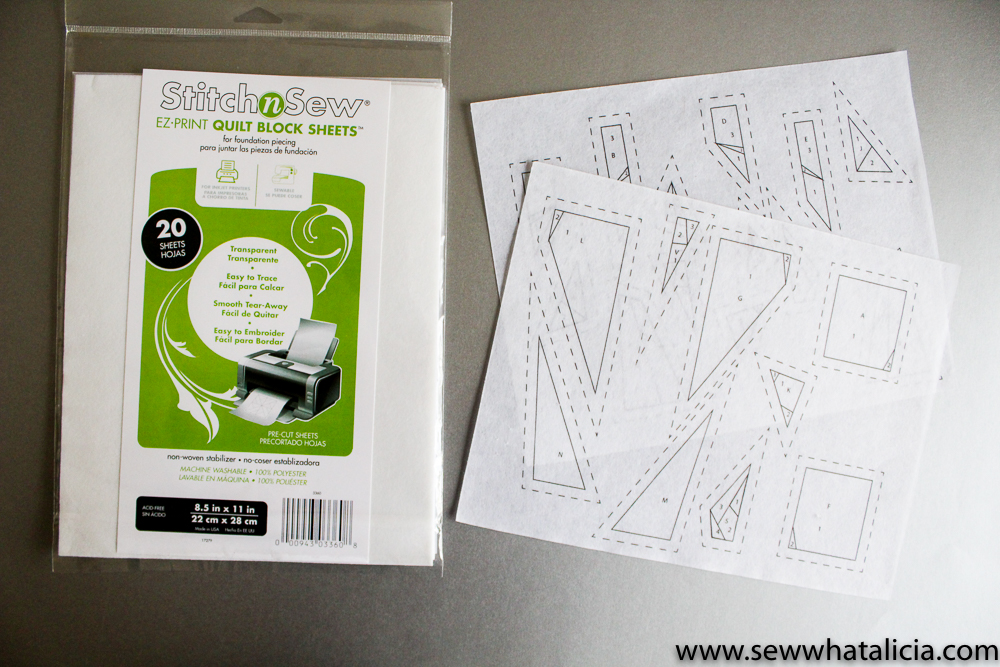
EZ Print Quilt Block Sheets (recommended) or Printer Paper
Instructions:
Print your color planning sheet (linked above) and decide what colors/prints you want to use in your quilt block.
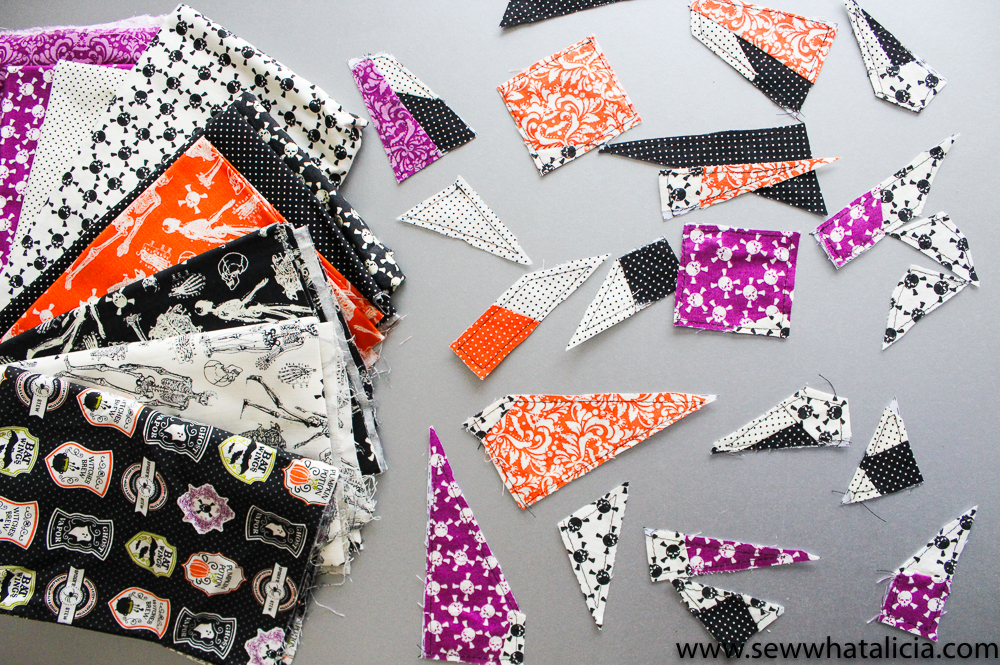
Print the block pieces onto the EZ Print quilt sheets. Using your color planning sheet color the pieces and then cut them out. The dashed line is the seam allowance so cut around the dashed line.
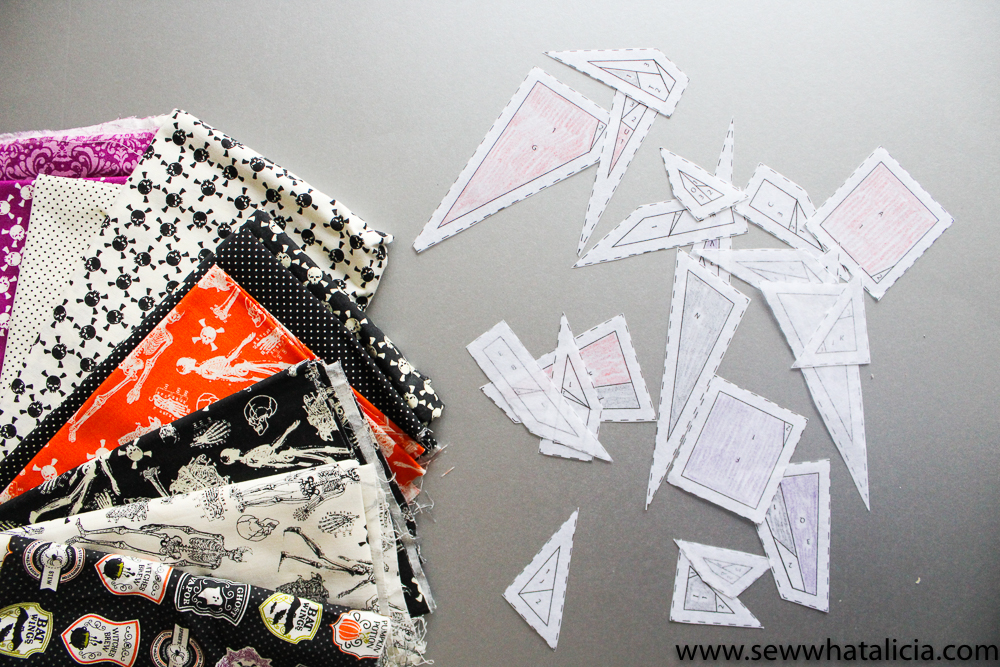
Cut pieces of fabric in the colors you have chosen to fit over the template pieces. Cut a generous piece, more is better, you don’t want to scrimp and have a piece be too small. Assemble the individual pieces. See these paper piecing posts for detailed instructions on assembling paper piecing patterns, paper piecing for beginners, ice cream cone, eiffel tower, and pencil drawstring backpack. Sew around each individual piece, turn the piece over and use the solid line as a guide for sewing.
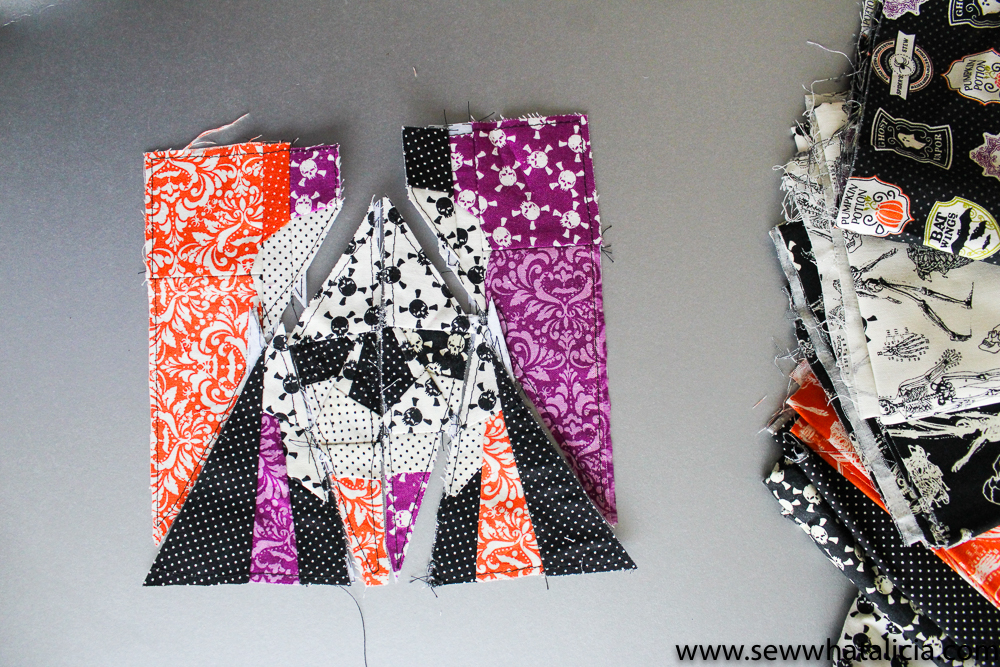
Assemble the pieces in the following order.
A to G
F to L
B to C
D to E
AG to BC
FL to DE
U to S
V to T
US to I
VT to K
USI to H
VTK to J
Q to O
R to P
QO to M
RP to N
QOM to USIH
RPN to VTKJ
Attach the A section to the Q section.
Attach the F section to the R section.
Attach the two sides.
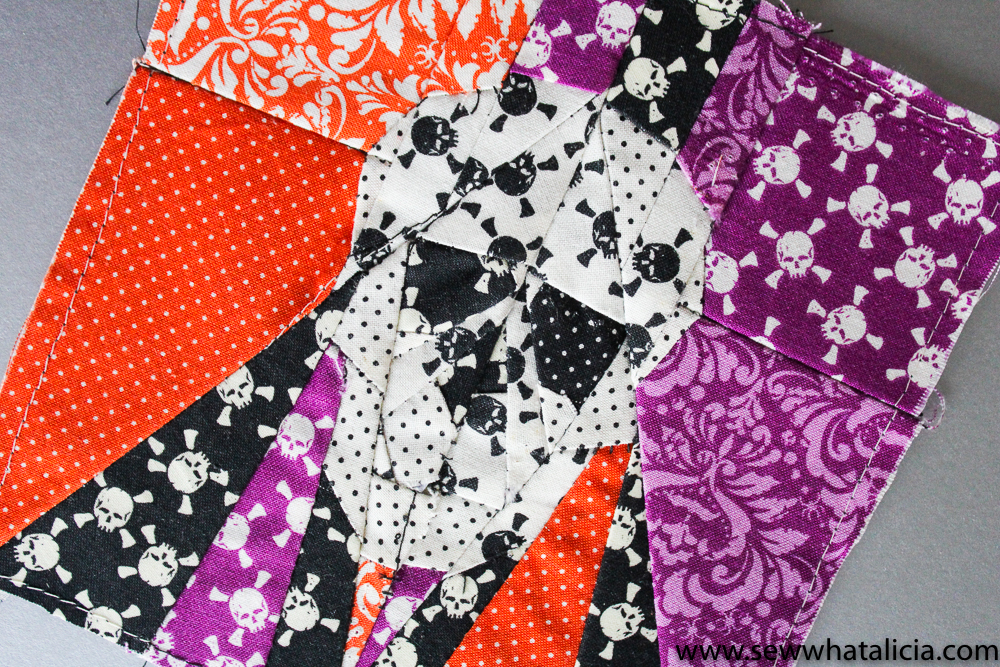
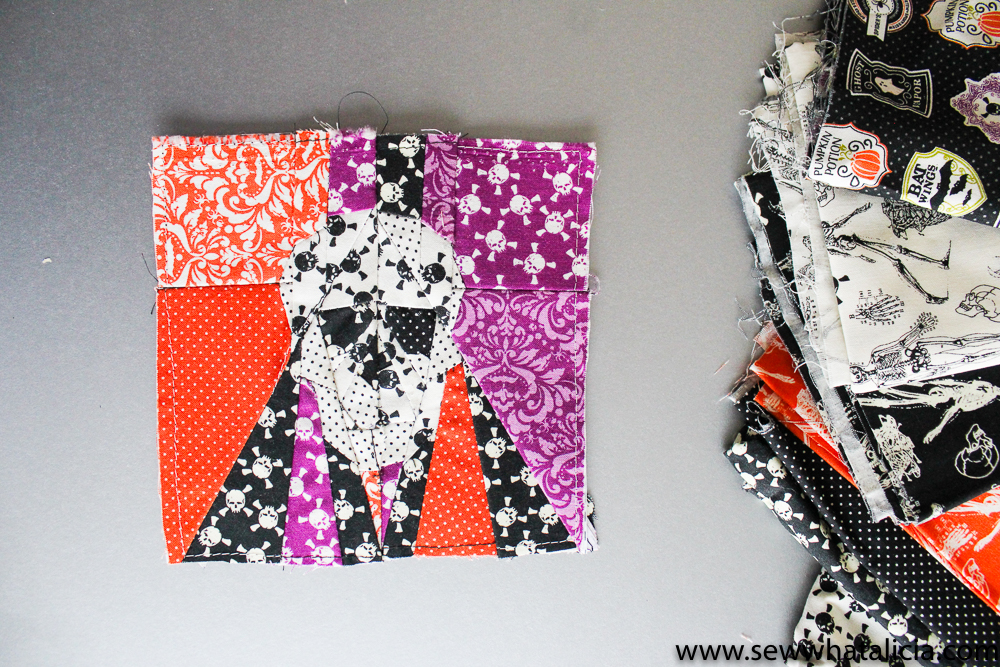
Now your skull quilt block is finished! Make more for an entire quilt or use the one as a centerpiece for a table runner or door hanging. The possibilities are endless!
This pattern is for a 6″ square.
** If you enlarge the pattern be aware that the seam allowance on the pieces will be off. Be sure to take that into account when sewing.
Check out my video walkthrough with Carina Gardner of Riley Blake designs, the designer of the beautiful fabric in this quilt block.
Questions about the skull quilt block? Share them with me in the comments below!


Tara says
Thanks for the pattern. I am currently obsessed with foundation piecing – It is still a constant struggle to get points lined up but your skull was perfect because my askew points gave it a good look.
Cheers!