Sewing School – Sewing with Scraps

Sewing School – Sewing with Scraps

After our first month of assignments I am sure you all have some scraps sitting around. If you don’t here is a really fun scrap bag (<—give it a click) from Moda.

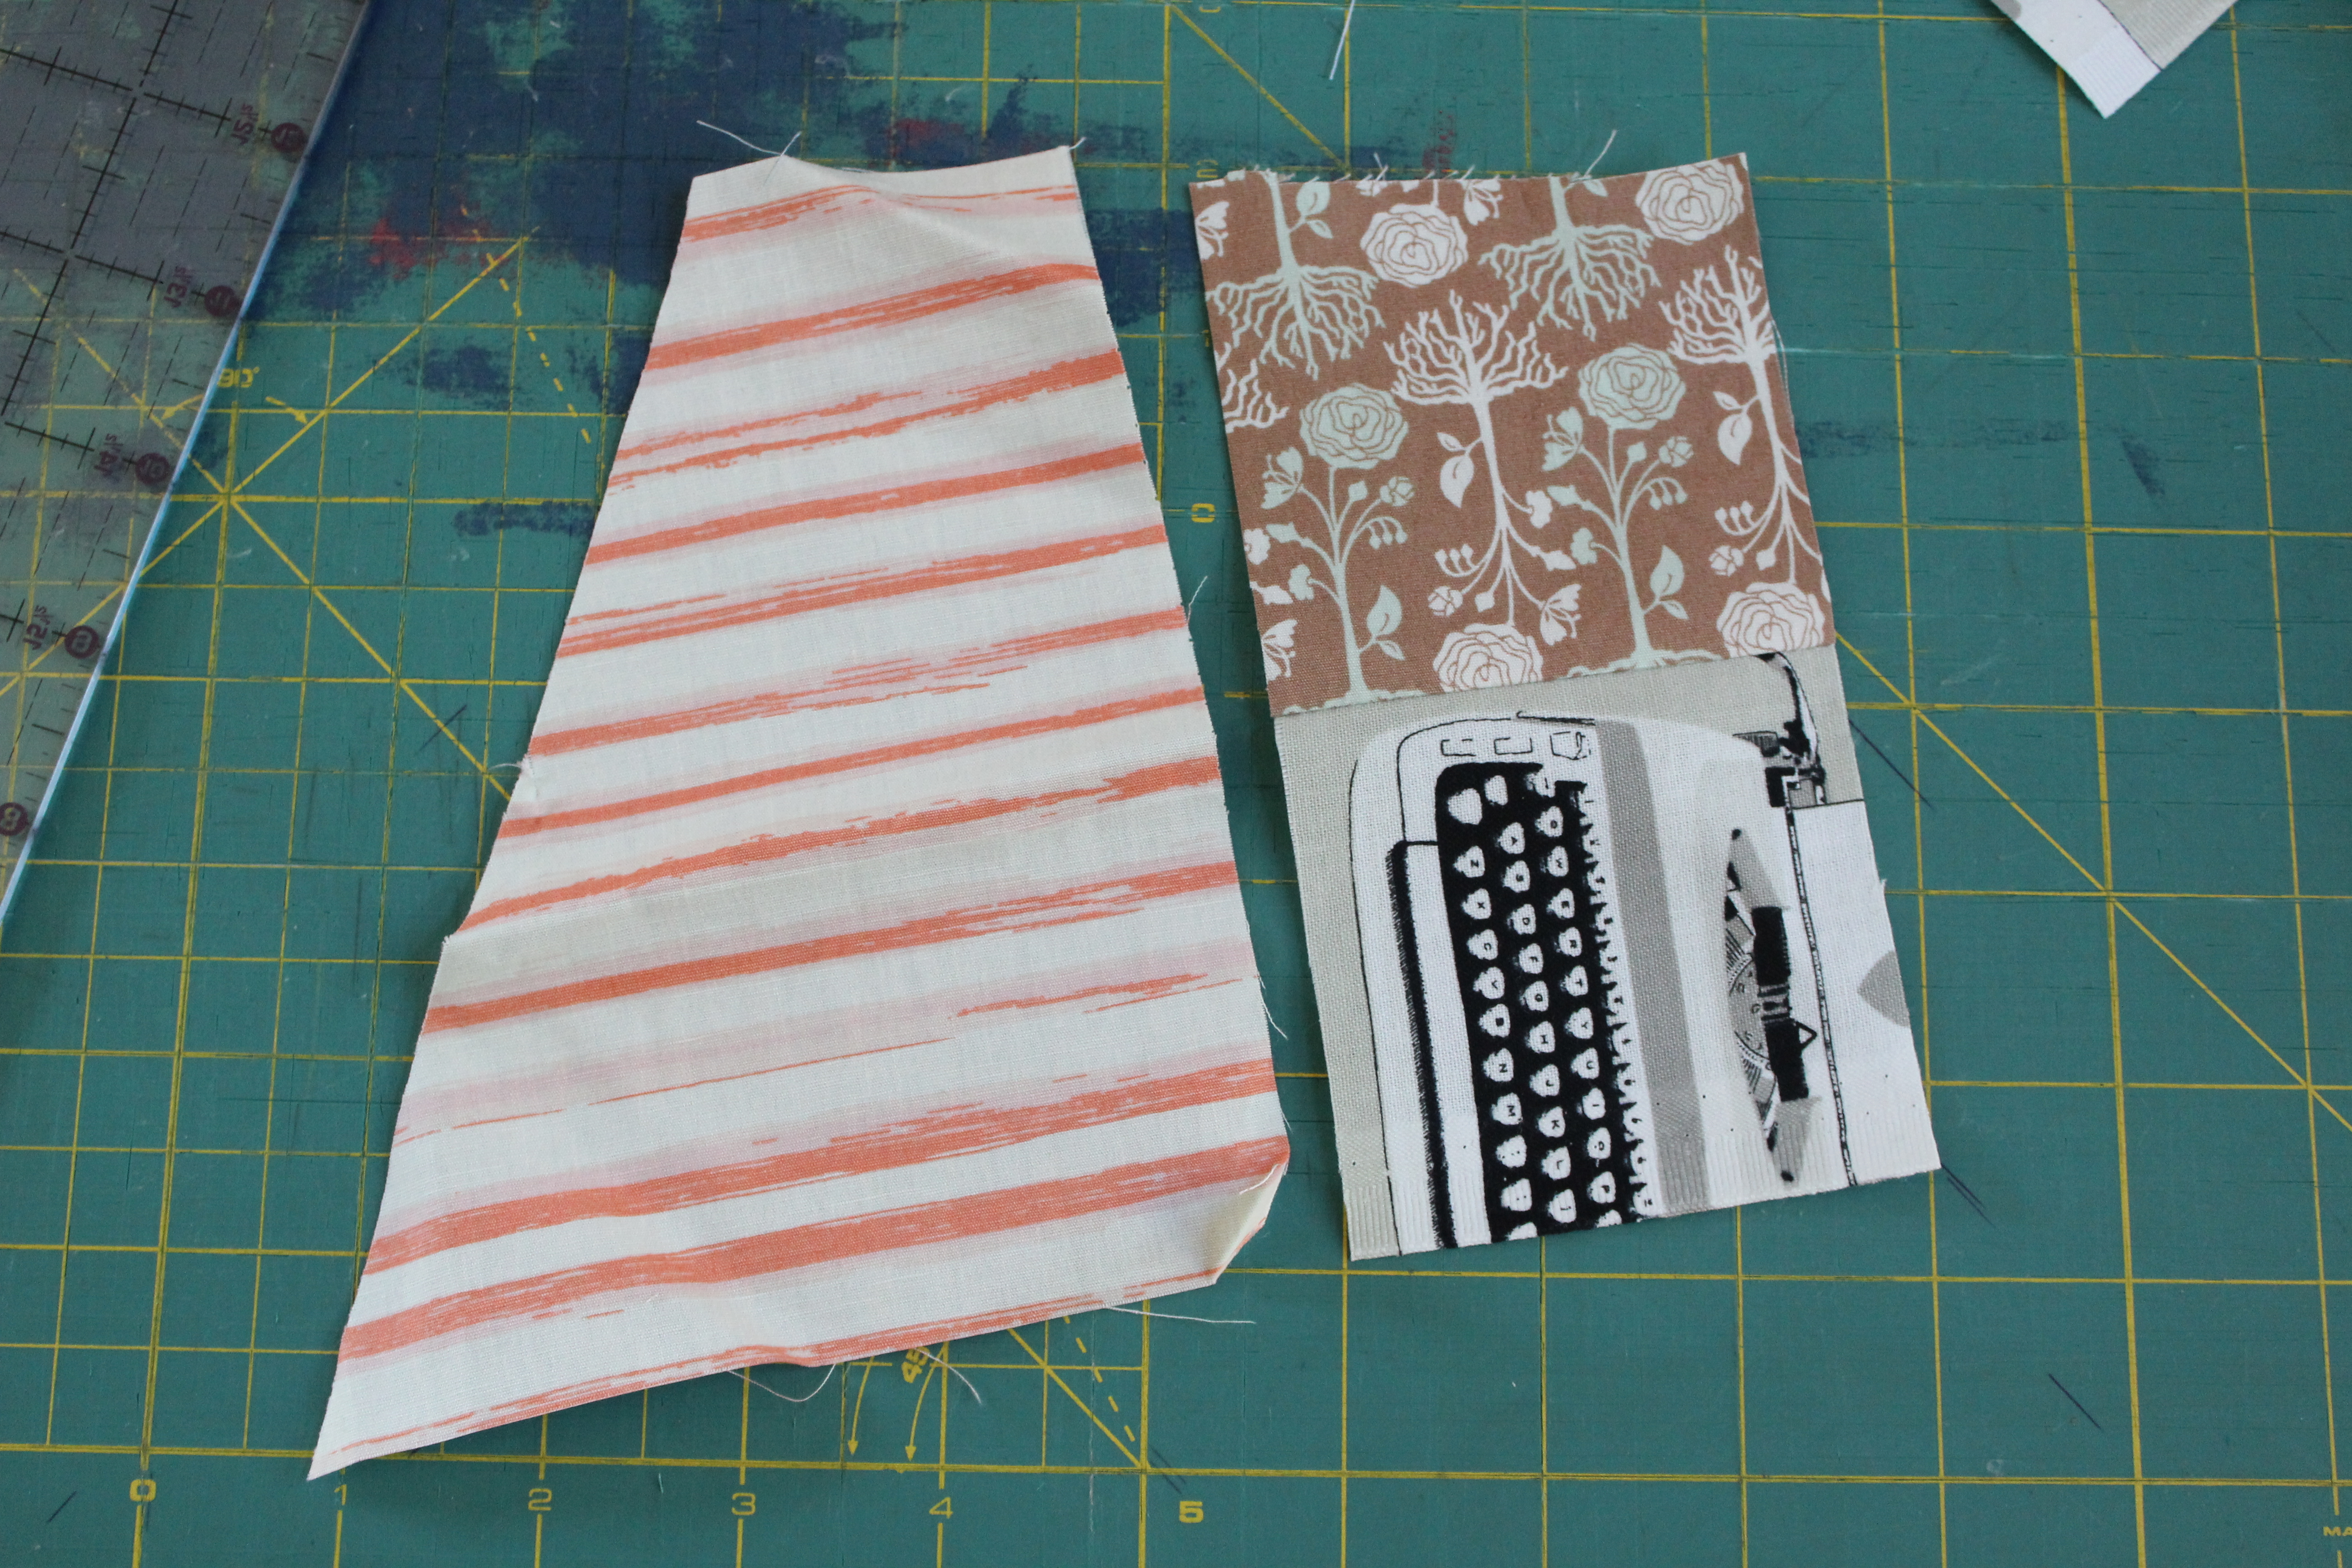
This month we will have two assignments. This first assignment is all about sewing the scraps together. Go ahead and grab your pile of matching scraps (like I did in the picture above.) Then find two that are similar in size (like below.) They don’t have to line up or be the same size just similar and have similar edges. Sew them together.

Press the seam.


Then trim the excess.

I wanted to make the piece even smaller. So I cut this piece in half again. If I left it big my whole coaster would be these 2 fabrics and I wanted to get some more in there.

Now grab another piece that has a similar length and straight edge. If you don’t have one with a straight edge go ahead and trim a straight edge. This is not an exercise of perfection it is an exercise where you are letting the fabric speak to you. Whatever you do don’t stress about it.
Often the scraps are wrinkled from being crammed into a jar or box or wherever you keep them. I think you may be ready for my usual method of sewing. Line the straight edges up and then press the pieces together (before you sew.) This gets the wrinkles out of the new piece and holds the two pieces of fabric together so you don’t have to use pins! This method only works when you are going straight from the pressing table to the sewing machine. If you are going to step away from the piece you will still want to pin it in place.
 Sew it in place and trim the excess again.

Continue adding pieces in this fashion. This is similar to our log cabin block from last month, but we aren’t going in any specific order. We are just adding pieces where we think they are pretty and where we the scraps fit the best.


You should be left with something similar to this. It doesn’t have to be a specific shape or size. We just want it to be big enough to cut our coaster template out of. I know some of you may be freaking out about size so I will tell you that mine turned out to be 9inches x 9inches, but that is just a rough guideline for those of you who are type A. I am not saying you have to make them this size!
 Let’s chat about the template for a minute. Next week I will give you two different templates to use. But if you are antsy about the whole process you can make your own. Grab a piece of paper, a cardboard box, a marker, and some scissors. Then grab a bowl or large cup and trace a circle. Remember that whatever you trace the actual coaster will be at least 1/4″ smaller. So use something that is bigger than you want the finished coaster to be. We will also try a square coaster so you can pick a size and create another template using your ruler. If you don’t want to make your own no biggie, like I said I will give you two to use next week.
The last thing we need to talk about is how many! How many coasters do you want? Then make double that number of scrap squares! We will need one square for each side of the coaster, two squares total per coaster.
Alright friends that is it for this week! Head over to Sewing School to share your progress! You can check out the first month’s first assignment here.


Leave a Reply