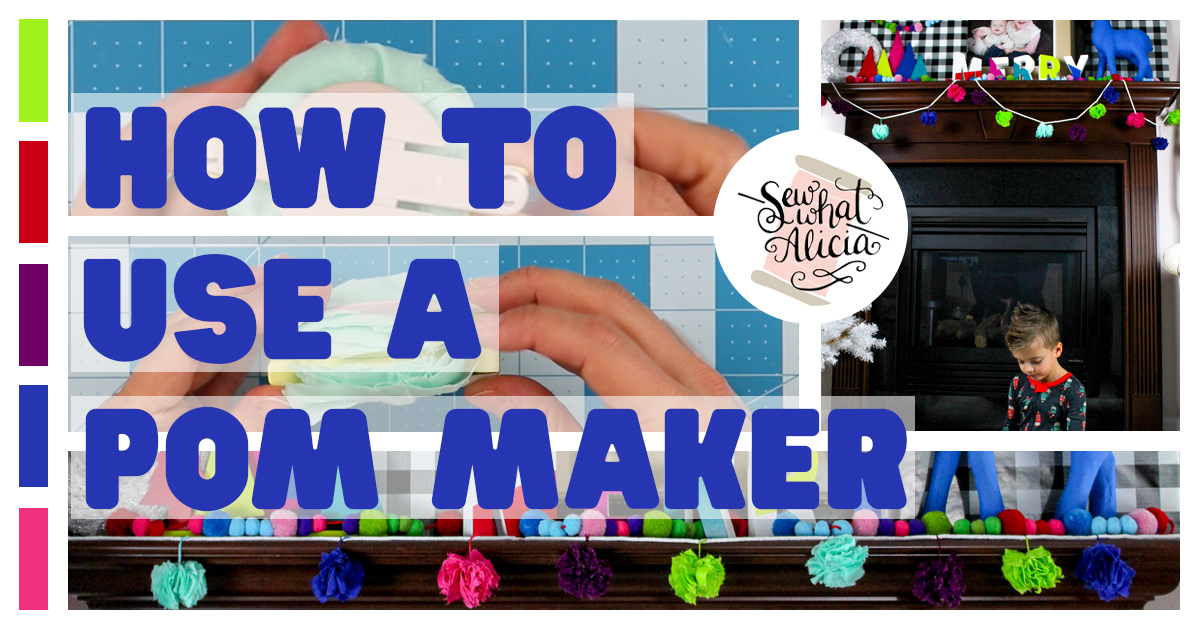
How to Use a Pom Pom Maker
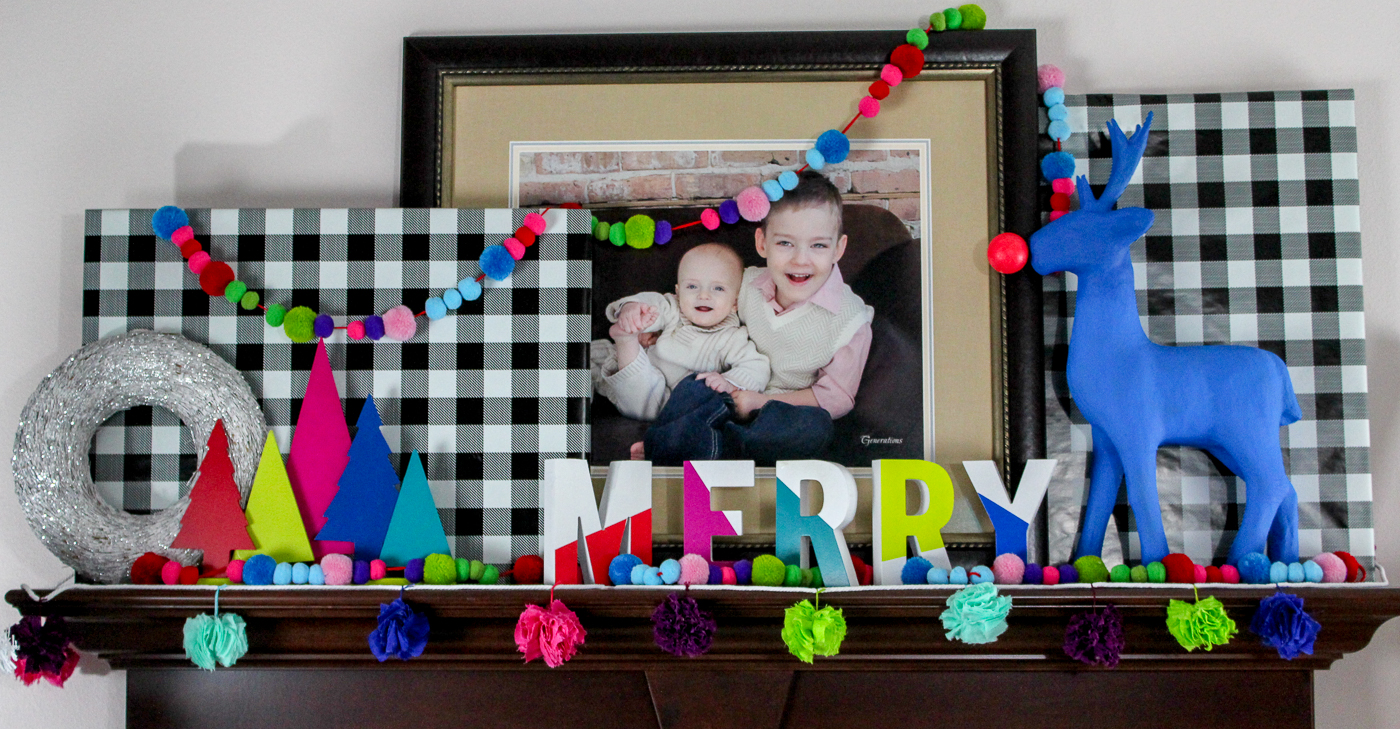
I am a HUGE fan of pom poms. I pretty much love any project made with pom poms. I’ve tried several different pom pom makers and today I want to share with you my favorite and show you how to use it. You can create a really fun fabric garland for my non-traditional bright Christmas mantle. P.S. I got all of my other fun bright decorations at JOANN as well. The faberge reindeer, the Merry lettering, the trees, and the buffalo check wrapping paper! I am in love with all of the amazing bright decorations they have!

How to Use a Pom Pom Maker
This post was sponsored by JOANN. All ideas and opinions are my own.
Best Pom Pom Maker?
I have tried several pom pom makers. The Clover Pom Pom Maker is the one that I find myself going back to again and again. It can be a bit confusing but once you get the hang of it you will be a pom pom making machine! See the video below for a visual example of how to use the pom pom maker.
How to use Clover pom pom maker:
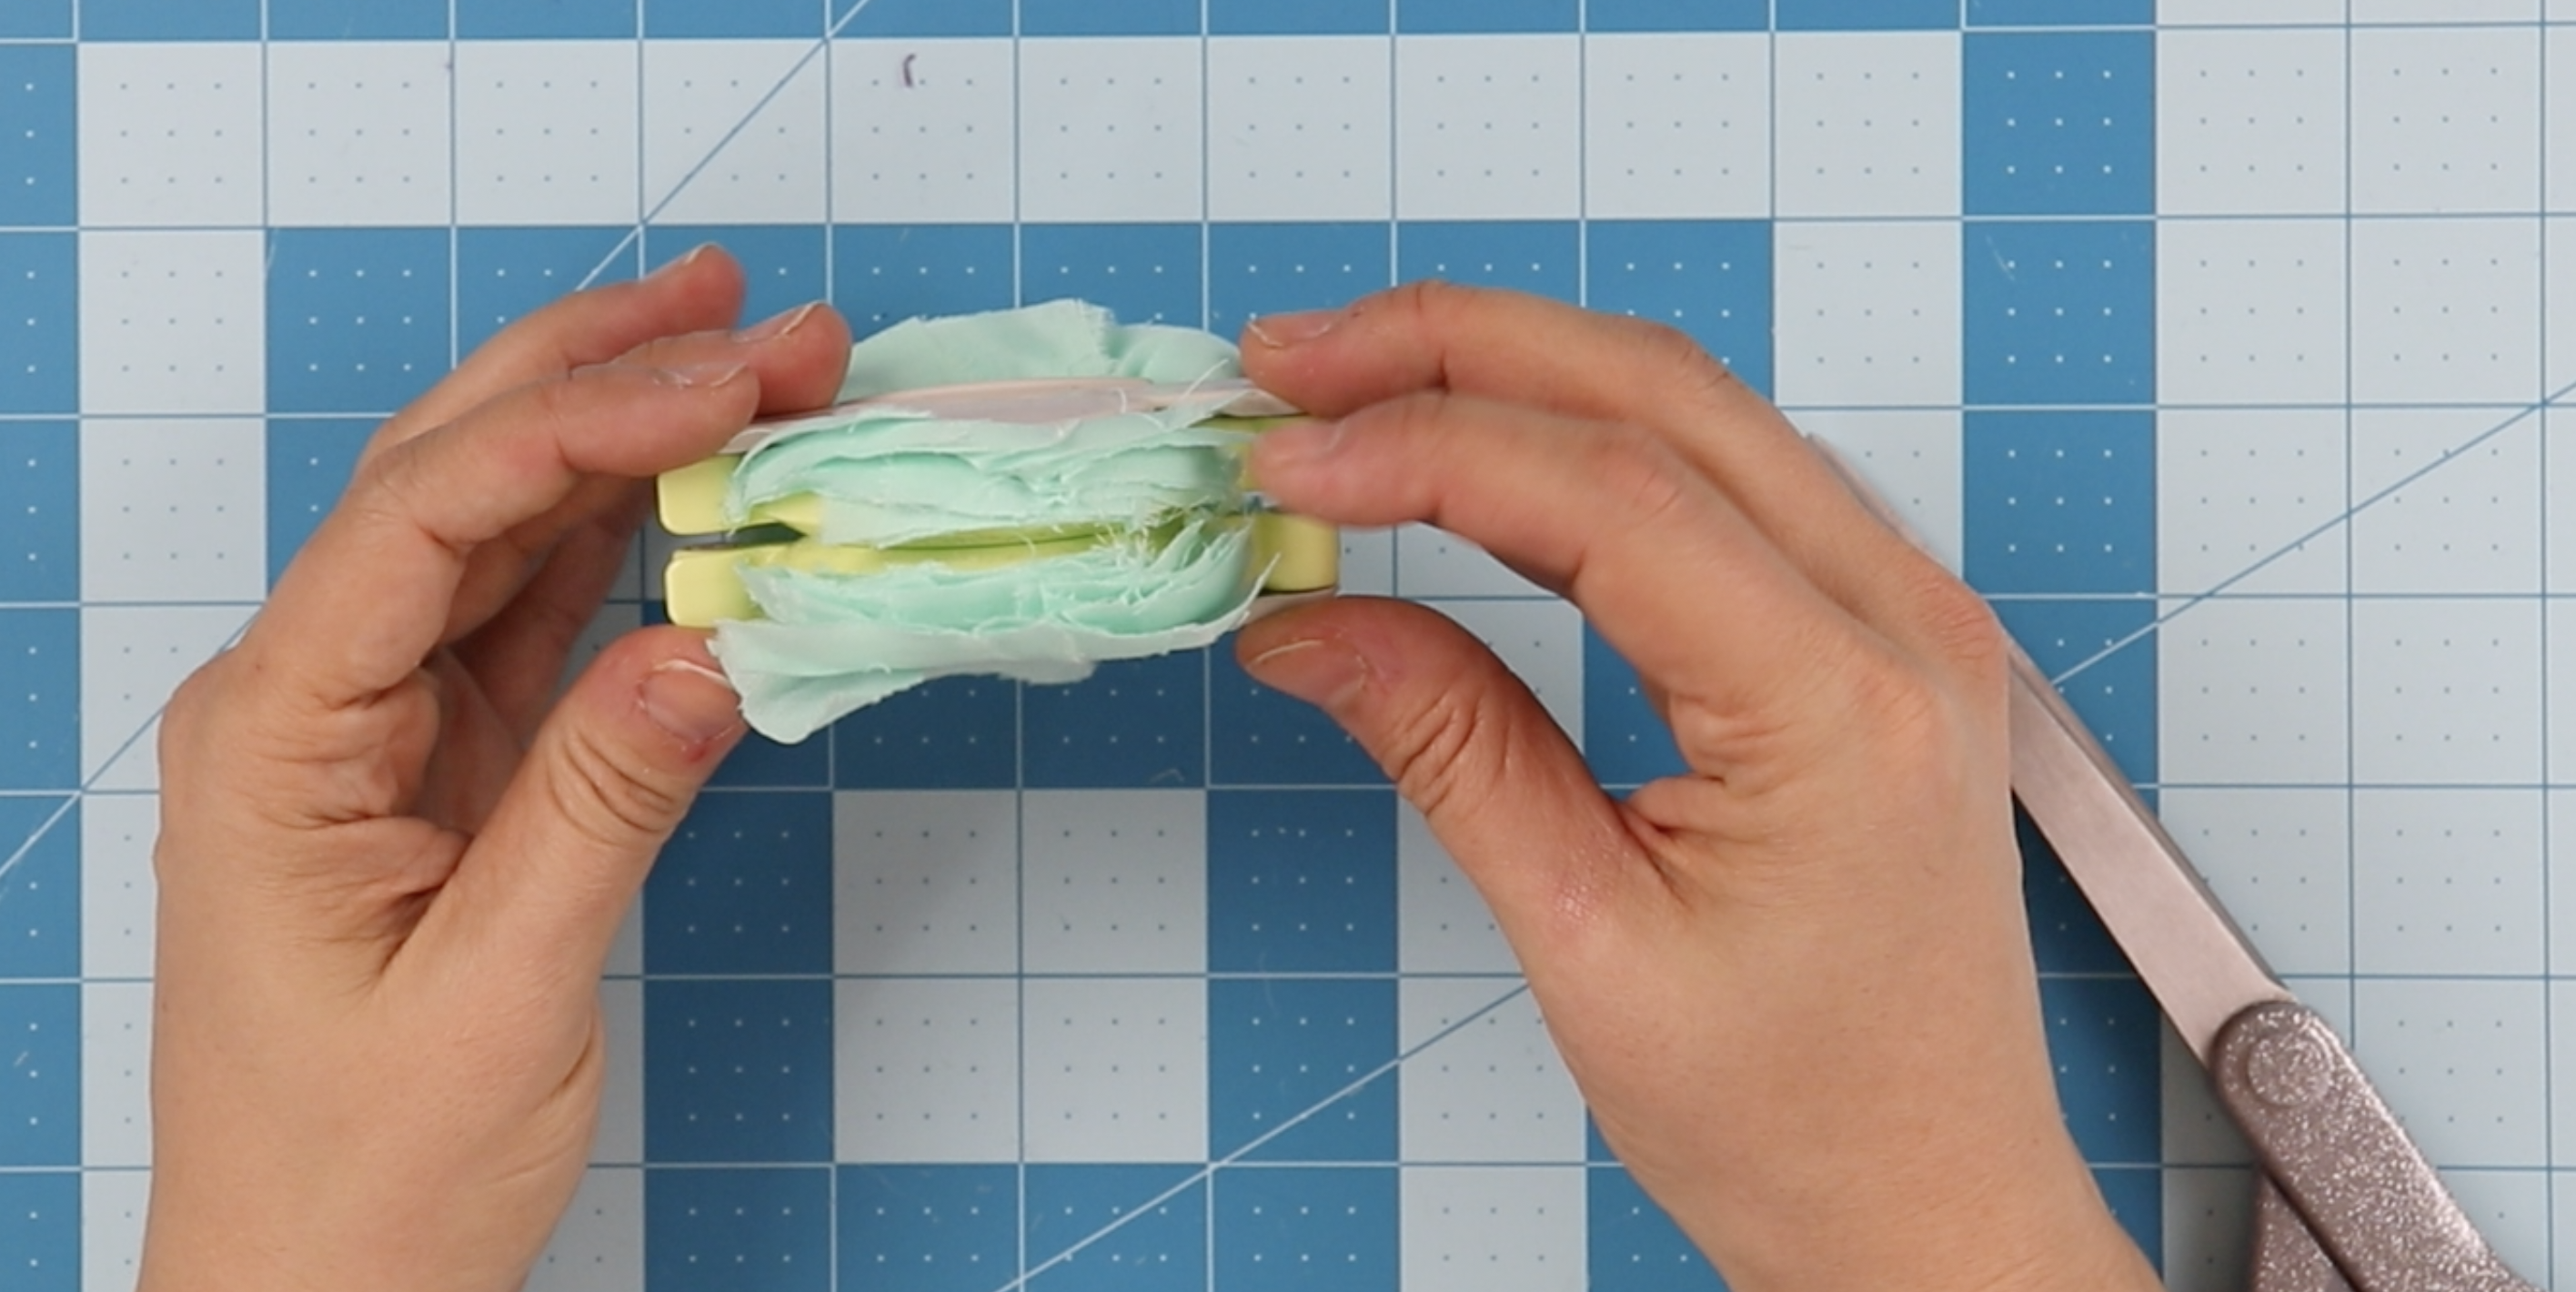
The Clover pom pom maker seems confusing because it spins and rotates and does all sorts of crazy things. To start you want to open the pom pom maker as shown below. Keep the left and right sides together.
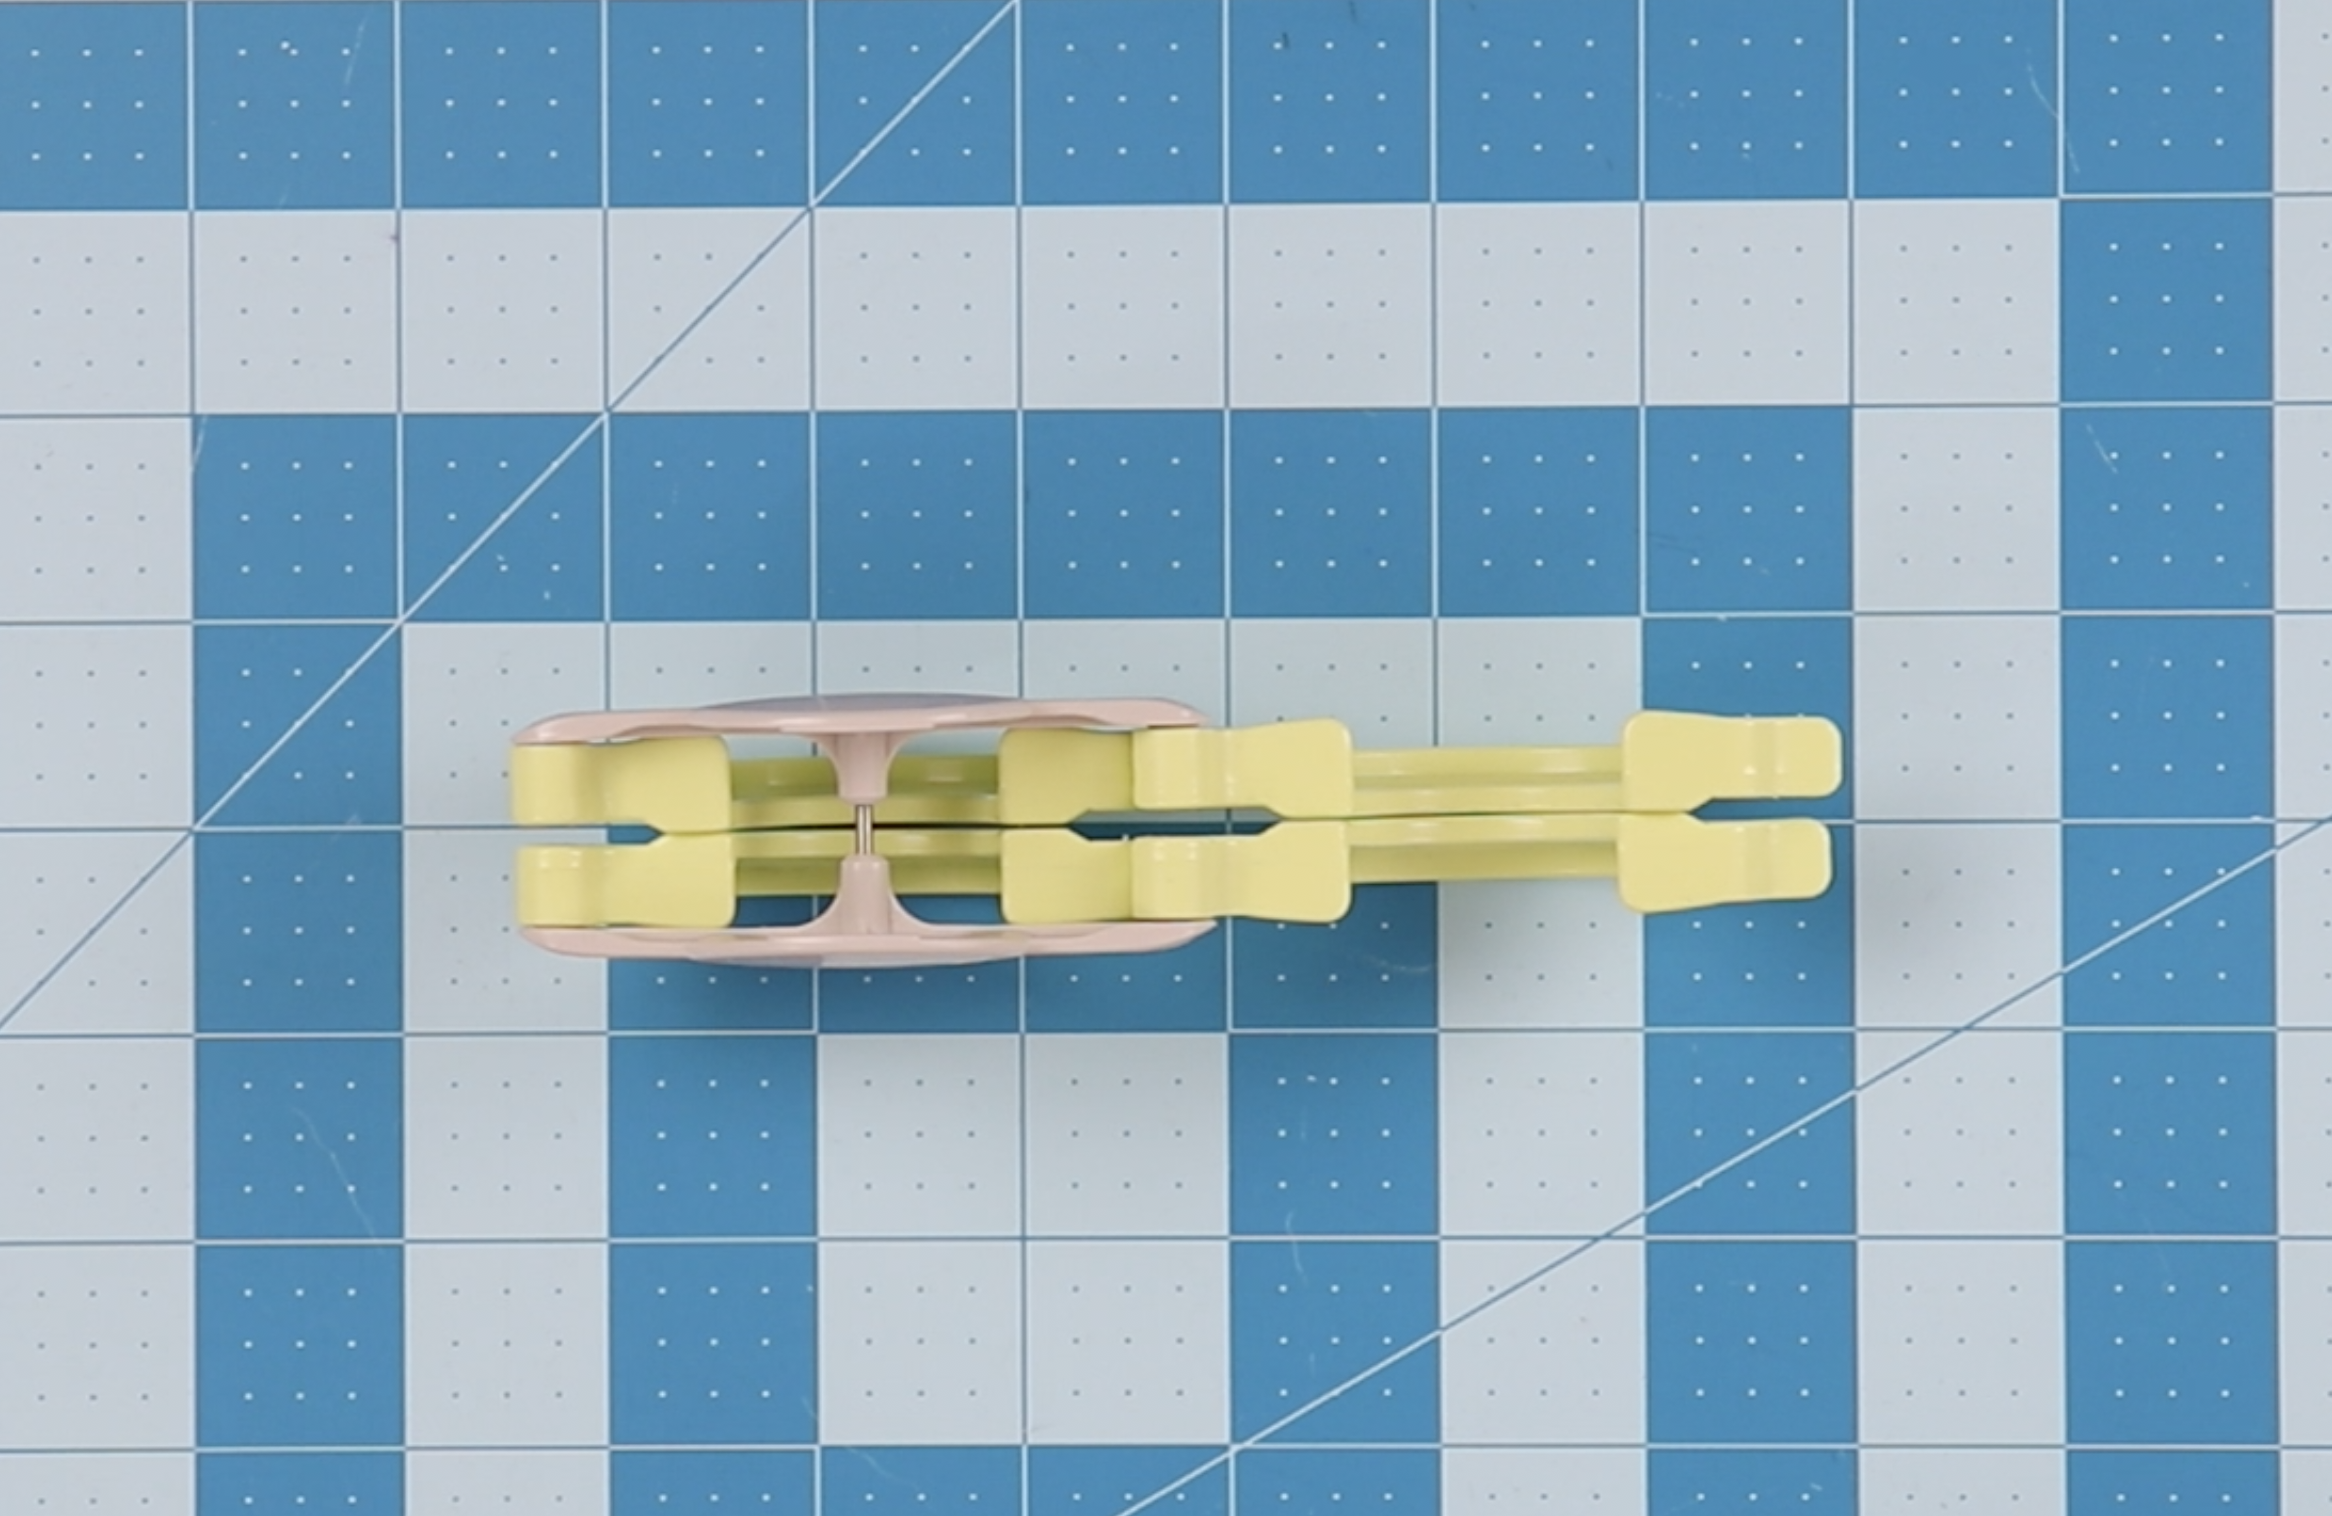
Next start wrapping your yarn or fabric around the open side. Wrap tightly. Start from the inside (the side closest to the rest of the pom pom maker) and wrap out. Be sure that your yarn or fabric is tight to the arch underneath.
When you have wrapped your entire length of fabric or your desired amount of yarn you can close that side of the pom maker. Cut the thread or excess fabric before closing the side. Repeat this same process on the second side of the pom maker. It should now look as pictured below (or near to it if you used yarn.)
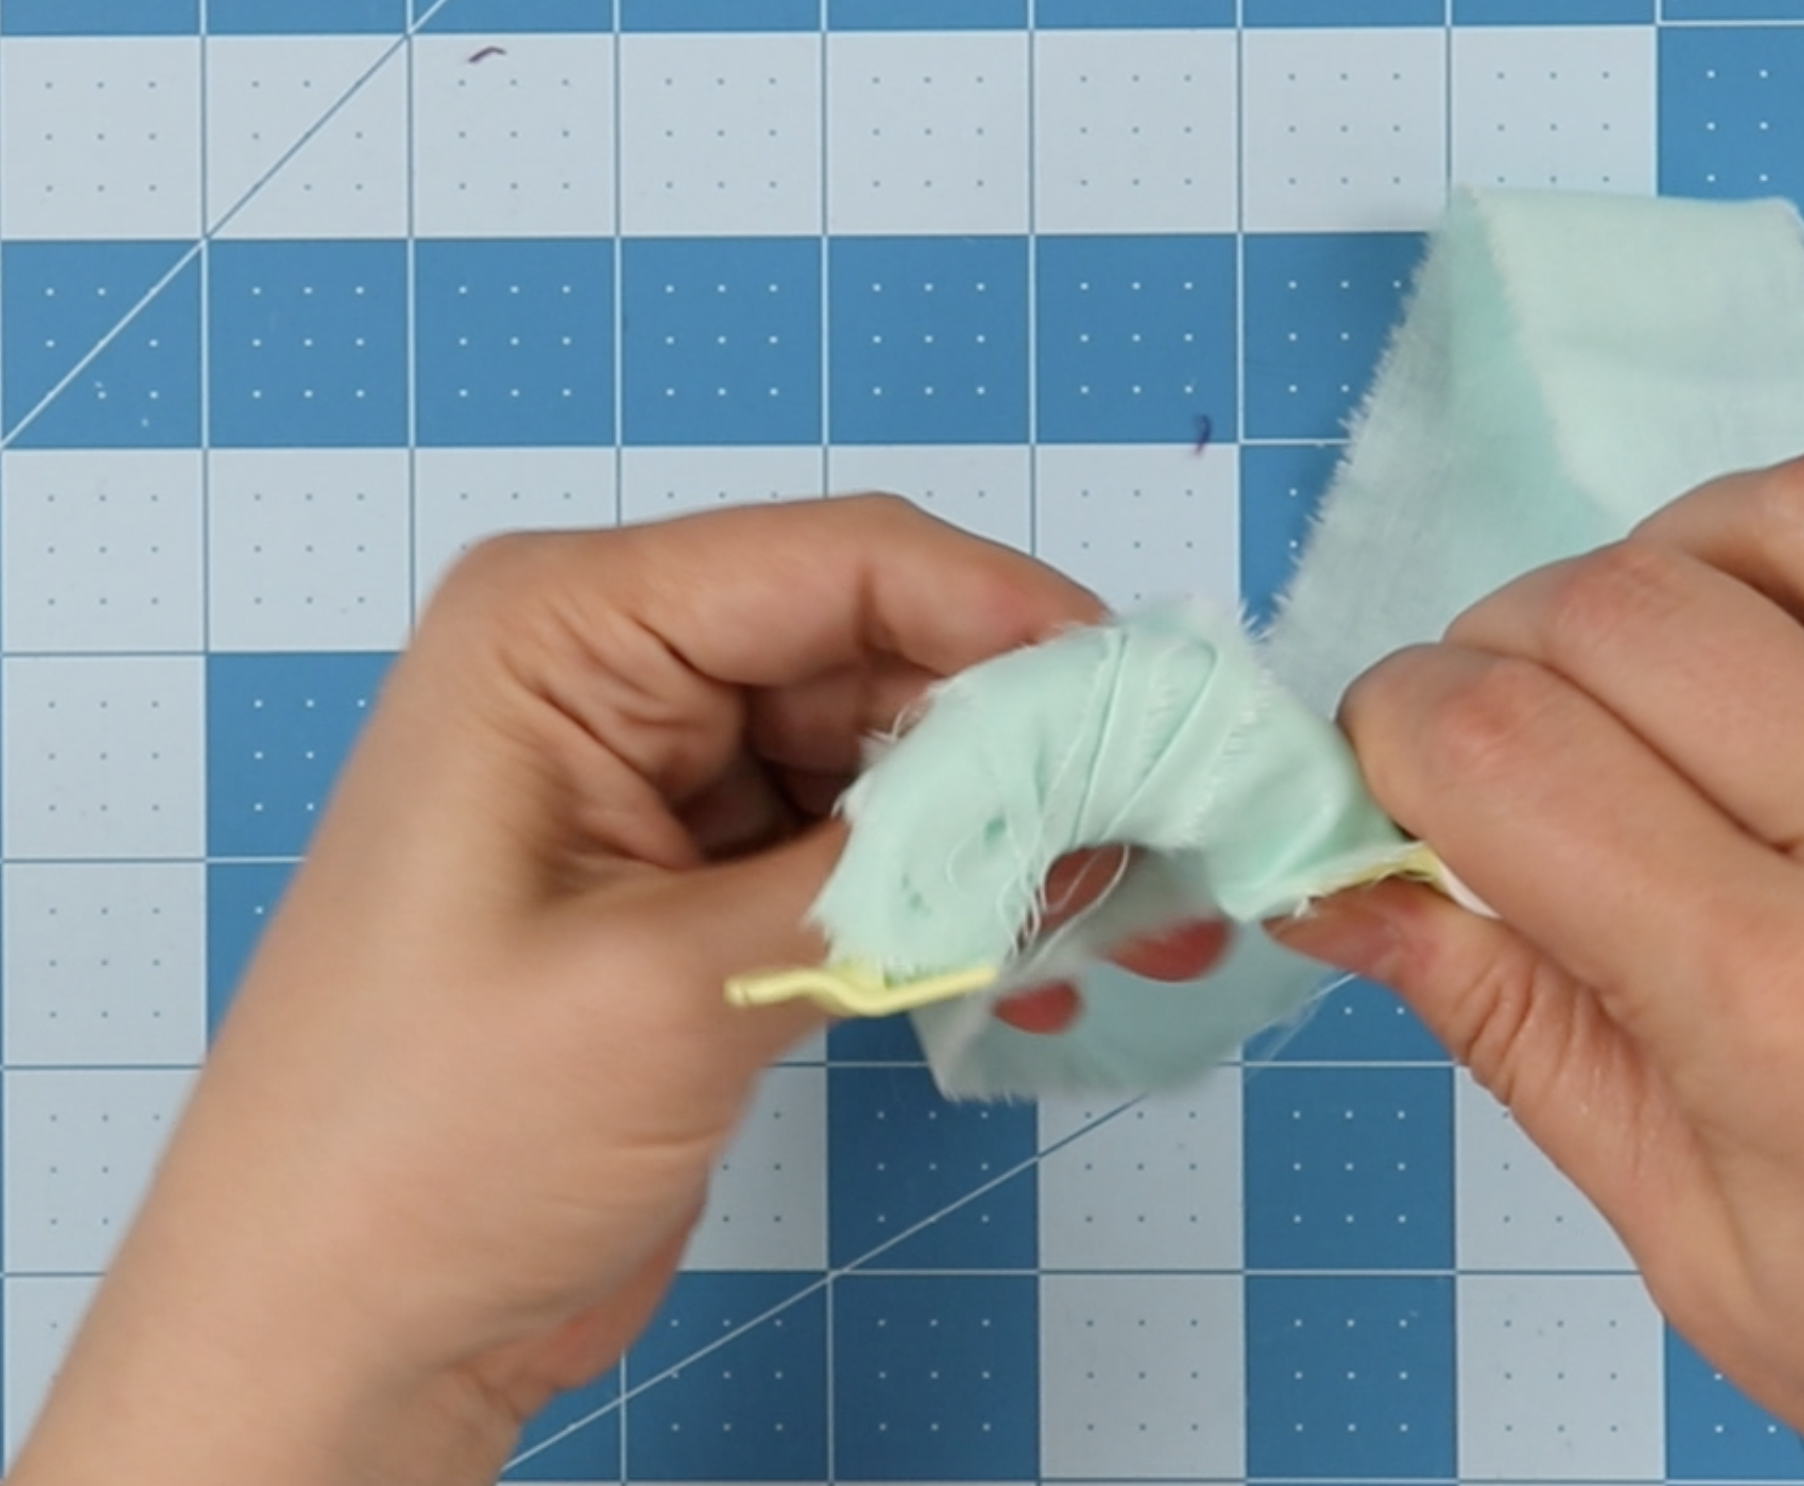
Use a pair of scissors and cut between the right and left side. Repeat this step on the upper and lower portion of the pom maker. I found it easiest if I hold the section with the protrusions to keep it from lifting as I cut.
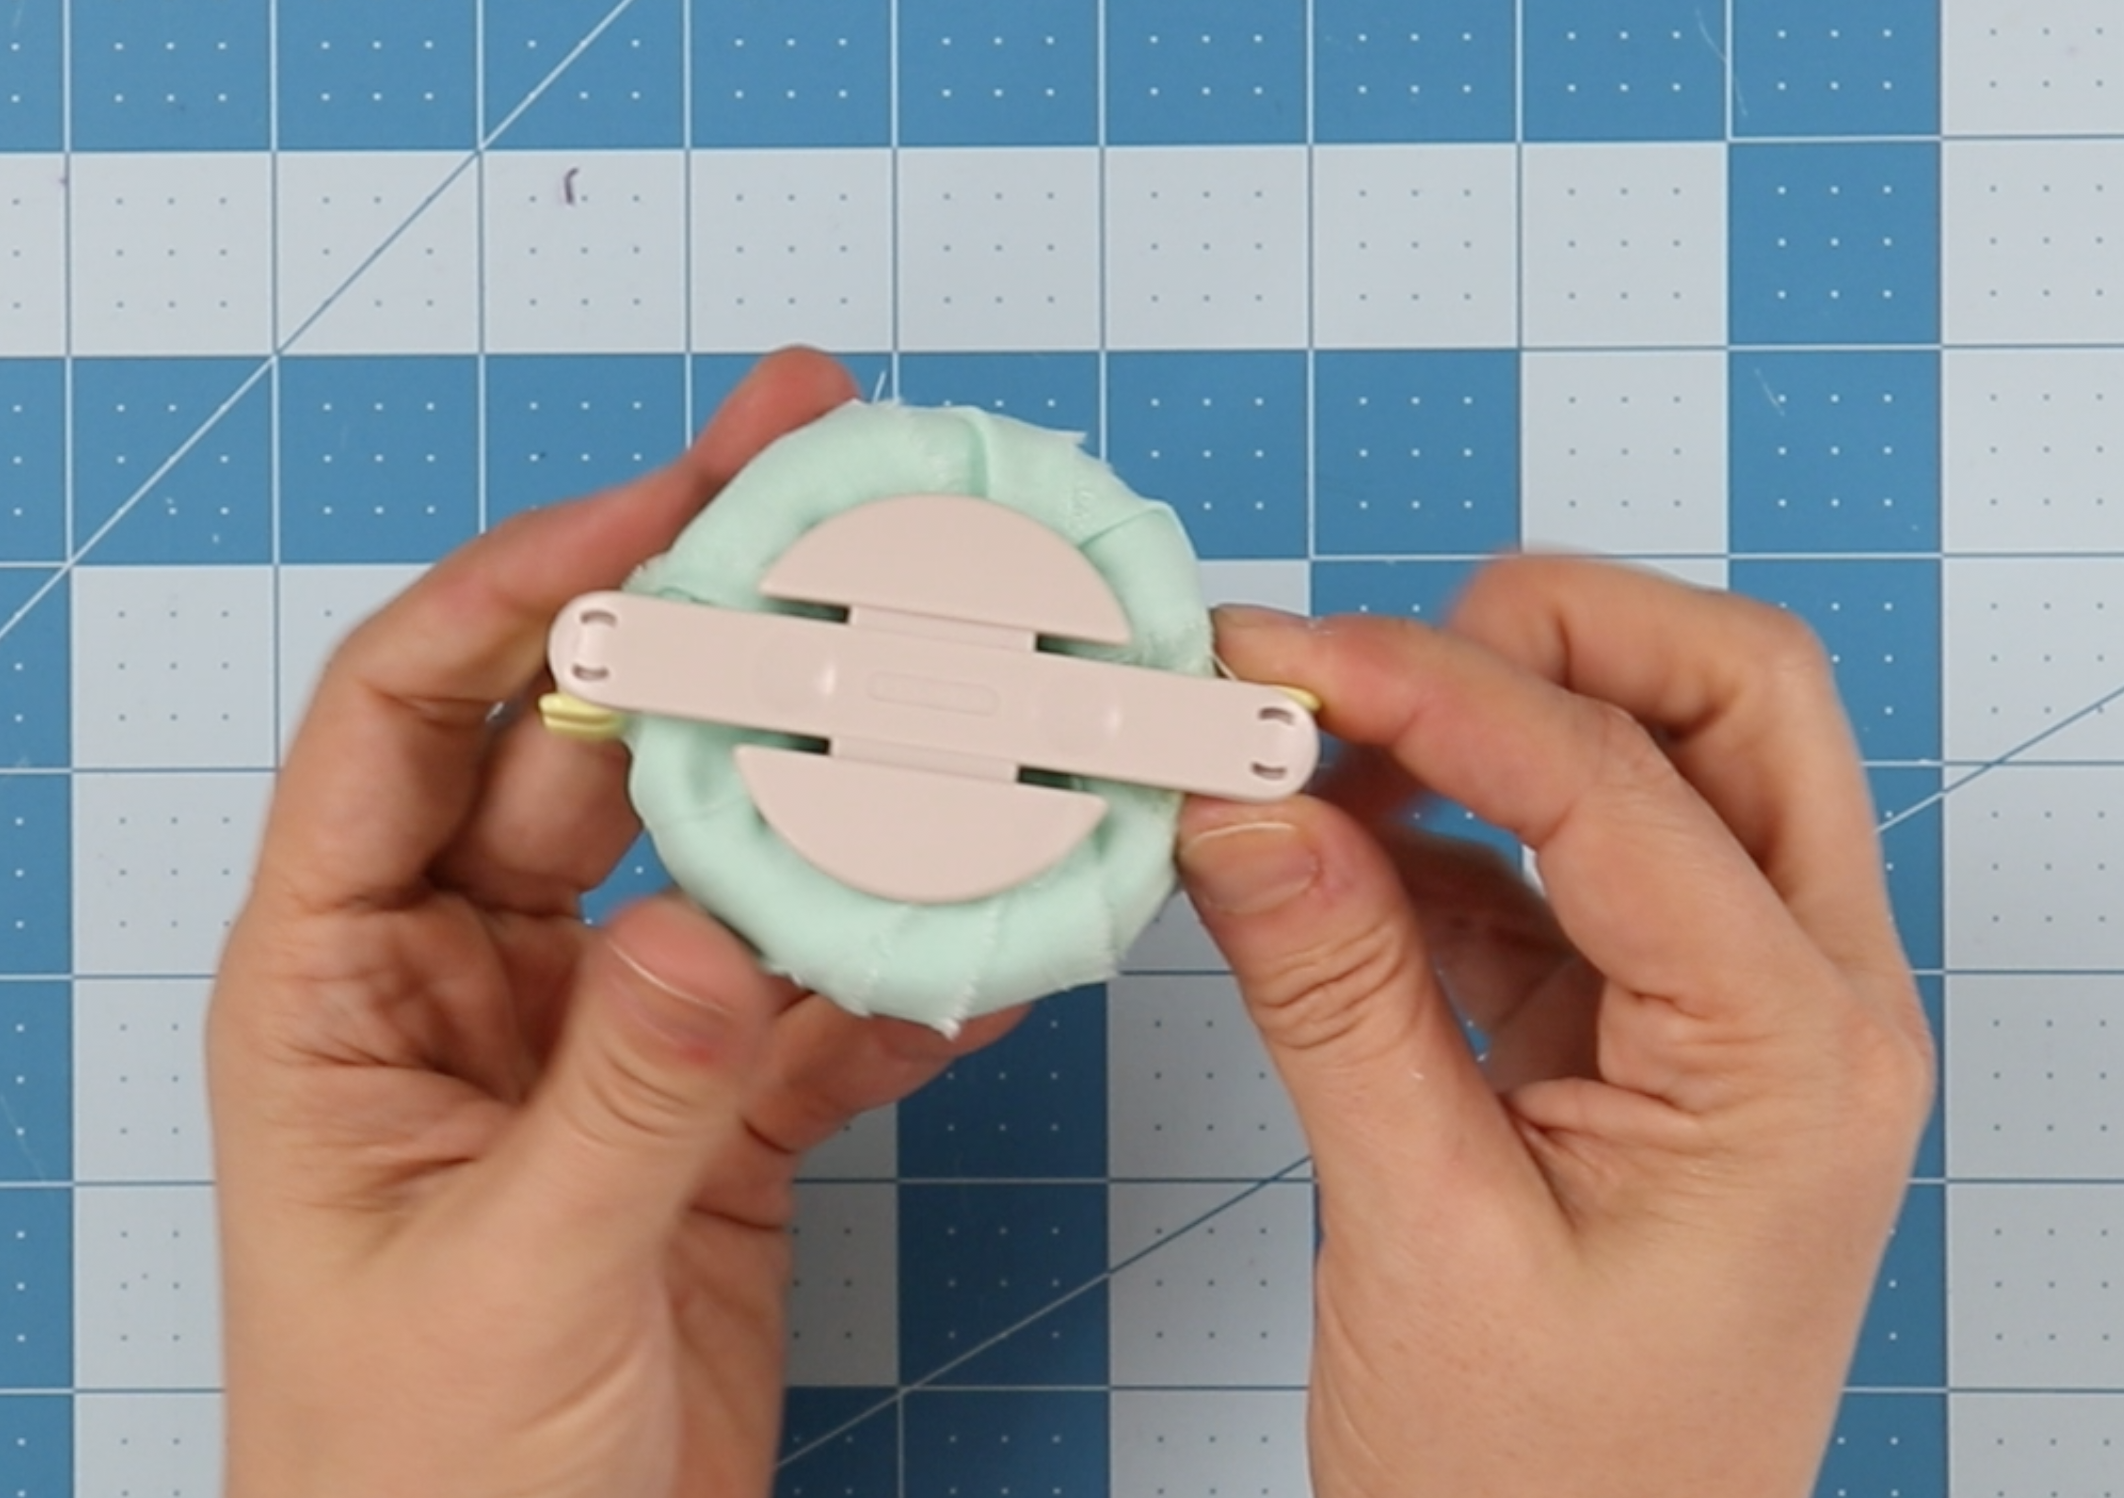
Once you have cut both sides it should look something like this:
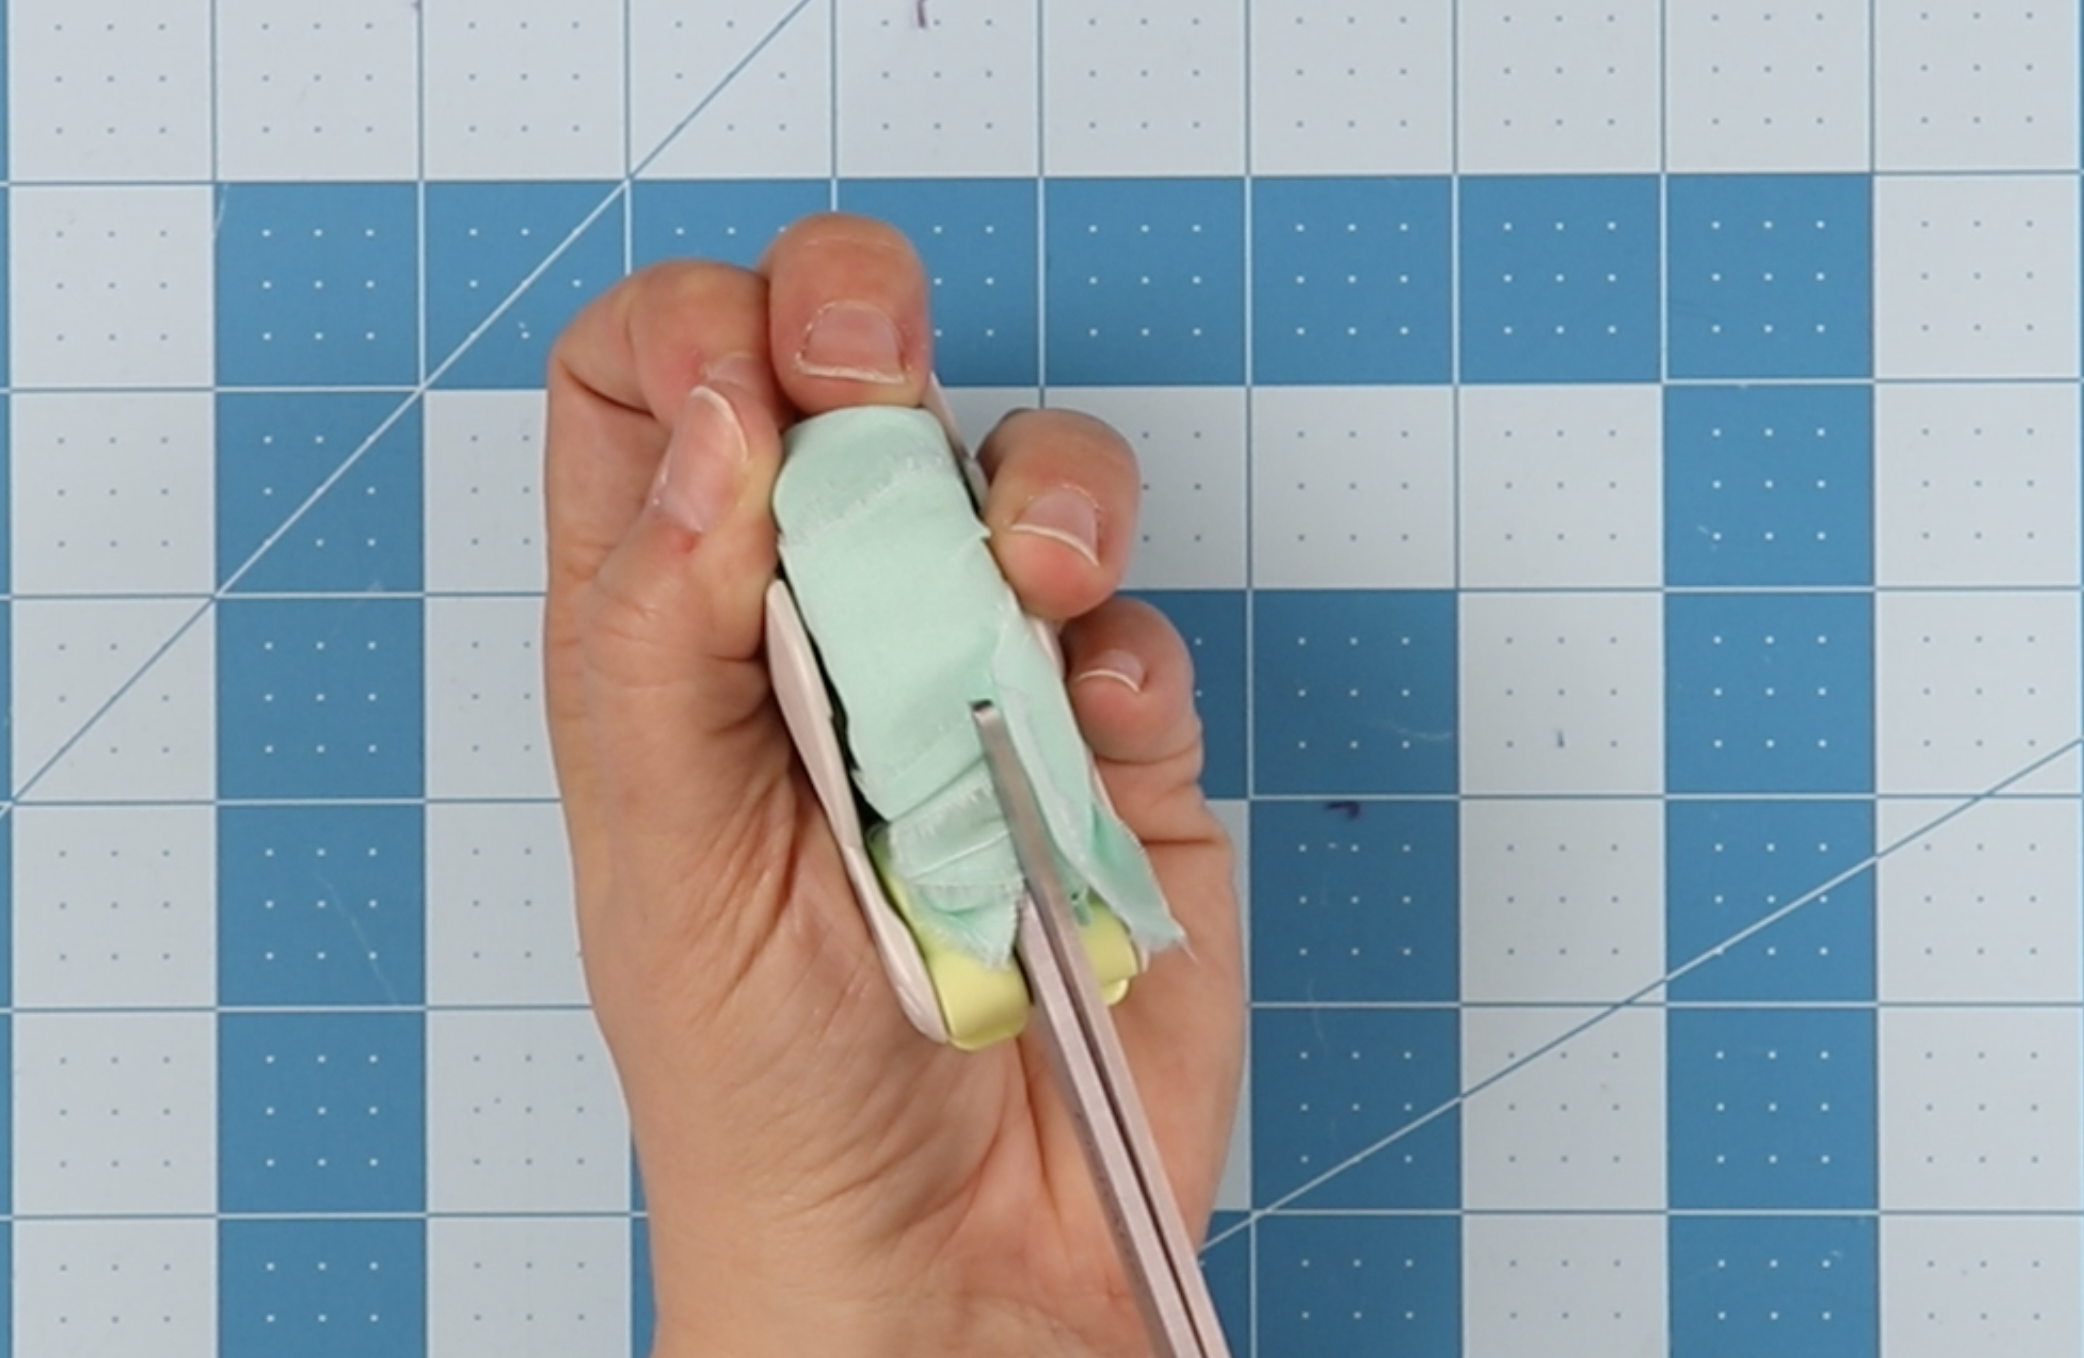
The final step is to tie a string or piece of yarn around the middle of the pom. The string goes between the right and left sides (in the same spot you just cut.) Tie it tightly. Then carefully open the top and bottom. Last pull the right side from the left side. You should have a finished pom.
Fabric Pom Pom Garland:
To create the garland pictured in this post here is what you need.
Quilting Cotton in Solid Colors
Instructions:
Snip your fabric at the 1″ mark. Then rip the fabric along the entire length (so my strips were 1″ x 36″.) The first strip will be crooked, so add it to your scrap pile and don’t worry the next strips will be straight.
Wrap the fabric as explained above and pictured in the video below.
Tie the pom off with embroidery floss.
Tie each pom to the cable cord.
Hang on your mantle or around your tree!
Make as many as you need to fill up the space you are working on. For your mantle you will need fewer poms. For your tree you will want more. You could also stuff the cord with lots and lots of poms to give it a good thick full texture. There are so many fun options so play with it.
Do you have any tips for how to use a pom pom maker? Share with me in the comments below.


Leave a Reply