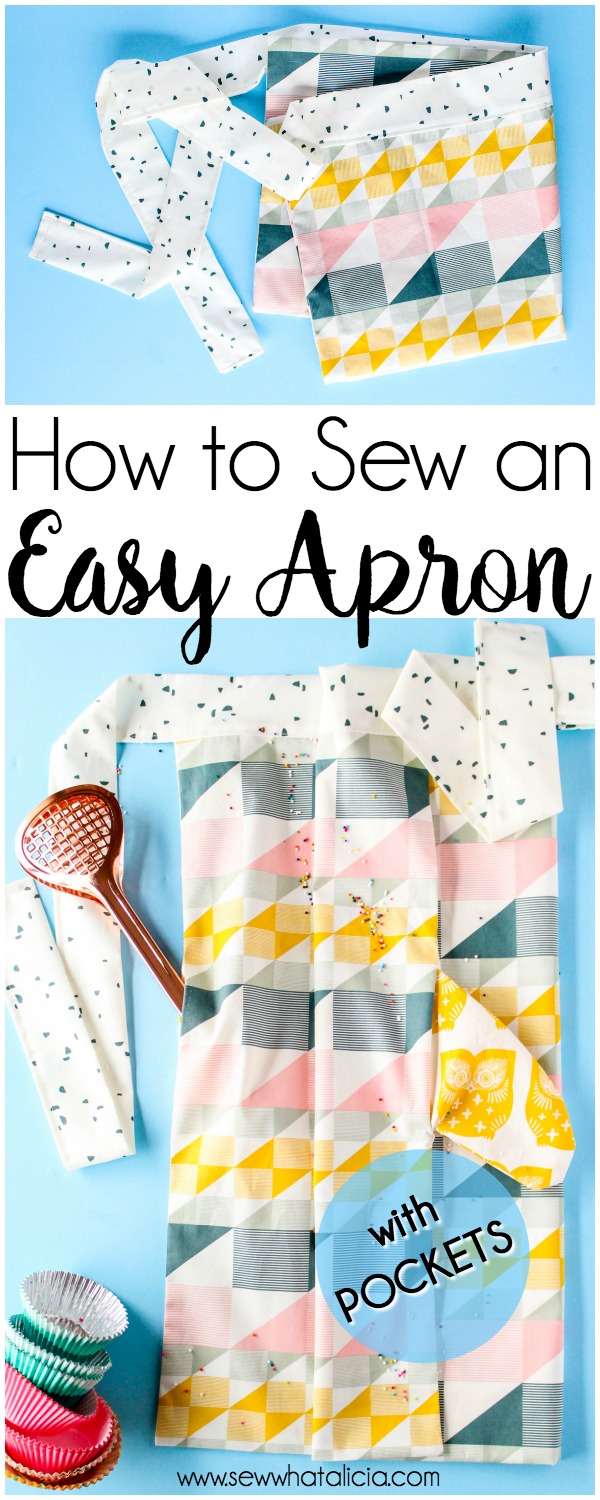
How to Sew an Apron for Beginners
Aprons are one of the most requested projects that I get over on my Facebook page! I have never done one because honestly I don’t wear them and I rarely cook! Ha. But they do make great gifts and they are perfect for adding to a gift basket for all sorts of holidays. Plus they are pretty adorable. Aprons range in difficulty level but they can be really easy to make so I wanted to share this easy apron with you. Here is how to sew an apron for beginners. Don’t miss the video walkthrough at the end of the post.
How to Sew an Apron for Beginners
New to sewing? Check out all my recommended supplies HERE.
This is one of my best Easy Beginner Sewing Tutorials. Check out there rest HERE.
How do I make an apron?
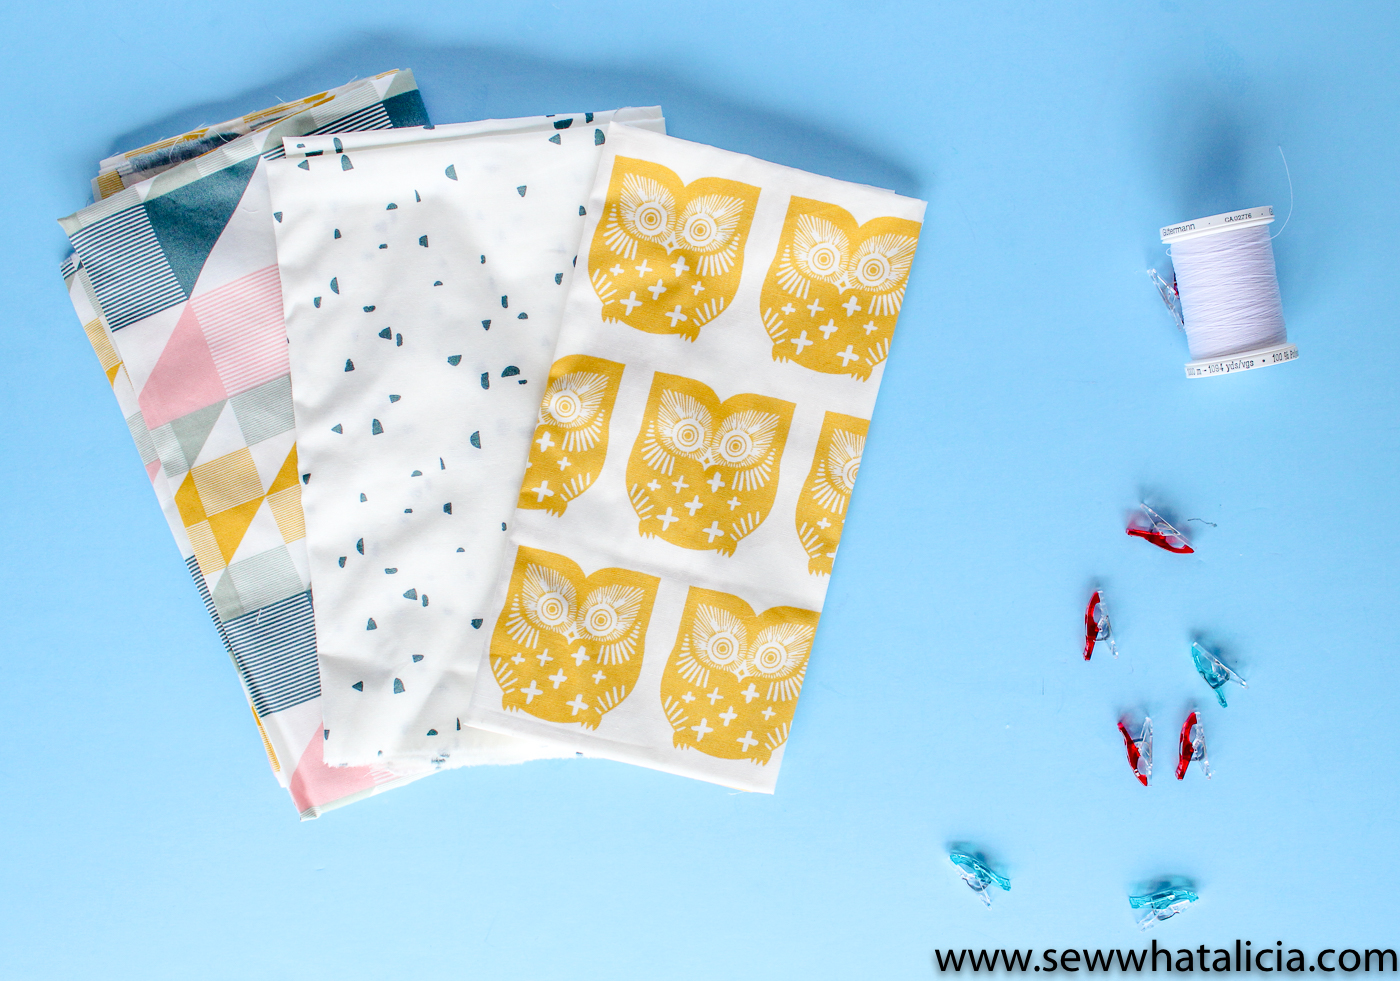
Supplies:
Fabric – Heartland from Art Gallery Fabrics is pictured.
Instructions:
Cut two pieces of fabric that measure 20″ x 40″. You will fold the fabric in half (hamburger style) so the pattern should go from left to right along the 20″ side, and up and down along the 40″ edge.
Choosing a fabric with no directional print is a great option for this apron.
To add pockets to the apron scroll down to the next heading.
If you don’t want to add pockets take your large piece of fabric and fold it in half so it measures 20″ by 20″. Sew along both the left and side to close the sides of the apron. Leave the entire top of the apron open. We will close it in the last step. Then turn the apron out. Press the seams so they lie nice and flat and go to the last heading “how to put ties on an apron.”
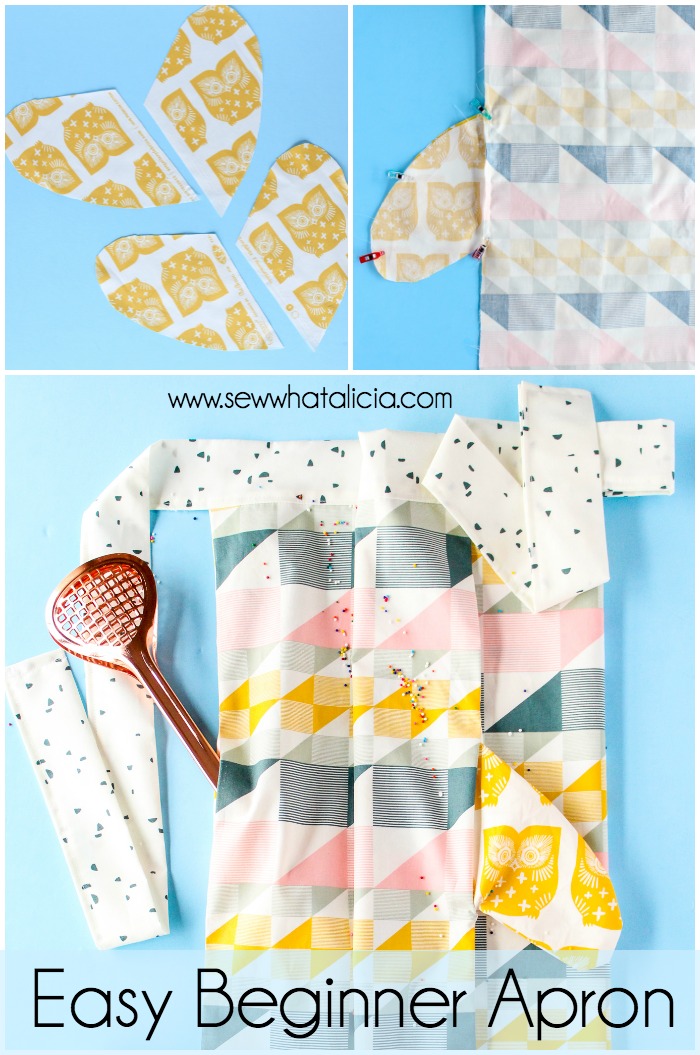
How do I put pockets on an apron?
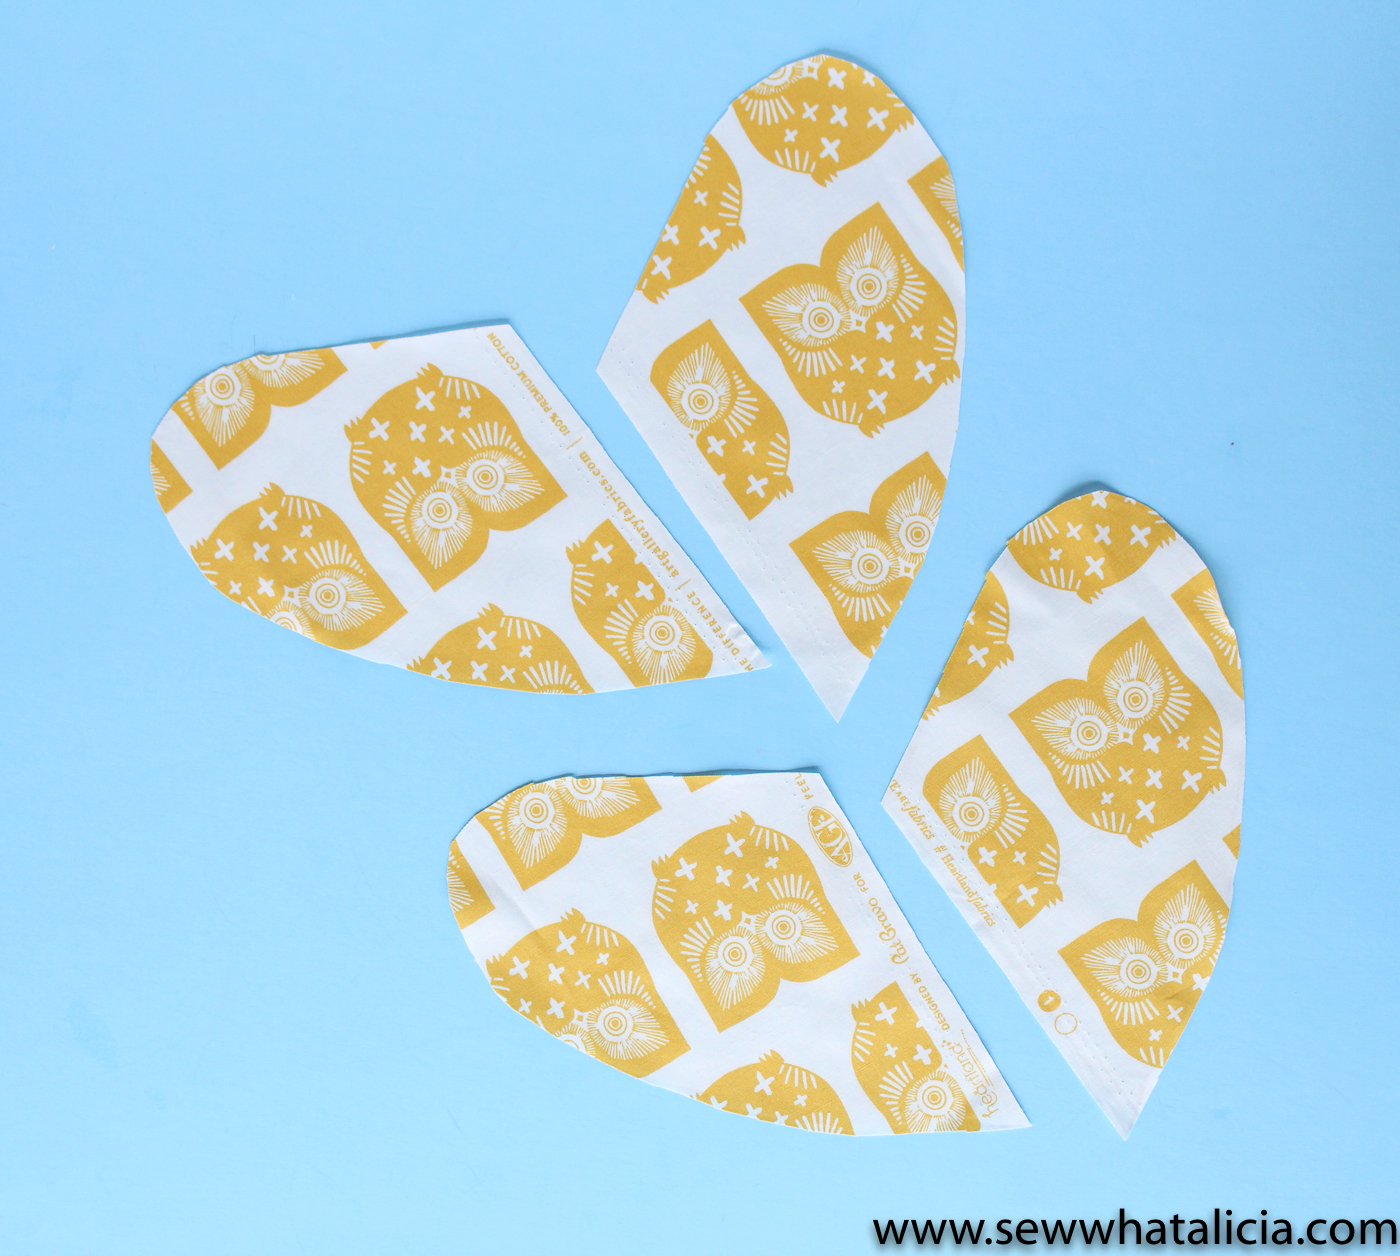
To add pockets grab a coordinating fabric (or the same fabric as the apron. Fold it in half and trace your hand in a pocket shape. Do this for each hand. You should have four pieces, two facing each way.
Now measure down 6″ from the 20″ side of the apron on the left and right side. Pin a pocket piece in place right side down on the right side of the fabric. Make sure the pockets point down away from the top edge. Repeat this with the bottom edge of the fabric, remember that we will be folding the fabric up so the pockets should face the same way and line up when you fold the bottom of the fabric up to meet the top. Sew 1/4″ from the edge along the long edge of the pocket. Repeat with all four.

Now unpin the pocket pieces. Fold the apron in half so you have a 20″ x 20″ square. Pull the pockets out and line them up so that they are right sides together.
Sew along the edge and around the pocket. Do not sew along the straight edge of the pocket or you will be sewing the pocket closed. Repeat with the second side.

We will not sew the top yet. Turn the apron out, leave the pockets inside. Press the seams so you have a nice flat edge.
** You can also add pockets just to the front. These are called patch pockets.
To make a patch pocket cut a square that is 1/2″ larger on each side than you want your pocket to be. Press each edge under 1/4″. Sew the top edge down. Then place the patch pocket onto the front of the apron sew in place around the three remaining edges. Down the left across the bottom and up the right side. You can place one, two, or even three of these pockets on the front of your apron.
How do I put ties on an apron?
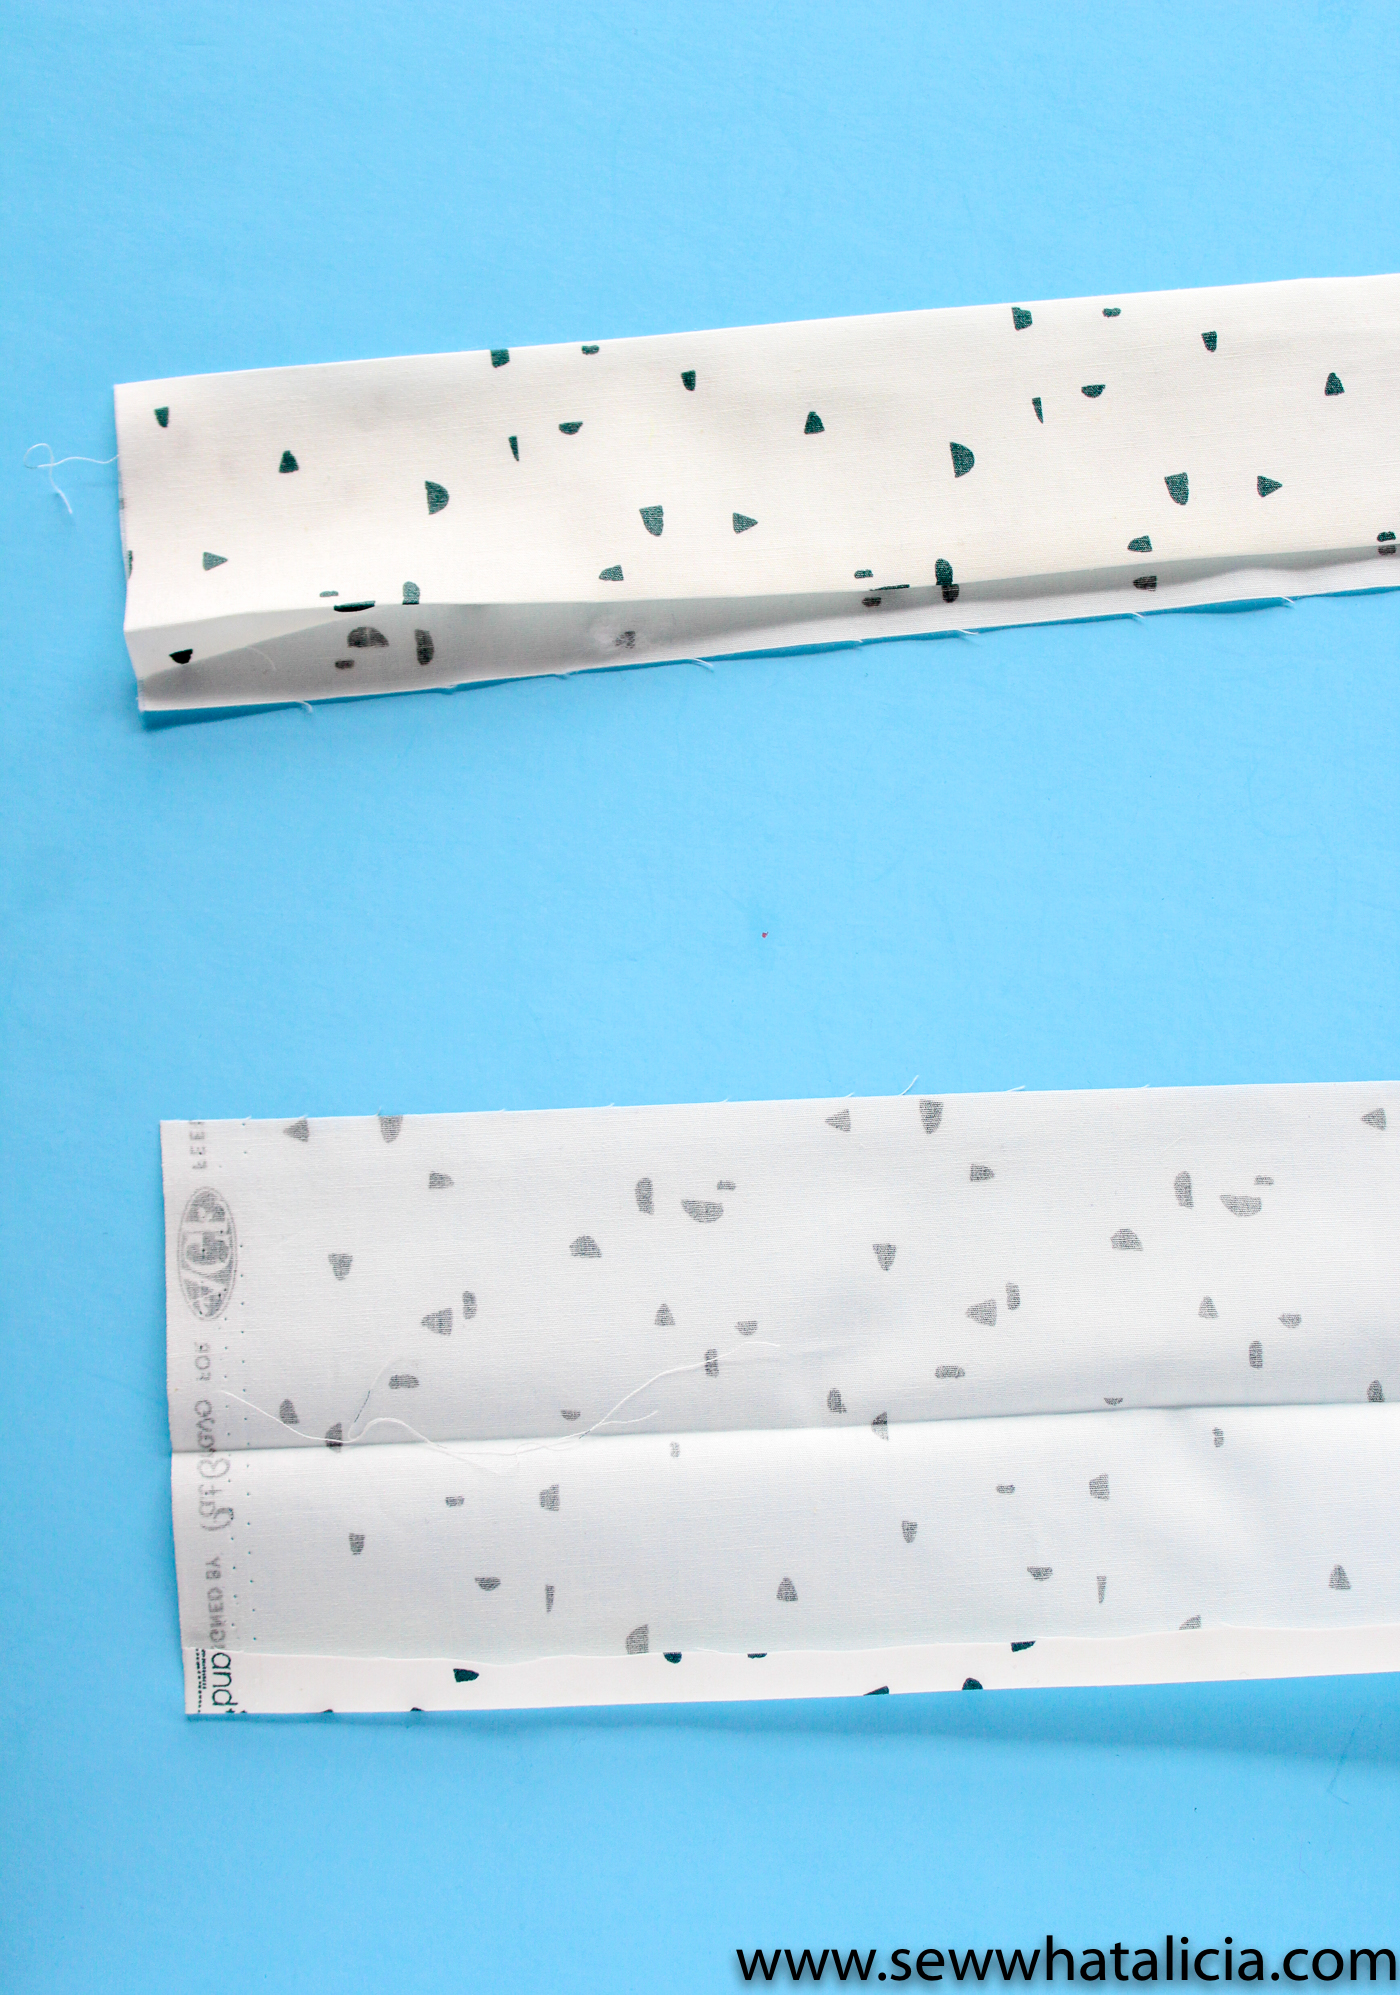
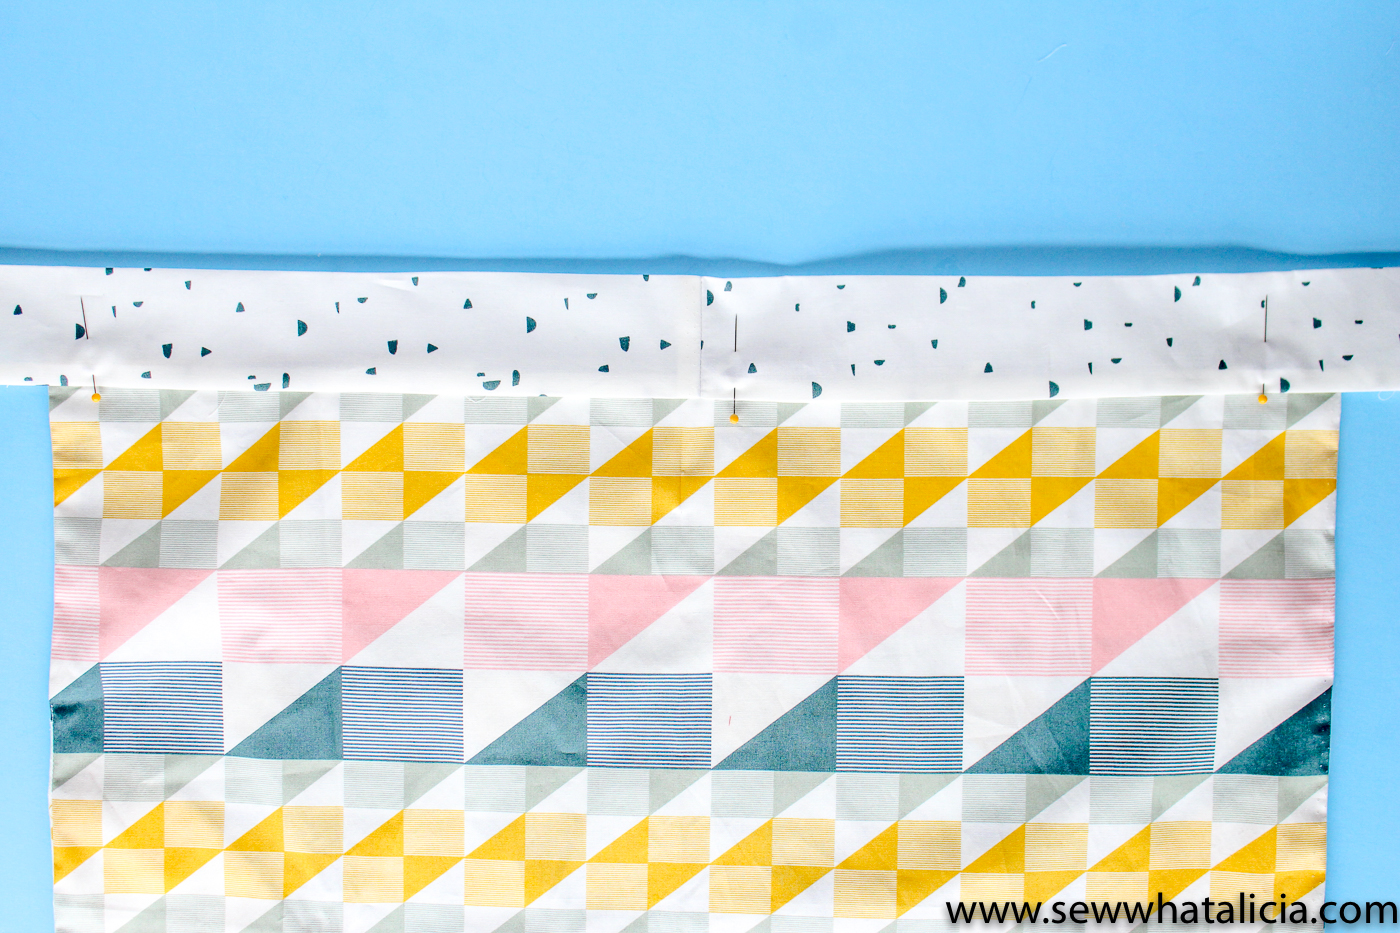
Cut one long strip that measures 5″ x 64″ (or cut two 5″ strips and piece them together as I have done to create one long strip.)
Press the piece in half. Then press the edges under 1/4″ (all four edges.)
Now find the middle of your apron and the middle of your tie. If you pieced two pieces together finding the middle of the tie should be easy! Place the tie right side down on the back of the apron, lining up the two middles.

Sew this in place using 1/4″ seam allowance, you can sew right in the seam you pressed in the last step. This will close the top of the apron and attach the tie to the back.
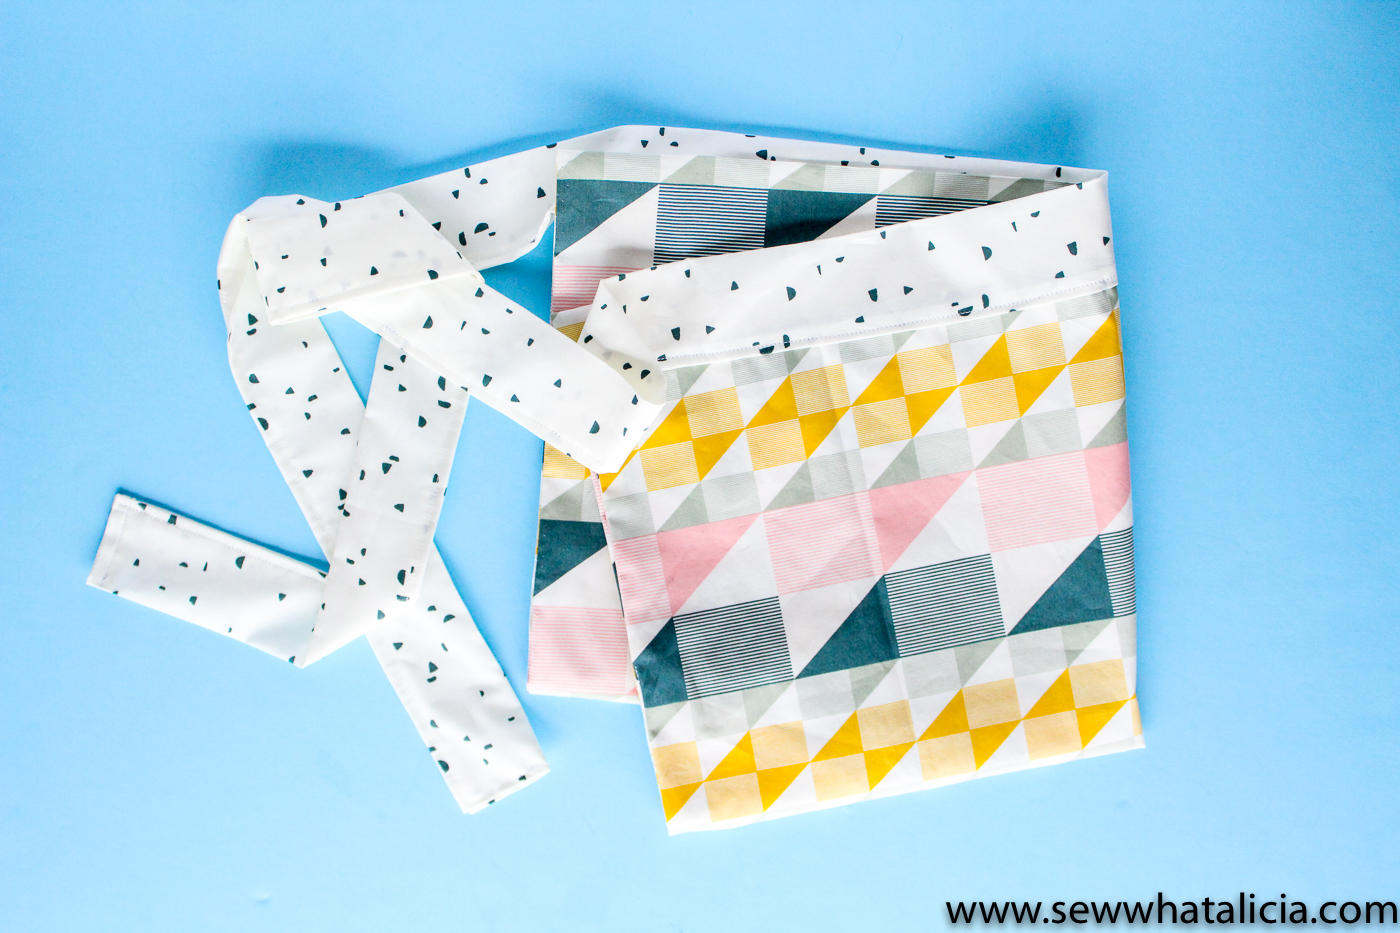
Now bring the tie over the top and to the front side of the apron. Pin the strip in place.
You can also clip the edges of the ties together.

To finish, sew along the short edge of the tie and then all the way to the other edge of the tie and up the second short edge.
With or without pockets this is a fun little apron that is great for beginners! It is quick and easy to sew and would make a great gift for any occasion.

Make one of these for your next baking day! Has this tutorial how to sew an apron for beginners been helpful? Share your thoughts with me in the comments below.


Leave a Reply