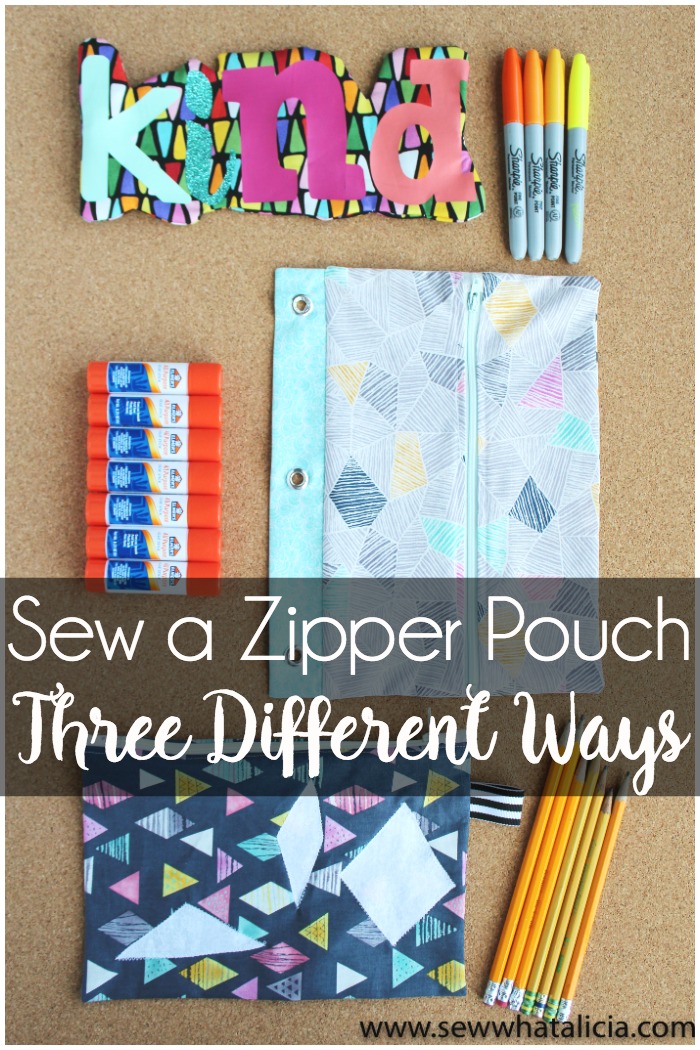
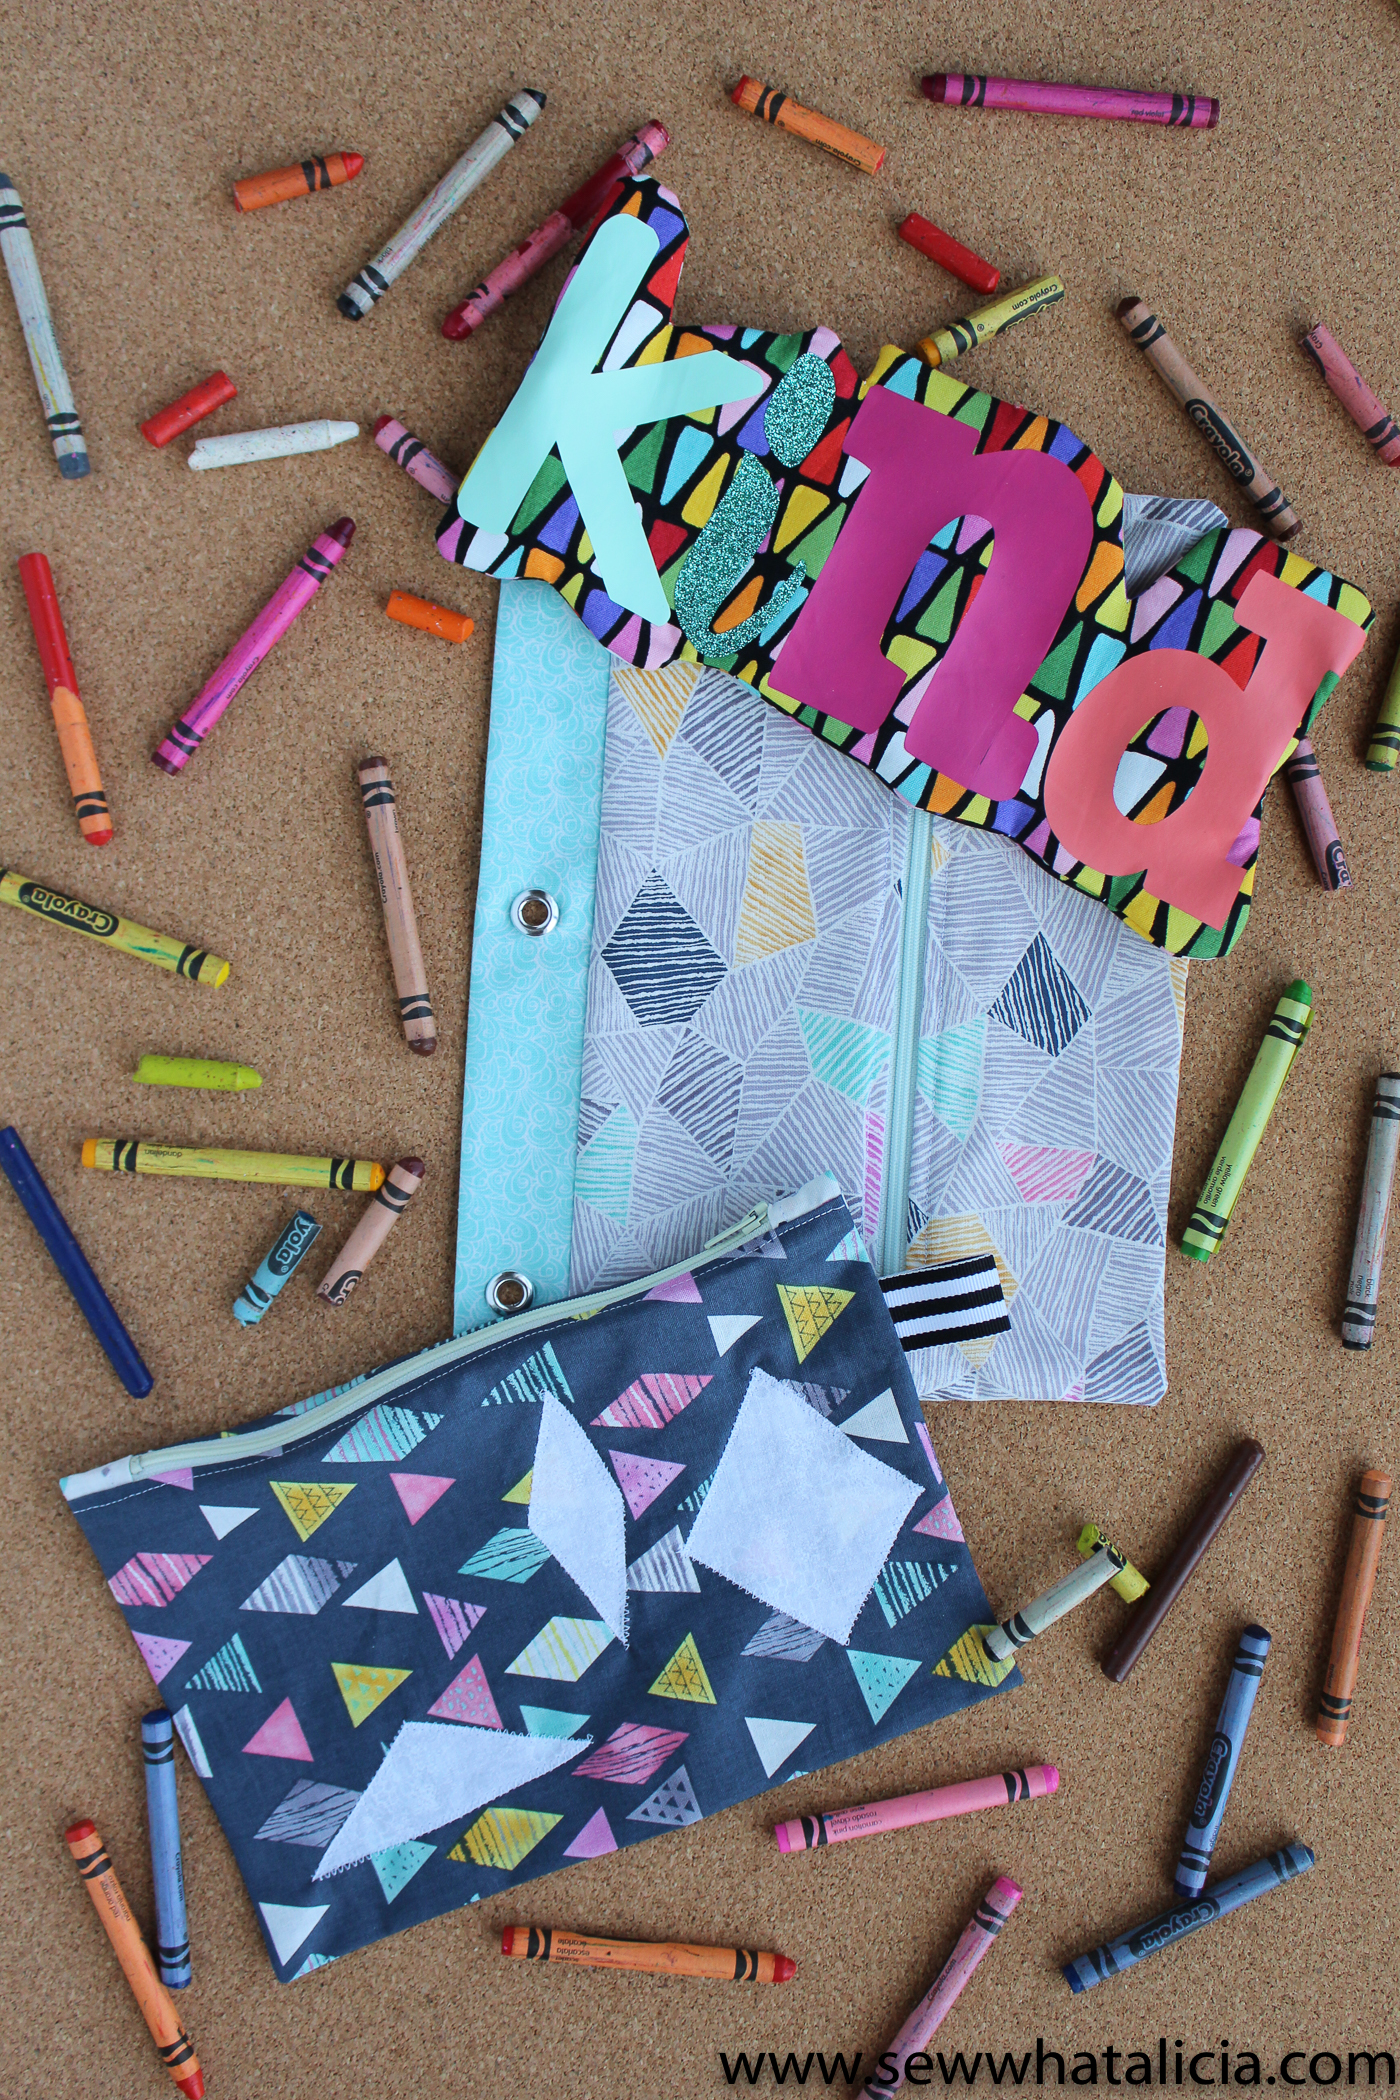
How to Sew a Zipper 3 Ways
You might know by now that I am kind of obsessed with zippers!! Remember the 30 days of zippers or the ruffle pouch, or the double zippered wallet?? Today I am back with more about how to sew a zipper pouch. Today I am sharing three fun ways to create custom pouches that are perfect for back to school. Here is how to sew a zipper three ways.
This post was sponsored by Joann. I have been compensated for this post but all opinions and ideas are my own.
How to Sew a Zipper 3 Ways
Zipper pouches are such a fun way to add a fun touch to the kids back to school backpack. You can make them with fun fabrics or in fun shapes. You can use a fun patterned zipper or even a metal zipper. The options are endless.
How to sew on a zipper:
The most important part of zipper pouches is obviously the zipper! I know that people are often really intimidated by zippers but I promise they are not nearly as hard as you think. If you need an in depth tutorial make sure you check out the 30 days of zippers for ALL of my tips and tricks (there are video walkthroughs for all 30 days of projects.)
If you just need a refresher here are the must know details.
What you need:
My biggest zipper secret (not that well kept) is that you should add tabs to either end of your zipper. This will give you really nice corners and make the zipper look really professional. You can see in the picture below that I have attached a scrap piece of fabric to either end of the zipper.
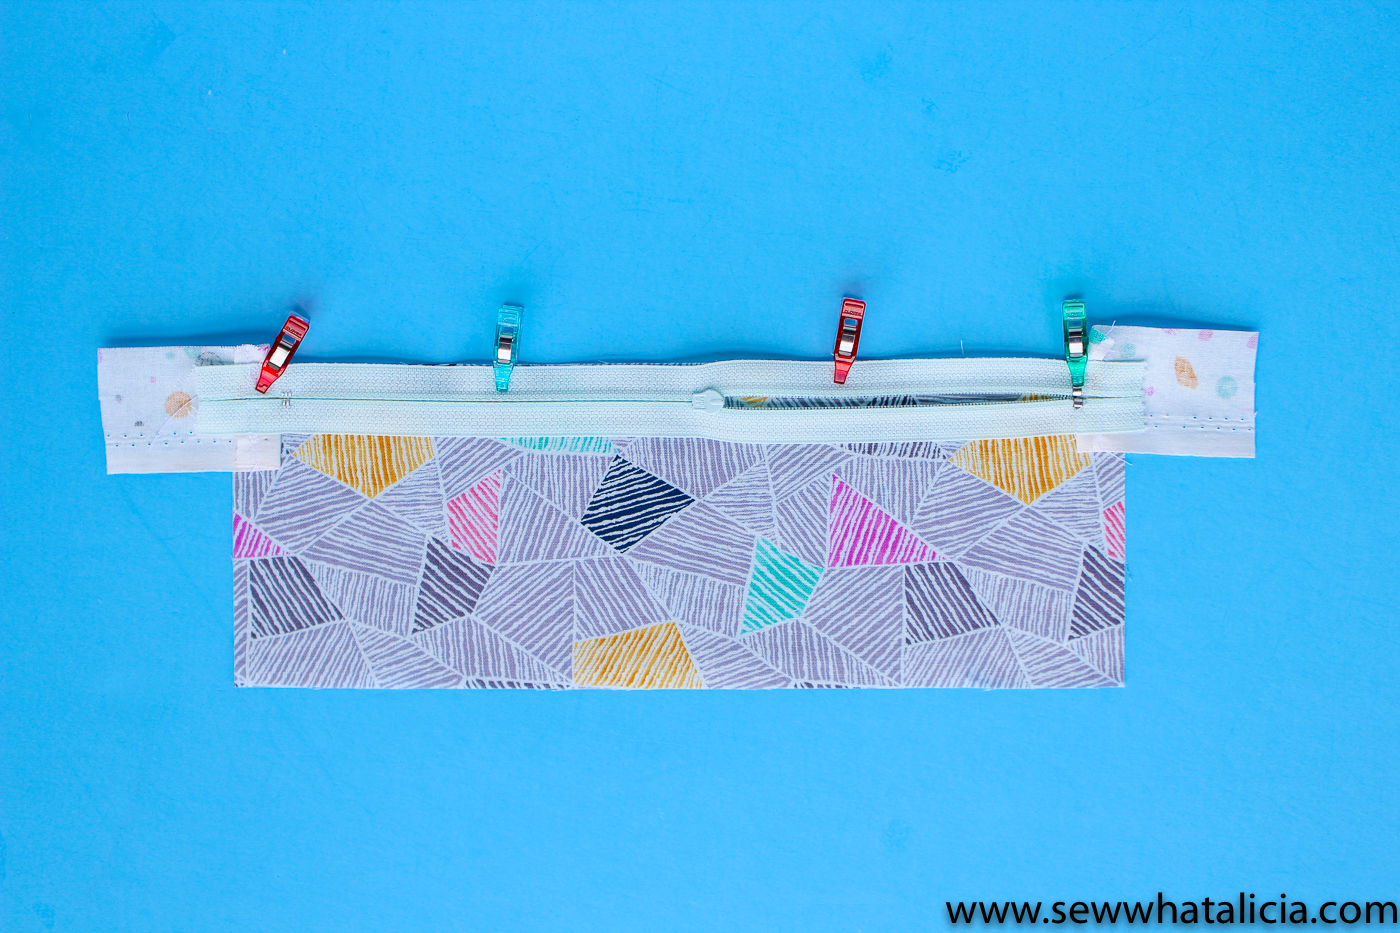
Then place the zipper face down onto the right side of the fabric.
Attach your zipper foot. Place the foot to the right of the needle, the needle will go down into the groove of the foot on the left side of the foot. The needle should line up closely with the groove without hitting the foot. This will ensure a straight stitch and proper installation of the zipper. Sew the zipper in place using your zipper foot.
Repeat this step on the second side, again placing the zipper face down on the right side of the fabric.
Another tip for making your bag look professional is to top stitch along the edge of the fabric after you have sewn the zipper in place. This will keep the fabric away from the zipper and give it a nice finished look.
Those are the basic steps for attaching a zipper to most zipper pouches I make. Now we can get to the specifics for the three different pouches.
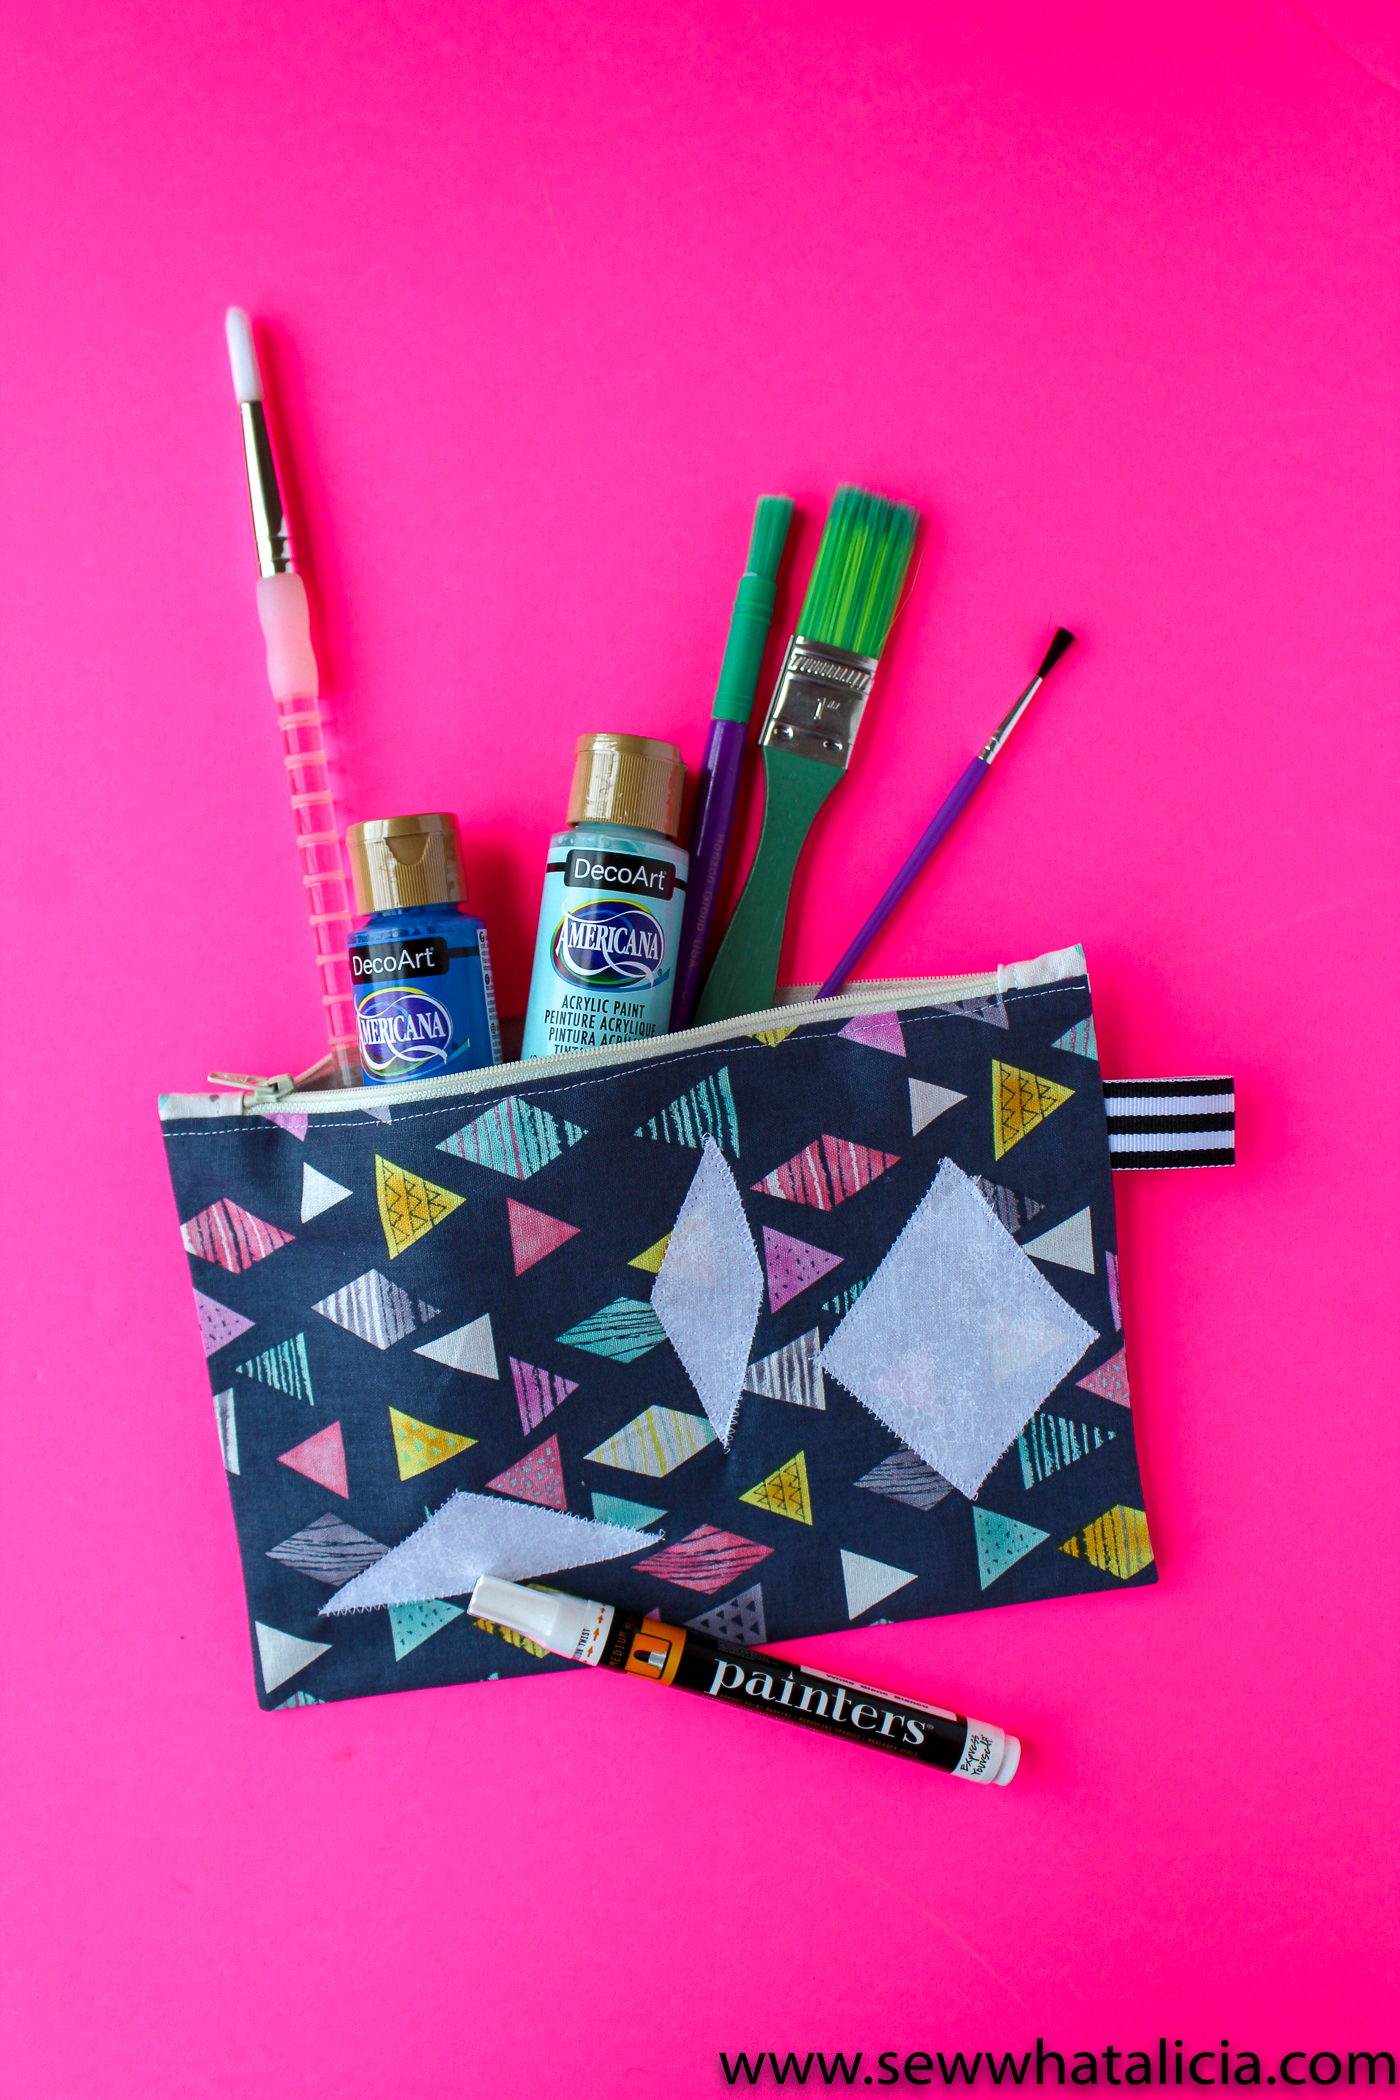
Basic Applique Zipper Pouch:
Extra Supplies:
Cut a rectangle that measures 10″ x 13″. Add tabs to a zipper so that you have at least 1″ of fabric on either side of the zipper to fit the 10″ side.
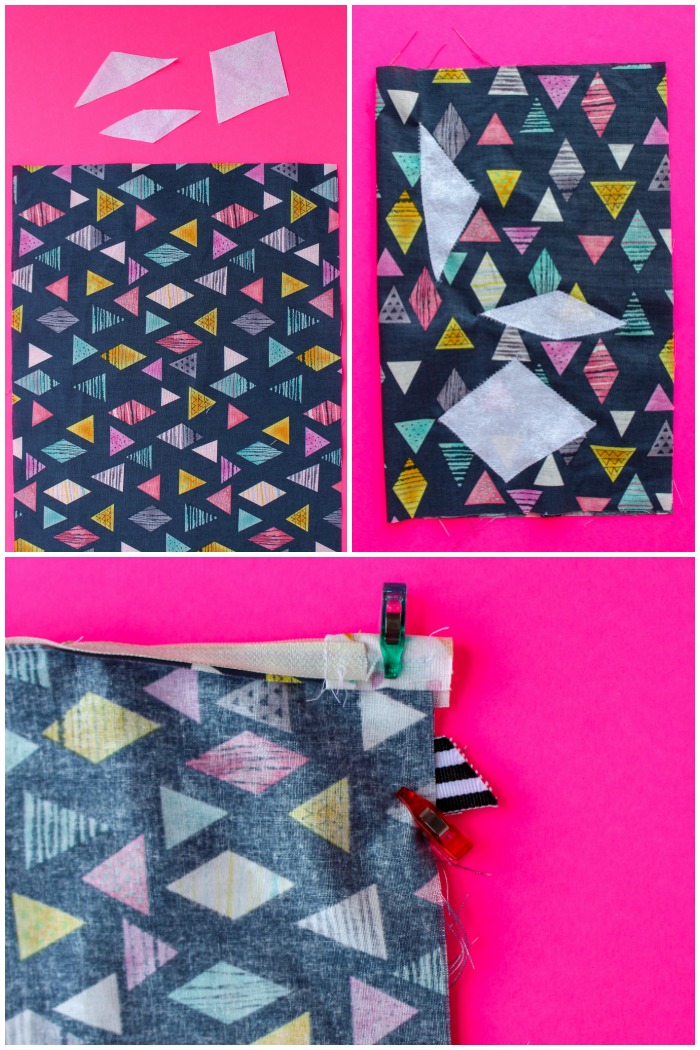
Cut a few fun shapes from a coordinating fabric. Use a zig zag stitch to attach these to the front side of your fabric. The rectangle we cut will be folded in half so be sure to fold it in half to line up the shapes (top right image below.)
Attach the zipper as described above. You will know you have attached the zipper correctly if you have a tube that is inside out once the zipper is attached.
Fold the fabric in half, wrong sides out, and clip all four edges together. Cut a small strip of ribbon and place the raw edges out towards the raw edges of the pouch. Place this towards the top edge on one side. Then sew the two edges closed using a 1/4″ stitch.
Finish the inside by using your pinking sheers to trim the raw edges to avoid fraying.
Binder Pencil Zipper Pouch:
Extra Supplies:
Cut two pieces that measure 4″ x 11″ for the front of the pouch. Cut one piece that measures 7 1/2″ x 11″ for the back of the pouch. Last, cut one piece that measures 3″ x 11″ for the edge where the eyelets will attach. Add tabs to a zipper that measures at least 9″, there should be at least 1″ of fabric on either side of the zipper.
Attach a strip of interfacing to the 3″ x 11″ strip. Fold the strip in half long ways wrong sides out. Sew along the short edges. Turn the piece out and press the fold firmly in place. Set aside.
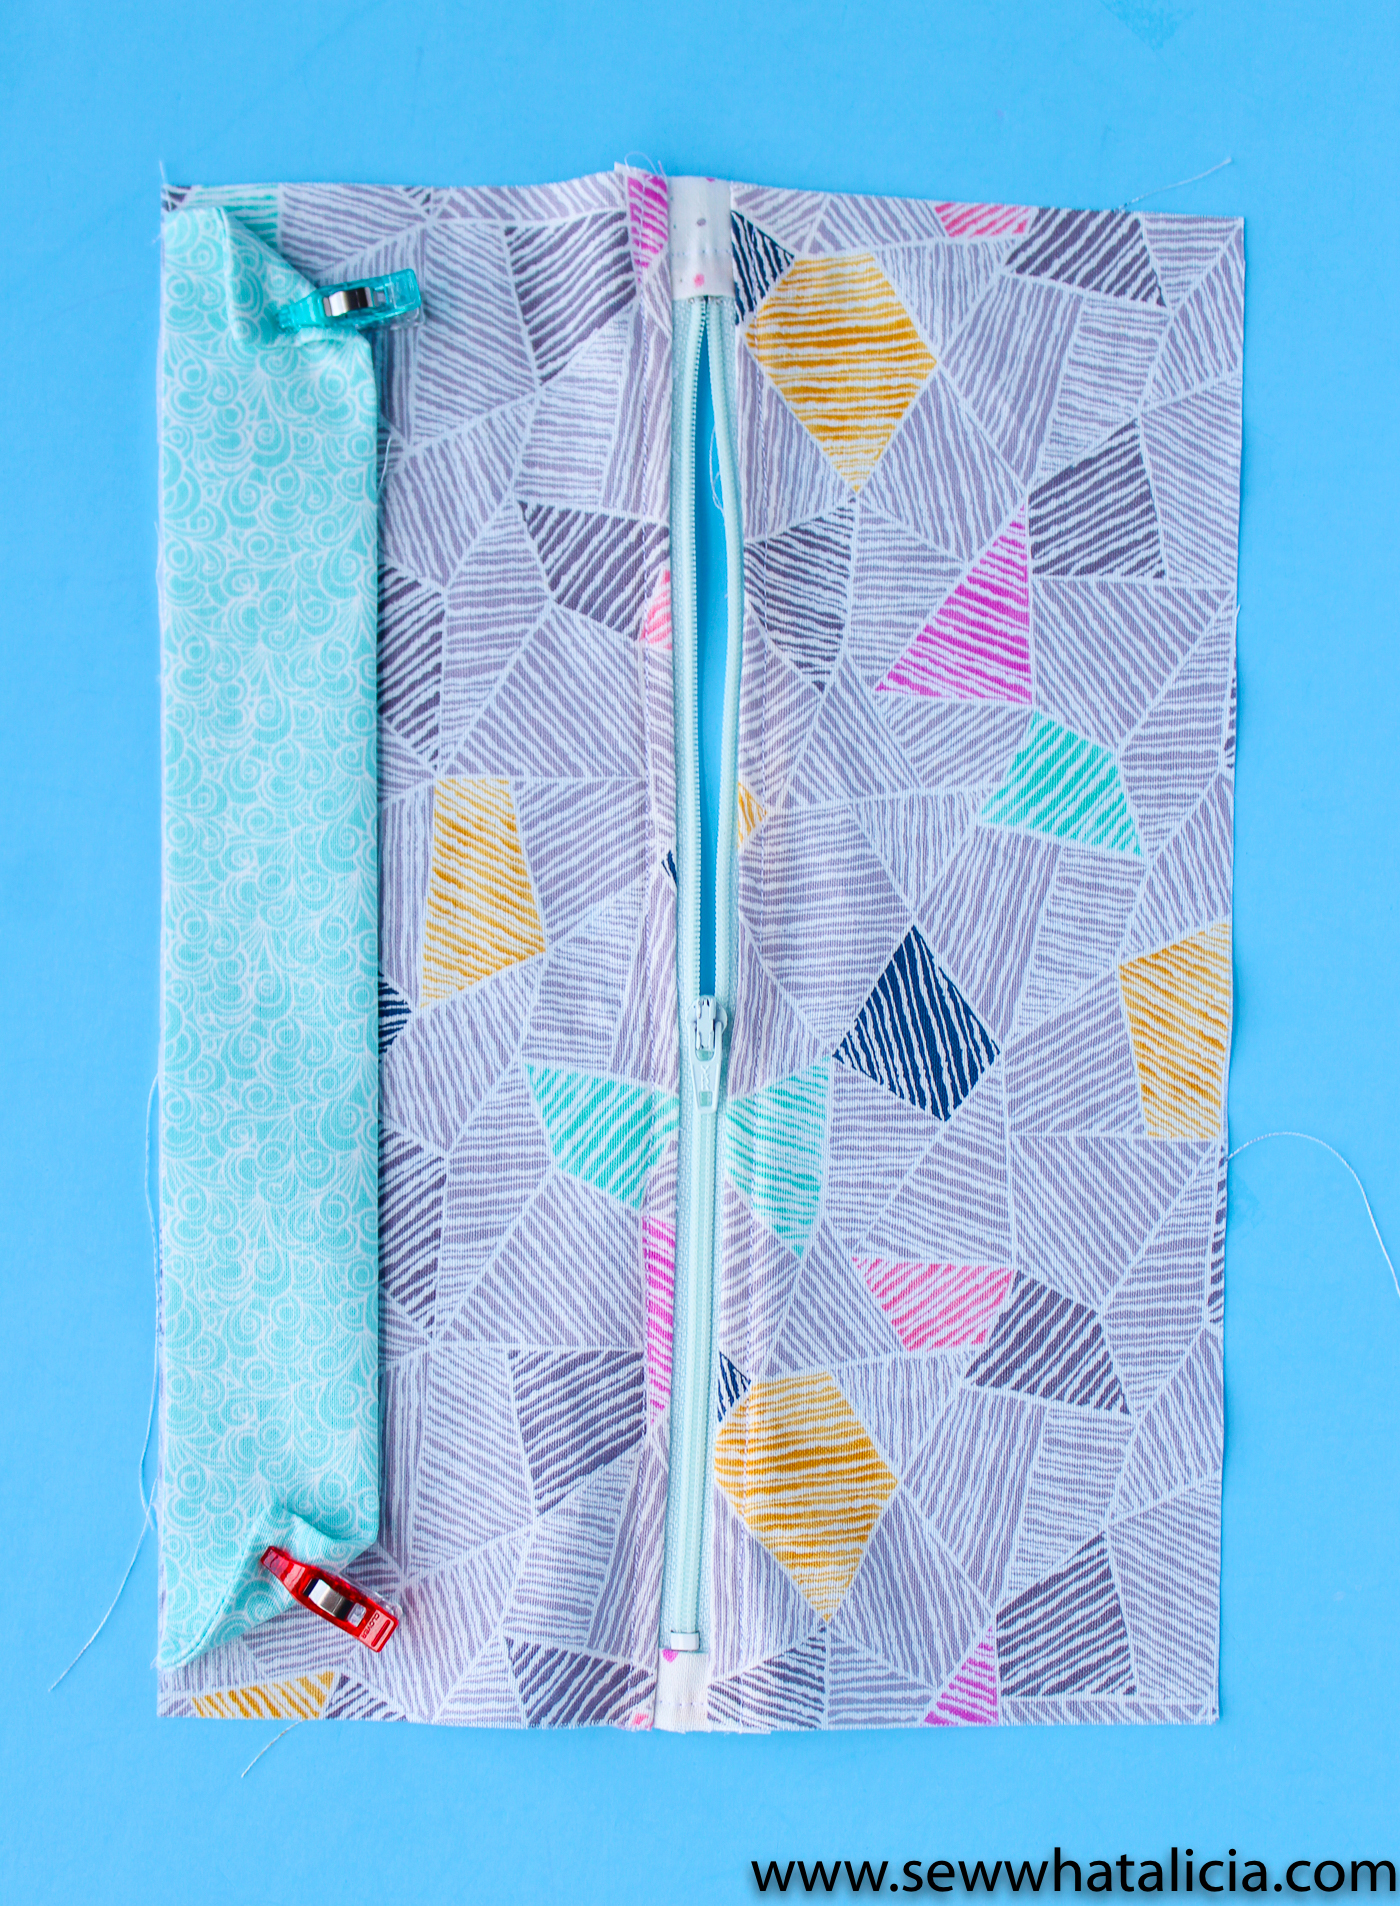
Attach the zipper to the two 4″ x 11″ pieces as described above.

Place the front of the pouch (the side with the zipper) face up then along one of the long edges place the eyelet strip so that the raw edges meet the raw edges of the front of the pouch. clip the corners out of the way so that you don’t accidentally sew over them.
Now place the back of the pouch over the front wrong side out. Sew around all four edges. (Be sure your zipper is open so you don’t have a hard time turning the piece out.)
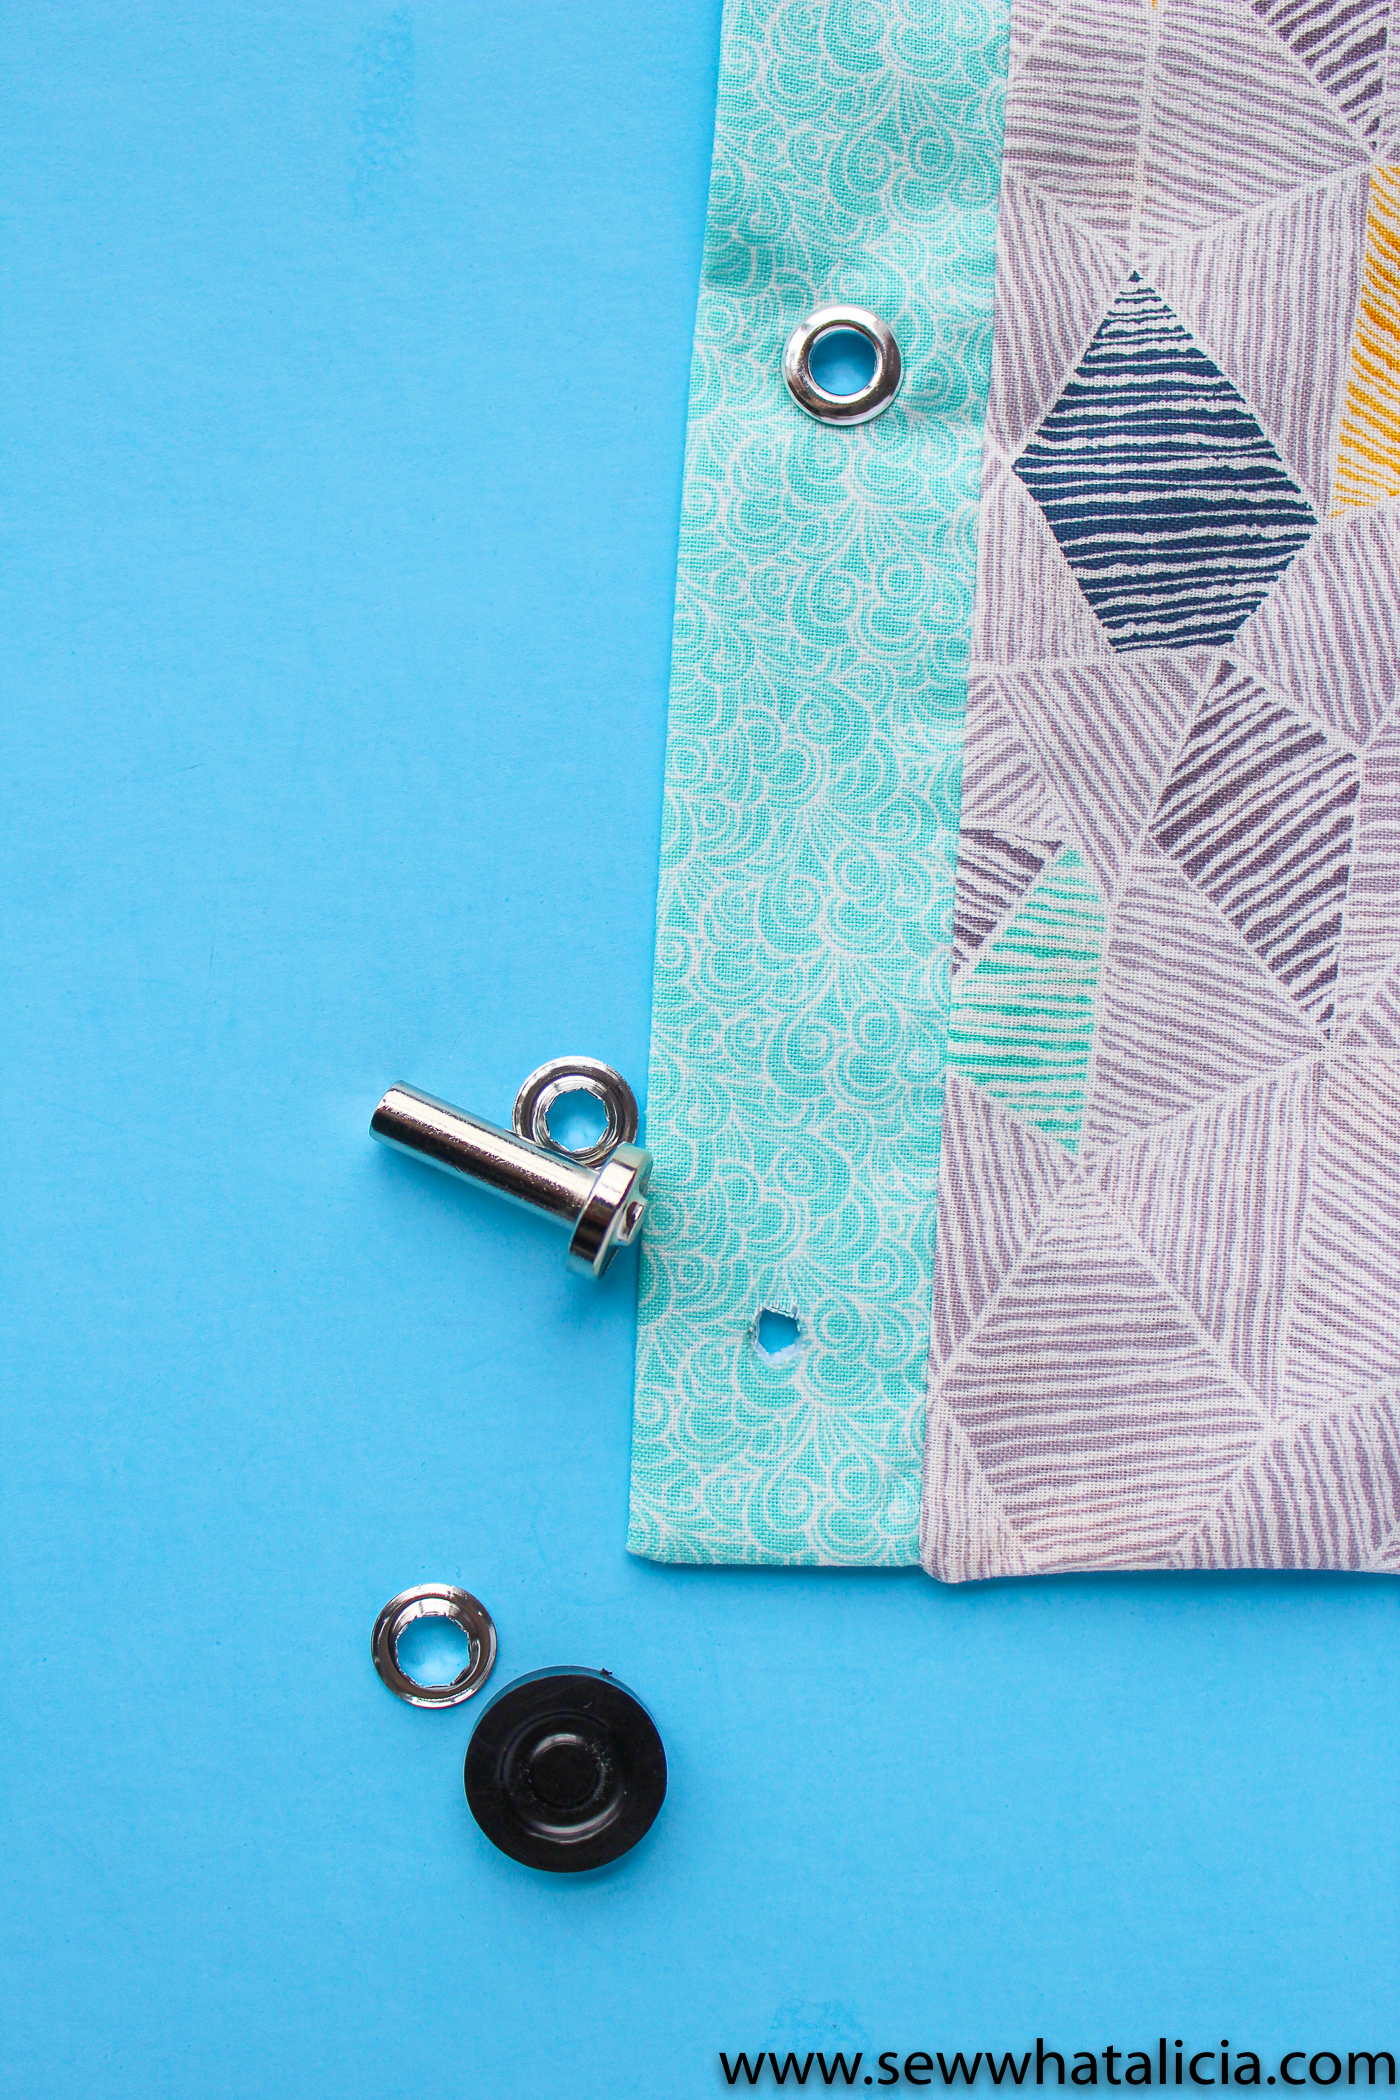
Use a binder as a guide to mark where the eyelets need to go. Then attach the eyelets according to the package instructions.
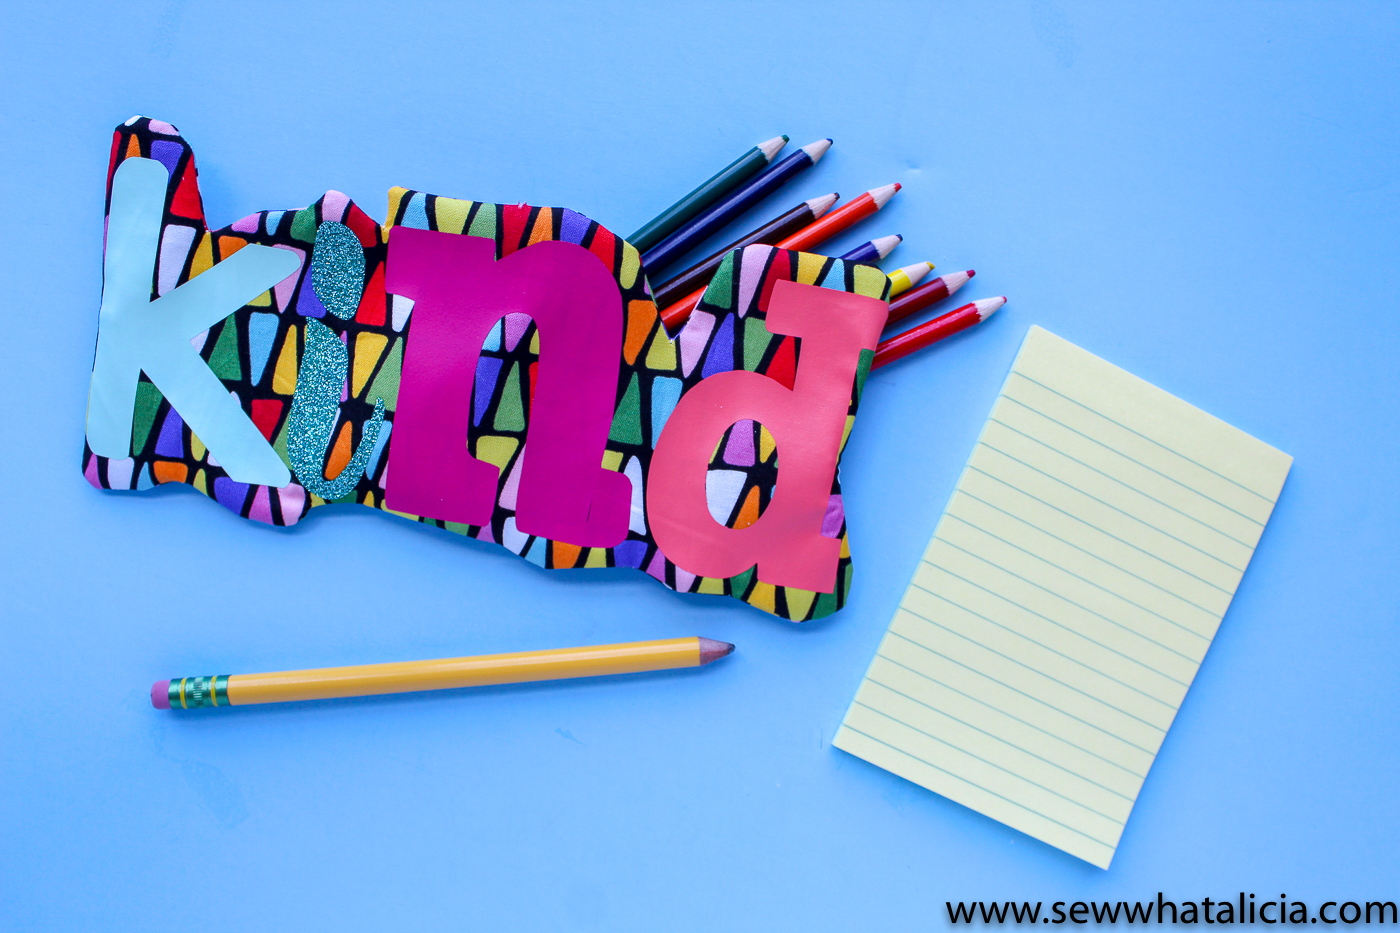
Kind Zipper Pouch:
Extra Supplies:
- Iron on Vinyl
- Kind Pouch Template (SVG or PDF)
- Kind Letters Template (SVG or PDF)
Use a cutting machine or scissors to cut the pouch template. You will need one that is the right way and one that is mirrored (or the wrong way.)
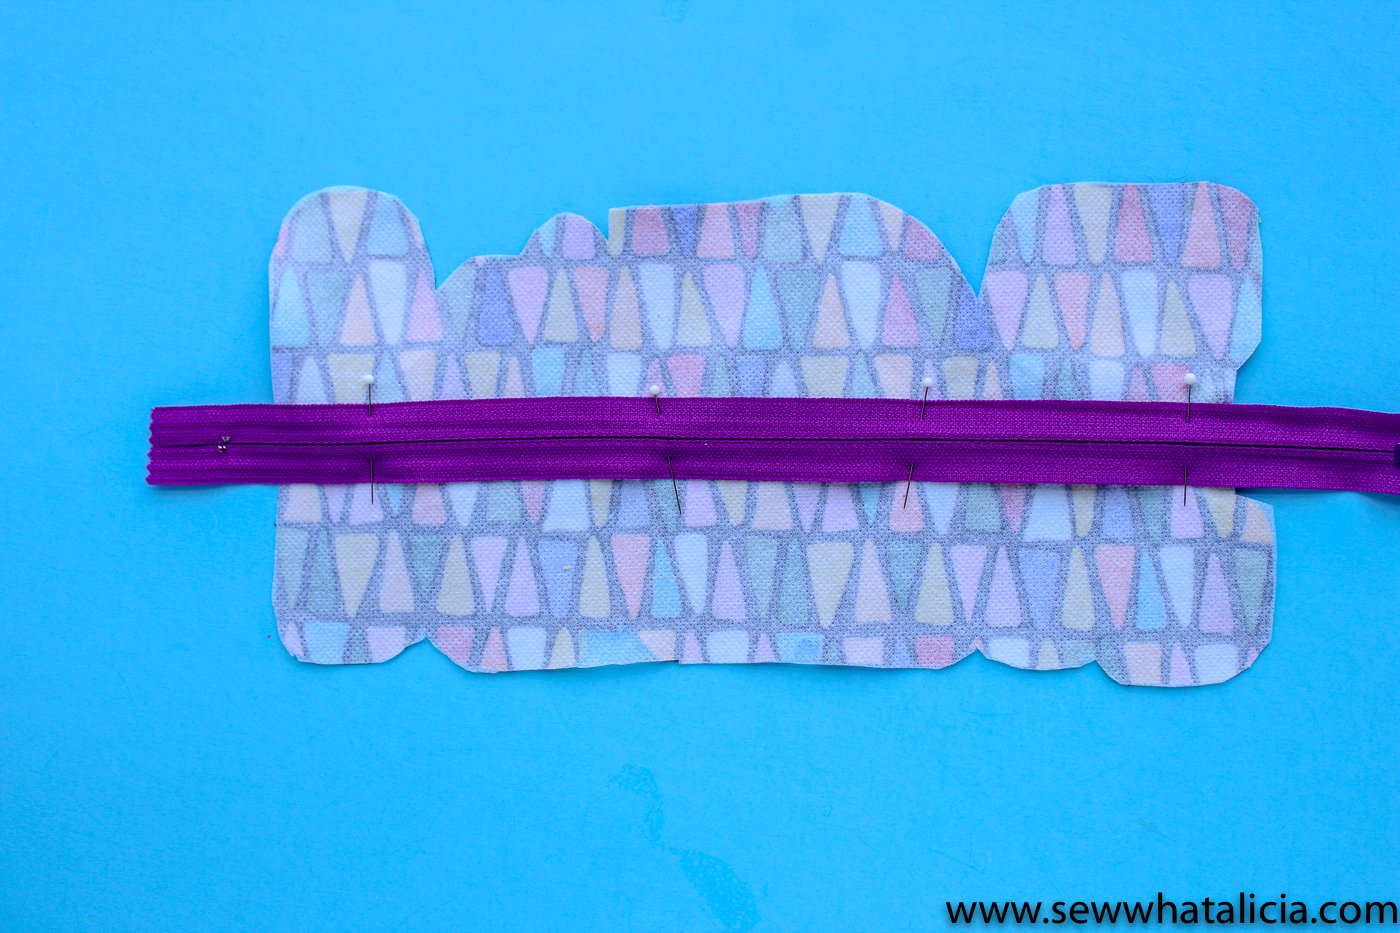
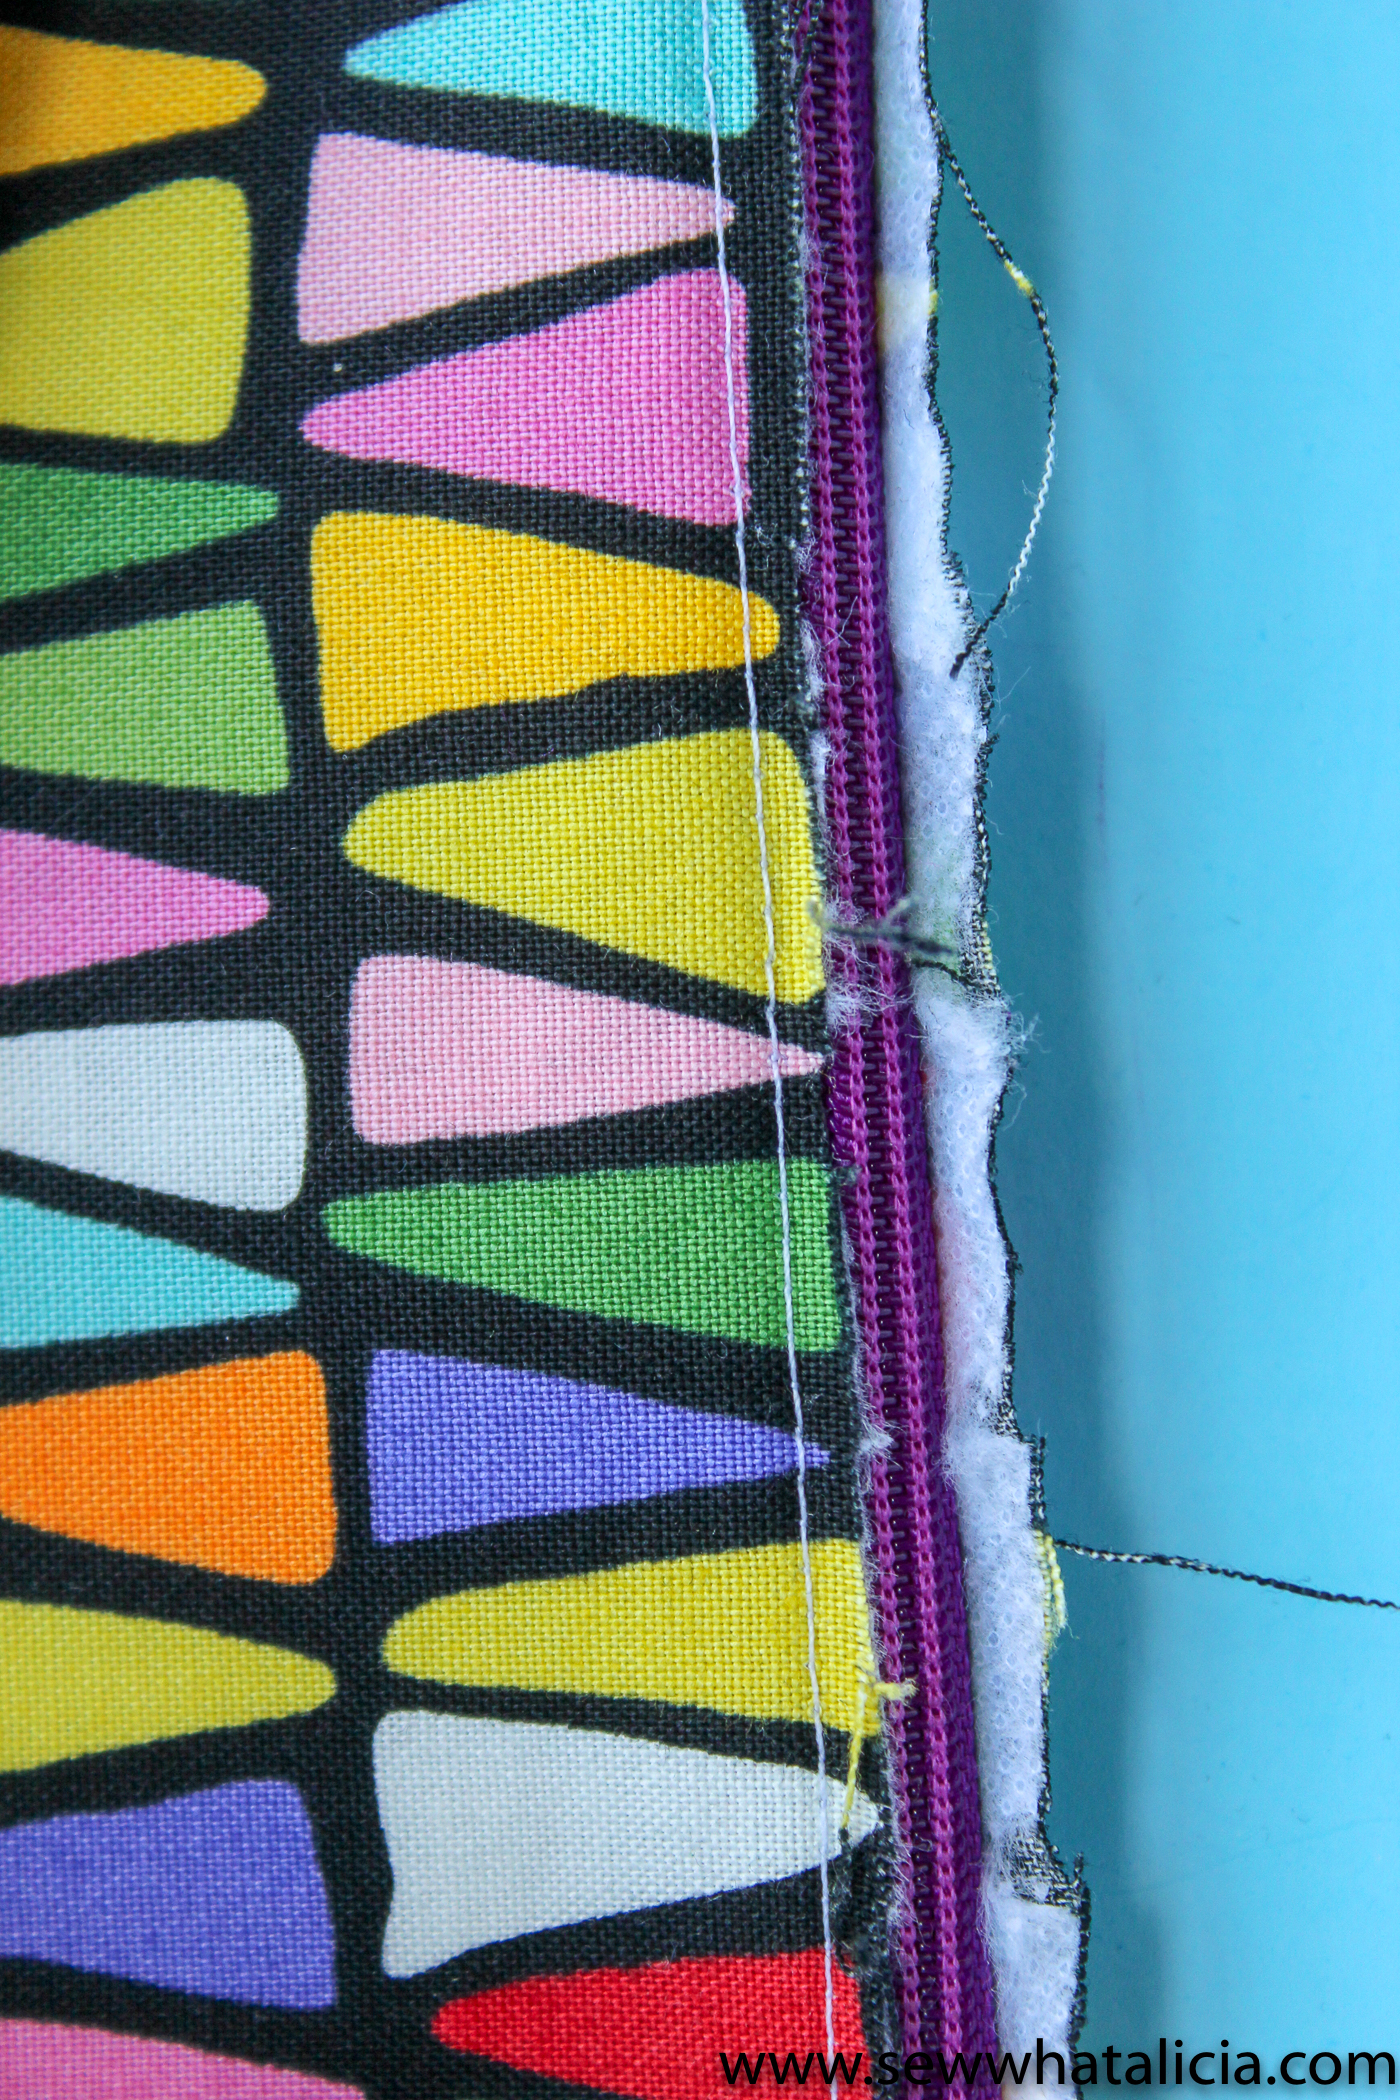
The construction of this pouch is different than the others. Place your zipper right side down on the wrong side of the back of the pouch. Sew it in place on both sides.
Take your scissors and cut the fabric using the zipper as a guide.
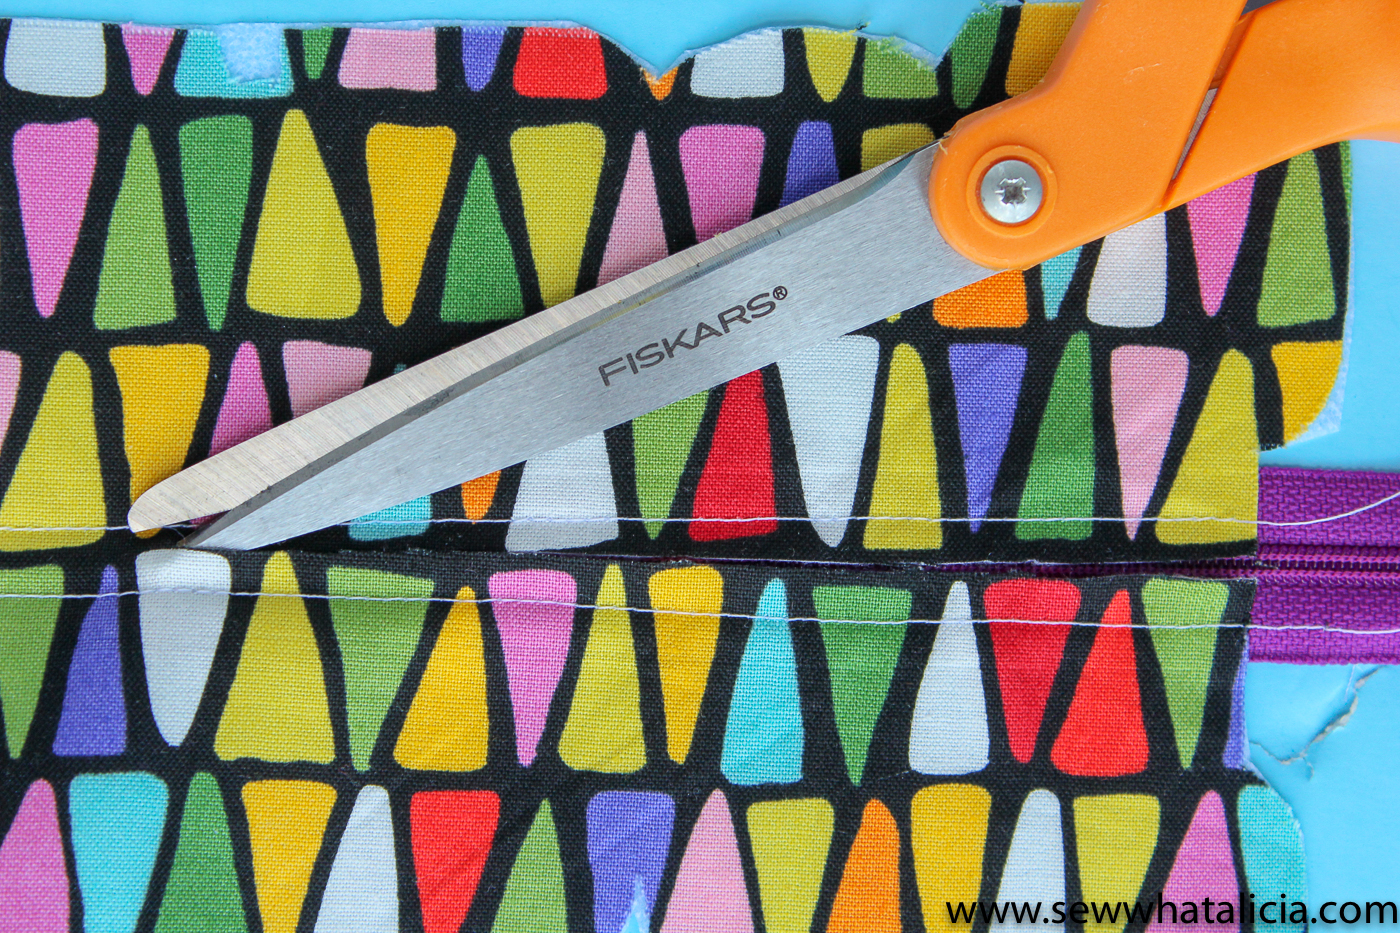
Clean up the cut you made by folding the fabric back to reveal the edge of the fabric. Trim close to the stitches.
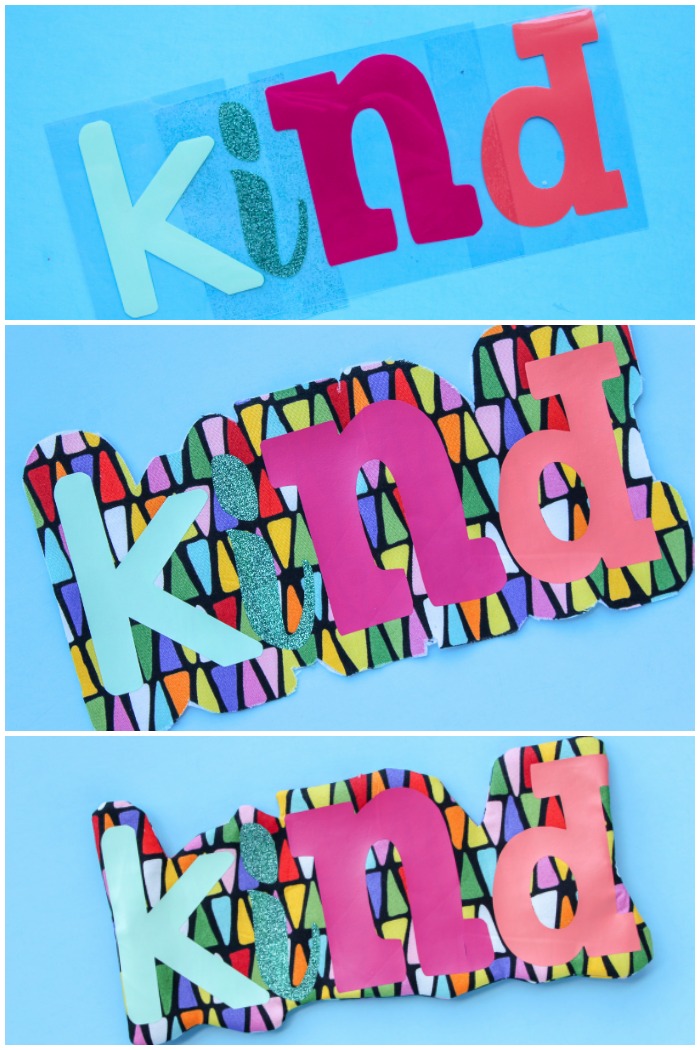
Cut the word Kind from iron on vinyl. Press the letters in place on the front of the pouch. Make sure and do this before you sew the pouch together so that the zipper doesn’t warp your vinyl.
Last leave your zipper halfway open (with the pull in the middle of the pouch) and place the front right side down onto the back of the right side of the pouch. Sew all the way around.
Do you have more questions for how to sew a zipper? Tips on how to sew a zipper? Share with me in the comments below.


fluffmonger says
Thanks for this awesome tutorial! I love the print you used for the kind pouch!
Emily says
This post is FULL of so many great sewing tips! I love the zipper tips as well as the ideas for making special zipper pouches!
Sunni S. says
Love this! I also love your 30 days of zippers. Zippers always intimidate me, so I love the idea of getting over my fears by sewing tons of zipper projects!