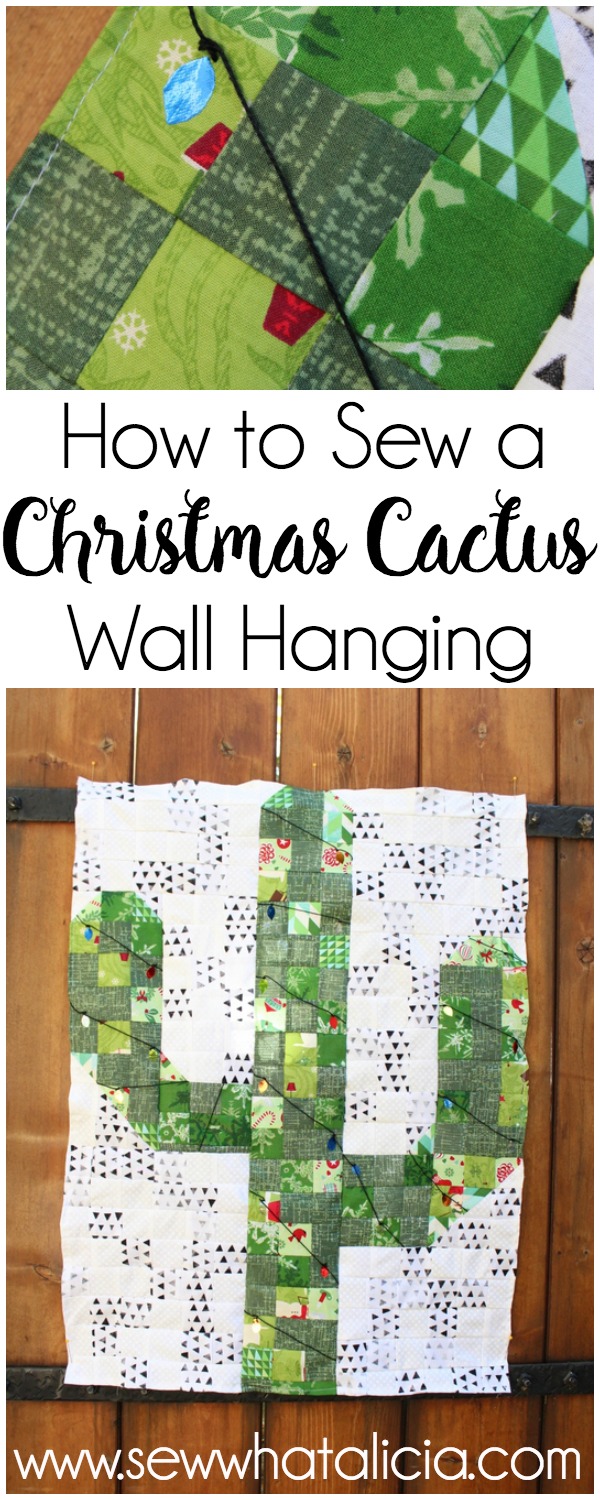
How to Make a Christmas Cactus Wall Hanging
Living in California means that my kids wore shorts yesterday even though December is already here! It never quite feels like Christmas season. I wanted to make something fun that represented Christmas and the warm weather so I decided to show you how to make a Christmas cactus wall hanging using half square triangles.
How to Make a Christmas Cactus Wall Hanging
Supplies:

My favorite part of this project is the scrappy nature of it. You can use any green and white pieces you have lying around. The squares are fairly small so scraps are the perfect size. I used a fair amount of Moda fabric that I had lying around from last year.
176 – 2″ white squares
111 – 2″ green squares
7 – 2 3/8″ white AND green squares (14 squares in total)
Deco Foil in various Christmas light colors.
Hot Melt Adhesive from Thermoweb
Black Embroidery Thread (I like the Pearl thread)
Instructions:
Start with the 7 sets of larger squares. Line up a green square with a white square right sides together. Use your ruler to draw a diagonal line from corner to corner. Use this mark to sew a 1/4″ seam on both sides of the line.
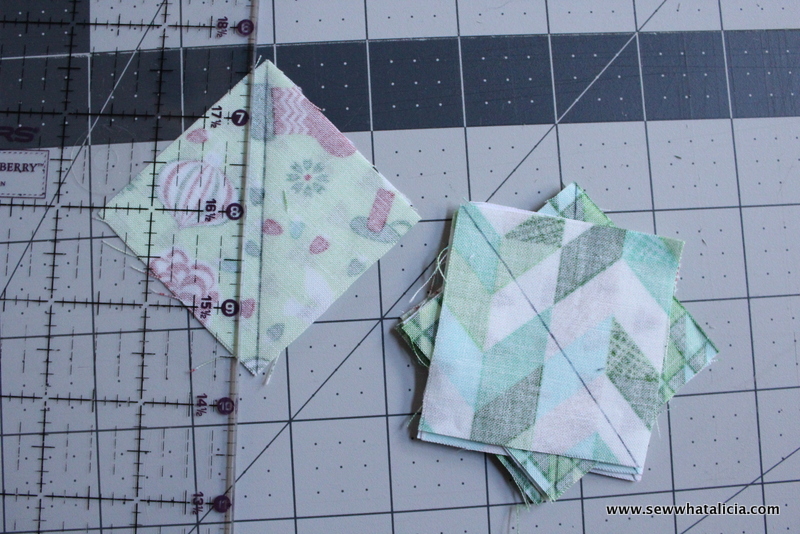
Once you have sewn these seams. Use the drawn line as a guide to cut these two triangles apart. You should now have 14 green and white half square triangles. Press these (see my tips for pressing the right way.) 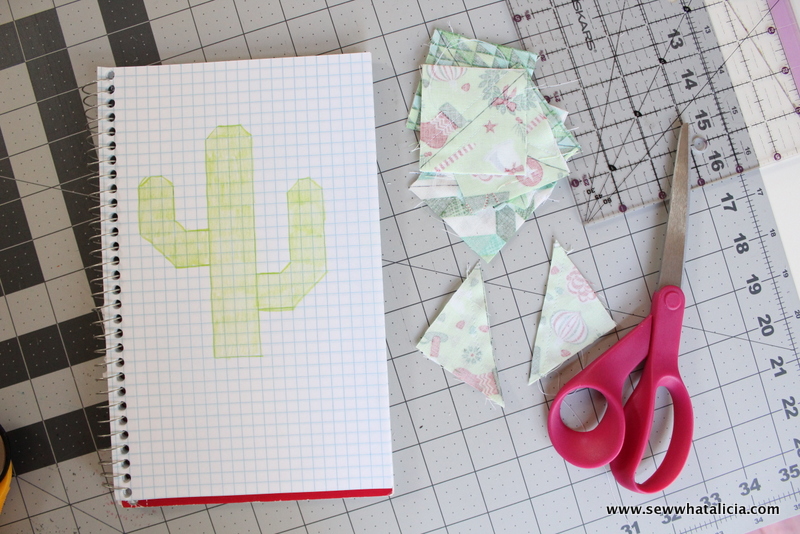
Now square them up to 2″. The HST’s should now be the same size as all of your other squares. 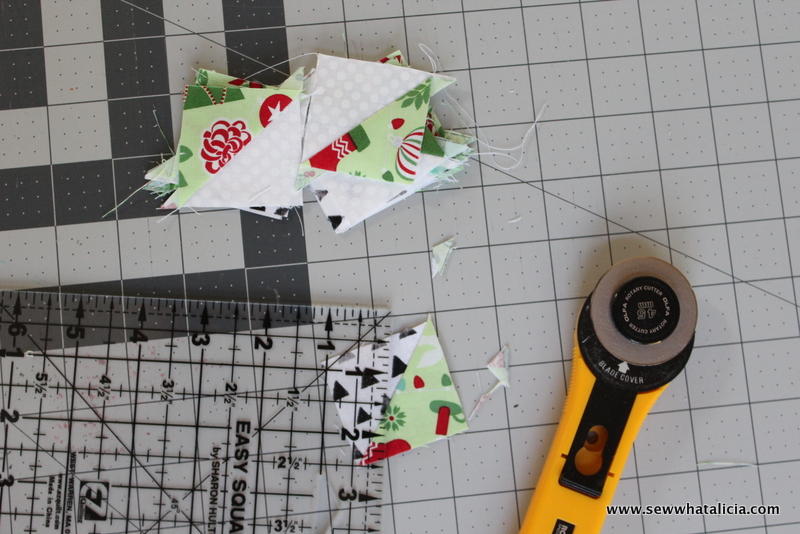 Use the cactus template to lay out the cactus, each square on the graph represents one fabric square. I like to do this in sections. I started with the middle section as you can see below.
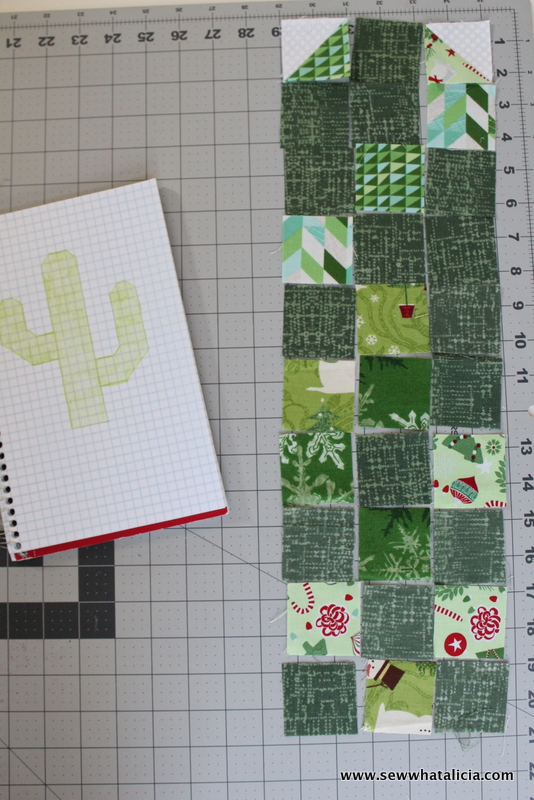 Sew all the pieces together. Then square up the entire section. Then move on to the right and left section.
 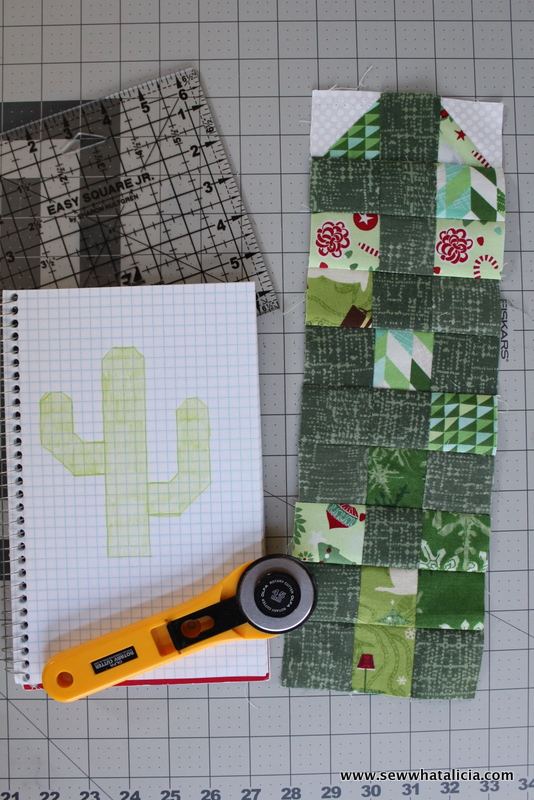 Once you have all three sections assembled we have one more step before we put them all together. We want to add the adhesive and foil before we assemble them. The reason for this is that I like to put the foil on using the laminator. When all the sections are together it won’t fit through my laminator so we have to do them in sections. Cut out light shapes from the hot melt adhesive. You can draw right onto the paper of the adhesive and then use scissors to cut. Run each section through the laminator using card stock or a manila envelope to protect the fabric. I like to run it through twice.
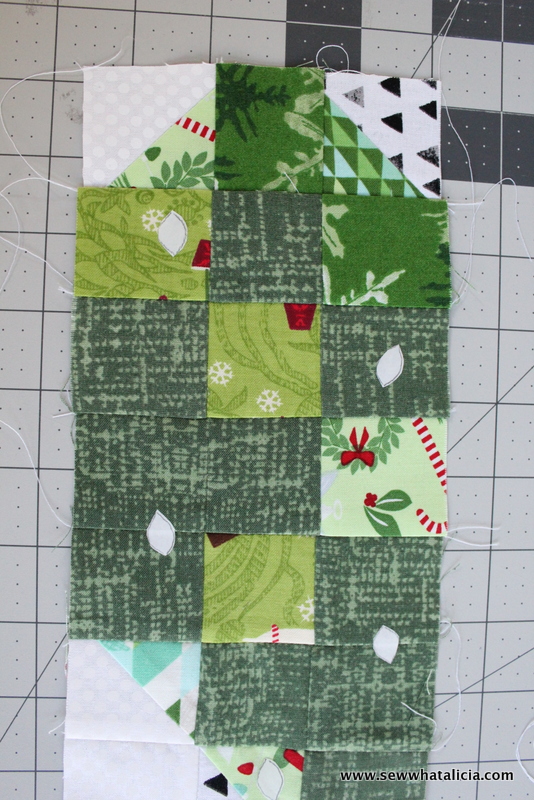 Next cut small squares of foil and place one over each piece of adhesive. Again run it through the laminator at least twice (I did three times for the foil.) Be sure not to move the foil at all each time you run it through or the heat will warp it. You should come out with lots of little lights that look like the picture below.
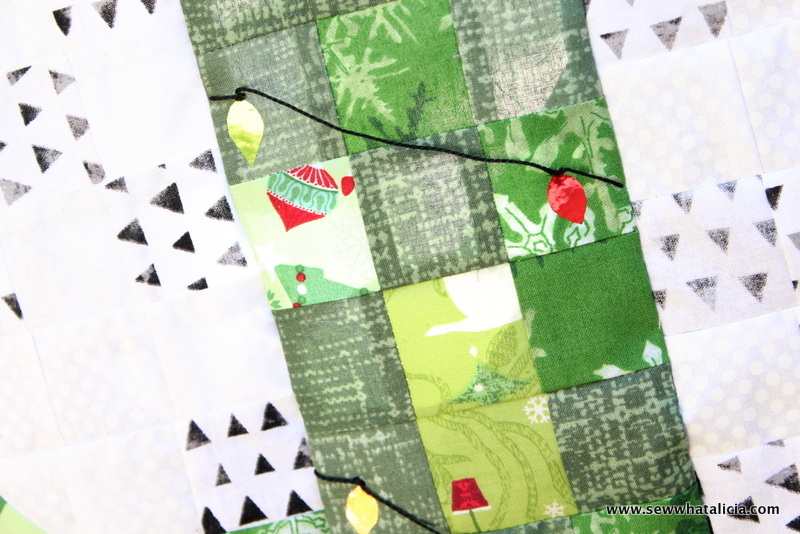
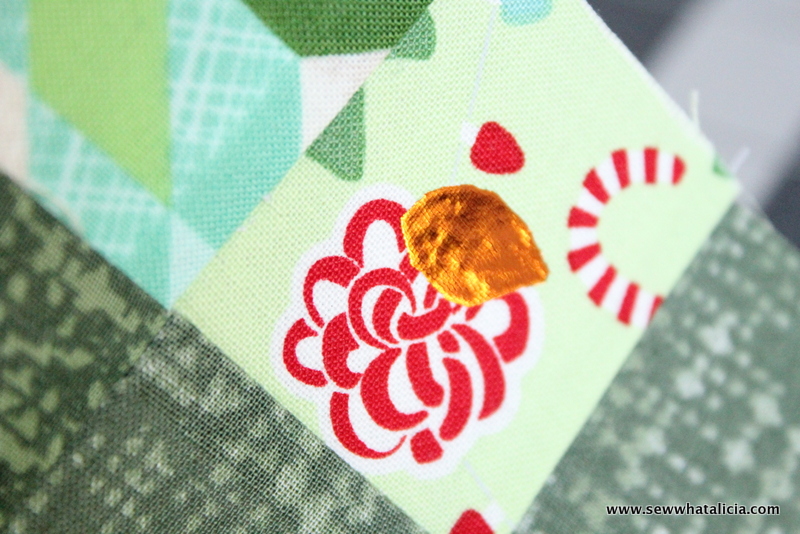 Then you are ready to add the three sections together. Once the sections are together press each edge under 1/4″ and sew the seam in place. You could totally use this as a full quilt or an oversized pillow but I chose to leave it as a wall hanging. The last step is to use embroidery thread to add the string for the lights. Just connect the lights in a logical way that makes it look like lights strung on the cactus.
 That is it! Now you have a finished product that is perfect for those days that don’t feel so Christmas-y! Don’t you just love a fun cactus?


Rebeca says
Ficou muito legal!