Hello Summer Sweet Embroidery Pattern and Tutorial
I am seriously SO excited to introduce you to Sarah who will be sharing her awesome embroidery and sewing knowledge with us here at Sew What Alicia! She is just one of the awesome people I found when I reached out to you all looking for contributors! Her work is amazing and I just had to have her and she said yes!! Yay!! Here is her first guest post for us…Hello Summer Sweet Embroidery Pattern and Tutorial.
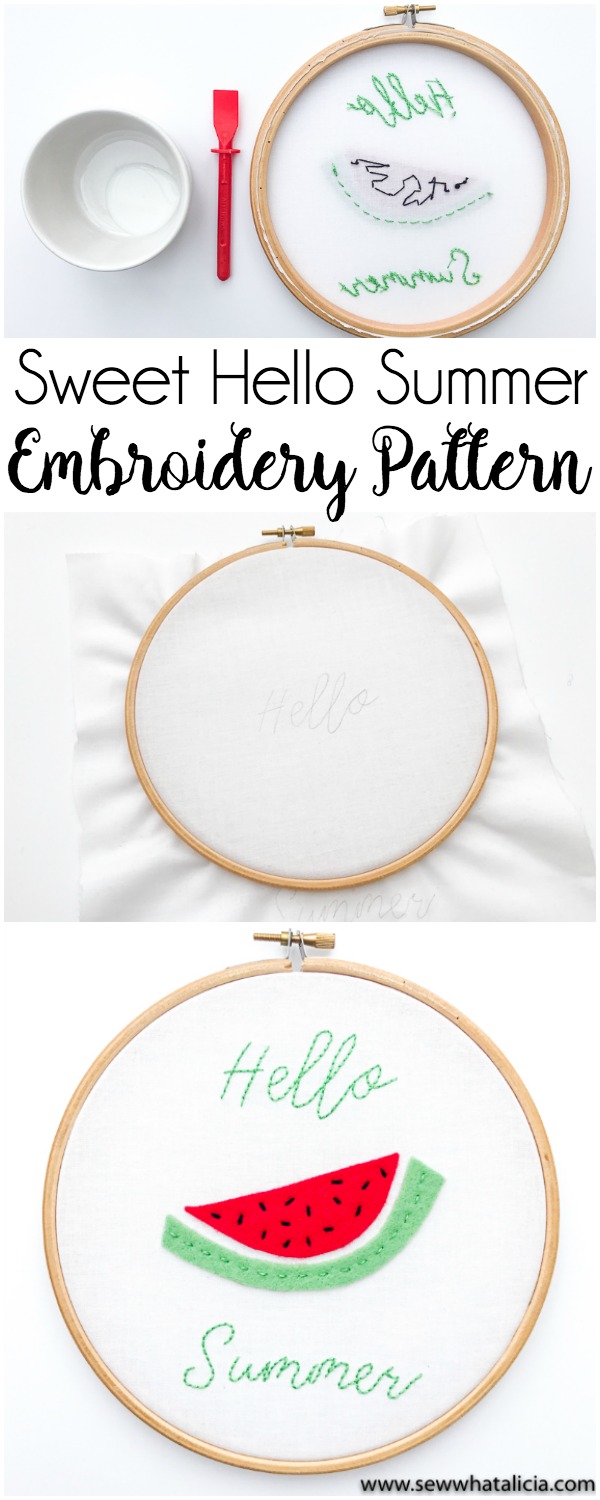
Hello Summer Sweet Embroidery Pattern and Tutorial
Hey there! I’m Sarah of Quilt Candy, I live in the UK and I’m completely obsessed with all things quilting and stitching related! I’m the founder and chairman of the South West Modern Quilt Guild and a quilt and embroidery pattern designer. Find me on Instagram! – so when I was asked by Alicia to create a beginners embroidery project, I jumped at the chance!

Summer is just around the corner, and what better way to get in the mood for long hot balmy days, than starting it off with a little summer embroidery. This year all things tropical are very much on trend, so I thought I’d include a watermelon for some juicy, fruity summer fun.
This project is super simple, and ideal for beginners. I shall take you through the whole process, from materials requirements, right up to the last stitch…and I promise you will love it!
You will need:
White cotton fabric (I used Kona cotton) – approx 30cm x 30 cm
Small piece of red felt – approx 15cm x 15cm
Small piece of green felt – aprrox 15cm x 15cm
Pearle cotton thread – (I used Anchor no. 8 in green, red and black) This might be a UK product if you can’t find Anchor try DMC pearl embroidery thread it is awesome too!
No. 9 crewel embroidery needle
Pencil
Fabric scissors
Embroidery scissors
Pins
Instructions:
First, you will need to finalise your design on paper. You can use your own free style hand writing, or if like me you are hopeless at calligraphy, find a font on your computer that you like and print it out. I opted to use Canva to help me, which gave me the beautiful, free flowing writing that I would never have been able to achieve myself. (This is a fantastic app, mostly used for designing banners, logos etc. and it’s really simple to use. You do have to register to use it, but it’s free, and well worth the effort.)

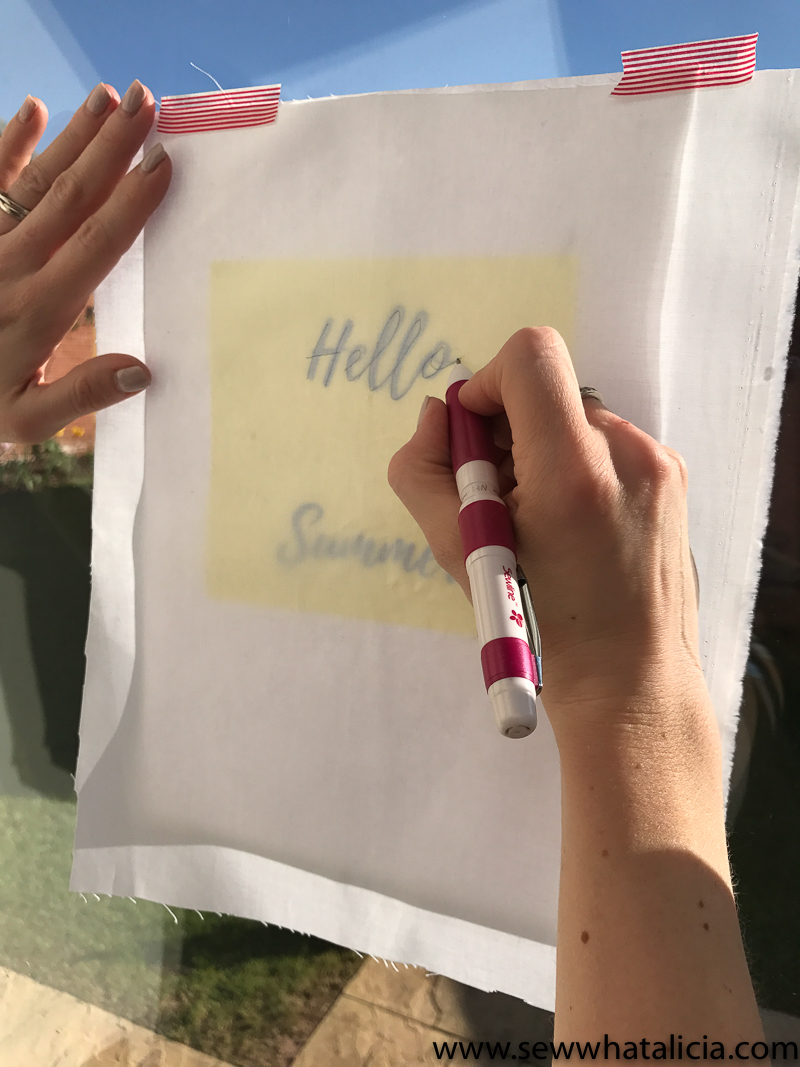
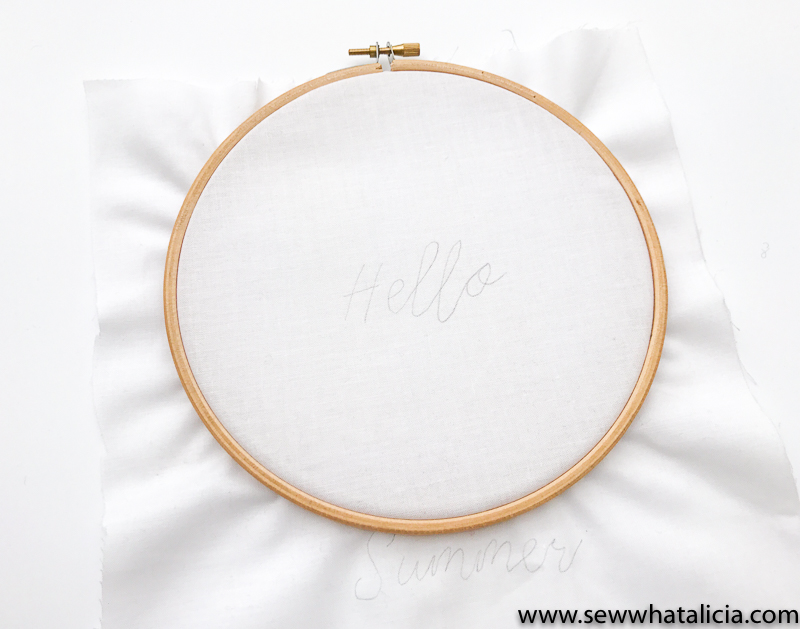
Next you need to transfer your design onto the fabric. In an ideal world, a light box is perfect for this, but most of us don’t have a light box lying around! So the next best thing is holding it up to the window, which doe the same job. Masking tape may come in handy here to help stop things slipping around. Lightly trace your design using a pencil, and ensure that there is a large enough gap for the felt watermelon between the two words, but not too big, as it all has to fit nicely into your 7” embroidery hoop. Don’t worry, you won’t see the pencil marks on the finished design because you’re going to be stitching over them.
Next you need to put your background fabric into the embroidery hoop. Put the inner part of the hoop on a hard, flat surface. Place the backing fabric over the top, ensuring that the area you are going to stitch first is roughly central. Then put the outer hoop on top and push down firmly. Tighten up the hoop at the top and stretch the backing fabric so that it is really taut, like a drum. If you have a Phillips screwdriver handy, you can always use this to screw the hoop even tighter.
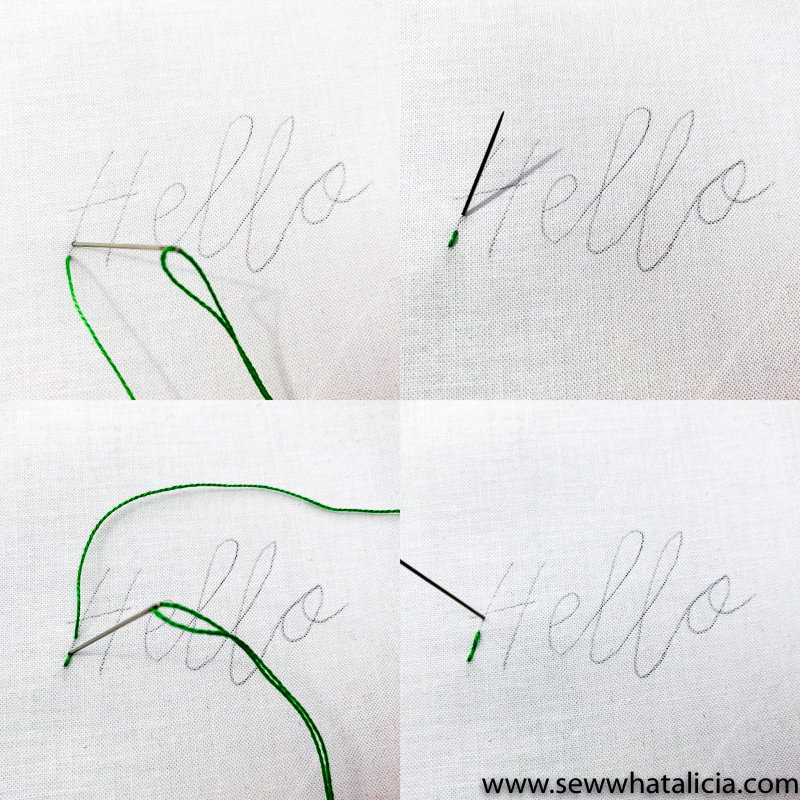
And so onto the fun bit, the embroidery! Take your knotted thread and start at the bottom of the ‘H’ for ‘hello.’ We are going to be working a backstitch. Bring the needle up from underneath and pull until you feel the knot come into contact with the backing fabric. Then then take the needle back down through the fabric just a few millimetres away, forming your first stitch. Now you are going to bring your needle back up, this time a few millimetres ahead of the last stitch. Bring your needle back down, where the first stitch ended. You will see you have gone ‘back’ on yourself, hence the name backstitch! Now repeat, by bringing the needle up a few millimetres ahead again, and repeat. If you are about to run out of thread, just stitch the thread into the back by taking a few stitches under the threads at the back, but not coming through to the front, then snip with embroidery scissors.
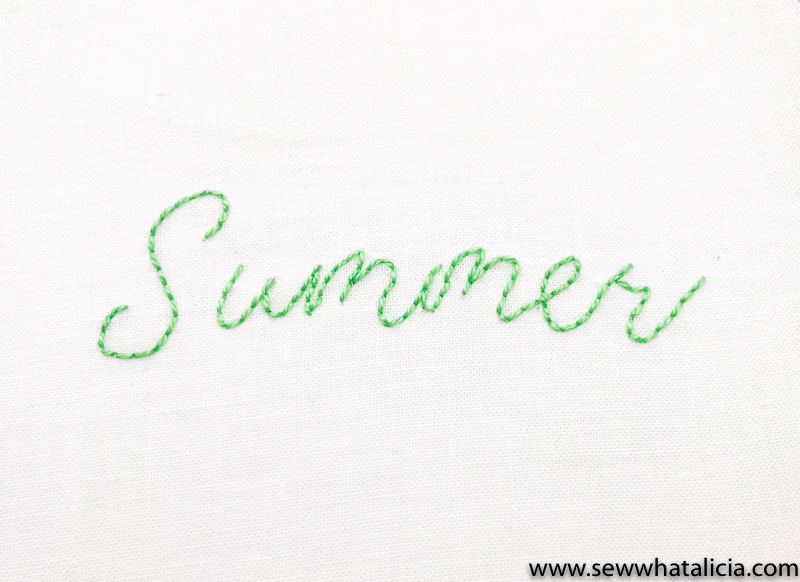
Stitch both words using backstitch. Re-position the hoop as you go, so that the area you are stitching is roughly in the centre of the hoop. It develops surprisingly quickly once you get into the rhythm of it. And ta da! You’ve learnt your first stitch, and written ‘Hello Summer’ in embroidery.
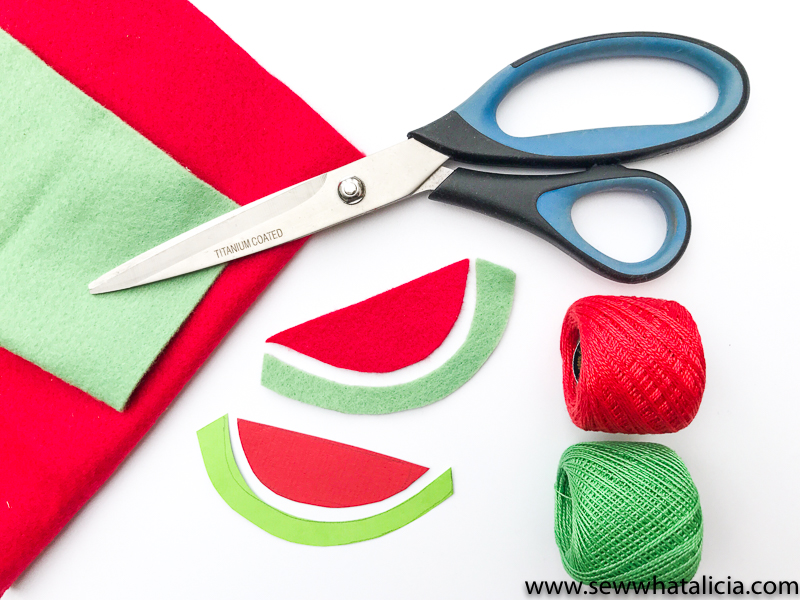
 Next for that juicy, enticing watermelon. Using a piece of card, draw a really simple ‘skin’ emplate for your watermelon, and then the ‘flesh’ of your watermelon. Put the templates onto your embroidery to check you are happy with the size and shape of them, before you transfer them to the felt. Remember to put the template back to front on the felt, so that when it’s cut out, the side without pencil/pen marks will be on the reverse. Use a sharp pair of fabric scissors to cut out the felt shapes.
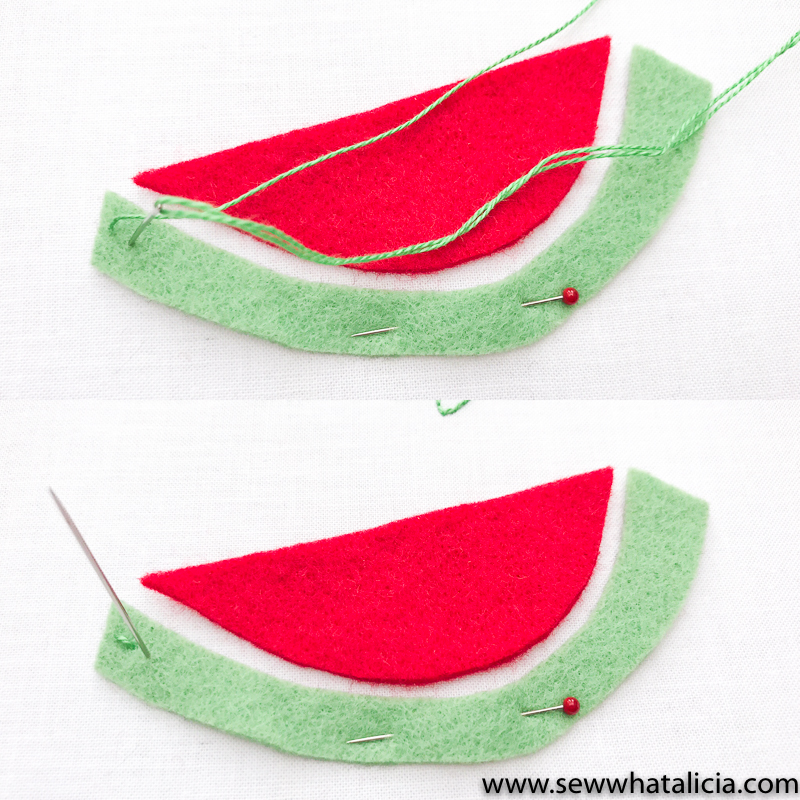
The next step is to pin the watermelon to the backing fabric in preparation for the embroidery over the top. You will find that the felt grips quite nicely to the fabric anyway, so one pin should suffice.
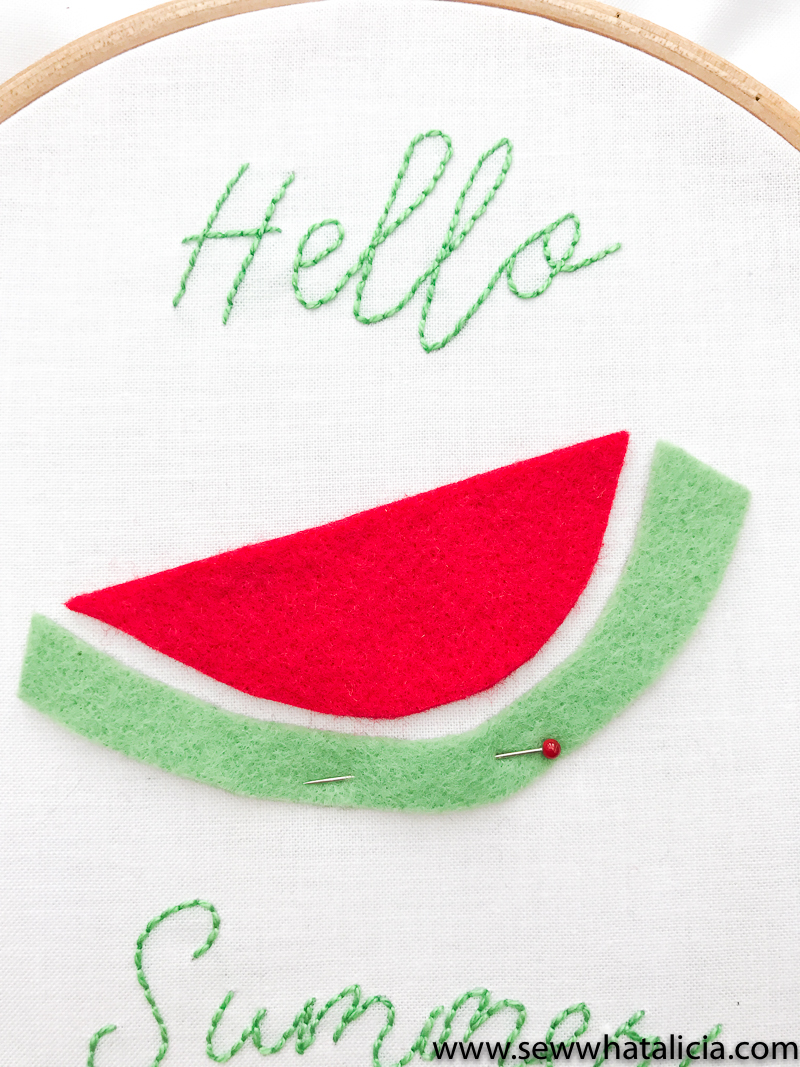
Now you are going to use a very simple running stitch across the length of the skin of the watermelon. Bring a knotted thread through from the back just inside the skin of the watermelon and then take the needle back down a few millimetres ahead, forming your first stitch. Next, bring your needle up a few millimetres ahead and then bring your needle back down a few millimetres ahead, forming your second stitch. You will notice that you are ‘running’ with your stitches. Take your time to get them roughly even, but don’t stress if you don’t – it’s all part of the charm of a hand made piece! That’s two stitches learned now. Backstitch and running stitch. You’re doing a good job!
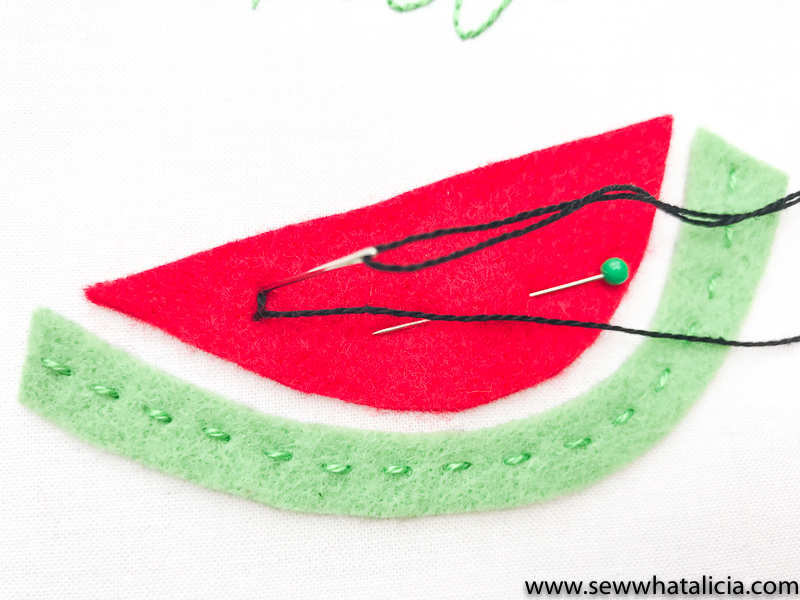
Pin the flesh of the watermelon to the backing fabric. We are now going to add the ‘pips’ of the watermelon, using little black seed stitches. These are small, random stitches, that are really easy to do and you can do as many or as few as you want. I doubled up each stitch to make the pips stand out more.

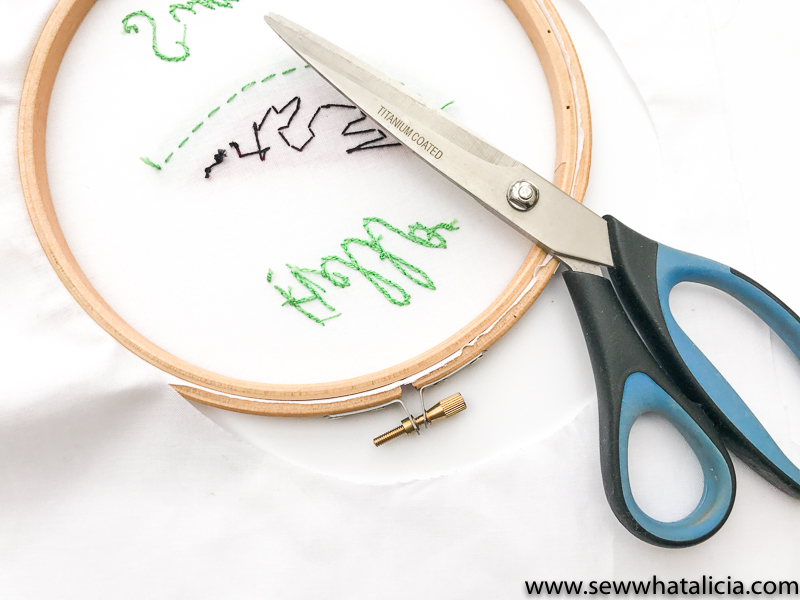
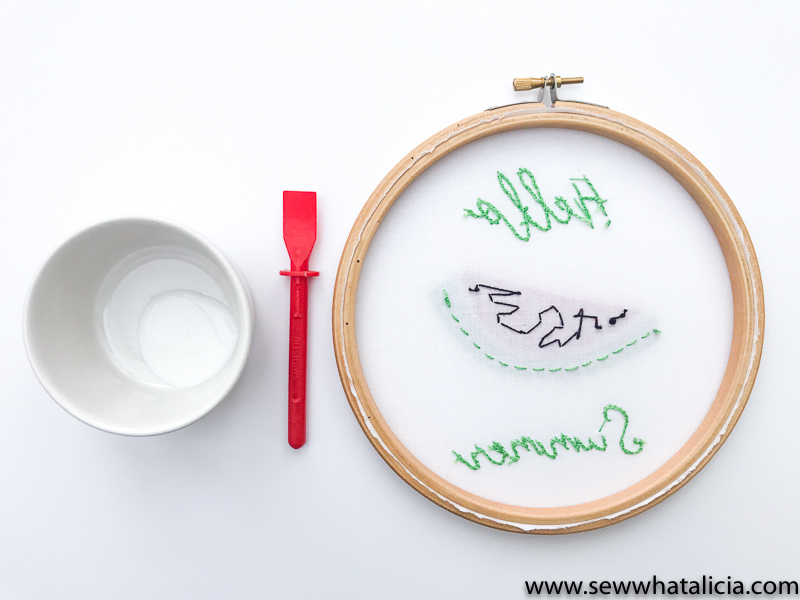
You have now finished your embroidery and it’s time to prepare it for mounting. Remove it from the hoop and give it a good iron first to remove the creases. Put the backing fabric back in the hoop, as per step 3, taking care to make sure it’s central and really taut. Also make sure that the screw on the hoop is central at the top. Next, use a pair of sharp fabric scissors to trip the excess fabric, as close as you can to the edge of the back of the hoop. Go slowly and be careful not to accidentally snip your work.
Using a spatula or your finger (!) spread PVA glue along the edge of the fabric between the two rings. This will help ensure that everything stays nicely in position. Leave to dry for several hours.
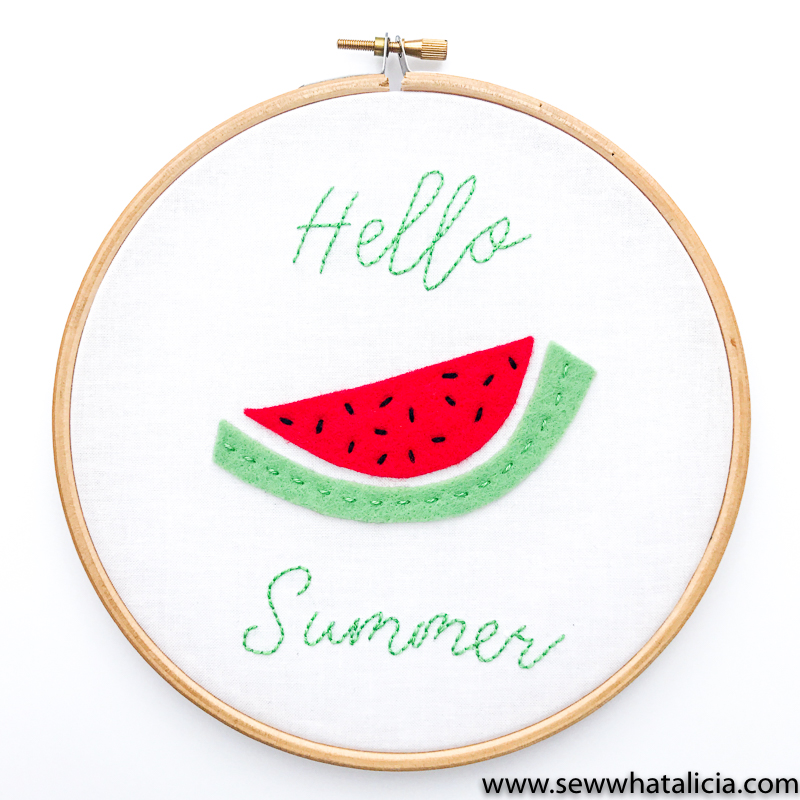
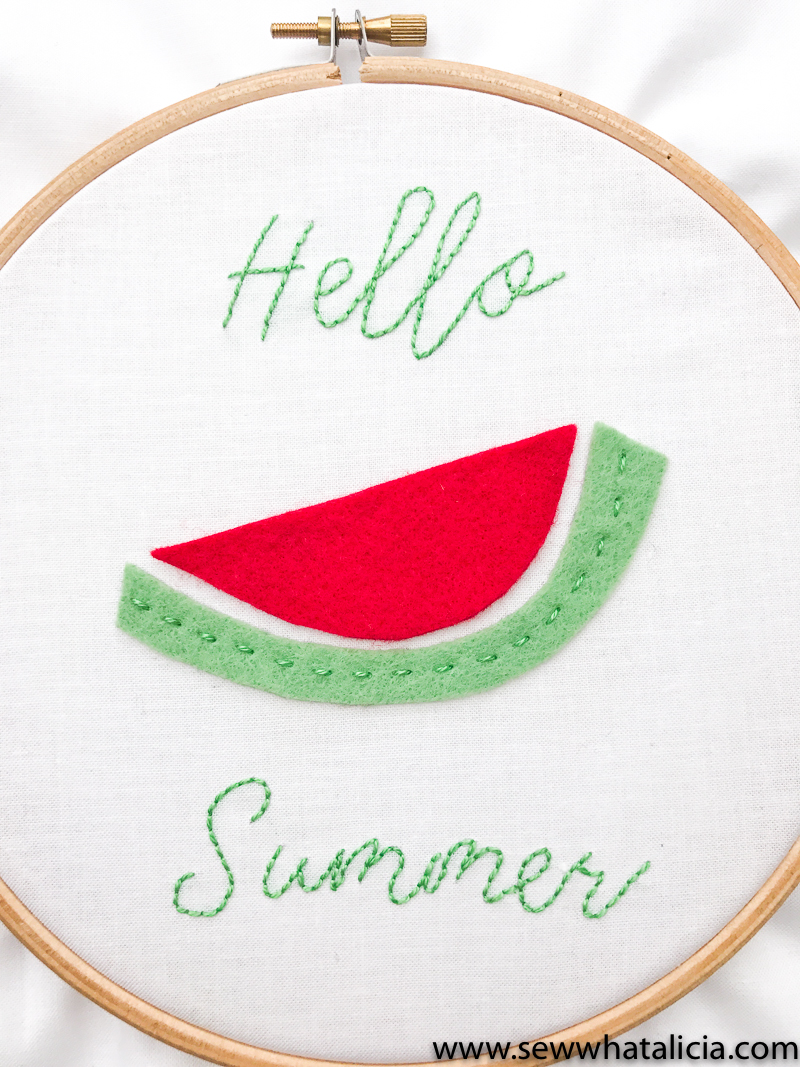
And there you have it, a simple, yet beautiful embroidery to greet the summer. Bring it on!

How much do you love this summer embroidery pattern and tutorial? Give Sarah some love in the comments and head over and see all her amazing stuff on Instagram!! I am so excited to have her on the team!!


Patricia says
Cute design, perfect for a beginner.
Mara says
Such a great detailed tutorial, thank you!