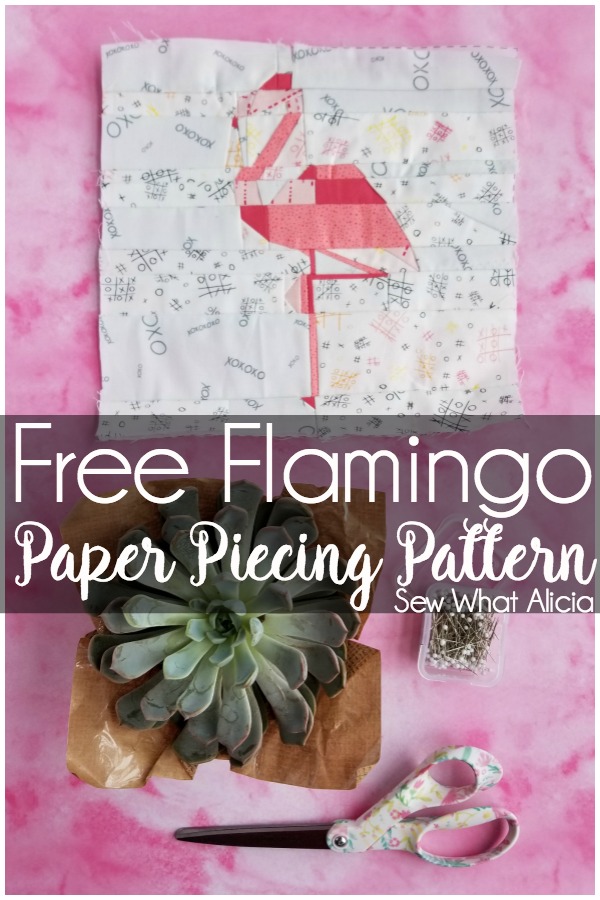
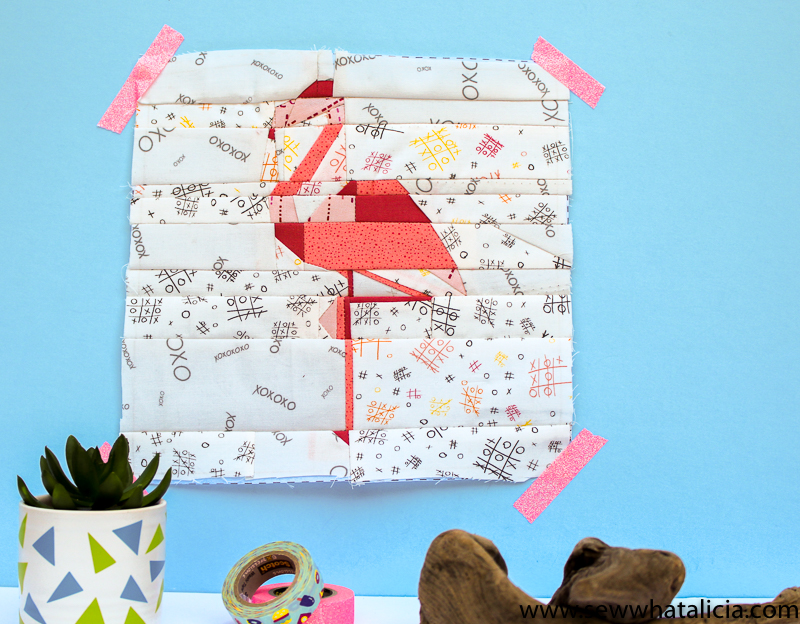
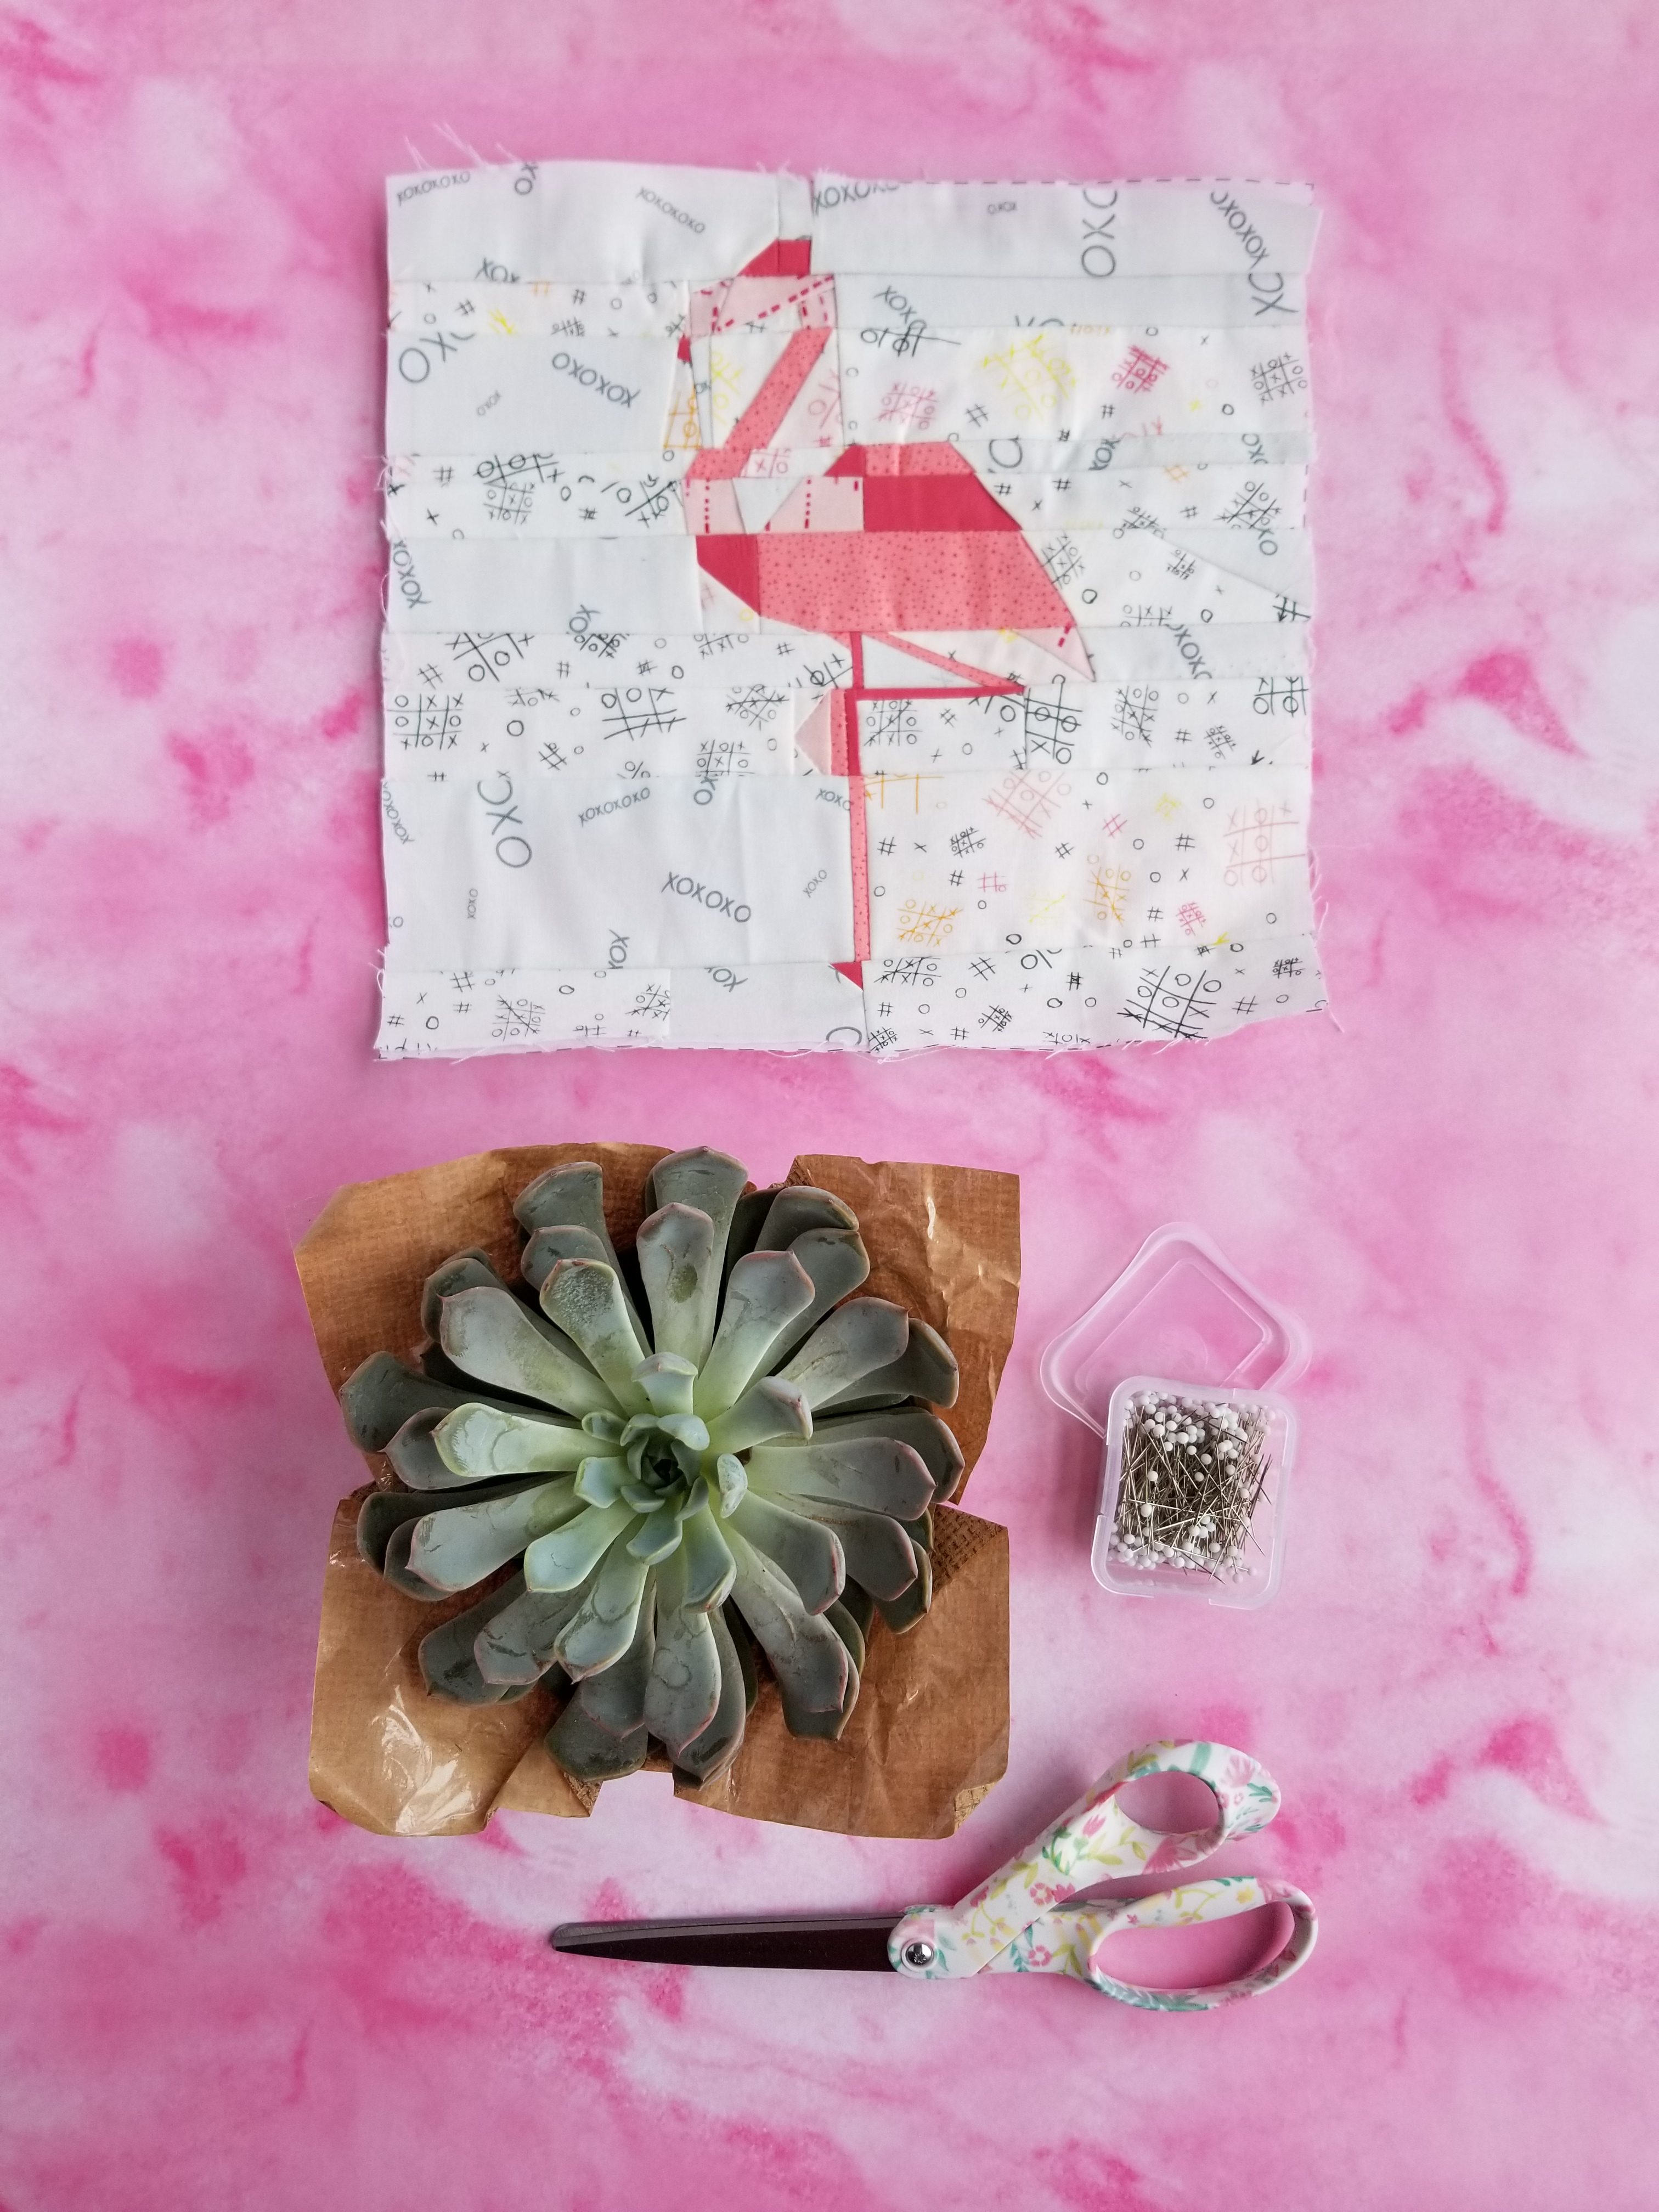
Flamingo Foundation Paper Piecing Pattern
I created this pattern for myself a while ago and I had so many requests for the pattern that I decided to share it with you all! You can get the pattern for free at the bottom of this post, or you can grab it on Etsy so you can print the directions in printable form. The Etsy file includes a bonus template so you can plan out your colors if you want to make it a little more fun with varying colors in the background or on the flamingo.
Flamingo Foundation Paper Piecing Pattern
Get the pattern on Etsy HERE.
What is foundation paper piecing?
Foundation paper piecing (FPP) is a method of piecing together fabric. You use paper or a product designed for FPP. You print the pattern onto the paper and then use the printed pattern to add various colors of fabric to create the intended image. FPP is a great way to piece together more intricate pictures that are not easily pieced together without the aid of the paper.
What IS foundation paper piecing in quilting?
Foundation paper piecing can be used in quilting to create fun and unique blocks for your quilt. You can make a quilt entirely of foundation pieced blocks or mix the foundation pieced blocks with traditional pieced blocks or appliquéd blocks. Foundation paper piecing is a great addition to your quilting repertoire.
Recommended Supplies:
Assembly Instructions:
The foundation paper piecing patterns that I create are pretty self explanatory. They are lettered and numbered so they are fairly simple to figure out.
First create each piece by adding fabric in numerical order. Start with the 1 and then add the fabric in order. I like to sew around the seam allowance portion of each piece to keep the fabric in place but this is optional.
Next sew the different pieces together in this order.
- A & B
- D & E
- G & H
- J & K
- L & M
- N & P
- Q & R
- T & U
- V & W
- X & Y
Next sew together:
- C & DE
- GH & I
- S & TU
Then sew together:
- CDE & F
Last sew the rows together in alphabetical order. For example the AB row goes to the CDE row and the GHI row goes to the JK row. Continue in this manner until all rows have been sewn together.
Paper Piecing Tips:
- Trim the fabric after each seam. Cutting down on the excess fabric will help to ensure that your block lies flat.
- Press the seams open. There are a lot of seams and this can cause puckering and bubbling. Press the seams open to spread out the excess fabric.
- If you use the EZ Print Quilt Sheets you can leave the sheet on the back when assembling your quilt. It will give the block a bit more stability. This is not required though, you can also remove the quilt sheet after assembling each block. Try using your seam ripper to get between the fabric and quilt sheet and then run it along each seam and remove the quilt sheet.
- Be sure to press after each step. Pressing is really your best friend when quilting.
- When sewing the pieces and rows together be sure to use the solid line as your guide. Make sure the solid lines line up rather than just assuming that the edge of the seam allowance will line up your pieces. This will help make sure everything lines up correctly.
For a more in depth foundation paper piecing tutorial for beginners check out THIS post. For more foundation paper piecing patterns go HERE.
Grab the flamingo pattern HERE. For printable instructions check out the ETSY listing for the pattern, the listing also includes a planning template.


Leave a Reply