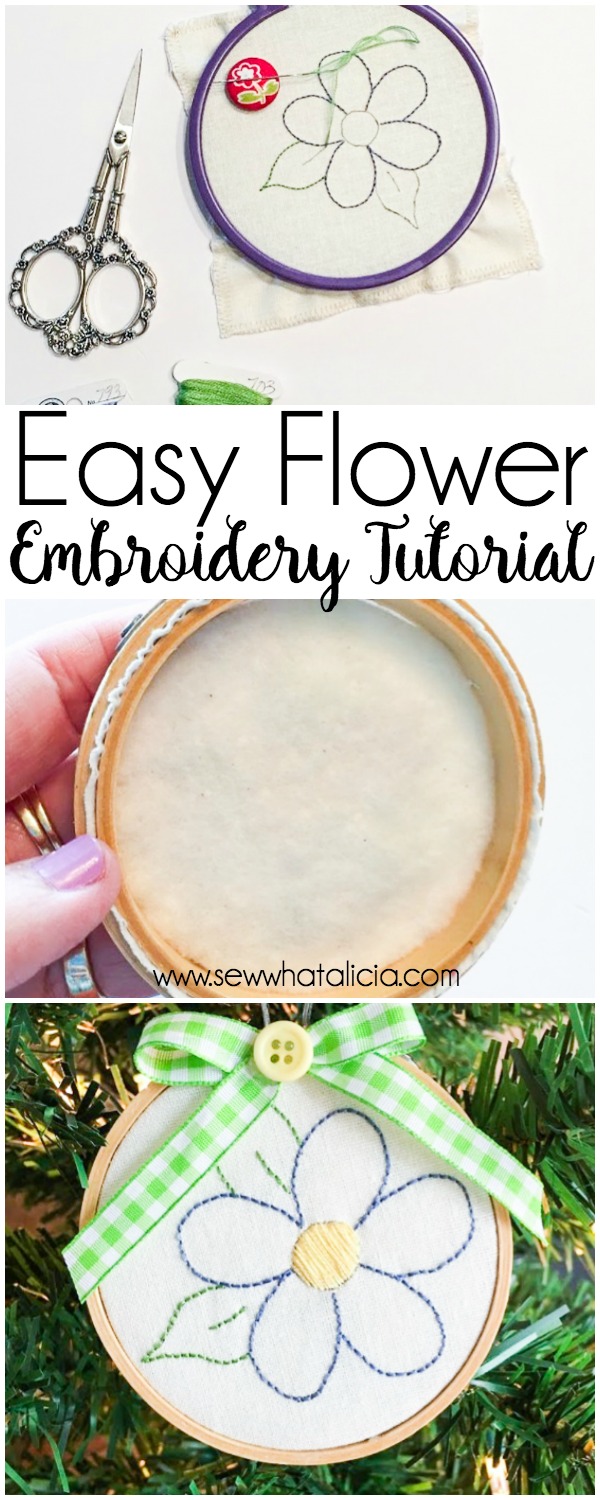
Easy Embroidery Flower Tutorial
Alright we have one more contributor to introduce!! I was so excited when Olivia from Pumpkin Hollow Quilting applied to share her amazing skills with us! She has a fun shop on Etsy. Make sure you head over and give her some love!! Without further ado here is an easy embroidery flower tutorial from Olivia!
Easy Embroidery Flower Tutorial
Hello! My name is Olivia of Pumpkin Hollow Quilting, I live in the US and love all things Quilting and Embroidery related…combine the two together and I’m in my happy place! You can usually find me stitching up something and sharing it over on Instagram. I was over the moon excited when, after applying to be a guest Embroidery Contributor on Sew What Alicia, Alicia asked me to create a beginner’s embroidery project for all of you! Dream come true…definitely! I had so many ideas on what to design!! Now here in the US we are getting ready to celebrate Memorial Day, a day set aside to remember those we’ve loved and lost. So I decided on a simple flower ornament that’s perfect for a beginner. Here is an easy embroidery flower tutorial.
First we need to gather our supplies for stitching!
Click the name of the supply to be taken to Amazon where you can purchase.
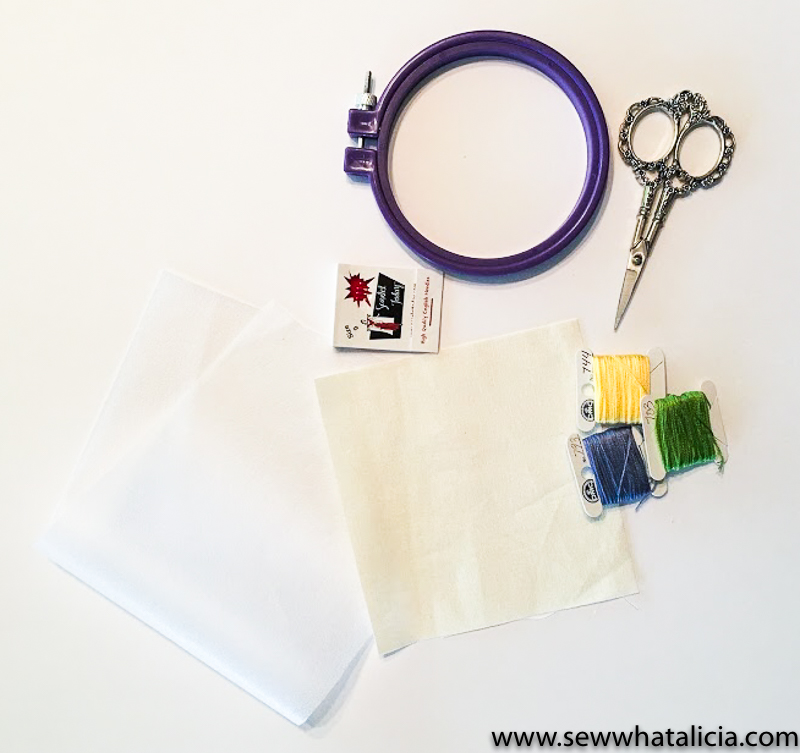
White cotton fabric – cut into a 5 inch square
Thermoweb Lightweight Fusible Interfacing – cut into a 5 inch square
Scissors
DMC Floss in colors of your choice (I used 793, 703 and 744)
Scrap piece of batting
Ribbon
Button
Can’t forget about the pattern —–>Flower Pattern
Instructions:
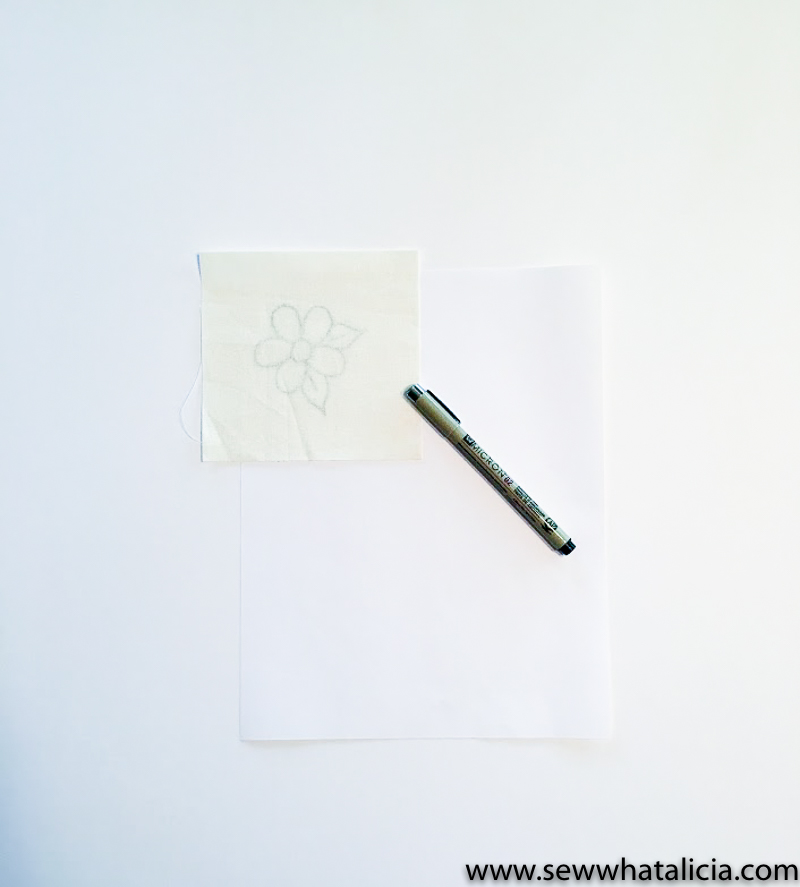
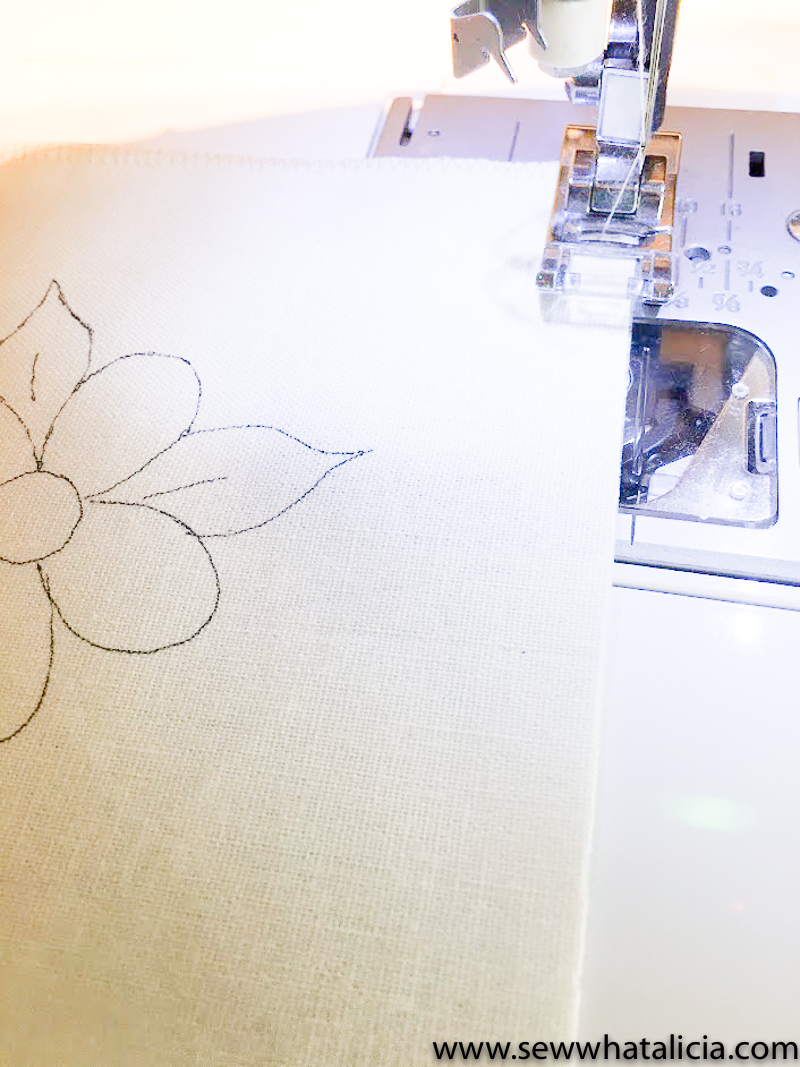
After you’ve printed out the flower pattern, you can trace it onto the fabric a couple of ways. Normally I will use a light box I have, but I could see the pattern through my fabric and opted to go ahead and trace it that way. Using a window box is another popular way..you pin the fabric to the pattern and with the light shining through, you can easily see your pattern to trace onto your stitching fabric. Then all that’s left, is to trace your pattern using the Micron Pen (you can also use a pencil if you don’t have the pen)
After my design is traced onto my fabric, I fused the interfacing to the back of my stitchery. I like to use interfacing to help stabilize my stitchery, but it’s completely optional if you’d rather not use it. The last step before stitching is to quickly stitch around the outside of the stitchery with a zig-zag stitch, this helps to keep it from fraying while it’s being stitched.
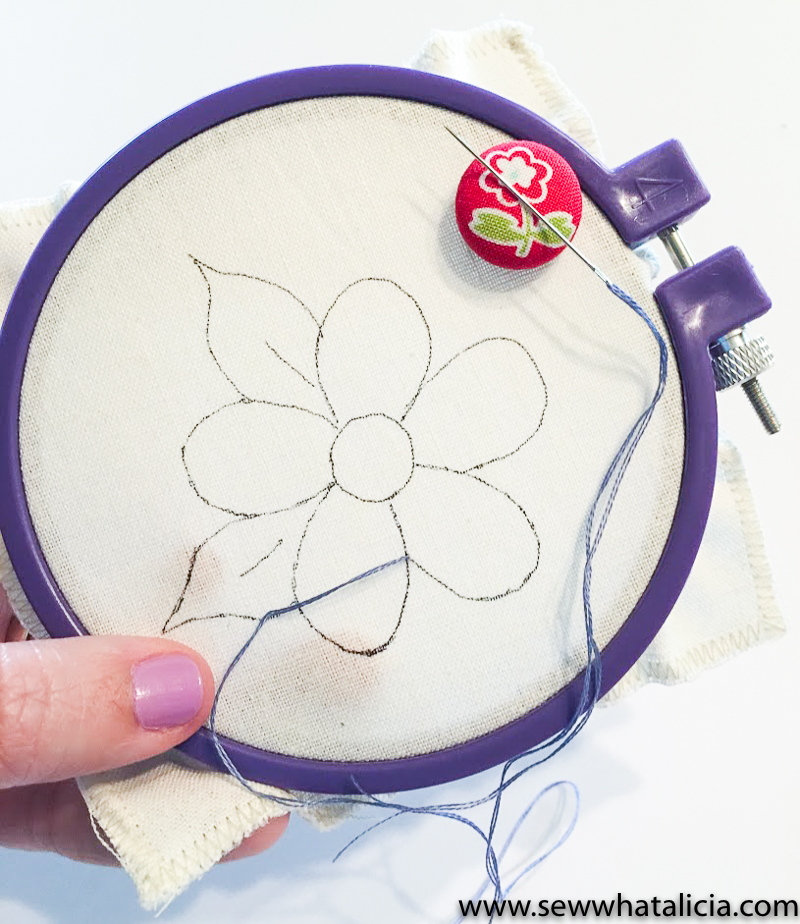
Now it’s time for some fun stitching!! First you’ll thread your needle with the color of floss you’ll be using for your flower..make sure the end is knotted. Pick a spot on the flower where you’d like to start. Bring your needle up from the back and pull your thread through until the knot catches on the back. Then you take the needle back down through the fabric, about an 1/8th of an inch over and pull your thread all the way through. Go over about 1/8th of an inch from your first stitch and pull your thread up. Bring your needle back down where the first stitch ended and you will have completed your first backstitch! You now will repeat the process until your petal is finished.
**Note: If you’ve never worked with DMC floss before, you might notice after you’ve cut off your thread piece that it has six strands of thread. For this project we will be using only 2 of the six strands at a time.**

Once you get into the stitching groove, the whole process will become easier. Don’t worry if your stitches don’t seem exactly the same, they will look awesome when your stitchery is complete! When the thread your stitching with starts to run out, go ahead and make a knot right up against the back of your stitchery. Then grab up another piece of your floss and continue stitching.
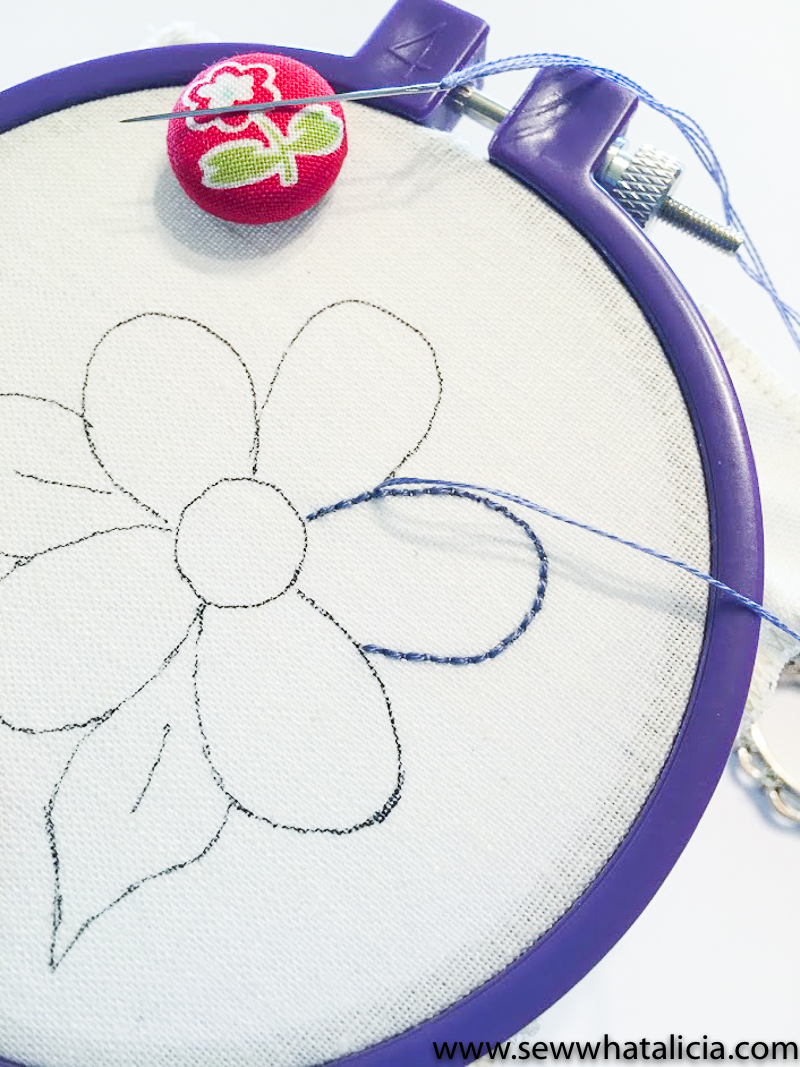
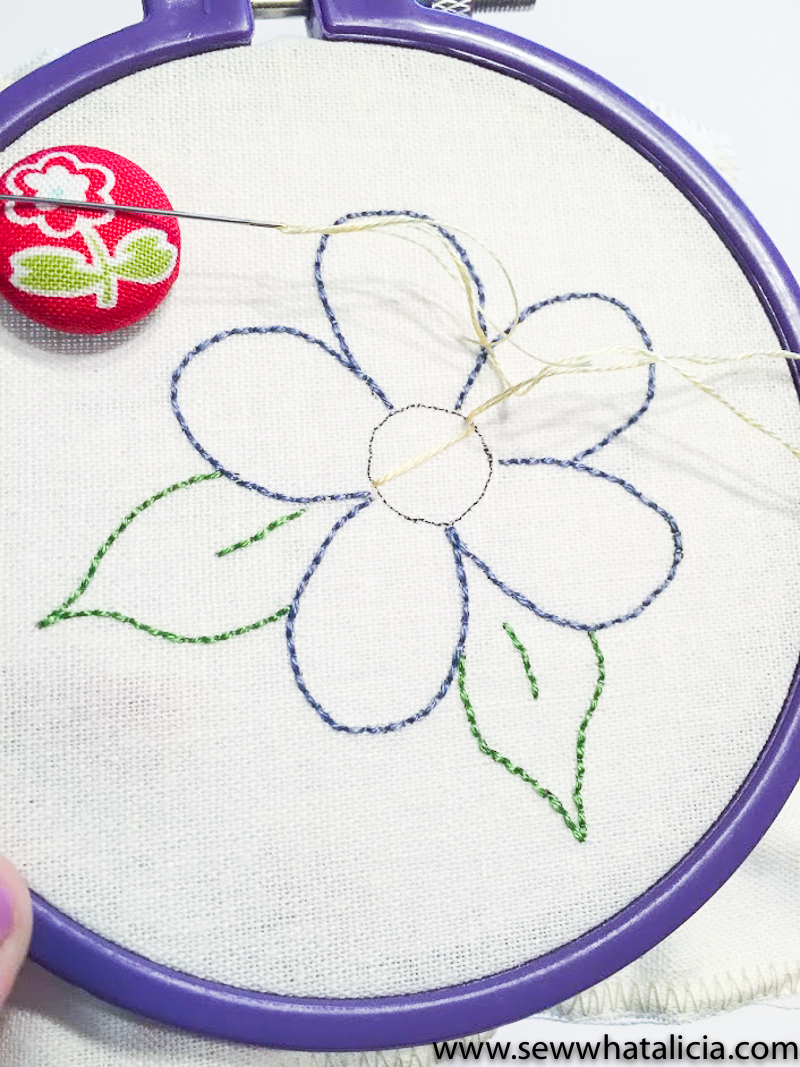
After a little while, we have a flower! I went ahead and started backstitching one of the leaves, and will start working on the second. By now you might have noticed the cute little flower button holding my needle, it’s called a needle minder and it minds my needle so I don’t have to! Grab one HERE.
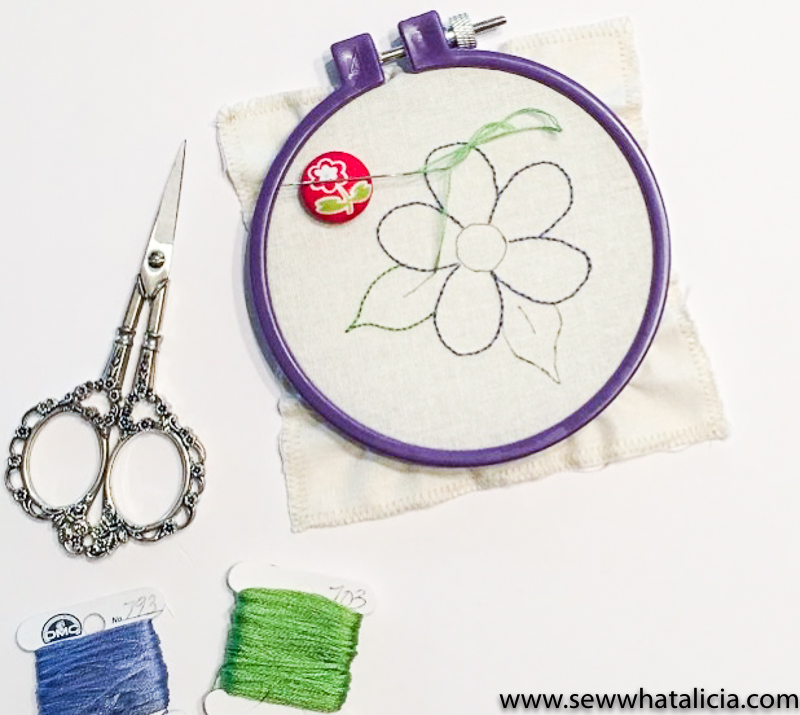
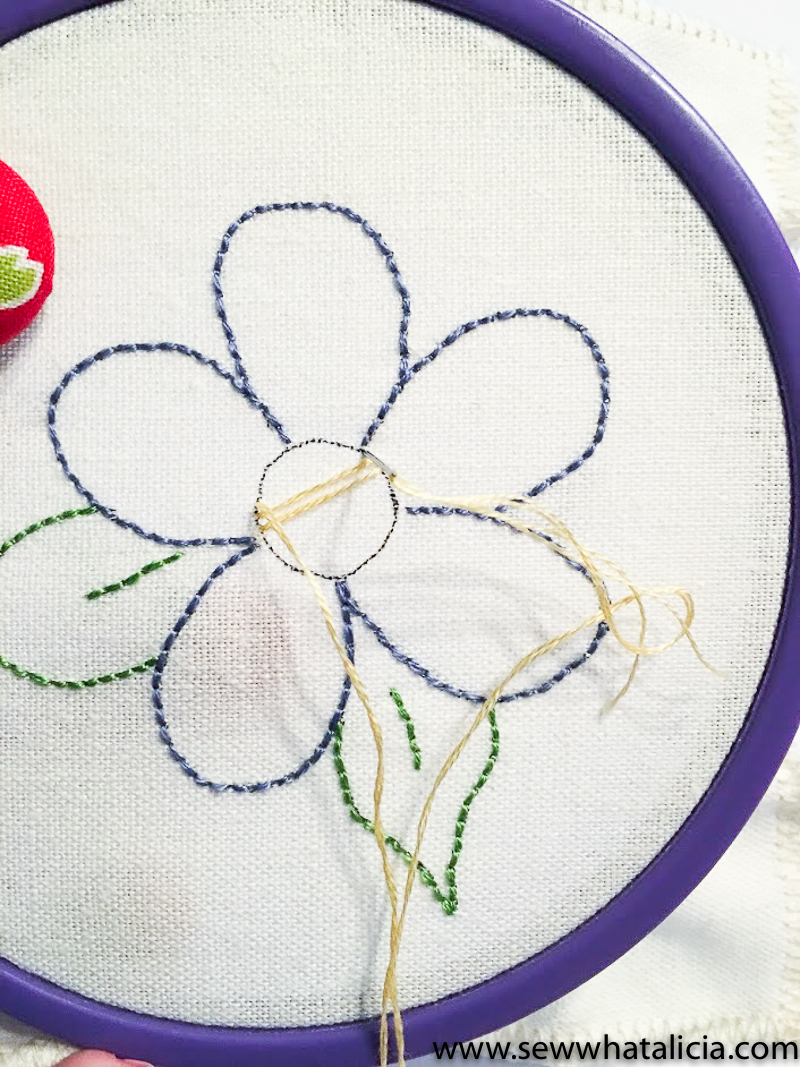
Now for our next stitch we are going to do a very simple satin stitch to fill in our flower center. With your needle threaded and knotted at the end, you’ll bring it up from the back until the knot catches. Then you’ll put your needle back down through on the opposite side of your circle and pull your thread through. Bring your needle back up on the side of your circle where you started and repeat. Continue the process until you’ve filled the entire circle and have a cute flower center!
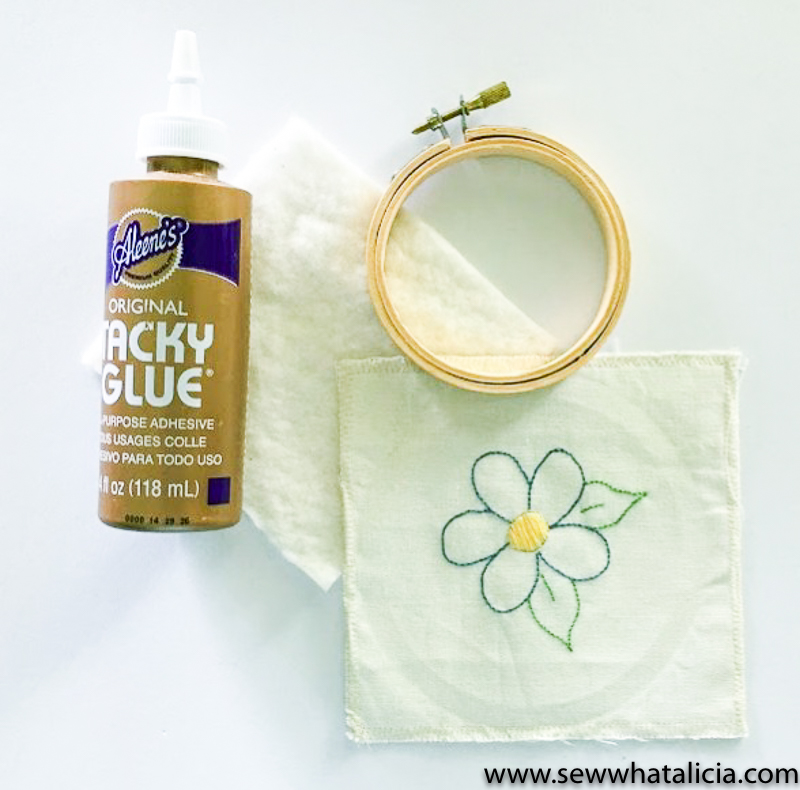
Finishing:
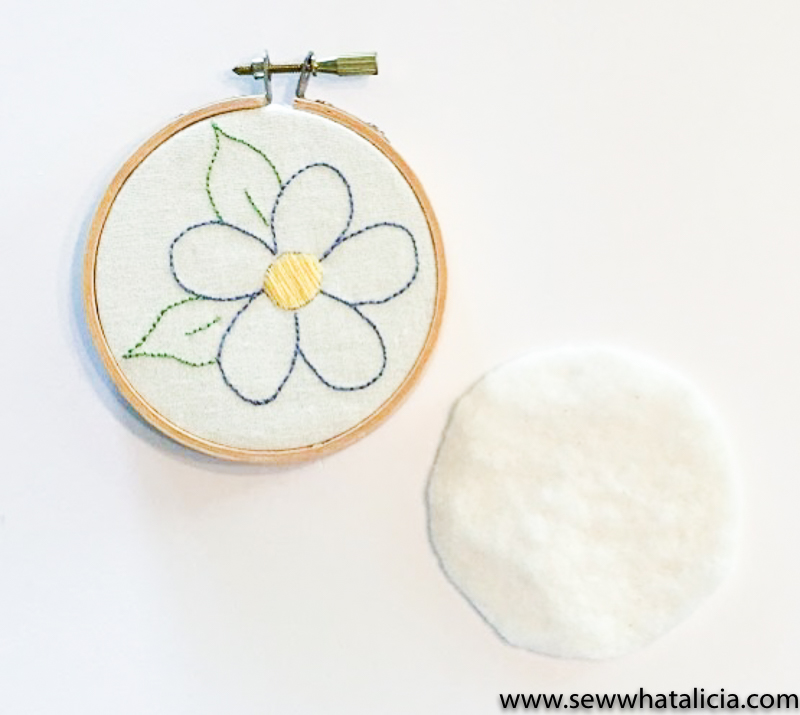
So now we have a finished Memorial Day Flower stitchery! Go ahead and pop it out of your embroidery hoop and give it a nice pressing. Then grab your Tacky Glue, wooden embroidery hoop and the scrap of batting.
 I centered my flower in the hoop and, using some fabric scissors, cut the excess fabric from the back. Try to get as close to the hoop back as you can, but go slowly so as to not accidentally cut into the stitchery.
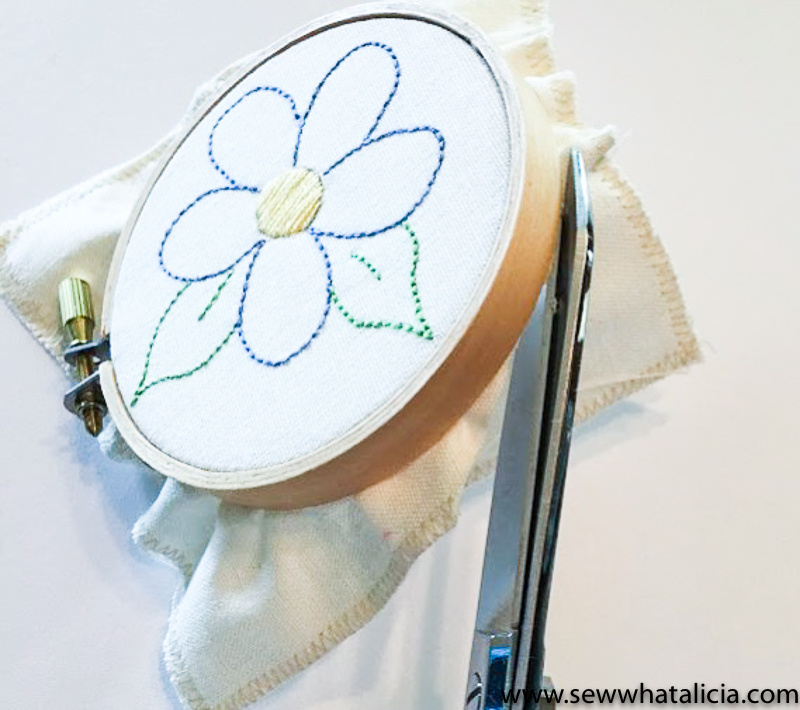
After that, you cut the batting into a circle that will fit inside the back of your hoop and attach it using a small amount of glue applied lightly to the perimeter of the batting.
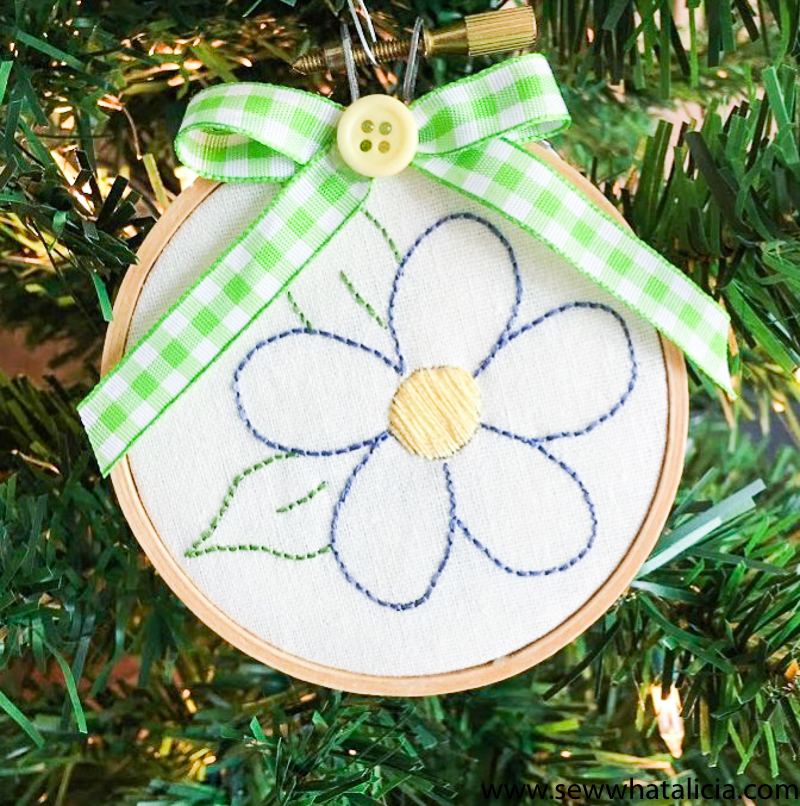
When I finished my little hoop, I tied a simple bow between my fingers, glued it and a little button onto my stitchery fabric. An easy embroidery flower tutorial, perfect for Memorial Day remembrance!
Thanks so much to Olivia for this awesome tutorial! Make sure and check her out on Instagram, Facebook, and Etsy!
For more embroidery check out the Summer Watermelon Embroidery Tutorial and 20 Awesome Embroidery Patterns.


Leave a Reply