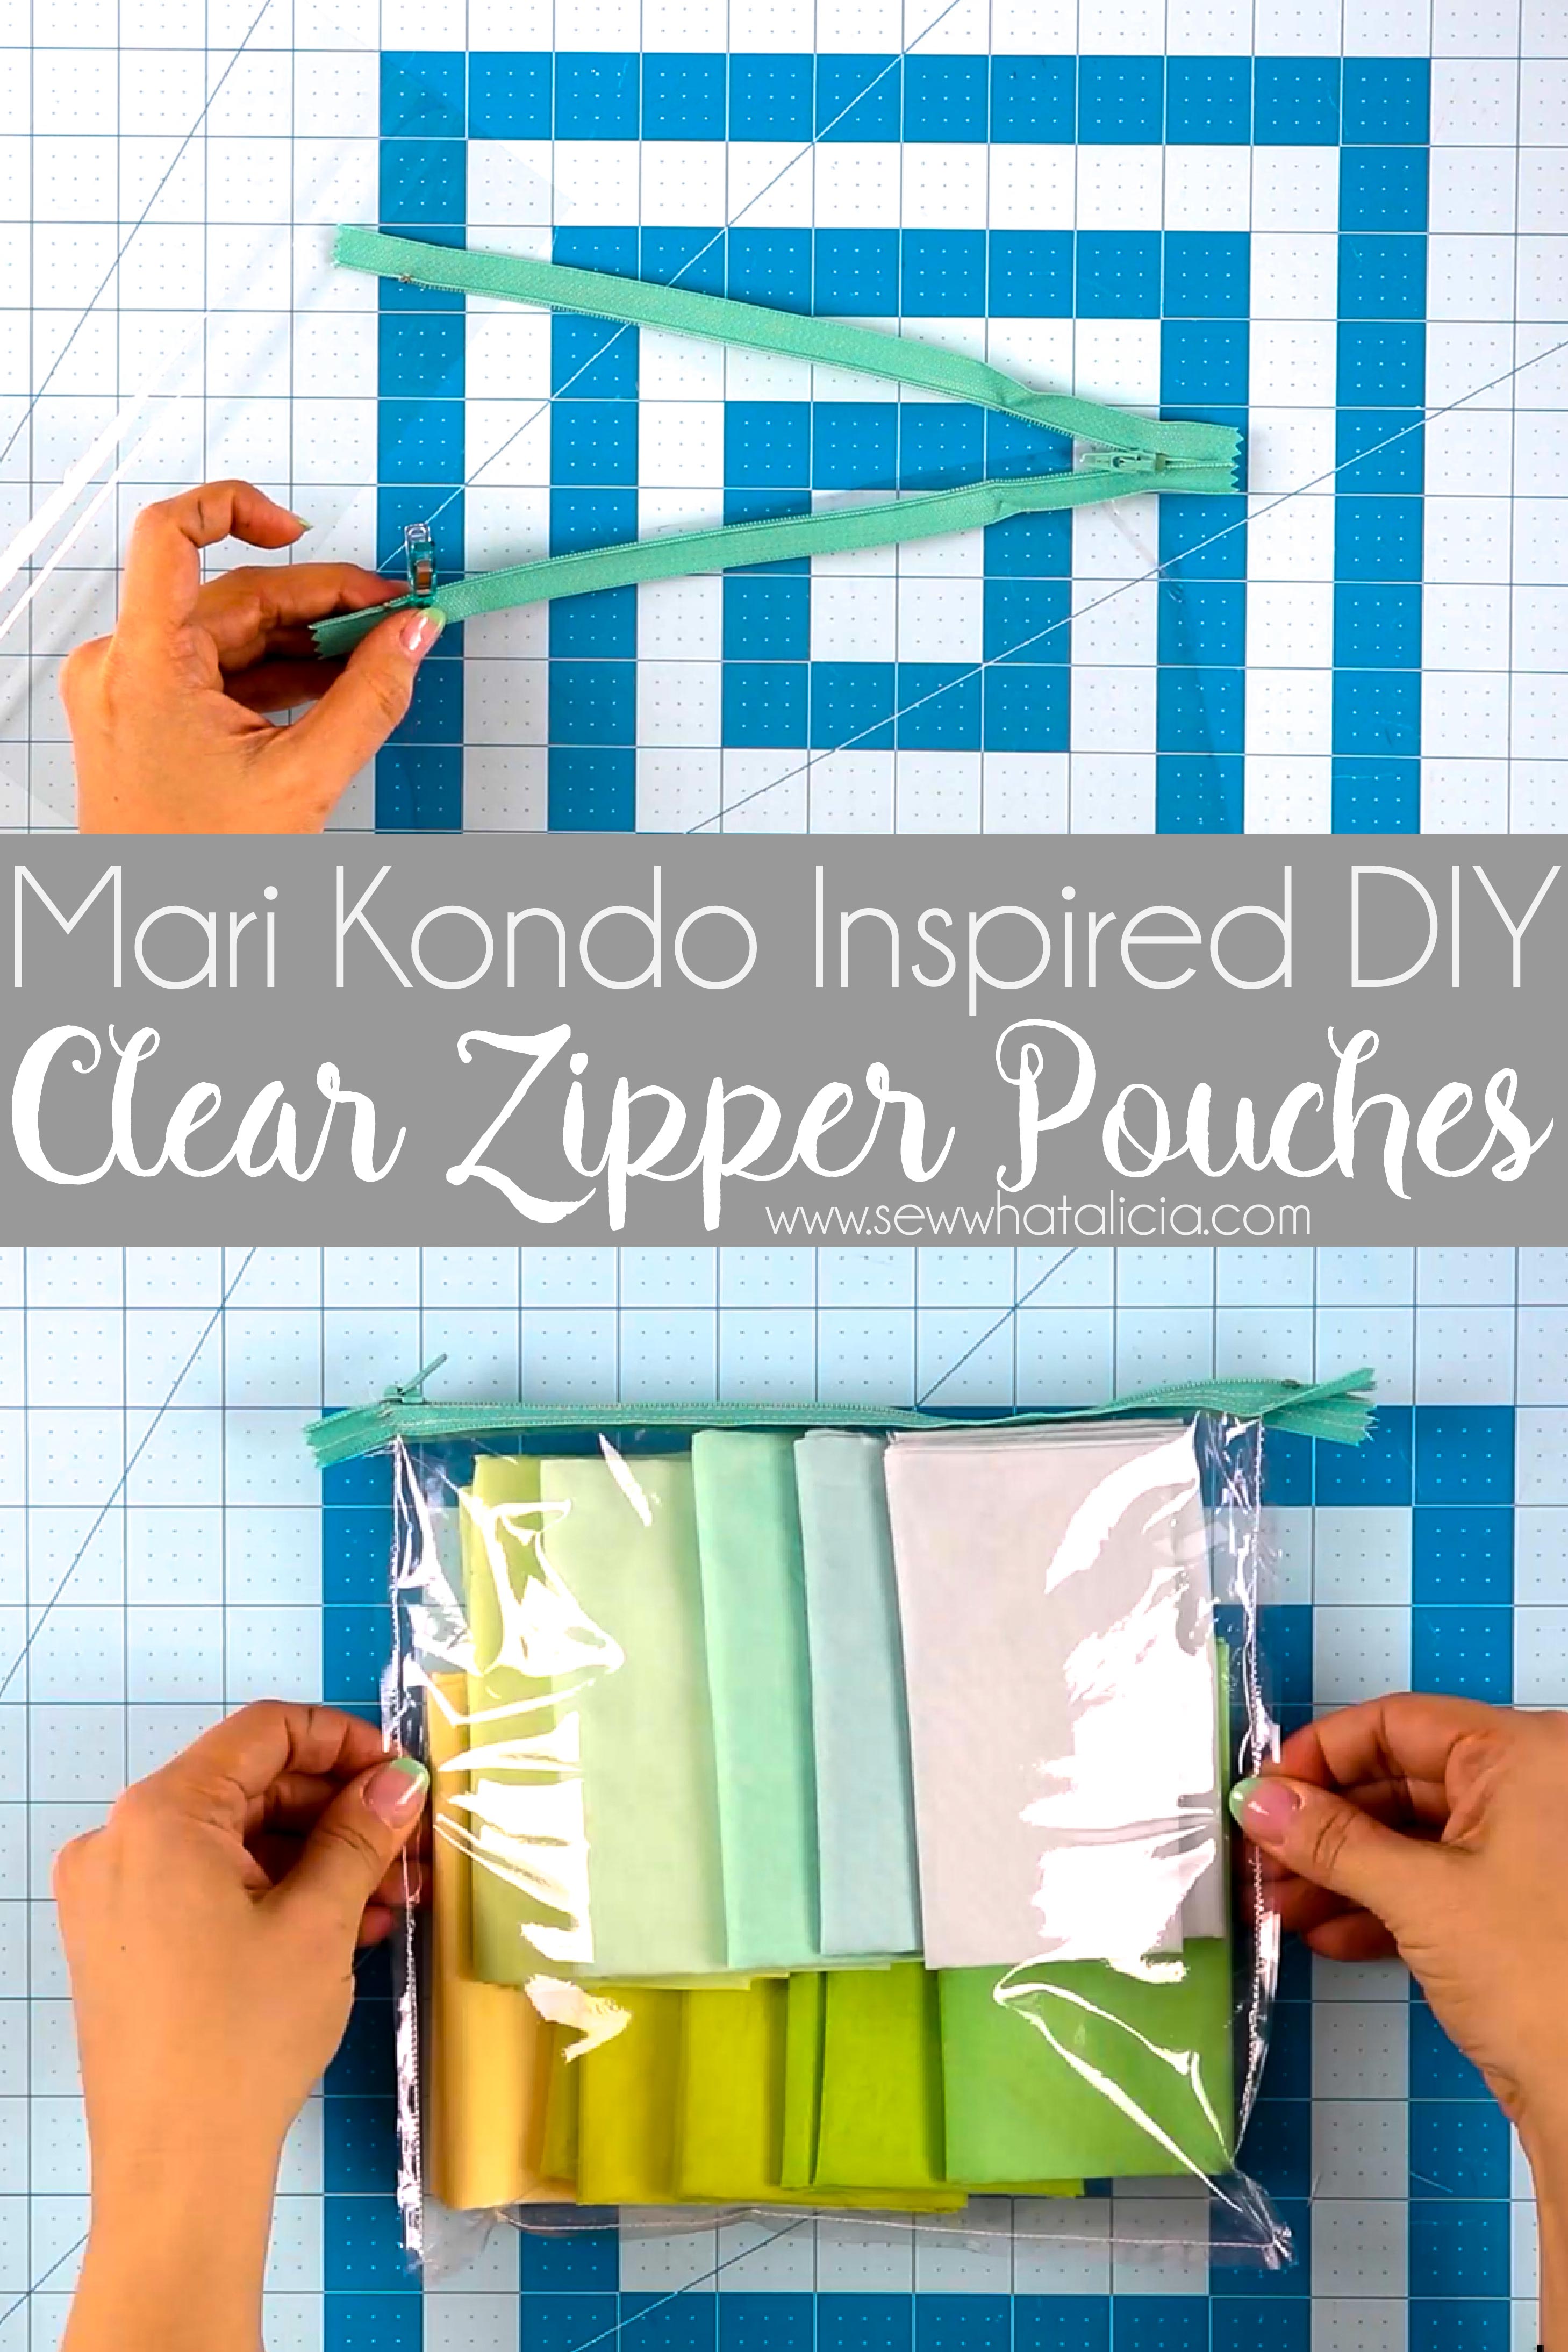
DIY Mari Kondo Clear Zipper Pouches for Organizing
Spring is in the air, and on Netflix, where Mari Kondo has again taken the world by storm. She recommends using clear pouches to organize small things, and kids toys. These clear pouches are SO easy to make and you can go one step further by changing the zipper color to color code your organizing. Here is the full tutorial, plus scroll to the end for the video walkthrough. Make sure you pin this one to save it for later!!
DIY Mari Kondo Clear Zipper Pouches for Organizing
What you need:
For this project you will need to get some clear vinyl. Here is the clear vinyl page on Joann. What you need to know about clear vinyl is that it can be purchased in several different thicknesses. This is called the gauge. The smaller the gauge the thinner the vinyl. For the pouch in this tutorial I used an 8 gauge vinyl. I wouldn’t recommend going any thinner than 8 gauge for your pouch. On the flip side too thick and you will have trouble getting a good stitch. I recommend you get vinyl in the 8 – 16 gauge range for these pouches.
If you are going to get your vinyl from Joann I recommend you order it online and have it shipped to the store or look for free store pickup, this will keep you from having to wait in those cut lines, which is everyone’s least favorite thing to do! Then all you have to do is go up to the cash register and tell them you are picking up an online order. Super easy!
You will also need a zipper foot. Many newer machines come with a zipper foot in the little kit that came with your machine. If you don’t have a zipper foot head over to Amazon and search that brand of your machine and zipper foot. You will find a good variety of feet to choose from. OR pull out your user manual and find the item number listed for the zipper foot then go ahead and google that! But honestly if you have been here before you should have a zipper foot, we do zippers all the time!!! So stop now and go order one!!!
On Zippers:
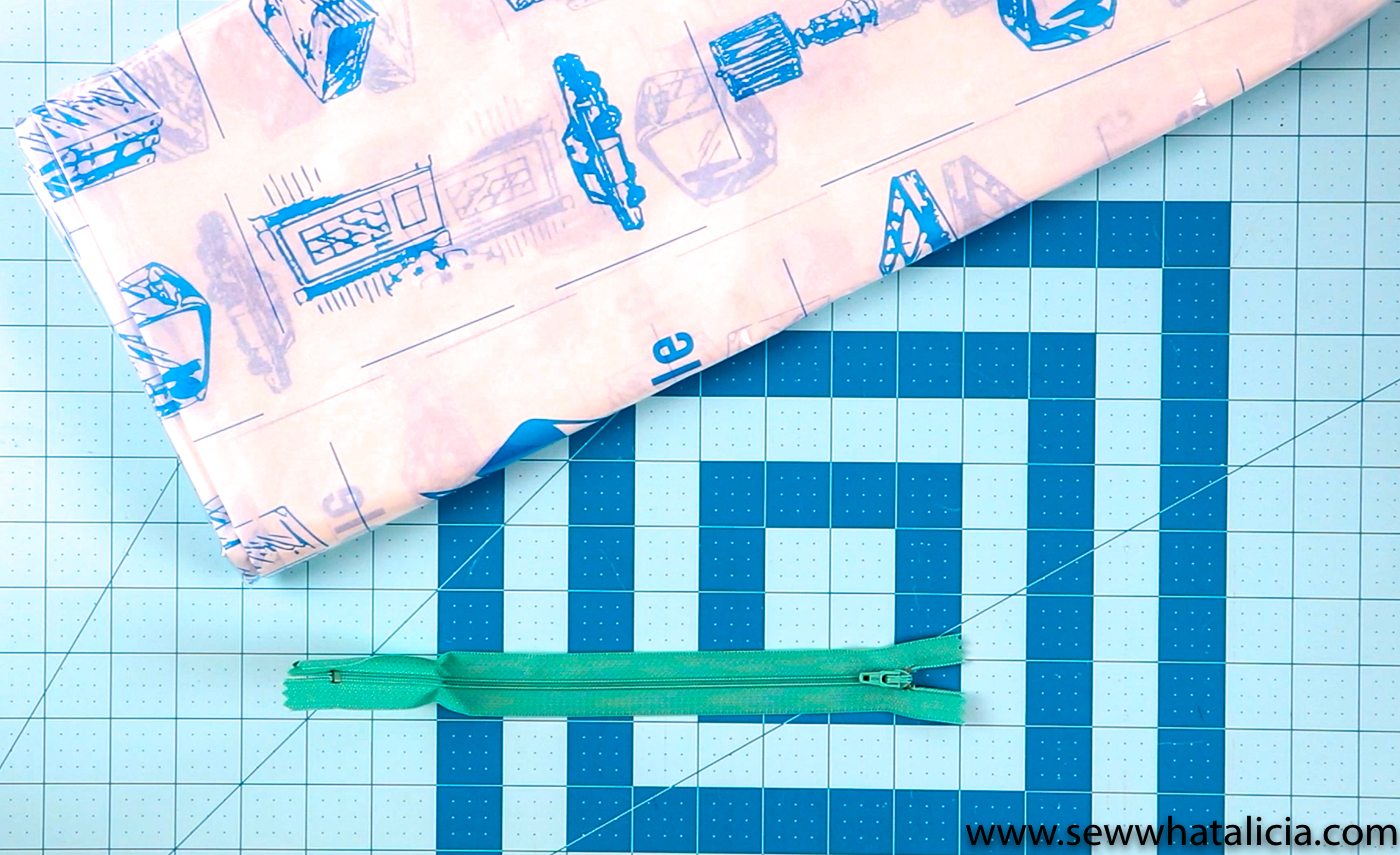
Last you need a zipper. I am not specifying a length because honestly you can make these pouches in lots of different sizes. The great thing about custom making these pouches is that you can make them according to the items you plan to store in them. I highly recommend these Coats and Clark All Purpose Polyester zippers. These are my go to zipper. You can stock up when they go on sale and get them in lots of different lengths. You should know that the length on the package refers to the length of the actual zipper, the zipper tape will be longer by a couple inches so take the into account when you purchase your zippers.
The zipper in the photos is totally unfinished on the ends and near the tape. Scroll all the way to the end for a few ideas about finishing the edges and the tape, or don’t and make them just as I have done!
How to make a clear vinyl pouch:
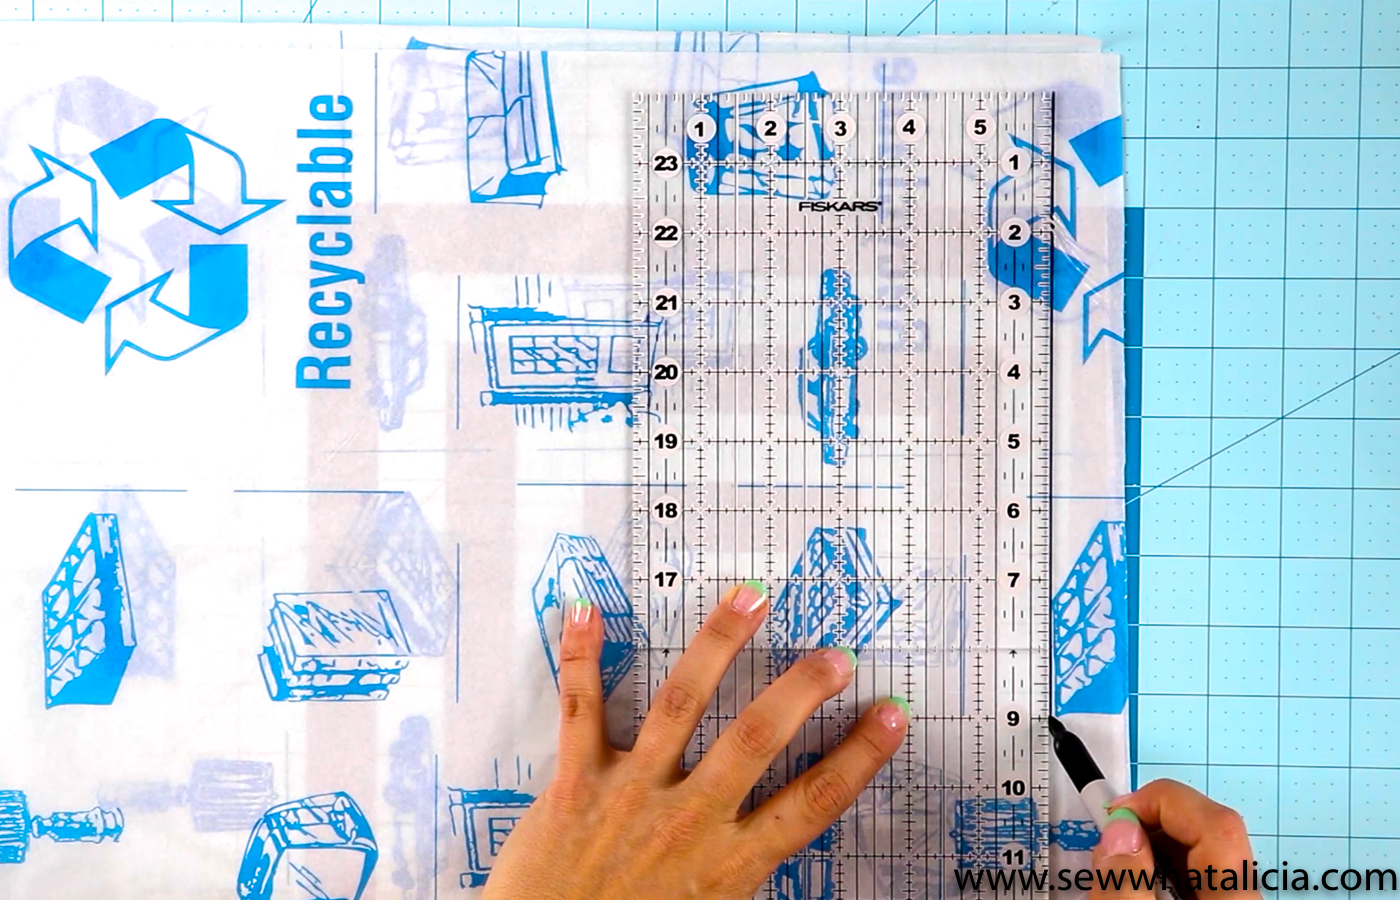
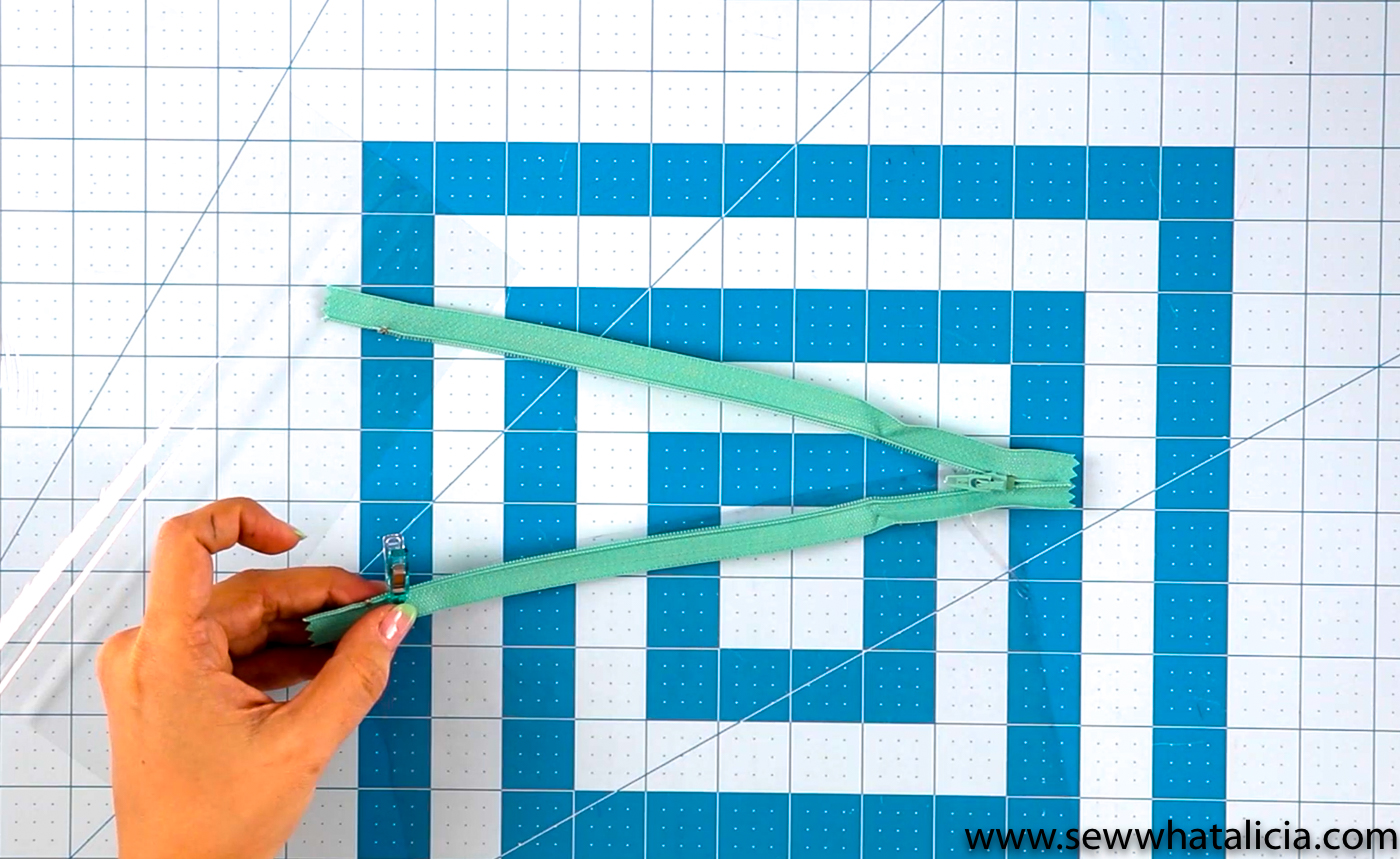
Use a ruler or straight edge to measure a square the same size as your zipper (not the tape but the zipper itself.) For me this was a 9″ zipper and thus a 9″ square. Fold the vinyl so that you cut the square out of two layers (or more if you are making more than one pouch at a time.)
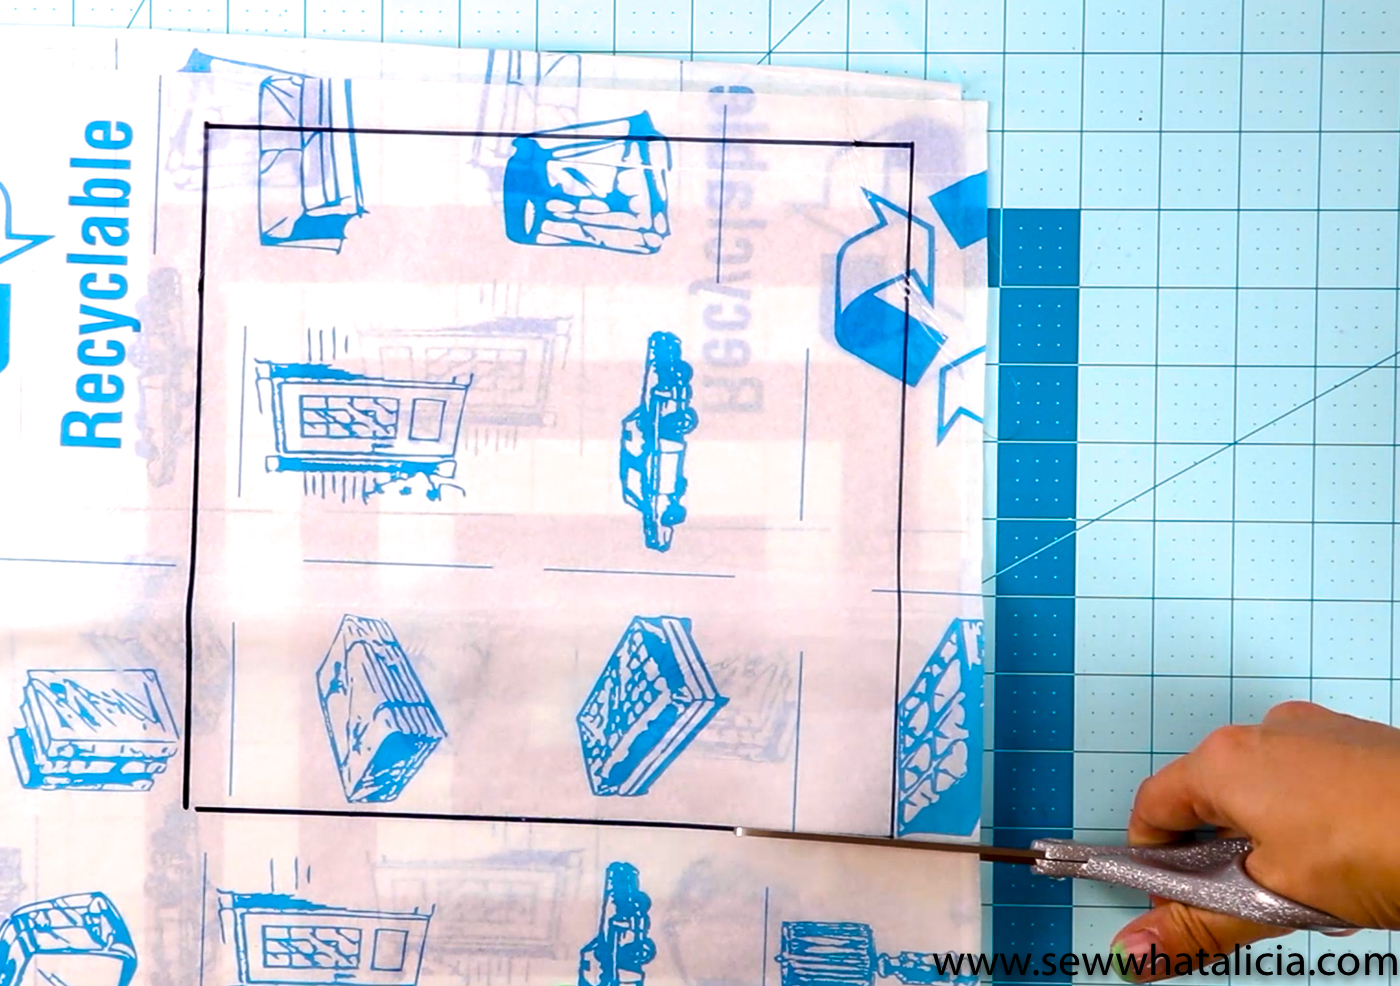
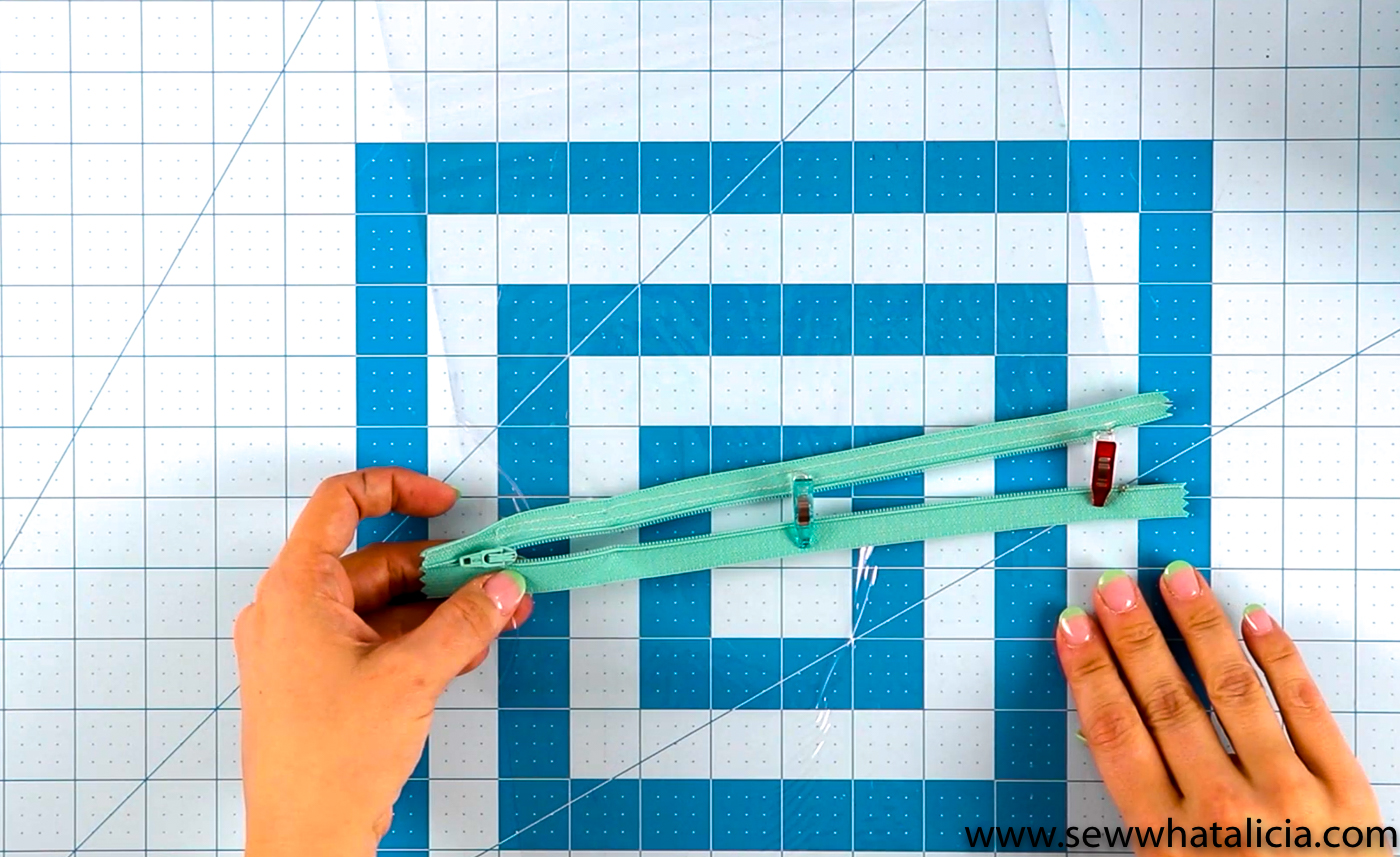
If you use a permanent marker like I did go ahead and use some nail polish remover to get rid of the black line. Or just cut inside the black line if that is easier. Open your zipper. Place the zipper right side up so that the tape faces the large square of vinyl and the zipper teeth face what will be the opening of the pouch. The wrong side of the zipper tape will touch the right side of the vinyl. Clip in place, then sew using your zipper foot.
Now line up the second side of the zipper tape with the second piece of vinyl. Again the tape faces the large piece of vinyl and the teeth go towards the top. This time make sure that the vinyl squares are lined up along each edge when pinning in place. Sew.
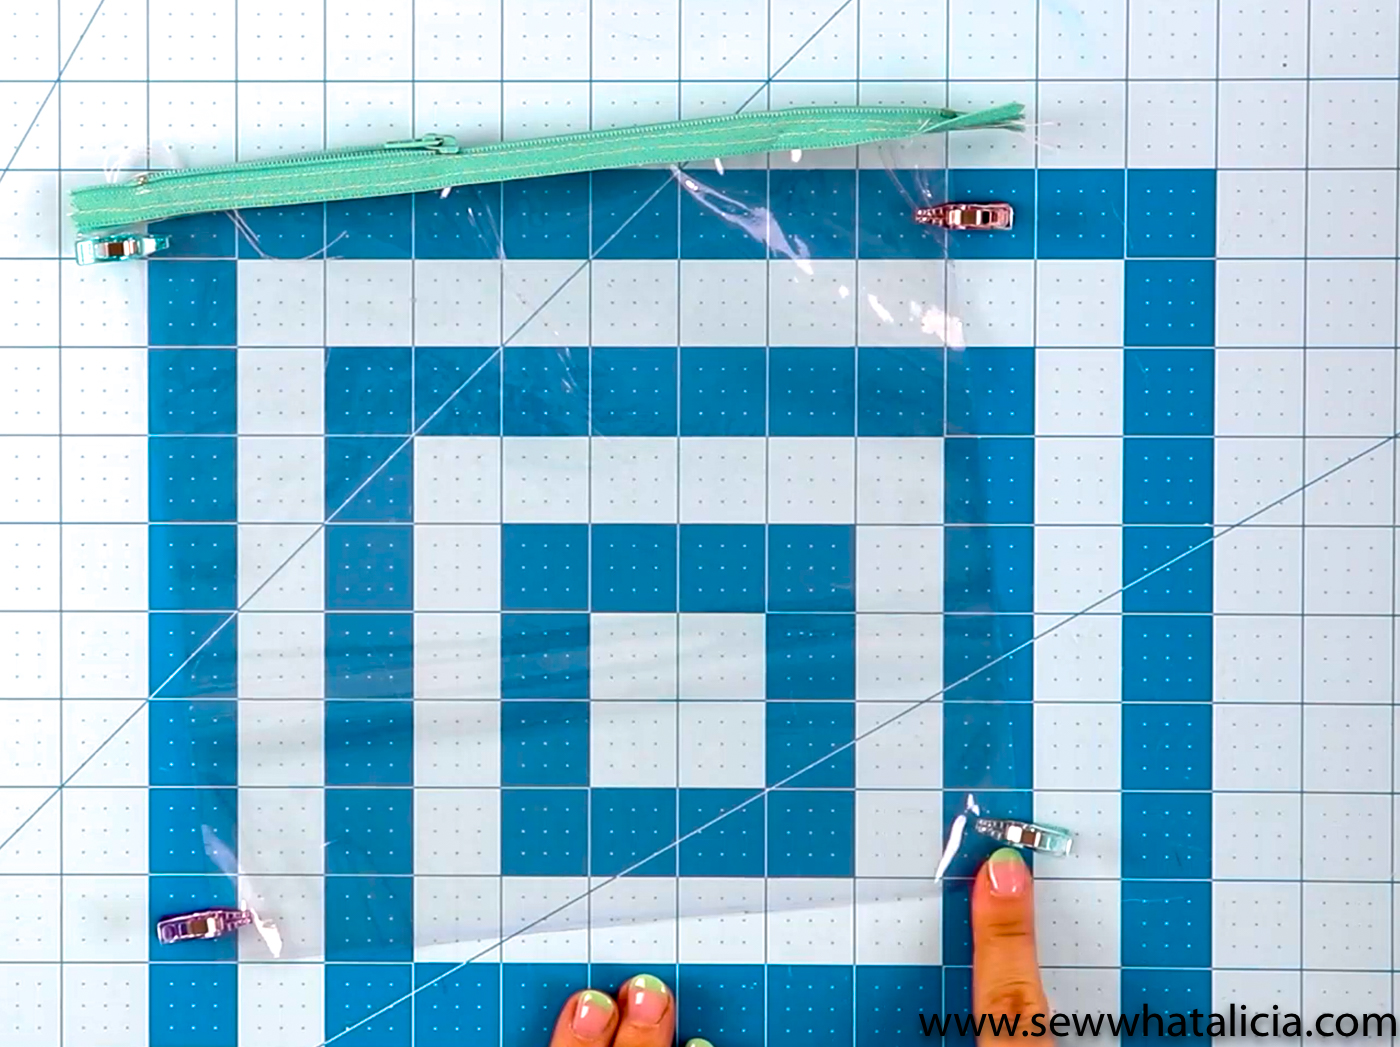
The last step is to place the two vinyl pieces together. Right sides facing out. Line the edges up as best you can and clip in place. Using the 8 gauge vinyl I had no problem using my standard 1/4″ foot to complete this last step. If you have a thicker vinyl you might need to try and use your walking foot or teflon foot for the last step. Sew around the three edges without the zipper to close the pouch.
Your pouch is finished. Unless…
Finishing Touches:
There are lots of fun finishing touches you can do to make these bags even more customized. Here are just a FEW of my ideas, feel free to share your ideas in the comments below.
- Add fabric scraps to either end of the zipper to create a zipper tab for a more finished look. This can be easily accomplished at the end of the process.
- Add a pom pom or ric rac underneath the bottom edge of the zipper tape to give the pouch a little bit of flair!
- Use pinking shears to trim close to the stitching and give the pouch a fun finished edge.
- Add adhesive vinyl to label the pouches, this makes it easier for the kiddos to put things away exactly where they should go.
- Make one side of the pouch out of fabric and one out of vinyl. Face the right side of the fabric in so that you can see the print when the vinyl side is up. Then use the shears as I mentioned above to finish the edges and keep the fabric from fraying.
So that is it! Share your thoughts ideas with me in the comments below!


RB says
FYI, save some time waiting at Joann’s cut counter by pulling a number as soon as you arrive. If you’re ready when your number is called, great. If not, you can let the cutters know or just wait and they’ll call the next number. When you’re ready, tell the cutters and they will take you next — your passed-over number will put you in the front of the line.
sewwhatalicia says
Great tip! Thanks!