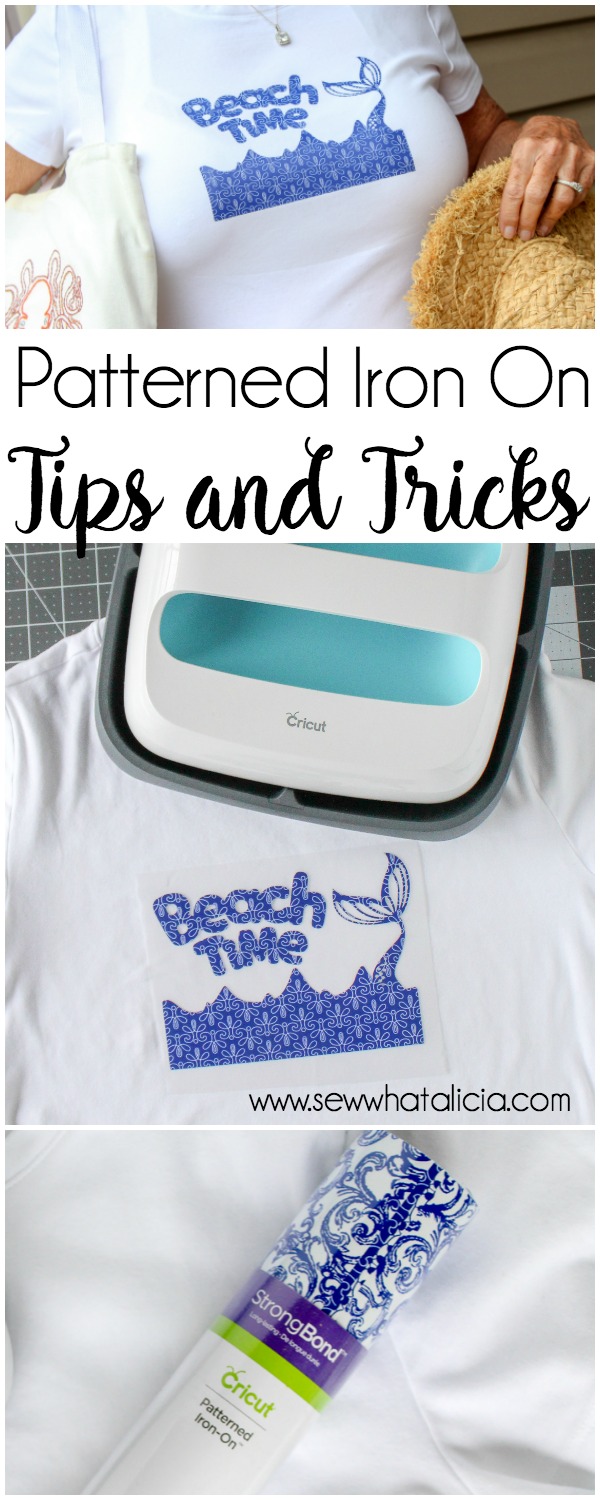
Cricut Patterned Iron On Tips and Tricks
The new Cricut Iron On makes your projects so much more fun! You can use the Cricut Patterned Iron On to make custom sweatshirts, baby clothes, t-shirts, tote bags, zipper pouches, and more. This tutorial will walk you through all the tips and tricks for using the Cricut Patterned Iron On to help get you started. Then head over to the Cricut site to grab one of the nine sampler packs, you won’t regret it I promise! Here are some Cricut Patterned Iron On tips and tricks.
Cricut Patterned Iron On Tips and Tricks
This is a sponsored conversation written by me on behalf of Cricut. The opinions and text are all mine.
What is Patterned Iron On?
Cricut has just released 9 new bundles of patterned Iron On. Each pack comes with one sheet of three different patterns (three sheets, three separate patterns.) There are so many fun options, see them all HERE, and these are great because you can make designs a little more exciting without having to layer vinyl. Just grab the pattern that most appeals to you and create your project with one quick cut.
Which Side is the Liner Side on Cricut Iron On?
With the new patterned Iron On it is super easy to figure out which side is the right side and which side is the wrong side. The pattern is on the right side along with a plastic liner. The wrong side is white and has a slight texture. This is the side you will cut on. When you are using pattered iron on you will always mirror your image and cut on the wrong side (that white textured side I mentioned.)
The liner side of Iron On is typically shiny because it has a plastic sheet covering the iron on. You will never cut on the plastic lined side you will always cut on the other side. Use your standard green mat and place the pattern face down with the white textured side up.
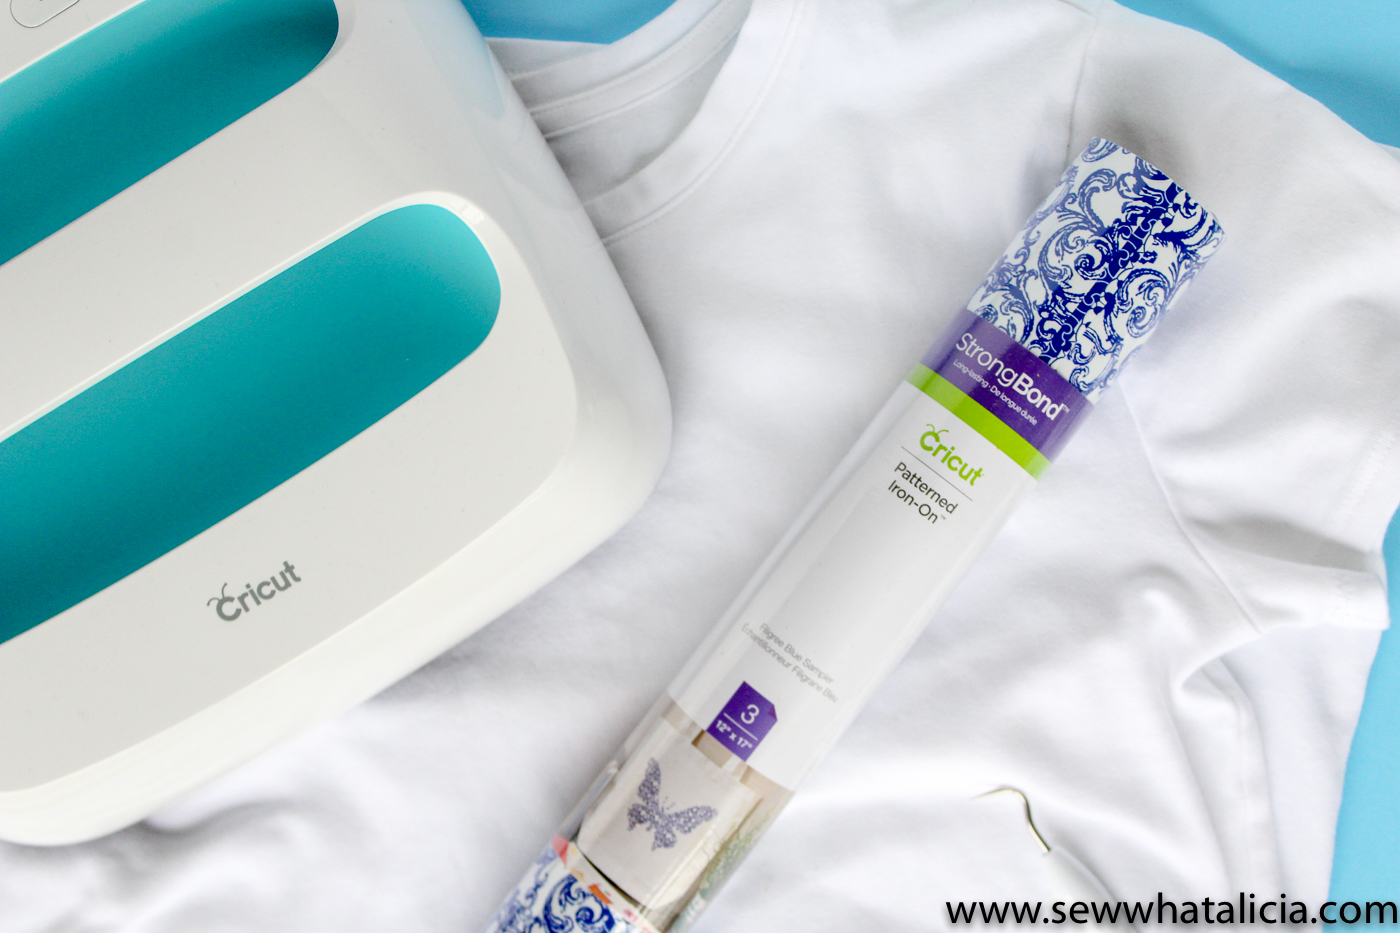
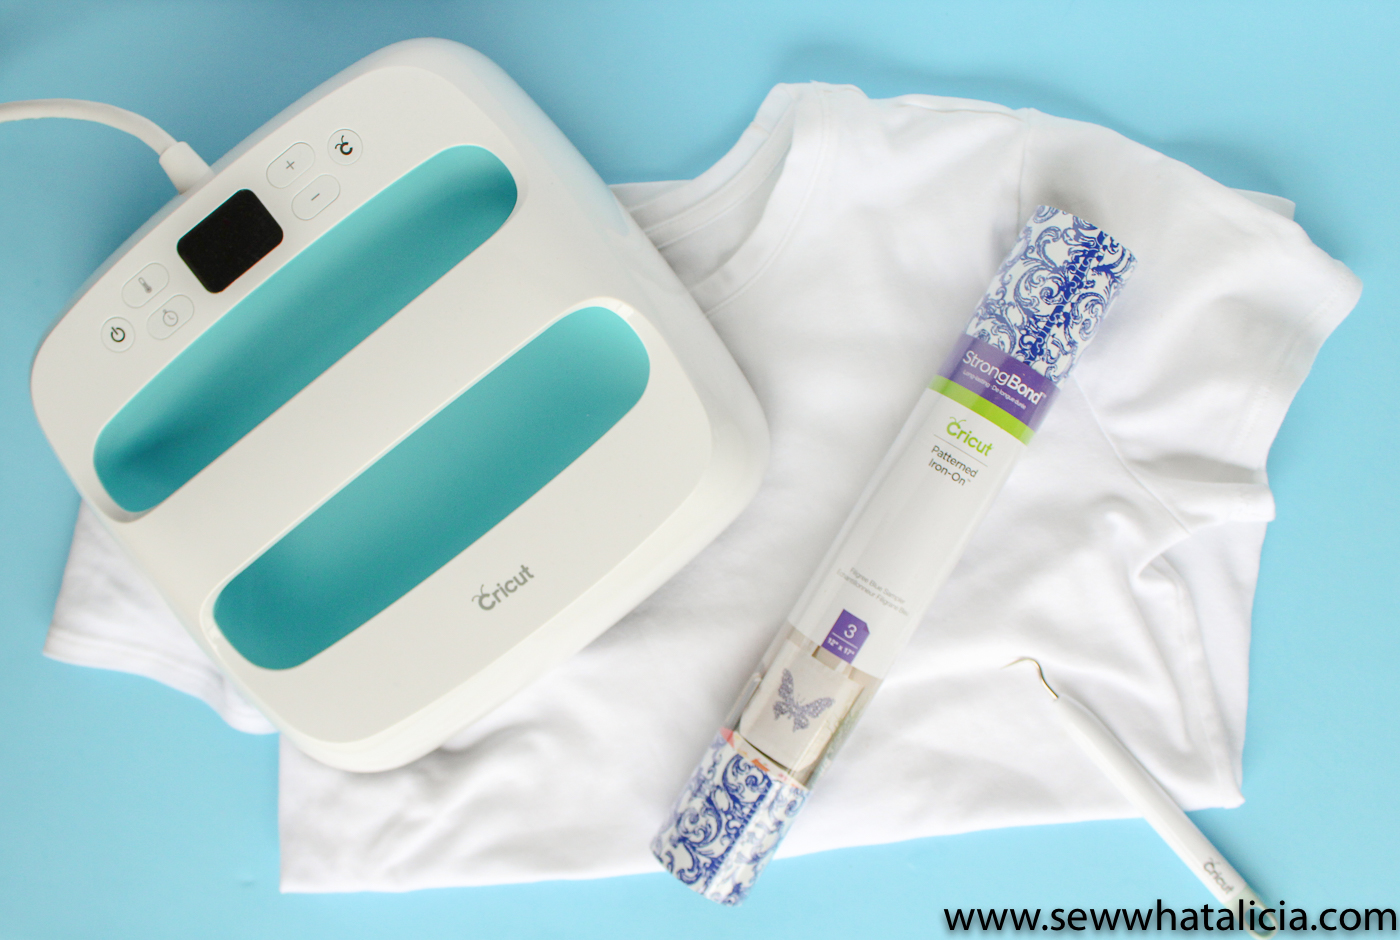
What supplies do I need for Iron On t-shirt?
The supplies you will need to make an Iron On t-shirt are:
Cricut EasyPress and EasyPress Mat
Cricut BrightPad (optional but awesome!)
Plain T-shirt (or anything that is fabric and blank! Also called a crafting blank.)
Design Space Project (get the beach time image from this post HERE.)
How do you do an iron on transfer?
First you will need to head to design space and design a project (or use the project featured in this post HERE.)
Once you have the project designed and have checked that it is the correct size you will hit Make It. At this point you want to make sure and toggle the Mirror toggle so that the design cuts the opposite way.
Your patterned Iron On needs to be placed pattern side down on your green cutting mat.
Hit continue and select Iron On from the list of materials. Then hit the Cricut C button on your machine to start the cutting!

Once the image has cut you will need to weed it. Weeding is just the process of taking out the excess iron on that you aren’t going to apply to your shirt. Use the weeding tools and your Cricut BrightPad to make the process super easy.
How do I apply Iron On?
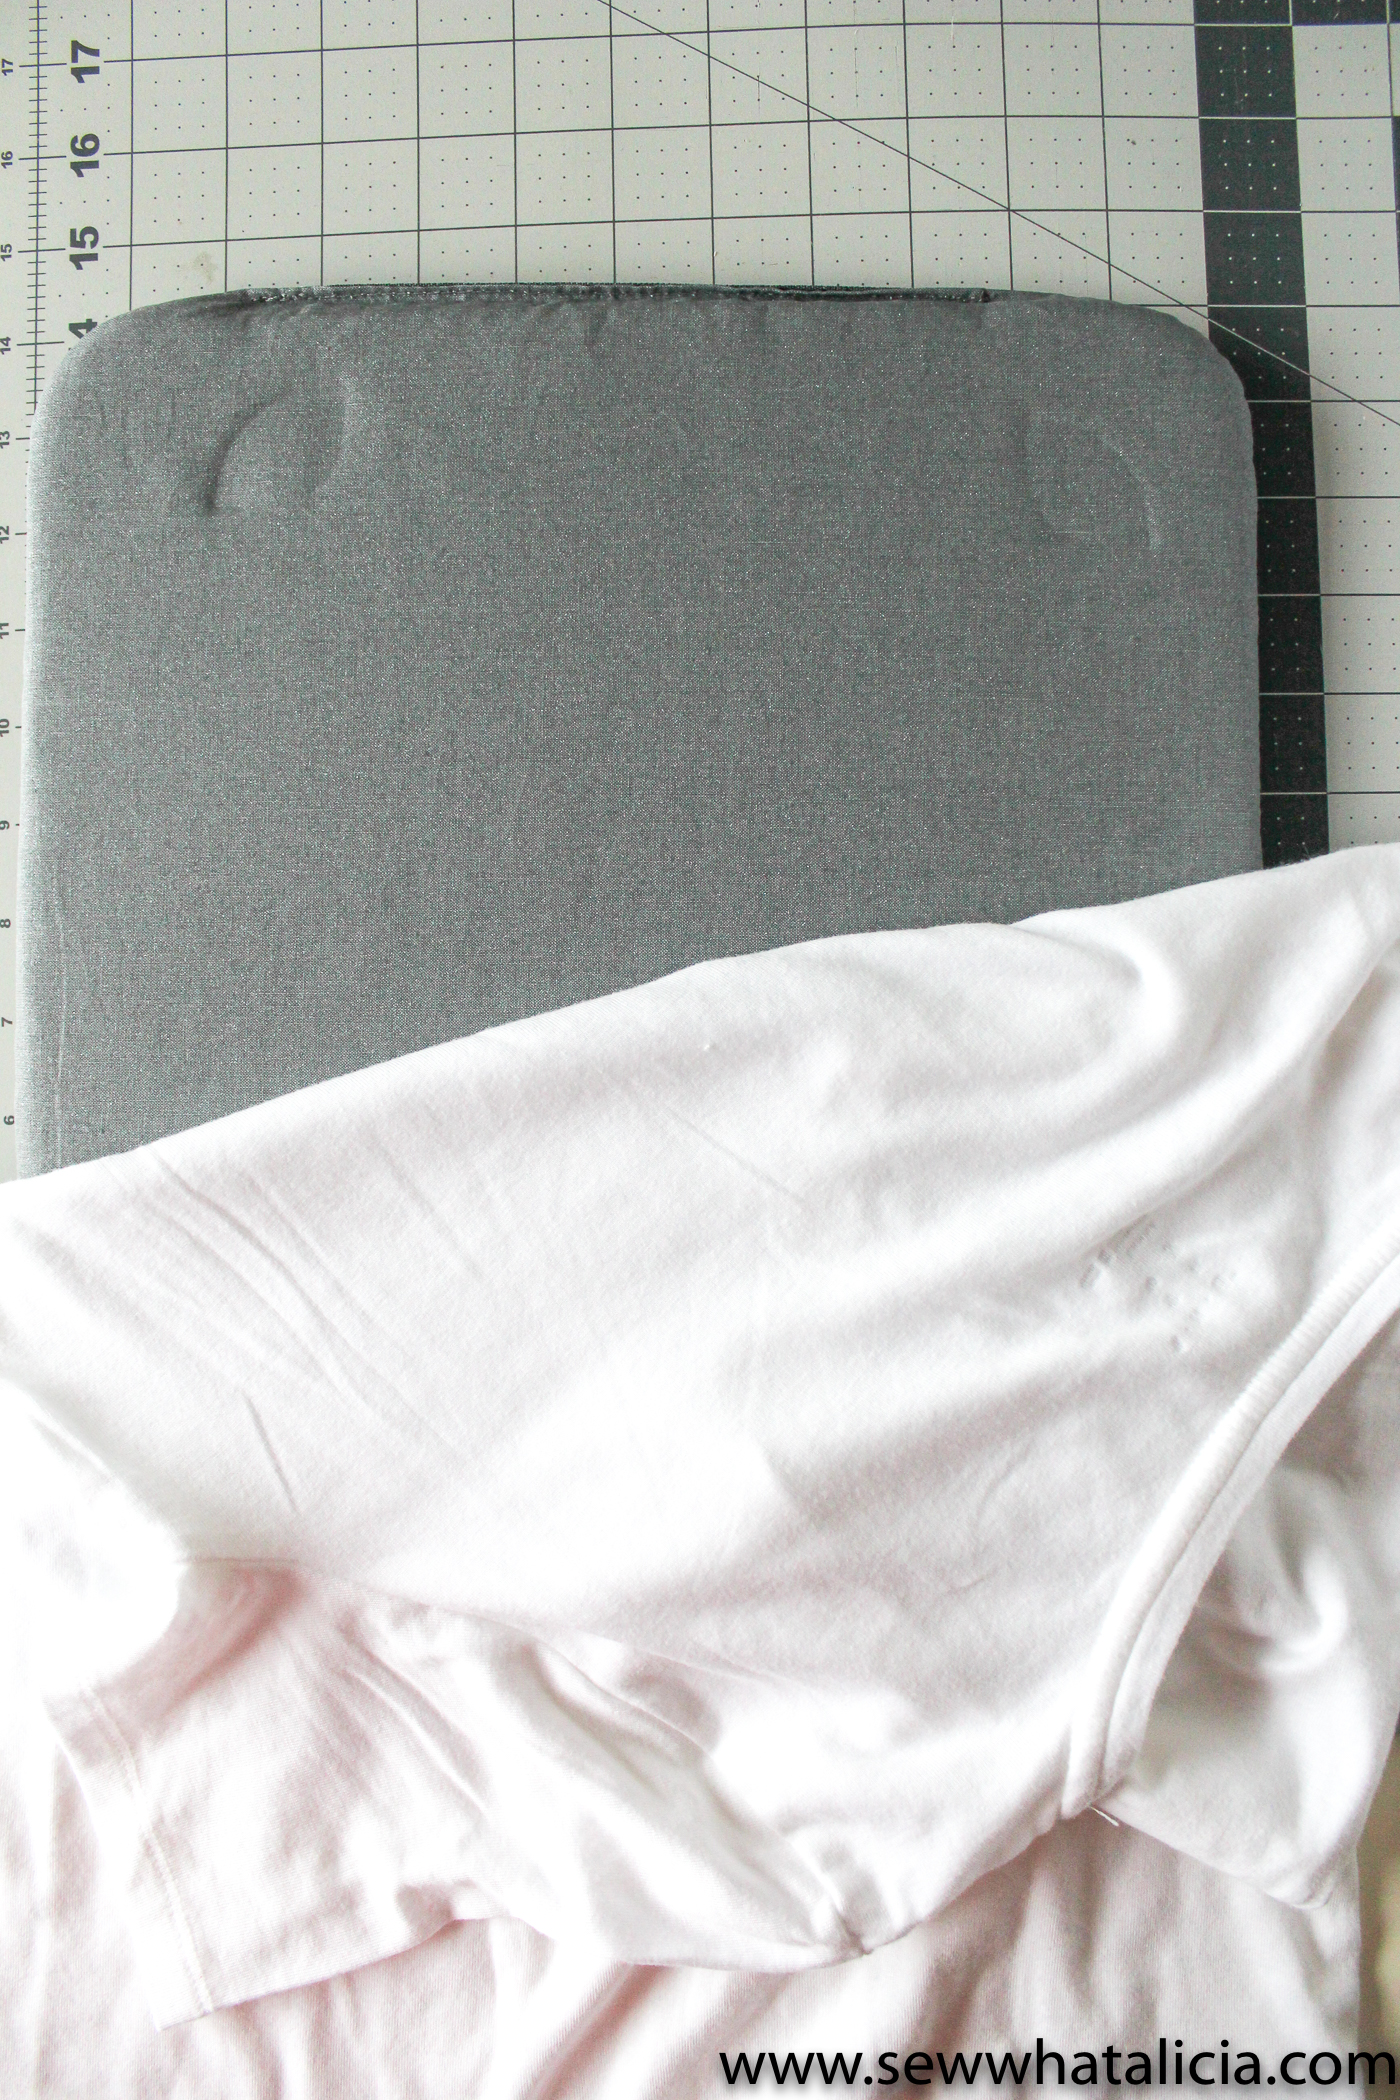
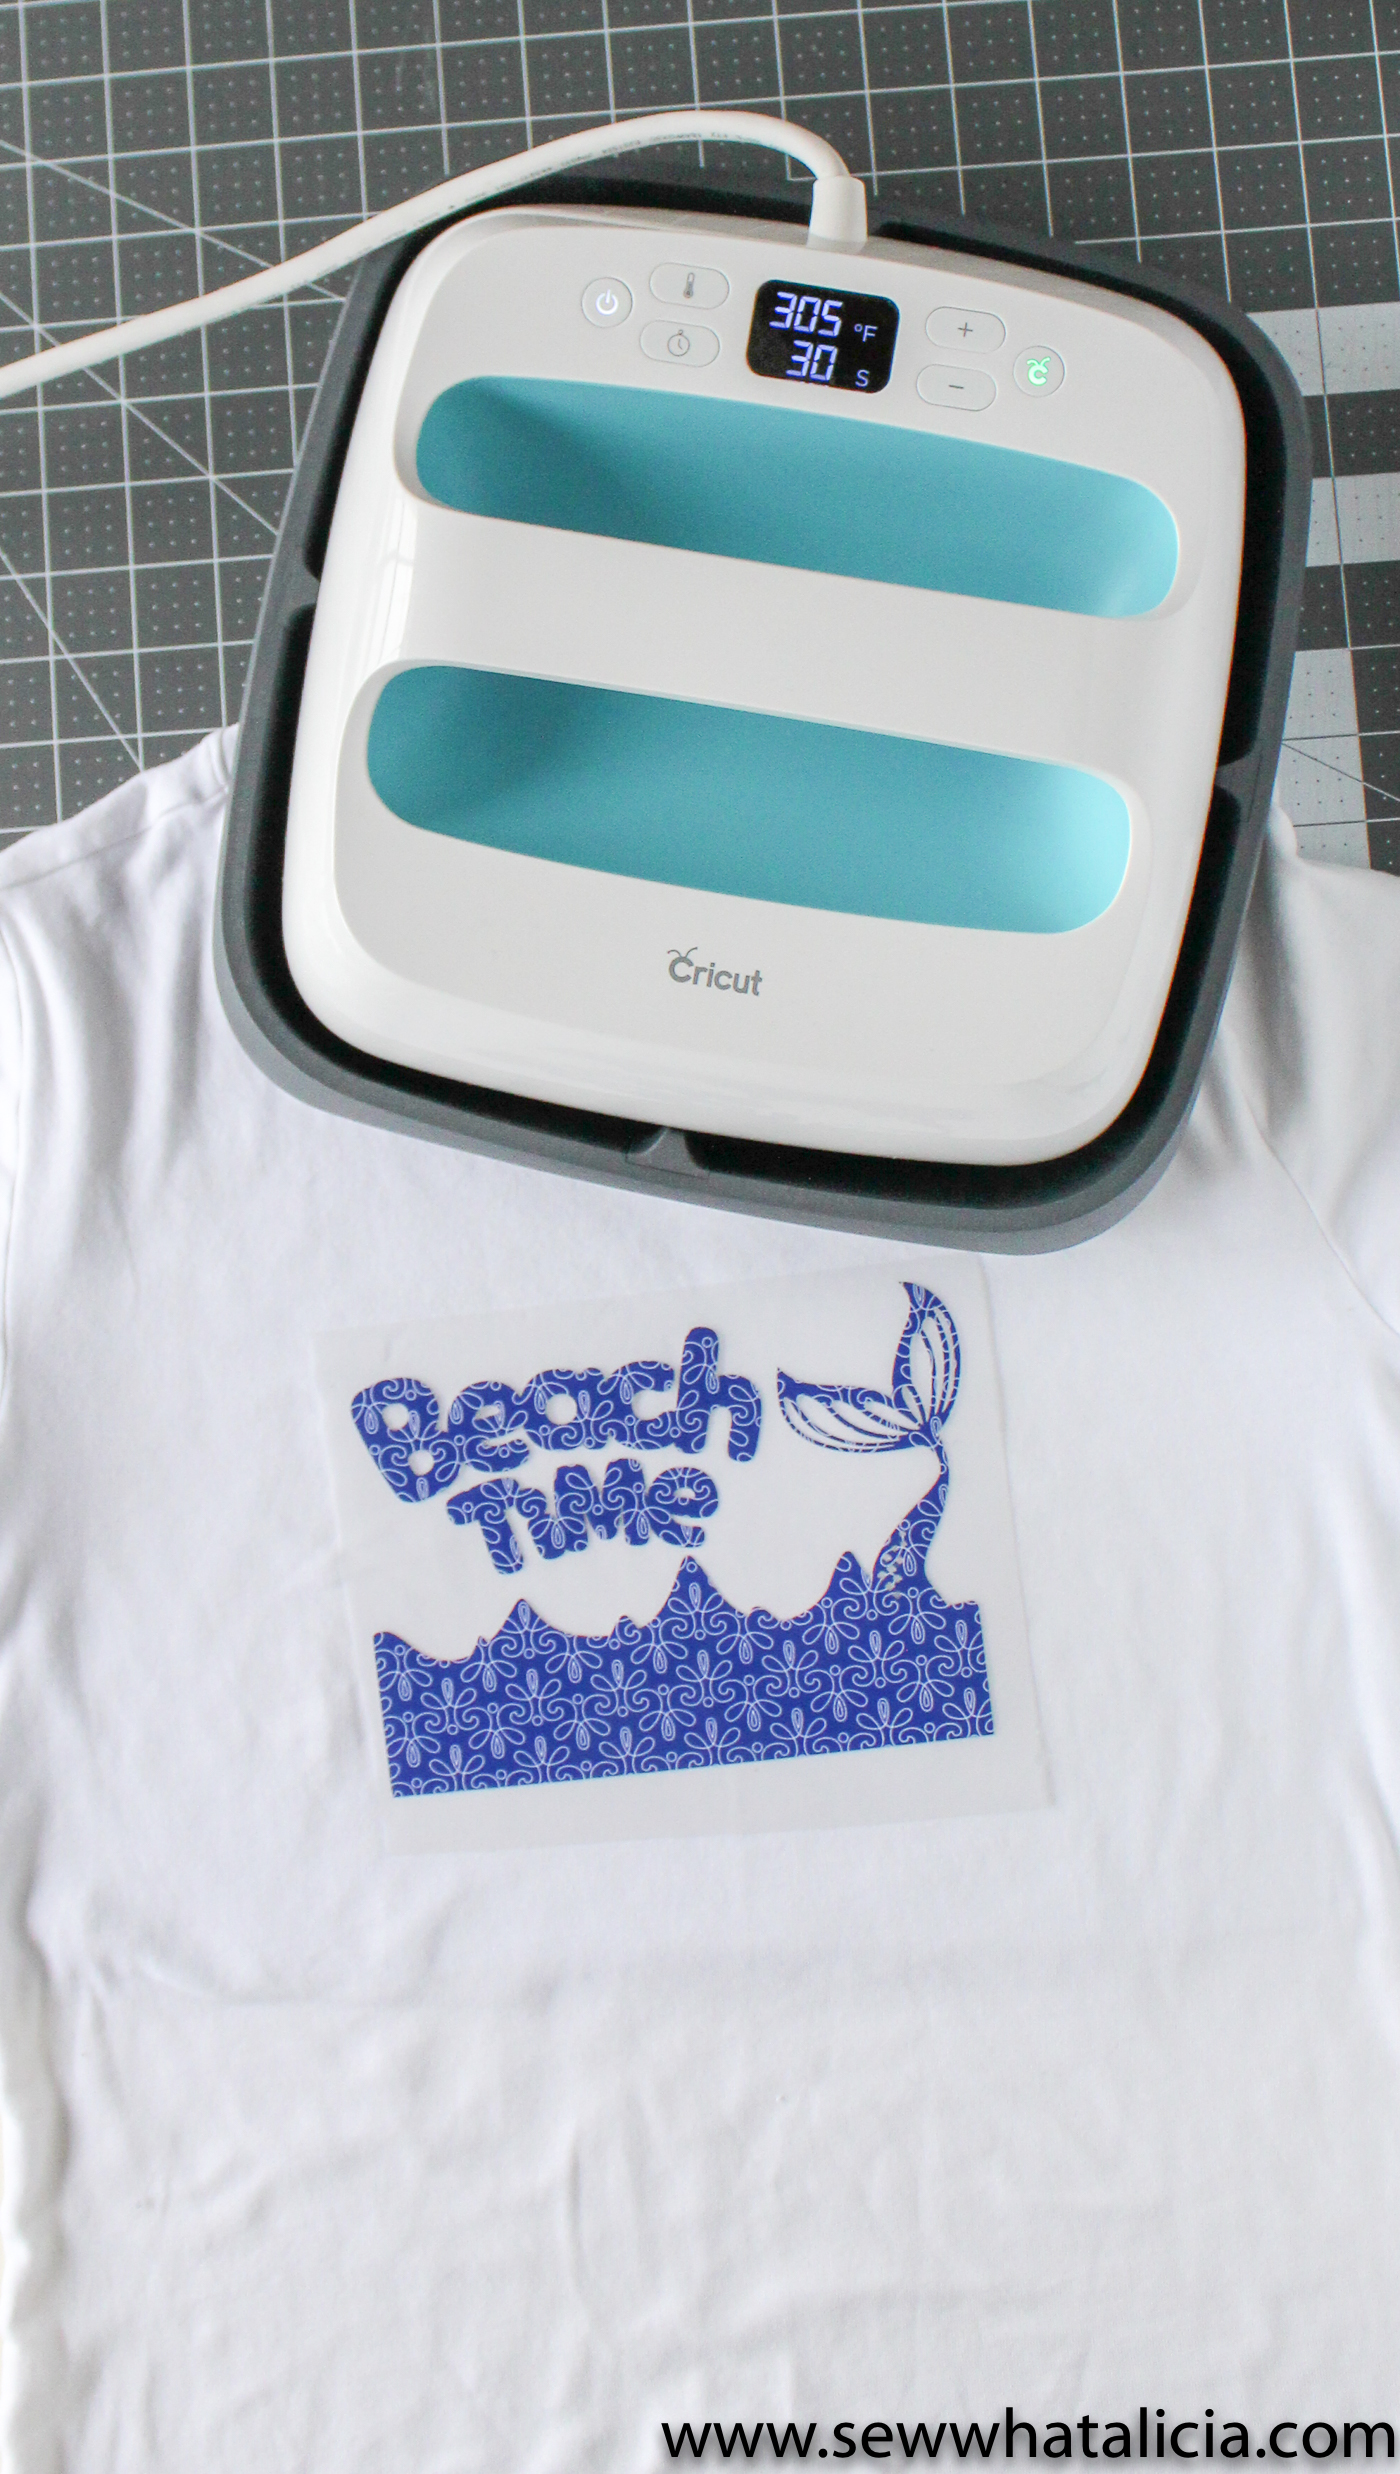
Heat your EasyPress to 340 degrees and then place the image wrong side down, plastic patterned side up on the t-shirt. You can press right over the plastic that is already attached to the patterned Iron On. I recommend using the Cricut EasyPress Mat (pictured below.)
Press the image for 30 seconds. Then press for 15 seconds on the back of the image (with plastic still in place.) Last cold peel the plastic lining, cold peel means let the entire piece completely cool before taking the plastic off.
See full application instructions when using a standard iron HERE.
Iron On Tips:
- The Patterned Iron On is not meant to be layered. Instead use the slice tool to create your designs so that the shapes don’t overlap.
- When you are using different types of Iron On (for example glitter and patterned) do the layers with the hotter setting first to avoid burning the lower heat setting Iron On. See this Mermaid Tote for an example of using various layers of Iron On.
- Be sure to check the heat setting for the various Iron Ons to find out if they are cold or warm peel. For example the foil Iron On could easily get messed up if you peel at the wrong time. You can find the recommended settings HERE.
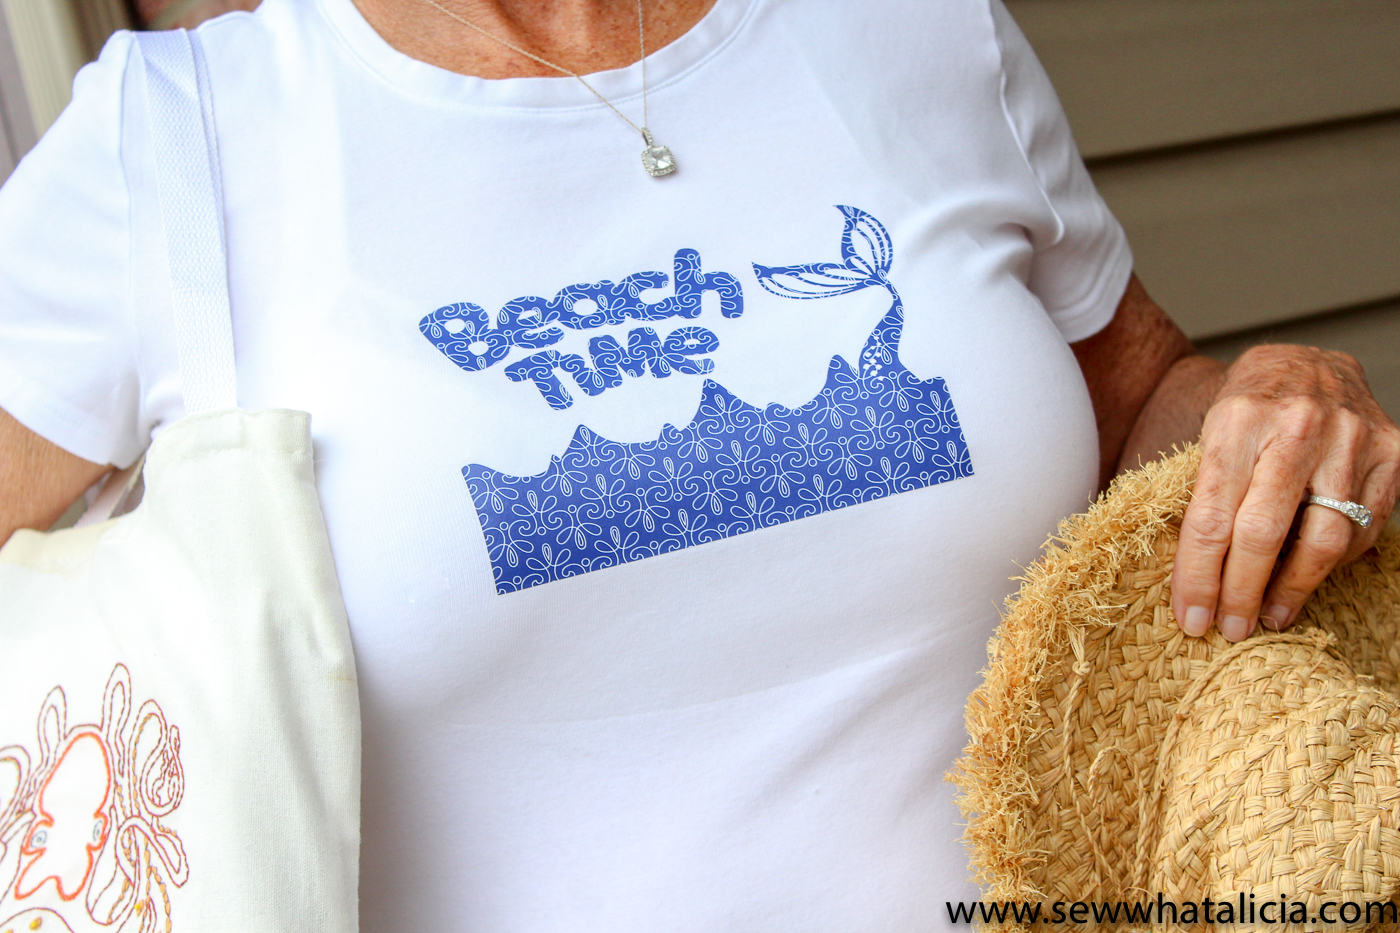
Now you know how to add patterned Iron On. Do you still have questions? Share with me in the comments below. Now who is ready to hit the beach?
This is a sponsored conversation written by me on behalf of Cricut. The opinions and text are all mine.


Leave a Reply