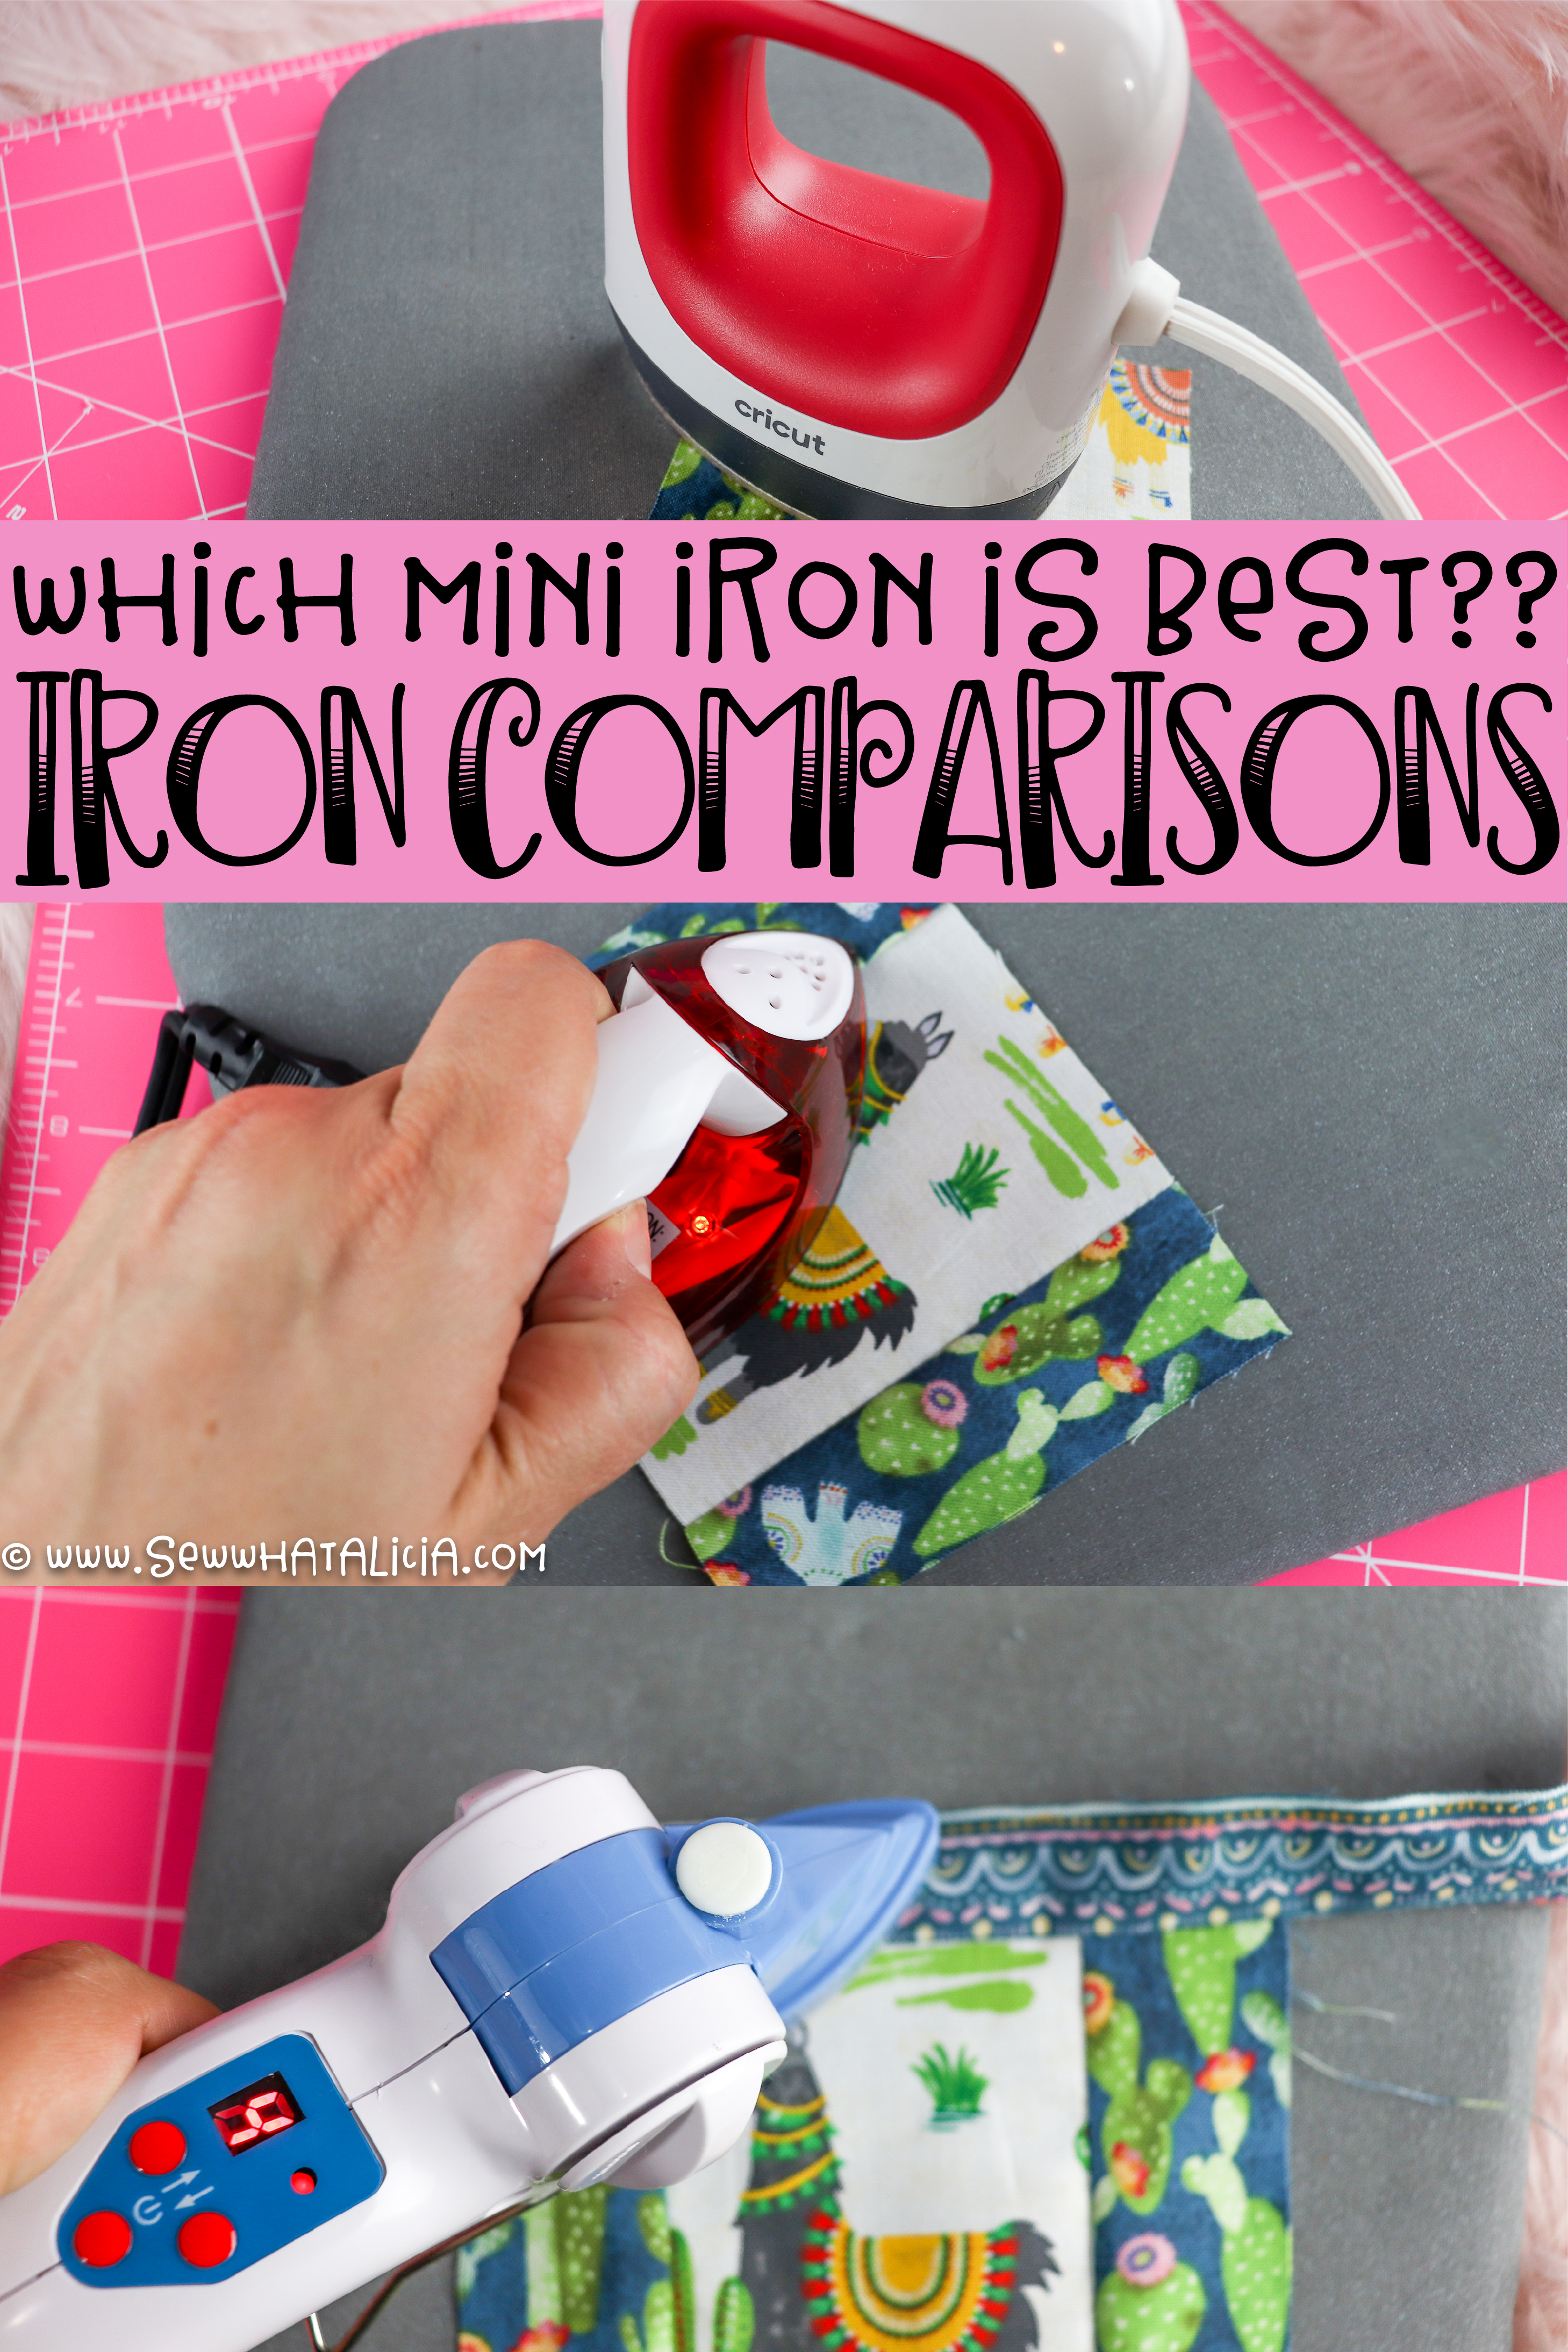
Cricut Easy Press Mini Iron Comparison
There are SO many mini irons on the market. I wanted to put a few of them to the test. I made the same mini quilt block with three different mini irons to find the pros and cons of each. There was some winning and some not winning but overall I was surprised by what I found. Use the short cuts below if you want to go straight to the mini quilt block keychains/luggage tags tutorial. Looking for more quilting? Check out THIS page for all things quilting.
This post was sponsored by JOANN. I have been compensated but all opinions and ideas are my own.
Mini Iron Comparison
I put three different mini irons to the test, below is what I found. Please note that I used THIS pressing mat from Cricut throughout and regardless of what iron you use I highly recommend this pressing mat. It is small, lightweight, and easy to keep right on your quilting table. So let’s jump in to the mini irons.
Mini irons are great for quilting. They help you get to those small spaces where a large iron is ham handed and clunky. If you are piecing small areas where you don’t want the iron to undo other seams a mini iron is an awesome tool.
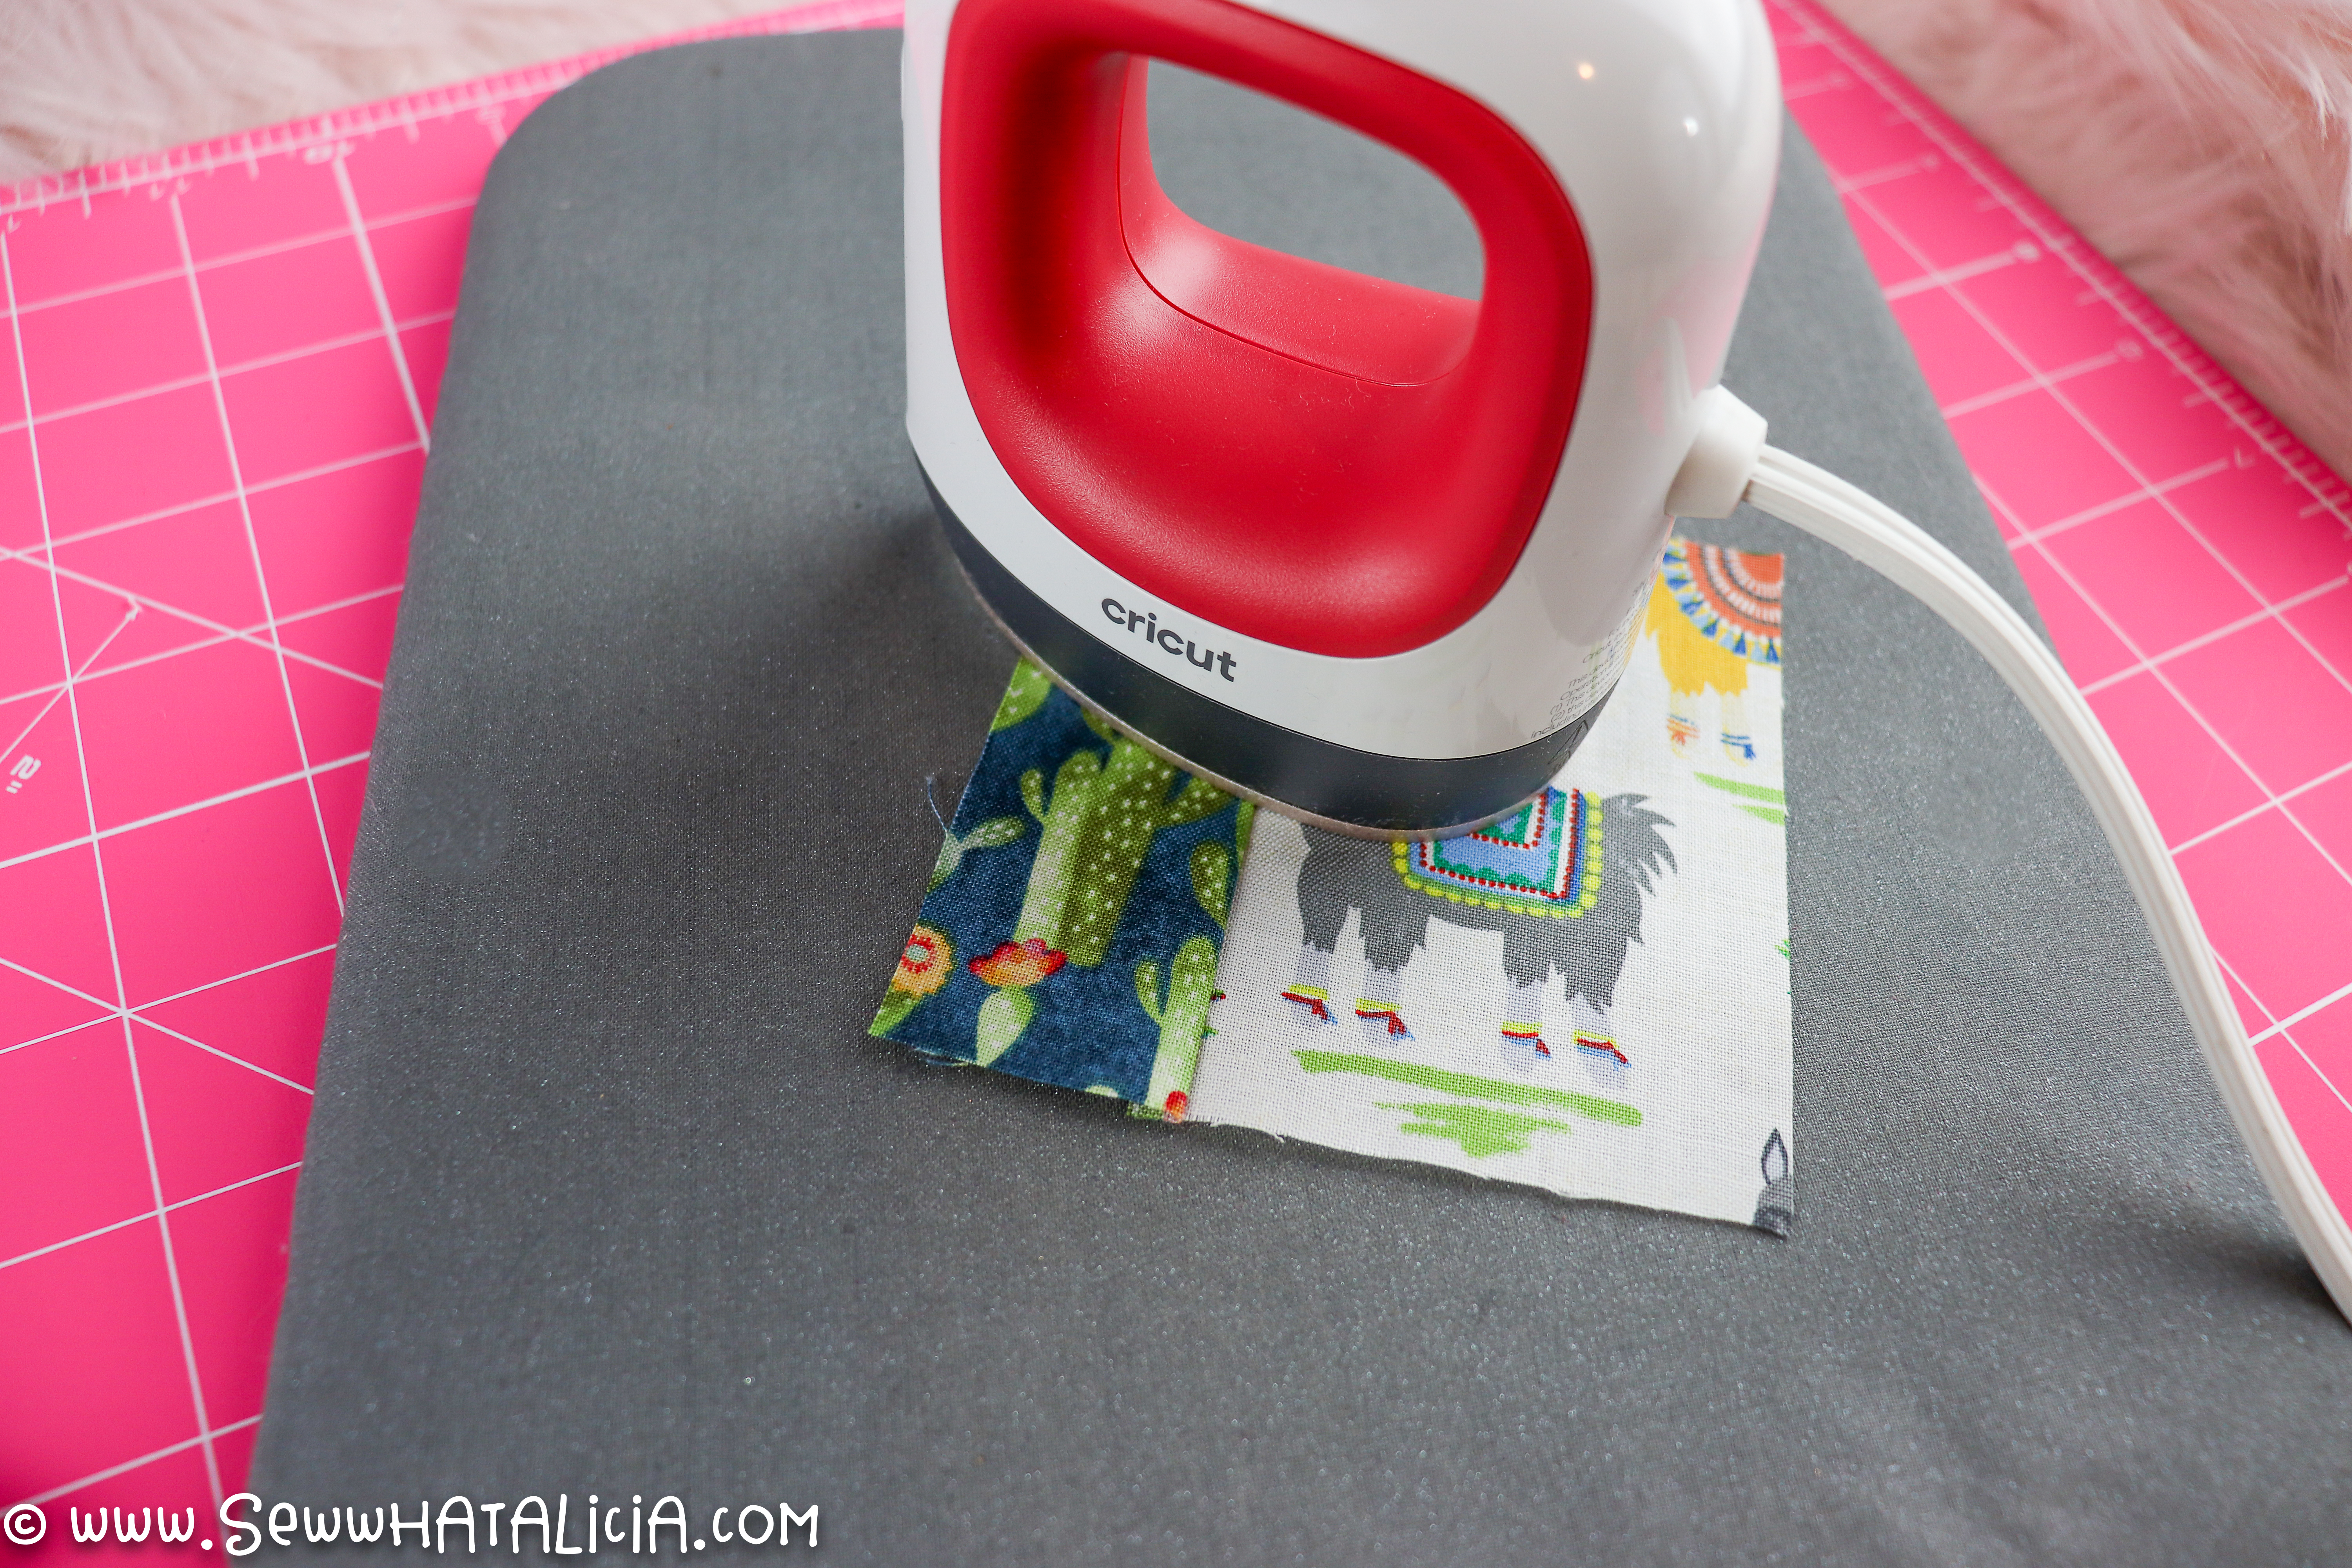
Cricut Mini Easy Press
Cricut Easy Press Mini Iron Pros
There are lots of things that I like about the Cricut Mini Easy Press.
- It has 3 different heat settings. With quilt blocks and quilting cotton I always just go for the hottest setting, so three lines it is!
- It is lightweight.
- The handle is easy to grip and use to press down.
- It has a sturdy, metal stand where you set the press when not in use.
- This has an automatic shutoff feature. It will automatically turn off after 13 minutes, which for a mom-brained, super busy, short attention span person like myself is quite literally a life saver.
- It beeps when it has reached the selected temperature. This may not seem like it is important but I find tapping an iron with my hand over and over trying to figure out if it is hot to be quite annoying. So this is a small thing but it makes me happy!
Cricut Easy Press Mini Iron Cons
- There are three heat settings but no real way to distinguish HOW hot these are. One line, two lines, or three lines are your choice. With three lines being the hottest. I know after googling that three lines means 400 degrees, for what it is worth.
- It is the priciest option by far. It will inevitably be on sale off and on but you cannot use your JOANN coupons on Cricut items, so you will have to wait for a sale if you don’t want to pay full price.
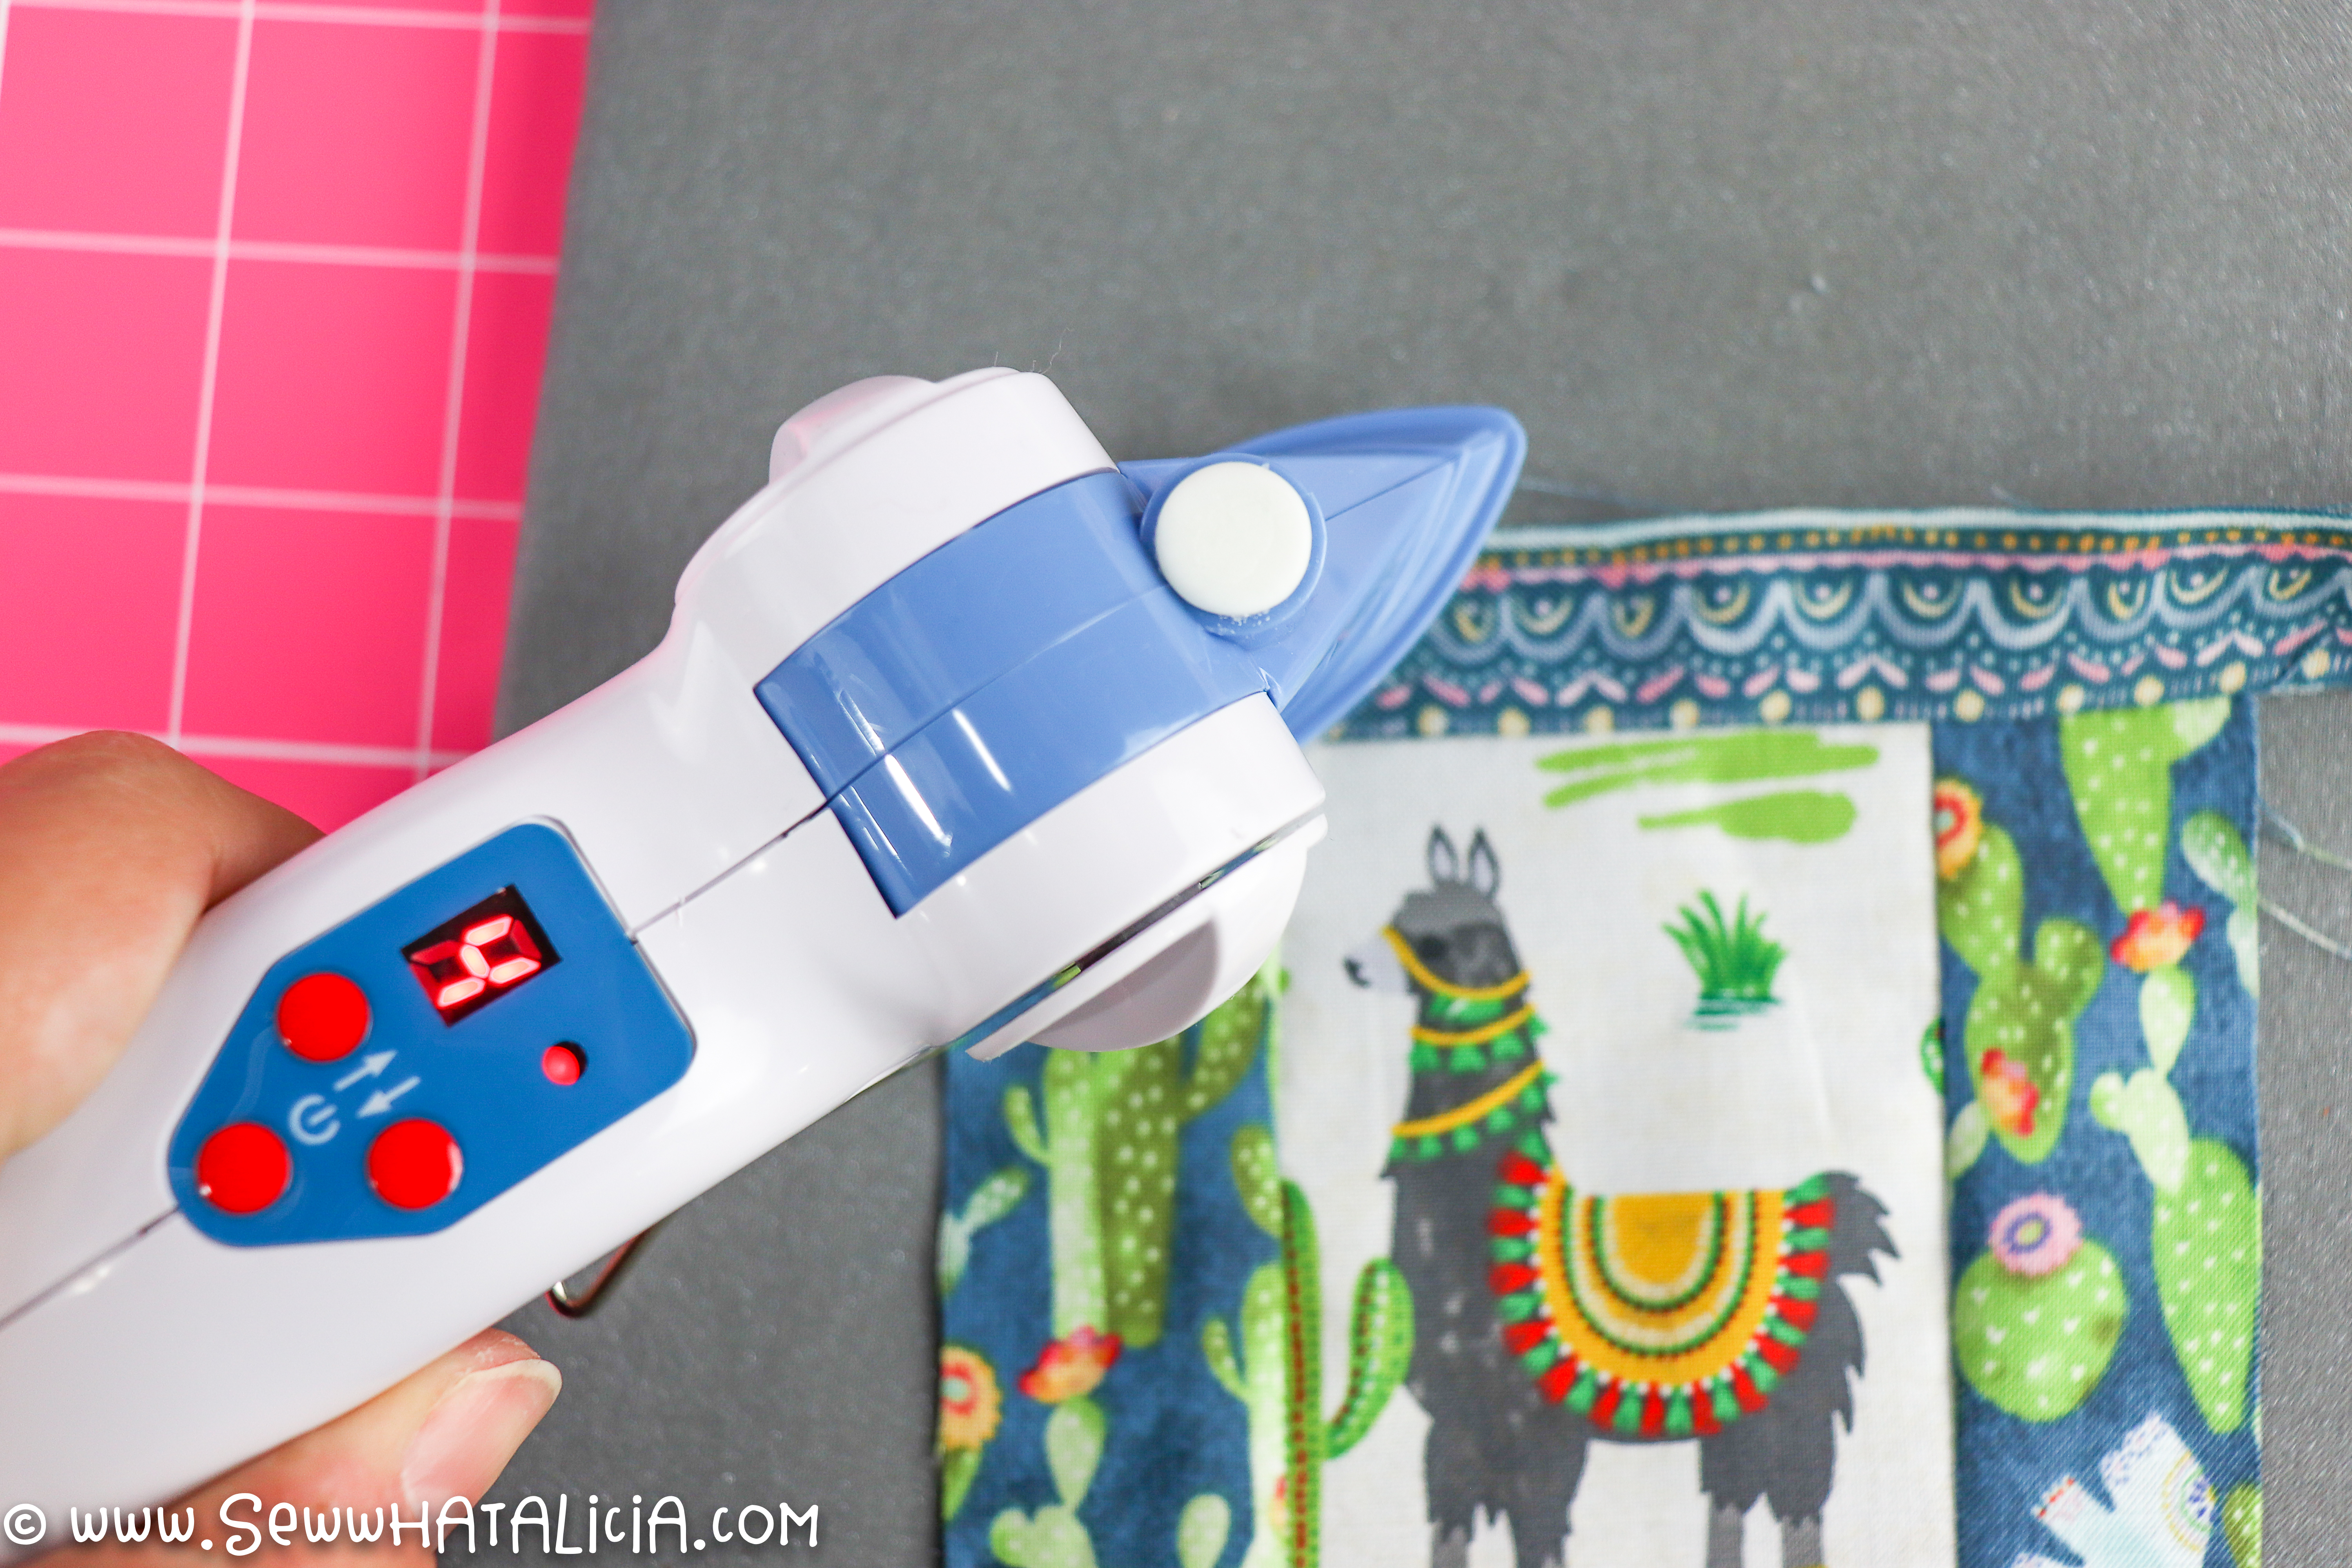
Dritz Mini Iron
Dritz Mini Iron Pros
The Dritz Mini Iron has a lot of great features.
- This iron has 4 heat settings. Which gives you a lot of freedom to choose a heat.
- It will automatically turn off after 60 minutes. The auto shut off feature is great, but 60 minutes is a bit too long in my mind. So this could go in either category.
- The pointed tip is perfect for small spaces. The pointed tip helps you to get right at those pesky corners on a quilt block.
- The kick stand is sturdy and functions well. It is a bit difficult to move the kickstand back and forth but not enough to put it in the con section.
- The Dritz iron has by far the largest handle which makes it easy to use.
Dritz Mini Iron Cons
- I know these are mini irons but the surface area of this iron is small.
- There is something in the design that keeps this iron from gliding across the fabric. I think the thinness of the heat plate gives it sharp edges which causes it to stick a bit if you are trying to move across the fabric. BUT we are supposed to press not pull with quilt blocks so should you be dragging it across the fabric, maybe not!
Darice Mini Crafting Iron
Darice Mini Iron Pros
- The pointed tip on the this iron is super helpful for pressing seams. It is great for separating seams when pressing them open. It is also great for getting into tight corners.
- This is by far the most affordable mini iron.
- It comes in lots of fun colors and is super cute. So if that is important to you…
Darice Mini Iron Cons
- I found the plug to be very much in the way. It didn’t fit super well and I felt like I was constantly fiddling with it.
- There are no heat settings. You do not have a choice about what temperature to set this iron on, and it just doesn’t get very hot.
- The other irons had an on off switch.
- The handle was small and hard to hold. It also didn’t give you much leverage to actually press.
Mini Iron Takeaways and Recommendations
The Cricut Easy Press mini iron and the Dritz mini iron are the two irons that I would recommend if you are in the market for a mini iron. If you need a firm recommendation I would go with the Cricut over the Dritz. It is smoother to use and I prefer a shorter automatic shutoff time. See the pros and cons above for more details.
I have to say that I can’t recommend the Darice mini iron. There just weren’t many pros and there were a ton of cons.
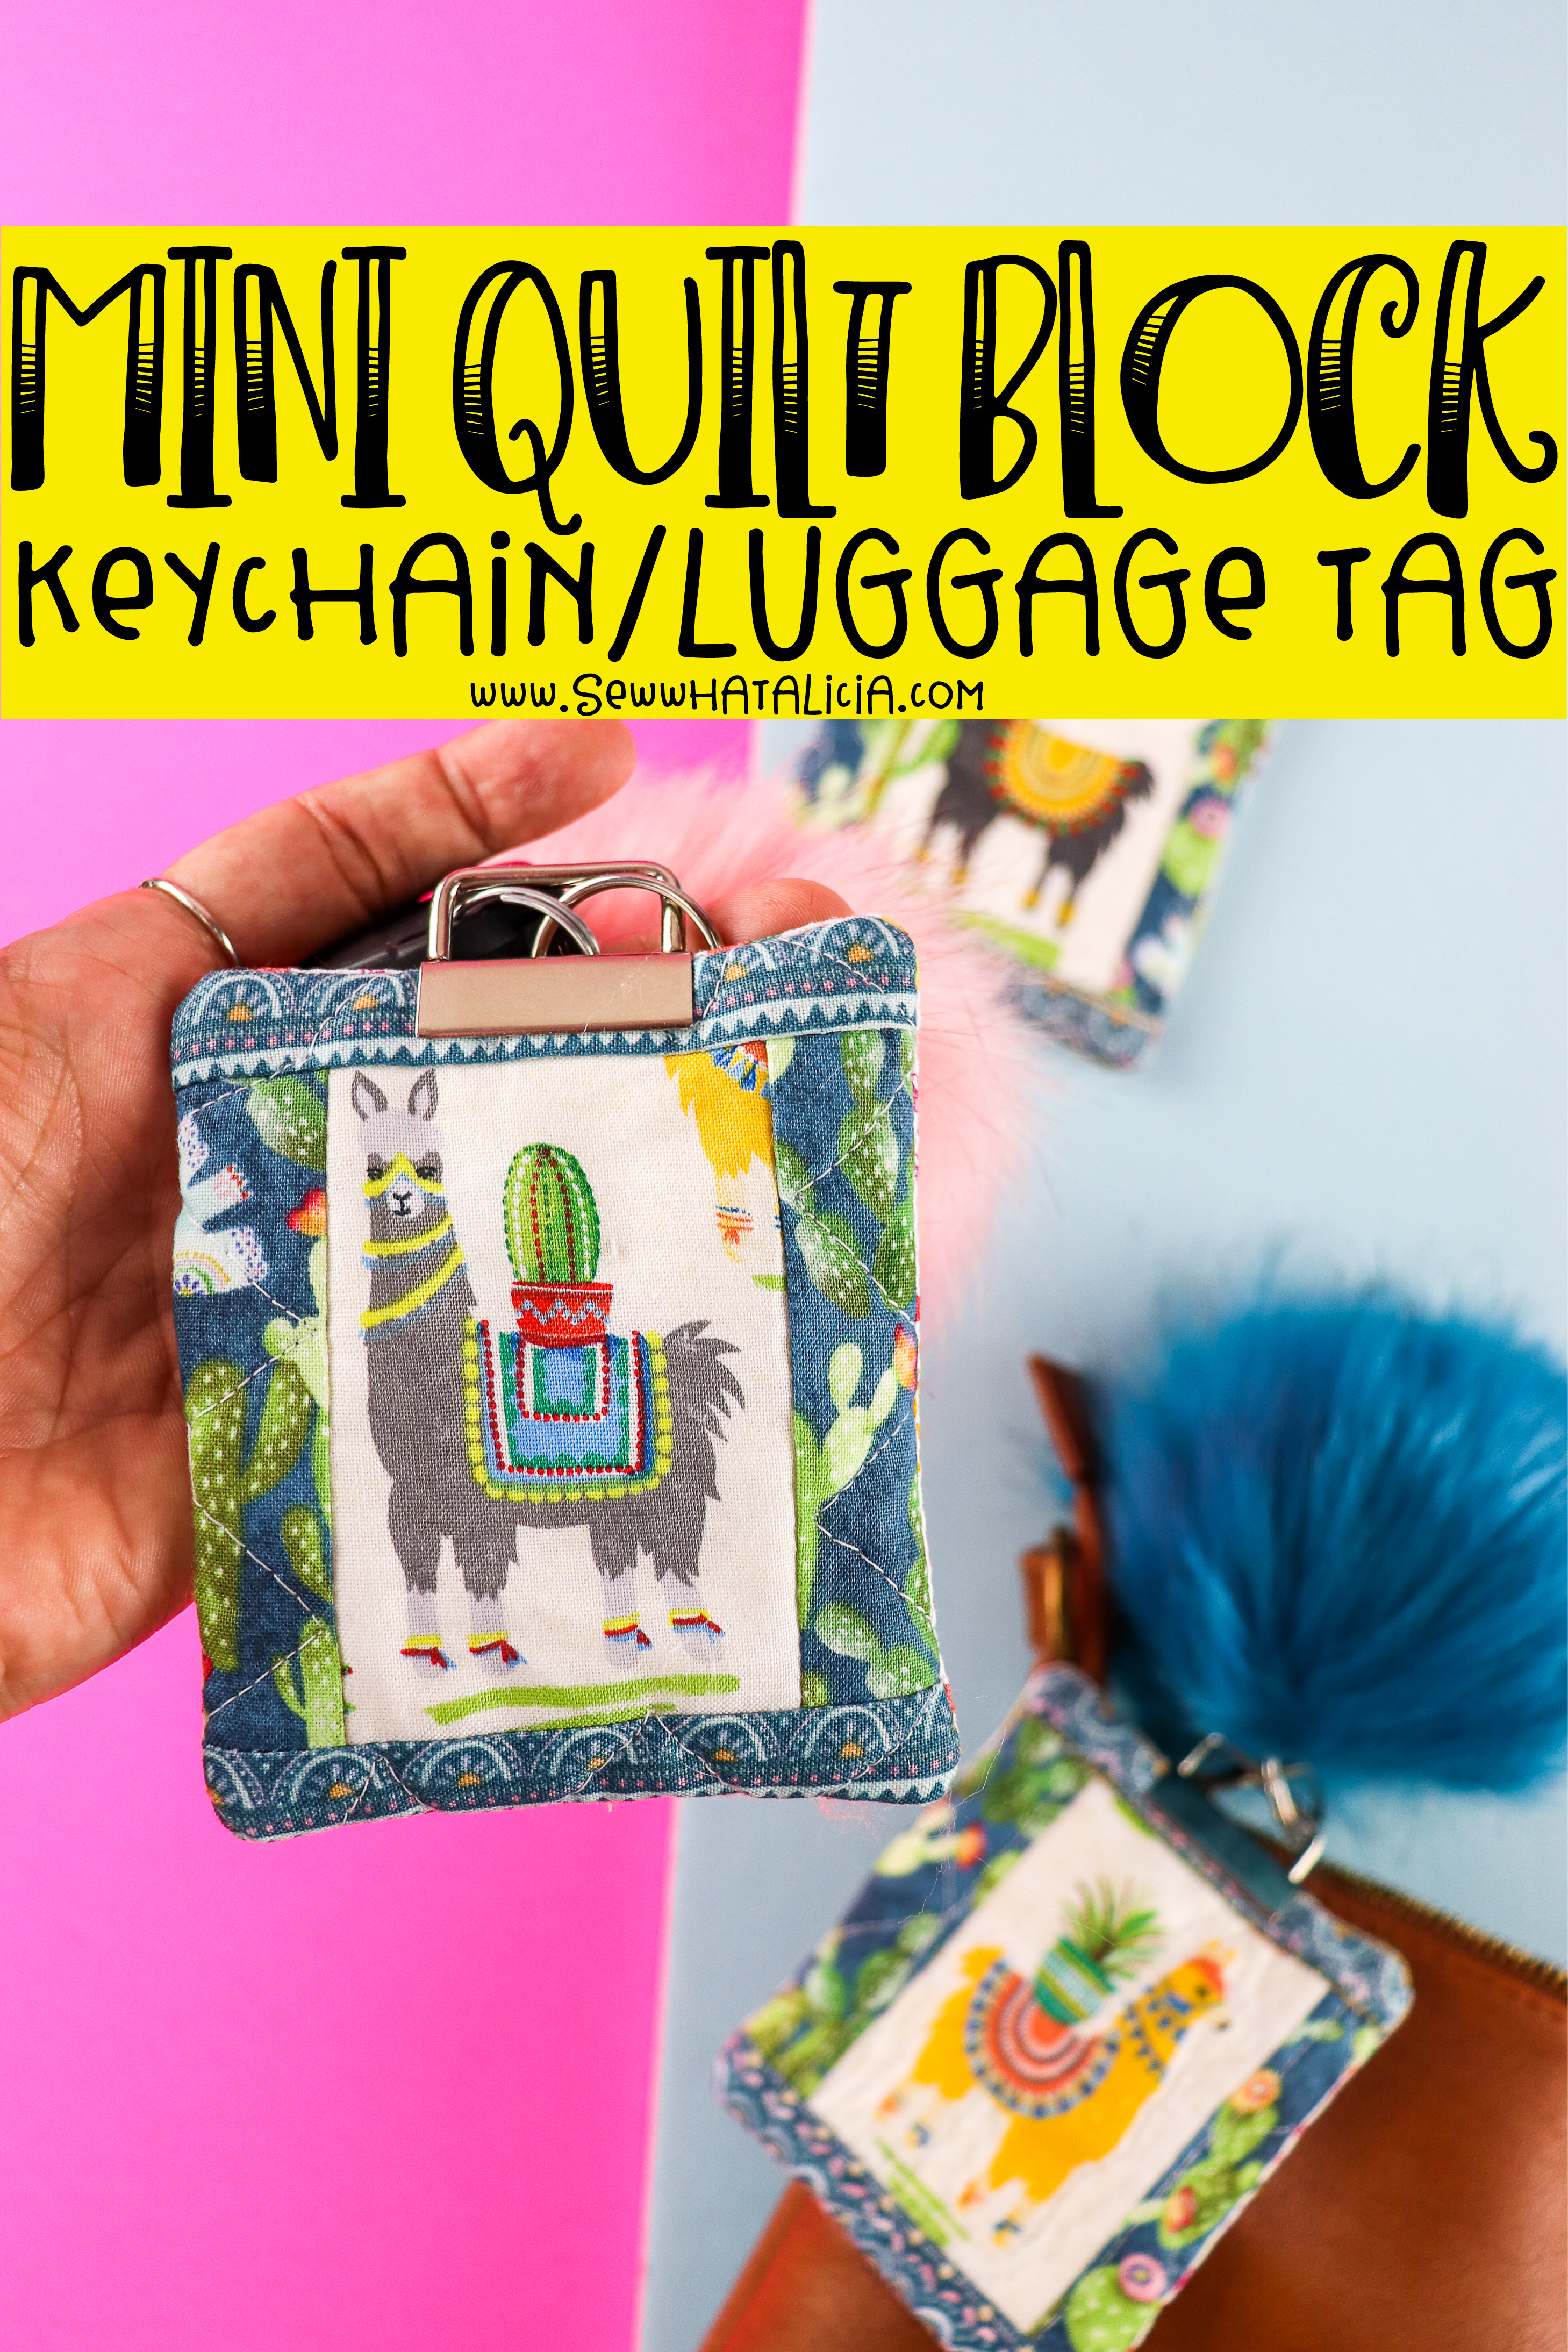
Quilted Luggage Tag Tutorial
Keychain/Luggage Tag Supplies:
Fussy Cut Rulers (helpful but optional)
Pom Pom (optional)
Keychain hardware
Keychain/Luggage Tag Tutorial:
1. Fussy cut your preferred image from the fabric. The fussy cut rulers linked above are great if you plan to do a lot of fussy cutting. If not, a clear ruler works in a similar way, the only difference is all the “visual noise” on your standard clear ruler.

2. Cut 1″ or 1.5″ x WOF strips from your coordinating fabric(s).
3. Add the coordinating fabric to the edges of your fussy cut square and press.
4. Cut a piece (or two) of batting slightly larger than your quilt square.
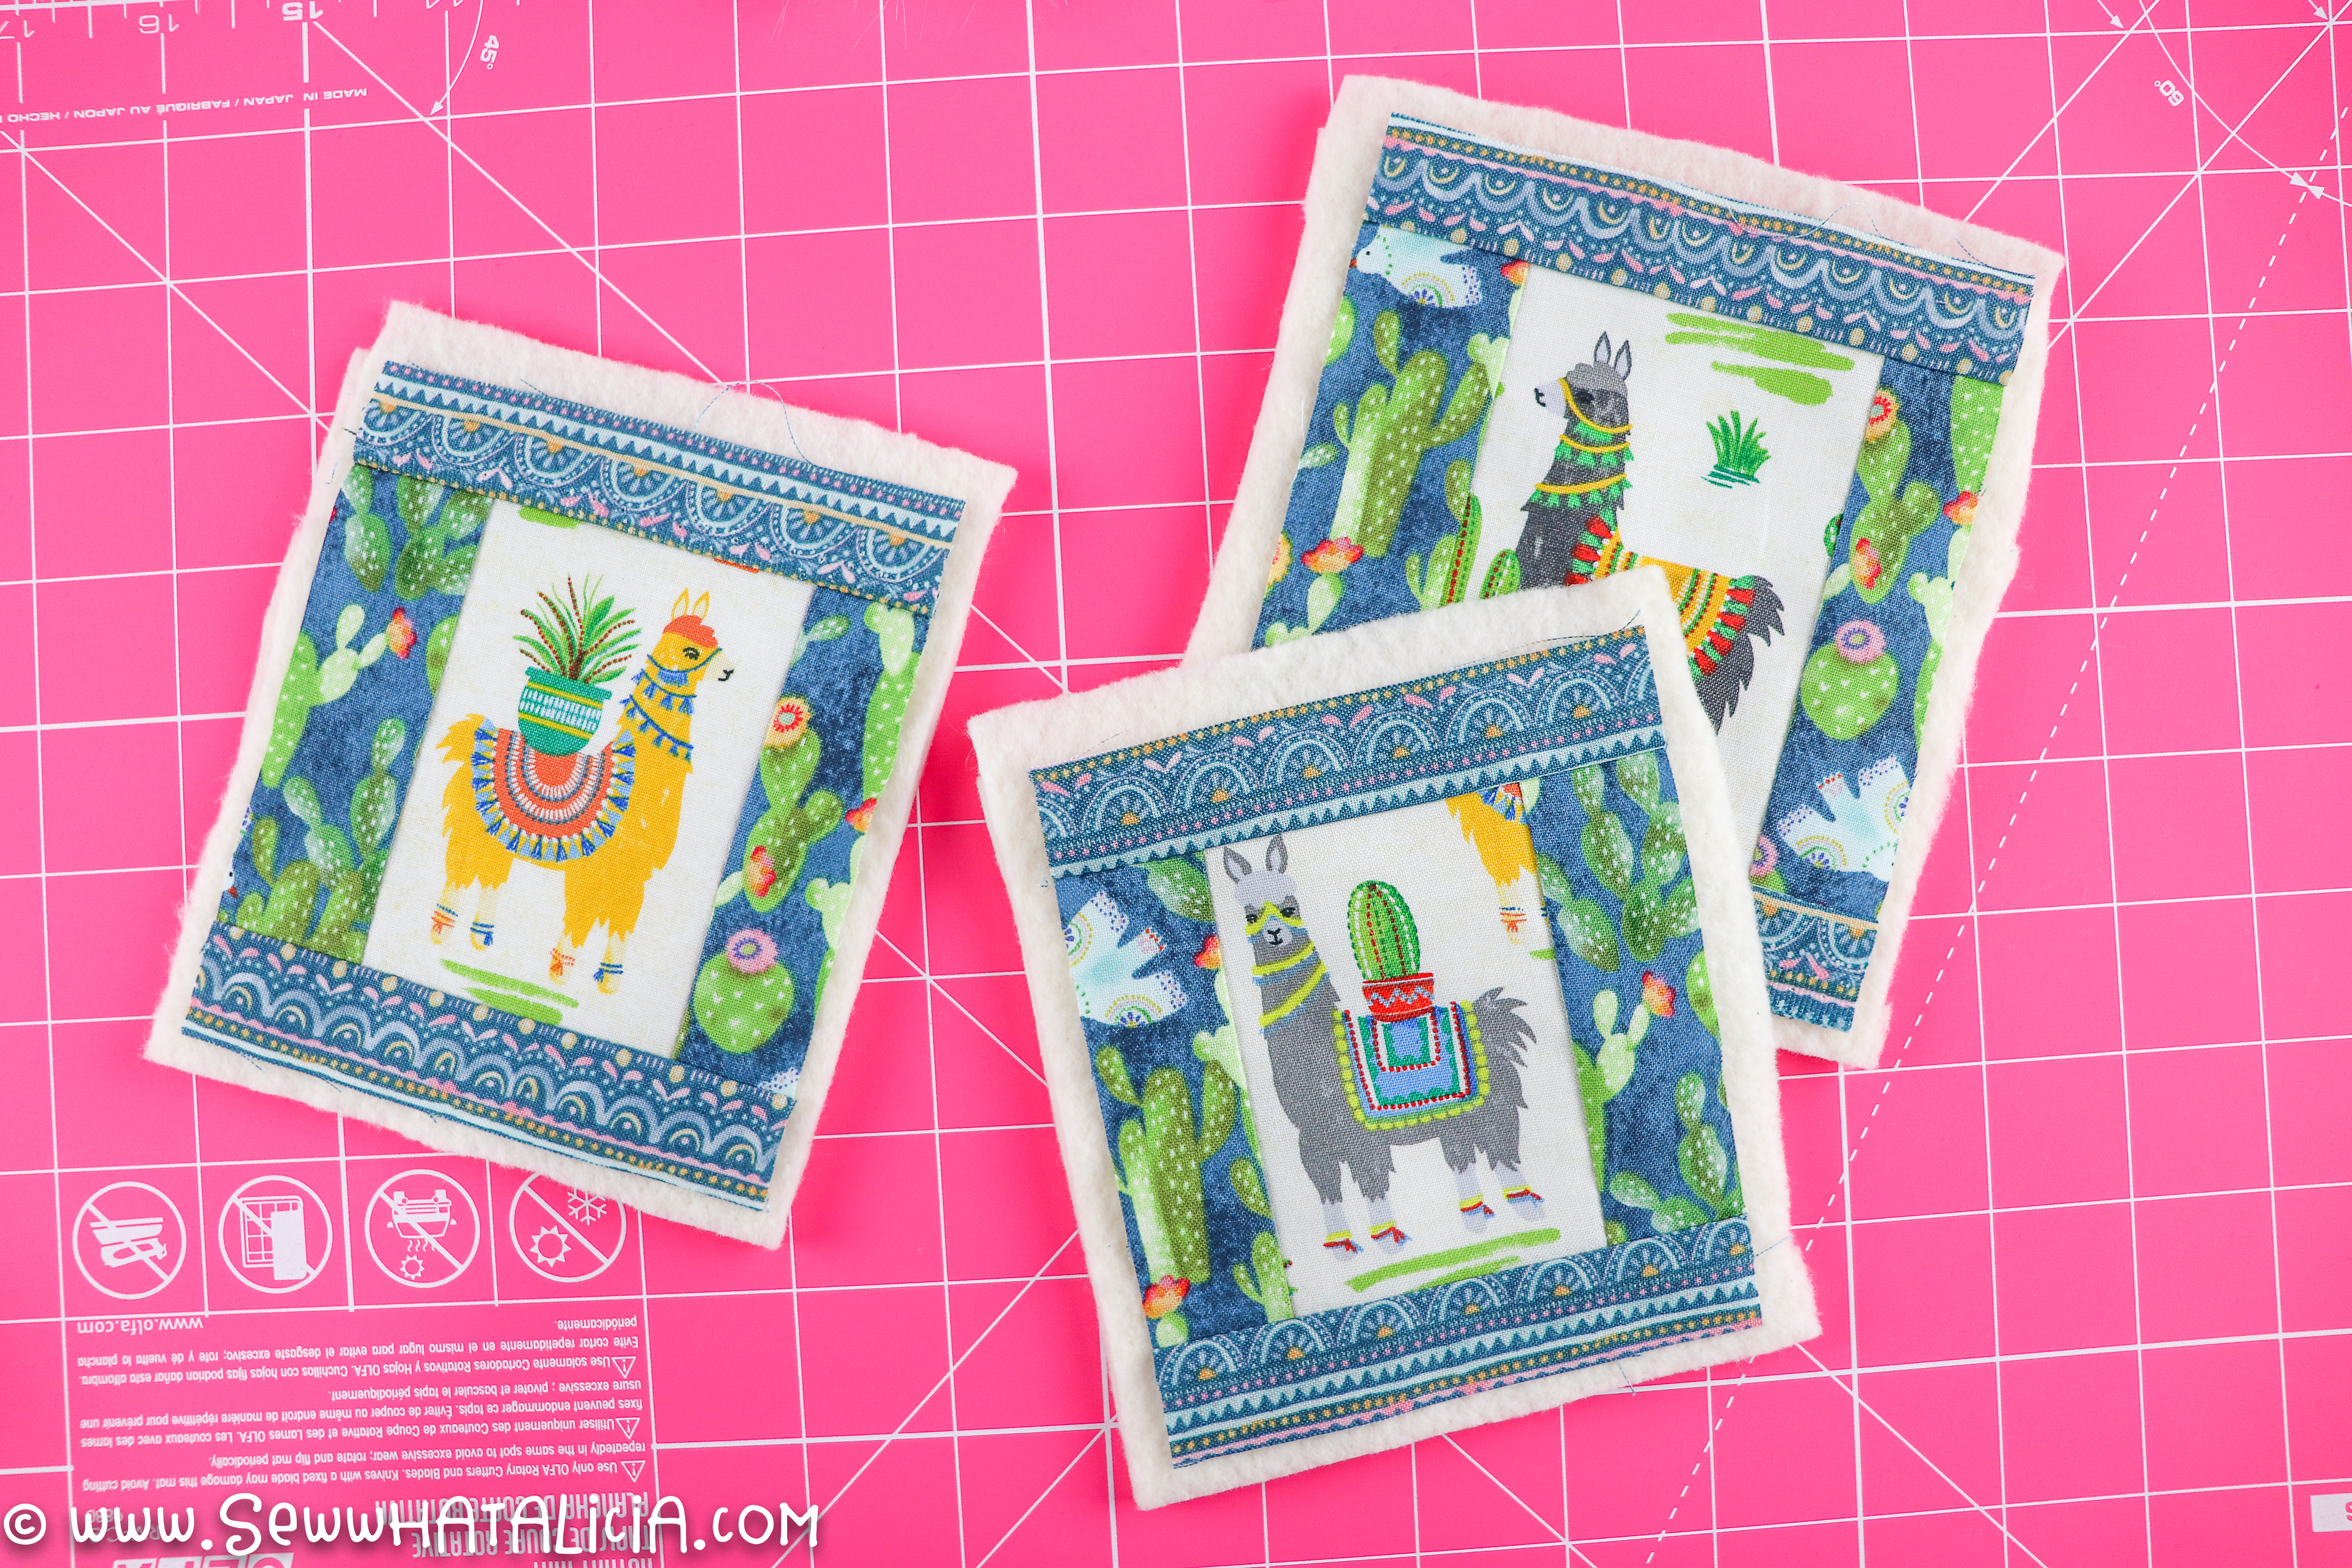
5. Quilt through the quilt block and batting using your preferred method. Trim excess batting.
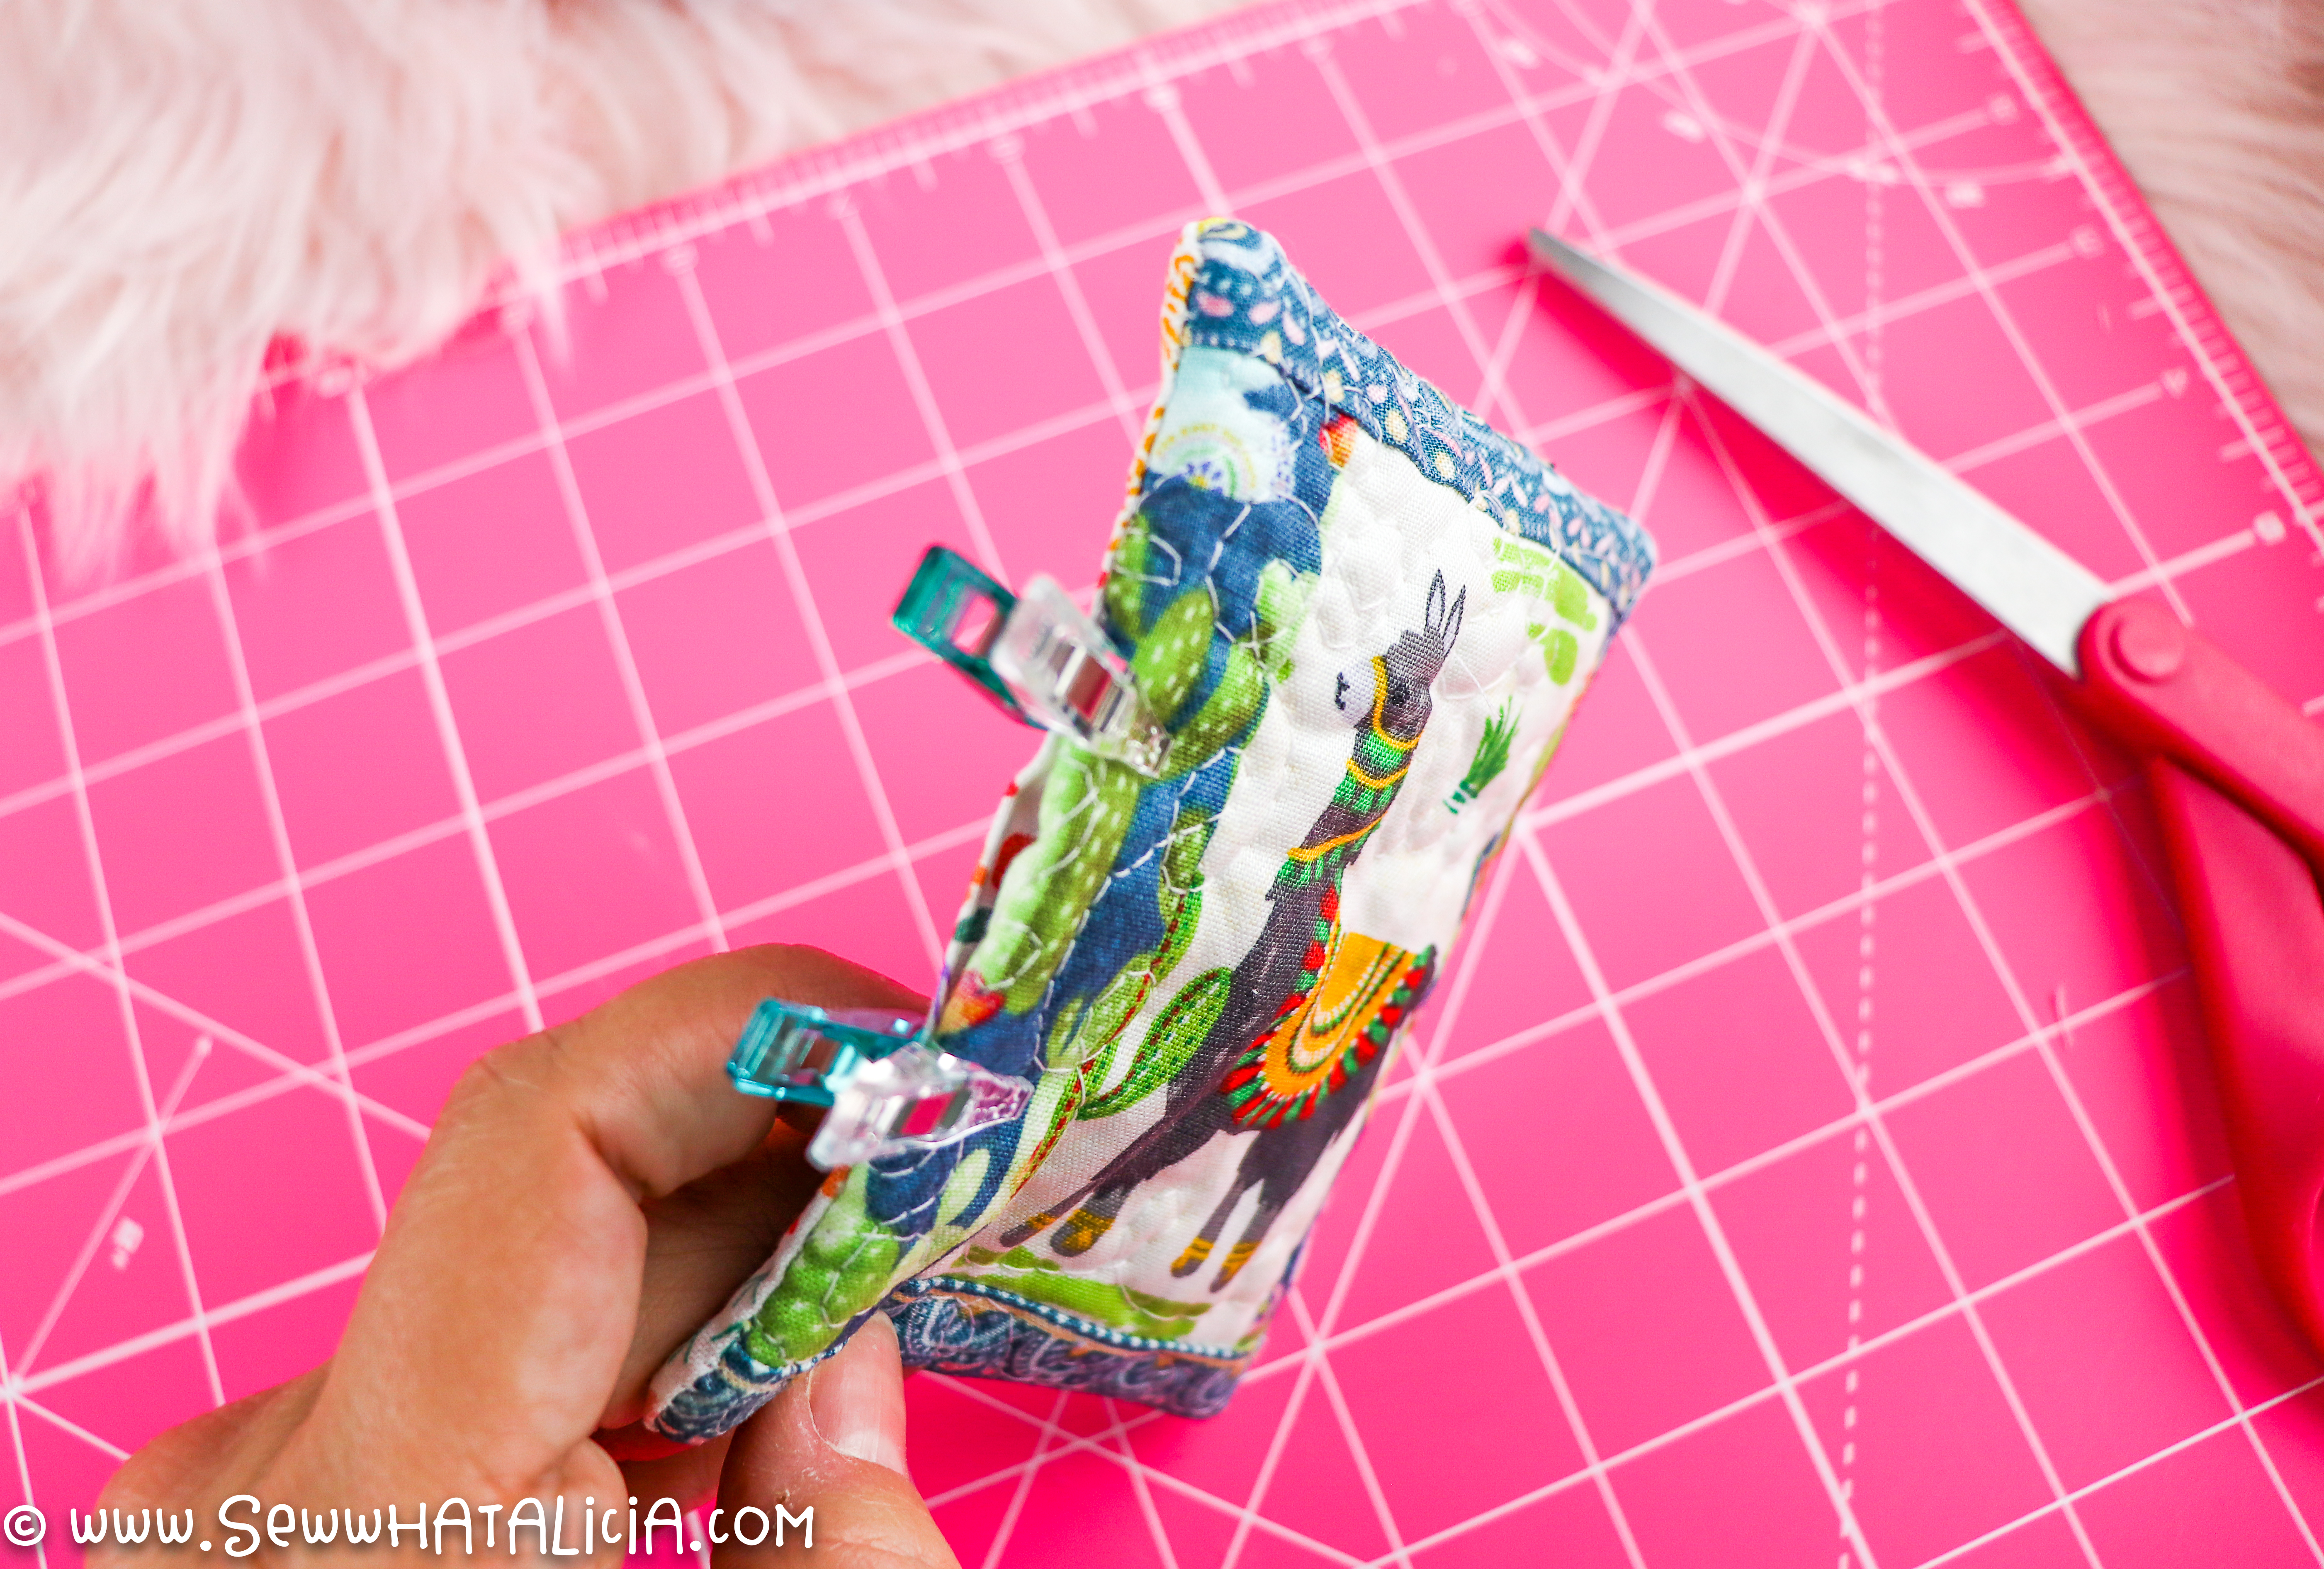
6. Cut a piece of backing fabric and lie the quilt block right side facing the backing fabric. Sew around the edges leaving a 3″ section open for turning out. Turn the piece out and press the edges. Pin the opening closed. Hand sew the opening closed with a ladder stitch
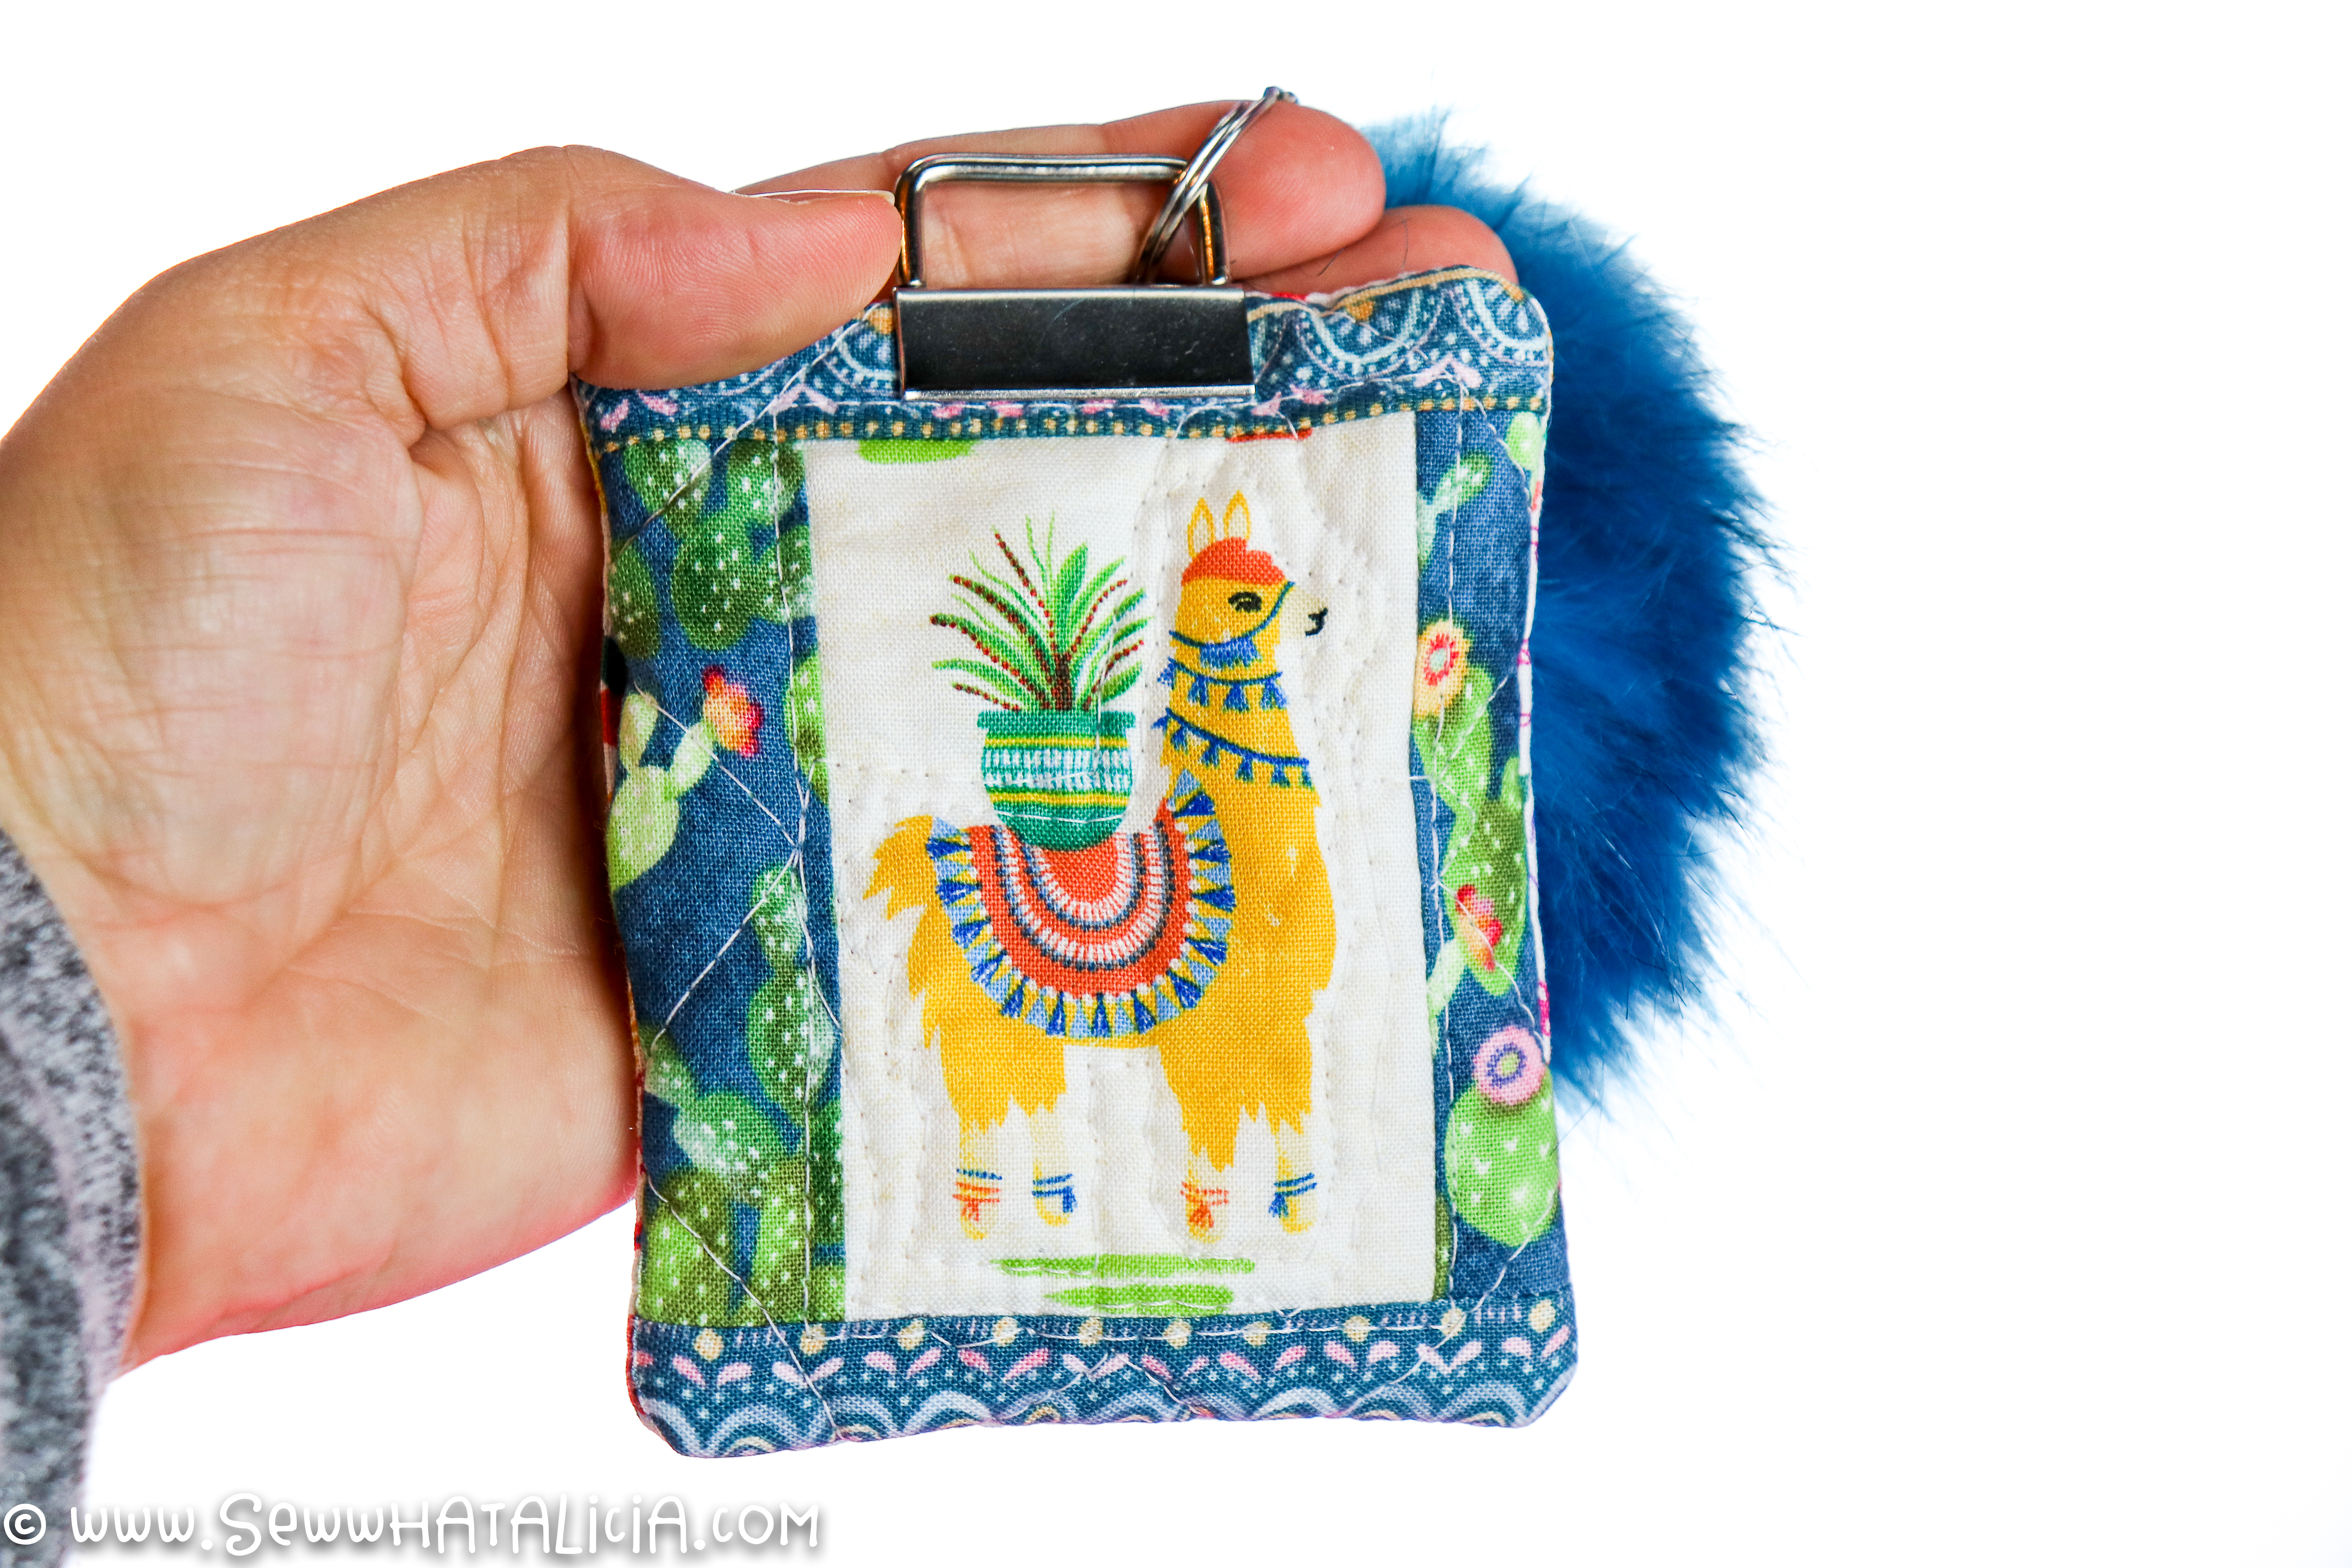
7. Add the keychain hardware. Alternately you could add a fabric tab at the top and put a ring through the loop to attach to a keychain or luggage.
PIN Quilted Keychain Tutorial


Leave a Reply