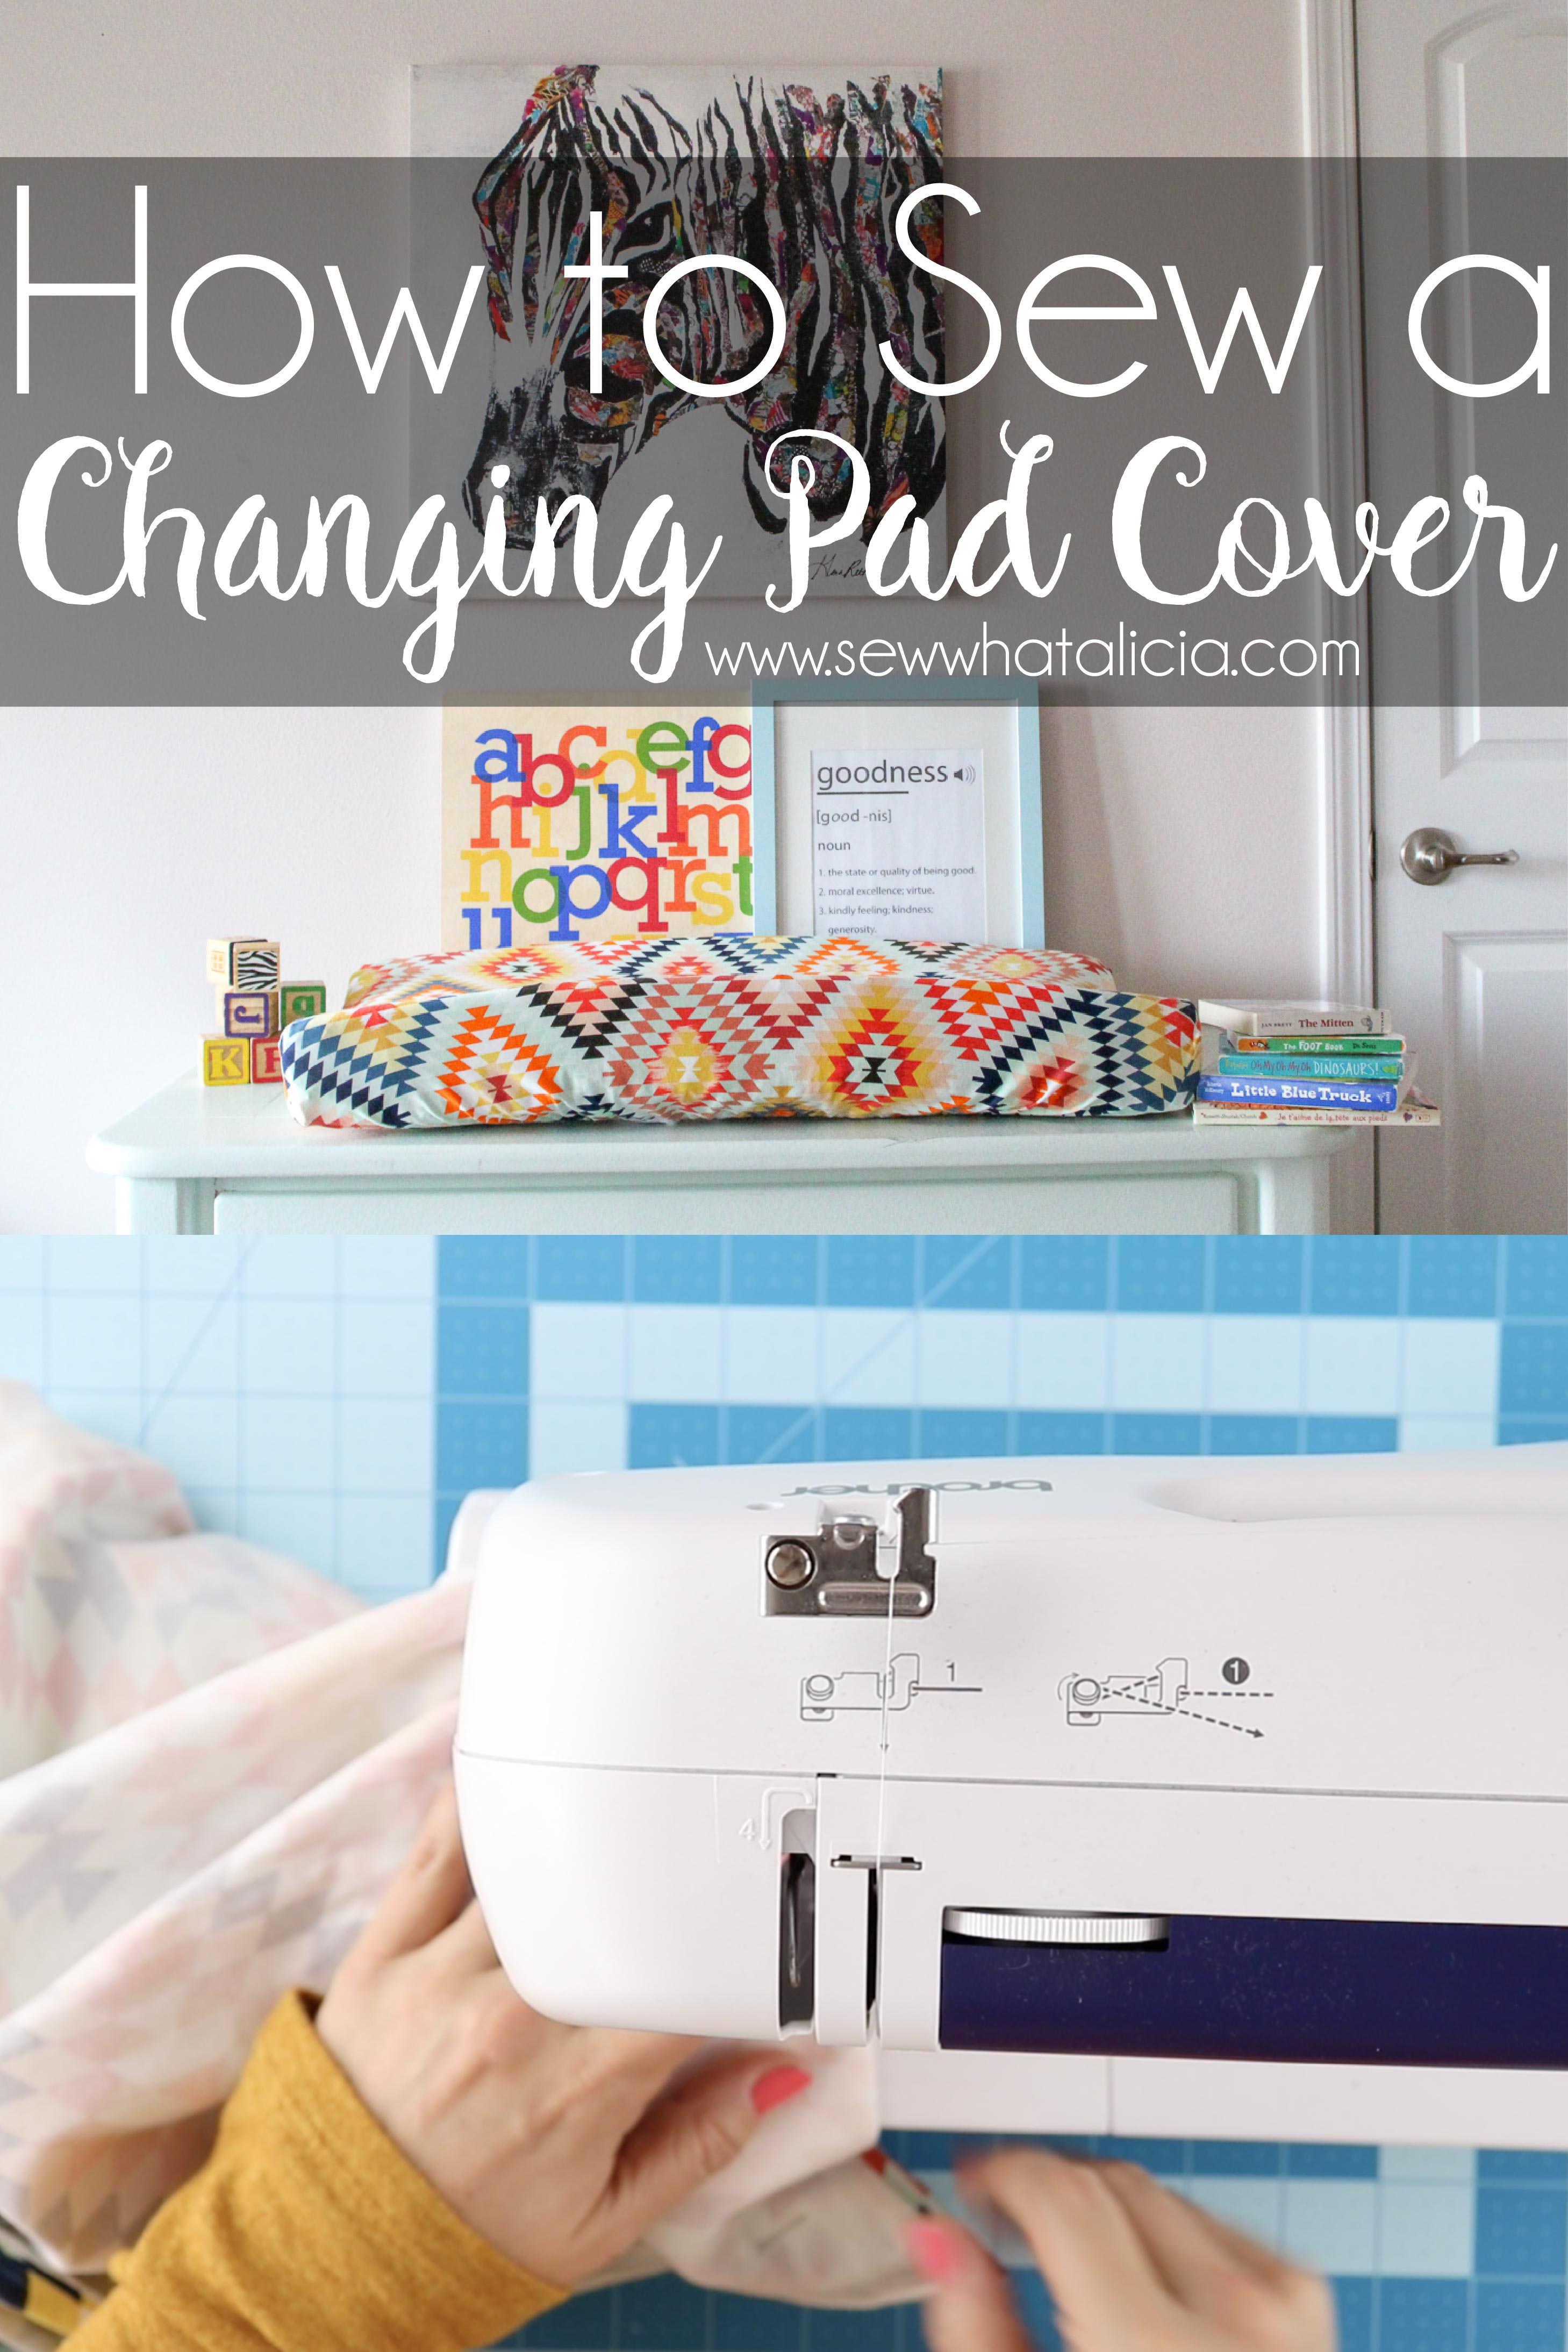
Contoured Changing Pad Cover Tutorial
I am in absolute heaven making some fun things for my neighbors new baby boy. He will be here soon so I have been sewing up a storm to get the nursery ready. Today I want to share a changing pad cover pattern with you. This was way easier than I thought it would be. I put it off for several weeks because I wasn’t sure how it was going to go. I was so pleasantly surprised with how amazing it turned out! Here is how to make a contoured changing pad cover.
How to make a contoured changing pad cover:
I have made this several times now. I used different fabrics each time. You can make this pattern with several different types of fabrics so if you have a fabric pattern that you love but it isn’t available in knit or vice versa go ahead and give it a try!
Supplies:
1 Yard 54″ wide fabric OR 1.5 yards 44″ wide fabric – I used serape fervor from Art Gallery Fabrics.
Purple Thang – I promise this is totally worth the couple bucks, it is an awesome tool!!!!
How to make a changing pad cover:
If you are struggling to understand any of these written instructions be sure to watch the video (at the end of this post) for a visual walkthrough.
Cut one piece of fabric that measures 46″ by 32″. Fold the fabric so all four corners meet. Cut an 8″ square from all four corners. If you have them folded you will only need to measure and cut once.

Working one corner at a time, line up the 8″ sides to create one diagonal seam. Pin in place. Sew. Repeat with all four corners.
Press the bottom edge under 3/4″. Then sew in place as close to the raw edge of the fabric as possible. You are creating a pocket where you will place the elastic. Leave a 1/2″ section open to add the elastic.
Push one end of the elastic into the hole in the purple thang.
PRO TIP: Place a few stitches to hold the elastic so it doesn’t work free from the purple thang. You can easily rip these stitches later.
Thread the elastic through the entire pocket on the bottom of the changing pad cover. Be careful to hold on to the end so that it doesn’t pull into the pocket.
Rip the stitch you used to hold the elastic. Sew the two ends of the elastic together. Gently pull the edges to pull the elastic into the pocket. Close the 1/2″ hole where you stuffed the elastic with a few stitches.
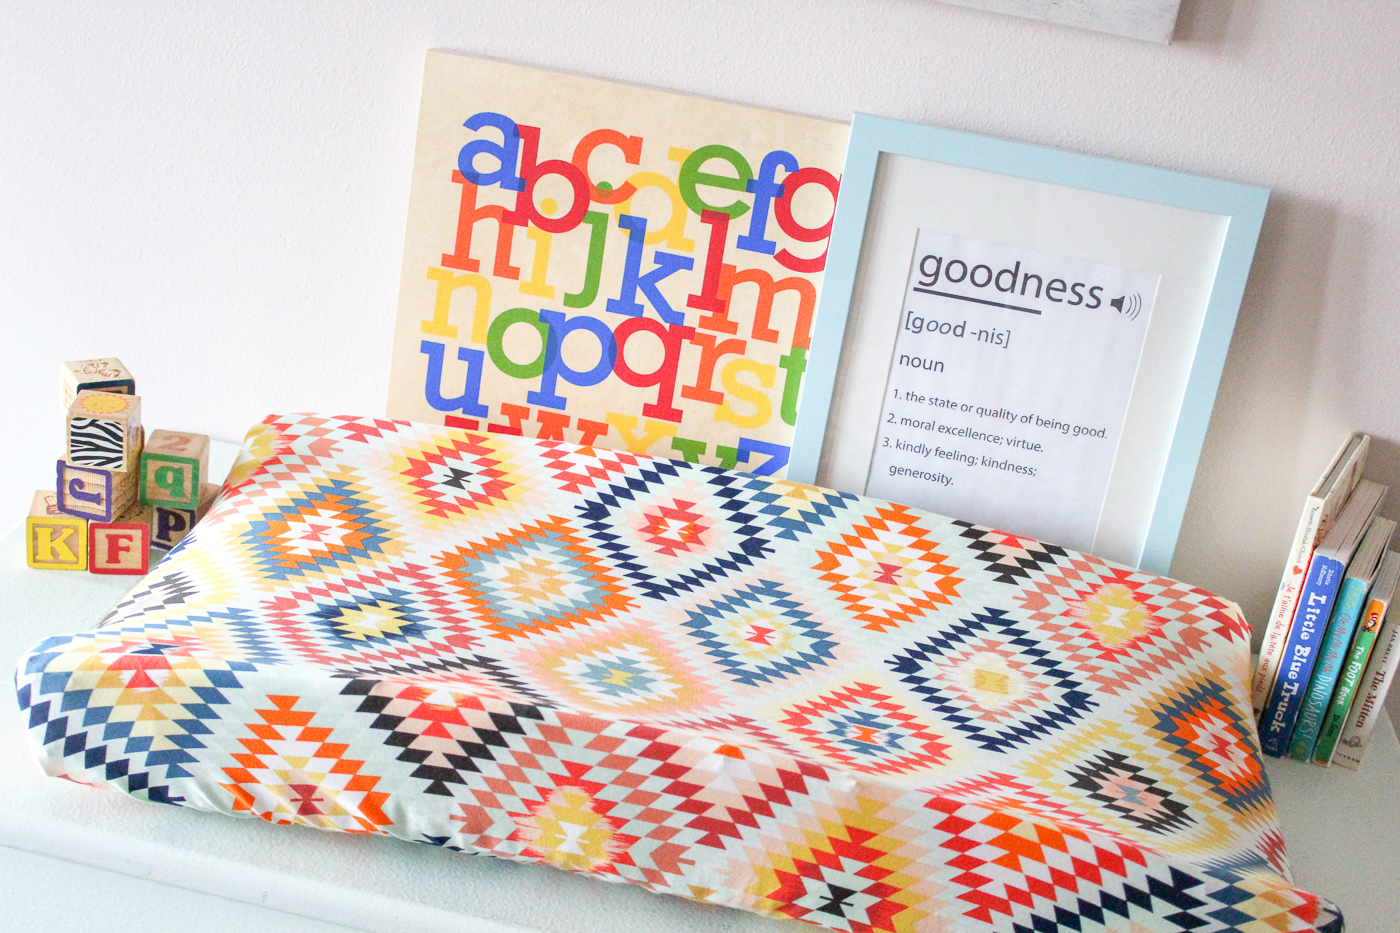
Now it is finished!
Will you make your own changing pad cover? Share with me in the comments below.


Leave a Reply