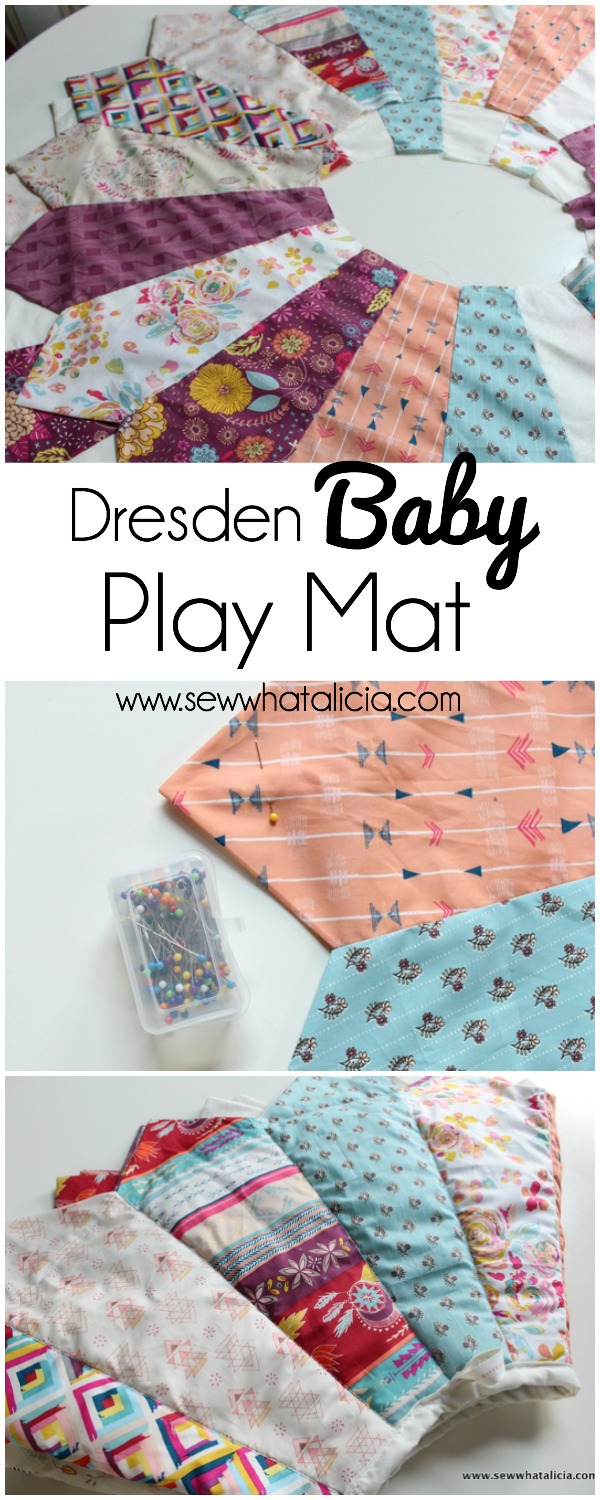
Dresden Baby Play Mat
Come along with me on a journey to create this adorable baby plat mat made from two huge fat quarter dresden plates!
Dresden Baby Play Mat- This post is sponsored by Art Gallery Fabrics. I was provided the fabric for this tutorial. I assure you that I would not recommend this fabric if I didn’t use it and absolutely adore it!
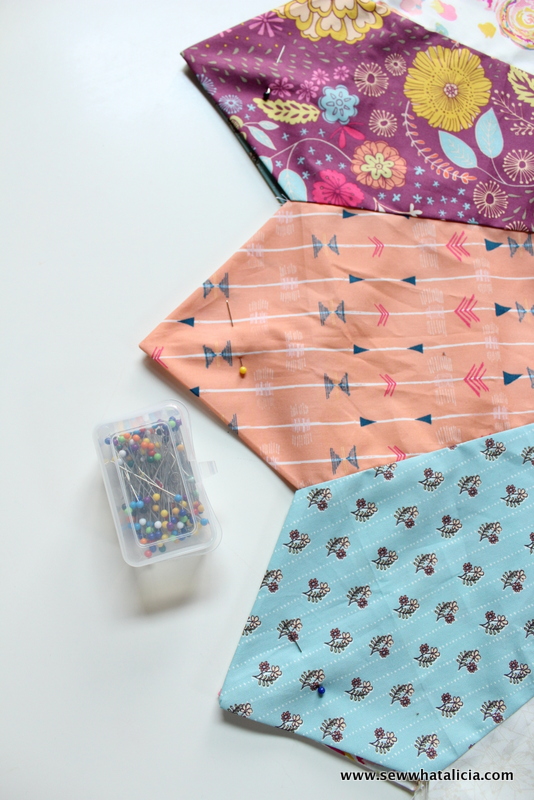
For this project you will first need to head over and see the Fat Quarter Dresden Plate tutorial because this tutorial requires you have two of those plates ready to go! I am using the Fleet and Flourish fabric from Art Gallery Fabrics. The fabric has beautiful graphic patterns that baby will love to look at. Check out the Art Gallery Fabric website to see the whole line of Fleet & Flourish by Maureen Cracknell.
So we will start with our two dresden plates. This tutorial is definitely going to take us outside of our normal quilting and sewing rules. So be prepared to finagle a little and be a tad uncomfortable at times especially if you are pretty set in your sewing ways!
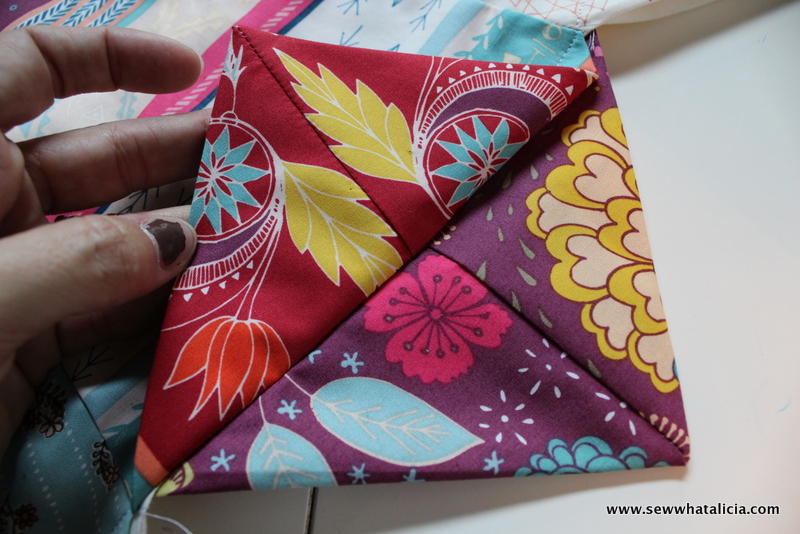
Line the two plates up wrong sides together.
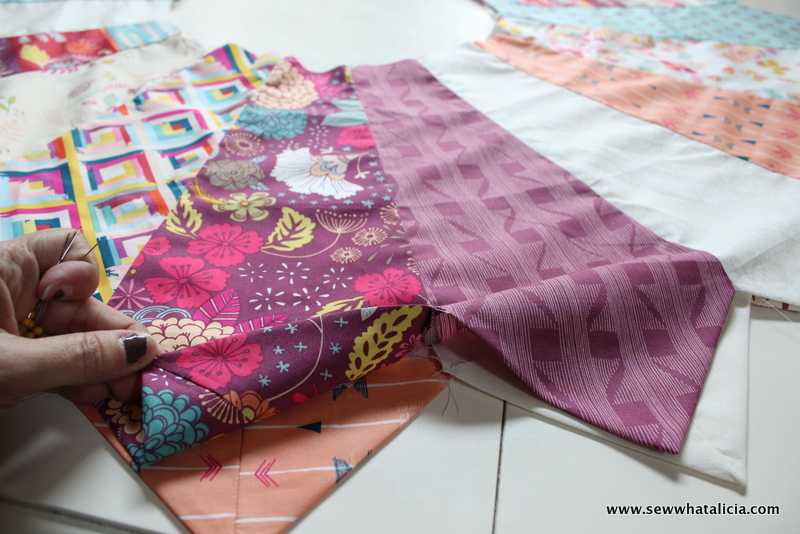
We are going to sew the two plate together by top-stitching around the entire piece. You are going to sew at the very bottom of the triangle/point. See the following two photos.
So now you should have a straight line/circle all the way around that holds the two plates together. The flaps will still be separate, I thought this would be fun for baby to play with!
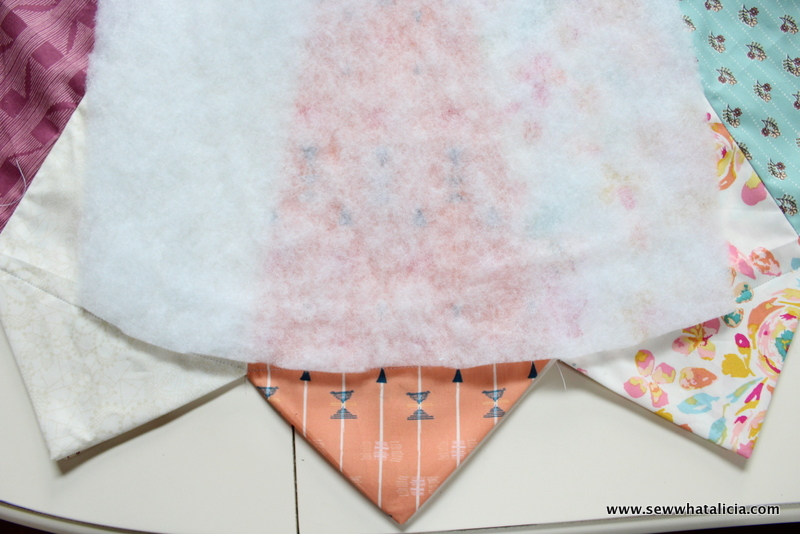
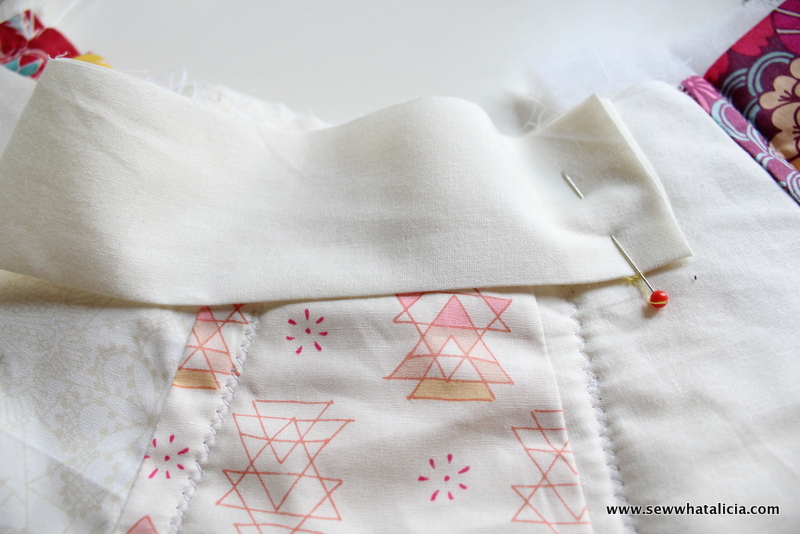
Stick with me ok, next we are going to add batting. This step was the wonkiest and takes some finagling! I threw perfection out the window with this project. You just want to get enough batting inside to be soft for baby to lie on, and baby and baby mama are not going to be concerned with perfection I promise you!! Line strips of batting up and trim so that the curve will fit snugly to the top of the seam we just created. You are going to have some overlapping of batting but that is alright we want it to be soft right??
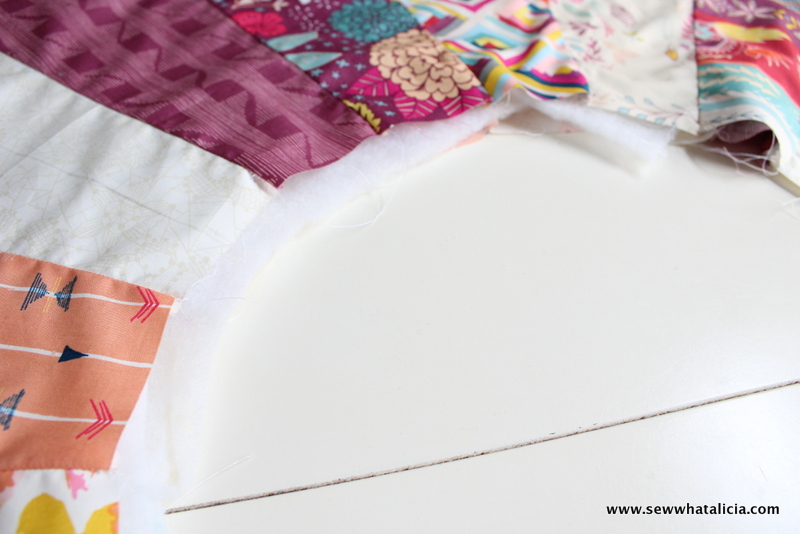
Once you have all the batting stuffed inside and laid relatively flat you will want to trim the batting at the bottom. It should look something like this:
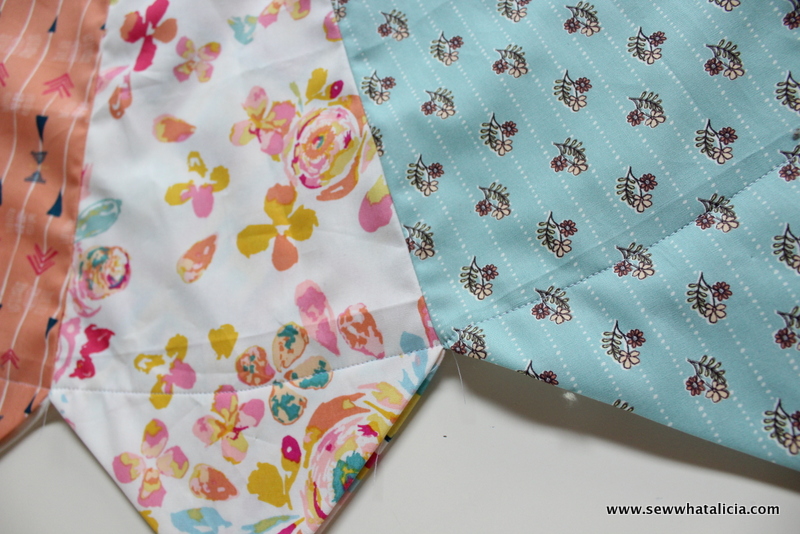
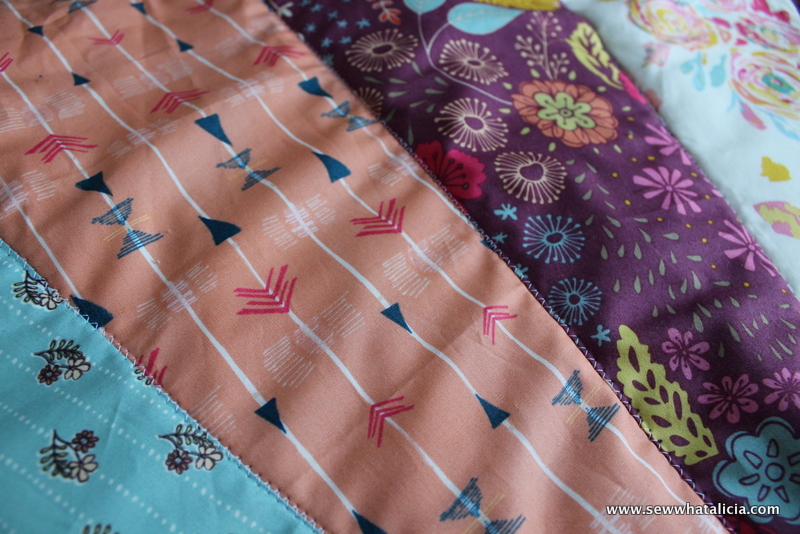
Now for the “quilting”, and I use that term loosely! I went with a zig zag stitch and did a modified stitch in the ditch on each seam.
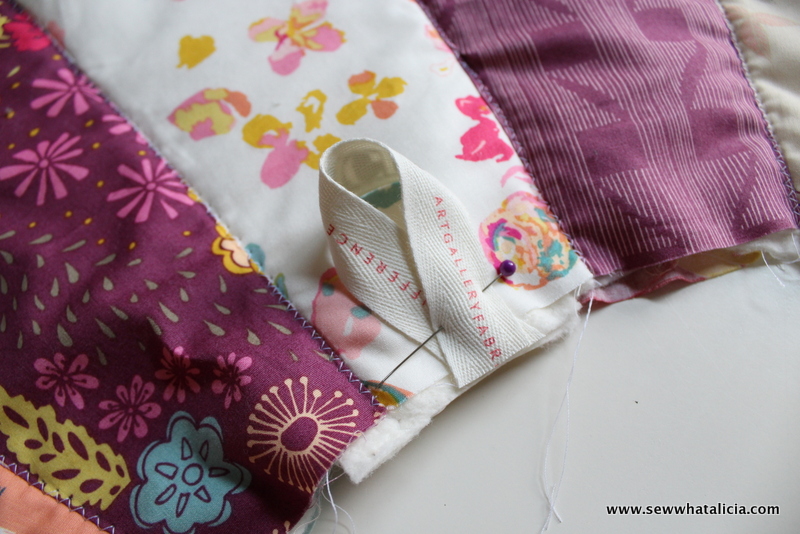
I had this sweet ribbon that the fat quarter bundle came wrapped in. I cut it into several strips and folded it over to create a place to hook baby toys. Pin it in place, but place the pin far up enough that you won’t sew over it when we go to add the binding.
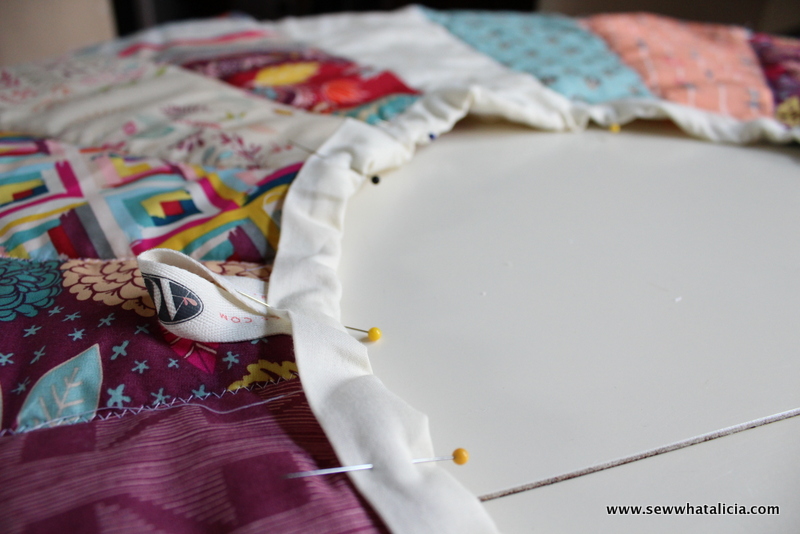
Ok we are close now! I cut a 3.5″ strip to create the binding. We need to stop right here for one more quick chat. This binding is not going to be neat and tight like when we bind a quilt. It is going around a circle and it just won’t be crisp. So if you are concerned about that then you are going to need to research another finishing step. I am just fine with a not so crisp binding for all the reasons I stated above, this is a baby gift and I know baby won’t care and that baby will enjoy all the beautiful colors and patterns. So we soldier on! Press your binding in half and then pin it to the back side of the mat.
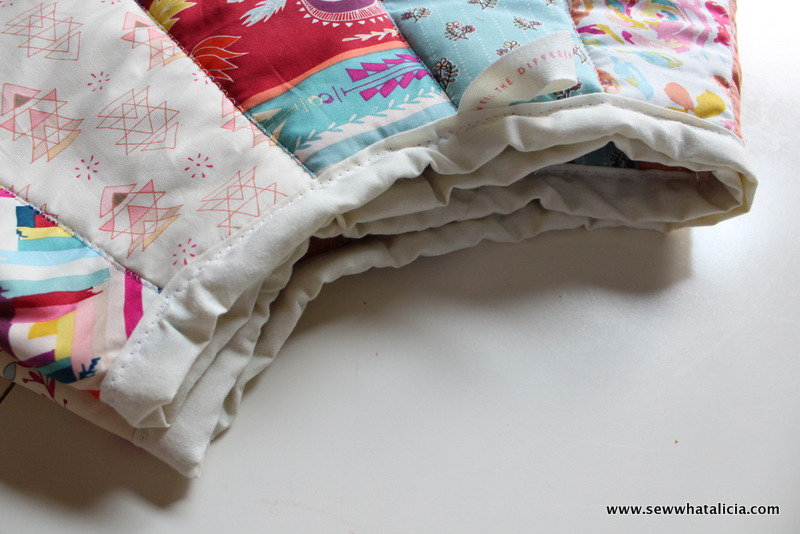
Sew it in place on the back side all the way around the circle and then flip the binding and sew it in place on the right side. For a better binding tutorial check out this taggy blanket tutorial.
Sew the binding in place and you are finished! This is a one of a kind adorable baby play mat that is sure to impress your friends and be wonderful for their babies! The center is the perfect size for a boppy and baby can do tummy time playing with toys attached to the tags we created. The fabric has beautiful graphic patterns that baby will love to look at. Check out the Art Gallery Fabric website to see the whole line of Fleet & Flourish by Maureen Cracknell.
Which of these fabric patterns is your favorite?? Share your thoughts on the baby play mat with me in the comments!


Leave a Reply