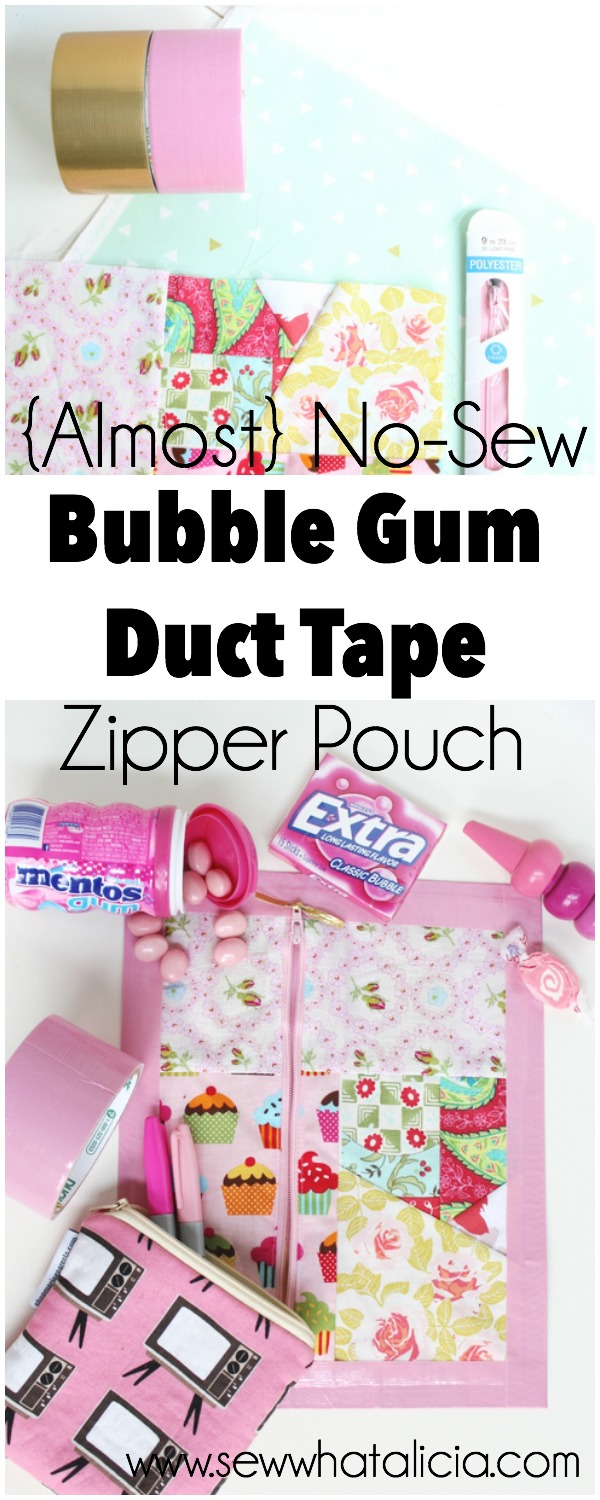
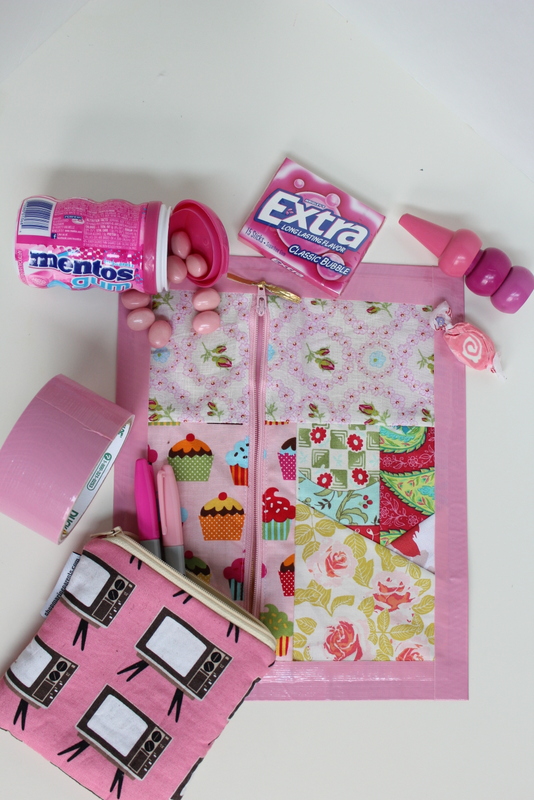
{Almost} No-Sew Bubble Gum Duct Tape Pouch
This pouch was so fun to make! I picked up this pink duct tape in a clearance bin and I just loved the color. It wasn’t until I got it into the car and smelled bubble gum that I realized it was scented! I ran home and made this adorable duct tape pouch and I knew you would want to make one too!
{Almost} No-Sew Bubble Gum Duct Tape Pouch
Supplies: (click any of the titles to be taken to the item)
 9″ Zipper – I used pink.
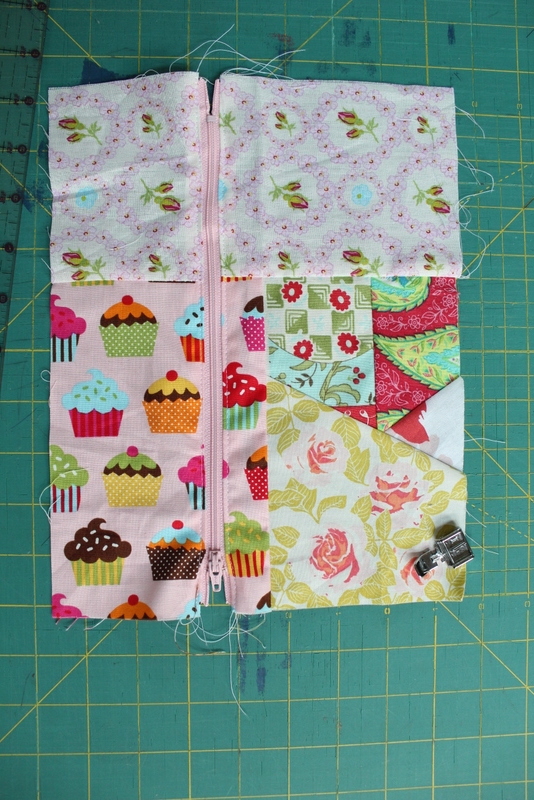
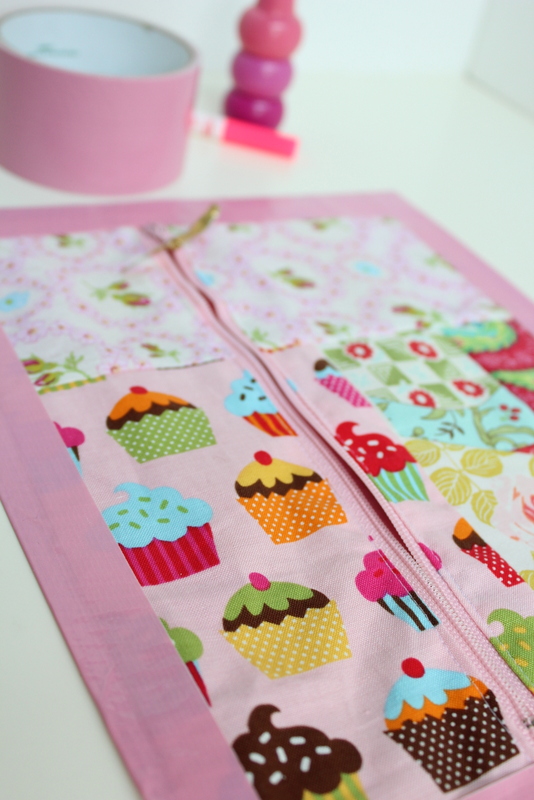
Scrappy fabric rectangle – See THIS POST for instructions. You could also use a plain old piece of fabric and forget the scrappy portion.
Pink Duct Tape – I used the pink bubble gum. It is scented…how fun is that?
Gold Duct Tape – This is optional. You could totally do the whole thing in pink.
I had this scrappy rectangle left over from a few months back (you can get the tutorial HERE.) I simply cut it in half and attached a zipper. (Here is an in depth tutorial for sewing a zipper.)
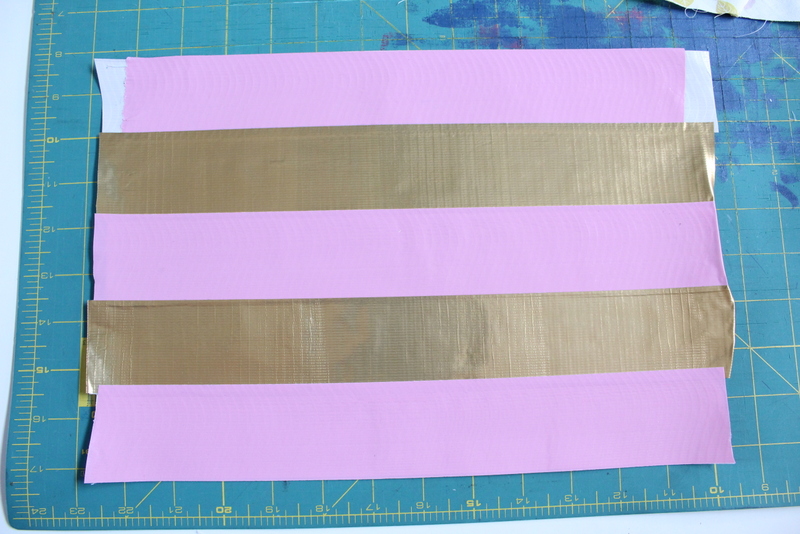
Next I grabbed my duct tape. I put sticky sides together on two pink pieces that were the same length to create a long fabric like strip, these should be about 1/2″ longer than the fabric you are going to use. Being that I used a 9″ zipper my strips were about 10″ long and then I trimmed them down to 9 1/2″ later. Next I grabbed the gold and again got two equal size pieces. Line one piece so that the sticky side is facing up. Then put the pink strip you just made overlapping by 1/8″, then add the second gold strip sticky side down so that it covers the entire gold strip that you placed first. Continue in this manner until you have a piece that is about 1/4″ wider than your fabric on both sides.
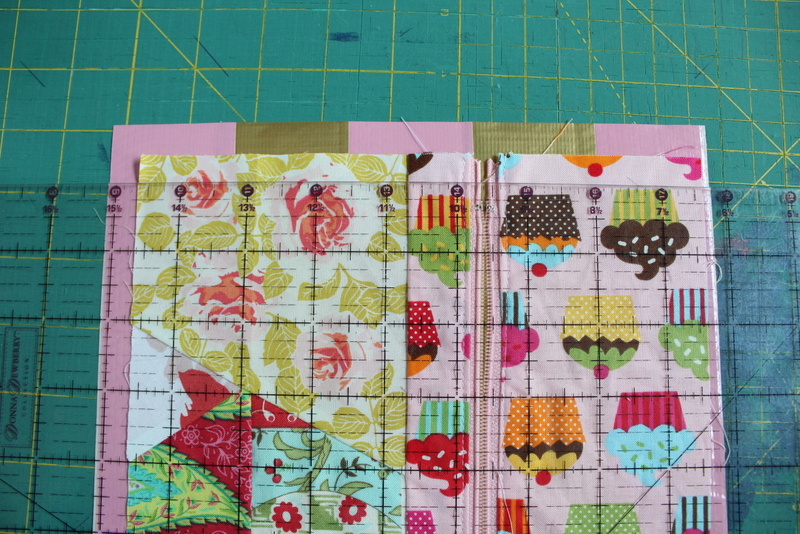
I have to confess that I used my rotary cutter and ruler to square the piece after I had a big enough rectangle. I know this is a huge sewing sin to use my fabric cutting stuff on anything non fabric. But hey it is almost time for a fresh blade anyway and the x-acto knife was all the way in the garage and that is so far and I am so lazy!
Then line the fabric up over the top, as pictured. Use your ruler or a book to hold the fabric in place and then grab another strip of duct tape, I used pink.
Press the tape down firmly so that it is covering the entire raw edge of the fabric and then fold it over the back of the duct tape rectangle to firmly attach one side of the fabric and duct tape together. Trim the edges that hang over. Repeat this step all the way around.
That is it. It is super quick! This is a great project to give the kiddos to do! You could attach a bunch of zippers and then let the kids make one as a party activity or put them to work making a teacher appreciation gift! Here is a bonus printable if you want to give this as a gift! (Click the picture to be taken to the printable PDF.)

Enjoy! I hope this project “blows” you away!!
Who would you make this project for??


Leave a Reply