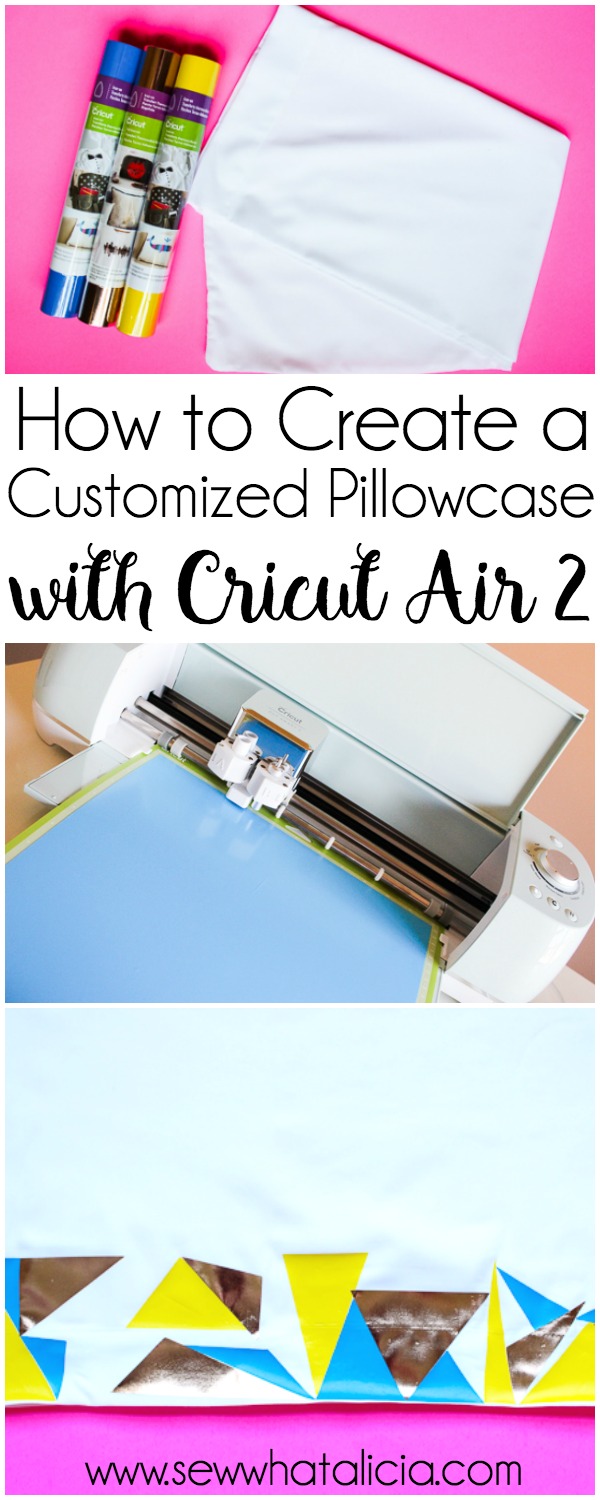
How to Customize a Pillowcase with a Cricut
Do you have a Cricut yet? I got my first Cricut years ago when you still had to buy the cartridges and type your phrases on the little keyboard directly on the machine. It has been forever since I even looked at that original machine but I was so excited when Cricut reached out about their sewing blogger blog hop! This machine is so amazing for adding something fun to your sewing projects, not to mention all the fun things you can cut outside of your sewing life! Be sure to enter to win your own Cricut at the bottom of this post! Here is how to customize a pillowcase with a Cricut.
How to Customize a Pillowcase with a Cricut
This post is sponsored by Cricut. I am receiving compensation for participating in this campaign and I received all Cricut products used to facilitate my participation in this campaign free of charge. All opinions and ideas are my own.
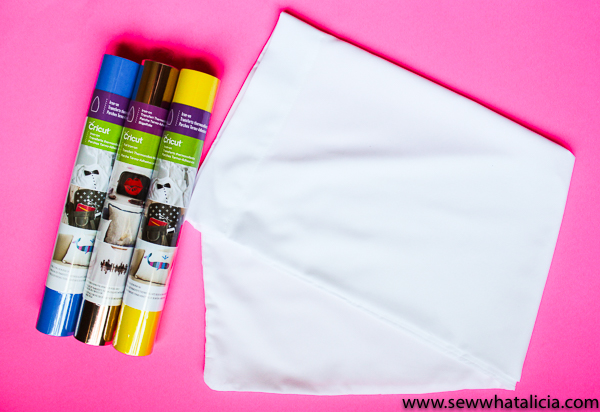
Supplies:
Pillowcase
Triangle Cut File (optional)
Instructions:
Press your pillowcase to ensure that it has no wrinkles and is completely flat. Download the triangle file above or browse through some of the amazing designs available in design space (like this amazing trendy elephant.)
If you are using the triangles upload the PNG into Cricut Design Space. Save it as a simple image and as a cut file when prompted. Once the image is on the grid in design space go ahead and resize it to 11.5″ wide. Now we just want to cut blue bundle onto the blue iron on so with the image selected click the contour button at the bottom of the screen. De-select the bottom two bundles of triangles and then follow prompts to cut the remaining triangles. Be sure to mirror the image since we are using iron on.
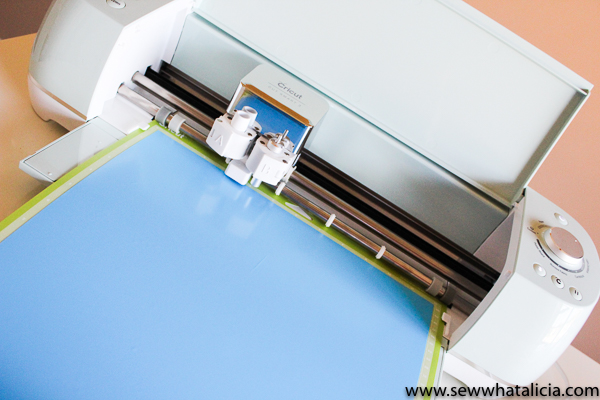
Now go back to the image and de-select the blue triangles and repeat the process of cutting the yellow and the rose gold triangles using the method described above.
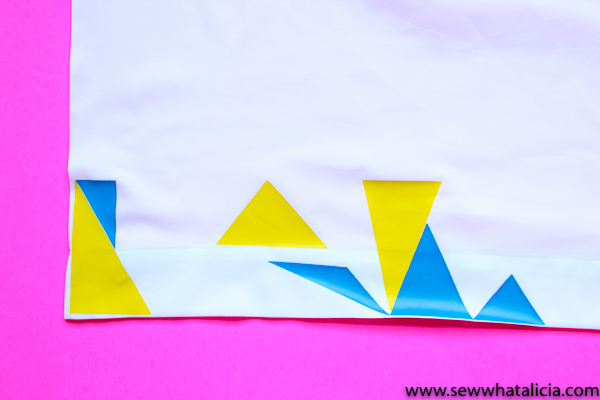
Now weed the excess vinyl from the triangles. Using scissors cut the triangles apart leaving the thick plastic backing. To start placing the triangles arrange the yellow triangles where you want them and then iron them in place. You can use iron directly onto the thick plastic.
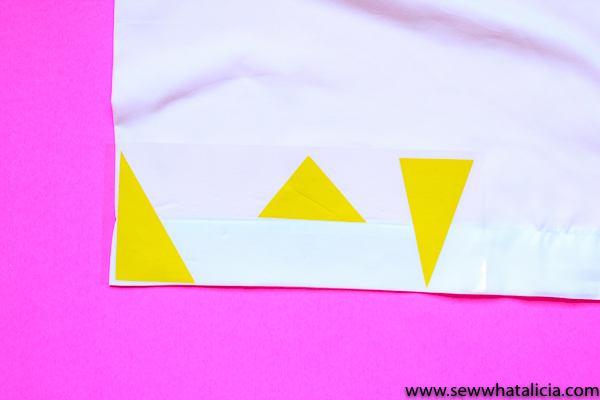
Peel the plastic from the yellow but set it aside because you will use it again. Now place the blue triangles. If you are placing a triangle right next to one that is already ironed on grab the excess plastic to cover the iron on that you already placed. You want to avoid ironing directly onto the iron on without the plastic protective layer.
Now repeat these steps with the rose gold iron on.
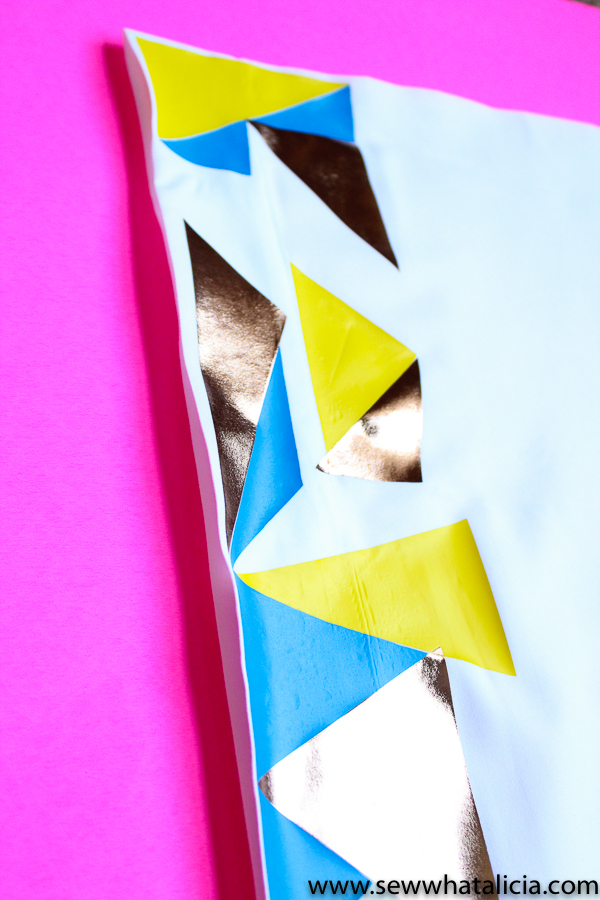
I placed the iron on just on the edge of the pillow because as cute as it would be I didn’t think I wanted my kiddos faces directly on the iron on (because they would ruin the iron on, not because it would bother their faces! hahaha) Repeat for all your pillow cases!

Tips:
- Make sure you iron is set to the correct heat. You want it to be hot hot hot so that the iron on will stick.
- Press hard! Make sure and press down hard to set the iron on. I used a towel on my hard granite countertops to make sure I could press down super hard on a hard surface.
- Be sure to mirror the image!
- Iron on all the things! I mean you are going to be so addicted you won’t even know what to do!
Do you have any tips to share for using your Cricut? Share with me in the comments below. I hope you enjoyed this tutorial for how to customize a pillowcase. Make sure and enter to win your own Cricut!! Yay!
Enter to Win a Cricut Explore Air 2 HERE
Week One: July 19th
Week Two: July 26th
I was invited to participate in the Cricut Party Blogger Program Kickoff.
This experience is based strictly on my opinion. Others may have a different opinion or experience with the product listed above. I was provided the sample free of charge by the company or PR agency and I have given my honest opinion.
This is a sponsored conversation written by me on behalf of Cricut. The opinions and text are all mine.
Do you love this project? I would love to send you emails about all things Cricut. I won’t send you a ton of emails, 4 a month max! Leave me your email below and I will keep you posted about everything Cricut, no funny business I promise! Sign up below.


Leave a Reply