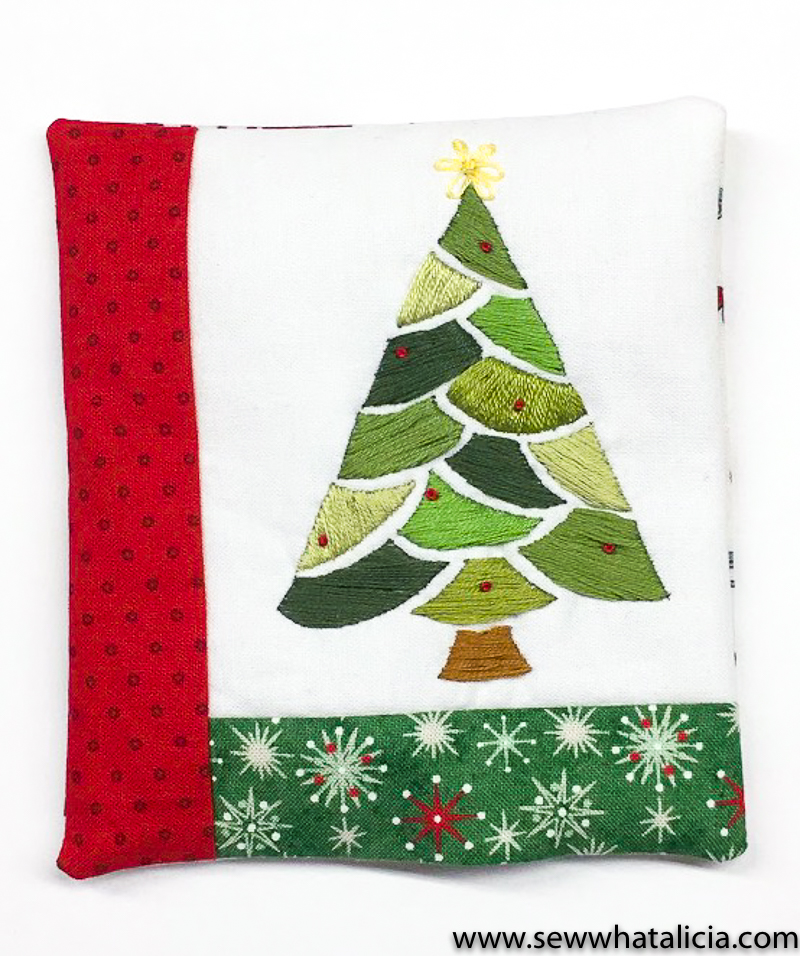
Embroidered Christmas Tree Pattern and Tutorial
Happy Christmas in July! Olivia here from Pumpkin Hollow Quilting back to share with you a fun embroidered Christmas Tree, that you can have stitched up and ready for the upcoming Holiday Season! So grab yourself a cup of sun tea and let’s get to stitching up an embroidered Christmas Tree pattern and tutorial.
Embroidered Christmas Tree Pattern and Tutorial
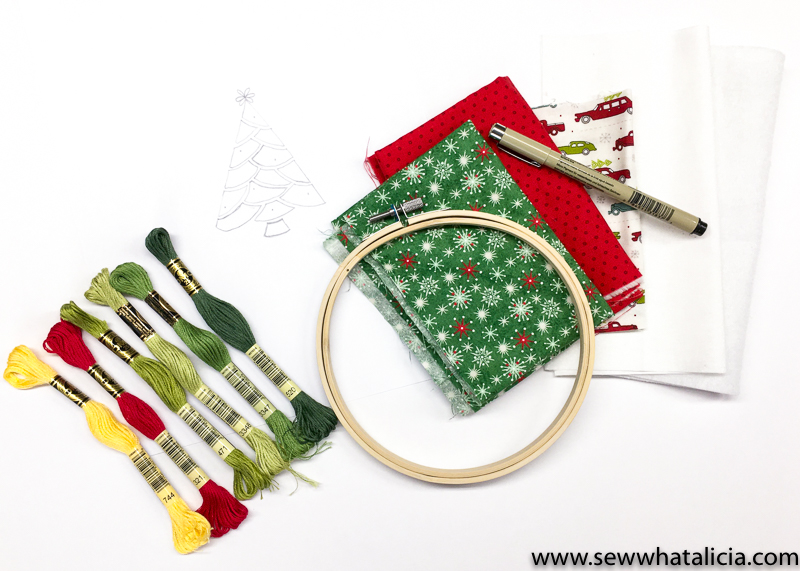
Supplies:
8 inch piece of background fabric
8 inch piece of fusible interfacing (I used Pellon TP971F)
Scraps of Christmas fabric
Sewing Machine
Basic sewing supplies
DMC floss needed for our project
Tree – 471, 520, 703, 2247, 3348
Ornaments – 321
Star – 744
Tree Trunk – 434
Embroidered Christmas tree pattern and tutorial instructions:
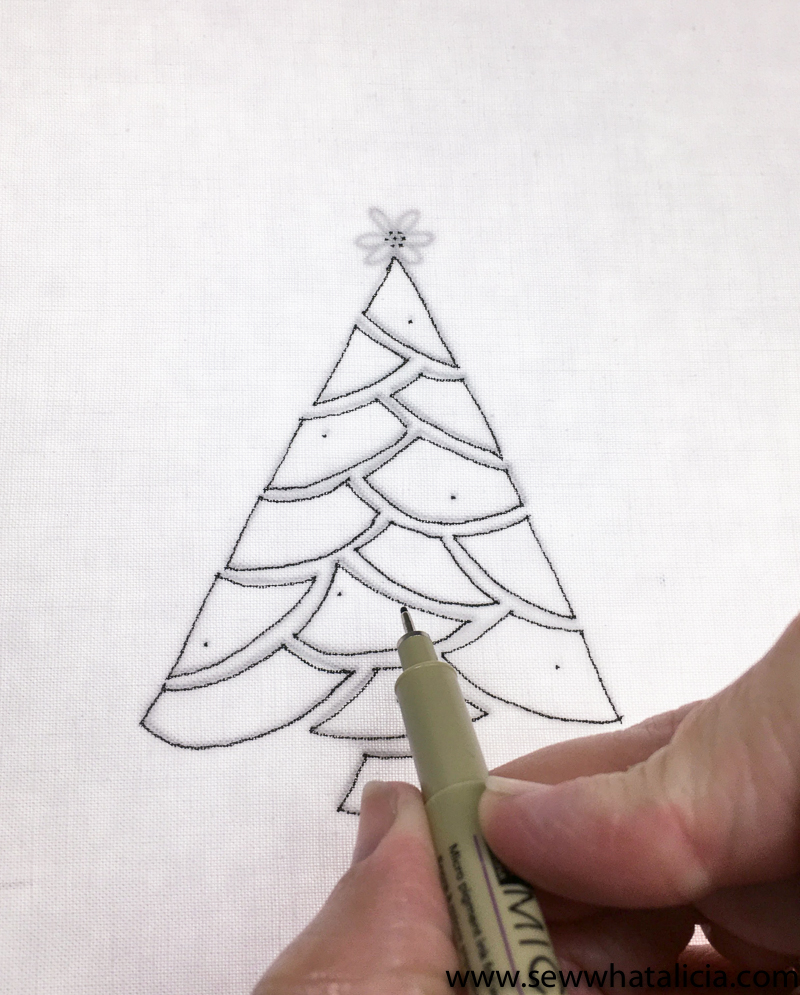
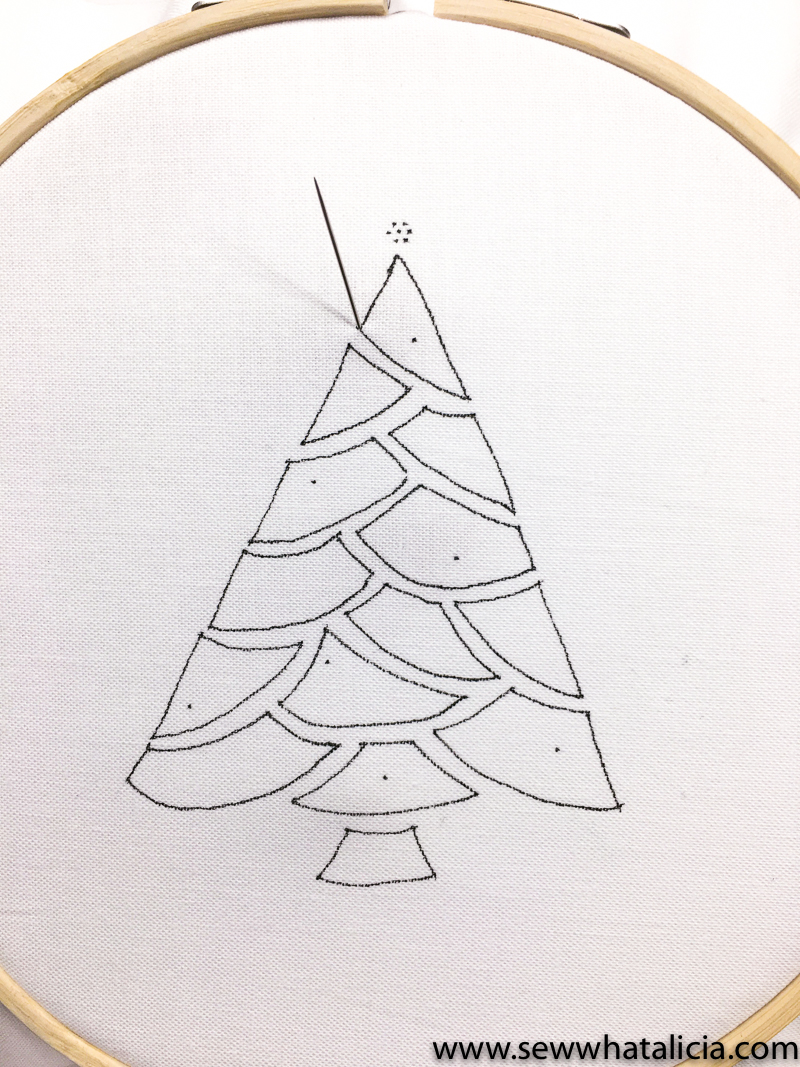
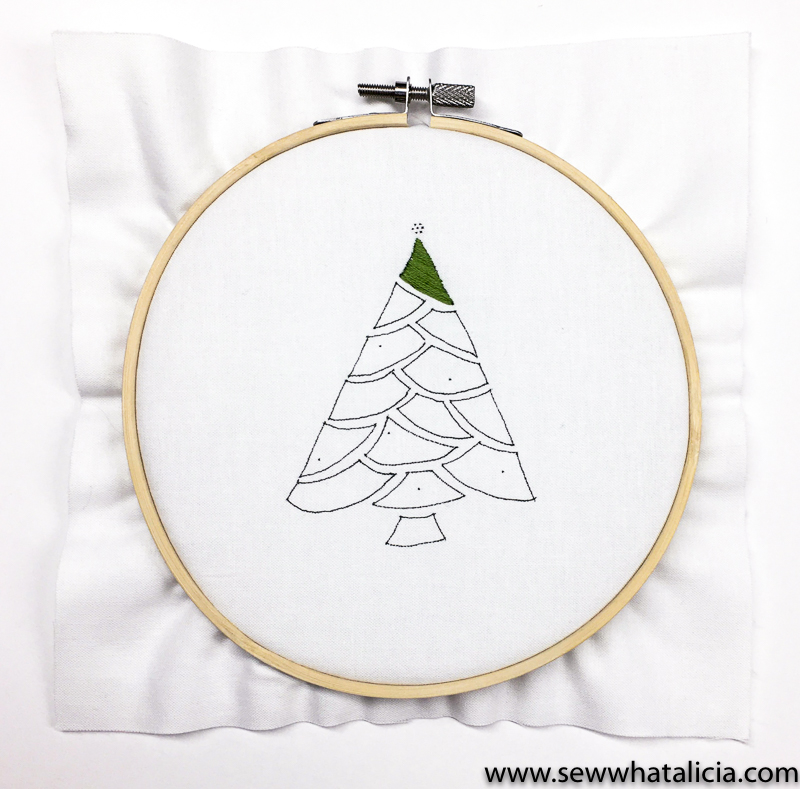
Print out the Christmas Tree Pattern. Using either a light box or a well lighted window, trace the Christmas Tree onto your background fabric using a Micron Pen. I used a group of dots to show where my Lazy Daisy Stitch/French Knot will go at the top of the Christmas Tree, instead of drawing it out.
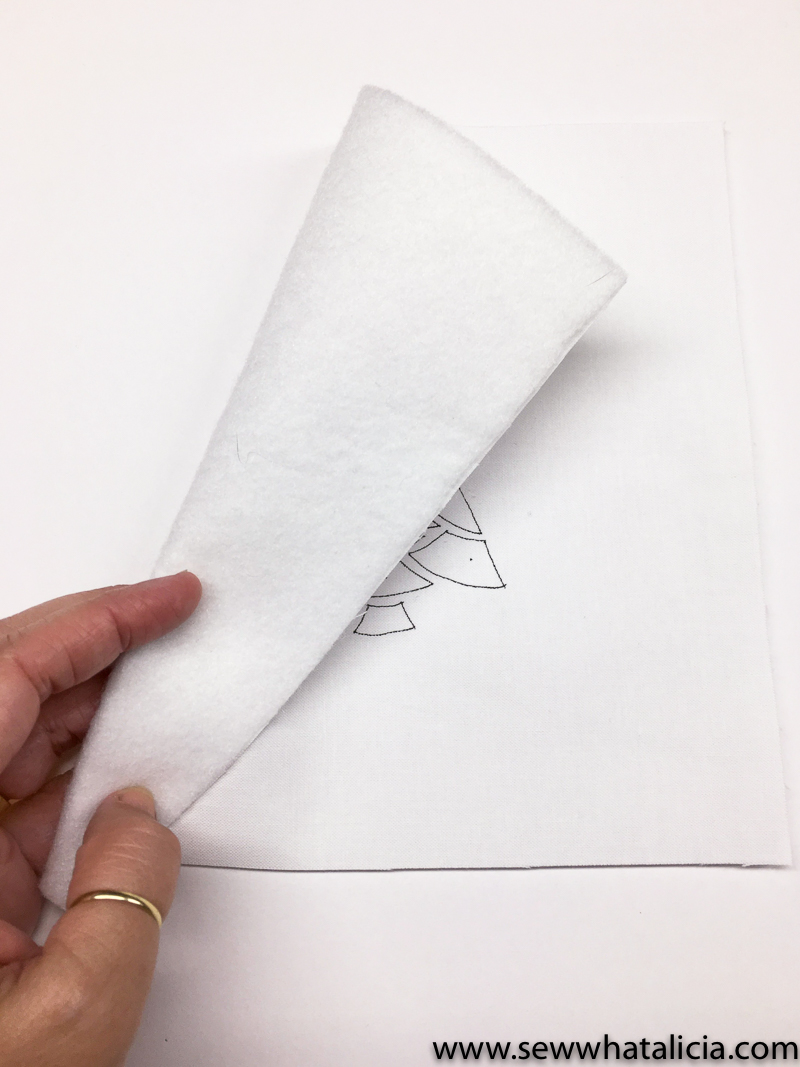
Once the Christmas Tree is traced onto my fabric, I fused the fleece to the back using my iron.
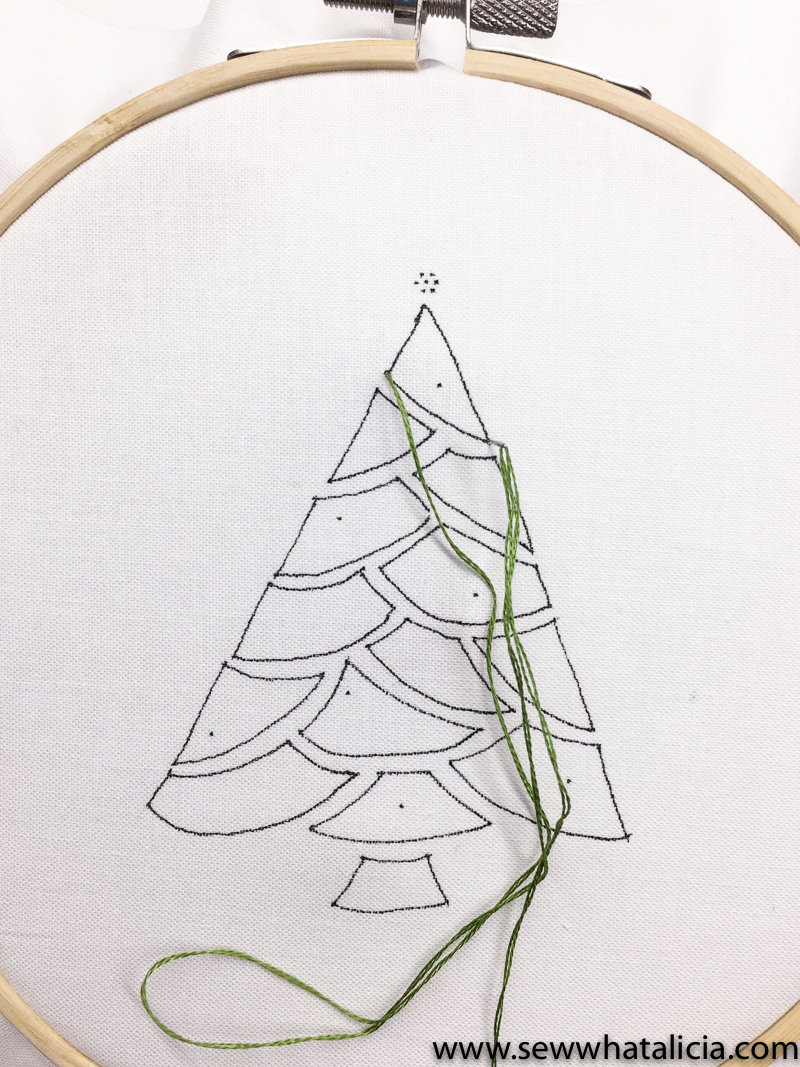
Now we are ready to begin! Load the stitchery into your Embroidery Hoop. For this project we will be using 2 strands of DMC floss.
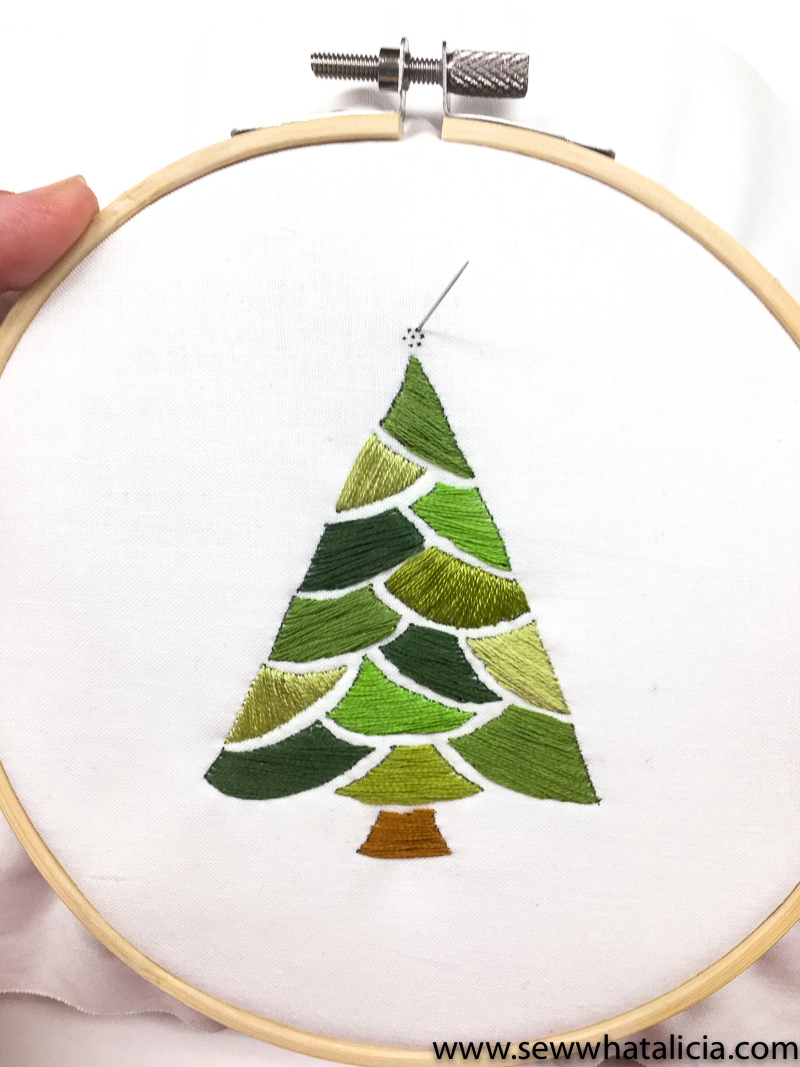
The Christmas Tree is stitched up using a Satin Stitch, we are basically going to fill the tree in using a variety of floss. I laid my various green floss out and picked where I wanted the colors to go. Once I decided, I grabbed my first color and started stitching. With the thread knotted on the end, I chose where to begin and pulled my thread up through the back.
Your stitches are going to be large ones, so take your needle all the way across the ‘triangle’ and bring it back down through the fabric.
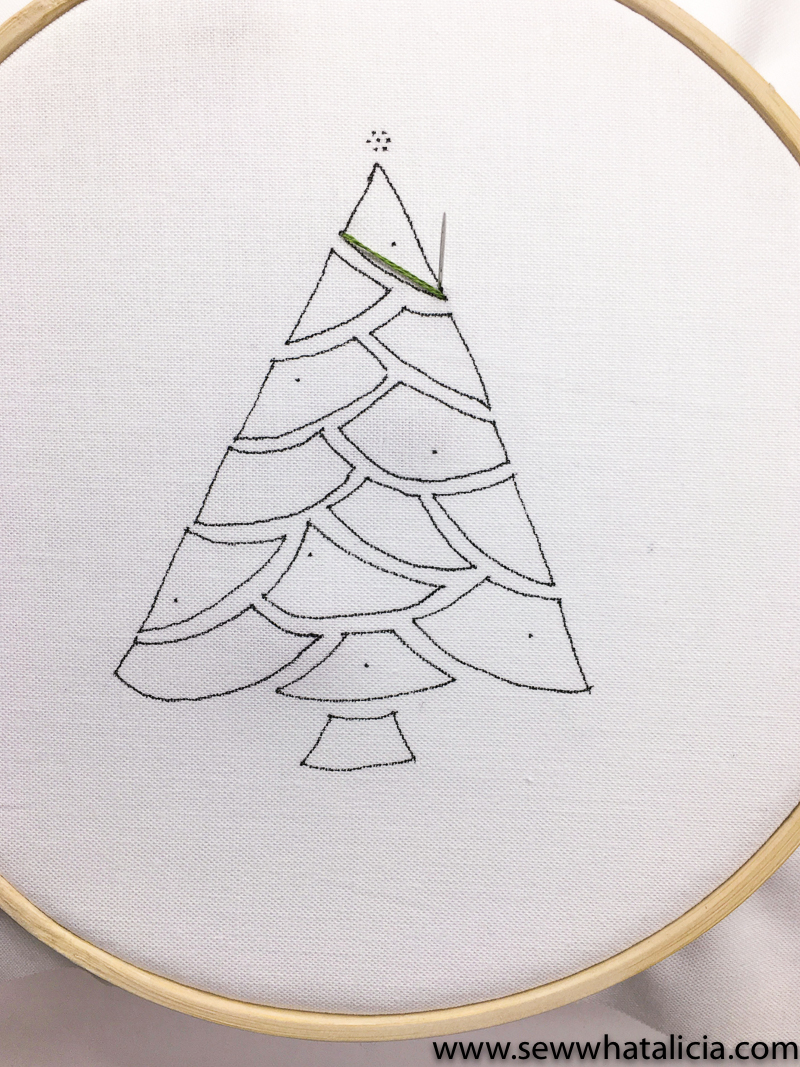
Instead of going back to the side where I started, I like to just jog over a smidge and bring my needle back up through the fabric. Take the needle back across the ‘triangle’ and put the needle down right next to your first stitch.
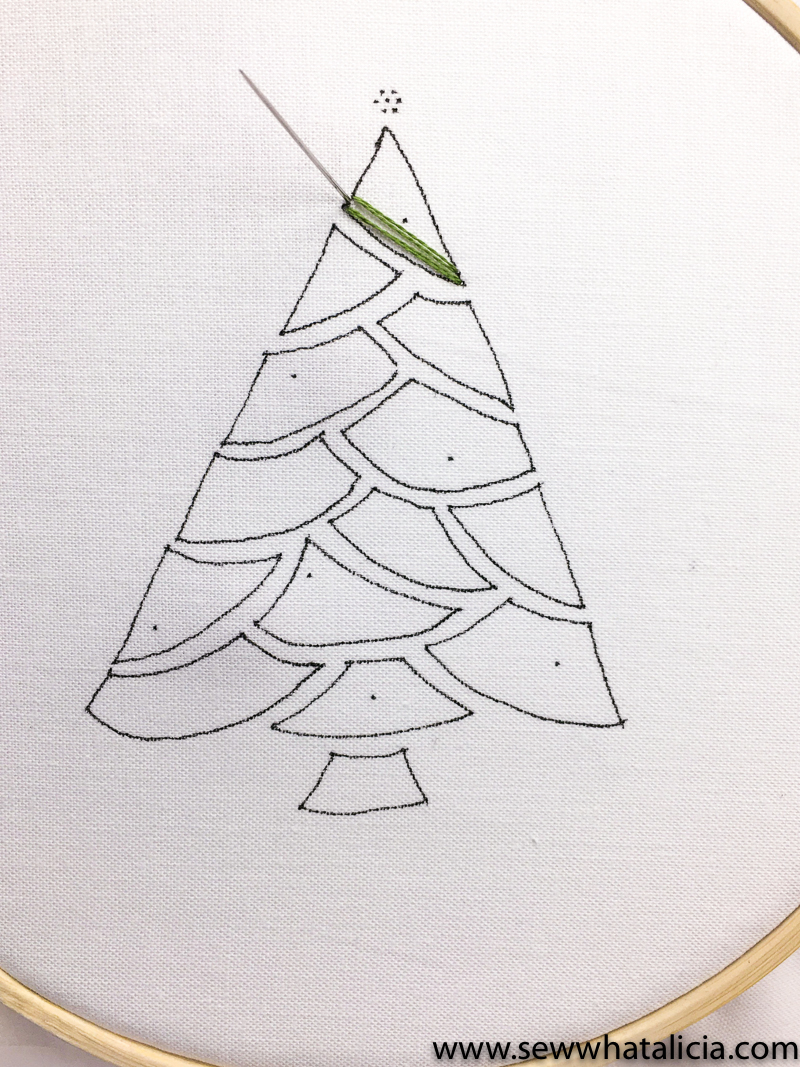
Jog over a smidge and bring the needle back up.
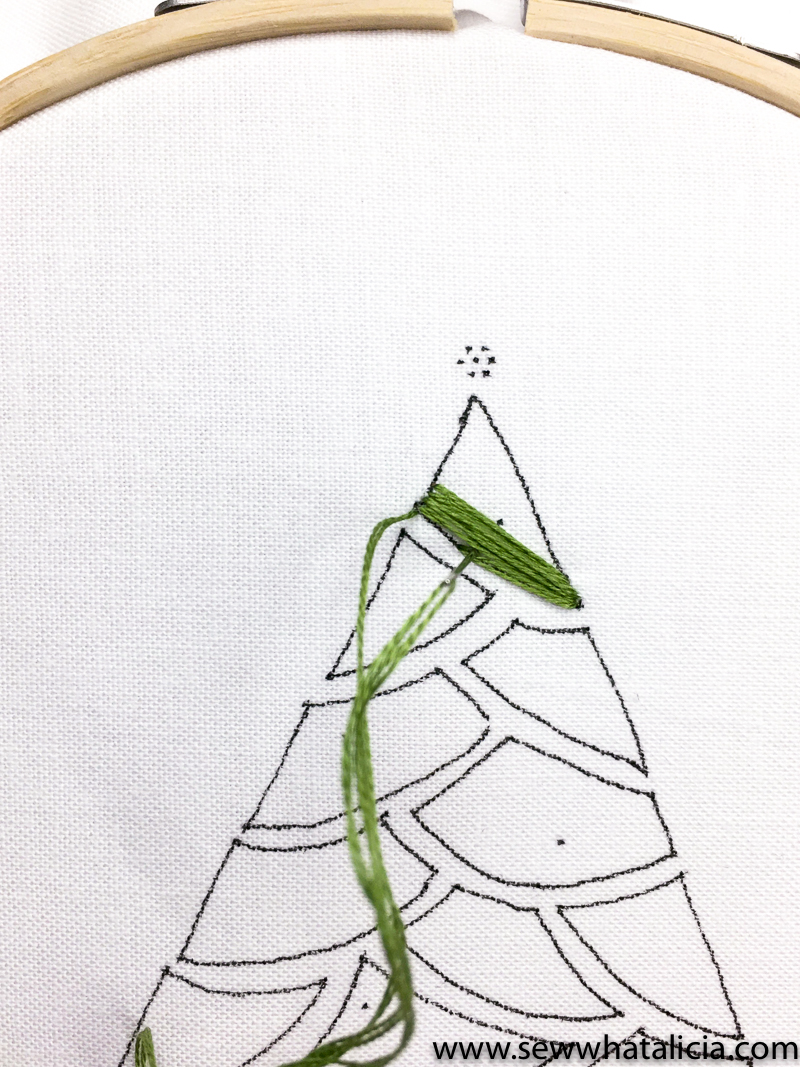
You might find as you go along that you have an open area where you can see the background fabric peeking through, not to worry, simply bring your needle up from the back and fill the area up using a smaller stitch. These smaller stitches help to create a little dimension in the tree.
Filling in each ‘triangle’ goes really fast, so in no time at all you’ll have a section finished. I tried to use each green 2 to 3 times.

In a few of the ‘triangles’ you’ll have a point area that needs to be filled in. I used a series of tiny Satin Stitches and worked my way out of the point.
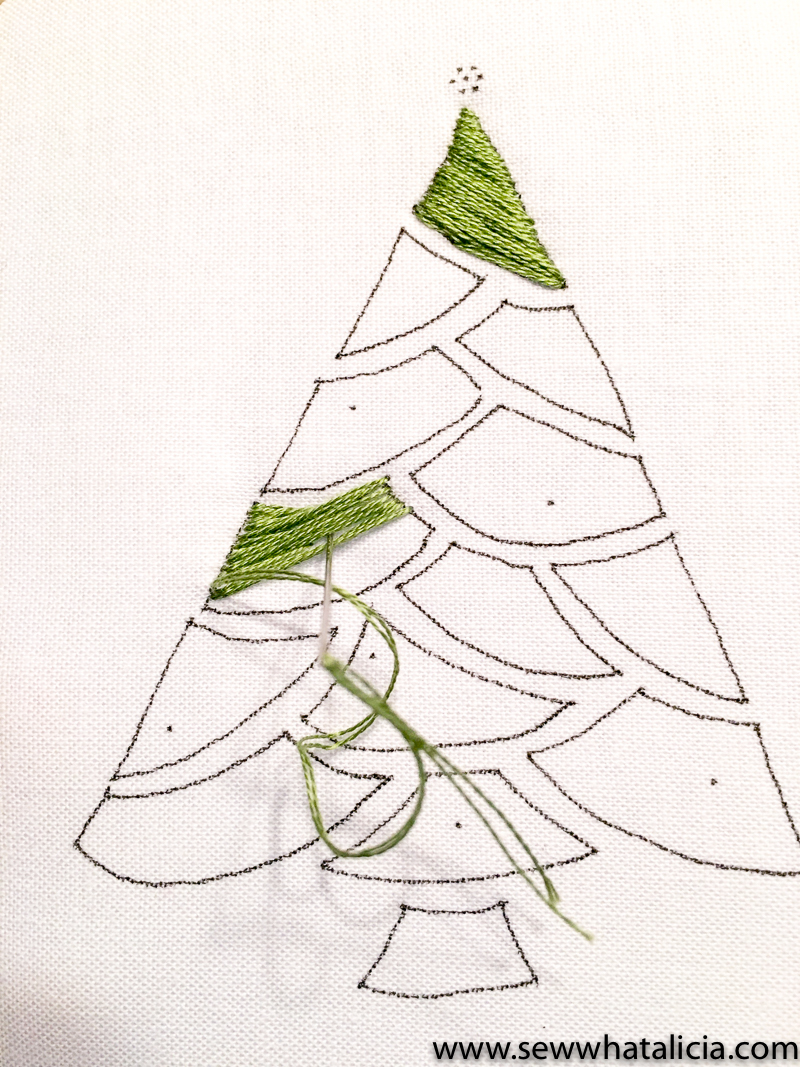
As I went along, I made sure to fill any holes left open as I closed my ‘triangle’.
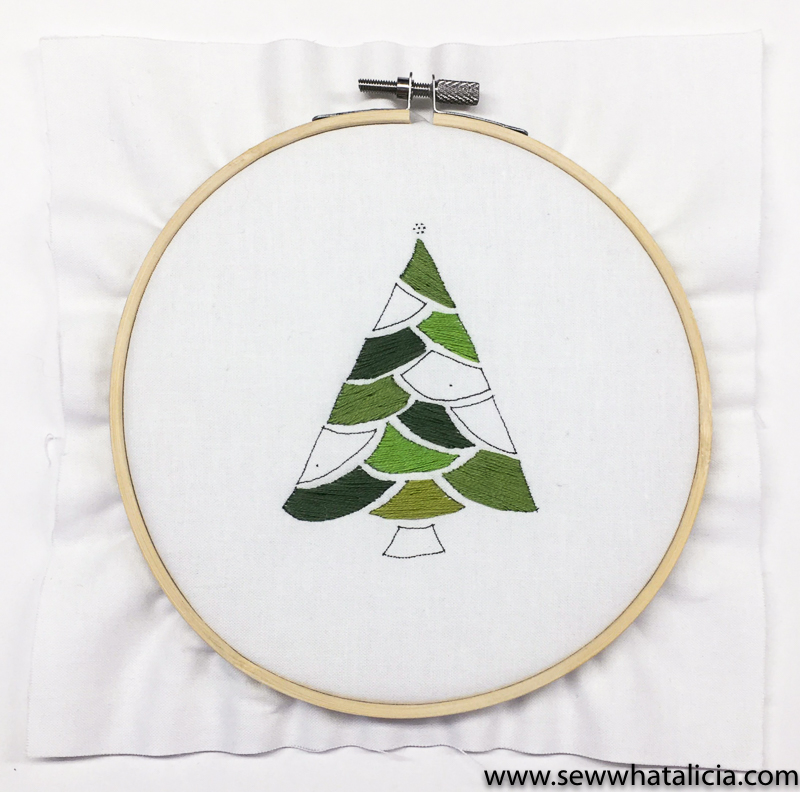
As you go along, don’t forget to switch out those green threads or even the direction your stitching. A few of my ‘triangles’ are going up and down, instead of side to side. It’s your tree so go crazy!
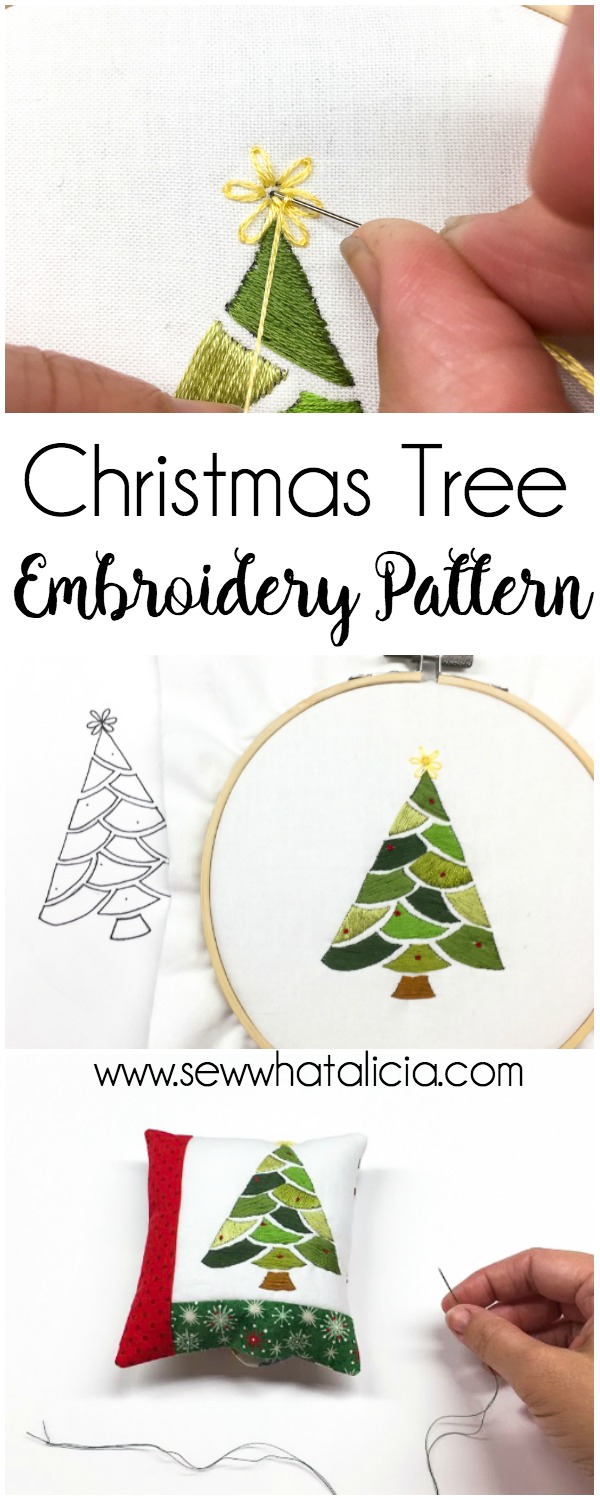
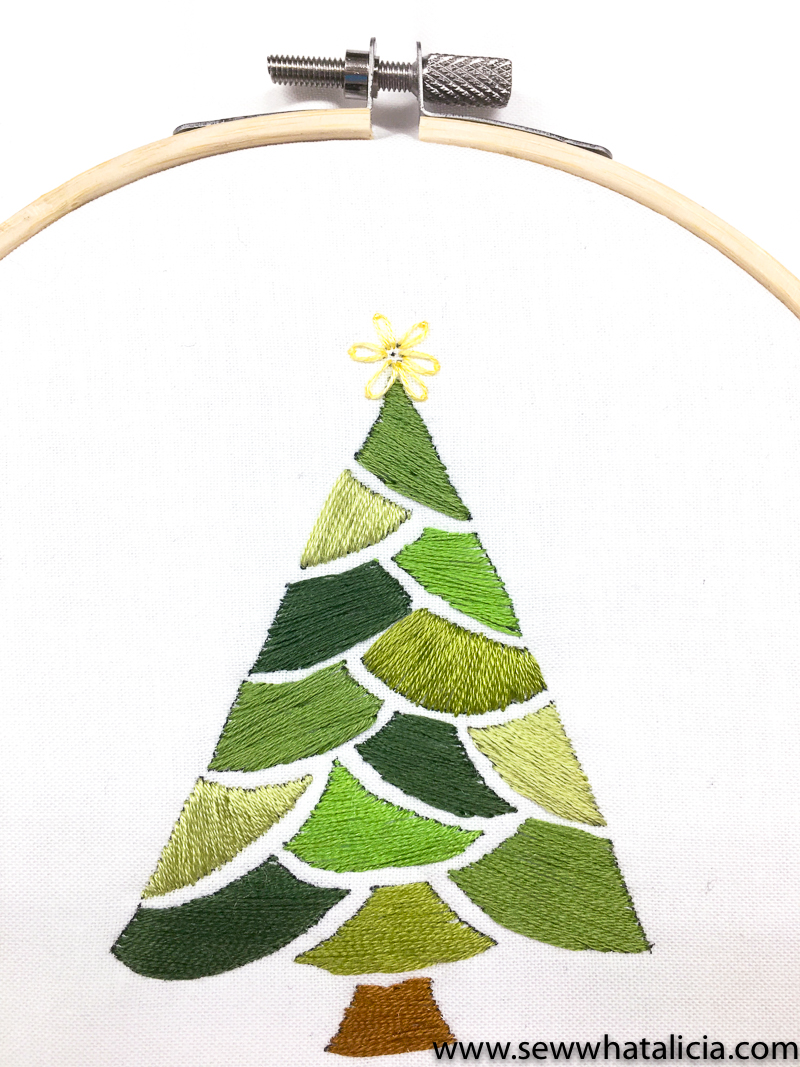
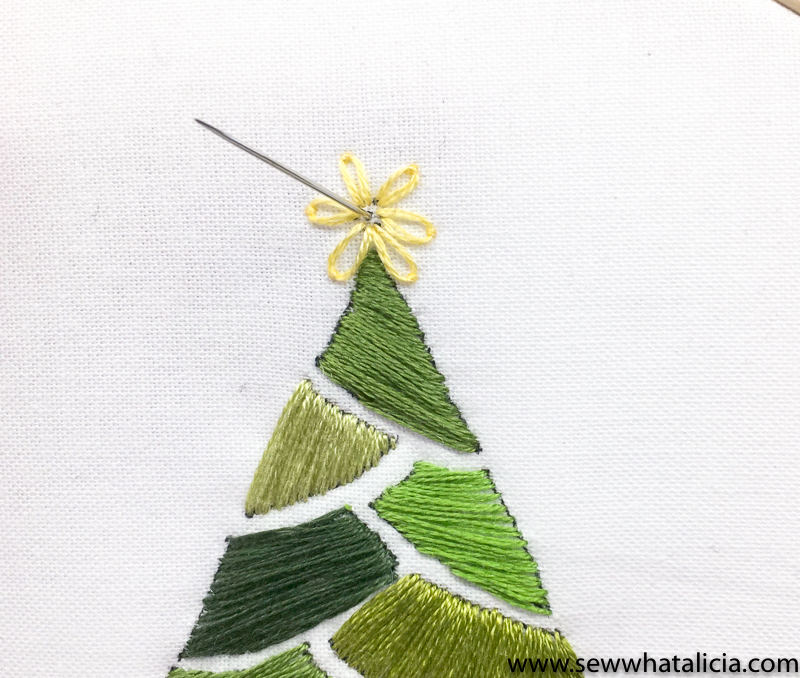
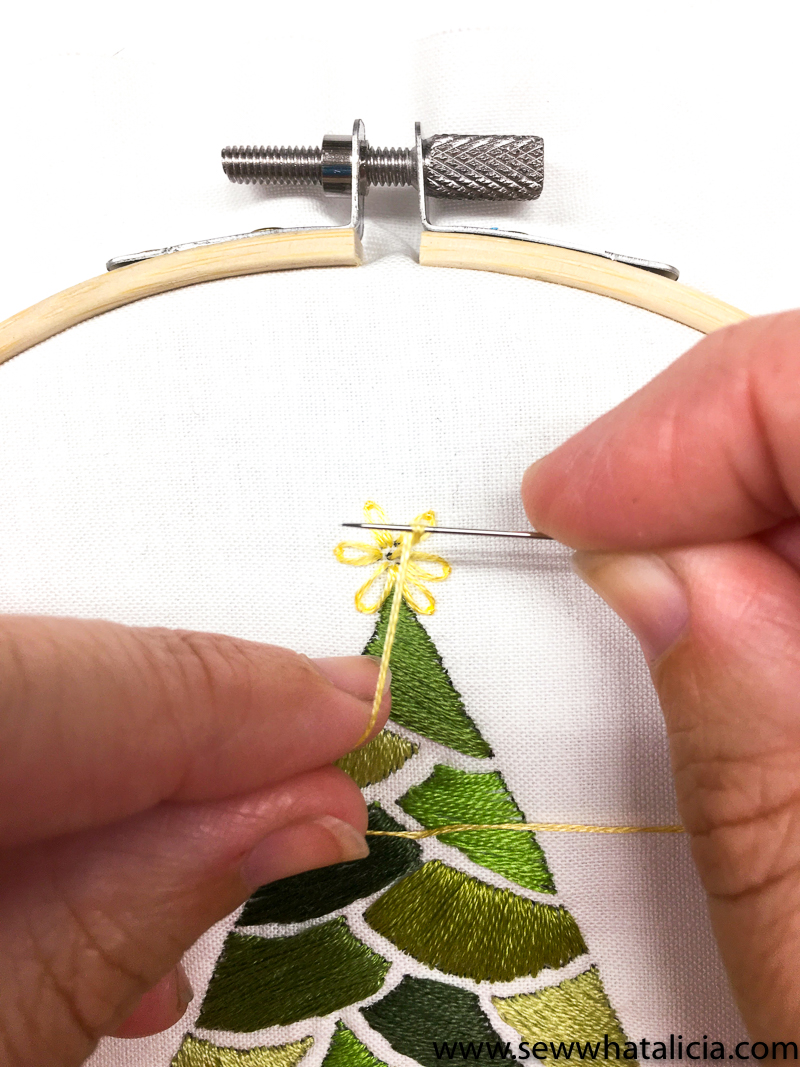
Now with our tree finished, it’s time to work on our Lazy Daisy Stitches! Lazy Daisy Stitches are used in a variety of ways to create some pretty cool images. For today we are going to use ours to make the star on top of our tree. Load your needle up with DMC 744 and make sure the end is knotted. Bring your needle up where one of the 6 dots are and pull the thread though. (Don’t bring your needle up in the very middle, that’s where our French Knot is going to go)

Hold your thread tail with your thumb and take your needle back down inside the same hole you came up in. Don’t pull your thread all the way through.
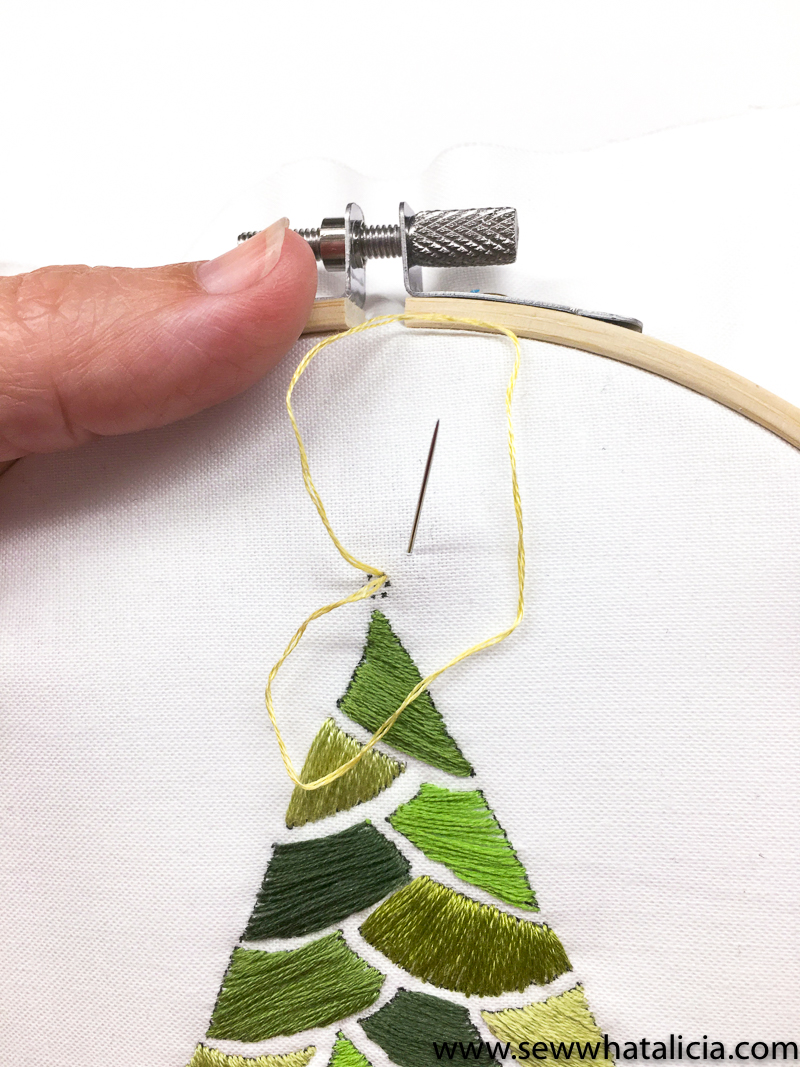
Your thread will make a large ‘O’ at this point. Bring your needle up from the back a little more than an 8th of an inch, but not quite a 1/4 inch…kinda a happy middle point between the two. you can let go of the thread and pull your needle up through the ‘O’.

You should have a nice oval shape stitch. Now you need to secure your stitch but bringing your needle down directly next to where the thread came up through the back, trapping your ‘O’. You’ve completed your Lazy Daisy Stitch!
All that’s left is to repeat the process, until you’ve made your star points.
The last part of our star is the middle and a 2 wrap French Knot. Bring your needle up through the middle dot.
With your thread all the way though (either knotted on the back, or from your last Lazy Daisy Stitch) wrap it twice around your needle.

Hold your thread between two fingers and take the needle back down through the middle.
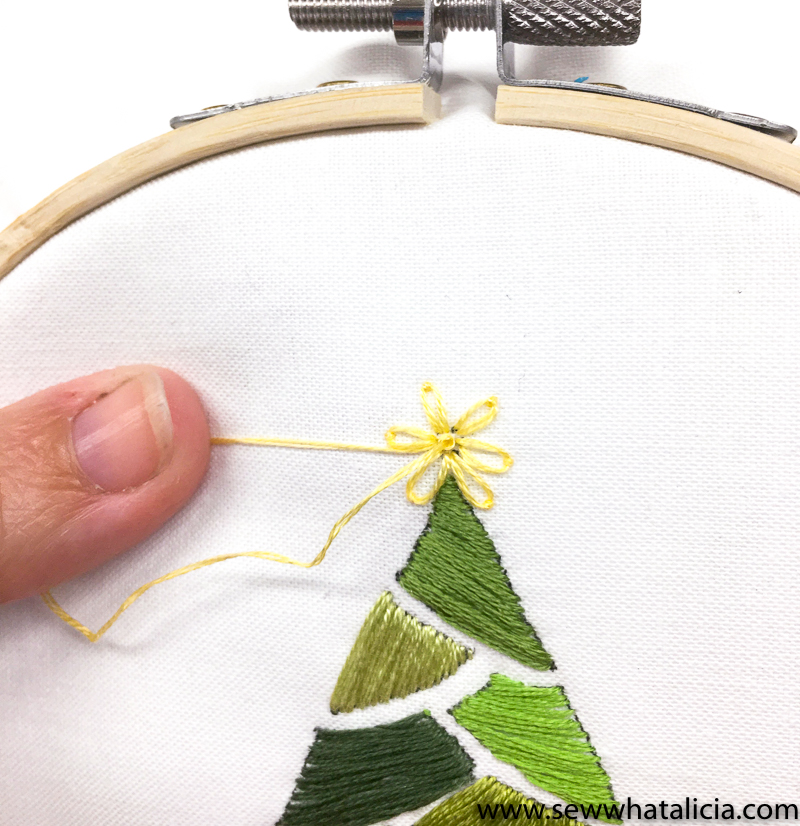
Pull the needle and thread through to the back, holding your thread until the last few seconds and let it go.
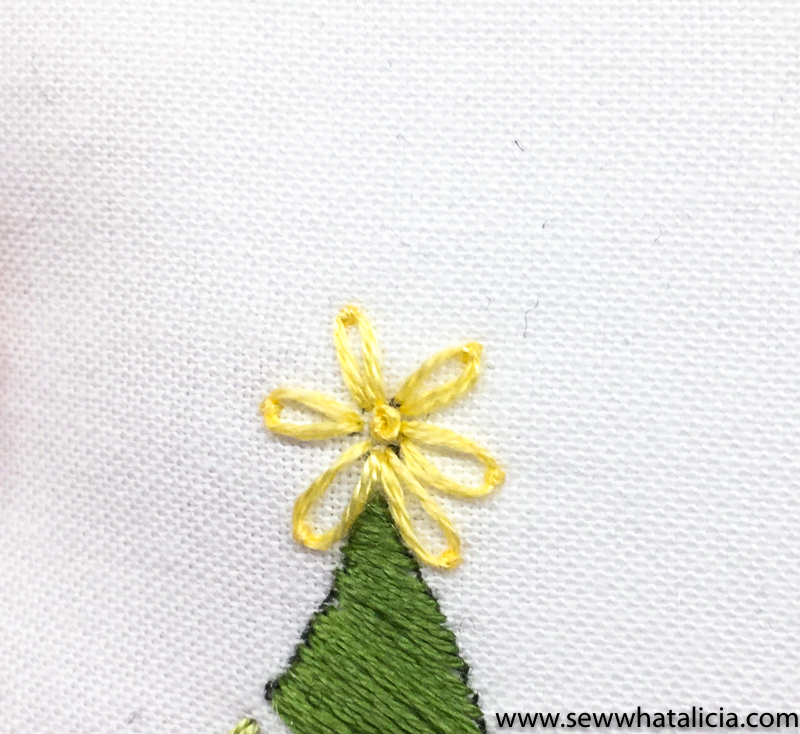
Your 2 wrap French Knot is complete!
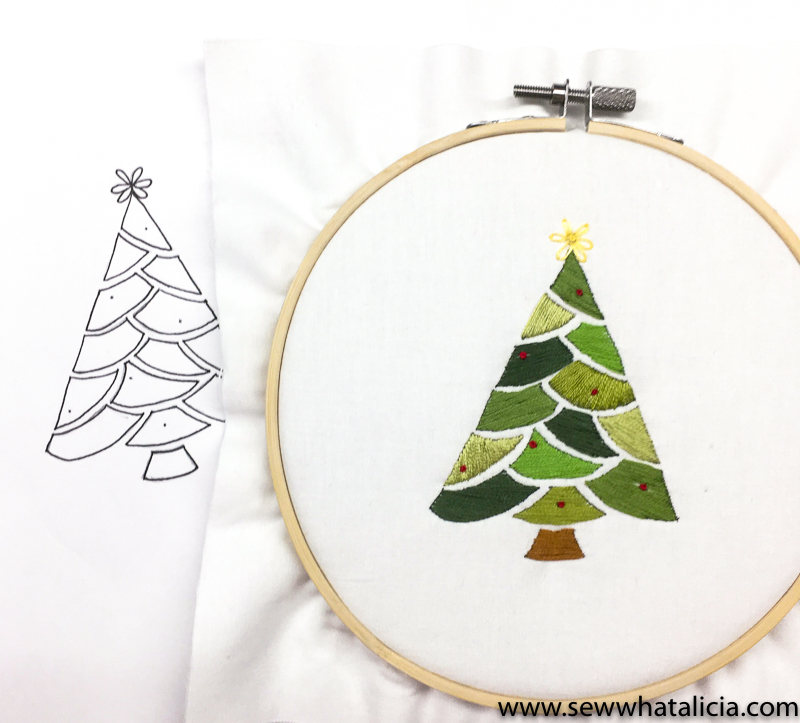
I decided my Christmas Tree needed some ornaments, so I added a few 2 wrap French Knots here and there. It turned out pretty sweet!
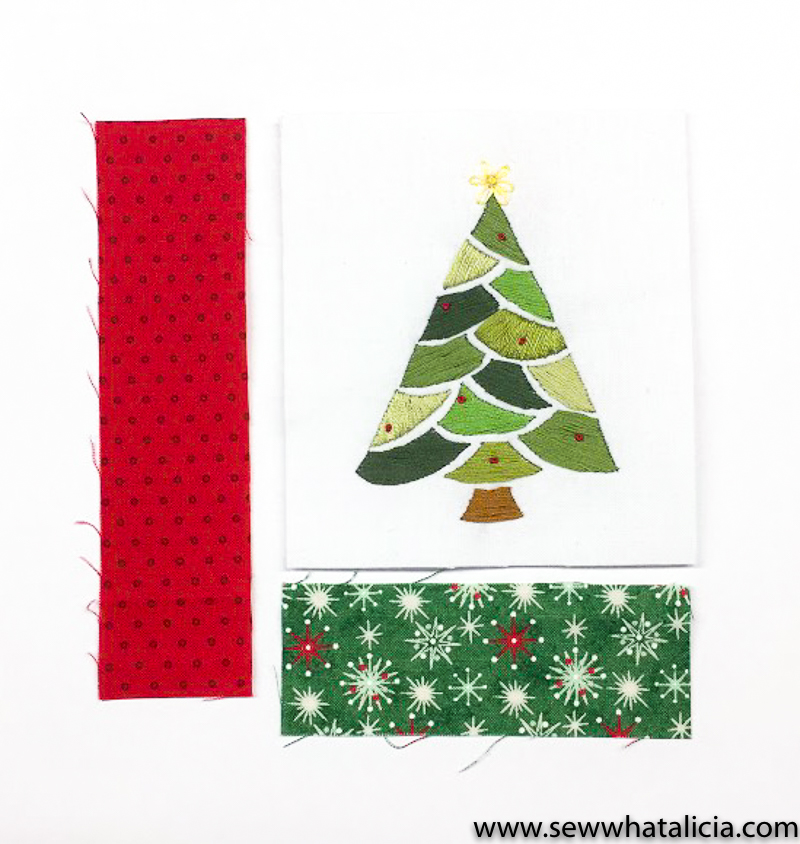
Press and square up your tree to 4 x 4 1/2
Then cut your fabric as follows:
Green fabric 1 1/2 x 4
Red fabric 1 1/2 x 5 1/2
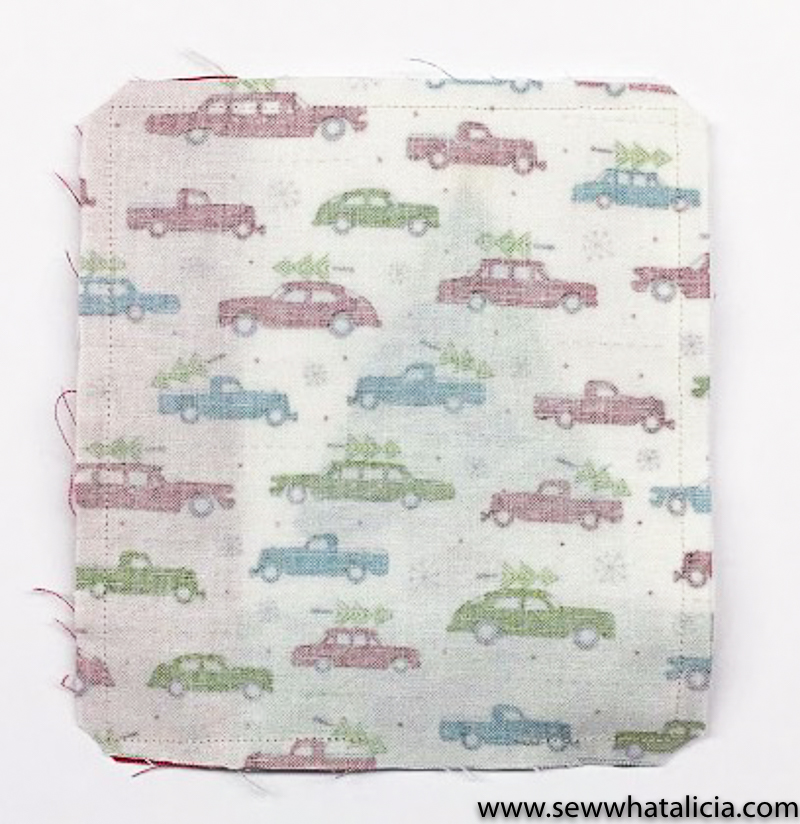
Backing fabric 5 x 5 1/2

Sew the green strip to the bottom of your tree using a 1/4 inch seam and press towards the green.
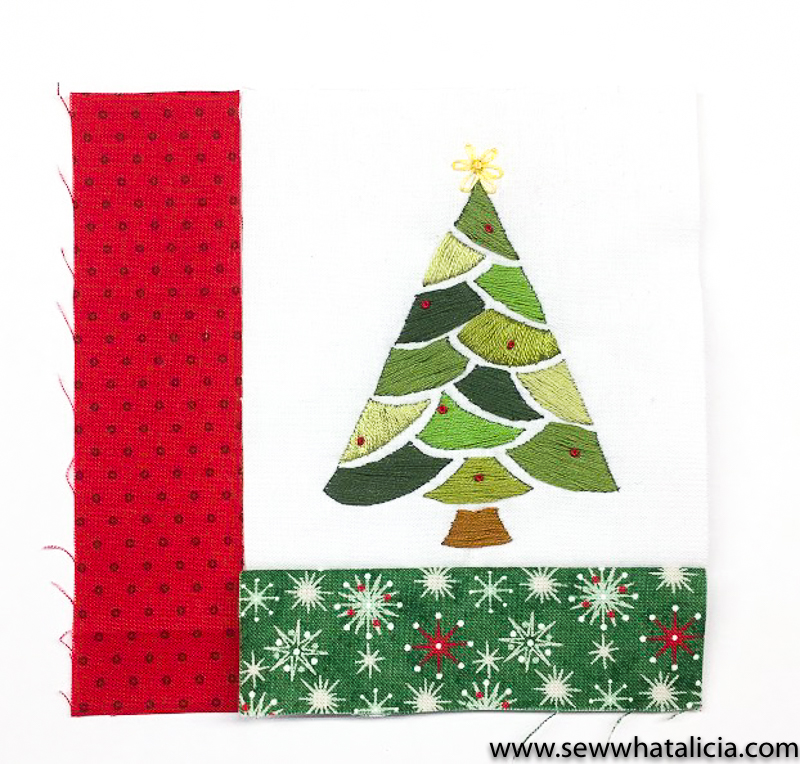
Repeat with the red strip by sewing it to the left side of your tree and press towards the red fabric.
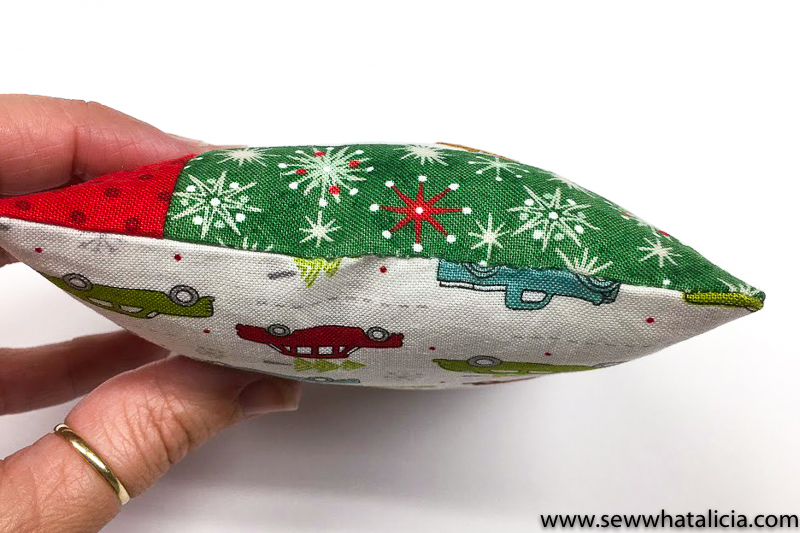
Your tree should measure 5 x 5 1/2, if it doesn’t that’s okay, all you’d need to do is make sure your backing fabric is the same size as your tree.
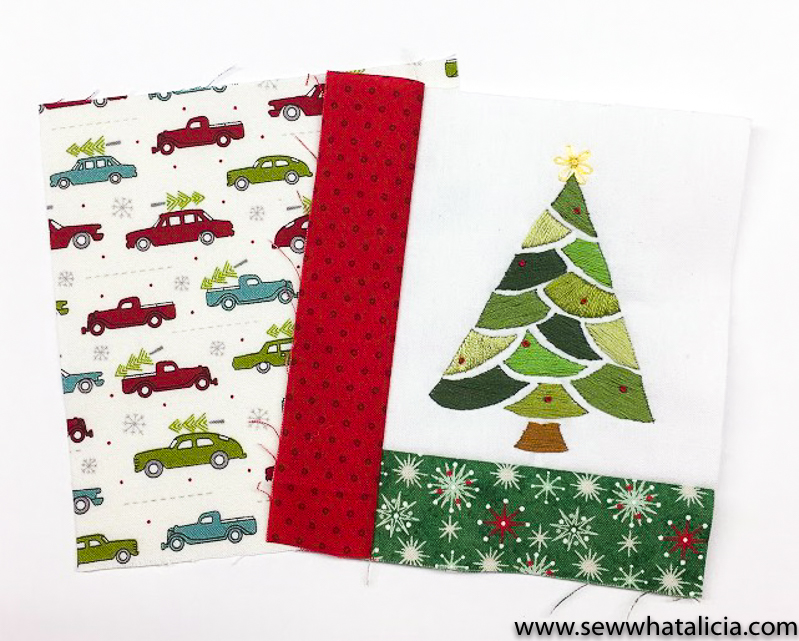
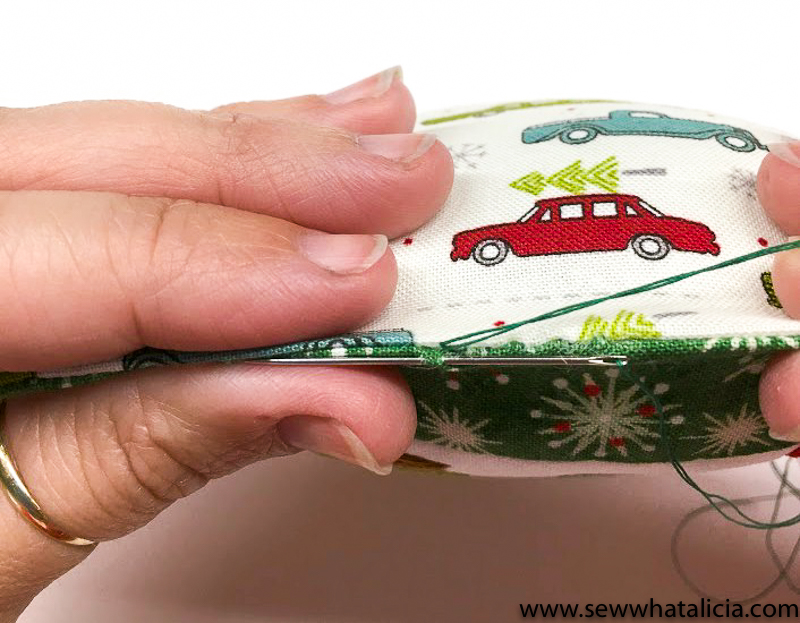
Place your backing and tree right sides together and stitch all the way around leaving a 1 inch hole in the bottom for turning, make sure you backstitch when starting and stopping. I like to trim my corners before I turn it, just be careful not to cut into your stitching. Then turn your Christmas Tree right side out!
Give your tree a nice press, making sure to turn under the fabric about a 1/4 inch in the opening.
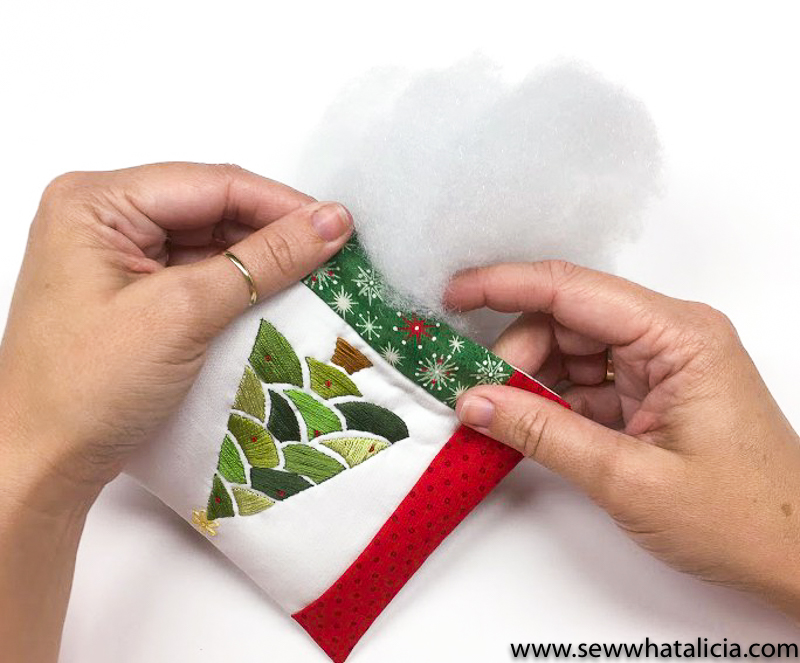
Taking a ball of Polyester Fiberfill stuff it into the opening of your Christmas Tree until you form a pillow shape.

Fluff it a bit until you get the fiberfill evenly distributed.
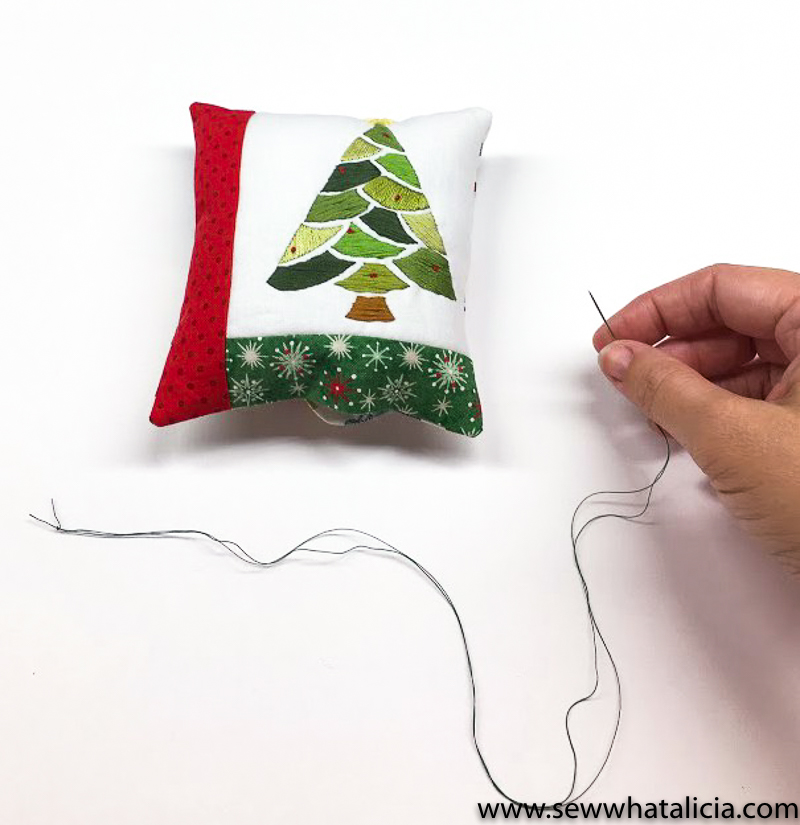
When I stitch my opening closed, I like to use a Ladder Stitch which gives it a nice clean finish. I use a length of thread about 24 inches long and loop the end through the eye of my needle. Then I put my ends together and pull the needle until the thread tails are even with each other, knot the ends.
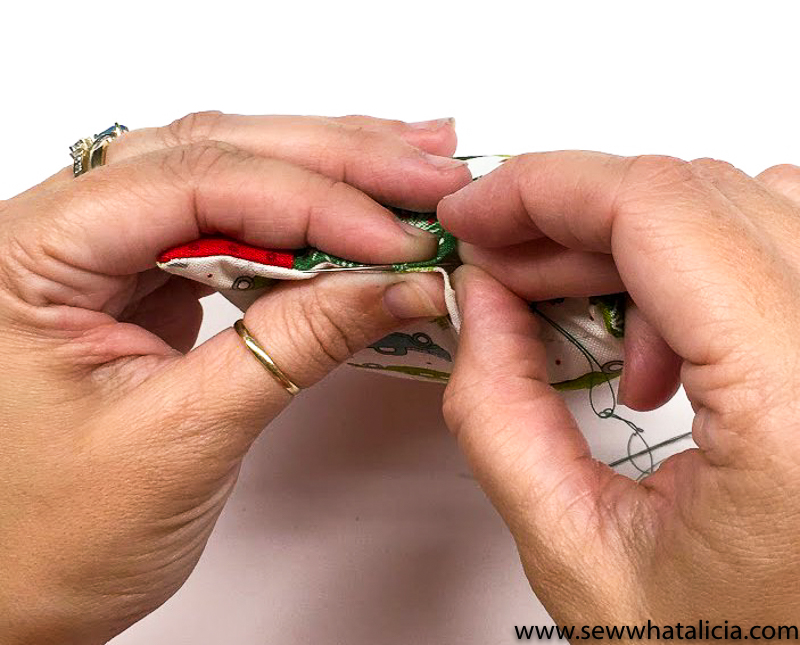
Take your needle and place it into the opening, bringing it up in the sewn area of your pillow. Pull until the knot catches.
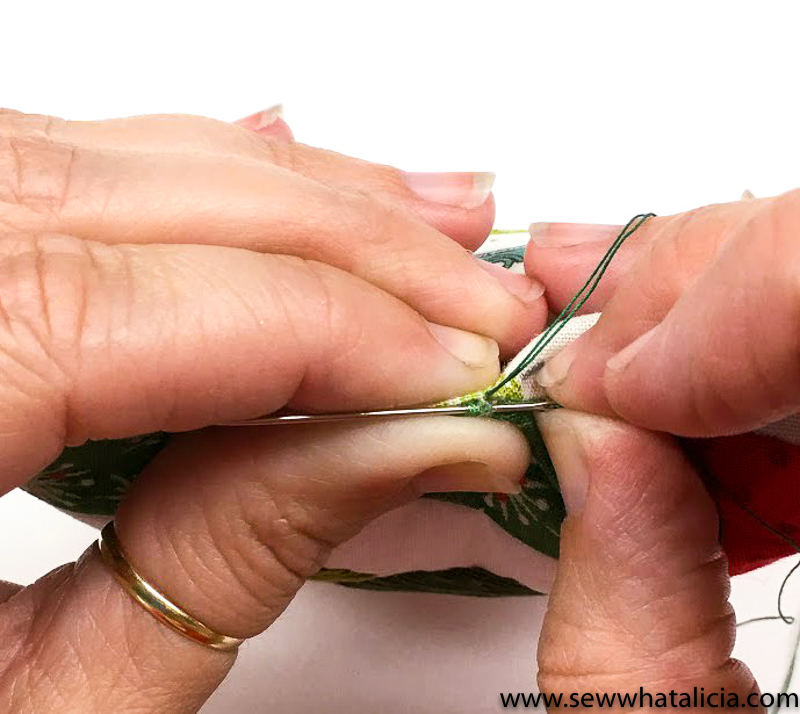
Directly across from where your thread is, bring your needle in at an angle and insert it. Go into the fabric about 1/8 of an inch and bring your needle up out of the fabric. All your doing is skimming right under the fabric.

Repeat on the opposite side.
Keep going with the same stitch all the way across your opening.
Once you have completely closed your opening, knot your thread and push your needle in and out of the side of your pillow. Snip the threads and your done!
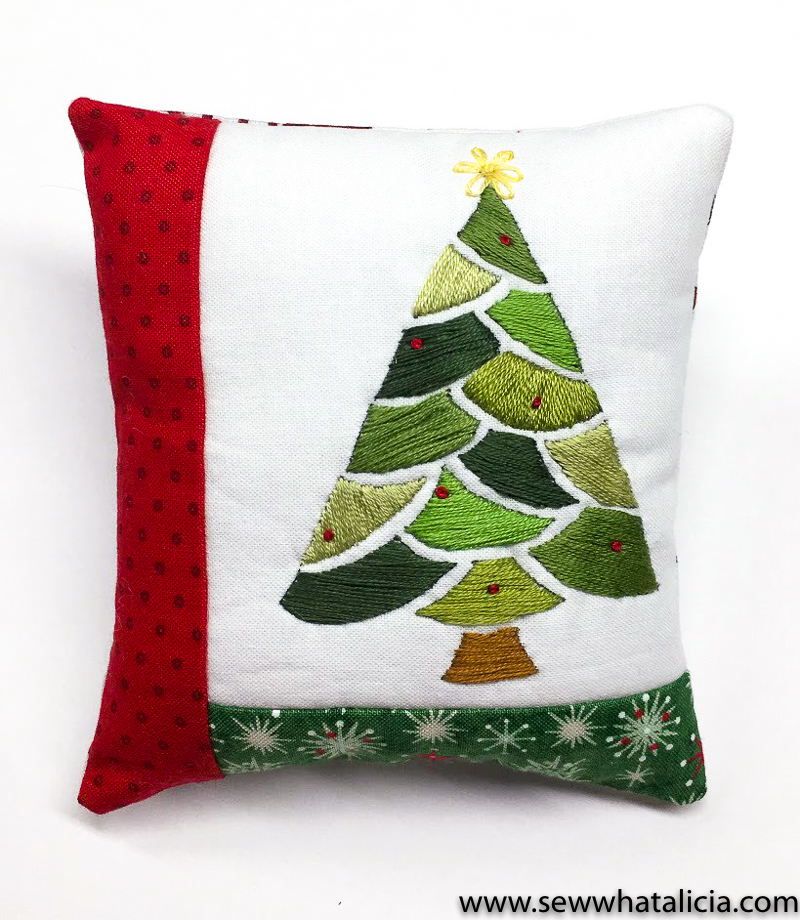
One awesome ornament ready for your Christmas Tree! Do you love this embroidered Christmas tree pattern and tutorial as much as I do?

I had so much fun creating this fun embroidered Christmas tree pattern and tutorial for you! You can always find me over on Pumpkin Hollow Quilting working on fun projects for around my home.

Instagram // Pinterest // Facebook // Etsy
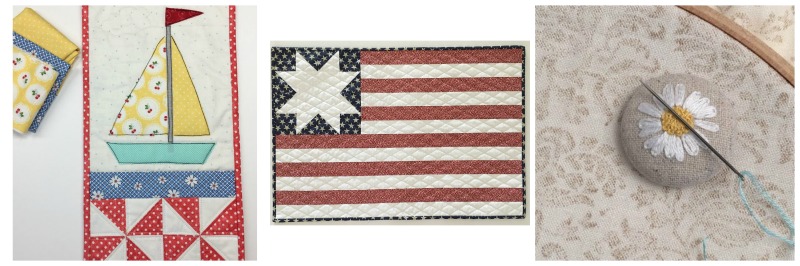
Here are a few fun projects I’ve been working on!
Summer by the Lake // American Flag Table Runner // Sweet Summer Daisy


Maddy McCaslin says
Love the tree. Thank you