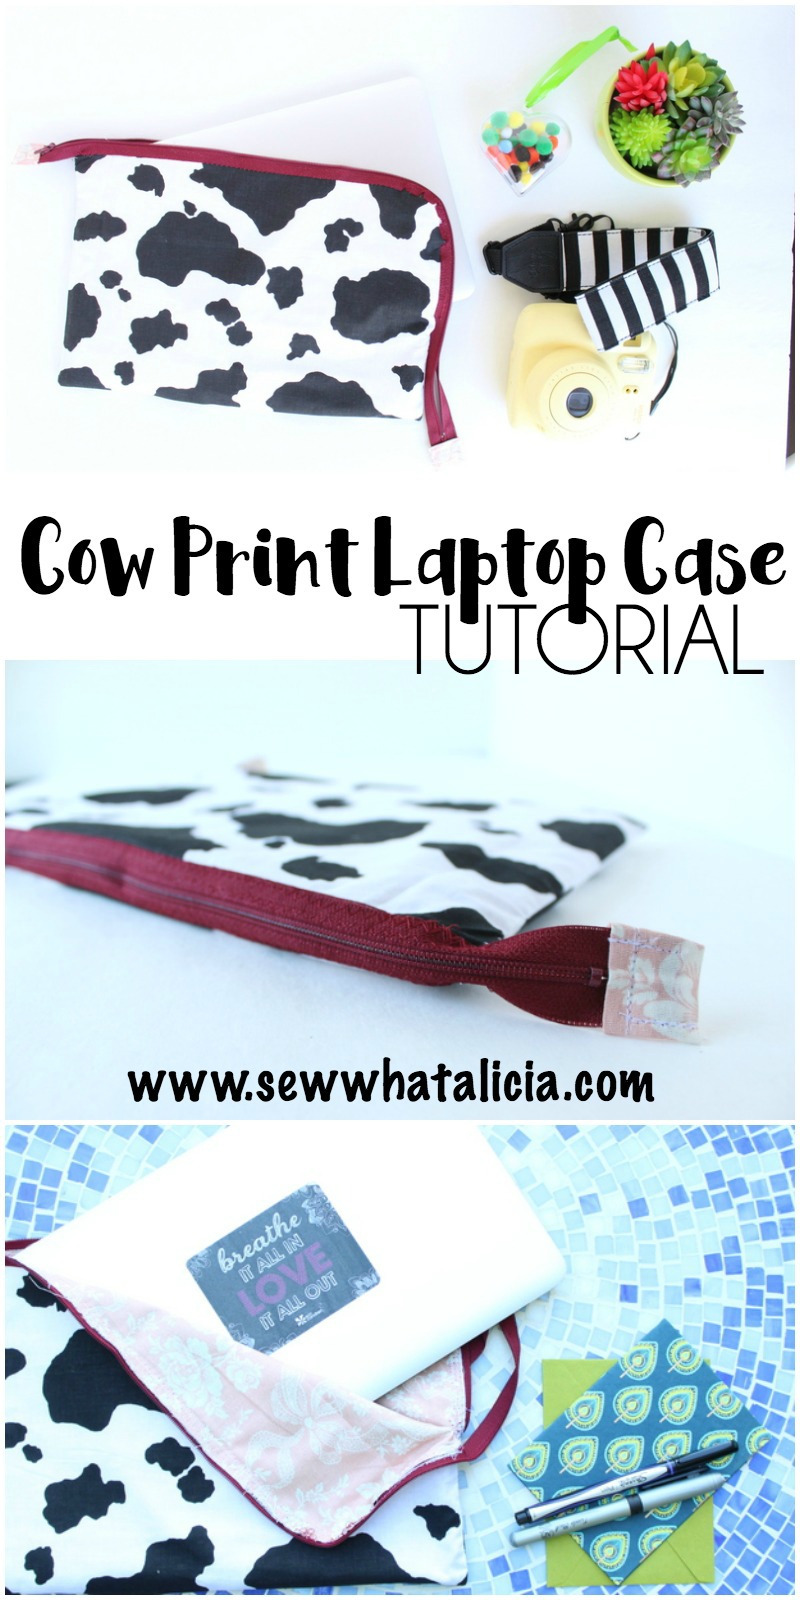
Cow Print Laptop Case Tutorial
Living in California we see a LOT of cows! I have to admit that I am biased and I love the black and white cows, so naturally I have a thing for cow print! When I found this adorable cow print I knew it would be perfect for pairing with my a2 Milk® post! There is only one month left until school starts again, YIPPPEEEEEEEEE!!! So I decided to make myself something for back to school! Here is a cow print laptop case with exposed zipper ends that I am totally obsessed with!
Cow Print Laptop Case Tutorial
“This post was sponsored by a2 Milk® as part of an Ambassador Program for Influence Central. I received complimentary products to facilitate my review.”
Growing up one of my favorite things was a glass of iced milk with a bowl of spaghetti, looking back I realize that is kind of super weird! When we realized that my youngest was sensitive to milk it kind of broke my heart that he wouldn’t be able to enjoy my favorite, weird, treat from my childhood. You may have seen my first post where I talked about how I became an ambassador for a2 Milk® because it was the first milk we found that my youngest could drink without gross tummy issues! When I found this milk I started researching milk sensitivities and discovered that the a1 protein is the culprit behind many peoples issues with milk. a2 Milk® comes from cows in upstate New York and the midwest that produce milk that is free from the a1 protein.
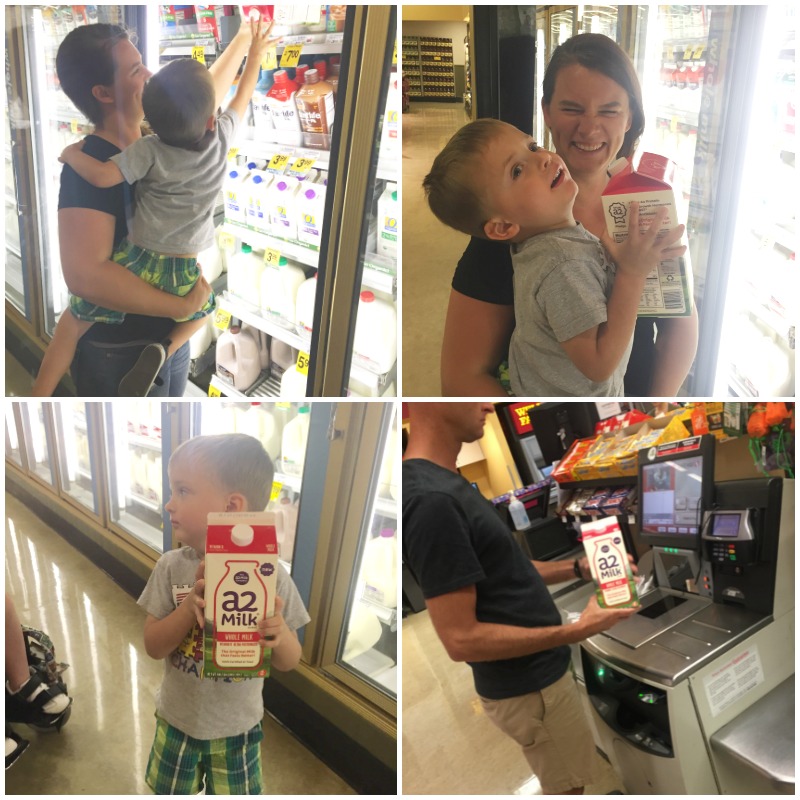
Now my little guy can drink his milk and not have tummy troubles which makes me a happy mama! It also means that I can take the easy way out as a mom and give him cereal for breakfast and then send him off to school, did I mention there is only one month left before I get to send him to school again? I know lots of you, approximately 1 in 4, probably experience some discomfort when drinking milk. If that is the case then I definitely recommend you try a2 Milk® because it has really changed our whole world, plus they have ice cream which is kind of super awesome!
Find a store near you that carries a2 Milk®. Don’t forget to check out their site to learn more!
So in honor of a2 Milk® and going back to school I knew I had to have something with this fantastic cow print. I decided to go with a super fun laptop case. So here is how you can make your own.
Supplies:
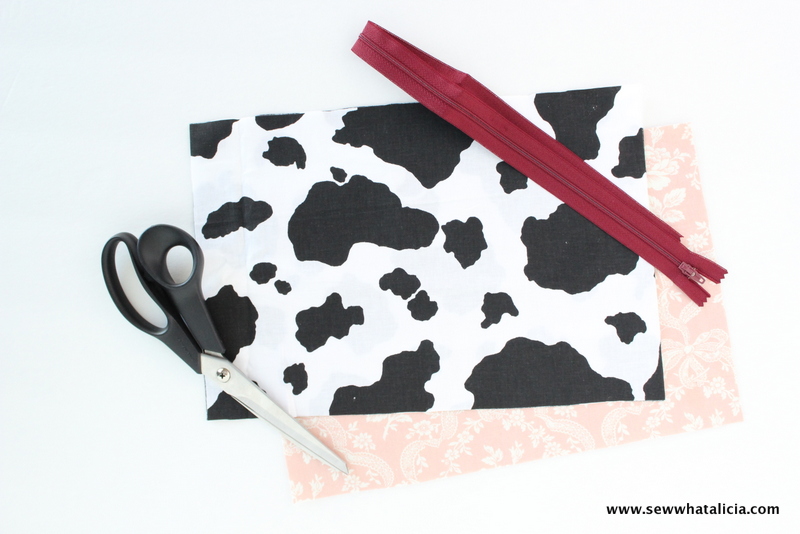
1 Zipper – I used a 22″ zipper.
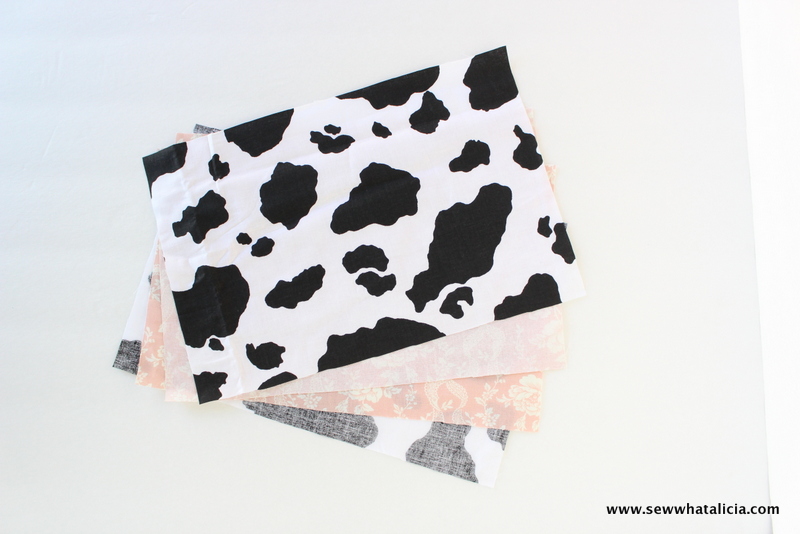
2 Pieces Cow Print
2 Pieces Contrasting Fabric
You will need to measure your laptop to get the dimensions. I have a mac book air, which is 12″ by 7.5″. I gave myself 1″ on both sides to make sure the laptop would fit. So I cut 2 pieces of cow print and 2 pieces of contrasting fabric each measuring 13″ by 8.5″. My laptop is super thin but if yours is thick give yourself even more room, like 1/2″ to 1″ more.
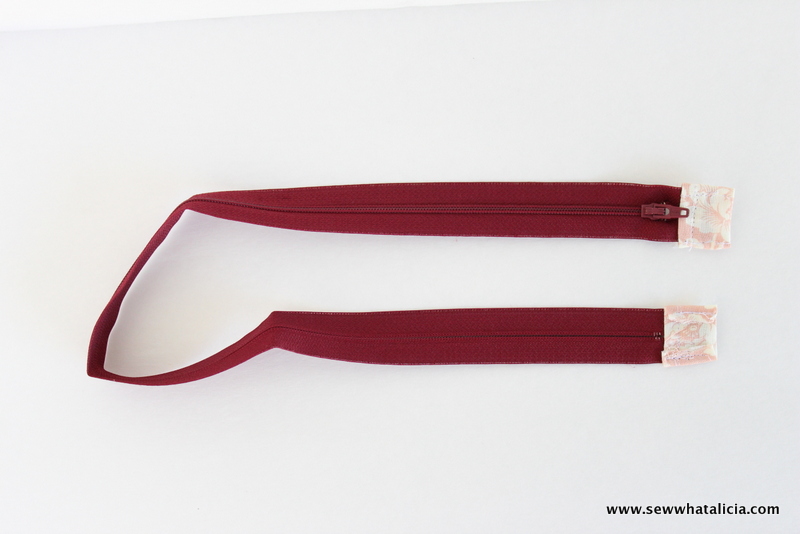
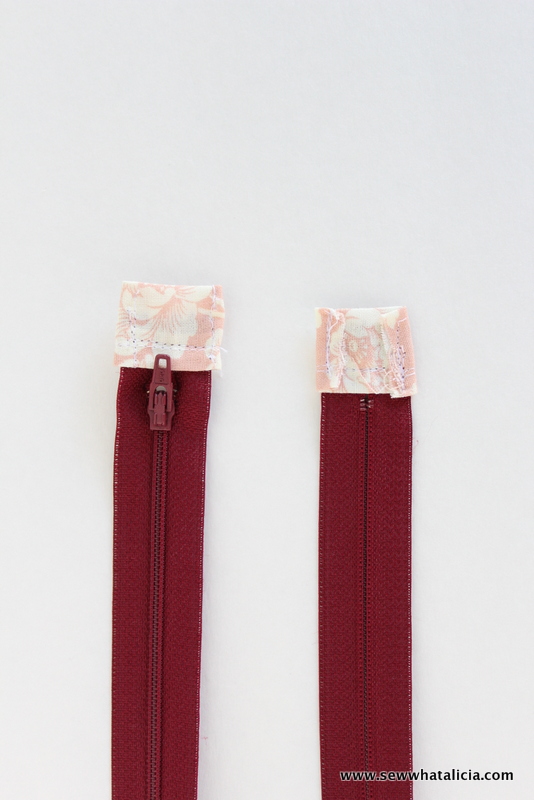
First we will work with the zipper. I decided to use the coordinating fabric to create tabs on the ends of the zippers. If you have scraps just grab two of them and sew a 1/4″ seam onto two sides, as pictured. Then sew the two scraps onto both ends of the zipper.

Once you have sewn the tabs on you will fold the edges under and sew them in place. This should enclose the end of the zipper and make a clean edge. We are going to leave the zipper ends out so you want to make sure and have a nice clean edge.
Now we are ready to grab our fabric pieces. For this project we are going to grab one outside piece and one inside piece and line them up wrong sides together.
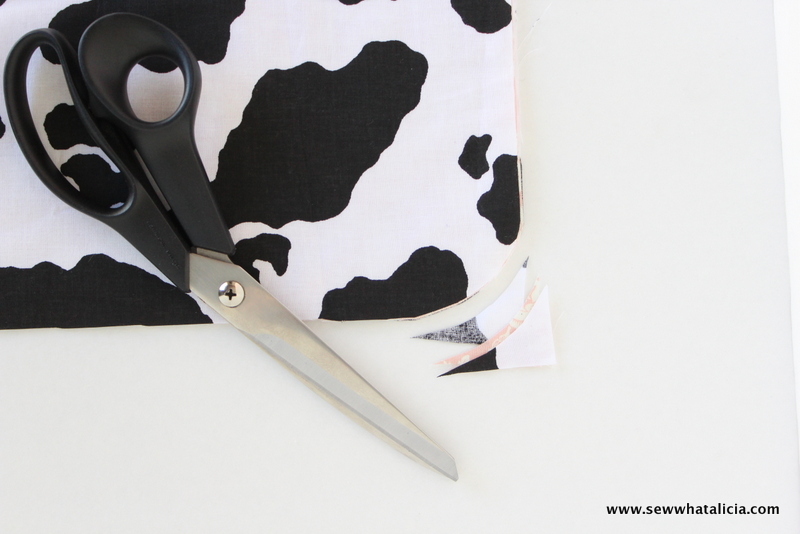
With all four pieces lined trim one corner off. Make sure they are all lined up because you want the curve to be the same for all the pieces.
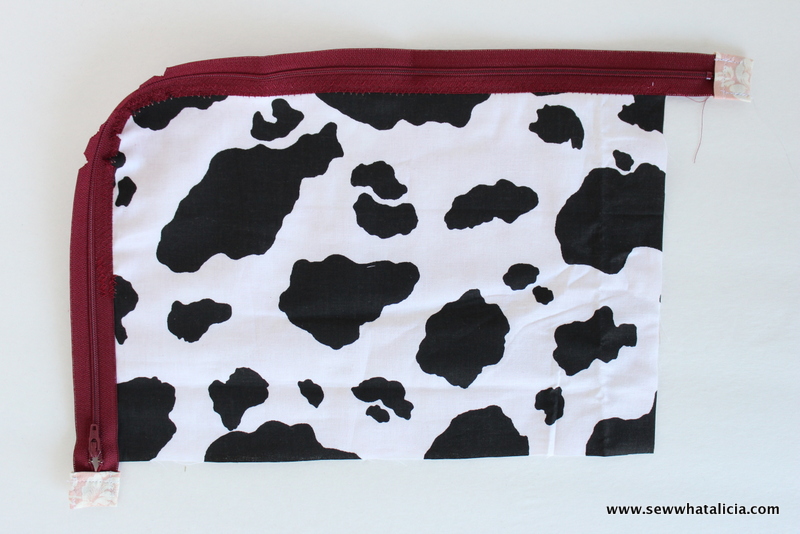
With the cow print facing up place the zipper right side up and pin along the edge. Leave a tail at the top corner and when you get to the curved corner cut notches into the zipper to help it turn the corner. (See picture below.) When you attach the zipper do not go all the way to the end. The end with the zipper pull will be left a few inches out.
Now attach the other side of the zipper to the second group of fabric pieces. Now take the two cow pieces and place them right sides together and pin around the three edges. You will also pin the contrasting fabrics together right sides facing. The last step which is different than what you would normally do is to push the zipper tabs into the middle, do not let them hang out. You do not want to sew them, they should be loose and free inside where the right sides of the fabric are. This is to ensure that they are loose when you turn the piece out. Leave yourself about 6 inches open on the bottom of the contrasting fabric to turn out.
**Make sure the zipper is open or it will be difficult to turn the piece out.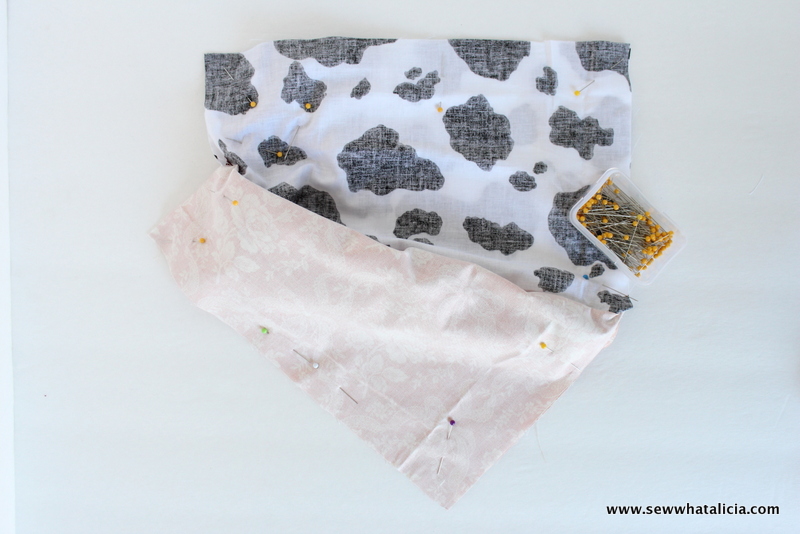
You may have to finish the edges where the zippers are by hand. My machine had a difficult time sewing the two spots where the different fabrics met because of the bulk of the zipper. I used a needle and thread (gasp…I literally never do this!) to finish those two small spots. Turn everything out and the last step is to sew up the hole you left for turning the piece out. Once you have sewn the hole push the lining inside and press the entire thing to keep the laptop case looking amazing!
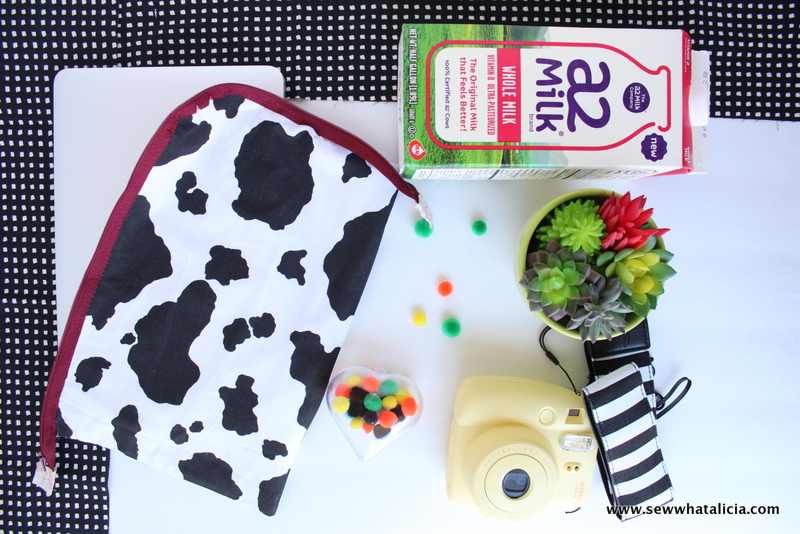
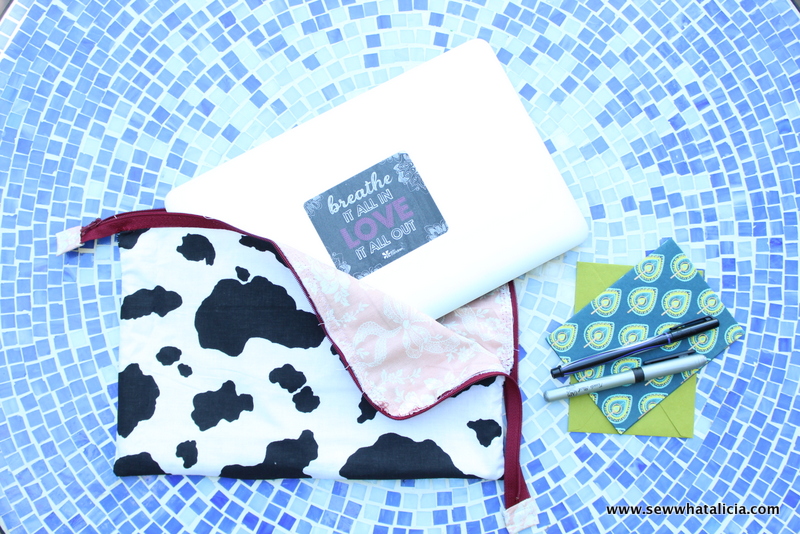
Go grab some a2 Milk® and give it a try! Are you as obsessed as I am with the exposed zipper tabs on this laptop case? I have been dying to try this technique and I am in love with the finished product!


Leave a Reply