Sew What, Alicia?

Easy Fabric Projects for all Levels

  • Facebook
  • Instagram
  • Pinterest
  • Twitter
  • Home
  • About Me!
    • Signup!
  • All Things Sewing
  • Quilting
  • Cut Files
  • Christmas Sewing
Home » Quilt » Triangle Placemat Sewing Tutorial
This post may contain affiliate links. I may receive a small commission from your purchase at no extra charge to you. See our full disclosures HERE.

December 6, 2017 by: sewwhatalicia

Triangle Placemat Sewing Tutorial

  • Facebook
  • Twitter

Triangle Placemat Sewing Tutorial

I just love a modern geometric vibe. So it is no surprise that I love sewing with triangles. But they can be a little tricky. Here is a fun triangle placemat sewing tutorial that will help you learn to work with triangles and become an expert while also making some super fun table decor.

Triangle Placemat Sewing Tutorial: This is a great tutorial if you are new to sewing with triangles. Beginners and seasoned sewists alike will want to make these cute placemats. Click through for the full tutorial and a video walkthrough. | www.sewwhatalicia.com

Triangle Placemat Sewing Tutorial

Supplies:

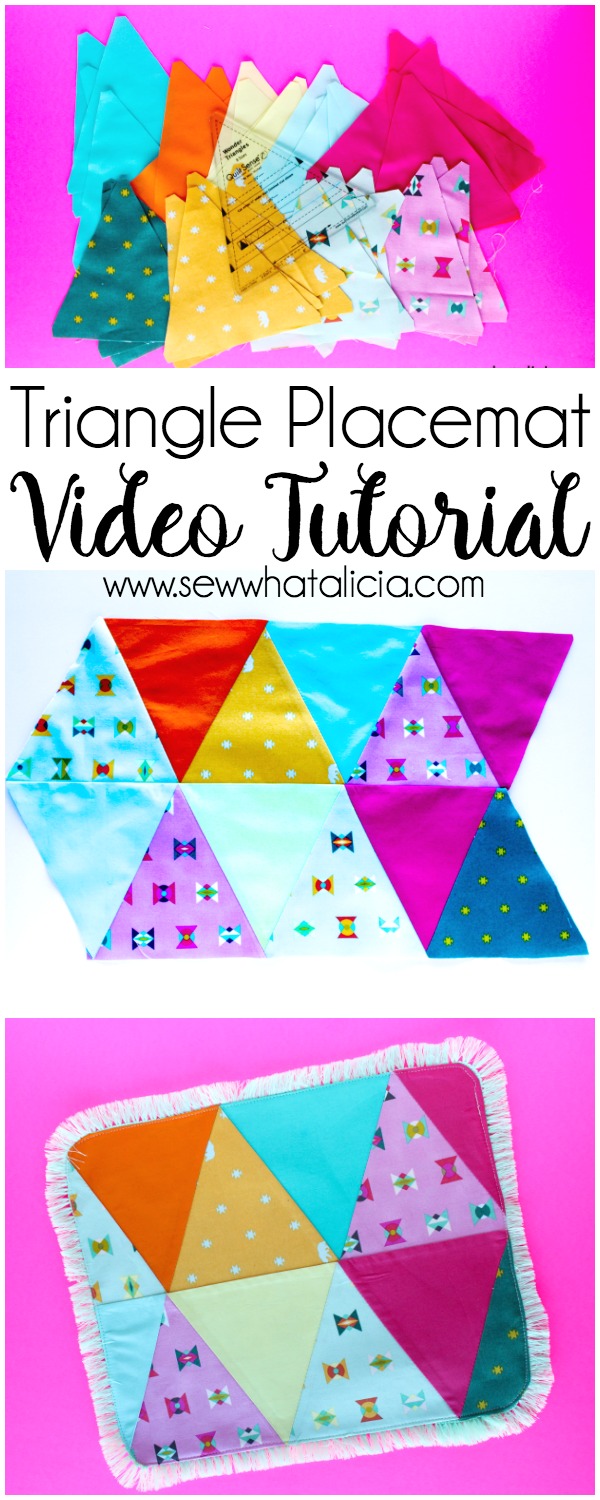
Triangle Ruler – Dritz Wonder Triangle

Various Fat Quarters – Tula Pink Spirit Animal and Art Gallery Fabrics Pure Elements

Pencil

Scissors

Pins or Wonder Clips

Triangle Placemat Sewing Tutorial: This is a great tutorial if you are new to sewing with triangles. Beginners and seasoned sewists alike will want to make these cute placemats. Click through for the full tutorial and a video walkthrough. | www.sewwhatalicia.com

Instructions:

Use the ruler to trace several triangles onto each color of fabric.

Triangle Placemat Sewing Tutorial: This is a great tutorial if you are new to sewing with triangles. Beginners and seasoned sewists alike will want to make these cute placemats. Click through for the full tutorial and a video walkthrough. | www.sewwhatalicia.com

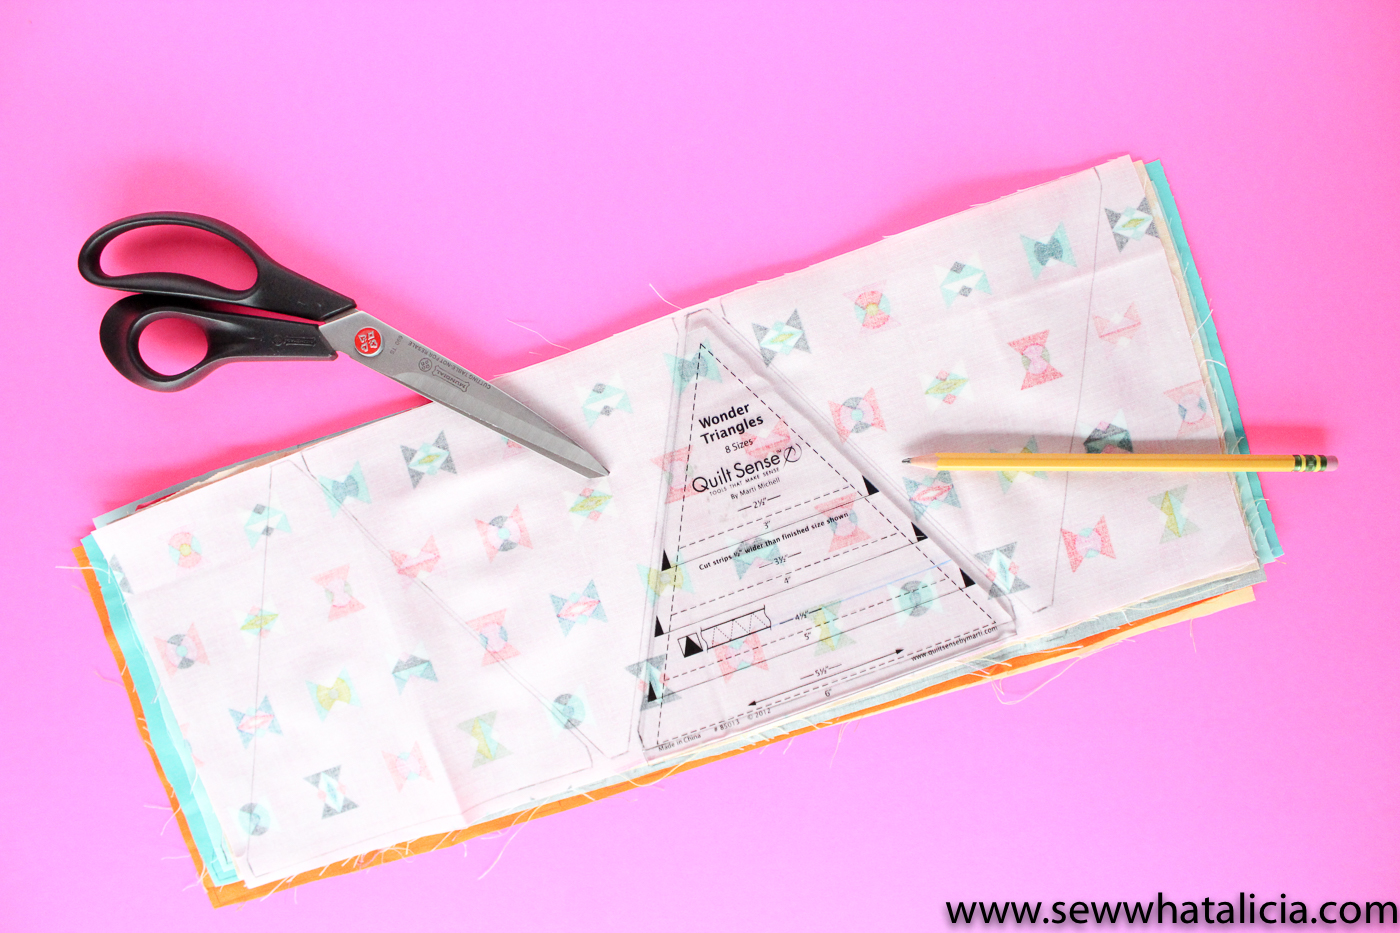
Use your scissors (or a rotary cutter if you prefer) to cut the triangles out. You may be tempted to skip the straight edges at the corners but don’t. These flat points are important for putting the triangles together down the line.

Triangle Placemat Sewing Tutorial: This is a great tutorial if you are new to sewing with triangles. Beginners and seasoned sewists alike will want to make these cute placemats. Click through for the full tutorial and a video walkthrough. | www.sewwhatalicia.com

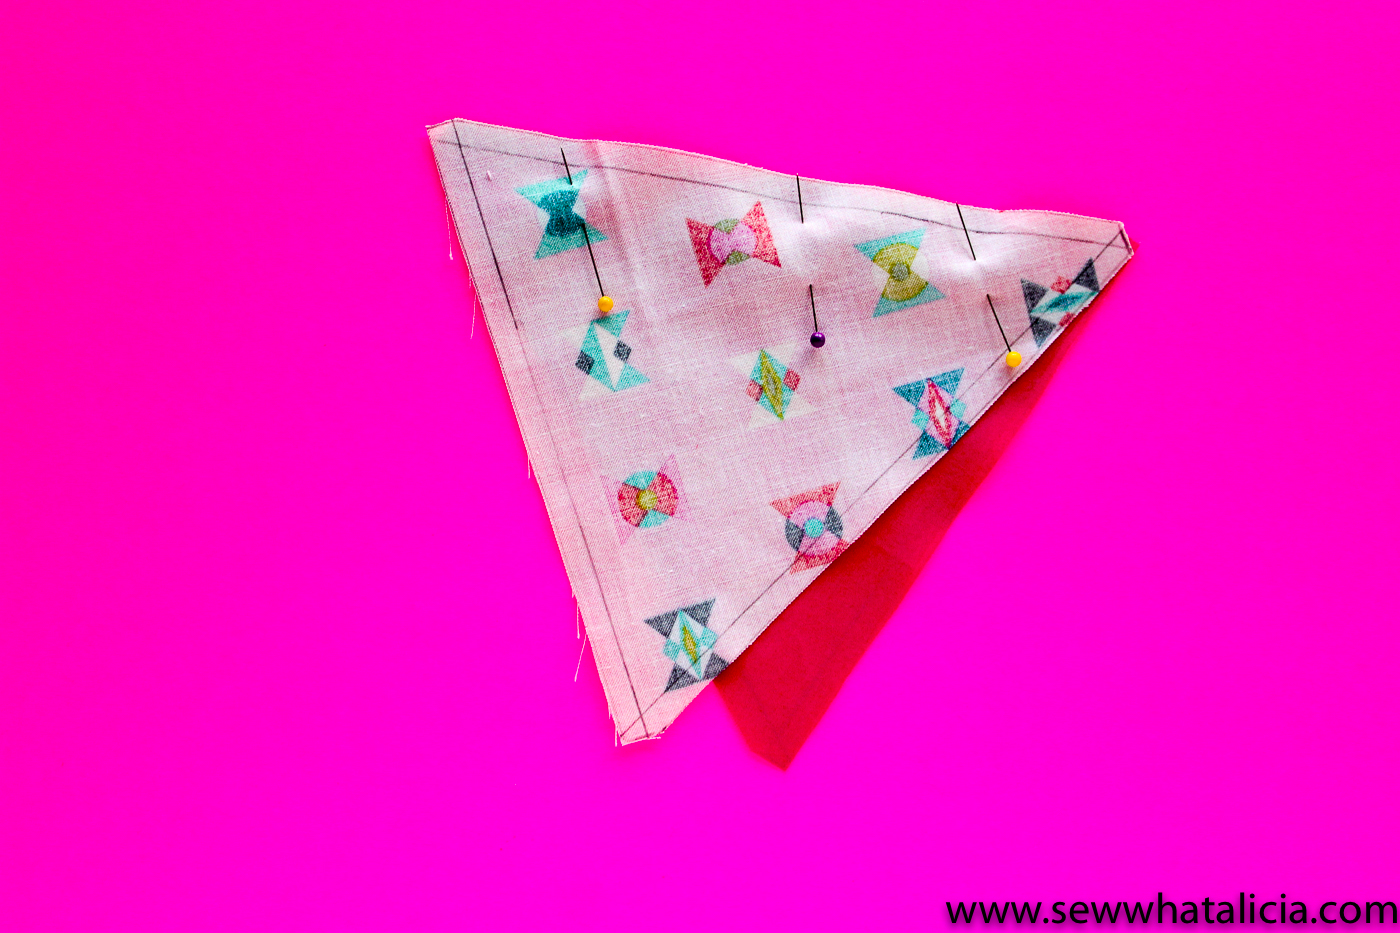
With your straight clear ruler mark a 1/4″ seam around all three edges of the triangles.

Triangle Placemat Sewing Tutorial: This is a great tutorial if you are new to sewing with triangles. Beginners and seasoned sewists alike will want to make these cute placemats. Click through for the full tutorial and a video walkthrough. | www.sewwhatalicia.com

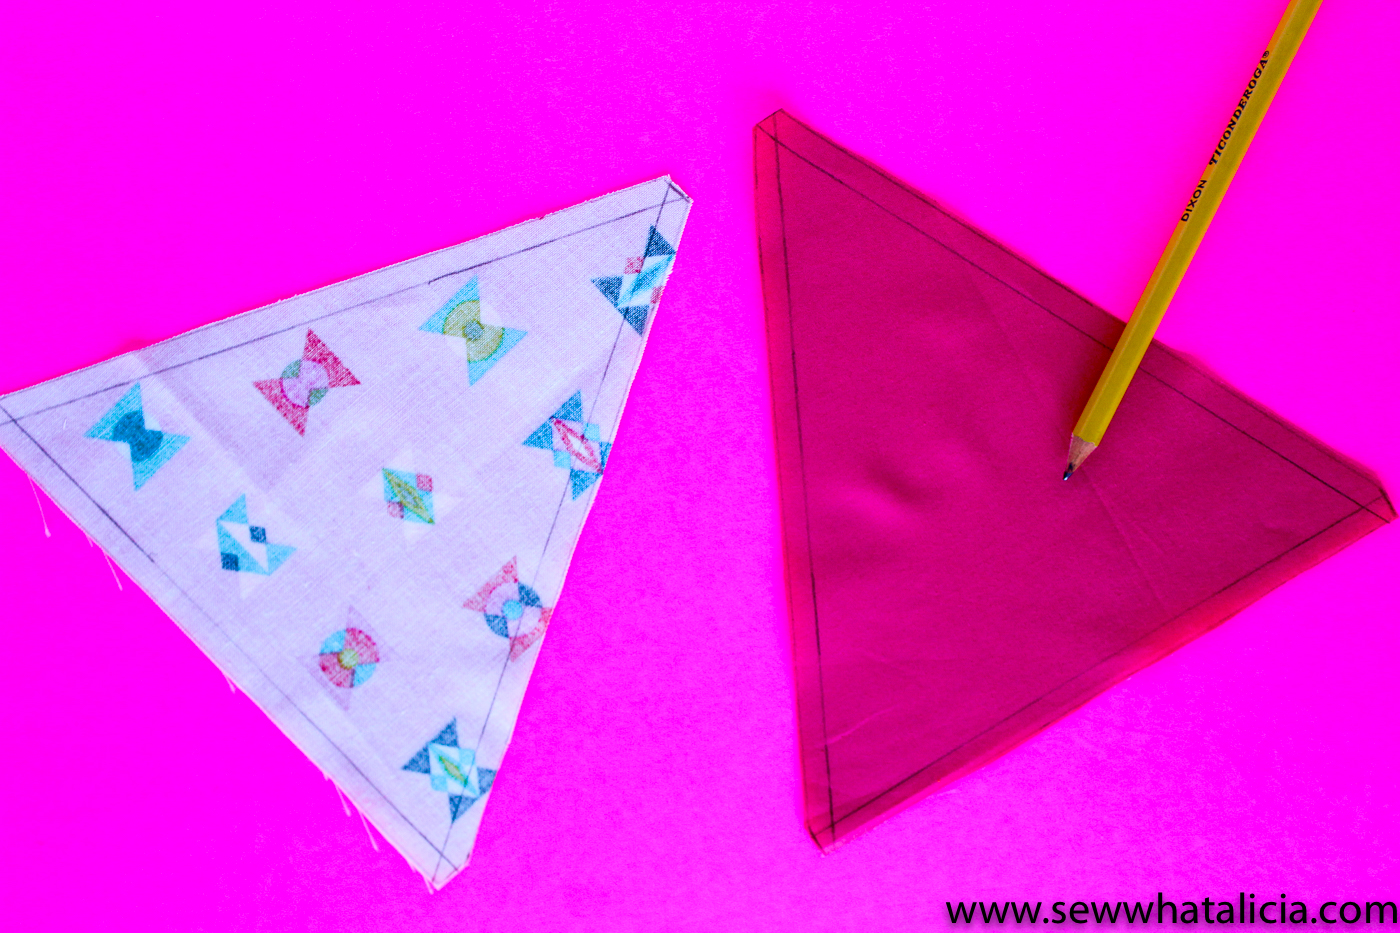
Line up two of the triangles right sides together. The top of the flat edge should meet with the top of the flat edge on the opposite piece. You want to line up the pencil line you made, not the edges of the fabric. Place a pin through to ensure that you have the lines matched up. (See the video tutorial for more tips on lining up the triangles.)

Triangle Placemat Sewing Tutorial: This is a great tutorial if you are new to sewing with triangles. Beginners and seasoned sewists alike will want to make these cute placemats. Click through for the full tutorial and a video walkthrough. | www.sewwhatalicia.com

Sew the two triangles together and press open.

Triangle Placemat Sewing Tutorial: This is a great tutorial if you are new to sewing with triangles. Beginners and seasoned sewists alike will want to make these cute placemats. Click through for the full tutorial and a video walkthrough. | www.sewwhatalicia.com

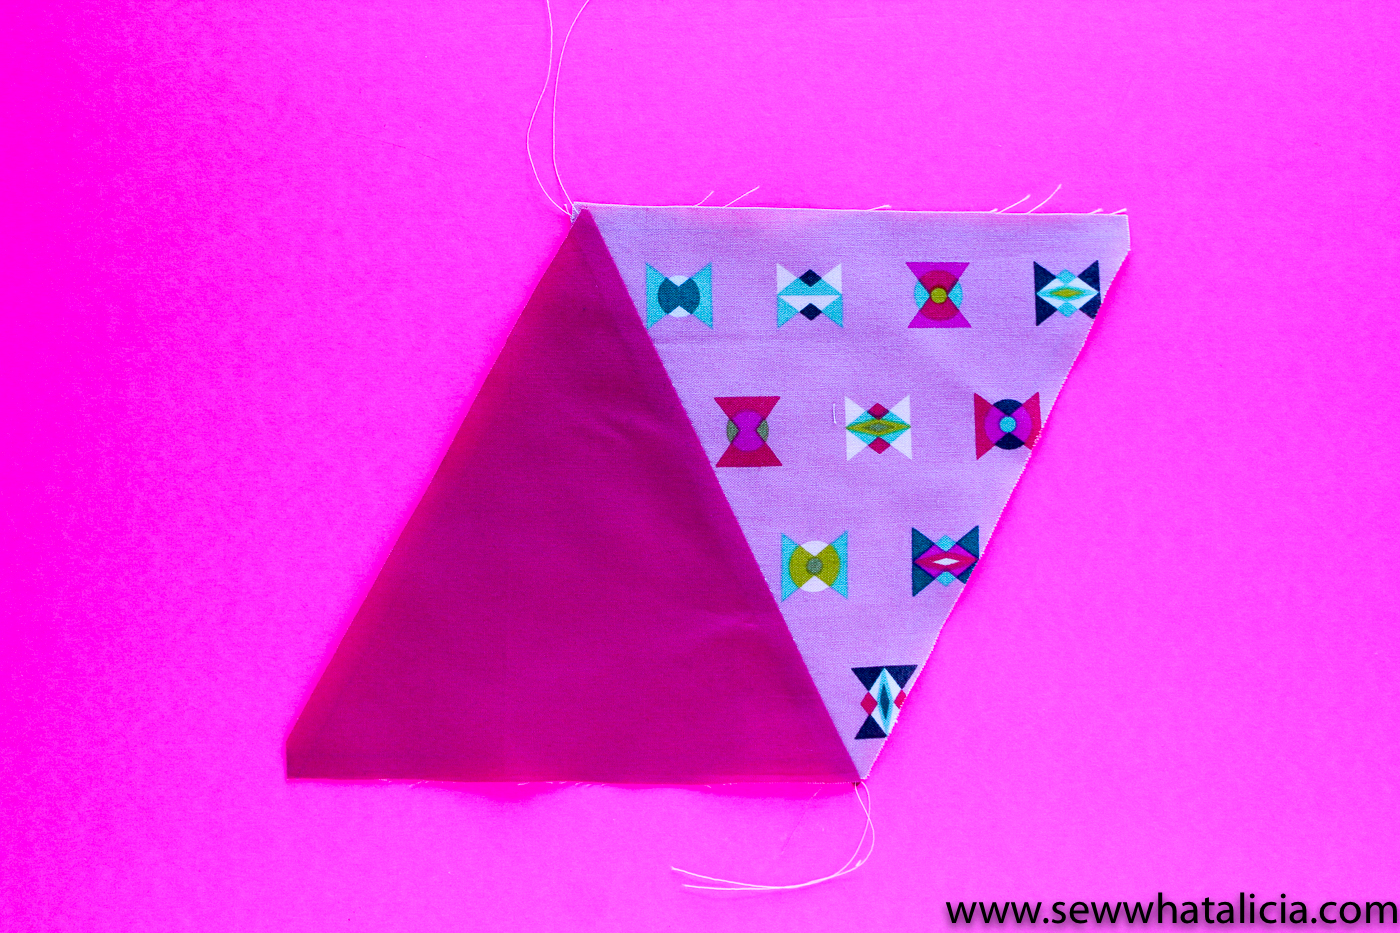
Add the next triangle. The tip of the flat edge should meet the point of the already sewn triangle. There will be overlap at the point of the triangle. This will give you a 1/4″ allowance for attaching your rows together.

Triangle Placemat Sewing Tutorial: This is a great tutorial if you are new to sewing with triangles. Beginners and seasoned sewists alike will want to make these cute placemats. Click through for the full tutorial and a video walkthrough. | www.sewwhatalicia.com

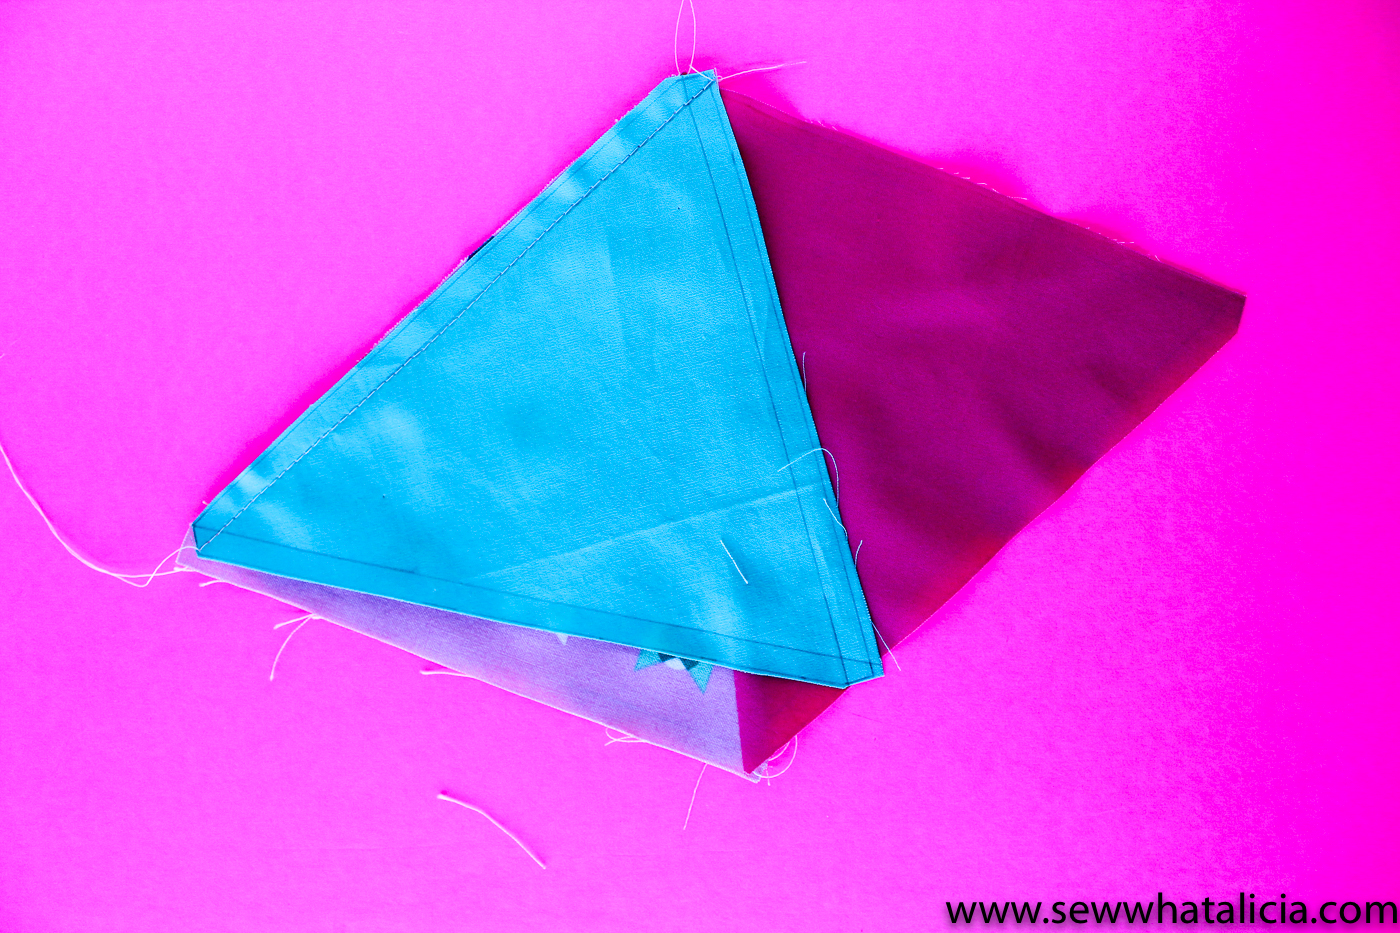
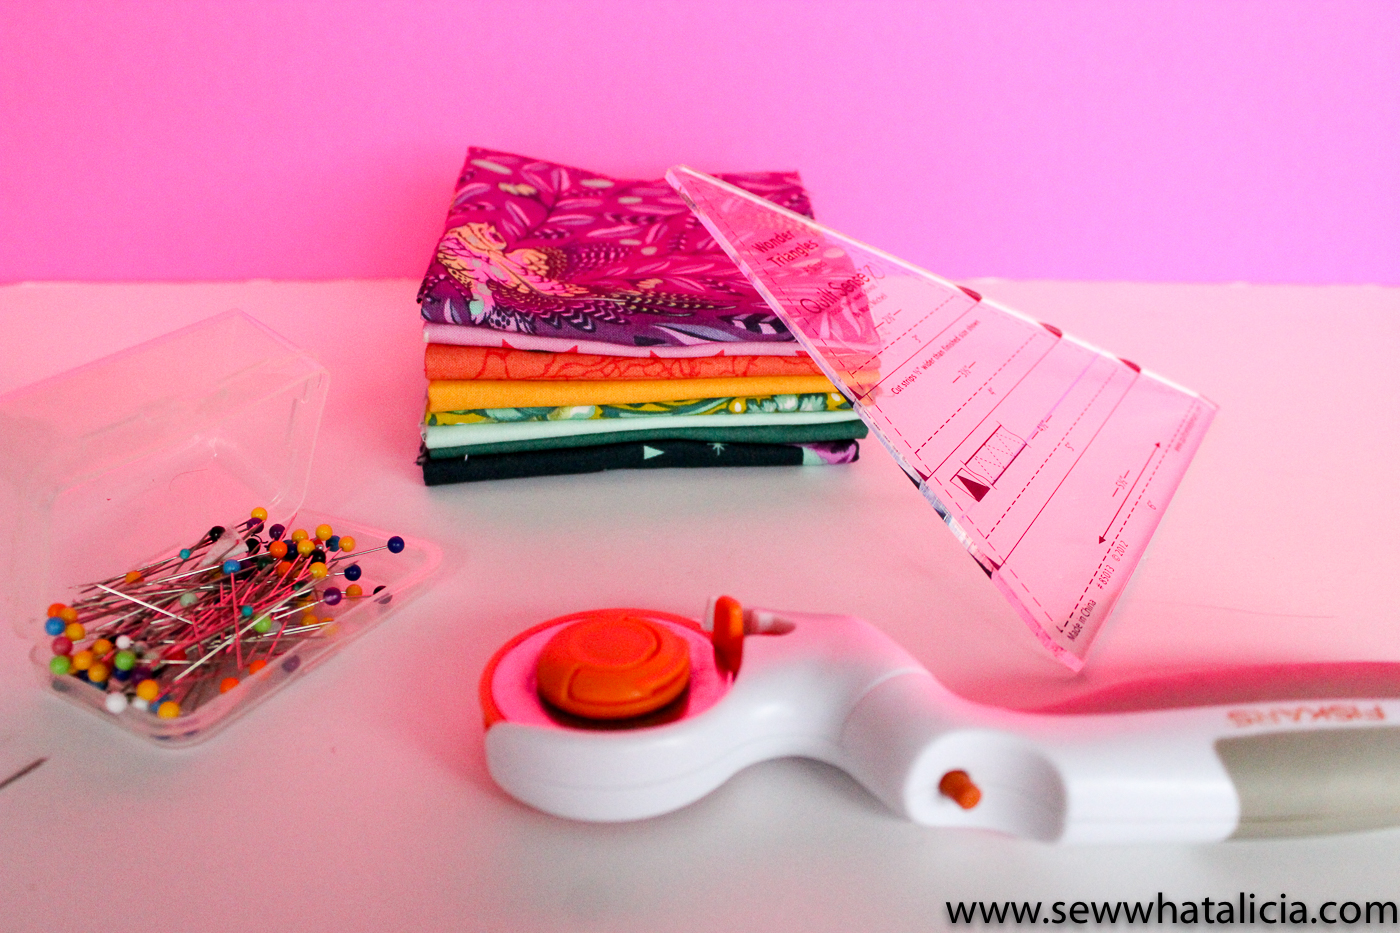
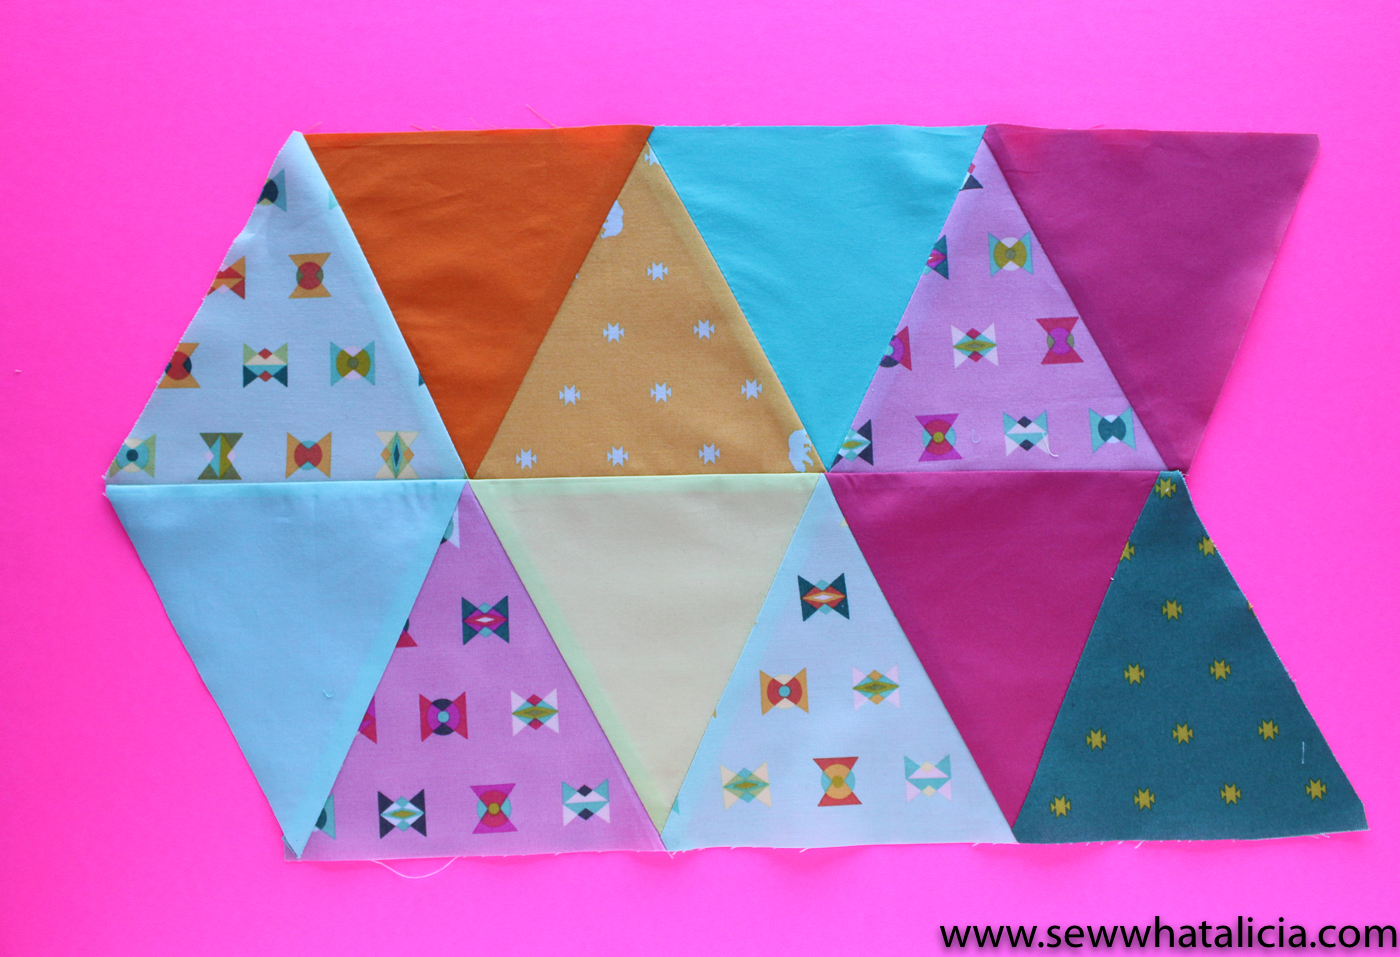
Continue adding triangles until you have two strips with 6 triangles each.

Triangle Placemat Sewing Tutorial: This is a great tutorial if you are new to sewing with triangles. Beginners and seasoned sewists alike will want to make these cute placemats. Click through for the full tutorial and a video walkthrough. | www.sewwhatalicia.com

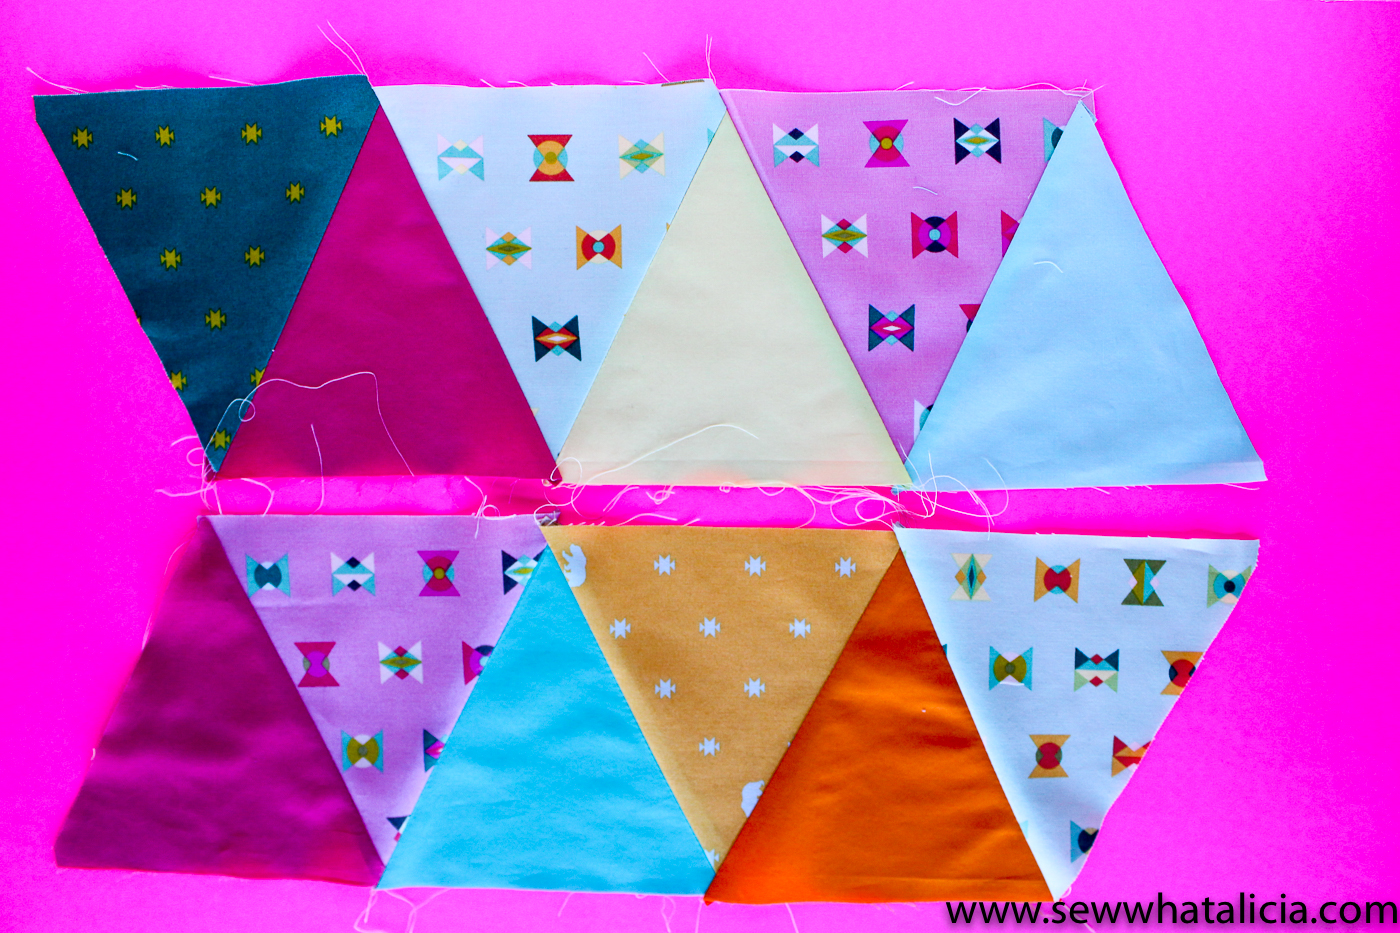
Straighten your long edges by trimming to 1/4″ off each point of the triangle. Then sew the two strips in together.

Triangle Placemat Sewing Tutorial: This is a great tutorial if you are new to sewing with triangles. Beginners and seasoned sewists alike will want to make these cute placemats. Click through for the full tutorial and a video walkthrough. | www.sewwhatalicia.com

Use your ruler and rotary cutter to cut the half off of the two sides so you have a rectangle. Finish by backing with another piece of fabric and adding batting. You can bind as you would a quilt or place the right sides together and leave an opening to turn the piece out. Then top-stitch around the edges to close.

Related

Never miss a stitch!

Never miss a stitch!

Signup be notified every time I stitch up something new!

You have Successfully Subscribed!

  • Facebook
  • Twitter
alicia

About Alicia

Hi I am Alicia thanks for taking some time out of your day to be with me! I am crazy about sewing and blogging! I love creating tutorials and patterns and sharing ideas with people! Read more...

Felt Gift Card Holder Bunting Tutorial
Tips for Shopping on Amazon Handmade

Leave a Reply Cancel reply

Your email address will not be published. Required fields are marked *

Rate This Project!


I love to sew and I am passionate about teaching you everything that I know! Thank you for joining me on this journey!
READ MORE >>

Follow Me!

Signup be notified every time I stitch up something new!

You have Successfully Subscribed!


  • Home
  • About Me!
  • All Things Sewing
  • Quilting
  • Cut Files
  • Christmas Sewing

© 2023 sewwhatalicia.com. All rights reserved. Privacy Policy

  • Facebook
  • Twitter
  • Pinterest