Sew What, Alicia?

Easy Fabric Projects for all Levels

  • Facebook
  • Instagram
  • Pinterest
  • Twitter
  • Home
  • About Me!
    • Signup!
  • Christmas Sewing
  • 15 Minute Sewing
  • All Things Sewing
  • Cricut Projects and Tips
Home » Free Patterns » Slouchy Toy Sack Sewing Video Tutorial
This post may contain affiliate links. I may receive a small commission from your purchase at no extra charge to you. See our full disclosures HERE.

January 5, 2016 by: sewwhatalicia

Slouchy Toy Sack Sewing Video Tutorial

  • Facebook
  • Twitter

Slouchy Toy Sack Sewing Video Tutorial

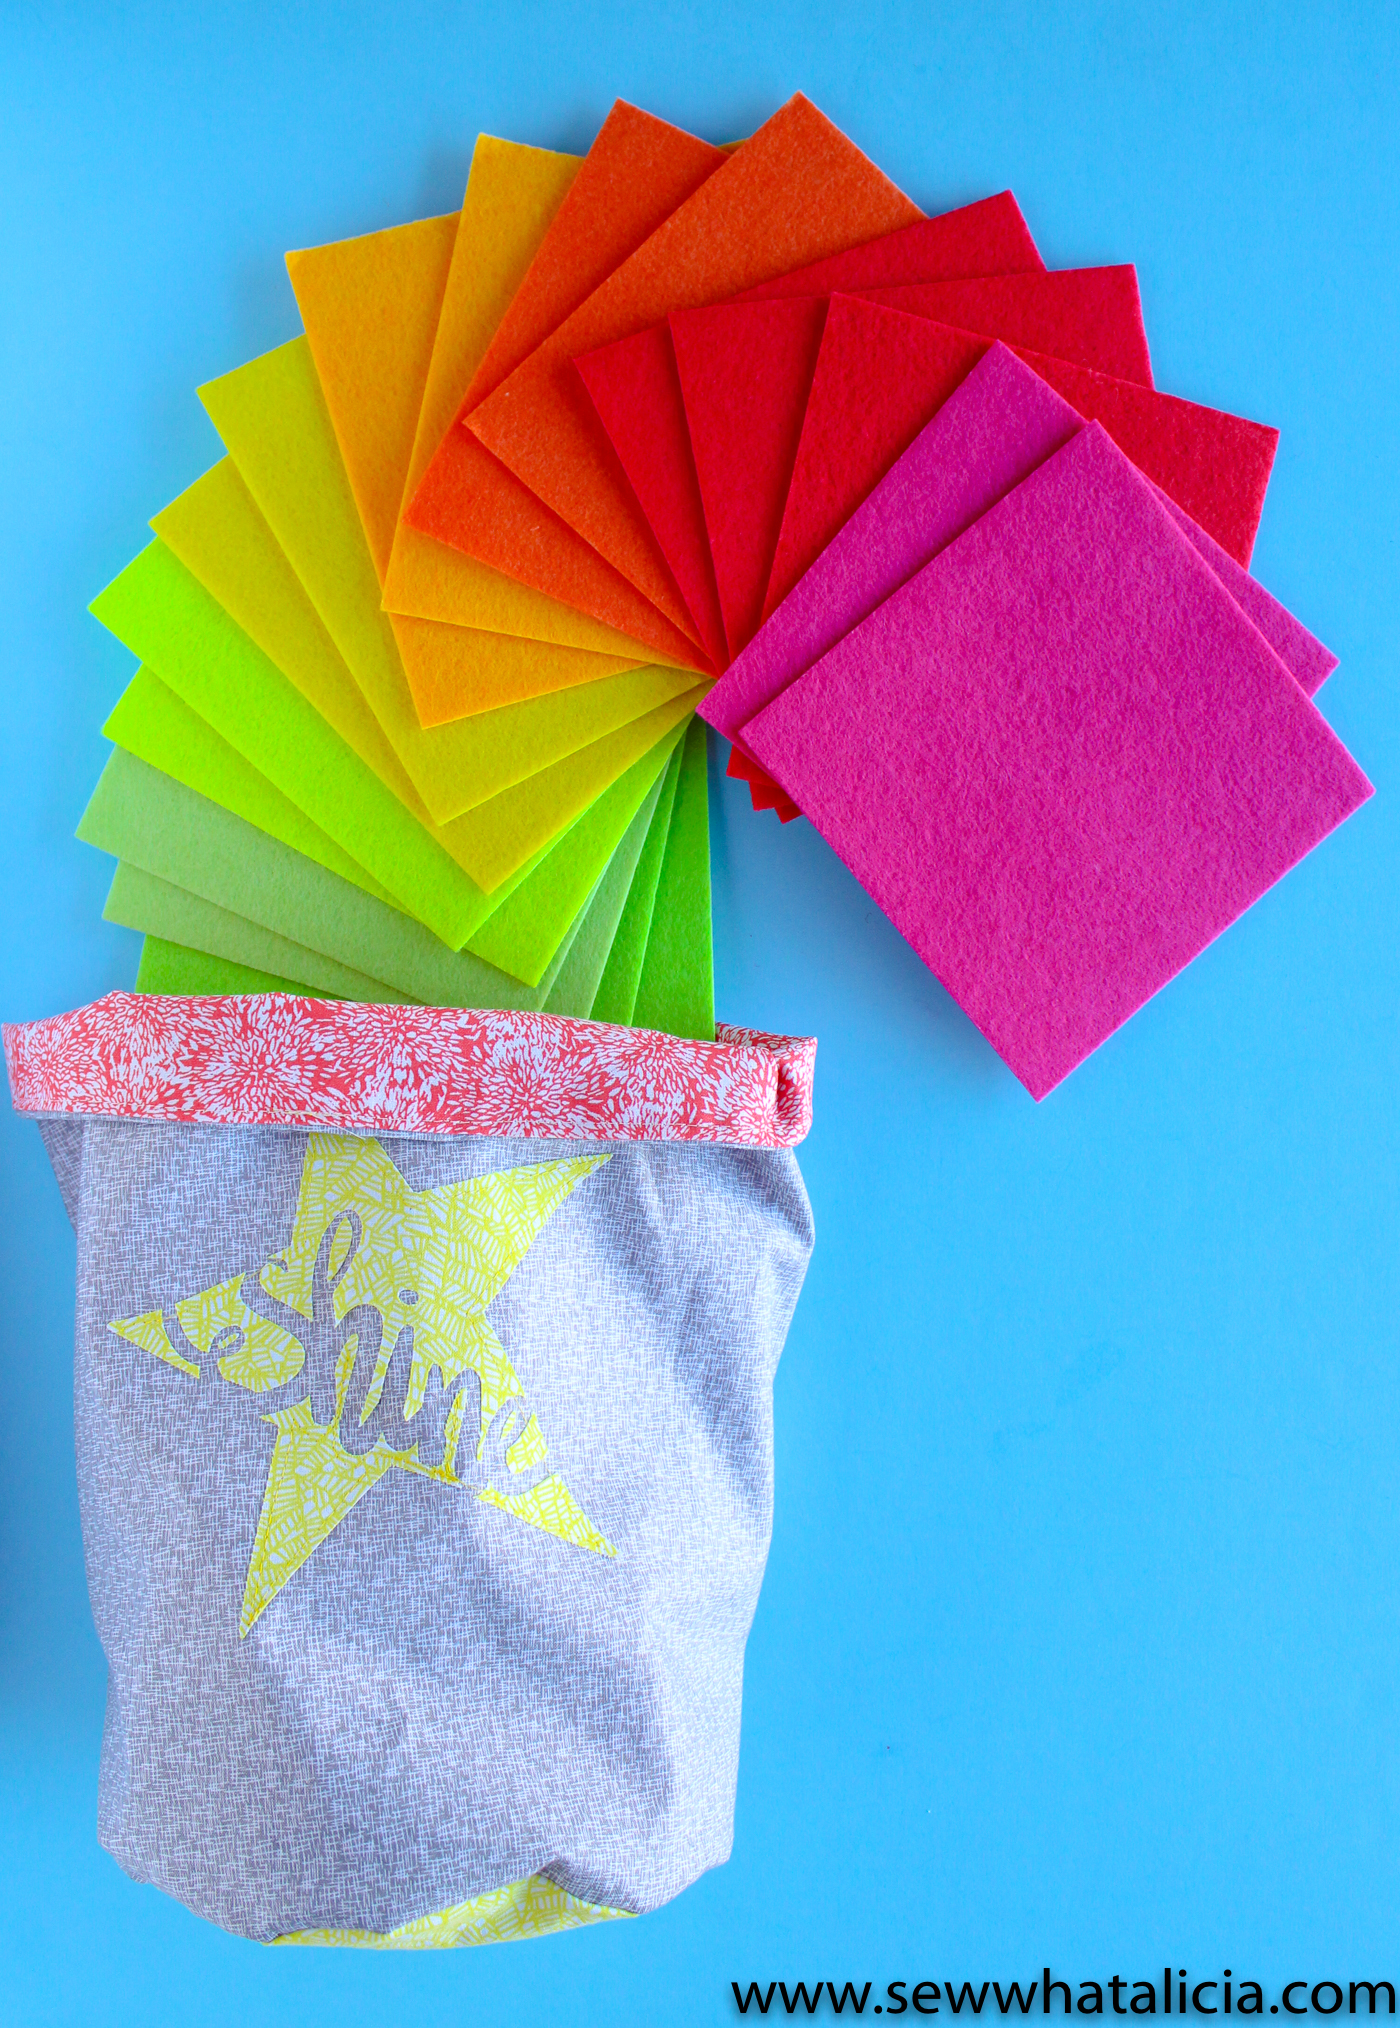
Finding a place to put the kids toys is constantly a struggle! They have so many tiny little objects all over the place! That is why I came up with this slouchy toy sack to store their tiny bits. This is quick and easy to make and is sure to be a hit. Plus it is a lot prettier than all those toys lying around. Here is a slouchy toy sack tutorial. Check out the video replay at the bottom of the post.

Slouchy Toy Sack Video Tutorial: Head over for a video walkthrough and written tutorial for this adorable slouchy sack. Add handles to make it a boho bag. Click through for the video and tutorial. | www.sewwhatalicia.com

This is just one of my 50+ easiest sewing tutorials. Check out the rest HERE.

Slouchy Toy Sack Sewing Video Tutorial

Supplies:

Circle Template – PDF or SVG

Fabric

Ribbon

Live Video Supplies:

Shine Cut File

Cricut Maker

Pink Fabric Mat

 Slouchy Toy Sack Video Tutorial: Head over for a video walkthrough and written tutorial for this adorable slouchy sack. Add handles to make it a boho bag. Click through for the video and tutorial. | www.sewwhatalicia.com

Instructions:

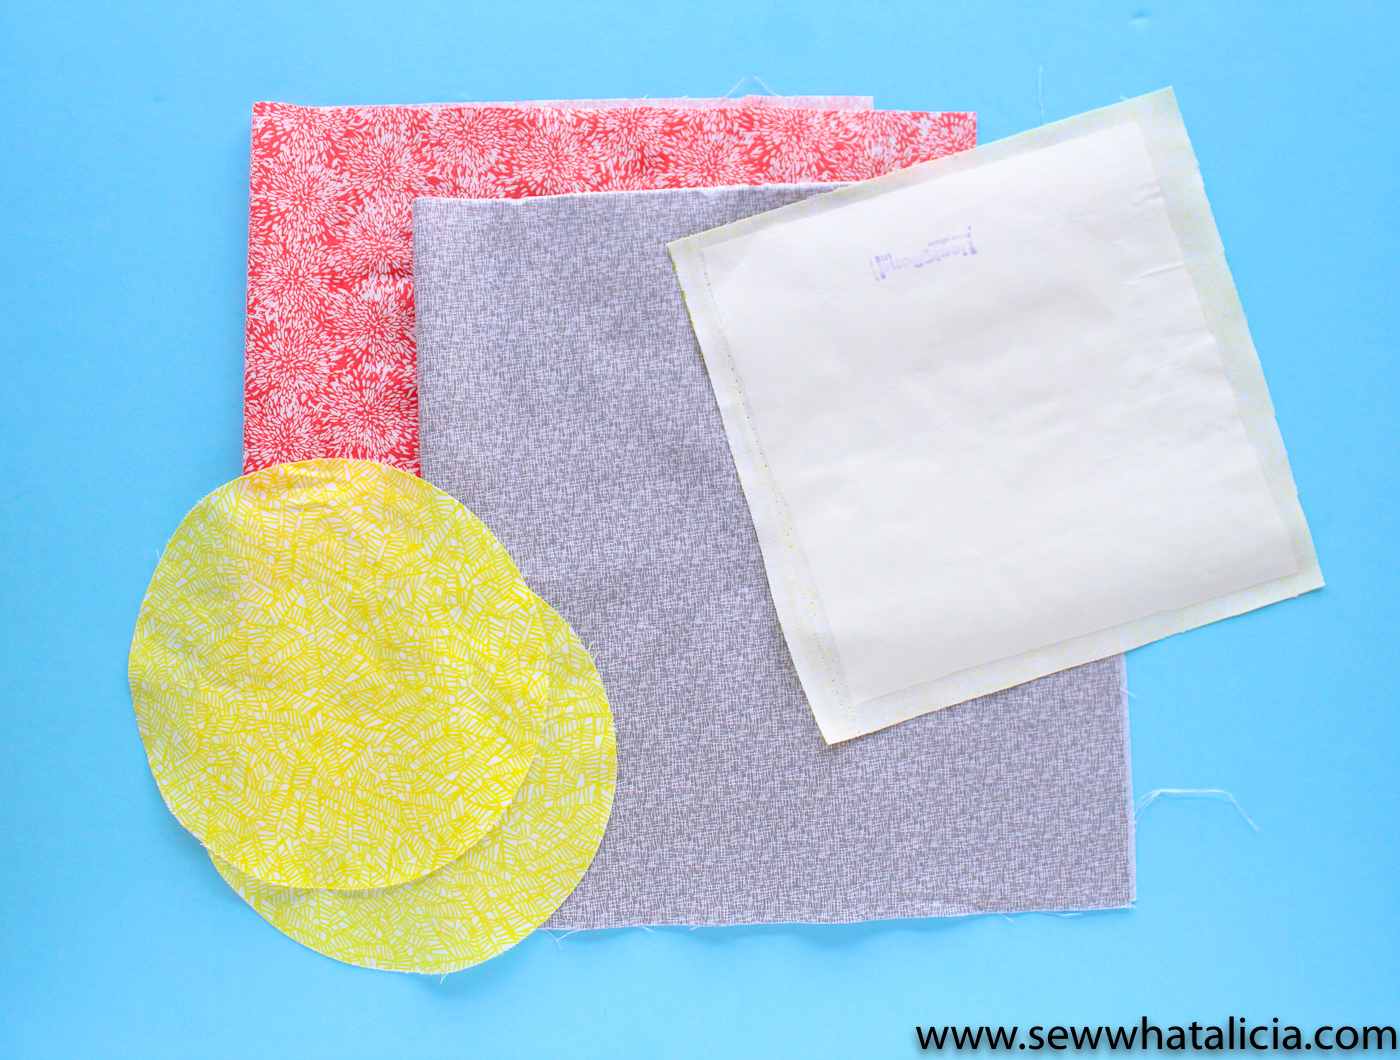
Print the templateon cardstock and then cut it out by hand, or use the SVG to cut it using your cutting machine. You will need two circles cut from fabric, one will be part of the lining and the other will be the outside bottom of the bag. I chose to do mine in the same polka dot fabric so that the bottom of the bag had some contrast when it was finished!

You will also need two rectangles that measure 23 1/4″ x 15″.  Again one is for the lining and one is the exterior of the sack.  Fold each rectangle in half (the hamburger way) right sides together, and sew the long edge closed creating a long tube.

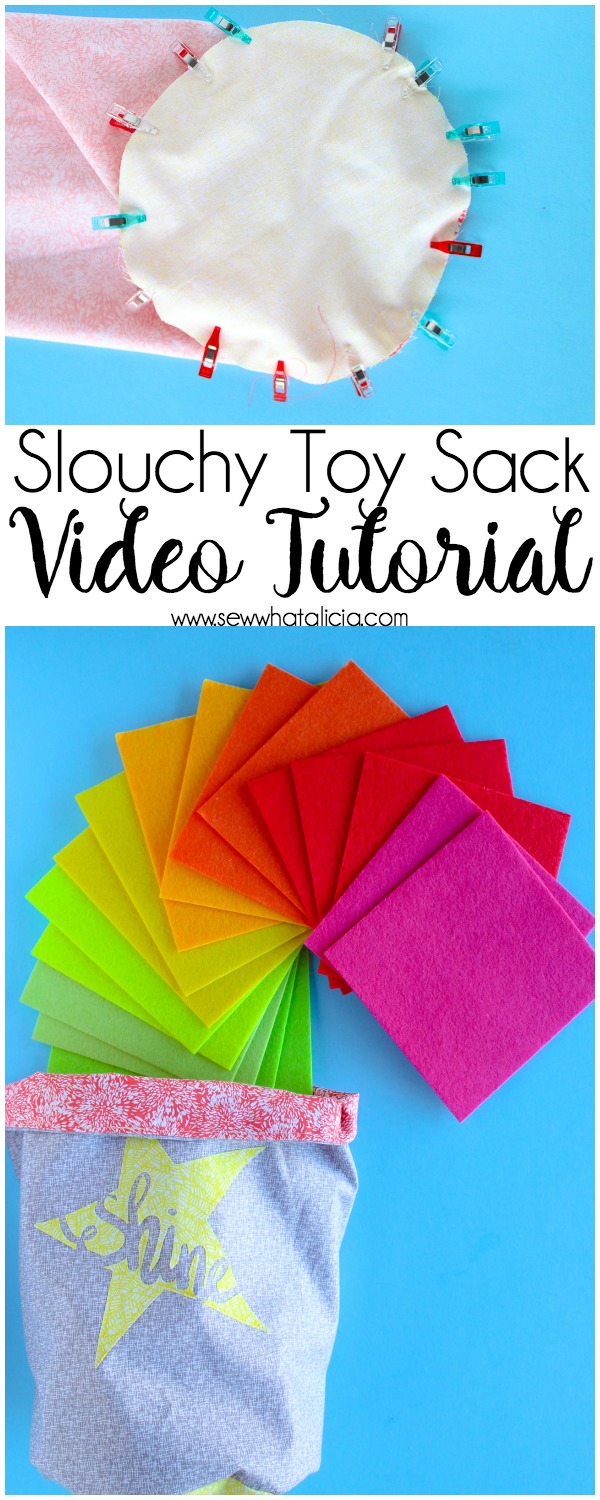
Next pin the circle to the tube you just created. As pictured below.

Slouchy Toy Sack Video Tutorial: Head over for a video walkthrough and written tutorial for this adorable slouchy sack. Add handles to make it a boho bag. Click through for the video and tutorial. | www.sewwhatalicia.com

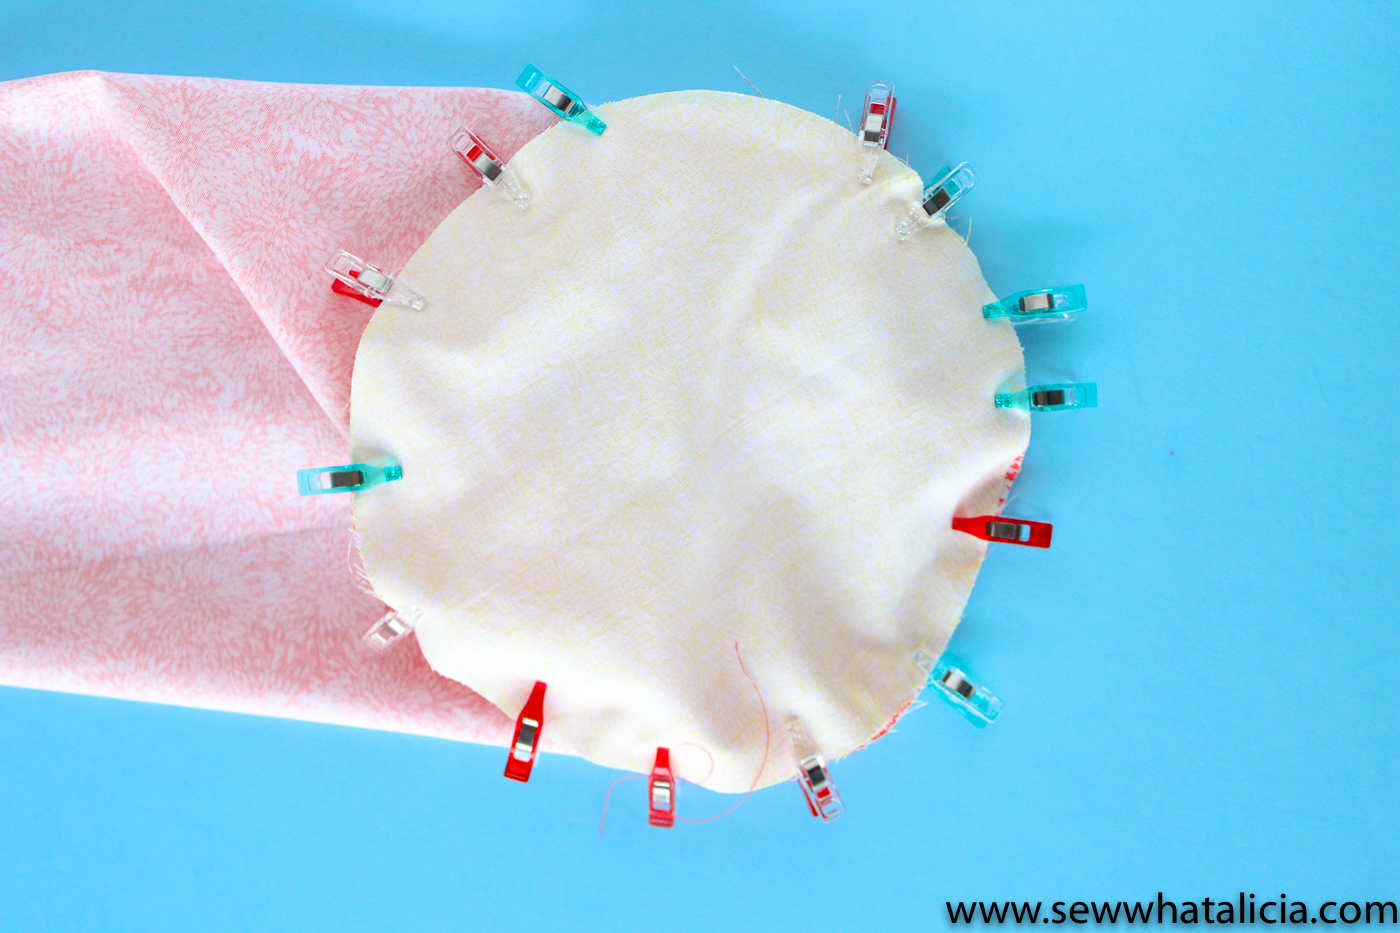
Once it is pinned sew it in place. Do this with both circles and tubes. And you should end up with something that looks like these:

Now to address the unfinished edge at the top. Press it under about 1/2″. Then stuff the lining into the outer sleeve, make sure that the wrong sides are facing each other on the inside. Pin the pressed edges together.

And sew as close to the edge as possible.
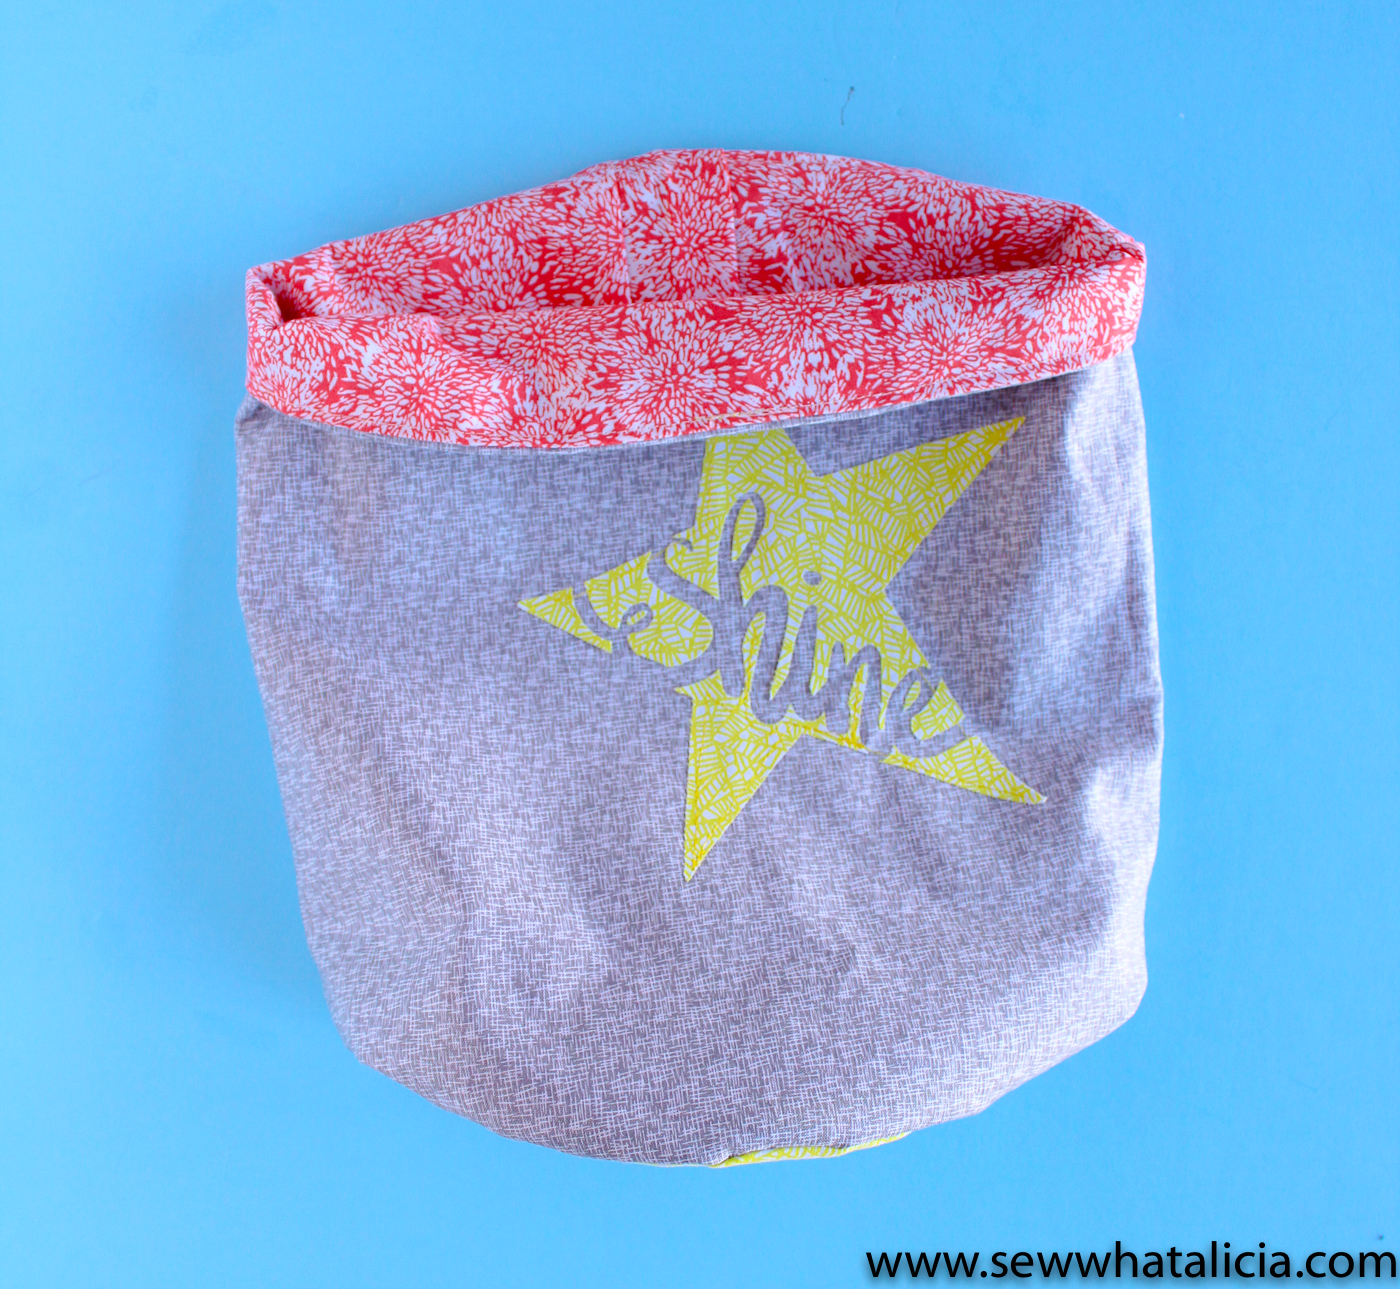
Slouchy Toy Sack Video Tutorial: Head over for a video walkthrough and written tutorial for this adorable slouchy sack. Add handles to make it a boho bag. Click through for the video and tutorial. | www.sewwhatalicia.com

That is it.

Slouchy Toy Sack Video Tutorial: Head over for a video walkthrough and written tutorial for this adorable slouchy sack. Add handles to make it a boho bag. Click through for the video and tutorial. | www.sewwhatalicia.com

You can use a big ribbon to tie the sack closed. Or add grommets and a strap to turn it into a boho bag. Or add interfacing inside and rope handles on the outside to make it a cute storage basket. The possibilities are endless!

Catch the video replay of a live walkthrough of this tutorial.

Will you  make your own slouchy toy sack, how will you use it? Share with me in the comments below.

Related

Never miss a stitch!

Never miss a stitch!

Signup be notified every time I stitch up something new!

You have Successfully Subscribed!

  • Facebook
  • Twitter
alicia

About Alicia

Hi I am Alicia thanks for taking some time out of your day to be with me! I am crazy about sewing and blogging! I love creating tutorials and patterns and sharing ideas with people! Read more...

Hot Air Balloon Inspired Taggy Blanket Tutorial
Kitchen Organizer Tutorial

Leave a Reply Cancel reply

Your email address will not be published. Required fields are marked *

Rate This Project!


I love to sew and I am passionate about teaching you everything that I know! Thank you for joining me on this journey!
READ MORE >>

Follow Me!

Signup be notified every time I stitch up something new!

You have Successfully Subscribed!


  • Home
  • About Me!
  • Christmas Sewing
  • 15 Minute Sewing
  • All Things Sewing
  • Cricut Projects and Tips

© 2023 sewwhatalicia.com. All rights reserved. Privacy Policy

  • Facebook
  • Twitter
  • Pinterest