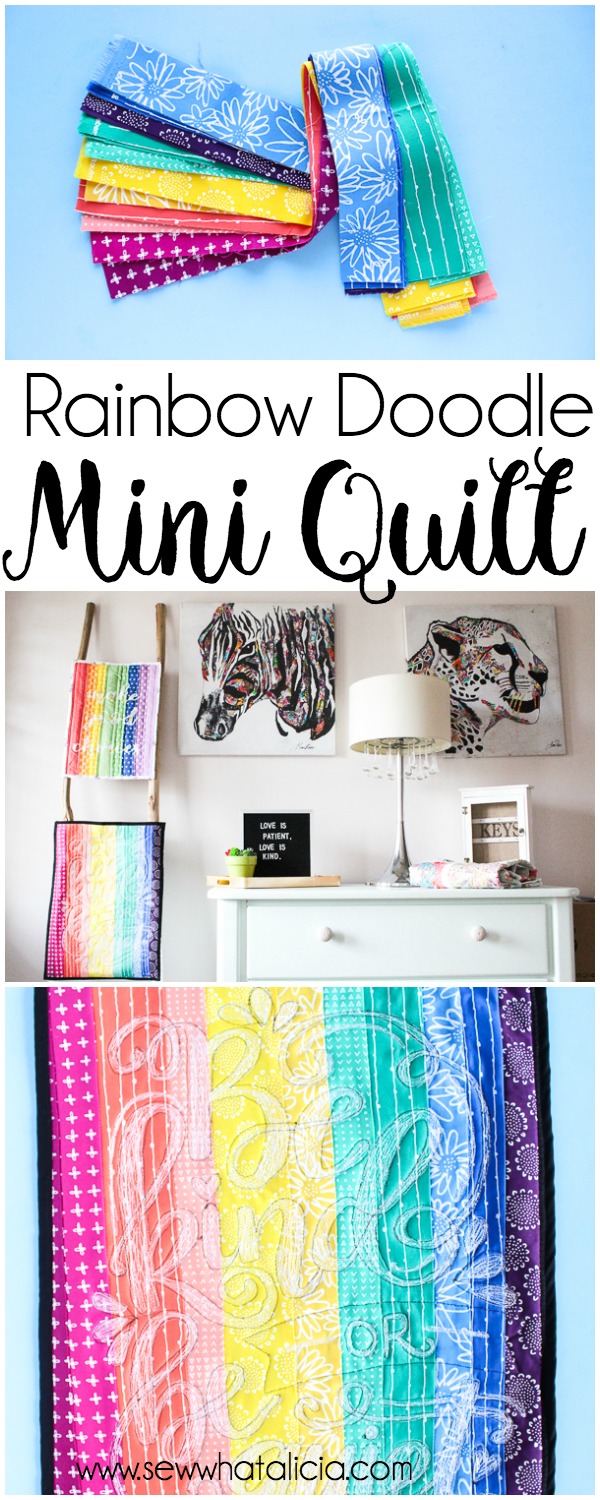
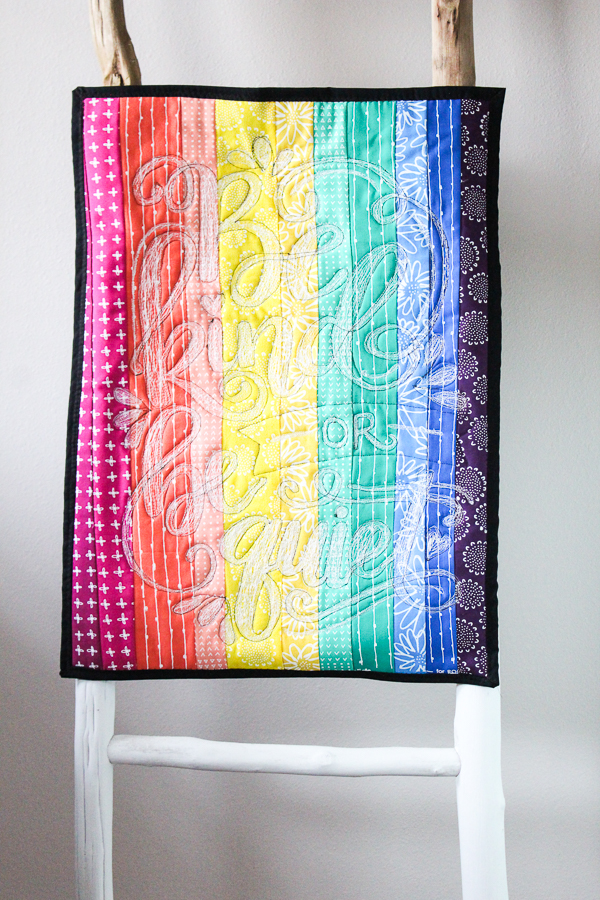
Rainbow Doodle Stitch Mini Quilt
I have been loving mini quilts lately. They are a great de-stressing activity and they come together in just a few hours. This one took a little bit longer because I played with lots of stitching in the form of doodling. Ok I didn’t actually doodle, I borrowed a friends doodle and then quilted over it! Here is a rainbow doodle stitch mini quilt tutorial.
Rainbow Doodle Stitch Mini Quilt
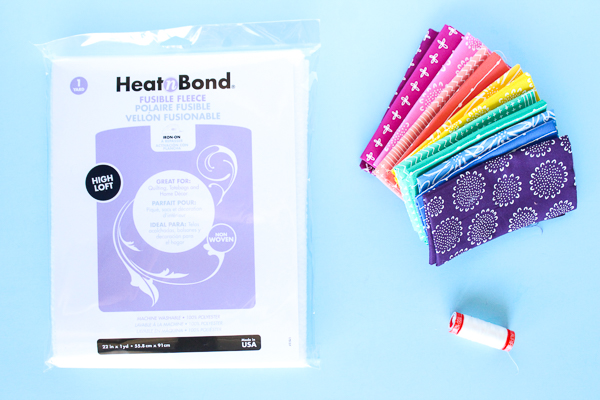
Supplies:
Robert Kaufman Blueberry Park Fat Eighth Bundle
Aurifil Thread White and Black
Thermoweb EZ Print Quilt Sheets
Wonder Clips (optional but really you want them!)
Be Kind or Be Quiet PDF (Found on Dawn Nicole Designs)
Black backing/binding fabric
Instructions:
Download the PDF. We are going to blow it up, I threw it into Adobe Illustrator and then created a canvas that was 16″ 22″ and made the image fit. Then I printed it onto four pieces of EZ Print Quilt Sheets. If you don’t have illustrator you can blow the image up and print it in the same manner (it might take some trial and error.) Then go ahead and sew the sheets together to create one big sheet.

Cut the fat eighths into strips measuring 2″ and 3″. You will just need one strip of each color.
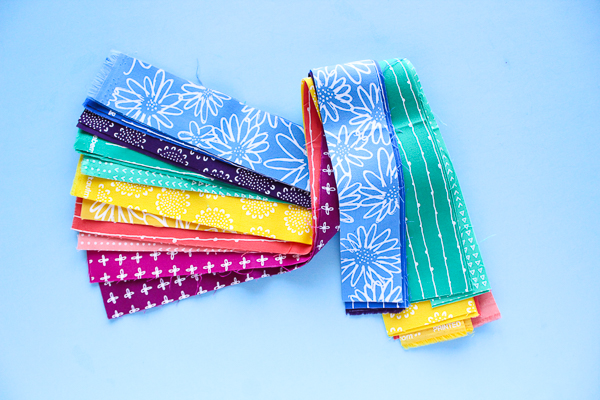
Sew the strips together in rainbow order (red, orange, yellow, green, blue…)
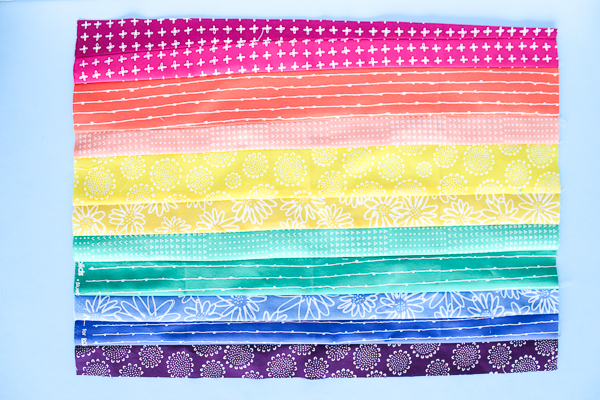
Press the stripped piece you just created. Then add a piece of fusible fleece to the back and press to activate the adhesive. Now using pins or even tape add the text sheets to the back of your piece.
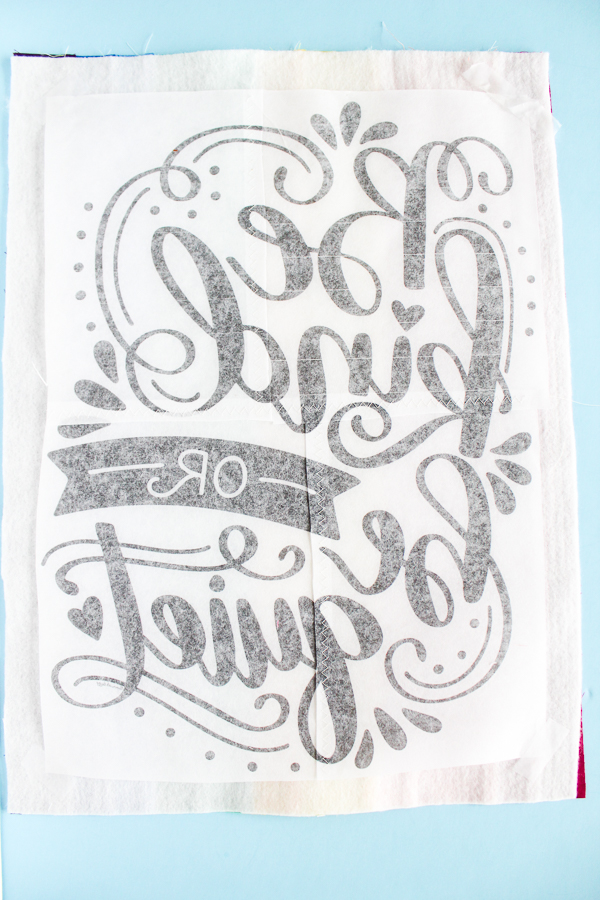
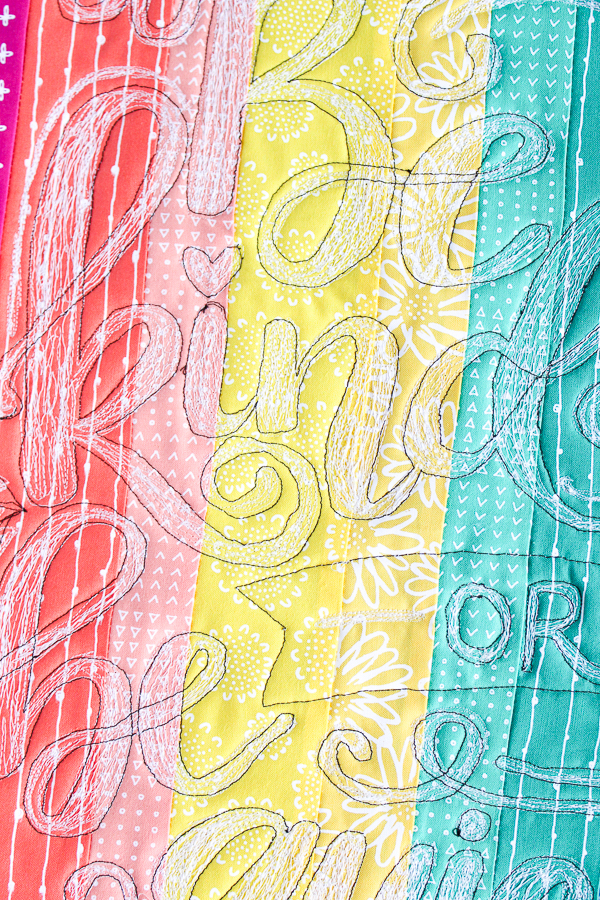
If you didn’t mirror the image when you printed just turn it over so the words look like they are the wrong way. This will ensure that they are the right way on the other side. Using white thread “color” all the words and embellishments. Use your quilting foot and plate and just move the piece back and forth to color in the lines. Then once you have filled in all the white switch to black thread and do an outline. This will help the words to really pop.
This is not going to be perfect. This is a seriously hard skill to master so be easy on yourself! Now cut your backing fabric to 1″ wider on all sides. Press it under 1/2″ and then fold it over to create the binding. Clip in place with the wonder clips, seriously they are amazing and so much less pokey than pins! See THIS POST for a more detailed tutorial on self binding.
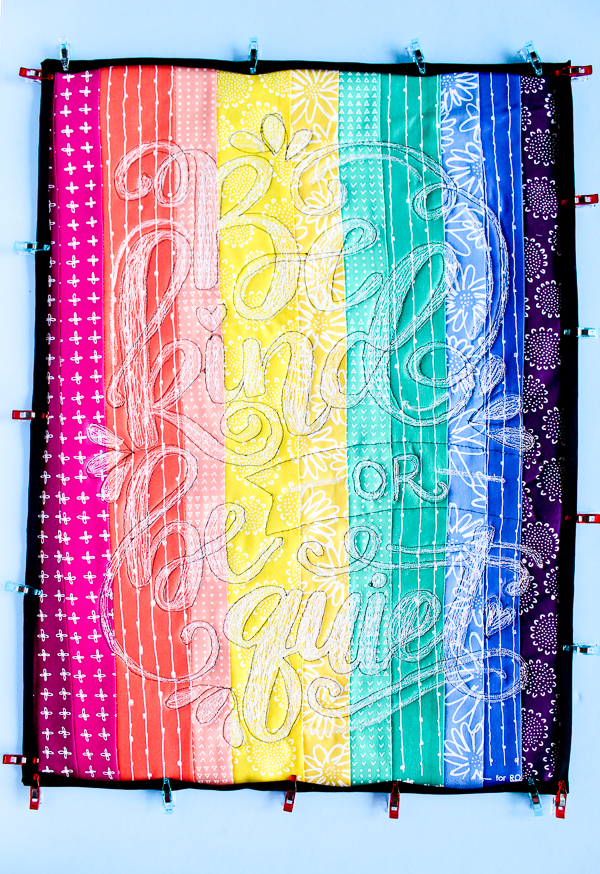
Continue using the black thread to attach the binding. I used a zig zag stitch and had it straddle the seam of the binding.
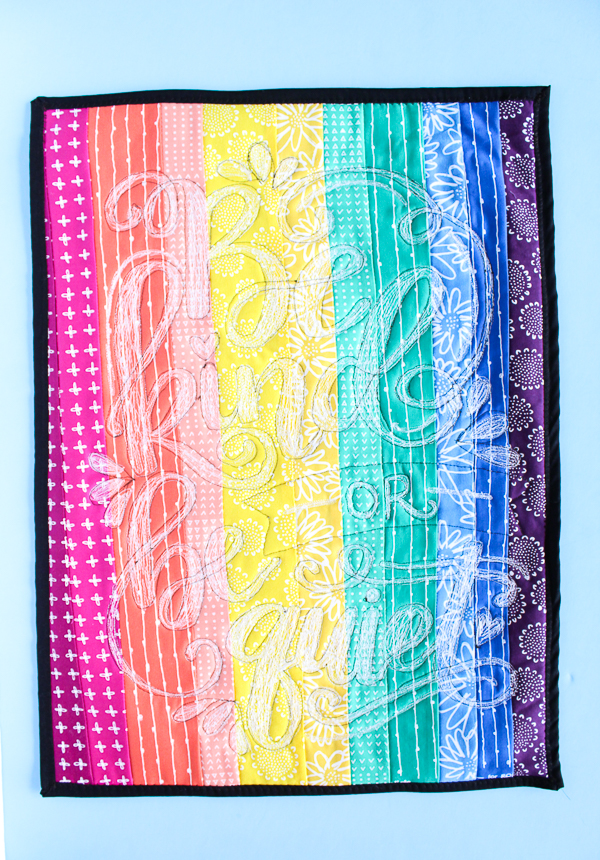
Tada! All finished. Isn’t it just dreamy??
You can head over to the Thermoweb blog for the other rainbow mini quilt tutorial pictured below.

Do you love rainbows as much as I do? I love to hang my creations throughout my house, where do you put your finished projects? Share with me in the comments below.


melvs stone says
This is really awesome. Thankyou for sharing.