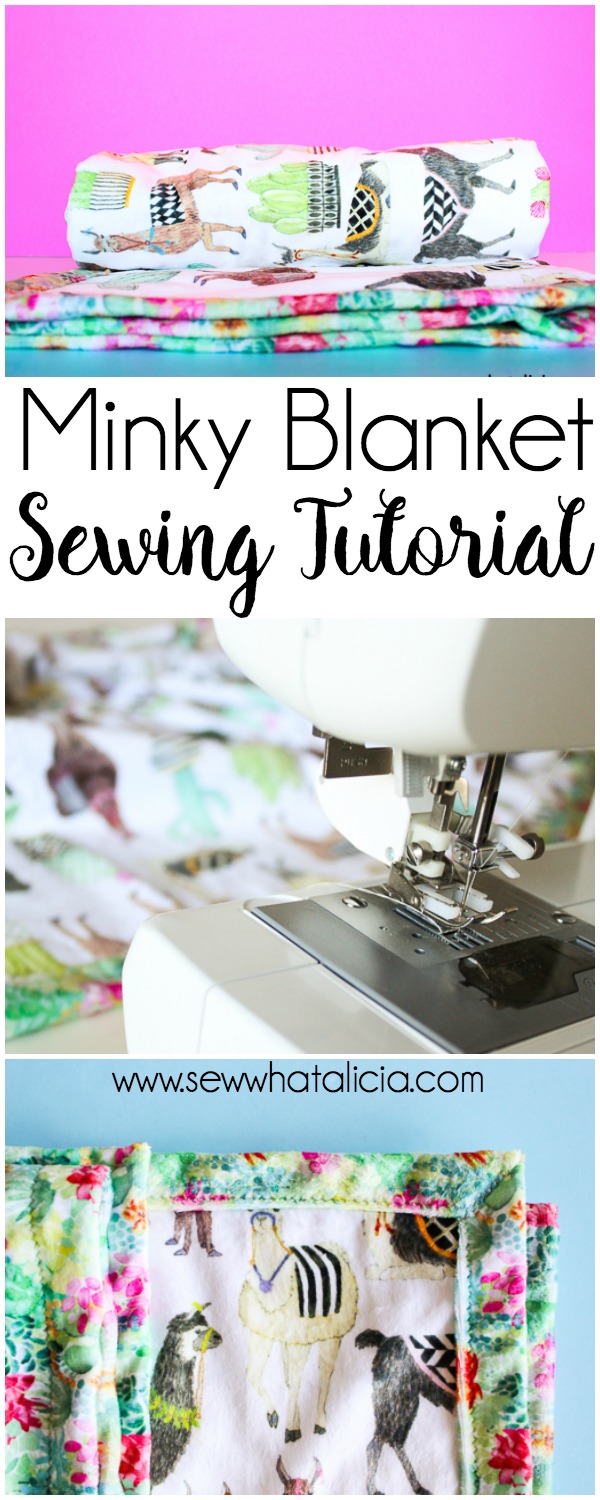
Self Binding Baby Blanket Tutorial
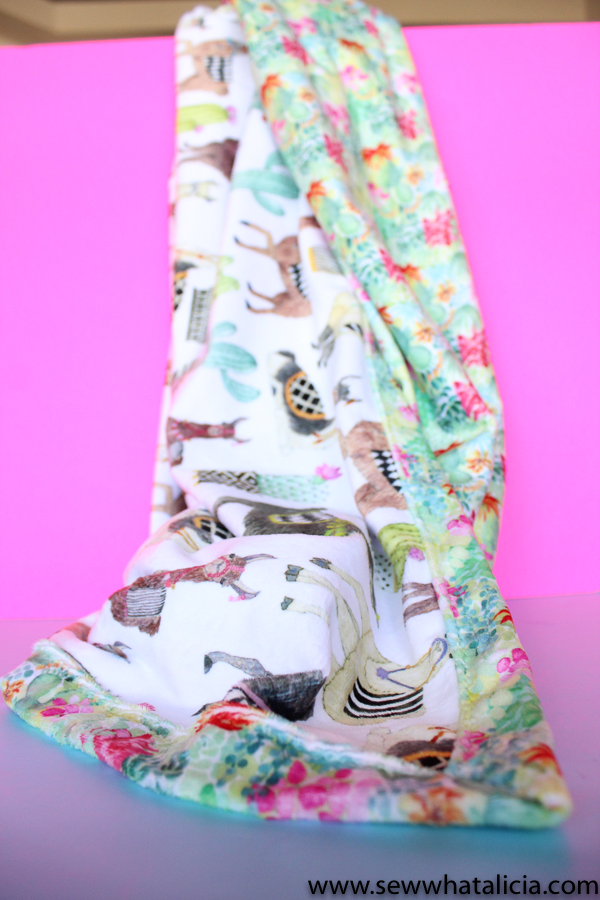
You guys I have found the absolute best minky fabric! It is seriously the softest thing I have ever touched and the picture quality is amazing, Michael Miller Fabrics has seriously figured out how to minky (they didn’t pay me to say that either!!) I know that minky can be a scary thing to work with and to be honest I avoided it myself for a long time. If you have the right tools and take the time to prepare your project it is much easier than you think and the finished project is well worth the effort! Here is a minky baby blanket tutorial.
This is just one of my 50+ easiest sewing tutorials. Check out the rest HERE.
Self Binding Baby Blanket Tutorial
Michael Miller Fabrics provided this fabric to me free of charge but all opinions and ideas are my own.
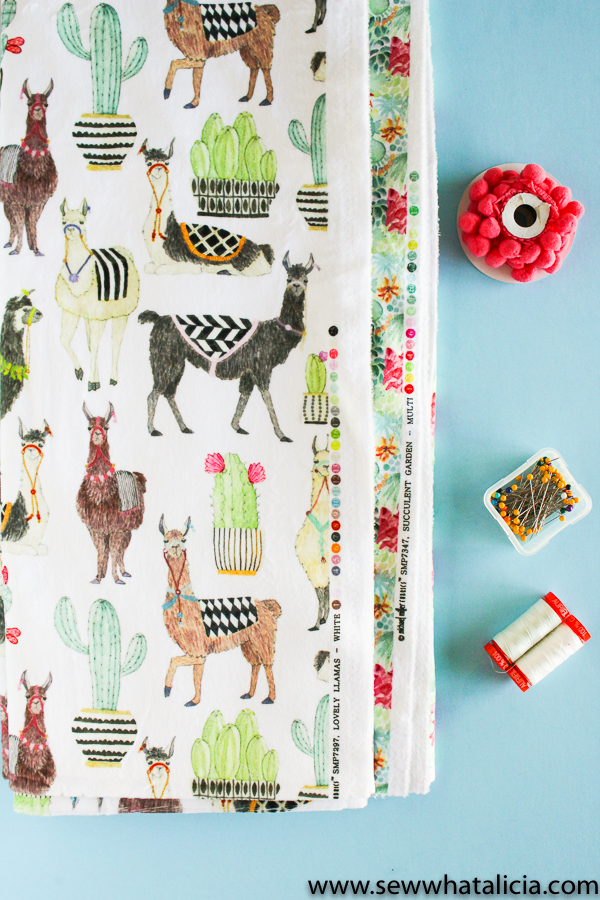
Supplies:
Lovely Llama Fabric – 40″x43″
Succulent Garden Fabric – 44″x47″
Pins OR Wonder Clips
Coordinating Thread (I recommend a color that will blend with the background fabric.)
Walking Foot
Instructions:
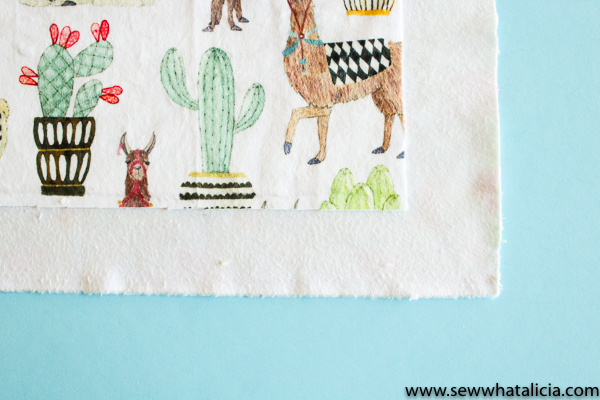
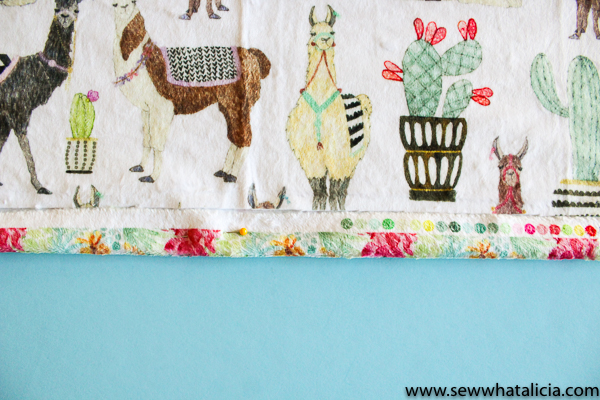
The key for a successful minky project is to use the right tools. First cut your minky to the correct size. This is a messy job so be prepared to vacuum! You don’t have to use the sizes I listed above but your top piece needs to be 2″ shorter all the way around. Line your main fabric up on top of the backing fabric wrong sides together. There should be 2″ on all four sides (as pictured below.)
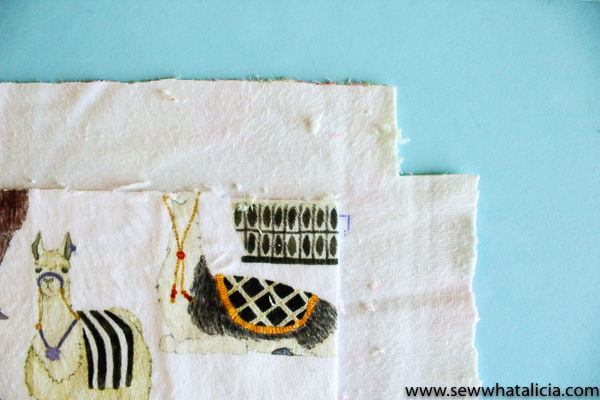
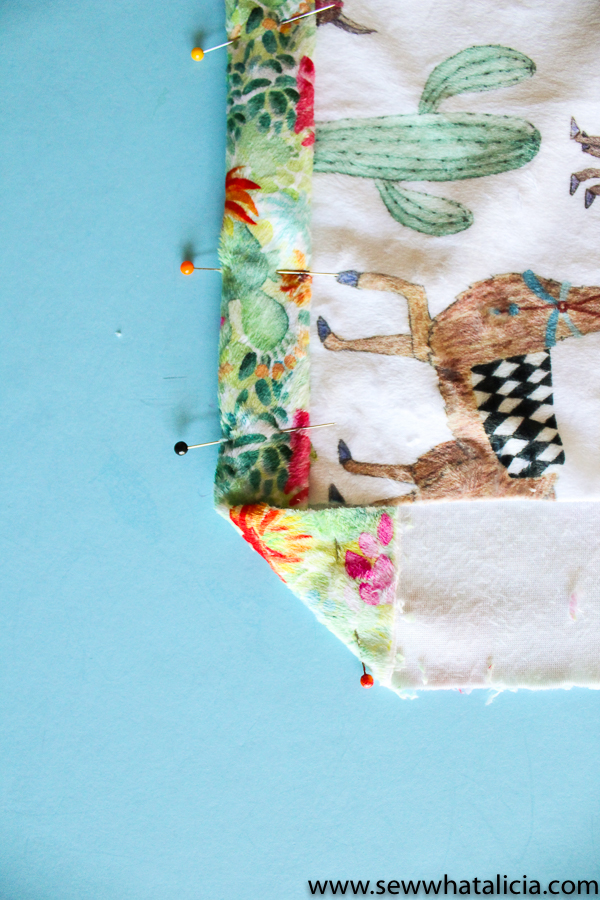
Now cut a square out of each corner. This will cut down on the bulk when we make our mitered corners.
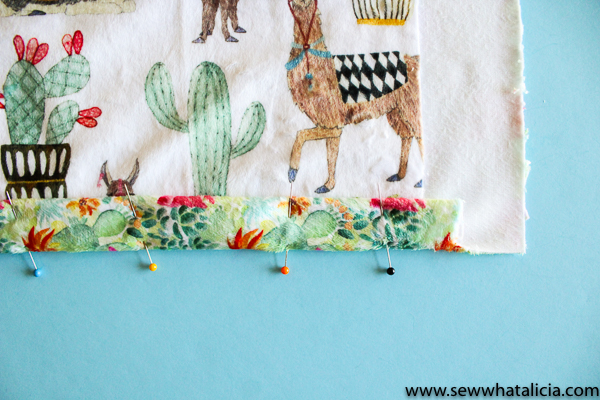
Now starting on one side fold the bottom print up to meet the edge of the top print. Do this along one entire edge, and pin in place.
Now using pins or wonder clips fold the back print up one more time and clip/pin in place.
For the corner fold the corner in and then repeat the two folding steps. This will create a mitered edge.
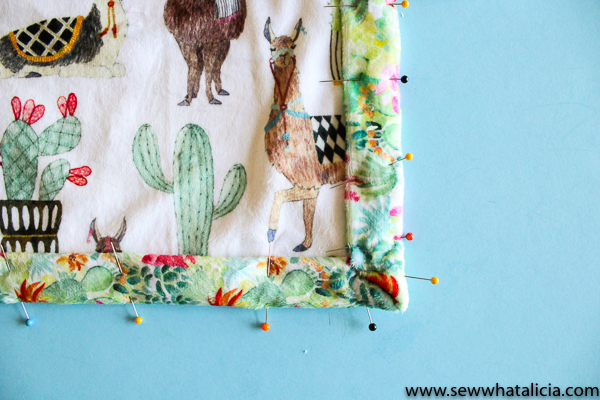
Repeat these steps around all four sides. With minky you want to use a LOT of pins. Which is why I actually recommend the clips if you have them because sewing gets a little pokey with all those pins!
Now the real trick to using minky is all in the sewing machine foot! Your walking foot is seriously your best friend for minky. This is what mine looks like…
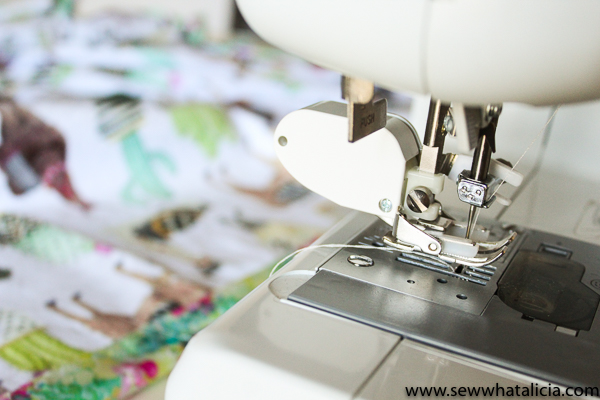
The only issue with the walking foot is that you can’t backstitch. But that is ok in this instance because we are going to end exactly where we started so that will add stability to the end of the stitching. Start at the very tip of one corner (you can use a leading piece of fabric to keep your machine from getting gunked up on the corner.) Using a zig zag stitch go down the diagonal edge and then sew along the edge closest to the main print. When you come to the next corner sew up along the diagonal to the tip again and then turn the blanket 90 degrees and go back down the diagonal and along the next edge of the blanket. Continue this process until you have sewn all four sides and finish on the diagonal seam you started on.
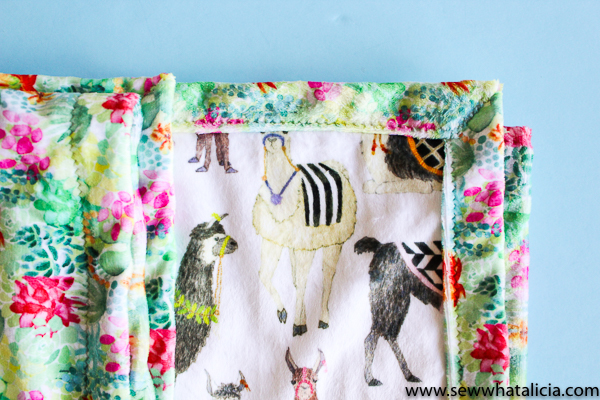
With a blending thread you can barely even see the stitch.
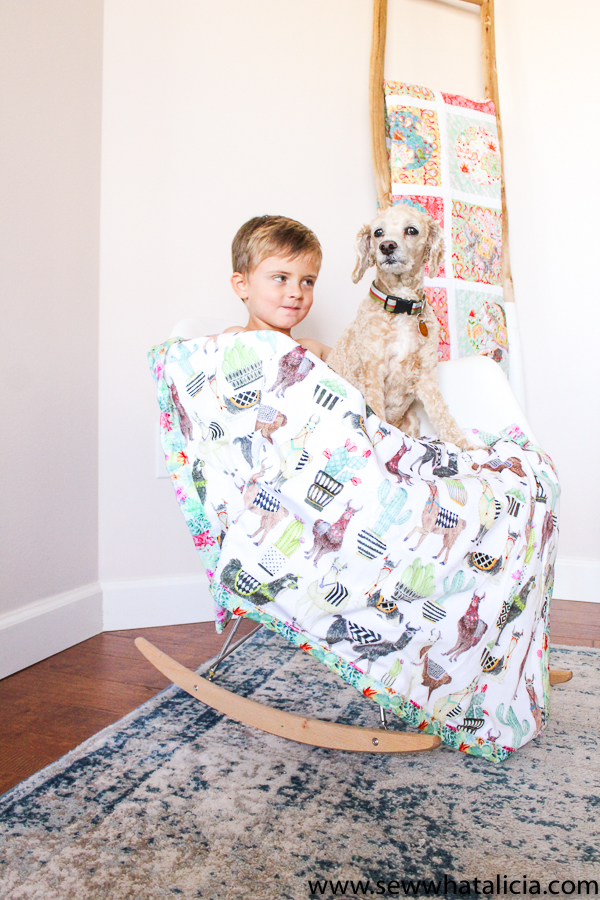
These guys seem to enjoy the blanket! They fight over who gets to use it! You can use this method for a smaller or larger blanket just be sure to use enough pins and take the time to put your walking foot onto your machine.
Have you worked with minky, would you make this self binding baby blanket? Will you try working with it now? Share your experiences with me in the comments below.


Nik says
Minky drives me crazy, it moves so much and has a tendency to pucker on whichever side I’m not pinning from. I always love the finished look though. 🙂 Great tutorial.
Jan Constant says
Love your ideas!