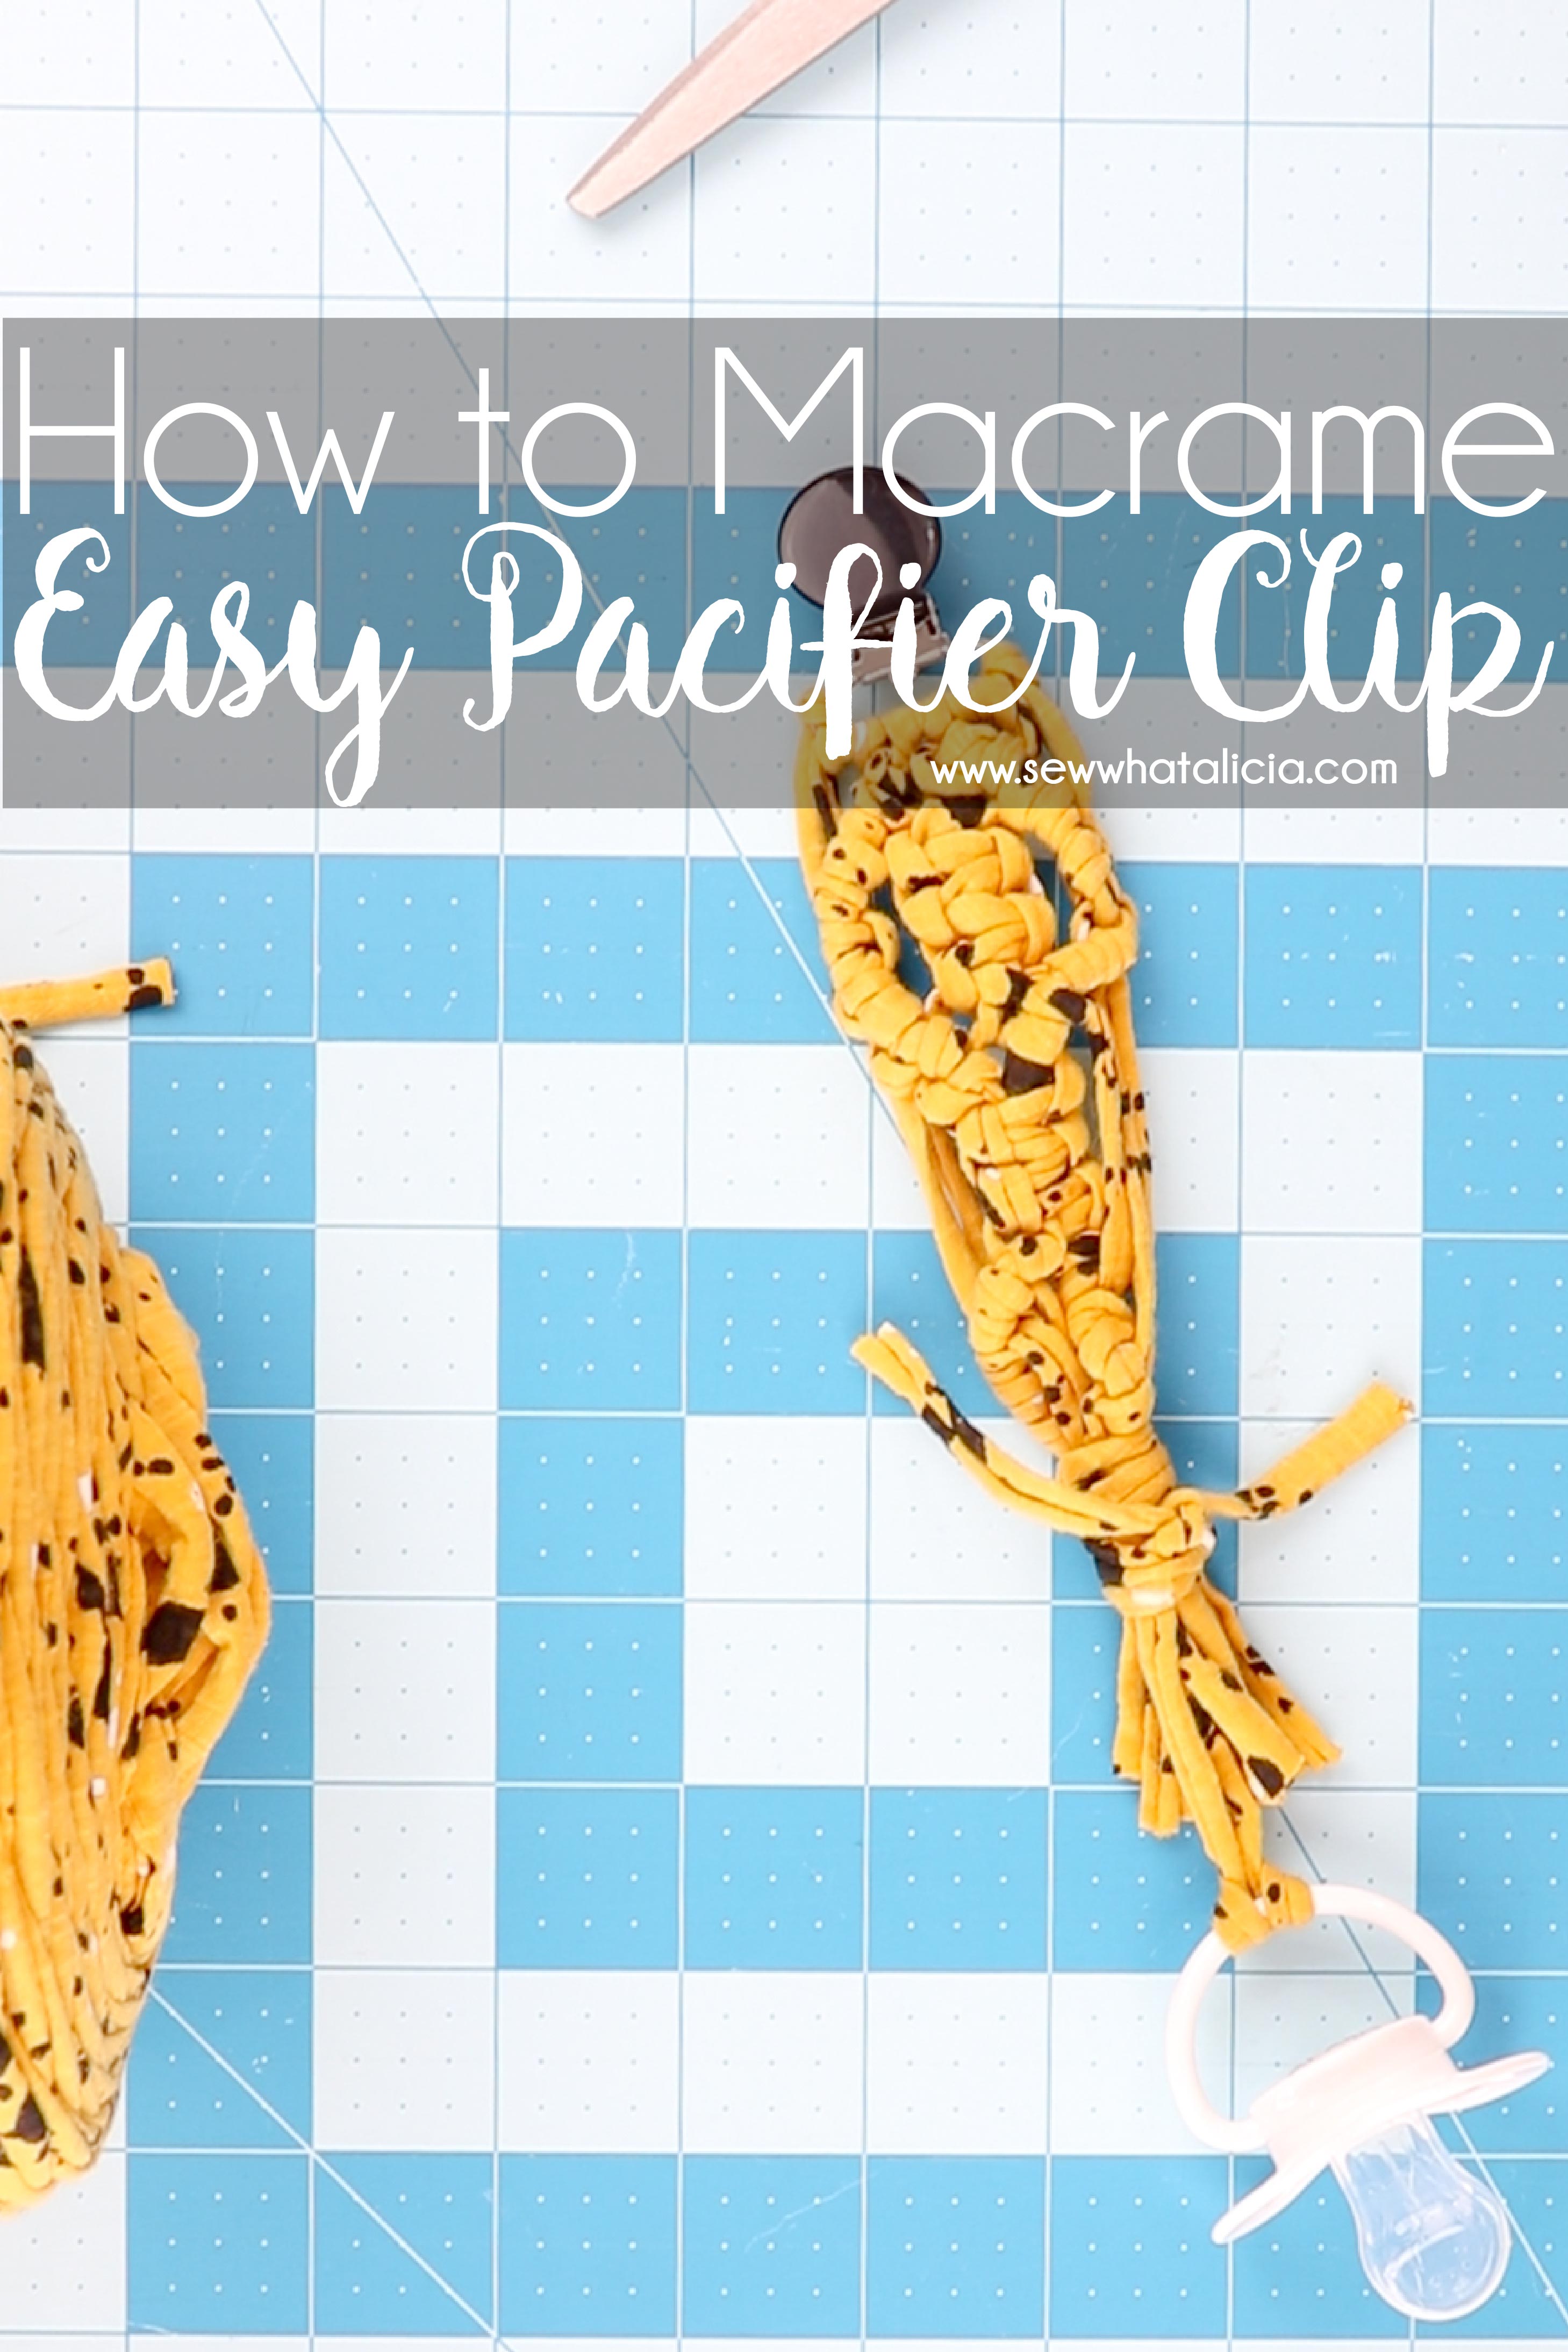
How to Macrame – Easy Macrame Pacifier Clip Tutorial
Macrame has made a comeback! I am just a touch too young to remember it being popular the first time around. So I am super excited that I get to play with it now that it is cool again! Today I wanted to share this easy macrame tutorial with you so that you too can be part of the macrame trend! Most macrame uses a cord. I love macrame cord but I wanted to make something a bit softer. I ordered a bunch of beautiful t-shirt yarn on Joann.com. It is the perfect medium for creating some macrame-d baby stuff! This is how to macrame an easy pacifier clip.
How to Macrame – Easy Macrame Pacifier Clip Tutorial
This post was sponsored by JOANN. I have been compensated but all opinions and ideas are my own.
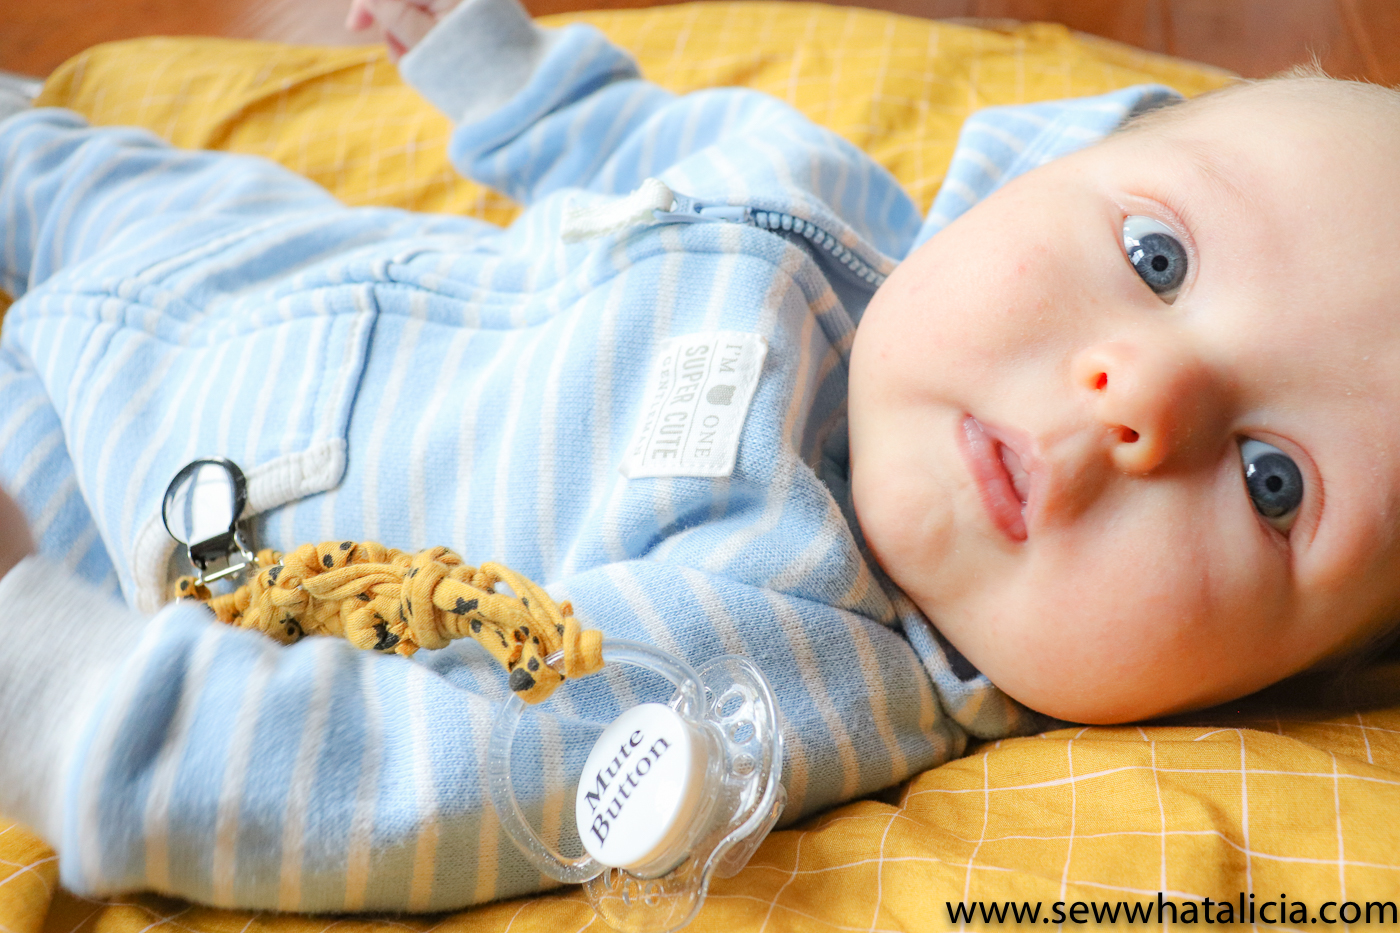
This pacifier clip is such a fun and unique little baby gift. The t-shirt yarn, aka zpagetti yarn, is SO soft. You would never want to put macrame cord near your baby’s face so this is a great option for adding the fun and trendy macrame to your baby products! Macrame is so fun and once you know the basic knots you can combine them to create tons of fun and unique patterns and images.
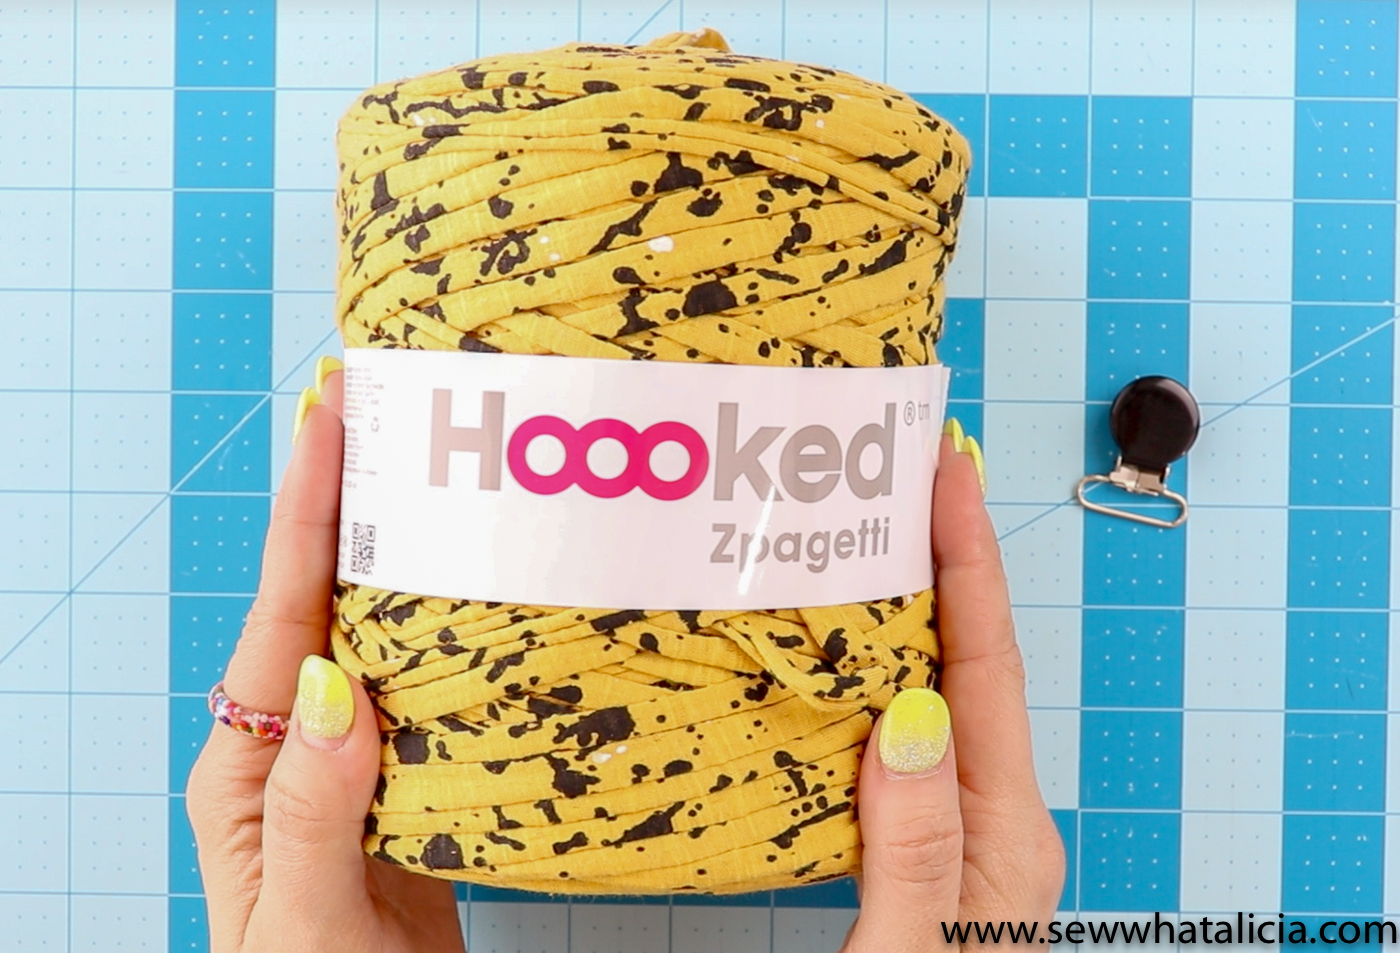
Here is what you need for these easy macrame pacifier clips:
Hoooked Zpagetti Yarn – You can only get this from JOANN online, so make sure and order it online and don’t go searching for it at the store or you will be upset at me and I don’t want that!!!
Macrame Knots
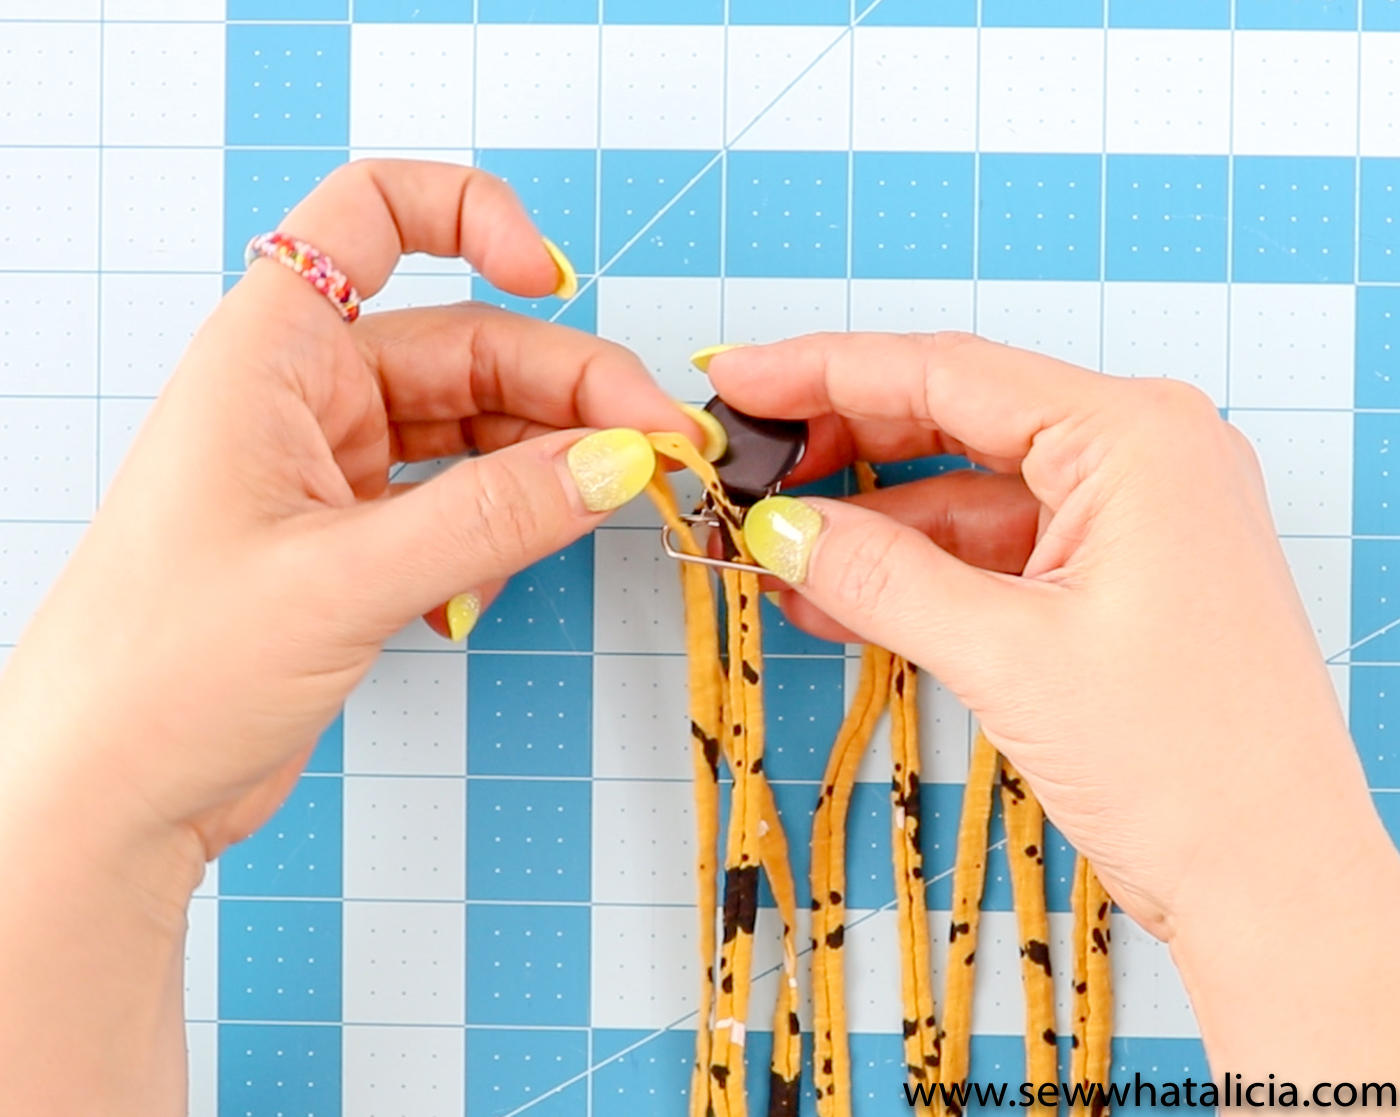
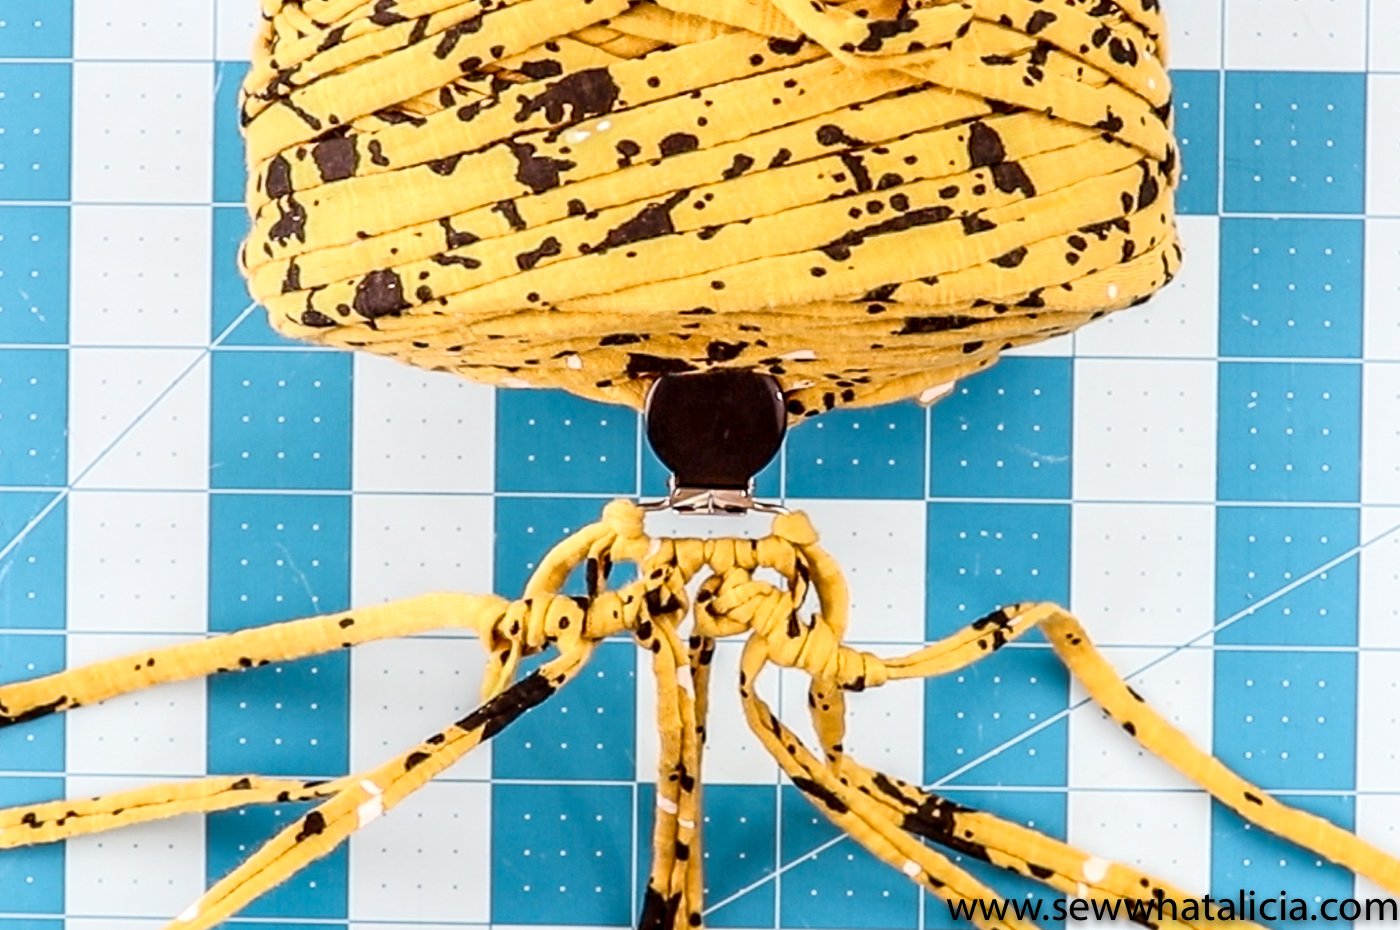
Larkshead Knot –
This is the knot that you use to attach your strands to the pacifier clip (or dowel, or wherever you happen to be doing your macrame.) You will also see this called the reverse larks head knot, that is just the same knot turned around so we don’t need to complicate things and make them any more confusing do we?
Fold your cord, or t-shirt yarn which I am using, in half. Place the loop underneath the bar of the pacifier clip. Pull the loop up and through the pacifier clip. Now take the bottom edges of the strand and pull them both through the loop. Hold them both tight and together as you pull the knot tight. Repeat this with as many strands as you plan to use. I used four pieces of t-shirt yarn which turns into 8 strands for macrame when folded in half.
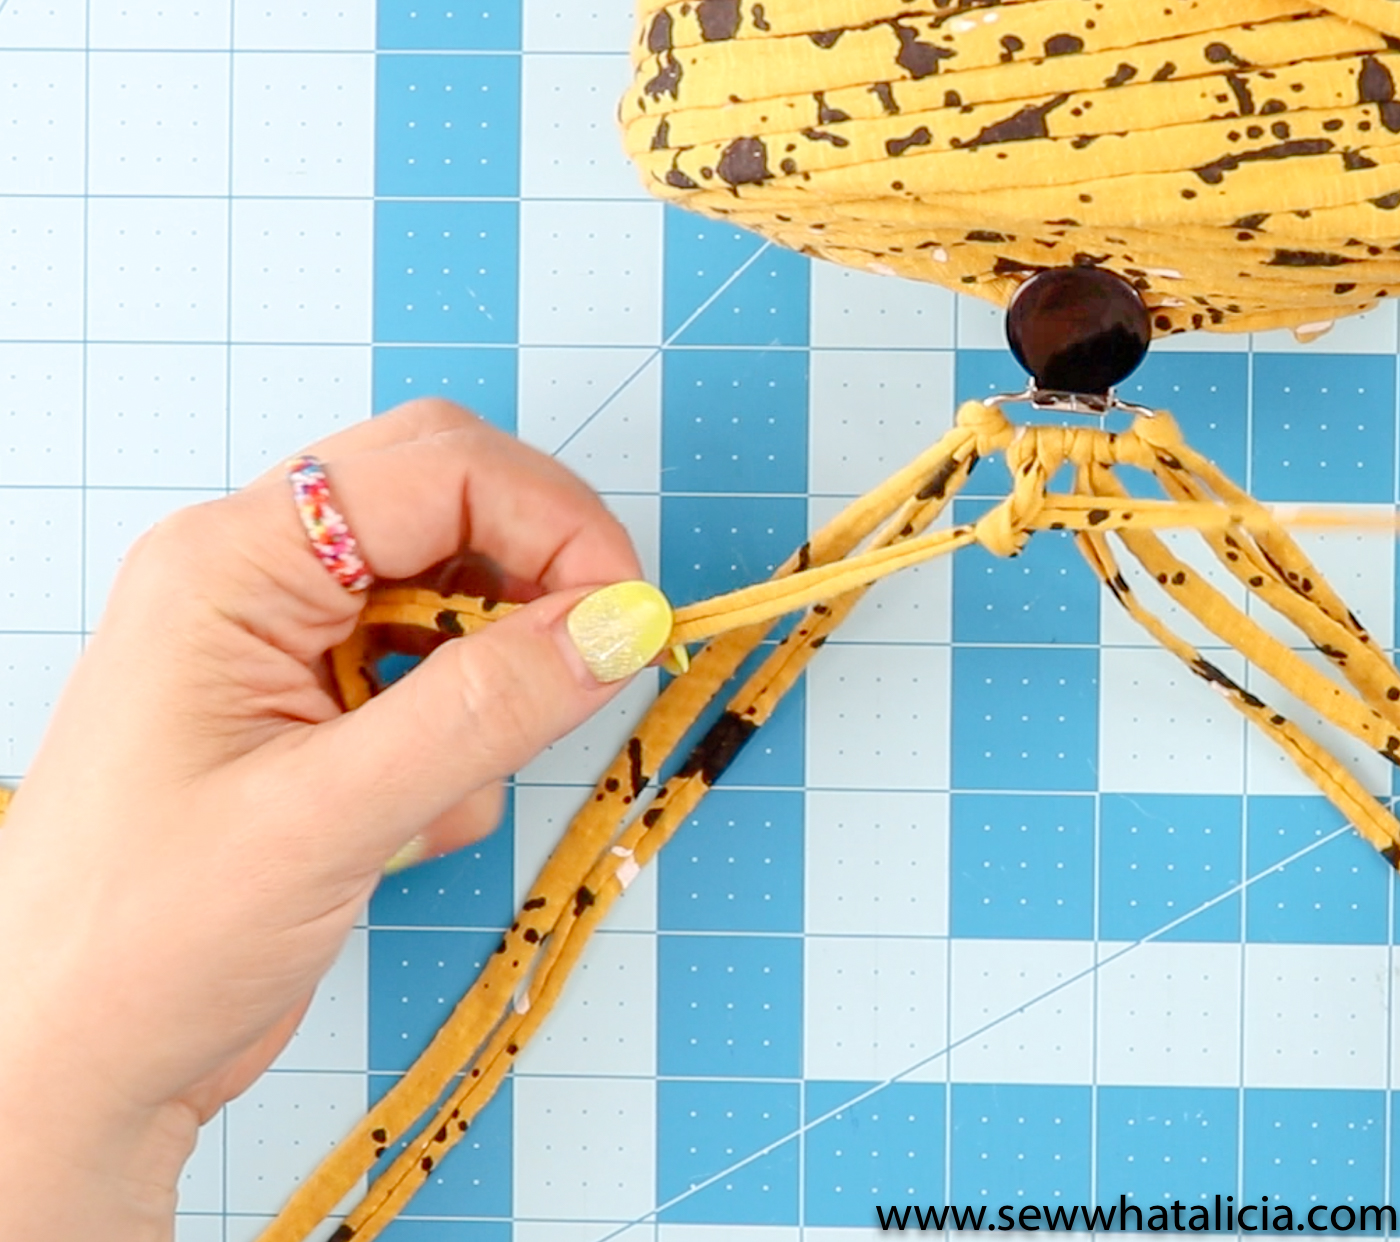
Hitch Stitch and Diagonal Hitch Stitch-
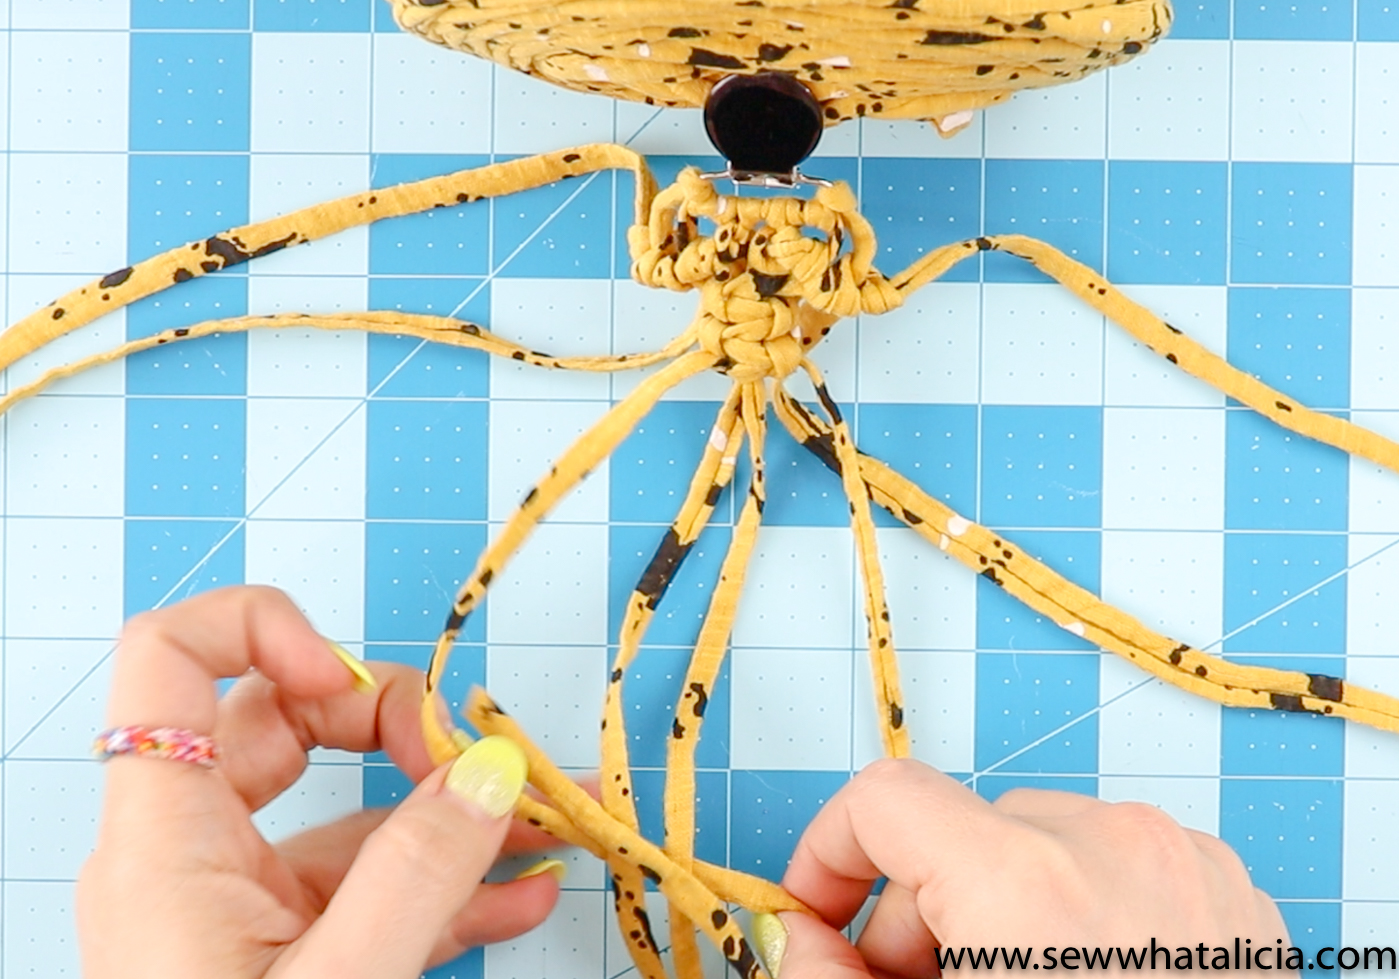
The hitch stitch and the diagonal hitch stitch are made almost exactly the same way. In the diagonal hitch stitch you hold your base strand at a diagonal and in the standard hitch you hold your base strand perpendicular to the rest of the strands. I have used the diagonal hitch stitch in this tutorial so I will go into depth about that stitch, just know it can be done with the strand straight across or diagonally depending on your preference or the pattern.
This can be done with as many strands as you choose. Start with a strand that is on the left or right side. In this example I split my strands into two groups of four. Then I selected the strand on the inside right of my first set of four strands. Hold the strand diagonally as pictured below.

Next take the strand next to this base strand. Knot it around the base strand twice.
Continue holding your base strand at your diagonal angle. Then use the second strand to knot around the base strand twice. Repeat this until you have knotted each strand around your base strand twice. You can use this knot to go along the entire width of your macrame, or as I have done complete this twice to make different shapes.
Square knot –
The square knot is formed using four strands. To form the square knot start with the farthest strand to the left. Fold the strand over the two middle strands so that it makes a “four.” Then take the farthest right strand, start with this strand in front of the tail of the four. Then place the right strand behind the two middle strands. Last pull the tail of the right strand up and through the “four.” Start pulling the left and right strand up towards the top. You can either tape the two middle strands down or give them a tug as you tighten the knot. So pull the left and right strand up a couple inches and then tighten the two middle strands and then repeat until the knot is tight (but not super tight) at the top. Now you have formed your first knot. Repeat this step but reverse the starting side. So for your second knot you will form your four with the right strand and feed the left strand over, under, and through the four.
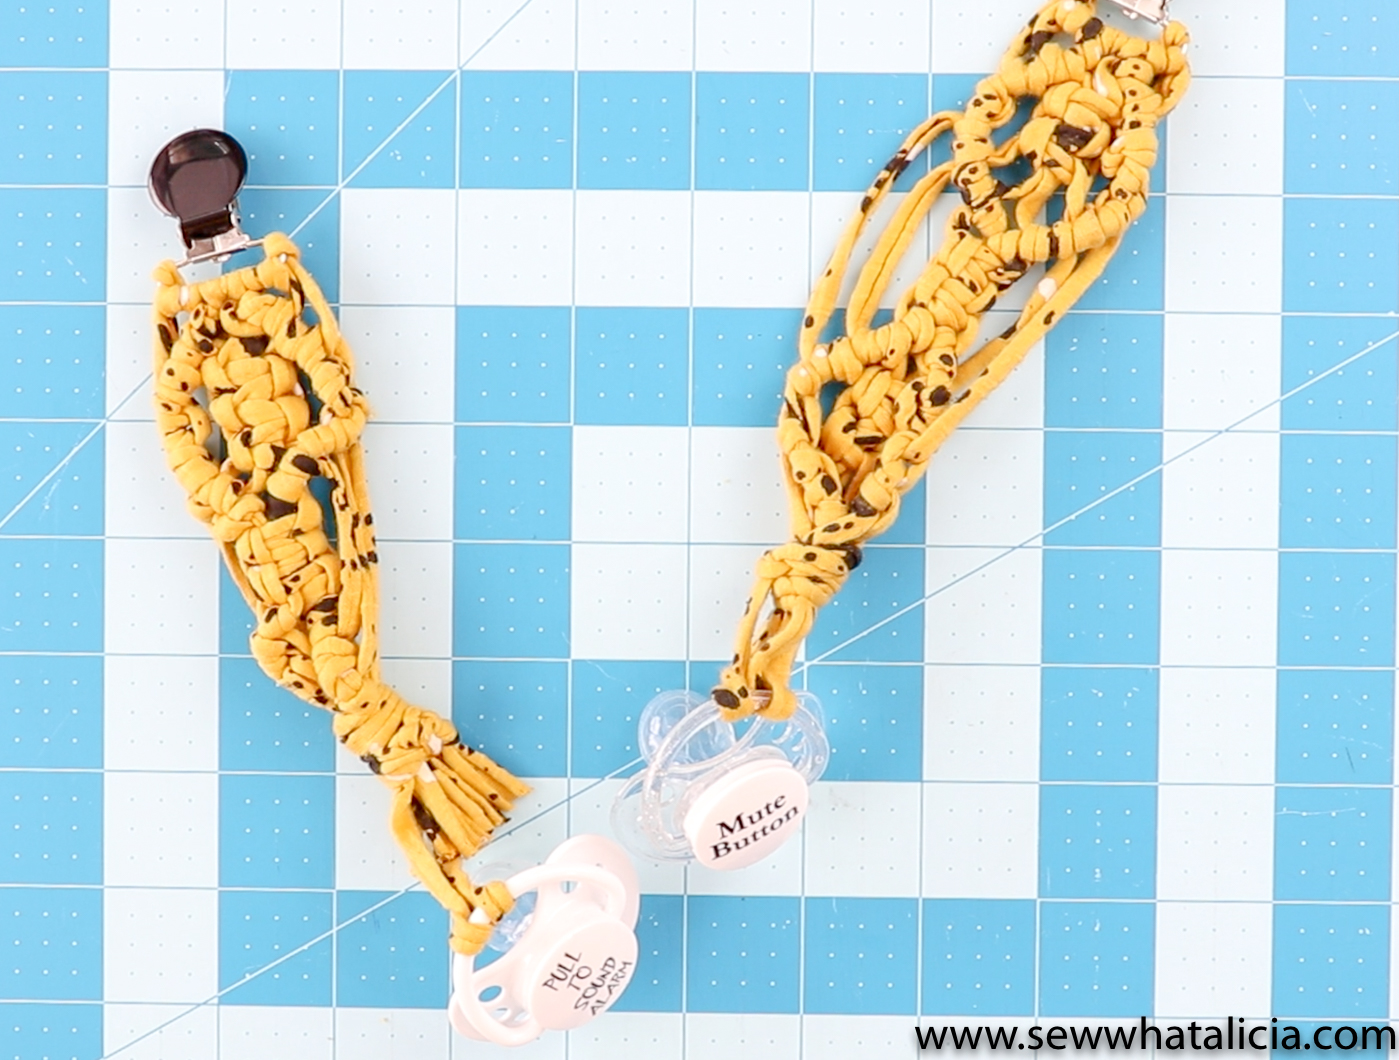
I added square knots to this pacifier clip using the four strands.
Spiral stitch –
The spiral stitch is the square knot but you work all the knots on the same side. With a square knot you switch your “four” back and forth from left to right. With the spiral knot you make the “four” on the same side each time. This causes the knots to form a spiral. So if you form your four on the left side in the first knot you will form it on the left side again each time until your spiral knot is the desired length. The spiral stitch was not used in this pacifier clip but it is a common knot so I wanted to make sure you knew it existed!
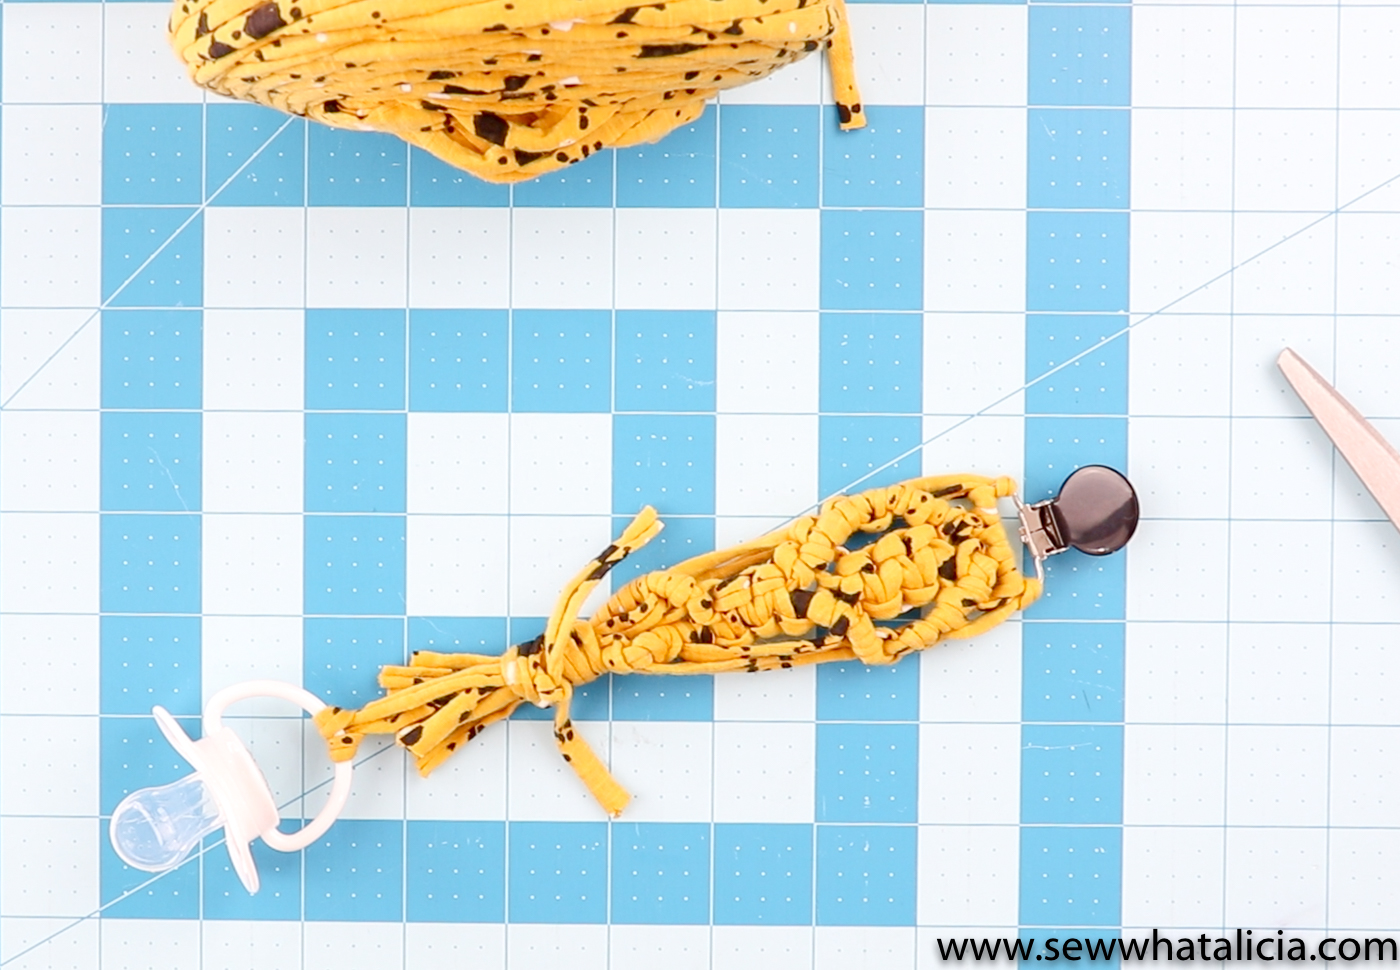
Finishing the pacifier clip:
Once you have completed the macrame you are ready to finish the piece. If you have a strand that is long enough you can use it to wrap around the bottom of your piece. If you do not that is ok, just cut another strand of t-shirt yarn and wrap it around all the strands at the bottom. Take one of the strands you used to macrame and fold a loop. Tuck the end of this loop up and wrap the finishing strand around. Knot the finishing strand in place and trim the remaining strands so that they are about 1/2″ under the wrapped piece. Don’t cut the looped strand because this is what you will use to attach the pacifier to your clip. Tuck any extra strands from the knots into the wrapped portion to make them lie flat with the rest.
Repeat and create as many of these as you want! You can make tons of different patterns using the macrame knots described above.
Have questions about how to macrame or this pacifier clip tutorial? Share with me in the comments below!


Leave a Reply