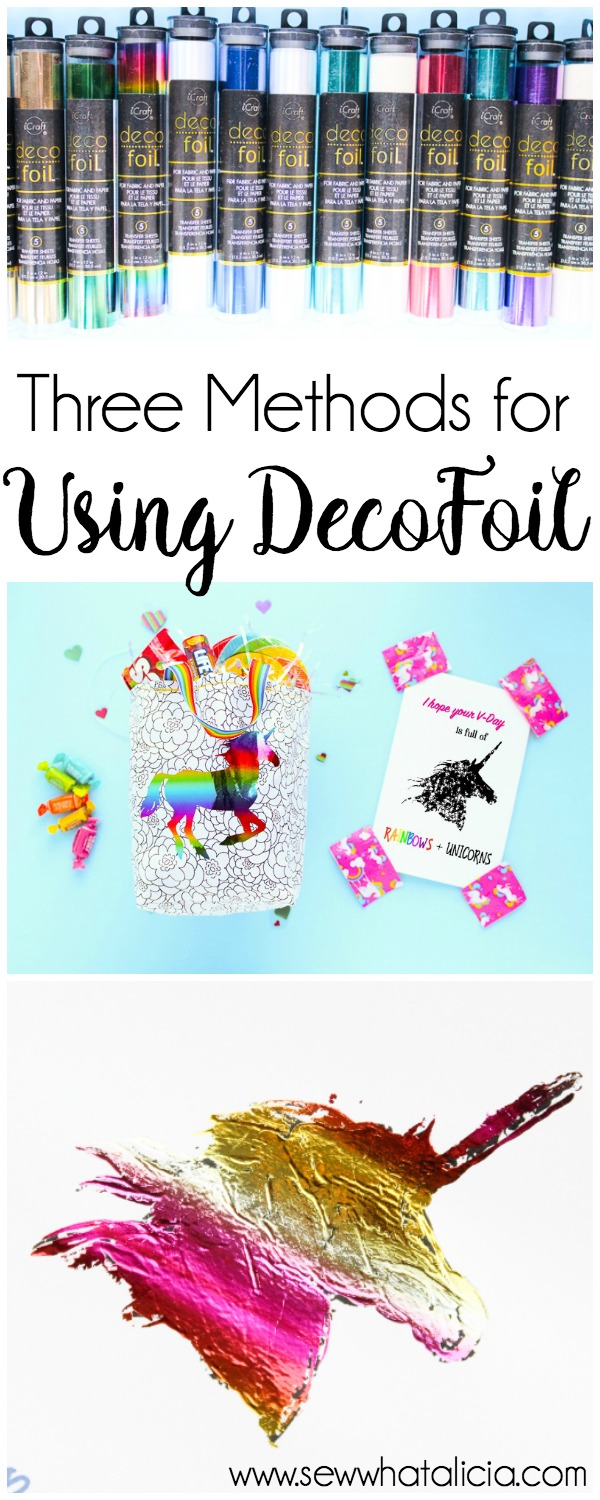
How to Foil Projects Three Ways
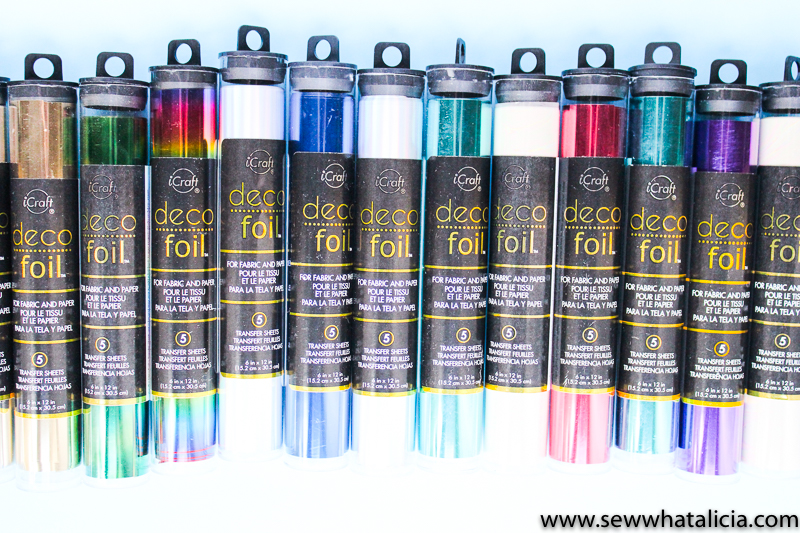
As a member of the Thermoweb design team it is no secret that Decofoil is one of my absolute favorite products! I have used it in lots of projects here on the blog and on the Thermoweb blog. It is one of the most versatile products because you can use it on fabric AND on paper, there is just nothing else like it! Whether you are a fabric person or a paper person here is how to foil projects three ways.
How to Foil Projects Three Ways
I am a Thermoweb design team member but they have not solicited this post and all opinions are my own.
Supplies: Click the name of the supply to purchase.
Laminator – It doesn’t need to be fancy. It just needs to get hot!
Fabric Instructions:
When you are using deco foil with fabric there are several must do bullet points.
- Use the laminator!!!
- Run the fabric through the laminator at least two but preferably three times.
- Wait until it has had time to cool, it shouldn’t take longer than 2 or 3 minutes.
A few more things to know about using the foil with the fabric. You CAN use the liquid adhesive instead of the hot melt adhesive but be sure to let it dry completely before running it through the laminator. See how I use the liquid adhesive on this Gold Foiled Clutch.
You CAN sew over the foil once it is applied. See my tips for adding shine to see how to sew over the foil.
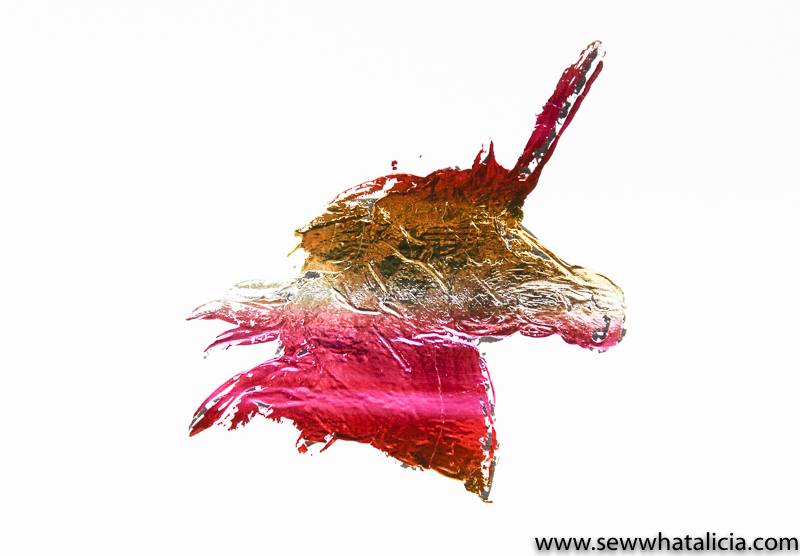
For the unicorn project in the video head over to my post on the Thermoweb blog.

Paper Instructions:
Using Decofoil on paper is very similar to fabric. The biggest difference is that it is possible to use the foil without having to use the laminator. See the video below for two (there are more) methods of using Decofoil on paper.
Although you can use the DecoFoil without using the laminator I still prefer the end result when I have used the laminator for the most part. There are some times when an antiqued or not completely covered look is preferable but I almost always like the full coverage look that the laminator provides.
Where do you plan to use DecoFoil? Paper or fabric? Share with me in the comments below.


Karen B. says
I love your enthusiasm for foil. I prefer the laminator and it is nice to know the other methods. I do have a question, my finished product has black showing through the foil. This is with a manufactured toner paper product and I’ve toner paper I’ve made by printing a solid black paper and taken to a copy store. Either way I get black spots, What am I Doing wrong?
sewwhatalicia says
Hi Karen. I think you are talking about using your Minc. I asked my friend who knows more about that than I do and she says turn up the heat!! I don’t use the Minc I am partial to the DecoFoil which I apply with the laminator as you saw!! You should give it a try!!
Karen B. says
I have the laminator and DecoFoil. I choose not to get into the Minc idea. DecoFoil is the one who has the paper I use for covering the die cut I’m trying to foil.
sewwhatalicia says
Oh really? Well I apologize I am not sure what the issue is. I can’t say I have ever used the method you are describing. Let me take it to some of my fellow Thermoweb design team members!! Those gals know everything!
sewwhatalicia says
Ok Karen here is what the ladies who do a lot of paper projects recommend…
1) Wipe the toner paper with a lint free cloth and then cover with foil.
2) Set your printer to the highest dpi (600) to get good coverage.
3)Let your laminator get nice and hot. Let it warm up for like 20 minutes before you use it, then run your card through several times.
I hope this helps!!!