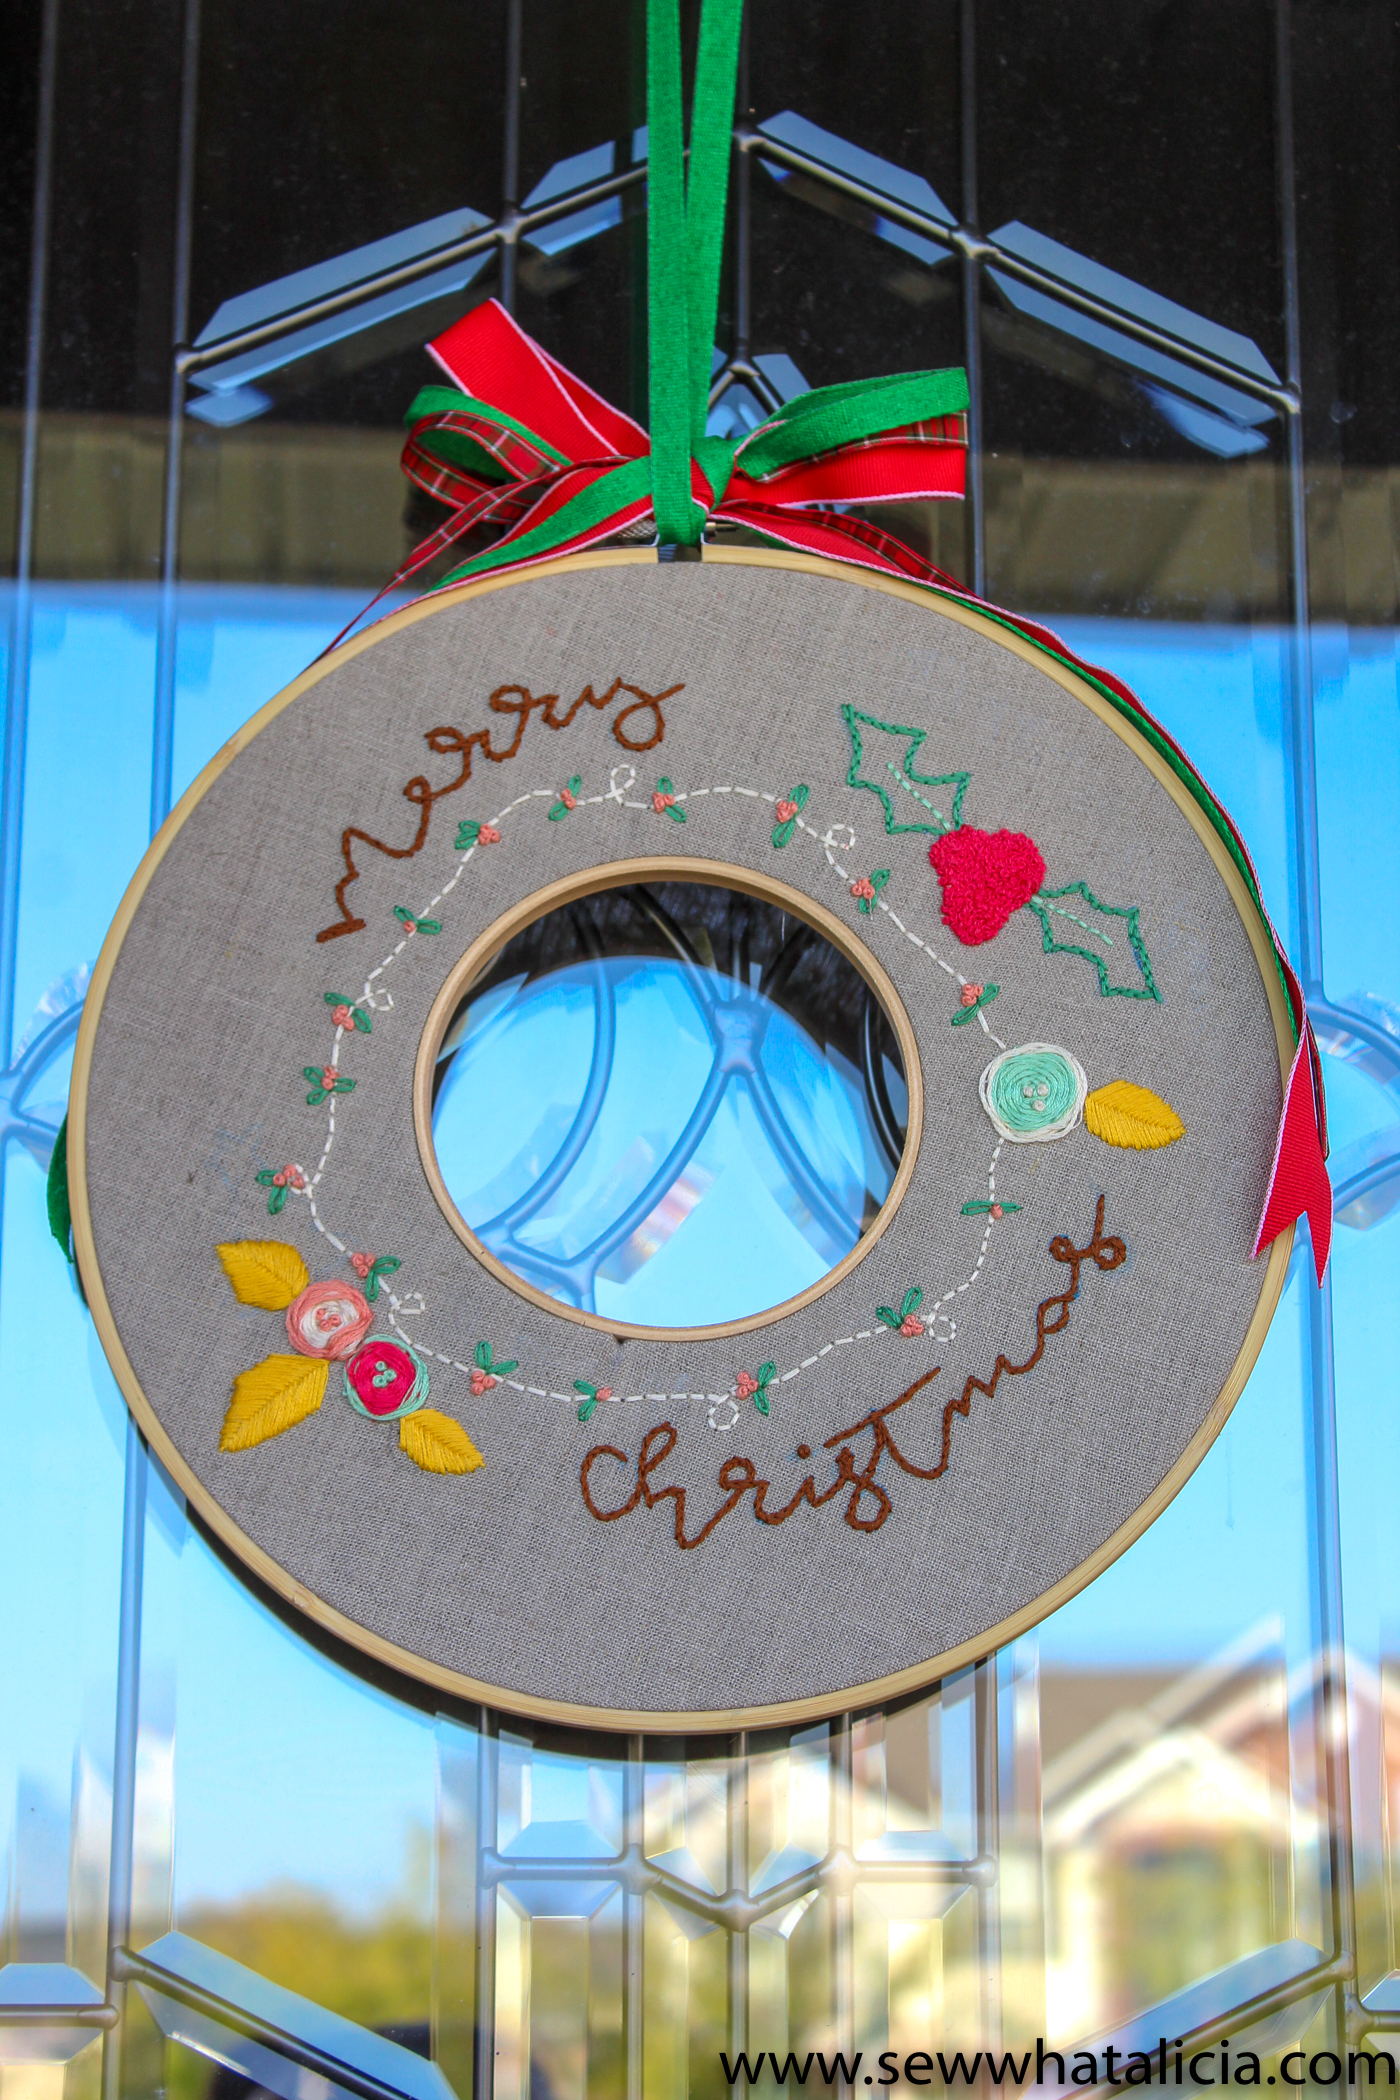
How to Embroider a Christmas Wreath
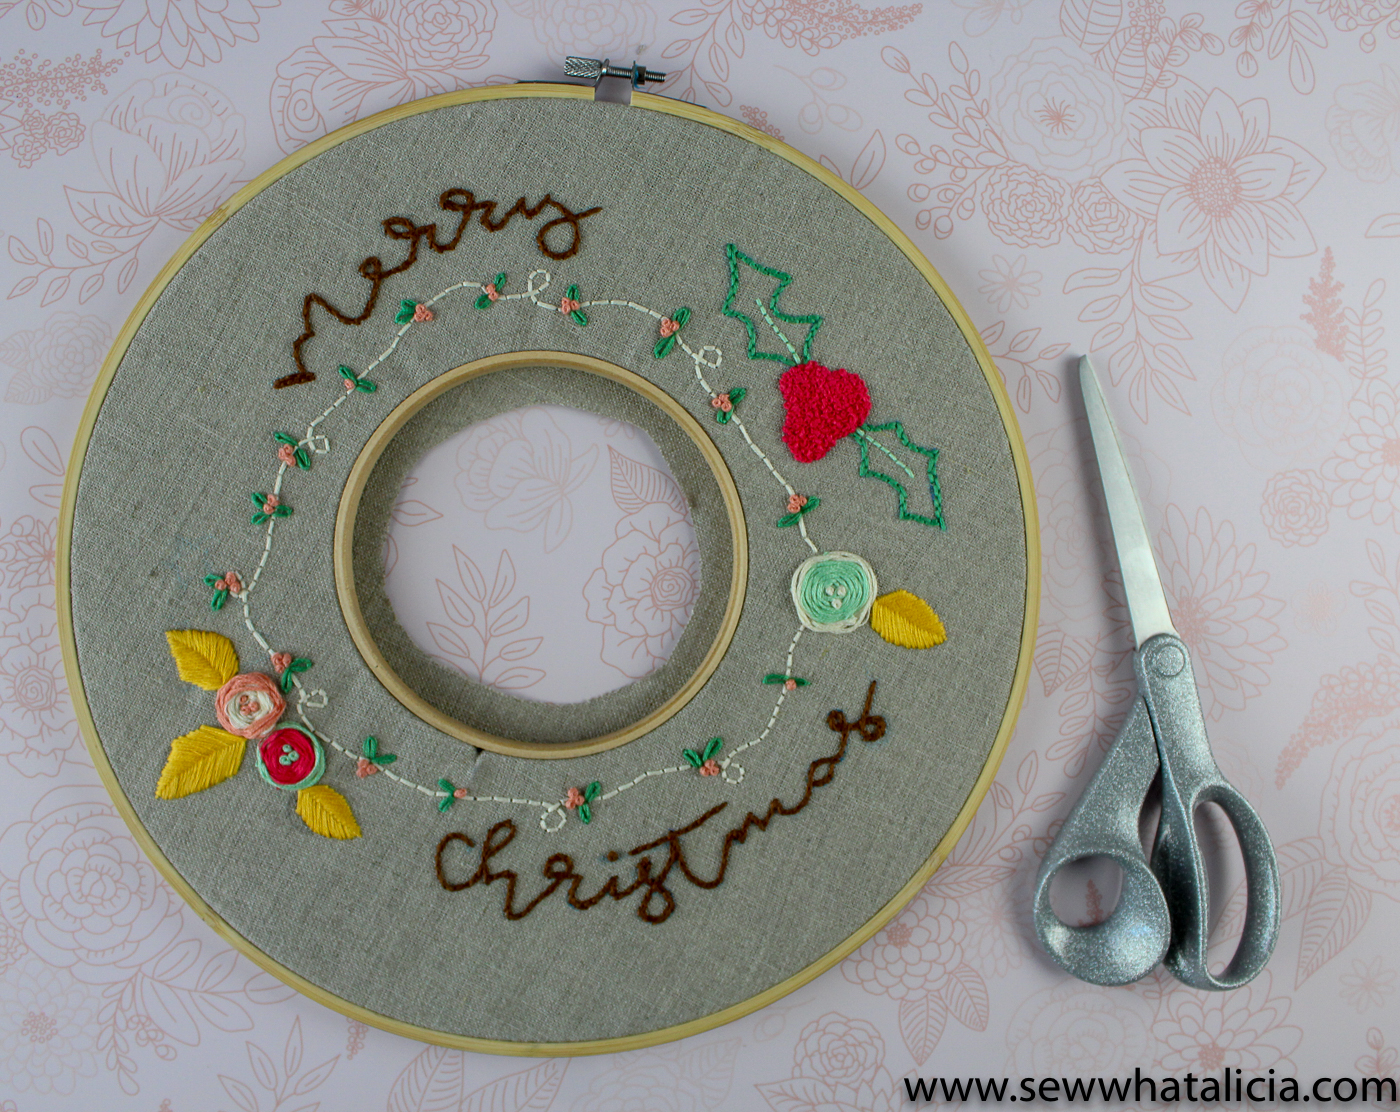
You may have seen the amazing embroidery hoop wreaths floating around Pinterest. I couldn’t wait to create one for my door this holiday season. This tutorial will walk you through the process of creating your own wreath using two hoops. Here is how to embroider a Christmas wreath.

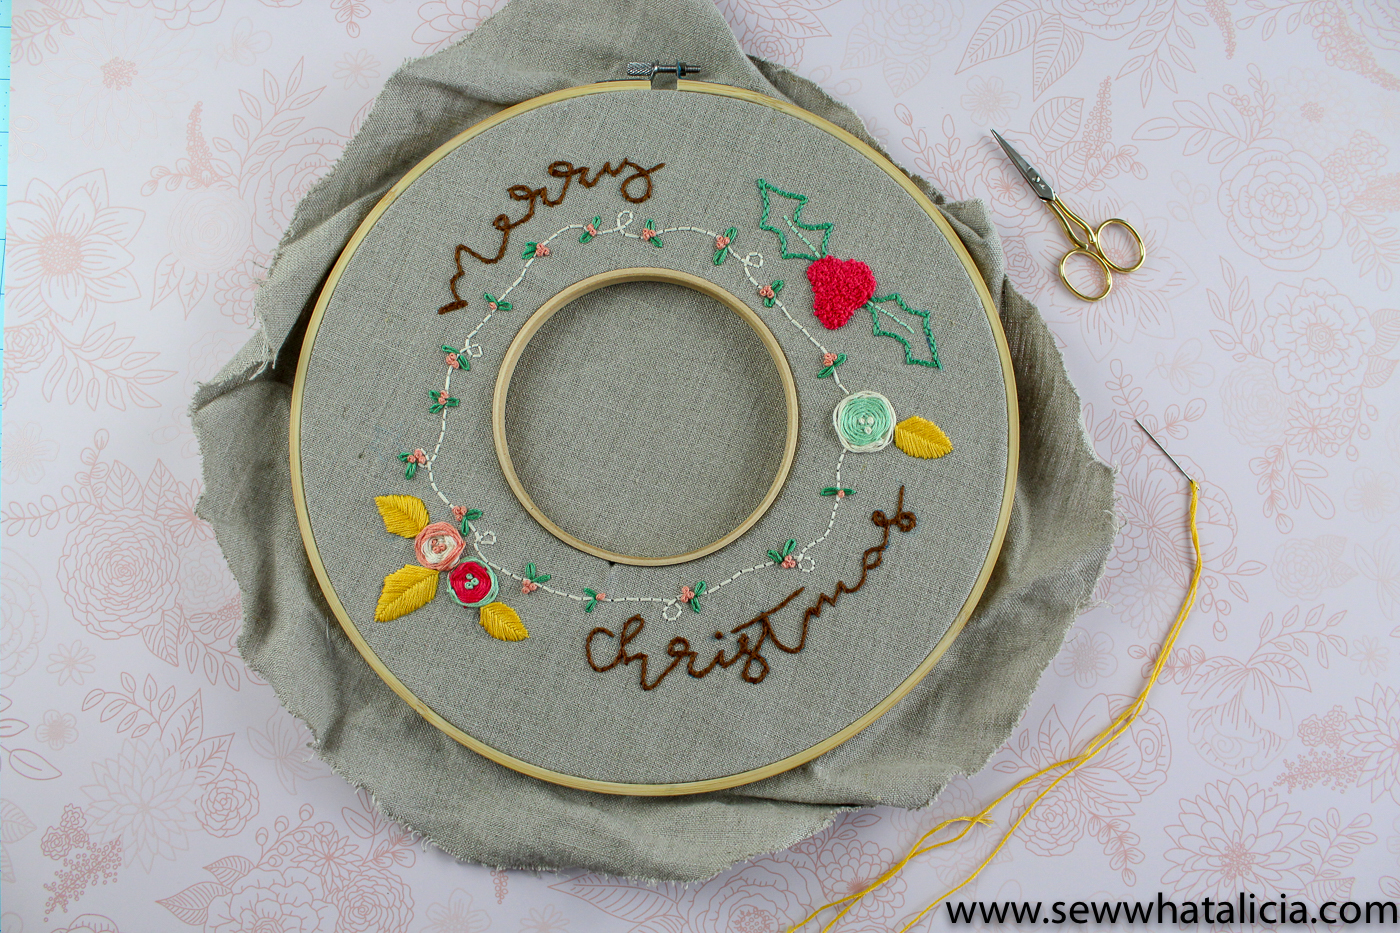
How to Embroider a Christmas Wreath
This post was sponsored by JOANN. All opinions and ideas are my own.
What are the different types of embroidery?
There are two main types of embroidery:
Machine Embroidery – For machine embroidery you need a special embroidery machine. You plug your design into the machine and then it does all of the embroidery for you. When you use a machine you can get a very professional looking finished product. Machine embroidery is often used for monogramming and intricate designs.
Hand Embroidery – Hand embroidery is the technique where you use a needle and floss to create designs by hand. You place your fabric in an embroidery hoop and then create the design using hand stitches. You can get a professional looking finished product with hand embroidery but it has a much more handmade feel.
What do you need to start embroidery?
Embroidery requires very few supplies which makes it a great entry level craft. Here are the supplies needed for this wreath.
Embroidery Hoop – 6″ hoop and 12″ hoop
Christmas Wreath Pattern
How to embroider by hand:
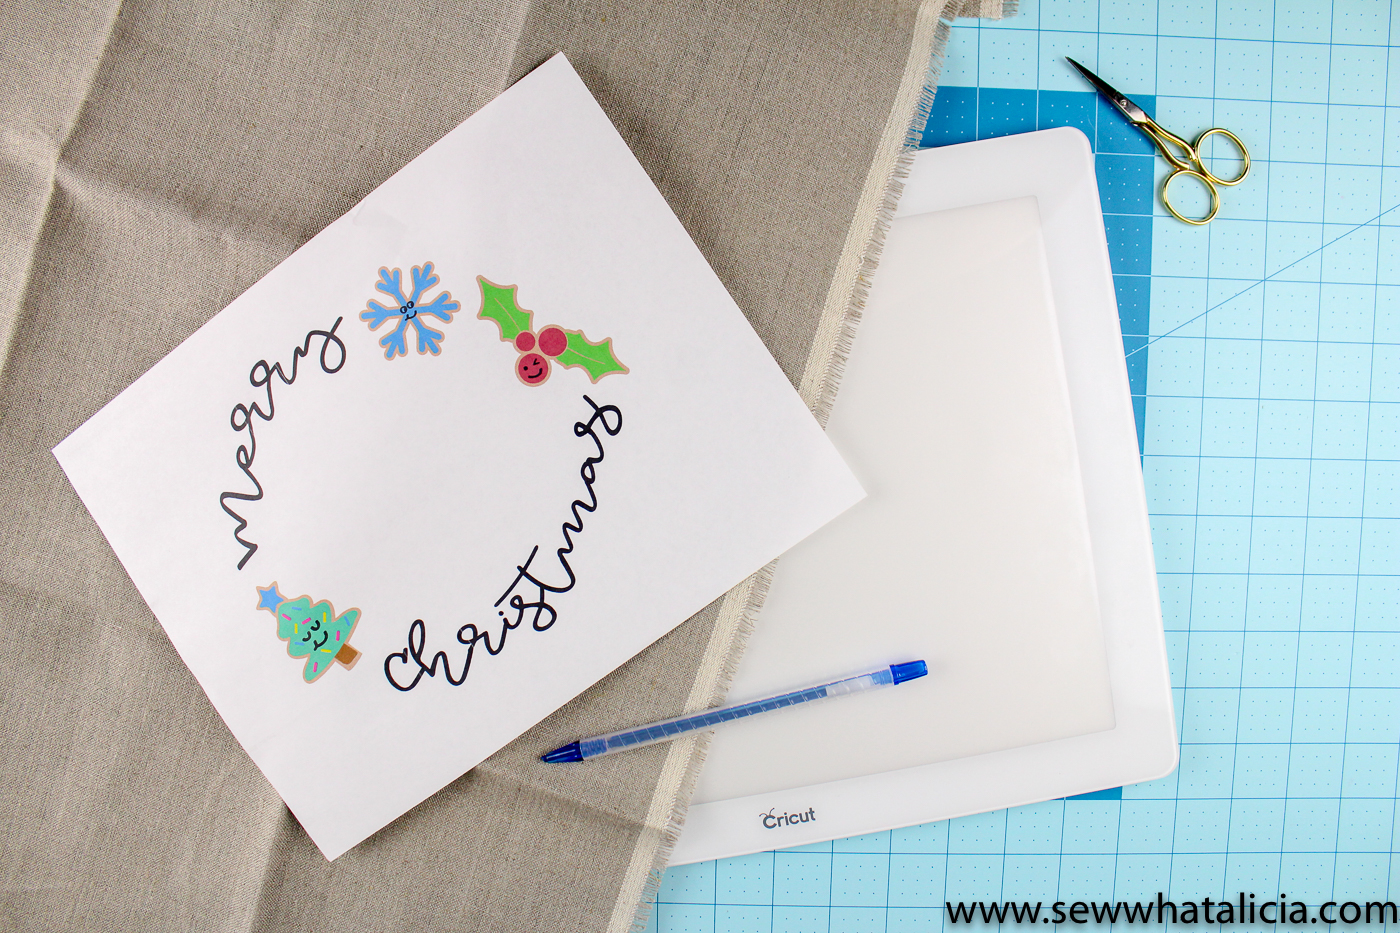
To start the wreath place the linen into the largest hoop. Pull the fabric tight, it should sound like a drum when you tap it with your hand. Place the hoop down onto your light box, or up against a window. Line the 6″ hoop up in the middle and mark around the inside with a pencil, then set this small hoop aside.
Trace the pattern onto the hoop. The pattern is designed so that you can place the elements where you choose. Be sure that the elements do not go too near the center hoop circle that you have marked.
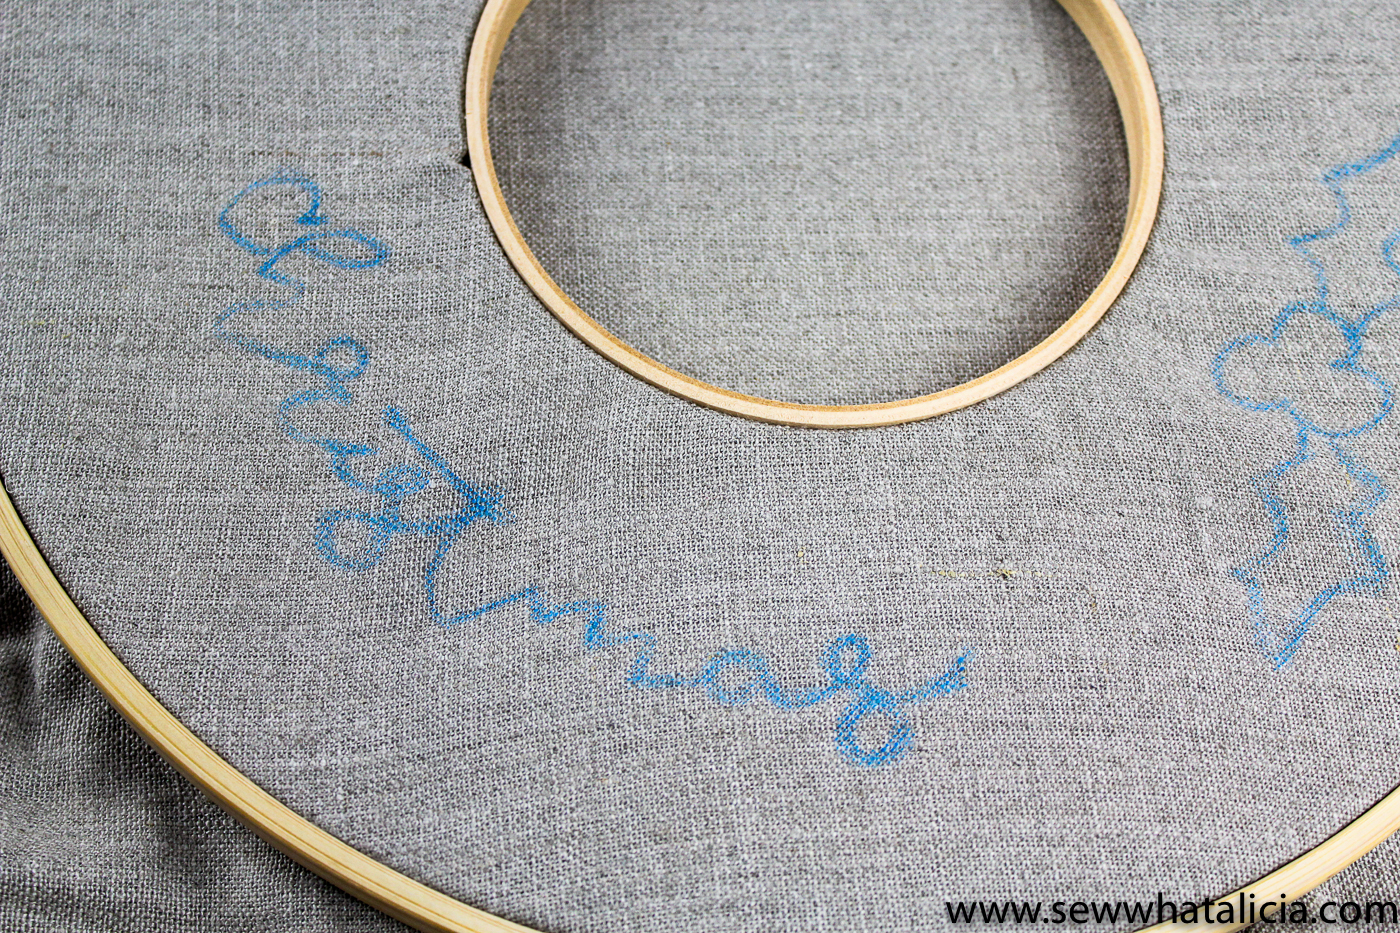
Remove the linen and place it the other way in the hoop. The pattern is on the inside so you have to move it to the outside to embroider.
For this wreath I chose to use the full 6 strands of embroidery floss. This gives it a really chunky look. If you prefer the more traditional look of small stitch embroidery use only three strands and make smaller stitches than you see in the examples below. This is a personal preference so please do it the way you like, which is what I have done.
What are the various embroidery stitches?
The stitches I have used in this wreath are as follows:
Split Stitch –
The split stitch is seen on the words Merry Christmas. To complete a split stitch bring the thread up through the back and then back down ~1/4″ from the start. Then bring the thread up again through the middle of the first stitch and down again 1/4″ from the start. Repeat this until you have finished the word or design you are working on.
French Knot –
This VIDEO will show you exactly how to complete a french knot. Start by pulling the thread up through the back of the fabric. Then hold it tight and wrap it around the needle three times. While holding the thread tight around the needle press the needle back through the fabric just next to where you brought it up. The tighter you hold the thread the tighter and smaller your knot will be. If your knot is loose that means you are not holding the thread taut enough. If you cannot get the needle back through then you are holding the thread too tight. Getting french knots that are the same size and have the exact same look takes a LOT of practice. Embrace the imperfections! The french knot is used in the berries and on the small flowers around the circle.
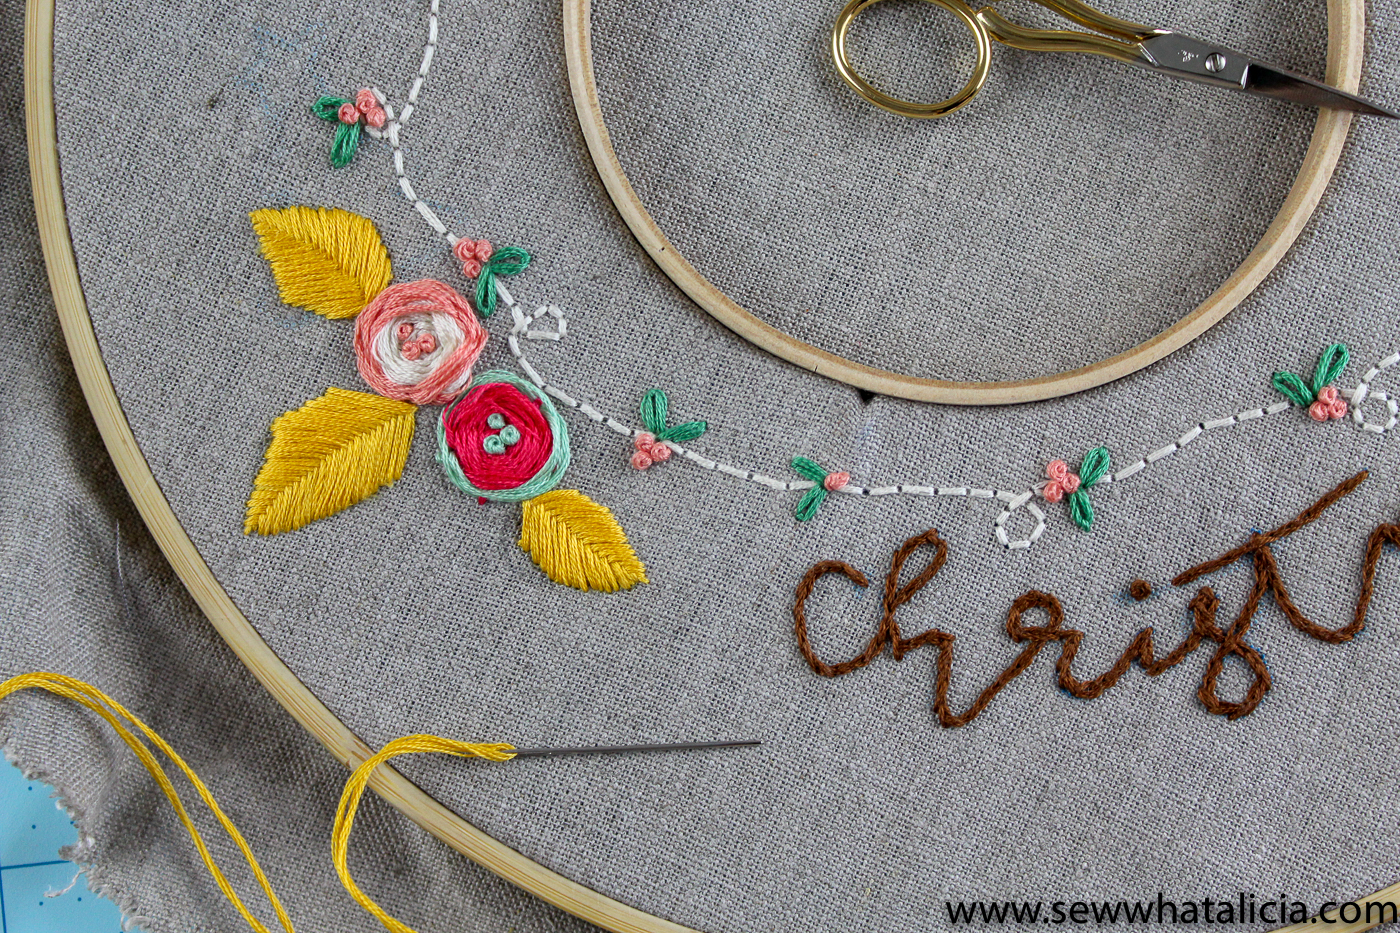
Brick Stitch –
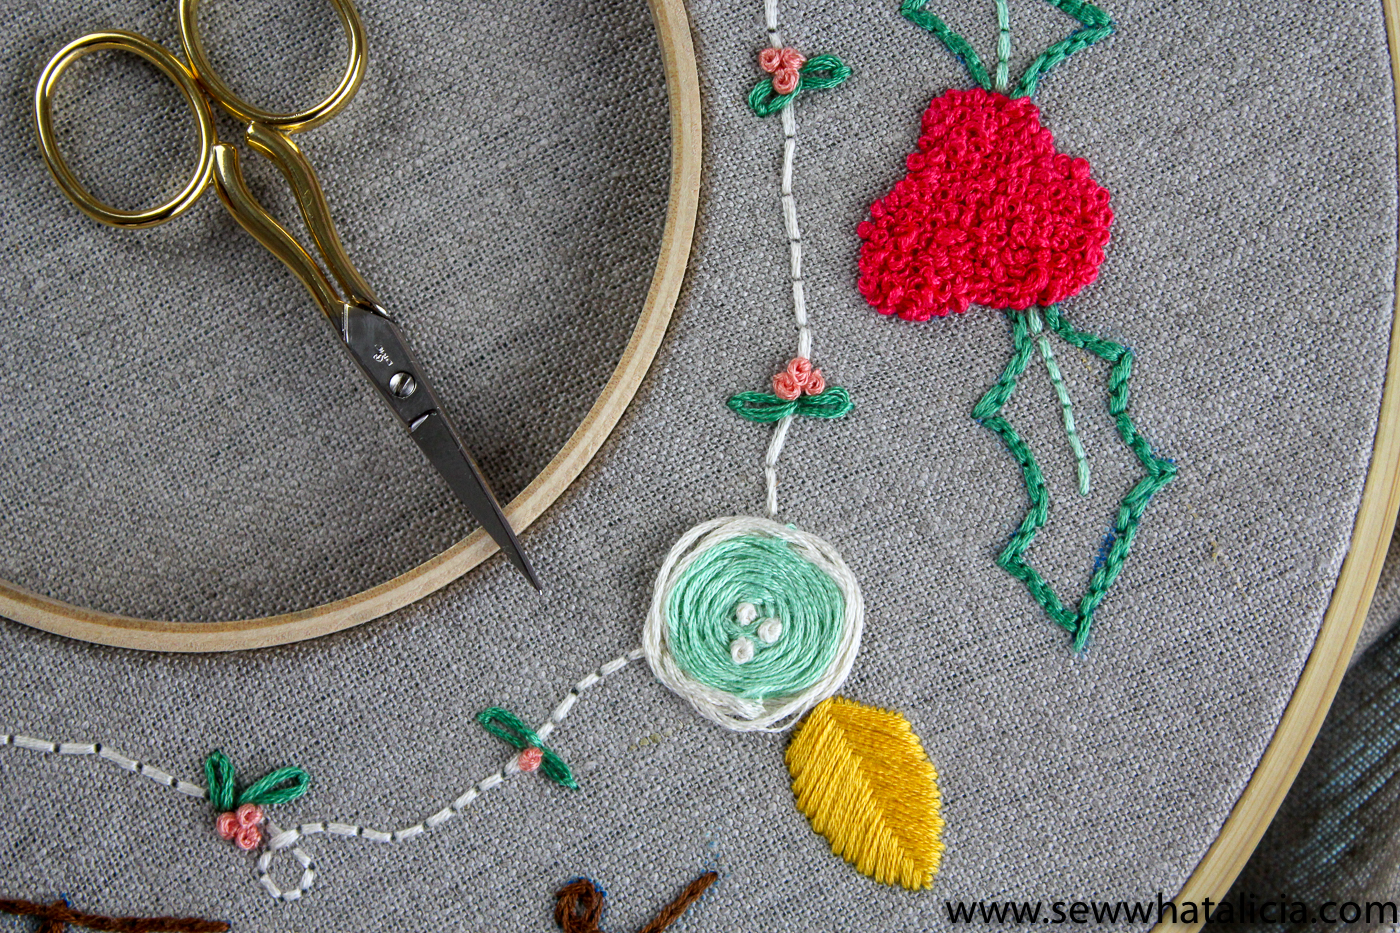
The brick stitch is used for the holly leaves (see the image above.) To complete the brick stitch you will go around your image once using back stitch. Then go around the inside of the stitches you just completed offsetting the stitch (it should look like a brick wall does.) You can do one layer or many layers of brick stitch to fill an entire image. If you don’t want to do brick stitch to fill the entire leaf or design consider using watercolor pencils to fill in the remainder of the leaf.
Leaf Stitch –
There are countless numbers of ways to create a leaf. This is the method that I used for this wreath. This is the gold leaves in the images above and below.
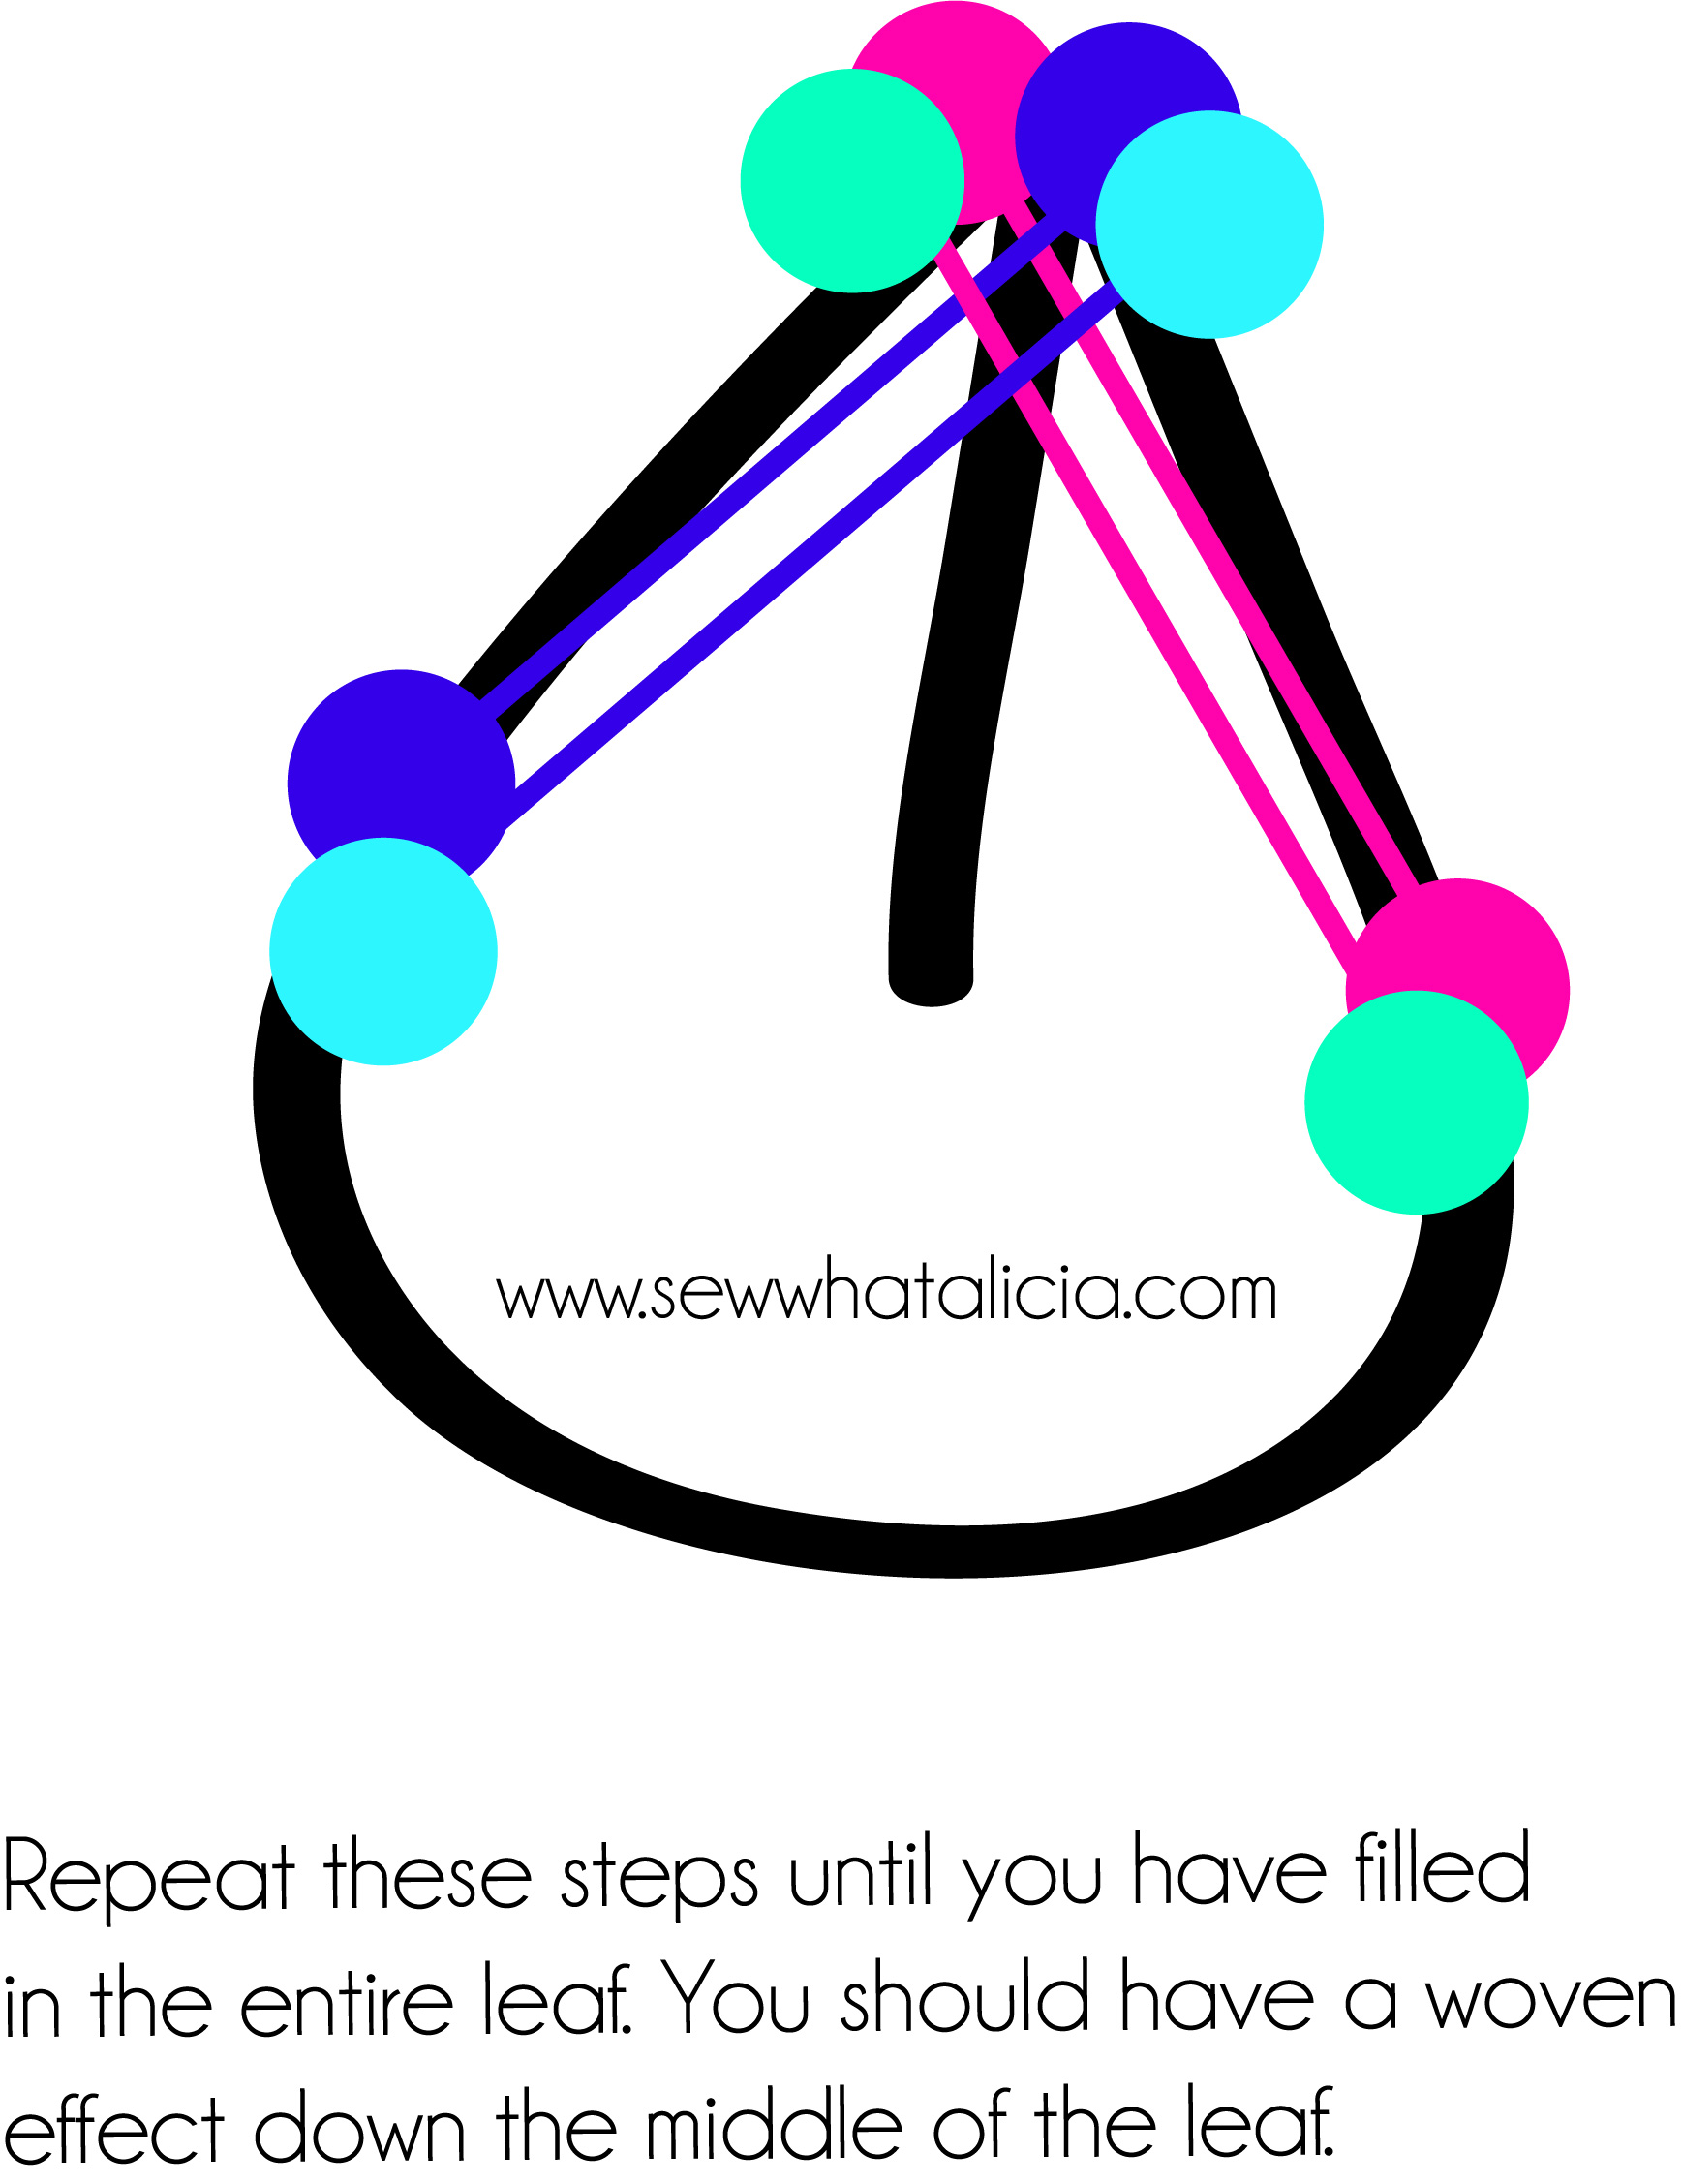
Draw your leaf. Then stitch one line down halfway. Bring the thread up at the very top of the leaf just to the left of the stitch. Then put the needle down through the edge of the leaf on the right side even with the first long stitch. Next bring the needle up to the left of the long stitch in the middle of the left side of your leaf. Then put the needle down just to the right of the first long stitch at the very top of the leaf.
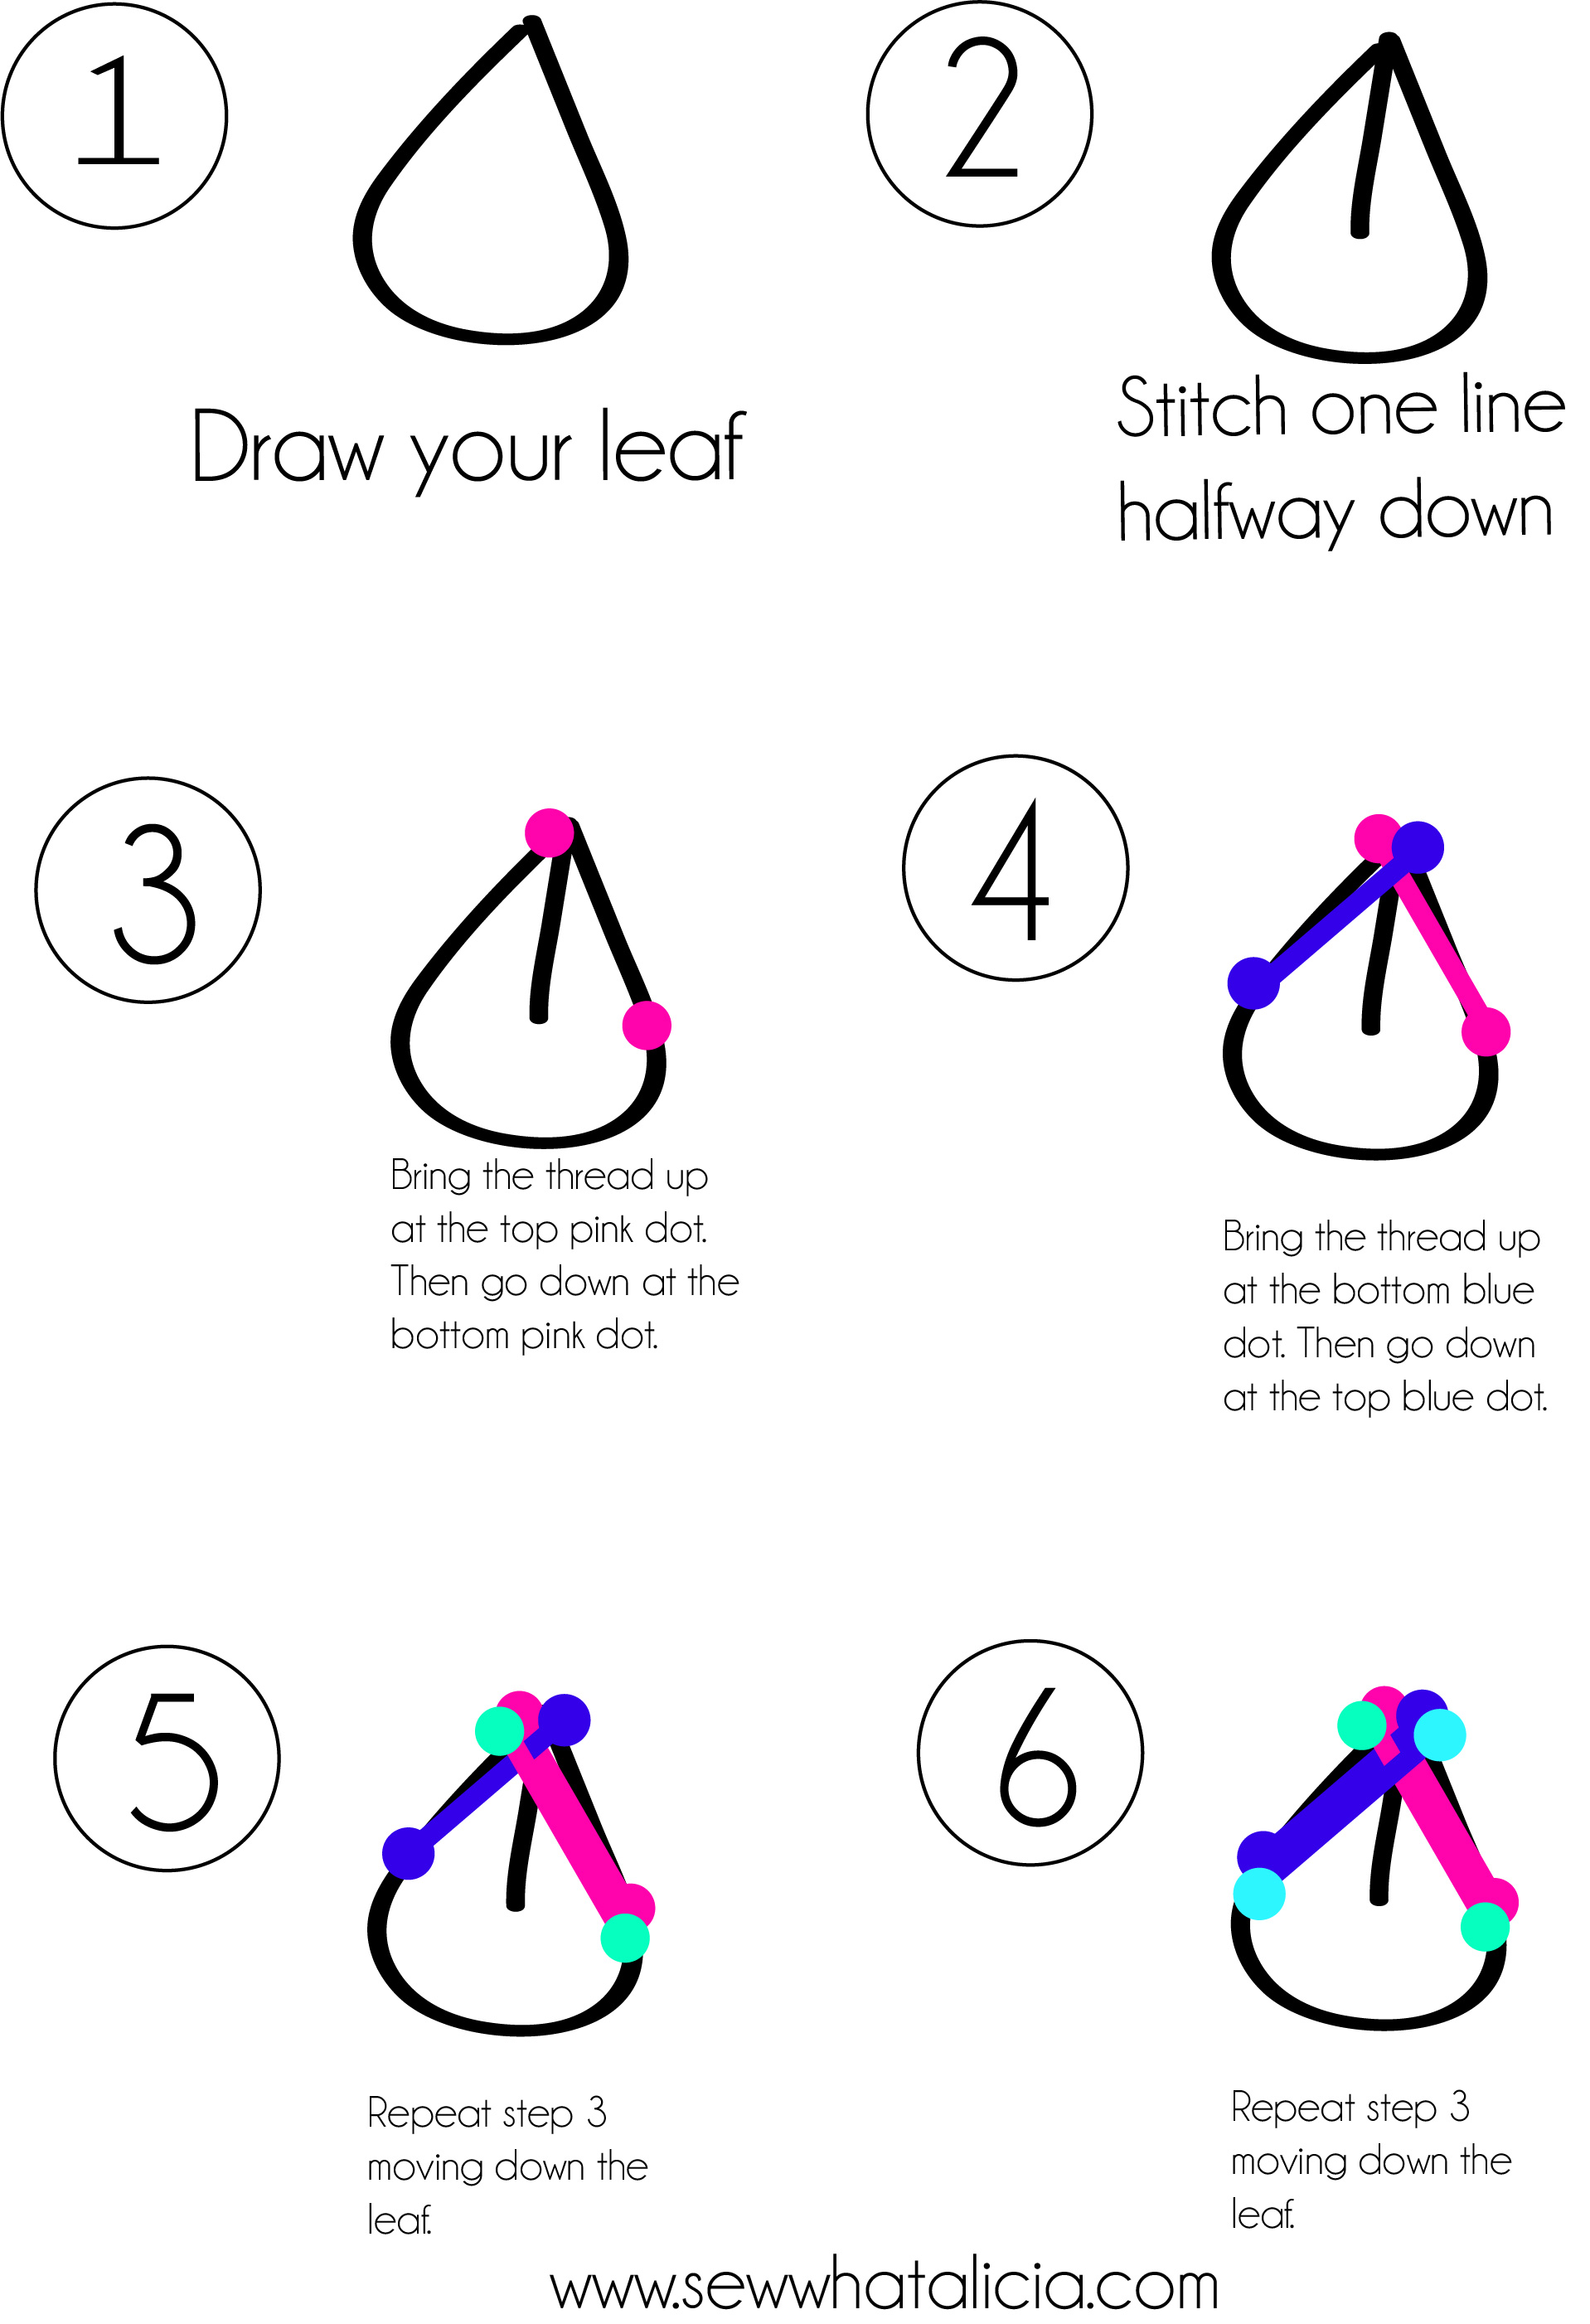
Repeat these steps creating a woven texture along the center of the leaf.
Flower Stitch –
To create the flowers in this wreath first draw a circle the size of the finished flower. Then draw 5 spokes evenly spaced around the inside of the circle. Make one long stitch to cover each of the 5 spokes. Then bring the thread up in the middle of the spokes. Start weaving your thread over and under the spokes. If your thread doesn’t lay exactly as you want it to you can place a few stay stitches around the thread, hide these stitches under the spokes so they are not visible. You can vary the thread color by bringing the thread up at the end of the previous color, again hiding the stitch under the spoke and carry on with the weaving.
Chain Stitch –
To complete the small leaves around the vine I used a chain stitch, pictured above. Bring the thread up at the bottom of the leaf then put the thread back down just next to where you brought it up. Before you pull the thread all the way through bring the needle up where you want the top of the leaf to lie. Then with the thread around the needle pull the thread the rest of the way through. Then bring the needle down just on the other side of the leaf, this will place a stay stitch at the top of the leaf. Repeat to create more leaves as desired.
Finishing the embroidery hoop wreath:
Once you have stitched the design to your liking we are ready to finish off the wreath. Grab your small embroidery hoop place the back side (the side without the hardware) on the front of your design. It should line up with the line you drew earlier. Then place the front of the small hoop on the back of your design. Press the hoop together and tighten it as much as you can. Make sure that the design is tight by tightening the inside hoop and fabric first and then you can adjust the outside fabric.
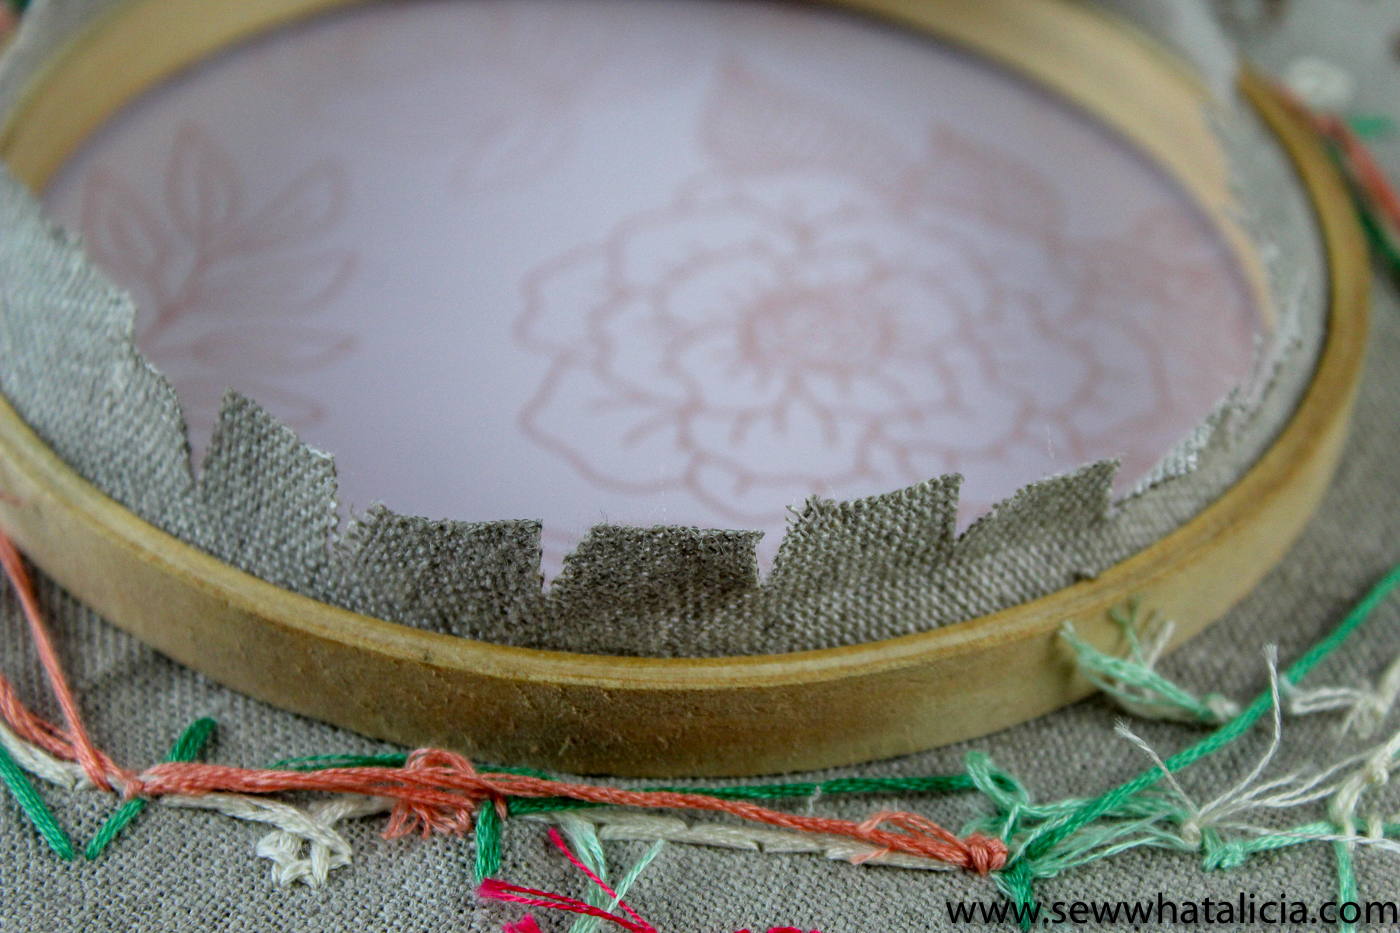
There are two options for the middle of the hoop. You can add another design in the middle and leave the fabric in place. Or you can cut the fabric out of the middle to make it resemble a wreath. To do this use scissors to cut a hole in the middle and then cut the fabric in a circle leaving an inch of fabric near the hoop.
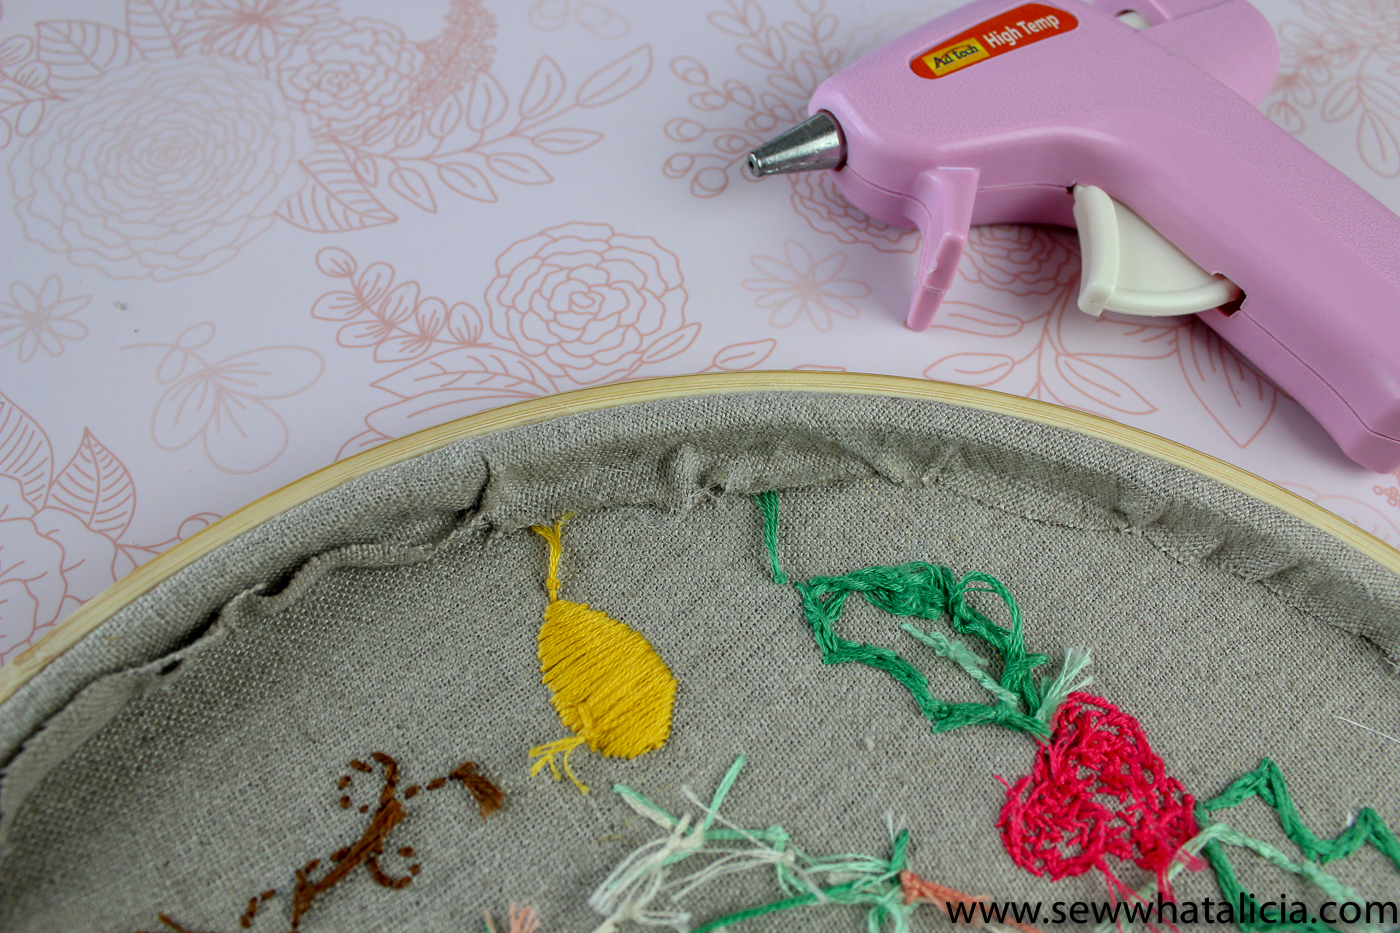
Notch the fabric and pull it tight as you glue it around the hoop on the wrong side of the design. You will also pull the fabric tight around the outside edge of the large hoop and glue the fabric in place.
I used hot glue with the linen and it held very nicely. If you choose you can also glue a circle of felt around the back of the hoop to hide the stitches.
Now you’re finished! Hang your wreath or gift it! Either way you now have one more amazing handmade holiday decorations to share this season.
Have questions about how to embroider a Christmas wreath? Share them with me in the comments below.


Leave a Reply