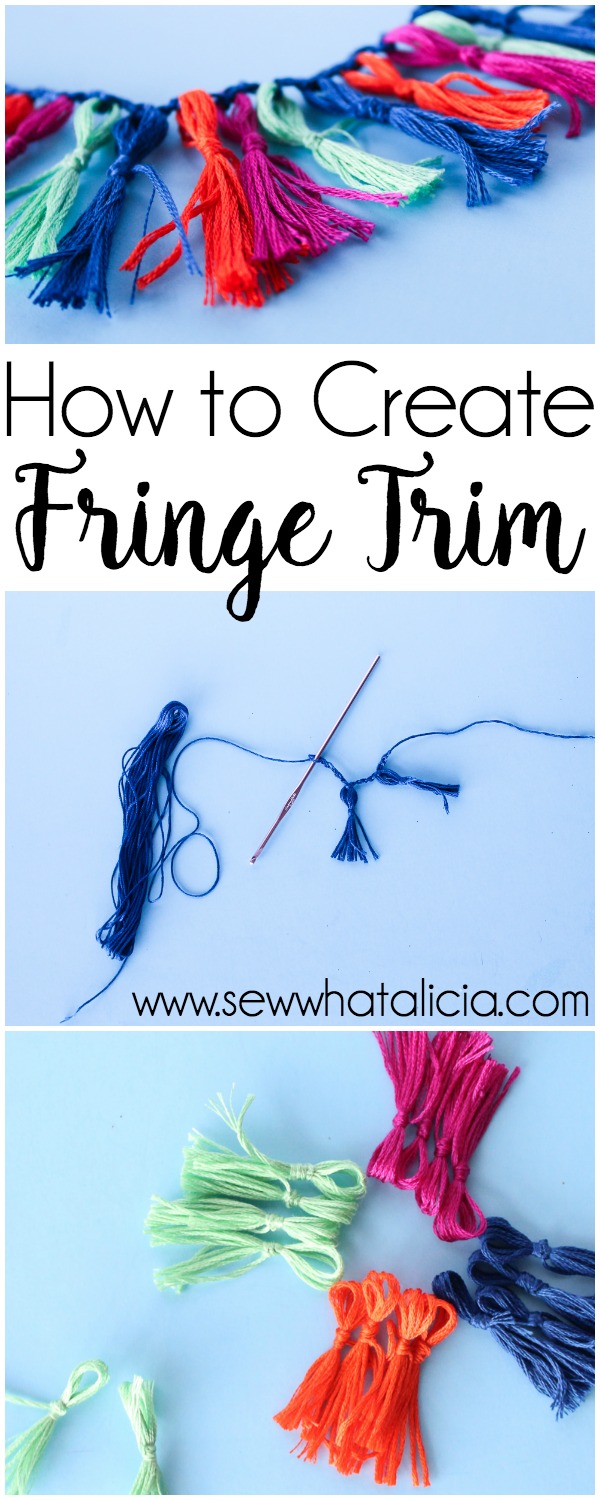
Handmade Fringe Trim Tutorial
Sometimes you want something really specific and you just can’t find it anywhere. I am totally crushing on fringe and I am completely unhappy with the retail choices. If you are in this position or if you just love to make things (like I do) never fear because I am here to teach you how to make handmade fringe trim! You are going to be addicted like I am, sorry not sorry!
Handmade Fringe Trim Tutorial
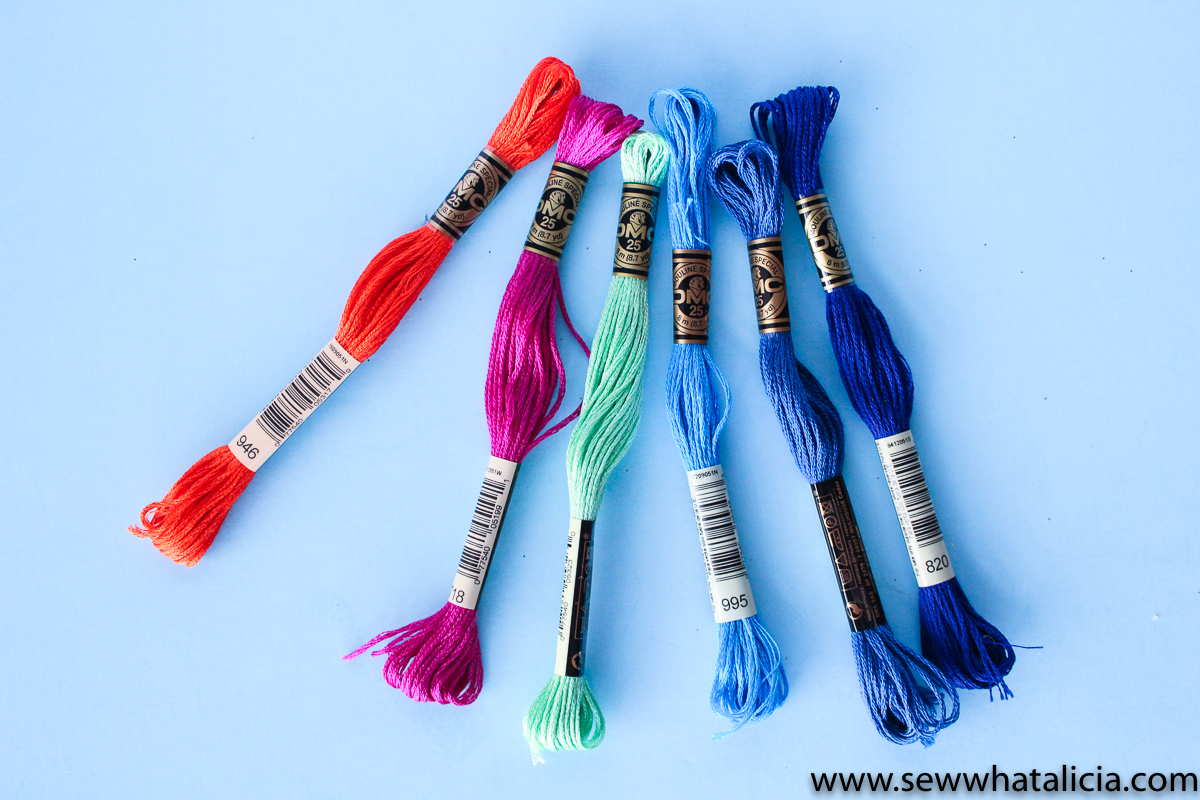
Supplies:
Instructions:
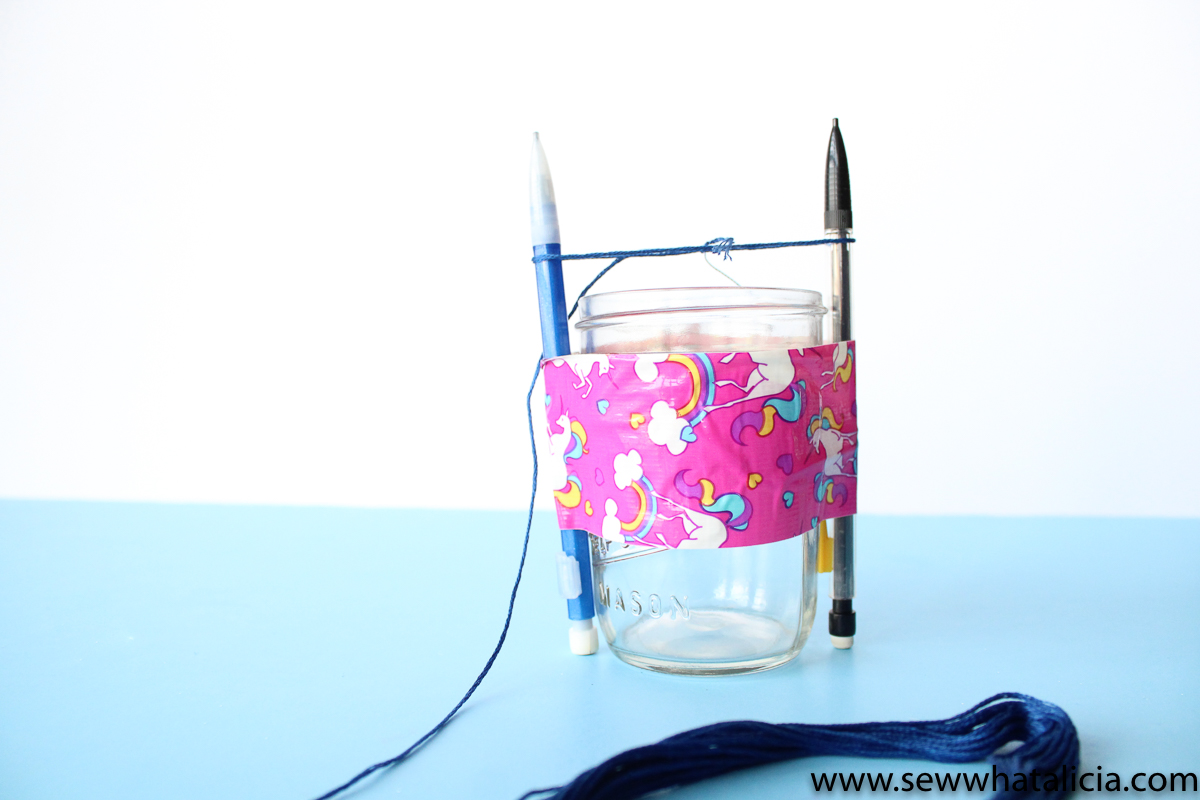
To make these little tassels I rigged up a really technical piece of equipment. Ok actually I just taped two pencils to the outside of a small mason jar.

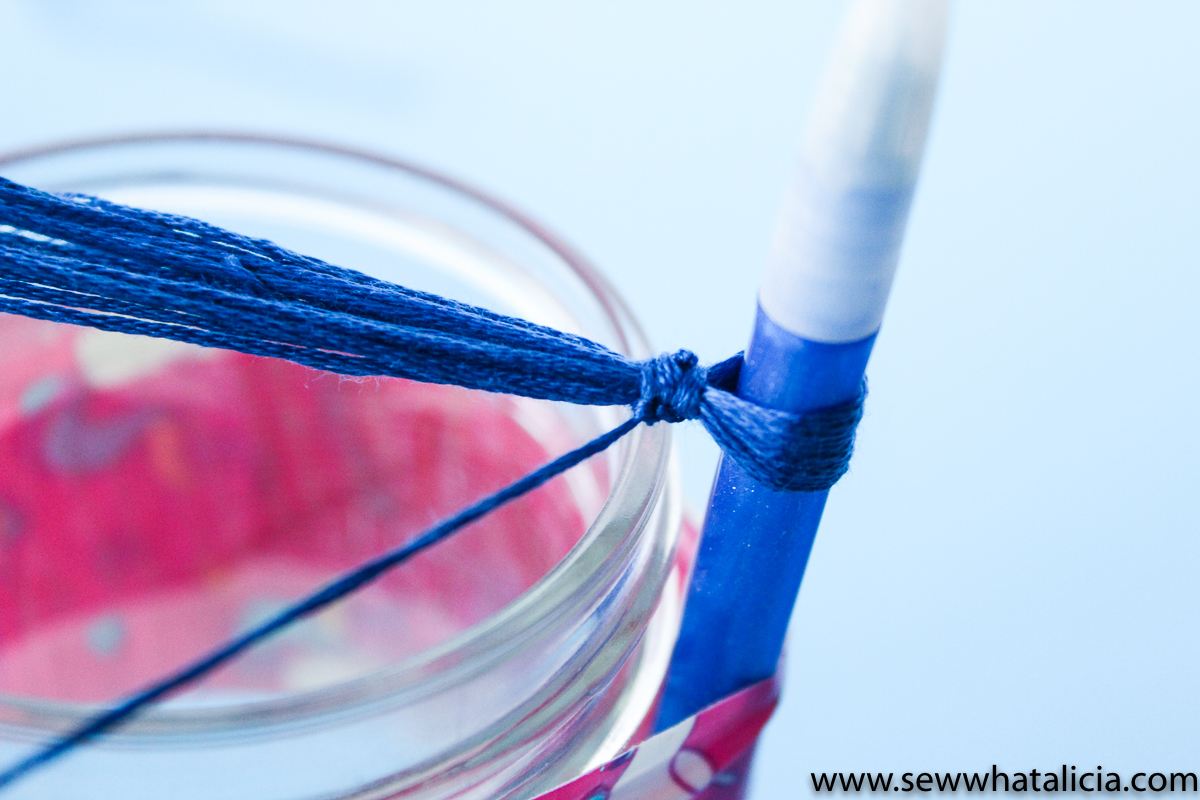
Wrap embroidery floss around the pencil, I went around 4-5 times. Then tie the end off to the beginning of the thread.
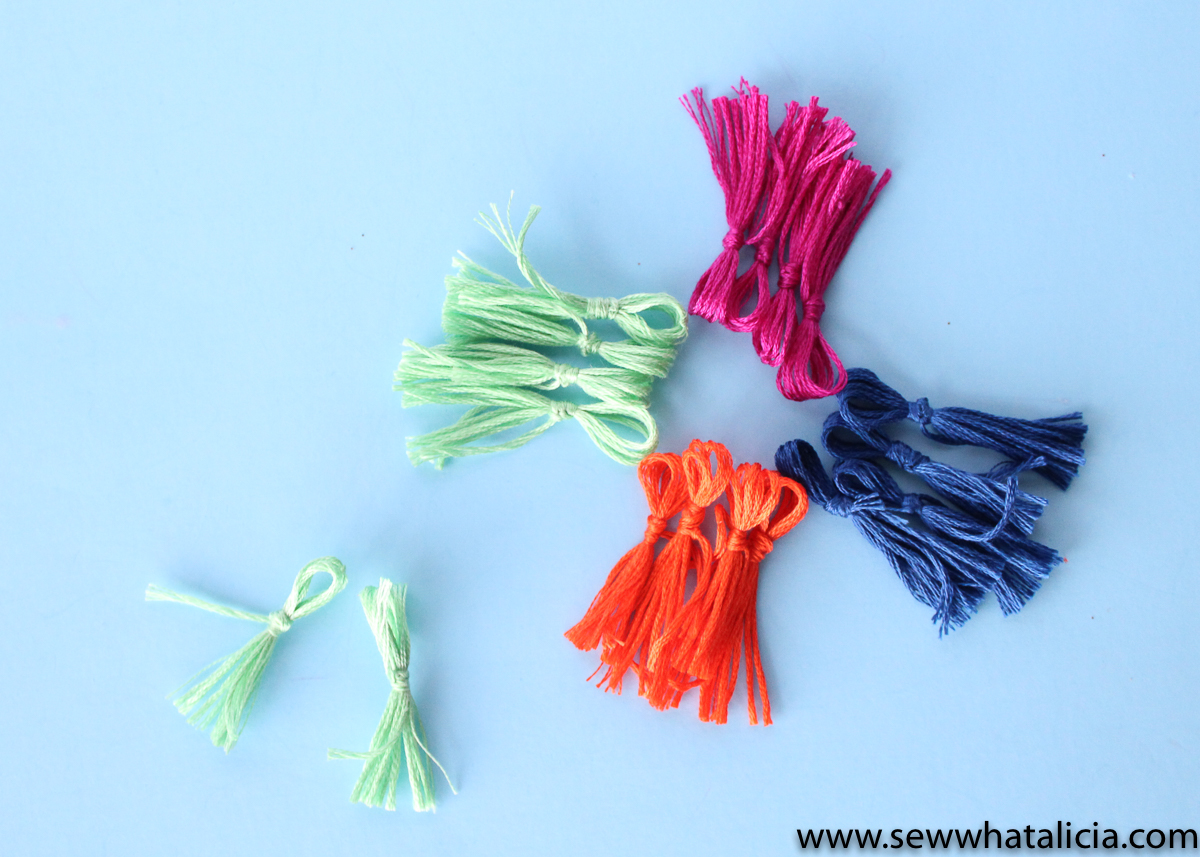
Now cut a piece that is about 6 inches long. Tie it around both sides of the floss. Tie it tight up against the pencil. Then wrap the thread around 4-5 times. Tie a knot to keep this piece in place. Repeat this step on both sides.
Now cut the floss down the middle. This will leave you with two equal tassels. Trim any floss that isn’t the same length.
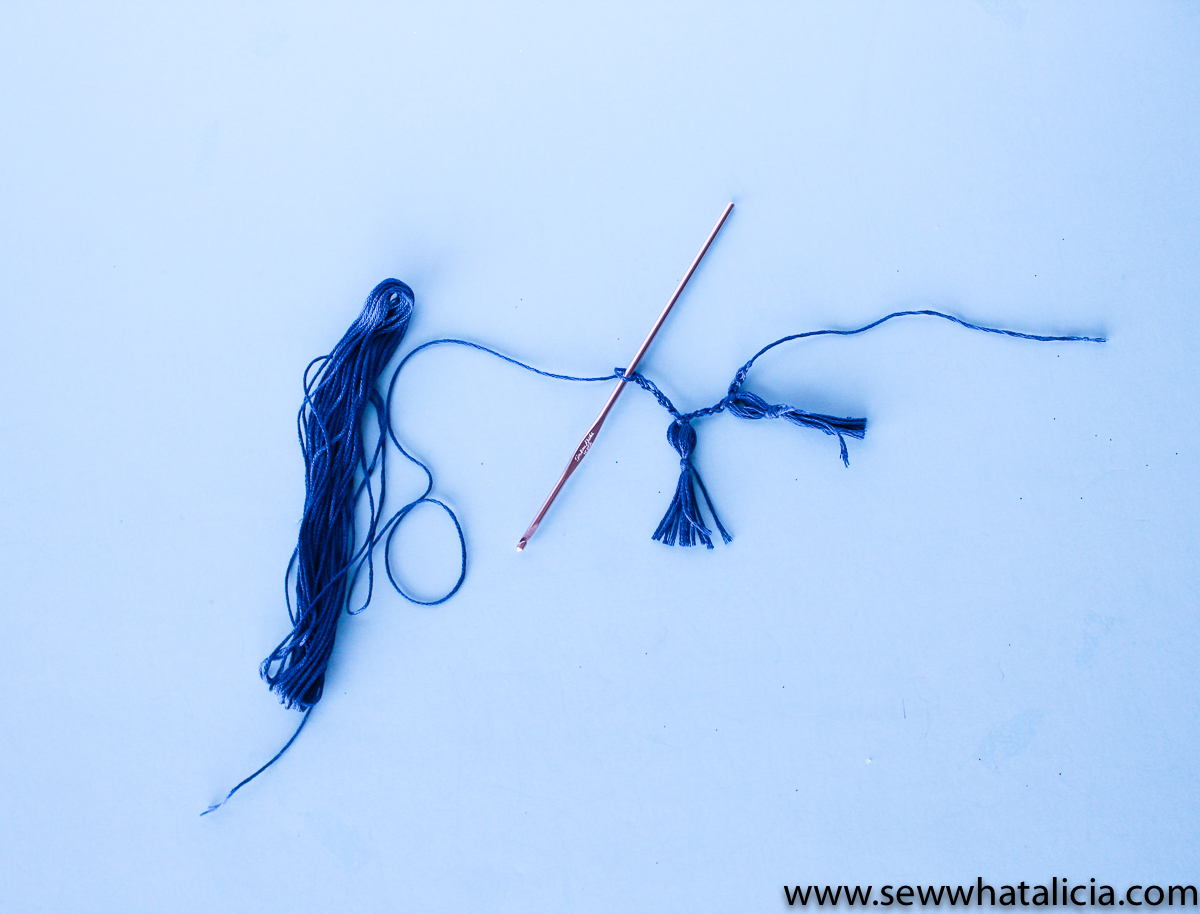
The last step is to create the long strand of fringe. For this you will need just the most basic crochet skill level. For a close fringe chain three using a skein of embroidery floss. Then put your hook through the top loop of a tassel and wrap the floss around the hook. Pull the hook through the tassel loop and then through the floss on the hook to complete the chain. Repeat this process chaining three between each tassel.
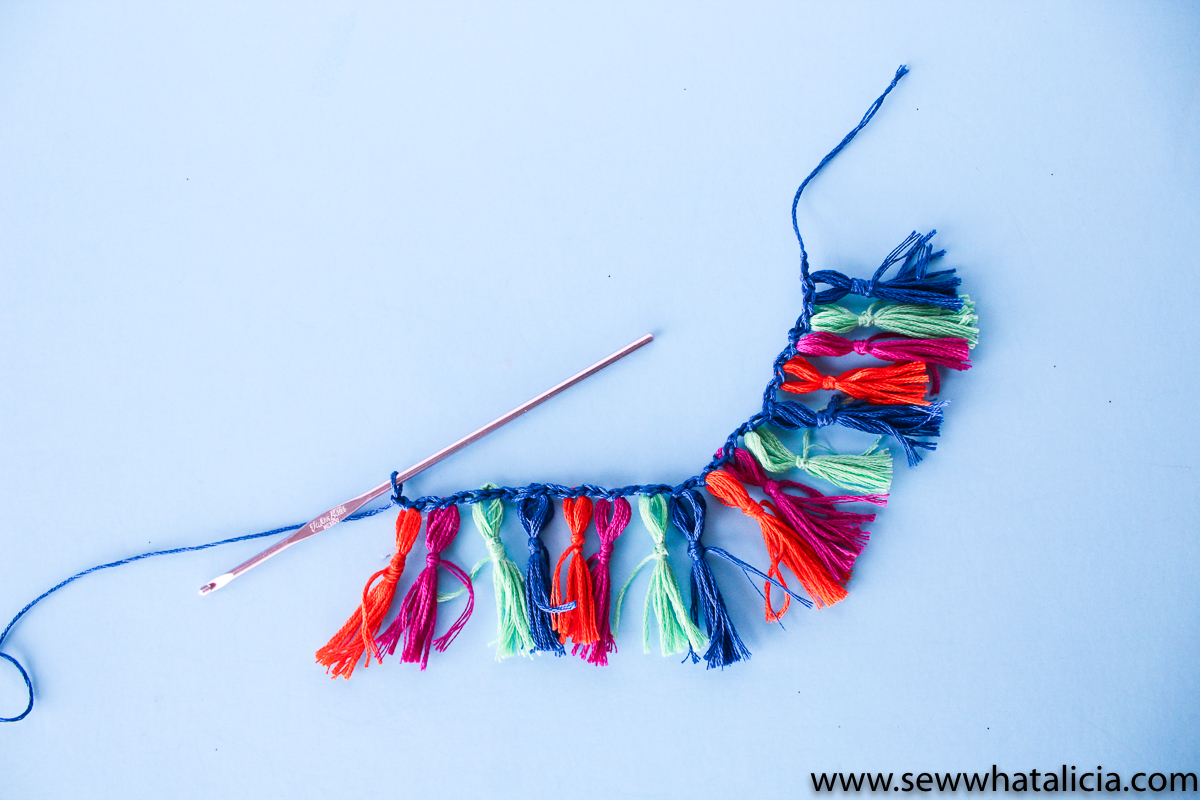
You can vary the length of your chain to make the fringe thicker or farther apart. Or try using all one color for a monotone fringe trim.
Do you love a fringe trim as much as I do? What will you add this fringe to? Share with me in the comments below.


Leave a Reply