English Paper Piecing
English paper piecing is all the rage in the sewing world. It is a really versatile medium for creating beautiful and fun hand sewn projects. But sewing by hand can be so intimidating and scary. Where do you start? This post will serve as your resource guide for all things English Paper Piecing, also called EPP.
English Paper Piecing
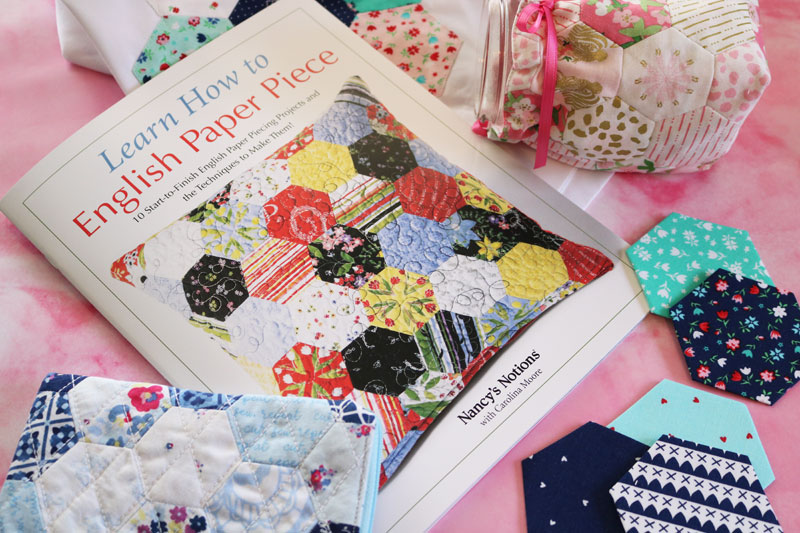
If you are brand new to EPP I recommend you try a book. This fun book has a whole list of great projects that are great for anyone just starting out. This book will walk you through all of the basics for EPP.
Check out this quick video to see EPP in action.
English Paper Piecing Templates:
The first thing you need for English paper piecing is a paper template. You can purchase templates already cut. Like these diamonds, or these hexagons. Or you can find lots of printable template options. There are also a fair amount of rulers you can get the create your own paper templates. Like this diamond ruler, or this hexagon ruler.
You can also cut your fabric pieces and paper templates using your Cricut Maker, there are lots of English paper piecing shapes in Cricut Design Space. So if you plan to do a lot of paper piecing this is a great option to consider.
If you are tracing or printing your own templates I recommend using a card stock rather than a lightweight copy paper.
Get the template for the project in this post HERE.
Regardless of the templates you use you will need to trace a 1/4″ seam allowance all the way around. I recommend tracing this onto a clear plastic so that you can fussy cut the fabric.
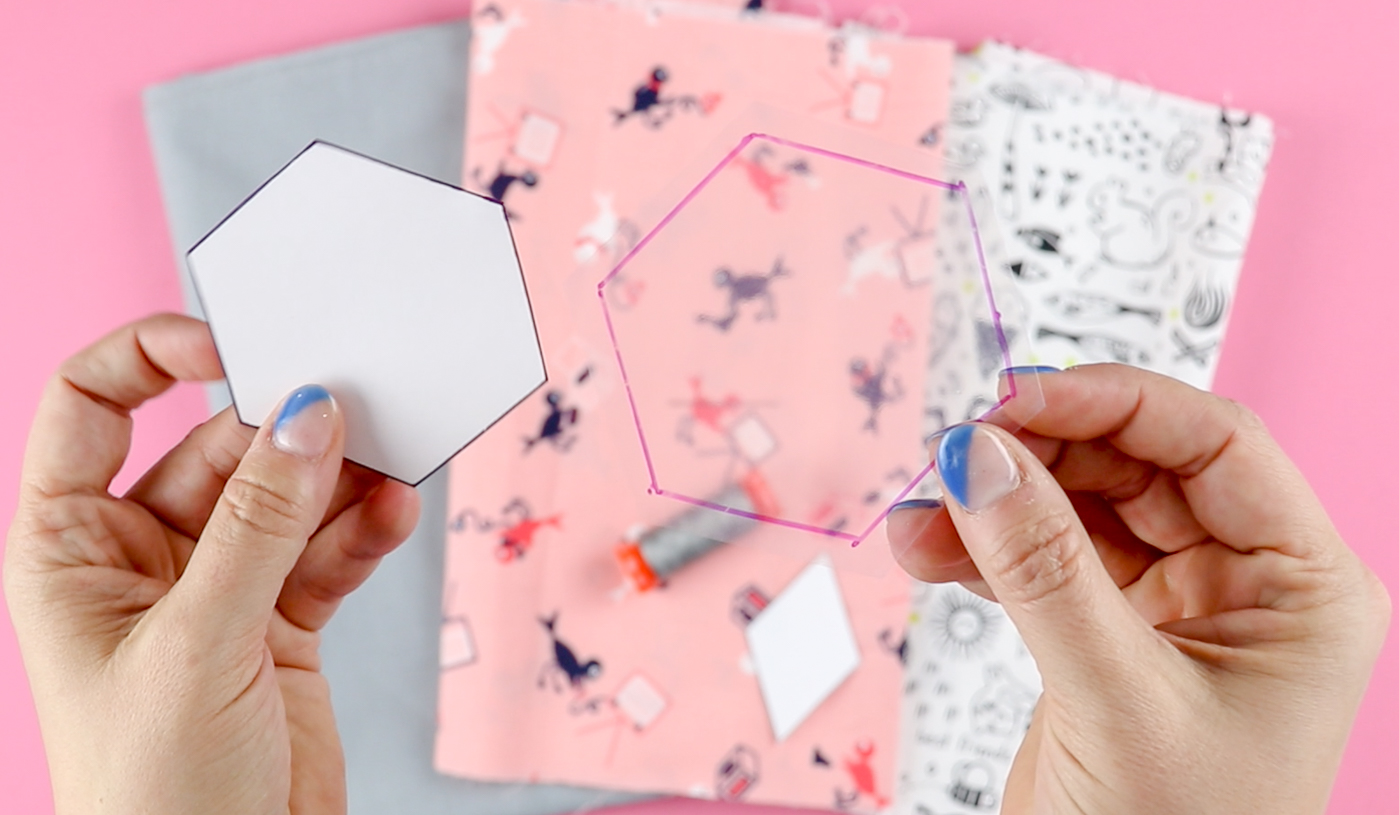
As you can see in the picture above I trace the seam allowance and trace the actual shape. This allows you to place the plastic template on the fabric to choose exactly what will show on your finished piece.

English Paper Piecing Patterns:
One of the wonderful things about EPP is that you can play with shapes and come up with a lot of your own fun patterns. If you don’t want to freestyle your own pattern you can find a lot of english paper piecing free patterns just by doing a quick internet search.
Or check out this post that has over 20 free EPP patterns.
There are also a good number of English paper piecing kits available if you want most of the work done for you! Here are just a few.
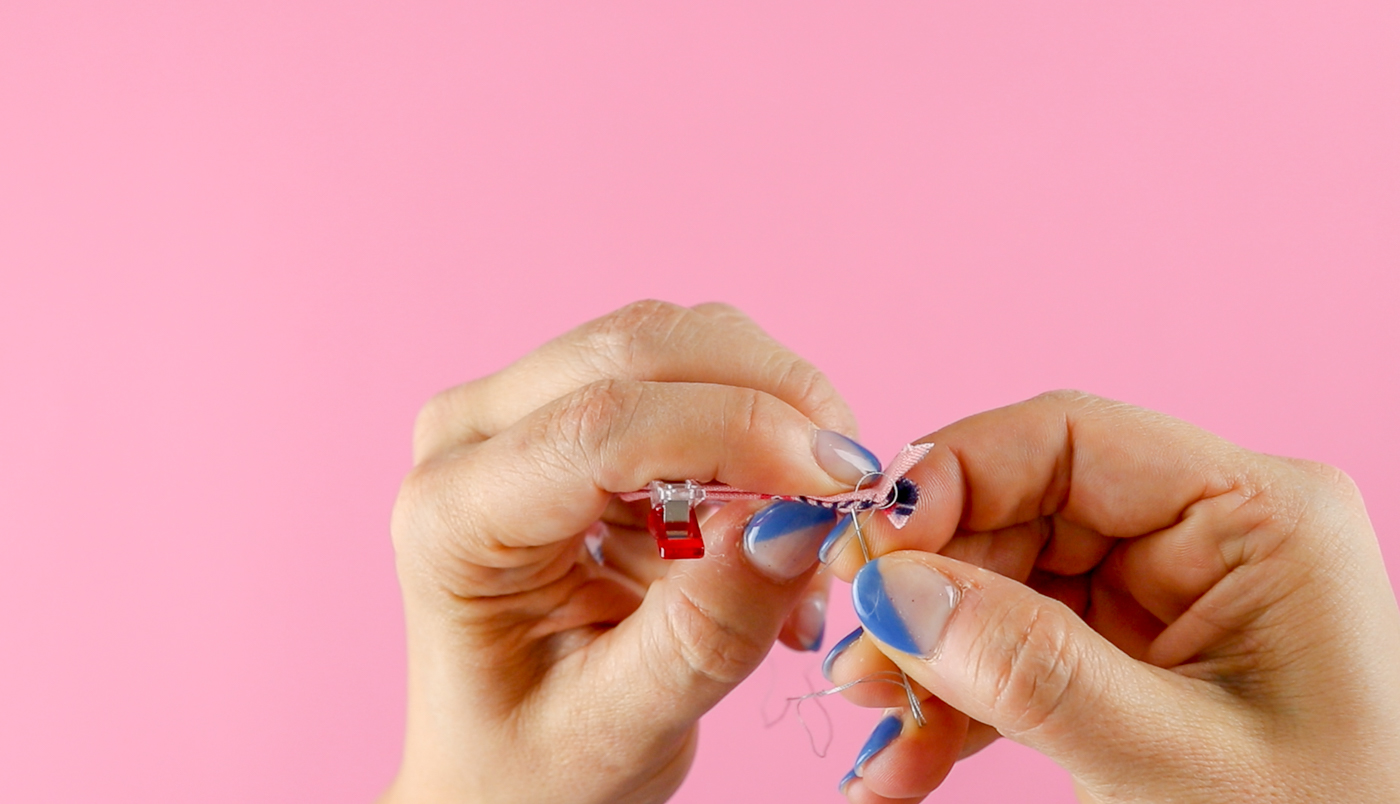
English Paper Piecing Basting:
Once you have found a pattern, cut the templates, and the pieces you are ready to start basting each piece.
There are a two methods for basting that I prefer.
First is a long running stitch to baste the fabric around the paper template. This method is somewhat time consuming but the upside is that I find it easier to connect the pieces in the next step with this method.
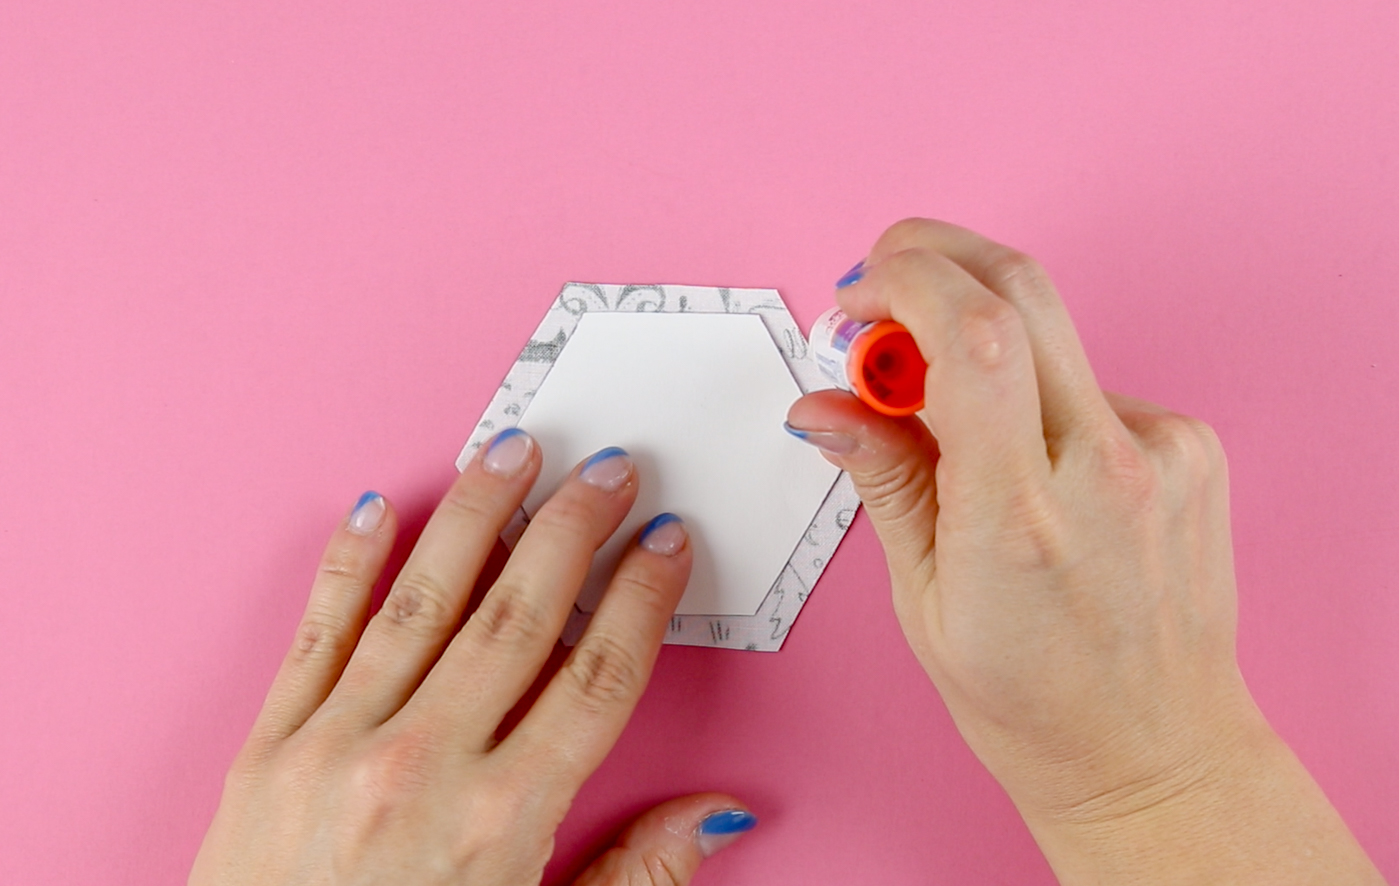
The second method I use is to use a glue stick to attach the fabric to the paper. This method is quick and super effective. It is so effective though that attaching the pieces in the next step is a little bit harder. But I typically use this method because it just saves so much time, and honestly I try and sew by hand as little as possible so I will take any shortcut!
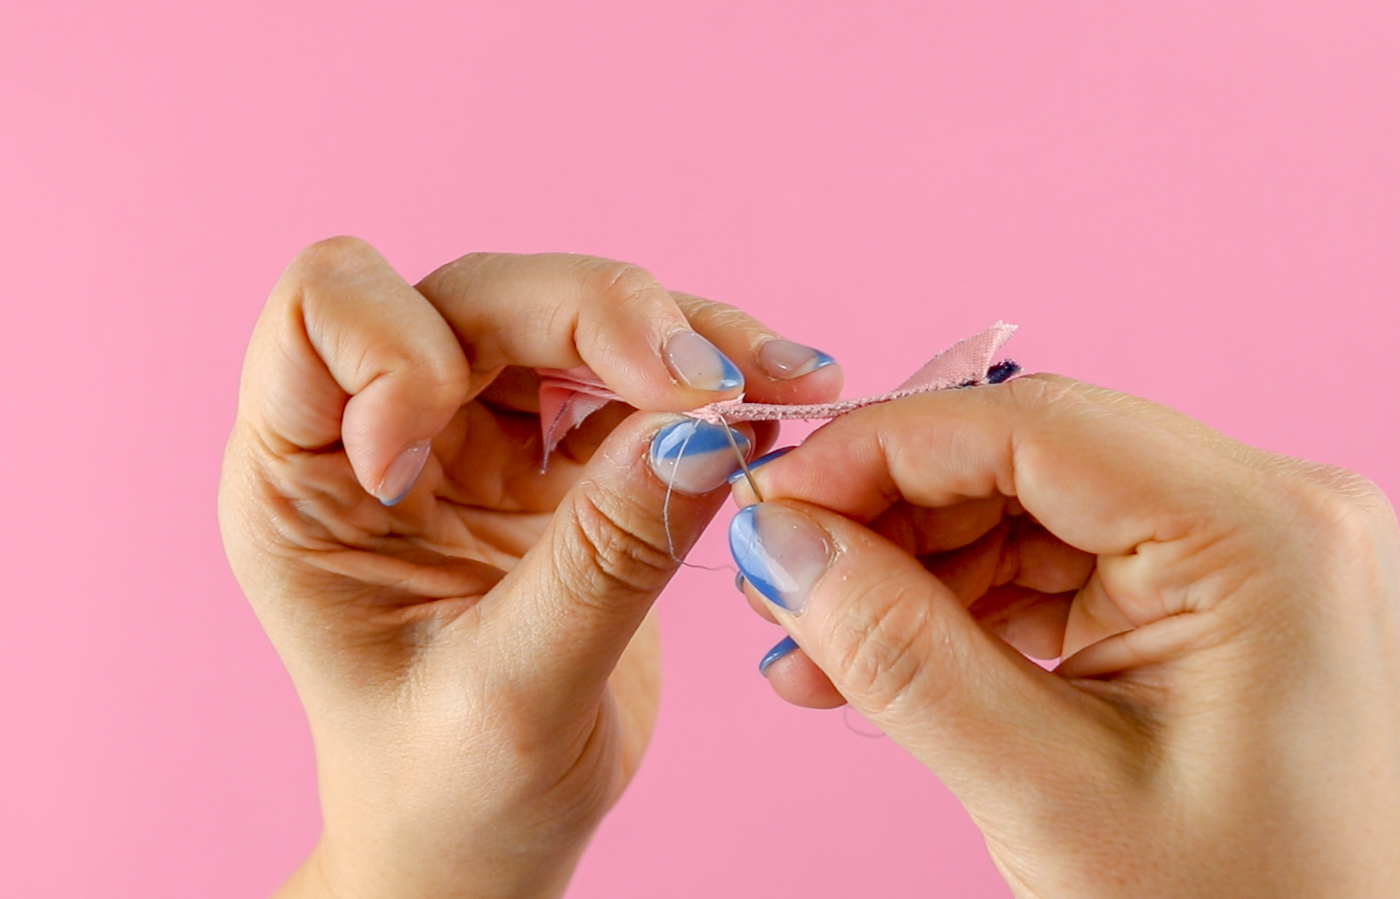
Sewing the Pieces Together:
Once you have basted all of your fabric to the paper templates you are ready to sew the various pieces together. For lots of great tips on assembling the pieces check out the EPP book I mentioned.
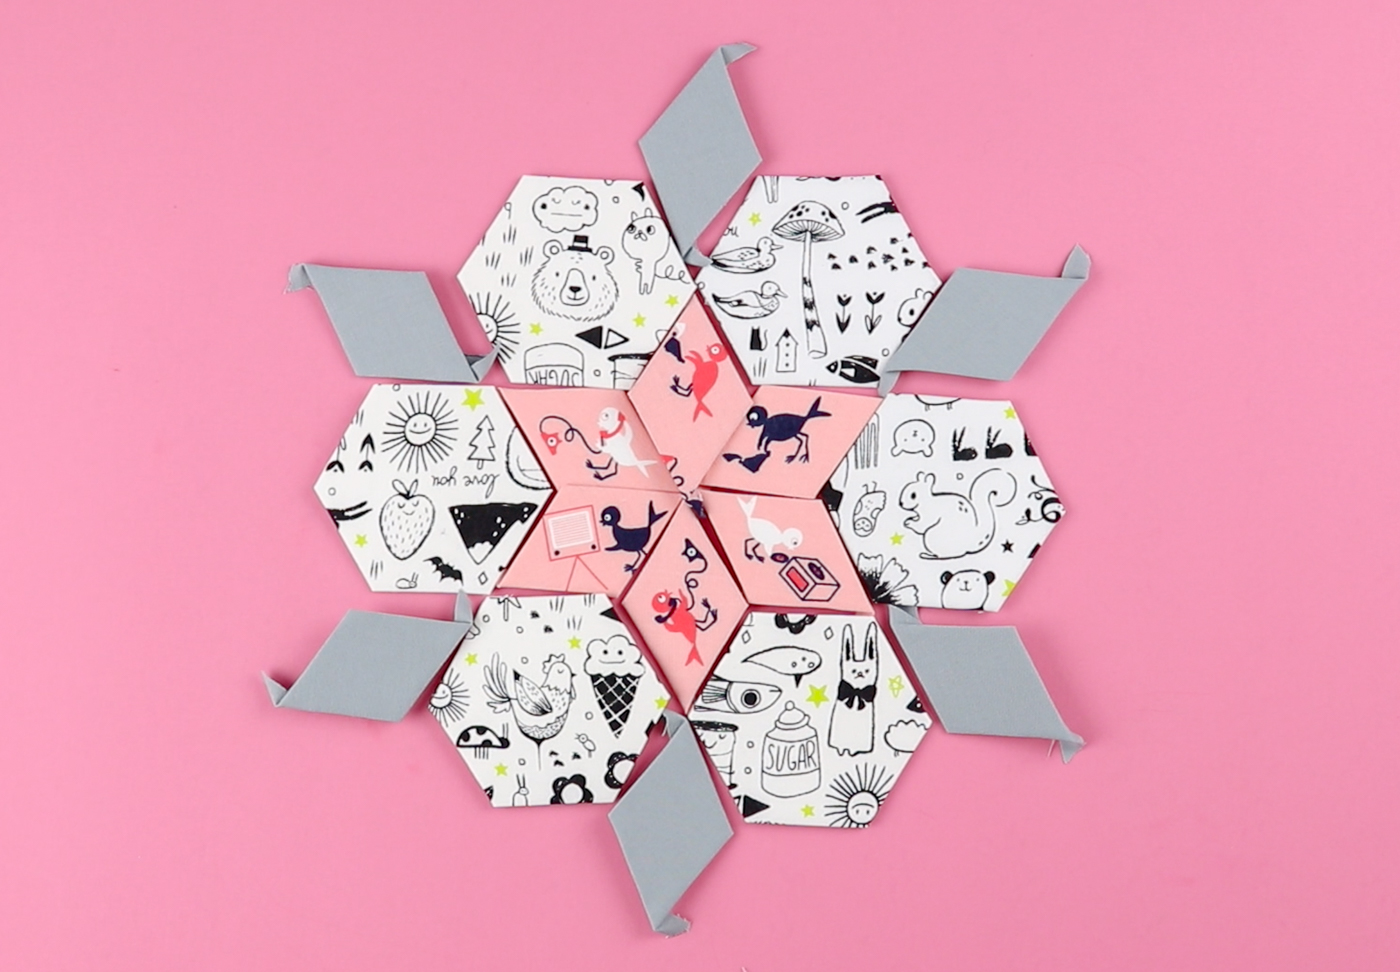
Place your pieces right sides together. Clip in place. Line up the corners. Using a matching thread and a whip stitch sew the pieces together. You will want to catch the very edge of each of the pieces, while being careful not to sew through the paper. If you sew through the paper it will difficult to remove the paper templates at the end of the process.
Continue sewing the pieces together according to the pattern.
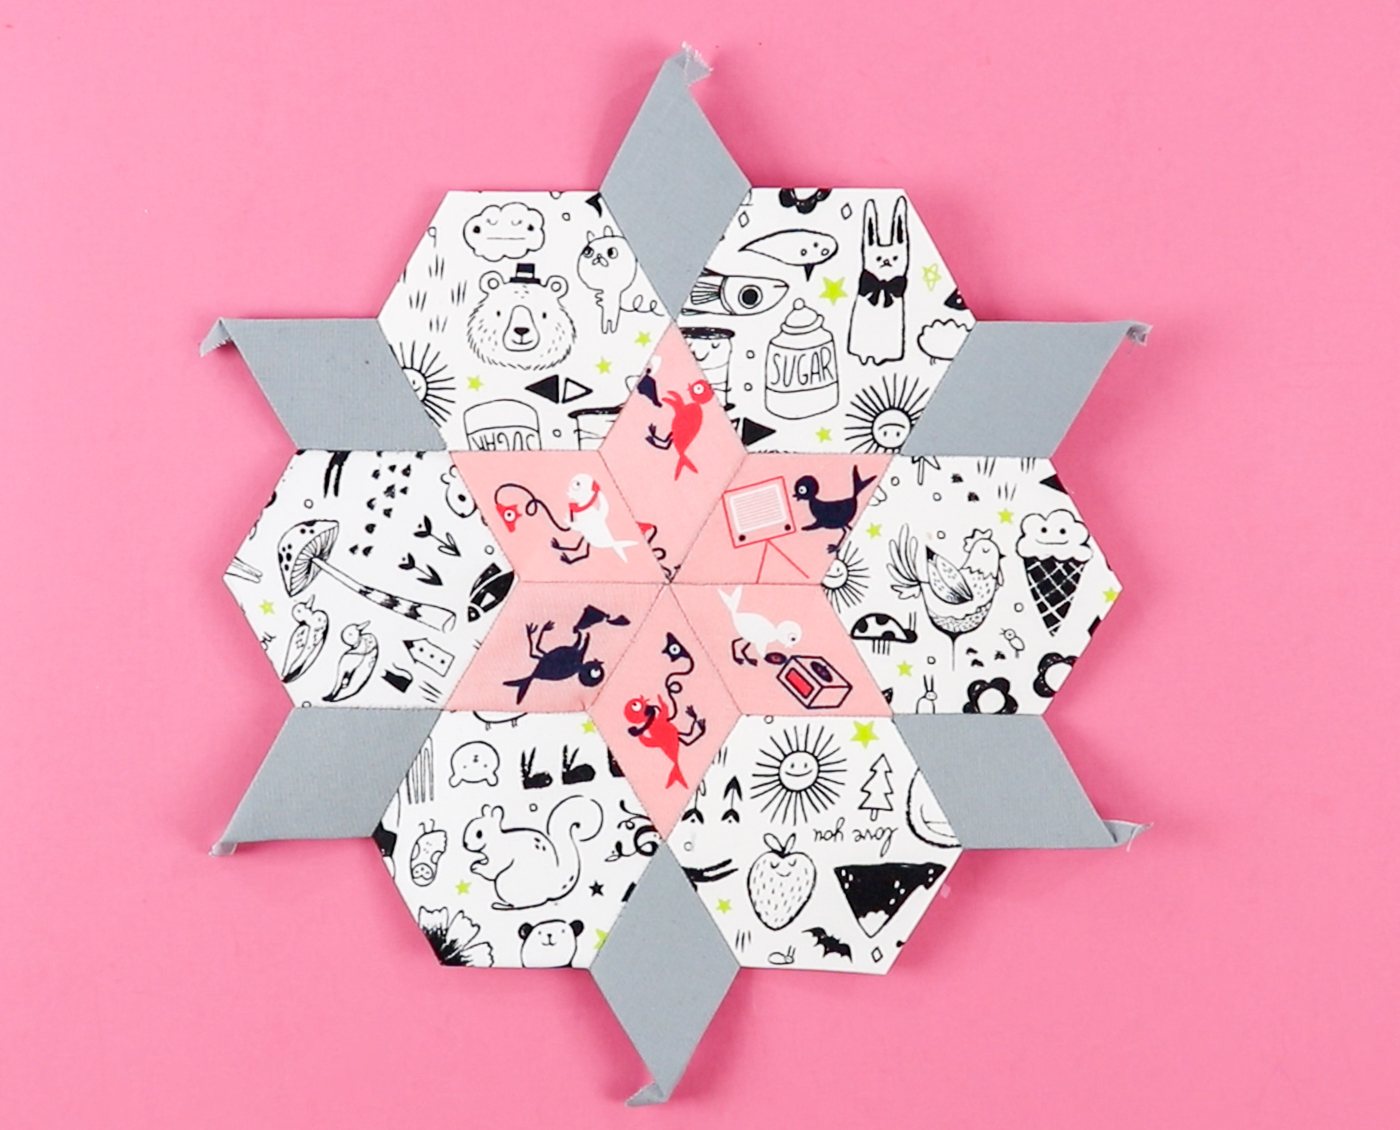
Finishing:
There are so many options for finishing your EPP. The book I mentioned has several fun projects you can use your EPP to complete. You can also make blocks and attach them to make a quilt. The pattern you choose will have detailed instructions for finishing the blocks/project.
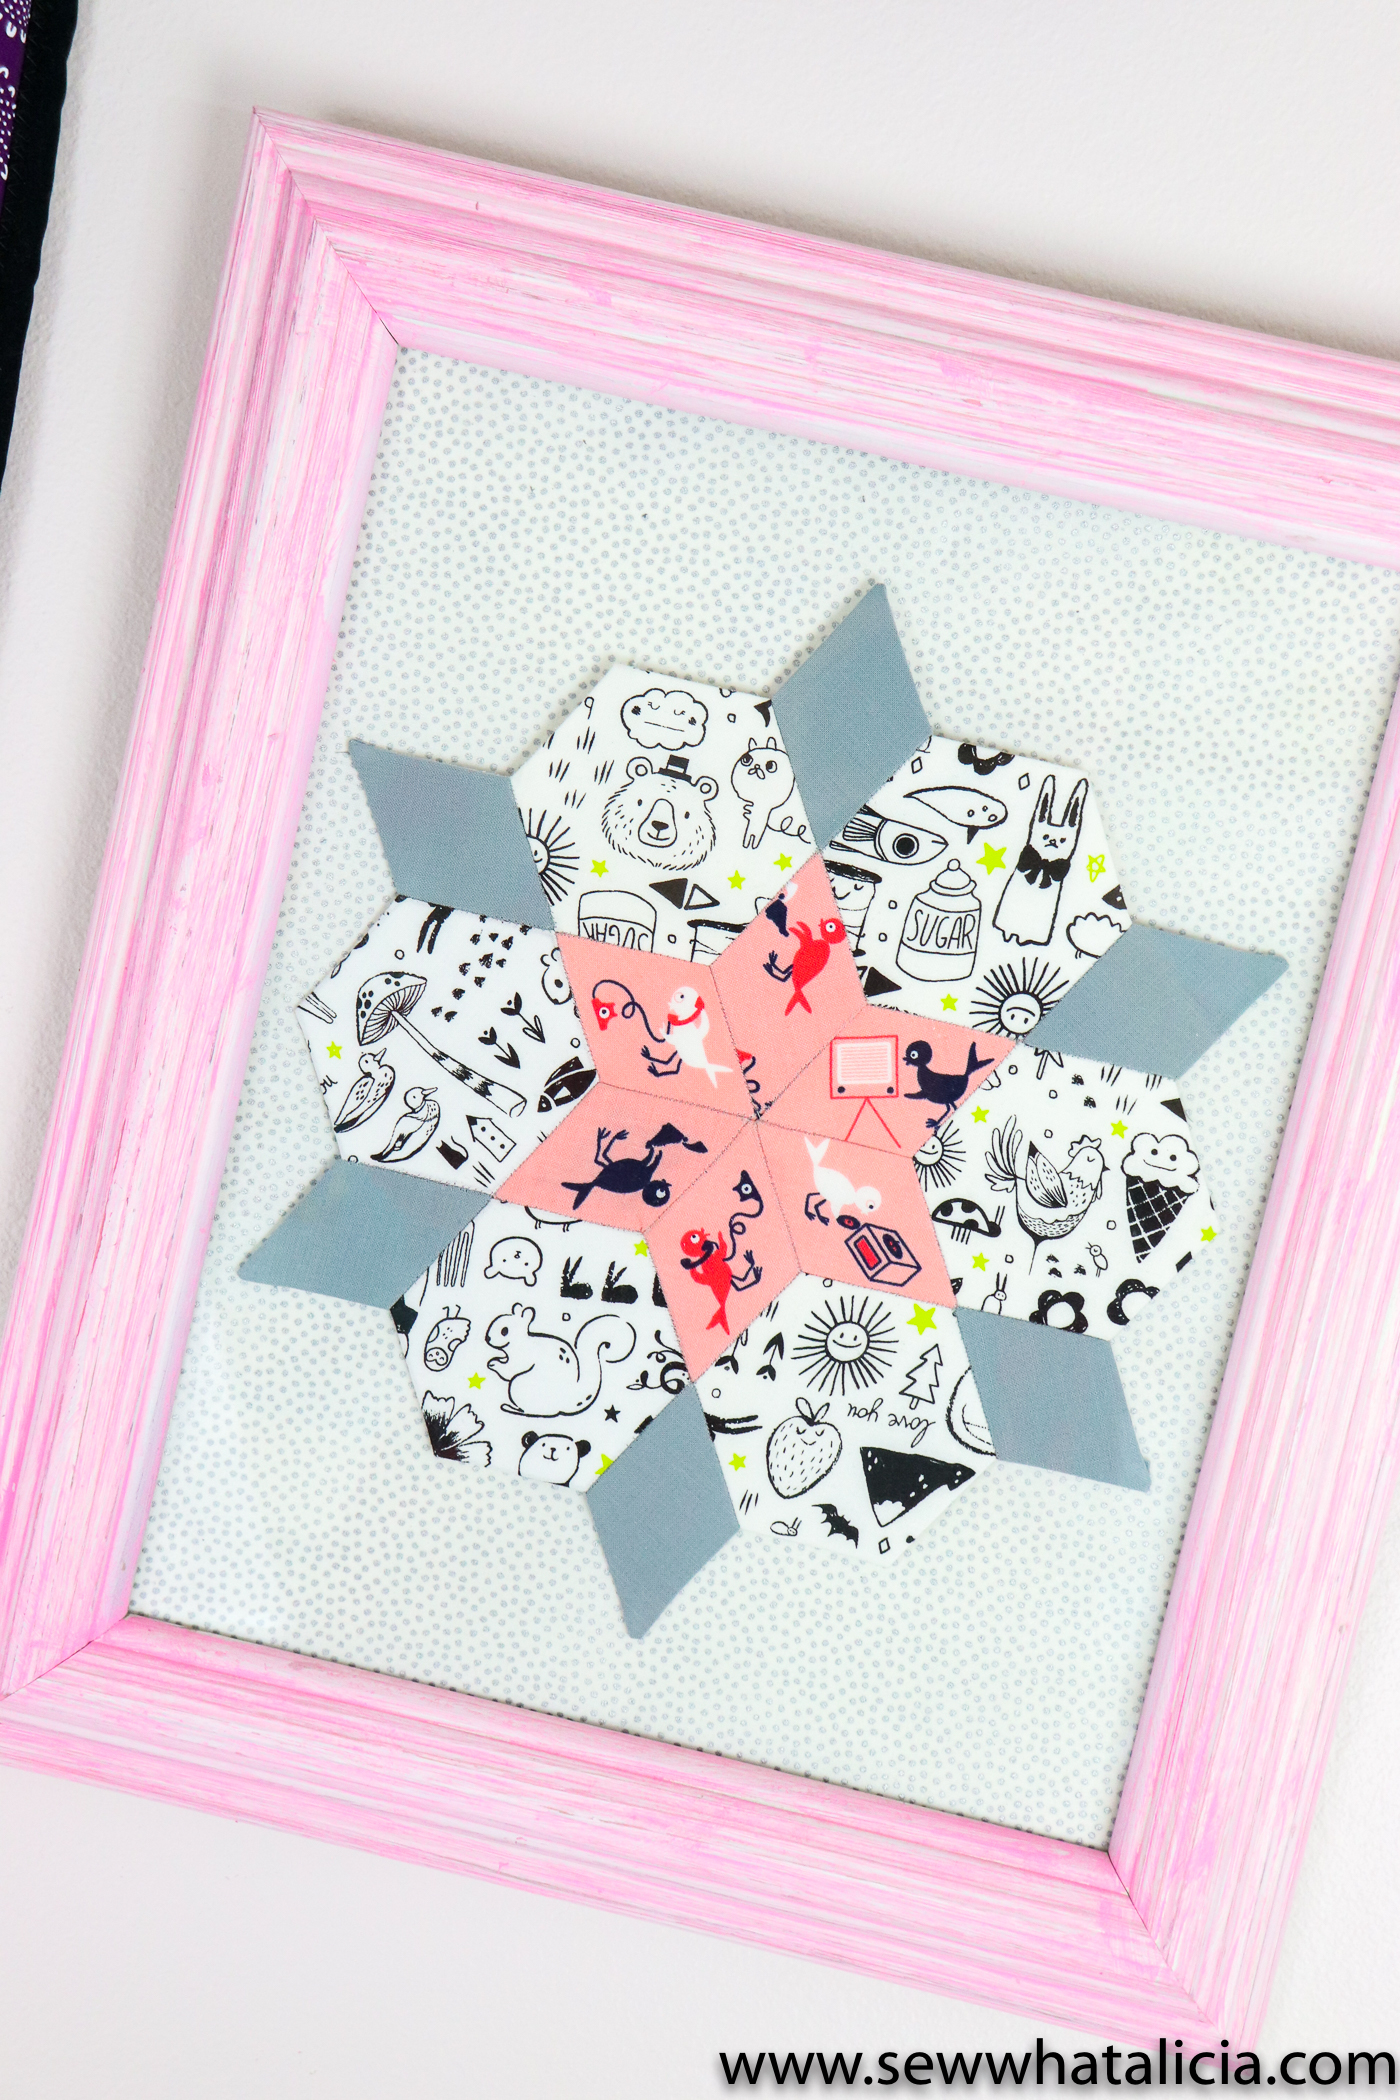
Keep the paper templates in until you have secured all the pieces and edges. If you remove the paper too soon the block will lose its shape.
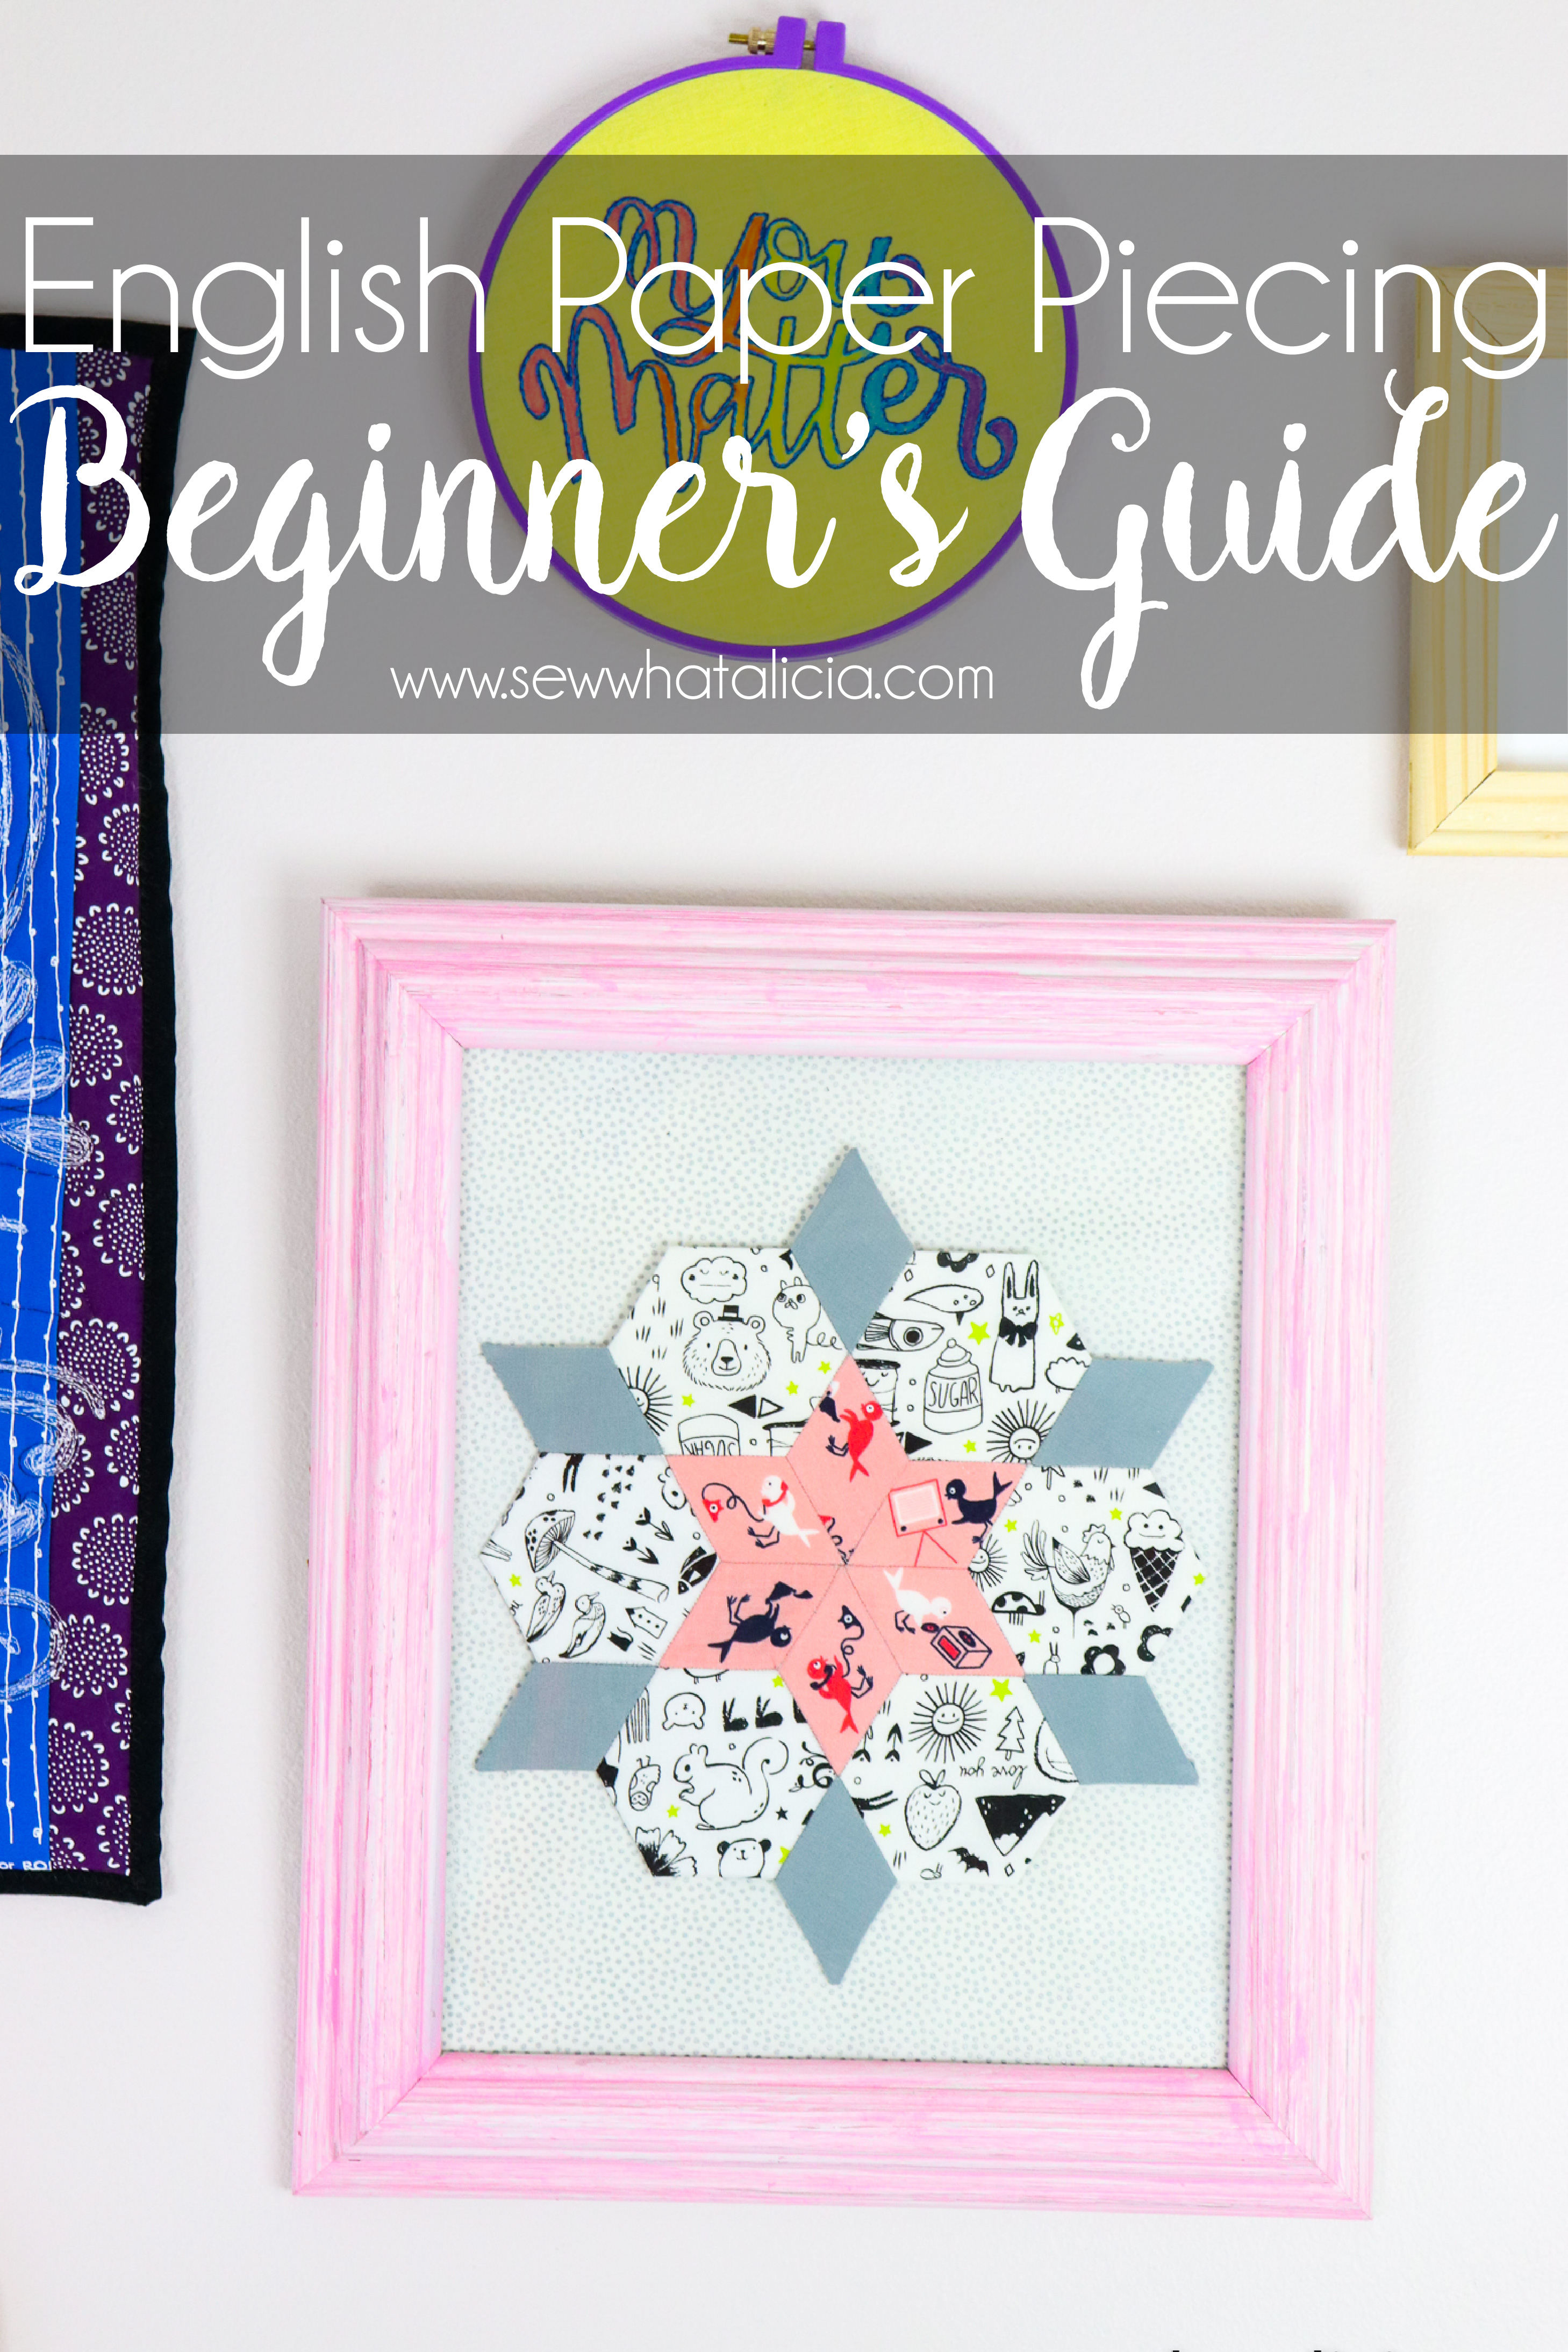
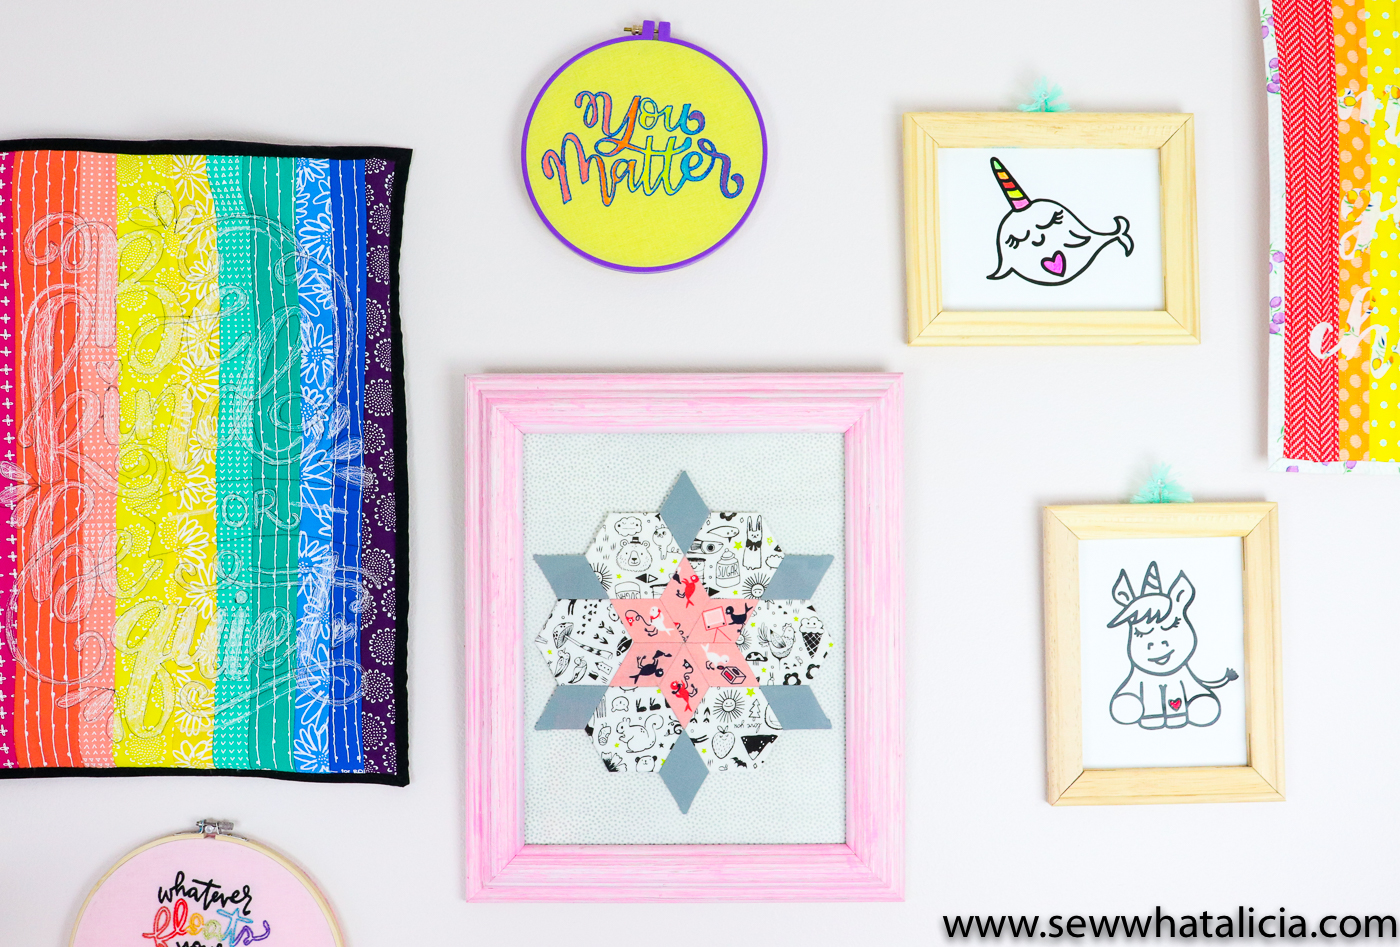
I decided to use my finished block as a piece of wall art. I ironed it to a piece of backing fabric and framed it. Mostly because I cannot imagine finishing an entire quilt by hand. I am in awe of anyone who has the patience to complete a beautiful large hand pieced quilt. Seriously so amazing.
Still have questions? Share with me in the comments below.


Leave a Reply